Step 1
Draw a circle in the middle of your page. This will form the main part of your tiger’s torso.

Step 2
Next, add two construction lines. One vertical line, running centrally through the circle and down (this will be how tall your tiger is), and one diagonal line, positioned at roughly 20 degrees.
Extend the ends of the diagonal line out past the circle, as shown, and extend the vertical line down, by roughly the same as your circle’s diameter.

Step 3
Draw another, smaller circle to the right of the first one. This will form the top of your tiger’s hindquarters, so make sure the top of both circles line up, but don’t overlap them.

Step 4
Add two more, smaller circles of approximately the same size, this time overlapping and to the left. These will form the tops of the tiger’s front legs. Position the first so that the bottom lines up with the bottom of the large circle, and the second overlapping the first and slightly lower.

Step 5
Next, draw an oval for the tiger’s chest. Line the bottom of the oval with where the two front circles intersect.
Using the distance between the diagonal construction line and the bottom of the two front circles as a guide, extend your oval that same distance up past the top of the large body circle.

Step 6
Draw two vertical lines down, one from each of the smaller circles.
Line the bottom of these lines up with the bottom of the vertical construction line you drew in step 2. Draw two circles on each of these lines, roughly 1/3 of the way up from the bottom. These are your tiger’s front knees!

Step 7
Working on the circle you drew in step 3, draw an elongated oval, making it slightly pointed at the bottom. Take it down to just before the tops of the front knees.
Draw two circles to the bottom of this distorted-oval shape.

Step 8
Draw a circle overlapping the large chest oval that you drew in step 5. Position it slightly higher and to the left. This is your tiger’s head!

Step 9
Next, we’re going to start filling out the tiger, starting with the front legs.
Extend a line on either side of the two circles (that make up the tiger’s front knees), joining them up with the two larger circles at the top.
Flare out the lines at the bottom to allow for big tiger paws.

Step 10
Do the same for the back legs, this time following the shape of that distorted oval shape we drew in step 7, joining up the two circles.

Step 11
Draw two basic paw shapes for the front feet, as shown. The nearest paw should resemble a loaf of bread (a squashed oval).

Step 12
Repeat for the back paws, making them both slightly open like the front far-side paw.

Step 13
Add in the toes by drawing curved lines. For the far-side paws draw one curved line, near the tip, and for the near-side paws draw two or three curved lines. We've gone for three on the front paw and two on the back paw.

Step 14
Next, we're going to work on the tail.
Draw a small circle to the right of your tiger. Line the bottom of this small circle up with the bottom of the circle that you used for the tiger's hindquarters.
Draw a curved line, extending from the top of your tiger to the top of this small circle, then down and round into a flick. This is the top of your tiger's tail!

Step 15
Add some construction rings at various points along this curved line.
Try to make the rings equal in diameter, but it doesn't matter whether they are oval (like we've drawn) or more circular. They are just to help you line up the bottom side of the tail.

Step 16
Join up the rings by adding a lower line. And there's the tail!

Step 17
Next, join up the shapes as shown.

Step 18
Add two ears on top of the head. For the ear on the right, extend a small line down to meet the top of the large oval.
It's starting to look like a tiger!


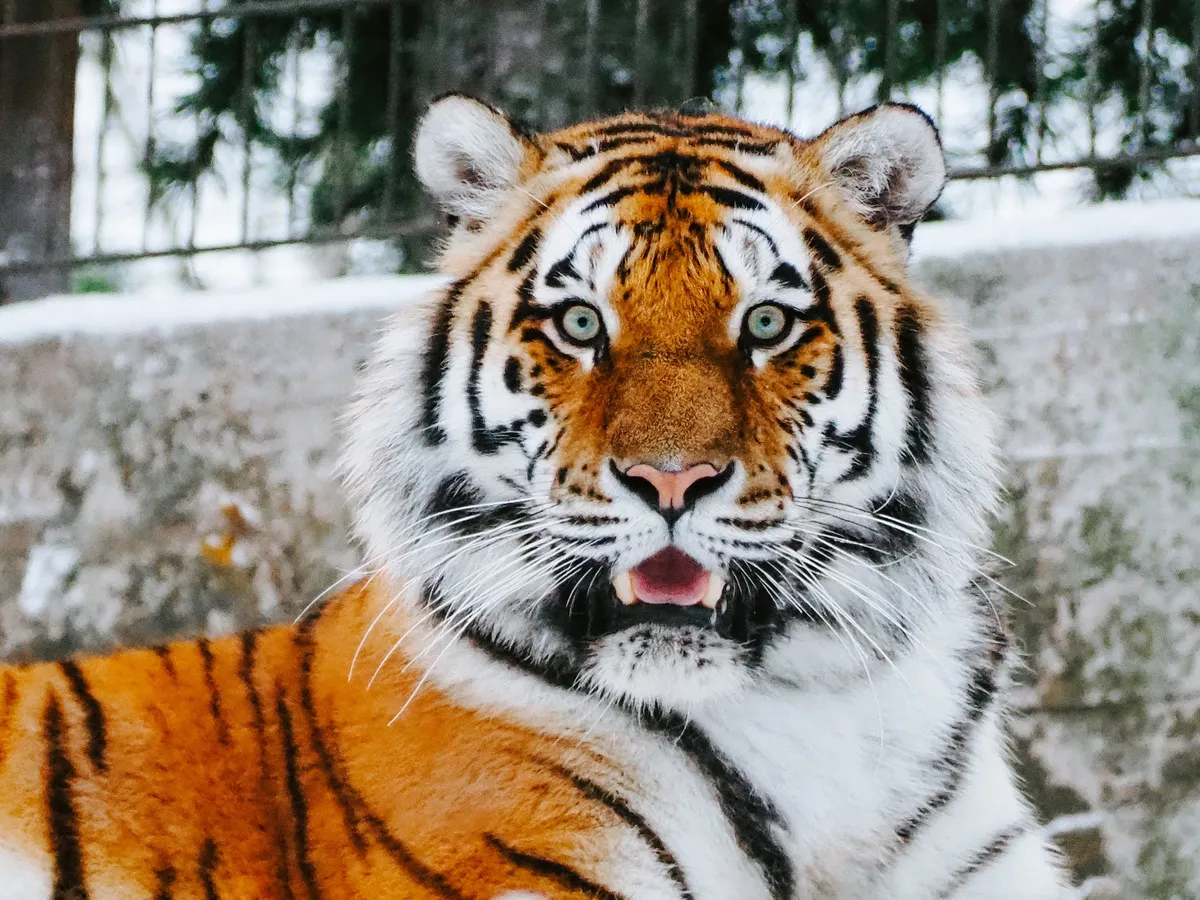
How to draw a tiger face
Step 1
Working in the main circle that you drew for the head, add a vertical line (slightly diagonal) along the centre of the tiger face and four construction lines at right angles to this vertical line. These will help you position the different parts of the tiger's face.
First, add a line near the bottom - this is the bottom of the tiger's mouth. Add another line approximately one-third of the way up the tiger face - this is the top of the tiger's nose.
Take the distance between the mouth and nose line, and add another line approximately the same distance above.
Finally, add the fourth line a little way above that. These last two lines mark out where your tiger's eyes will be.

Step 2
Between the bottom two construction lines, draw two circles for the tiger's muzzle.

Step 3
From the top of these circles, extend two lines upwards, and slightly inwards. This is the tiger's nose.
From the bottom of these two lines, draw two diagonal lines through the circles to form the bottom of the tiger's nose.

Step 4
In these circles, draw four (slightly curved) horizontal lines.
Draw the tiger's jawbone by extending a line from the bottom of the small circles out to the middle of the larger head circle.

Step 5
In between the two lines at the top, roughly draw out two eyes.

Step 6
Next, add a few details to the face:
- A short, curved line under each of the ears
- Two upsidedown-tear-shaped eyebrows
- An extra line under each eye (the whites of the eye)
- An additional short curved line under each eye
- A fidget-spinner shaped nose in the triangle shape created in step 21
- Round off the edges of the ears by joining them to the body with short, curved lines

Step 7
Make the face more square, by adding two square tufts on either side of the face.
Add a chin, and draw two curved lines up from the sides of the small circles to create a muzzle.
Add some cheekbones.


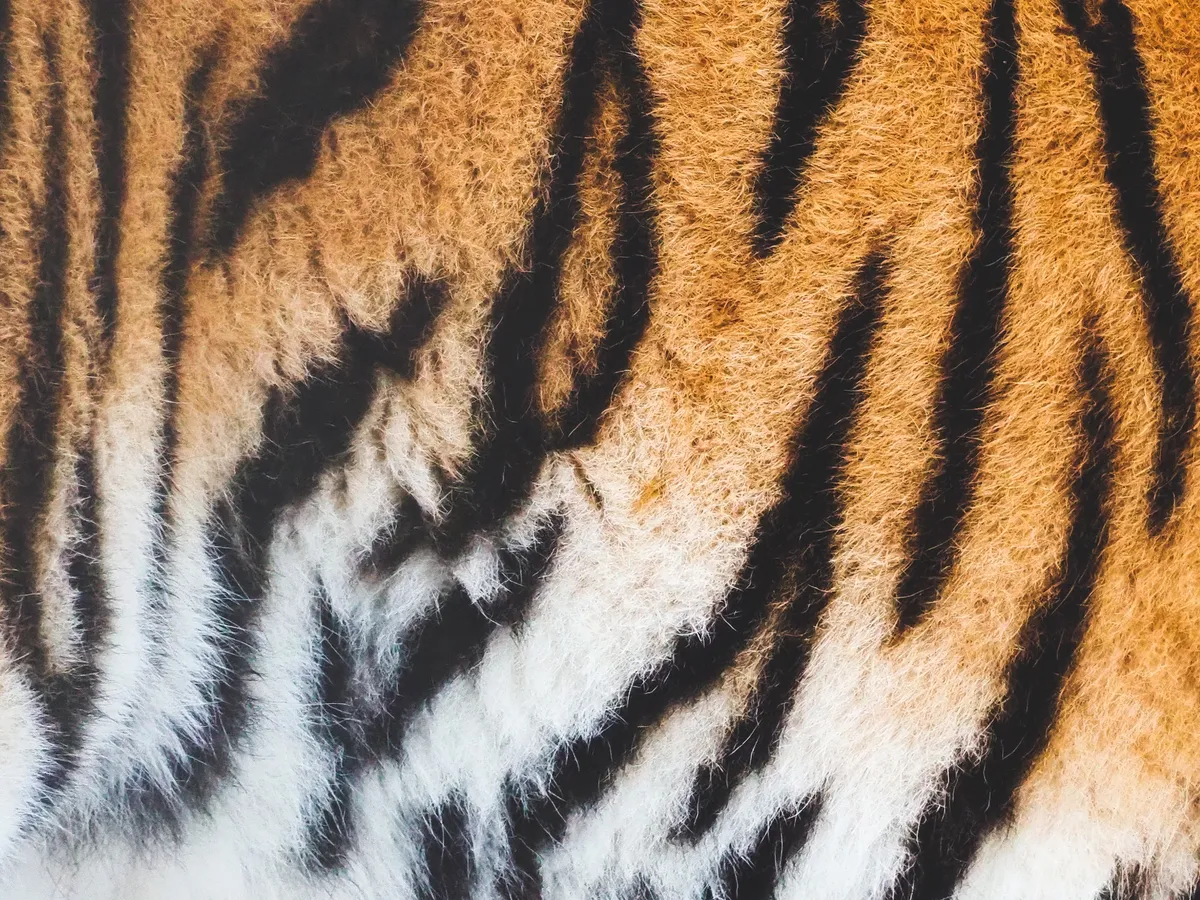
Adding detail to the tiger
Step 1
Now we have the main bulk of the construction lines down, it's time to start adding some details.
Sketch over the lines for the eye, using an HB pencil. Or, if you're feeling brave, use a black fine liner!
Shade the iris in, so that it's a light grey. Colour the pupil in solid black and add a small white circle, offset and to the top-left for a highlight.

Step 2
Give your tiger drawing some eyeliner, by colouring in the lines around the bottom of the eye.

Step 3
Extend this eyeliner down, roughly following the lines of the nose, tapering it into a point. This helps to suggest the shape of the nose without directly outlining it.
Add some tufts of fur by drawing short, curved lines down the right-hand side of the tiger's nose. Add some eyebrows and go over the upsidedown teardrops shapes, by drawing short lines. Add some tufts around the outside of the eyes, as shown.

Step 4
Add some more tufts around the outside of the eyes. Use short lines, and angle them out towards the edge of the face.

Step 5
Continue going over your construction lines to create the top of the head and ears. Use short lines for the outside edges, and longer lines inside the ears.

Step 6
Outline the tip of the nose and the mouth.
Shade in the nose.

Step 7
Outline the muzzle using short lines, following the shape of the two circle construction lines.

Step 8
Add a mouth and nostrils in solid black.
Add two small, curved lines above the top corners of the nostrils. Draw a straight line along the left side of the tiger's nose to add some definition.

Step 9
Following the curved, horizontal construction lines on the tiger's muzzle, add in some irregular-shaped spots.

Step 10
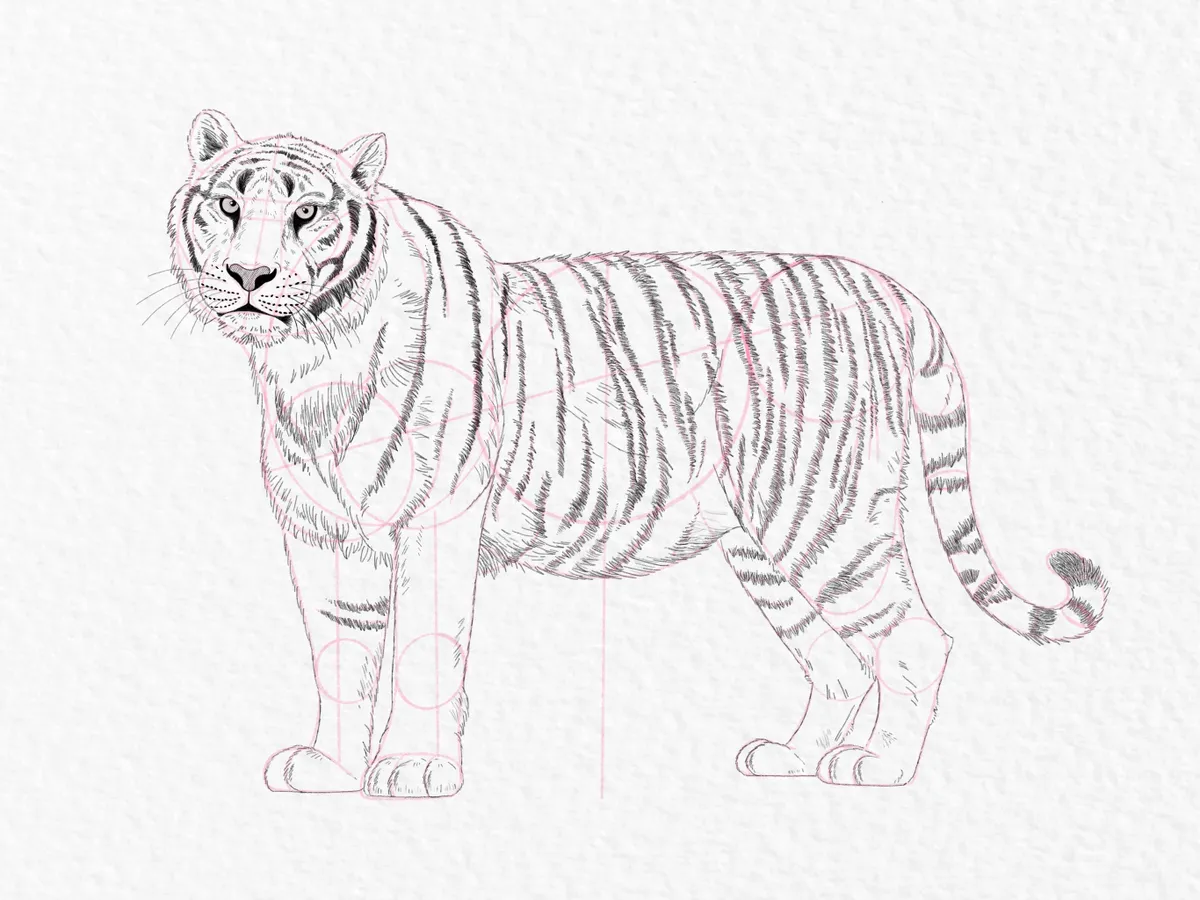
Using slightly longer lines, outline the shape of the tiger's face, giving him a nice shaggy appearance.

Step 11
Next, plan out where you're going to draw the tiger's stripes by adding some more construction lines. The stripes on a tiger's face follow the shape of the tiger's head. Make the lines on the side of the tiger's face slightly thicker, and the ones on the forehead slightly thinner.

Step 12
Using these new construction lines as a guide, draw in the tiger's stripes. Use a series of short lines again, angle them outwards, in a sort of scribbling motion, keeping them fairly dark.
Add in some detail around the tiger's lips and nose.
Darken the inside of the tiger's ears.

Step 13
Colour in the two upside-down teardrops above the tiger's eyes, and draw in some whiskers. Extend the whiskers from the spots on the muzzle, and angle them downwards.

Step 14
Following the construction shapes that make up the body, start drawing tufts of fur to outline the tiger. Add some detailing on the tiger's chest, clumping some of your lines together to create clumps of fur.

Step 15
Continue outlining the body, adding additional random lines here and there, to indicate fur.

Step 16
Working on the feet now, add in the toes!

Step 17
Time for our last lot of construction lines. The stripes around a tiger's body are more solid towards the tiger's back and more broken towards the tiger's belly. Draw them curved, and angle the crest of the curve towards the tiger's rear end.
Add in some stripe construction lines around the tiger's tail, and a few around the legs.

Step 18
Using a scribbling motion, start working over these stripe construction lines. Angle your scribbles roughly towards the bottom right, following the shape of the body.

Step 19
Keep going, working your way over the stripe construction lines.
Add in some longer, lighter lines on the tiger's belly.

Step 20
Almost there! Scribble in some stripes on the tiger's hindquarters. Start to angle your scribbles more downwards, down the leg to suggest the direction of the fur.

Step 21
Add in the stripes that make up the tigers tail and rear legs.

Step 22
Darken your stripes, and add in some detail lines along the tiger's front legs.

Step 23
Finally, erase your construction lines and enjoy your masterpiece!