
Charcoal drawing is a fantastically versatile medium to try. Charcoal can be used to create textured drawings or blended to achieve smooth tones – charcoal drawings can look almost like paintings!
When you use charcoal, it teaches you to look at your drawings in a different way. The limited colour palette forces you to focus more on light and dark shades, which will help you to improve your overall drawing and painting techniques.
Charcoal can be used to produce drawings of absolute anything, but they're particularly popular with portrait and landscape artists. Once you've mastered some simple techniques, you'll be surprised what you can produce.
This medium can be a little messy, but that's part of the fun! Give yourself permission to be a bit messy and explore the effects you can achieve with charcoal. If you're worried about smudging your work, you can put a piece of paper underneath your hand to keep your paper clean.
Charcoal drawing is suitable for artists of all levels and you only need to buy a few materials to begin making your own charcoal art. In this guide, we'll show you the charcoal drawing materials you should buy to create your own beautiful charcoal drawings, plus we'll show you a few techniques to help you get started!
Looking to stock up on art supplies? Take a look at our guides to the best watercolour paints, best acrylic paints and the best drawing tablets for beginners.
Charcoal drawing supplies
Want to get started right away? Here are some recommended supplies to buy to help you get into charcoal drawing…
1. Winsor and Newton willow charcoal sticks
Charcoal drawing supplies come in lots of different forms, from compressed sticks to charcoal pencils. Willow sticks are a very traditional material for charcoal art and often come in bulk packs. Packs are available in different thicknesses, so you can do finer charcoal drawings if you wish. Willow sticks are a budget-friendly option for people who want to try out charcoal drawing without spending too much. You may find that they are more brittle than other forms of charcoal, but they blend very smoothly because they don’t contain any binding agents – only wood. Just don’t press too hard though!
Buy the Winsor and Newton willow charcoal sticks set (24 sticks) from Amazon for £4.17

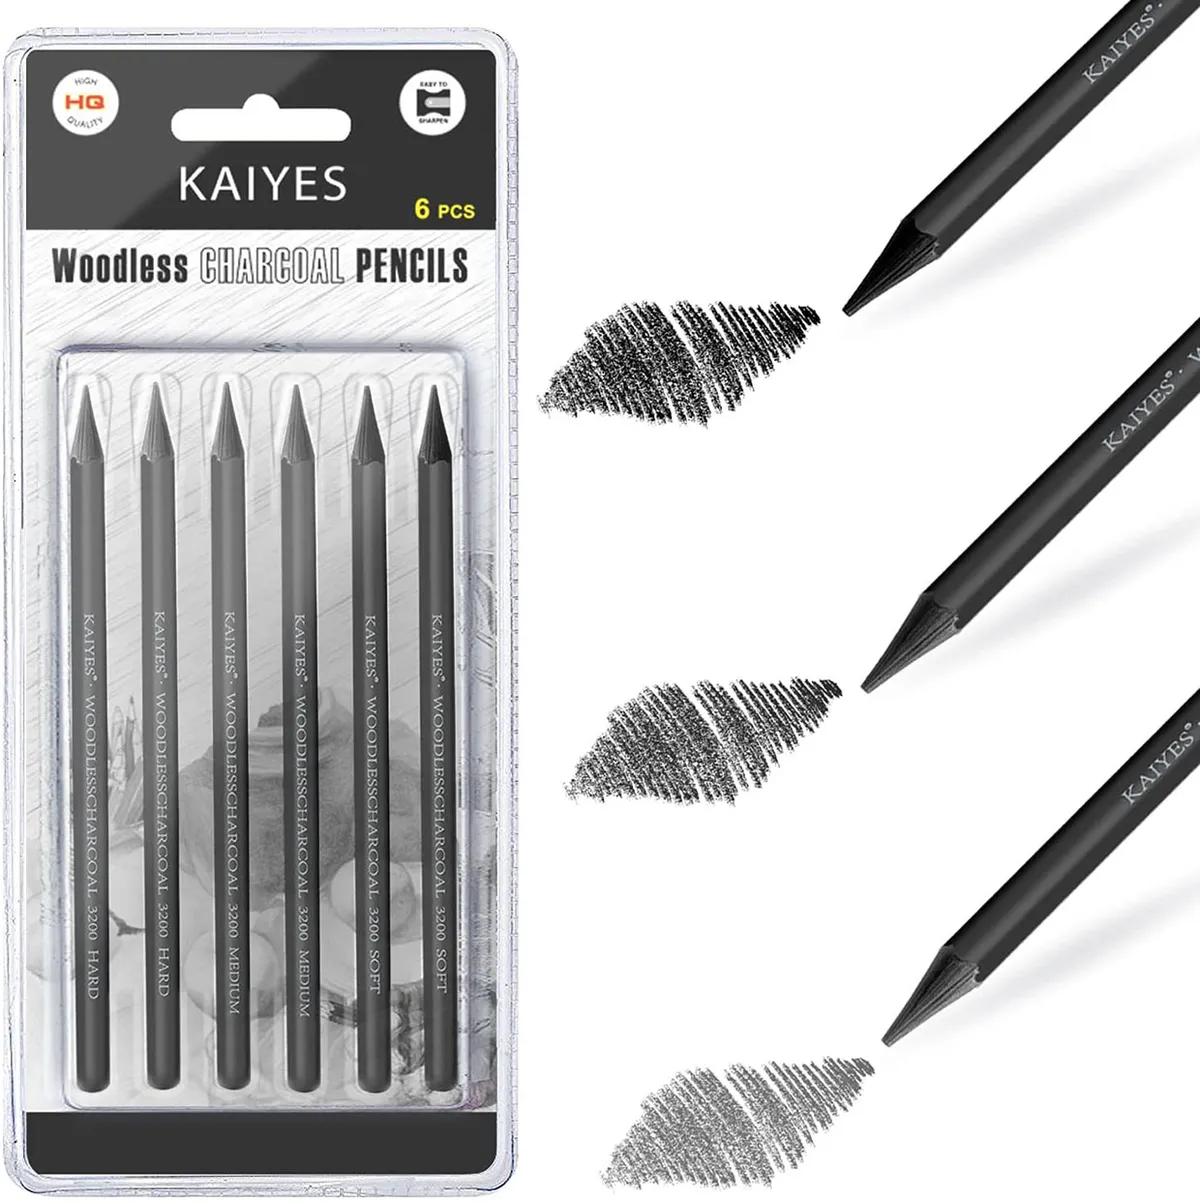
2. Kaiyes woodless charcoal pencils
Woodless charcoal pencils are a great choice if you want to get into charcoal drawing. They’re covered with a thin layer of plastic so your fingers won’t get messy when you’re drawing, making them a good pick for beginners or younger artists.
These pencils come in three different grades: soft, medium and hard, so they’re suitable for most of your charcoal drawing needs. They blend very easily so you can create smooth drawings – use a finger or a paper stump to blend your pencils for best results. This is an ideal set of charcoal drawing pencils for beginners or amateur artists – and they won’t break the bank.
Buy the Kaiyes woodless charcoal pencils from Amazon for £9.99
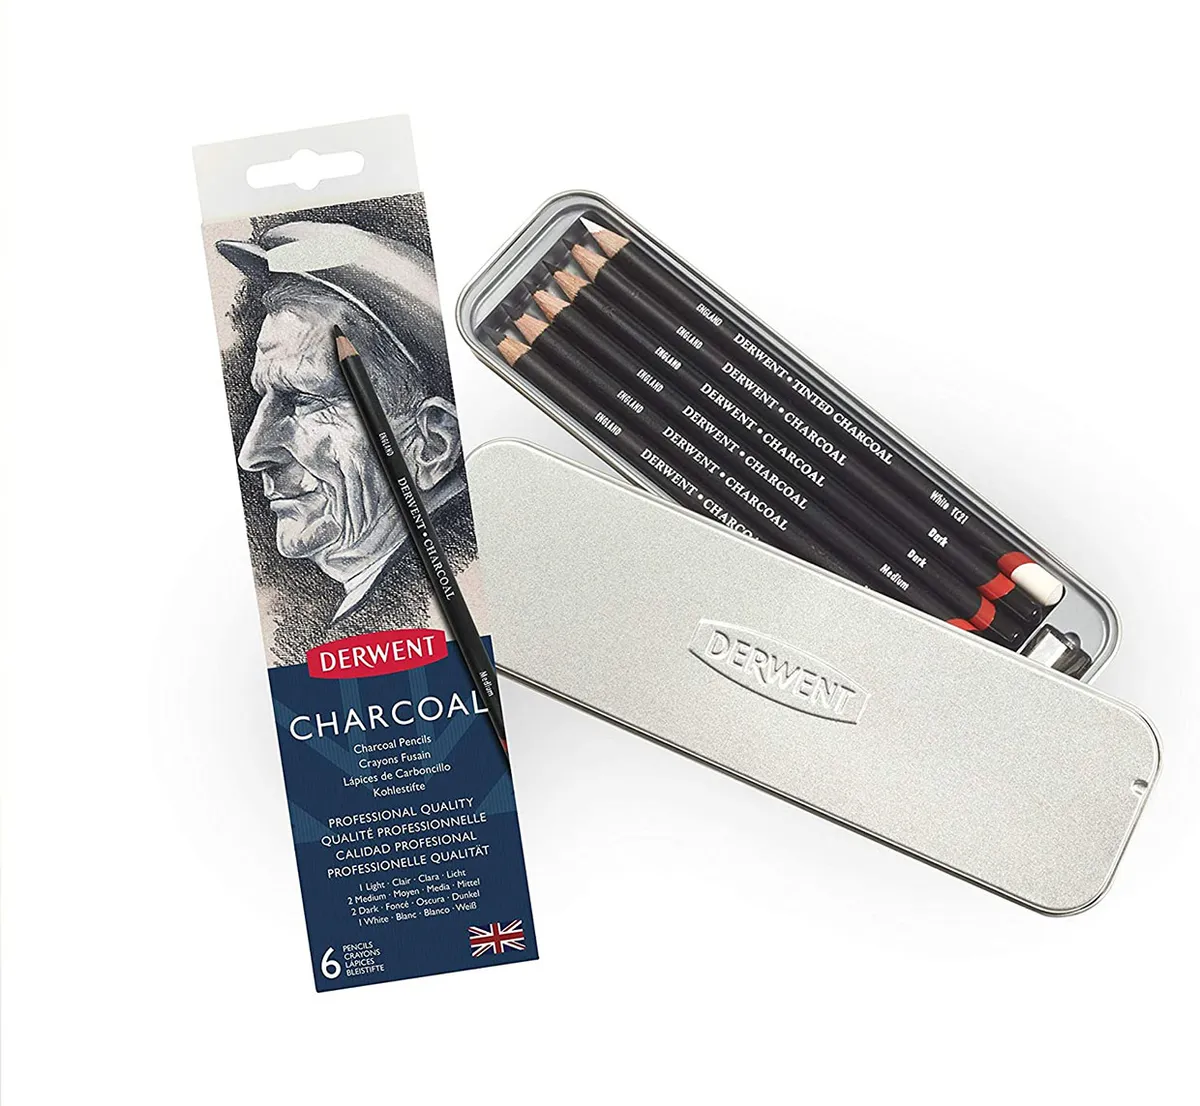
3. Derwent charcoal drawing pencils set
If you’re looking for a good starter set of charcoal drawing pencils, this set from Derwent is an excellent choice. Charcoal pencils are great for precision drawing and sketching out your designs. This set includes charcoal pencils in various grades from dark to light, plus a white charcoal pencil for any highlights.
The pencil tips are very smooth and blendable, which is why I love using my own Derwent charcoal pencil set! It also comes with a pencil sharpener. The charcoal drawing pencils are protected by a sturdy tin. Like most of Derwent’s products, these pencils are high quality and great value for money.
Buy the Derwent charcoal drawing pencils set from Amazon for £11.62
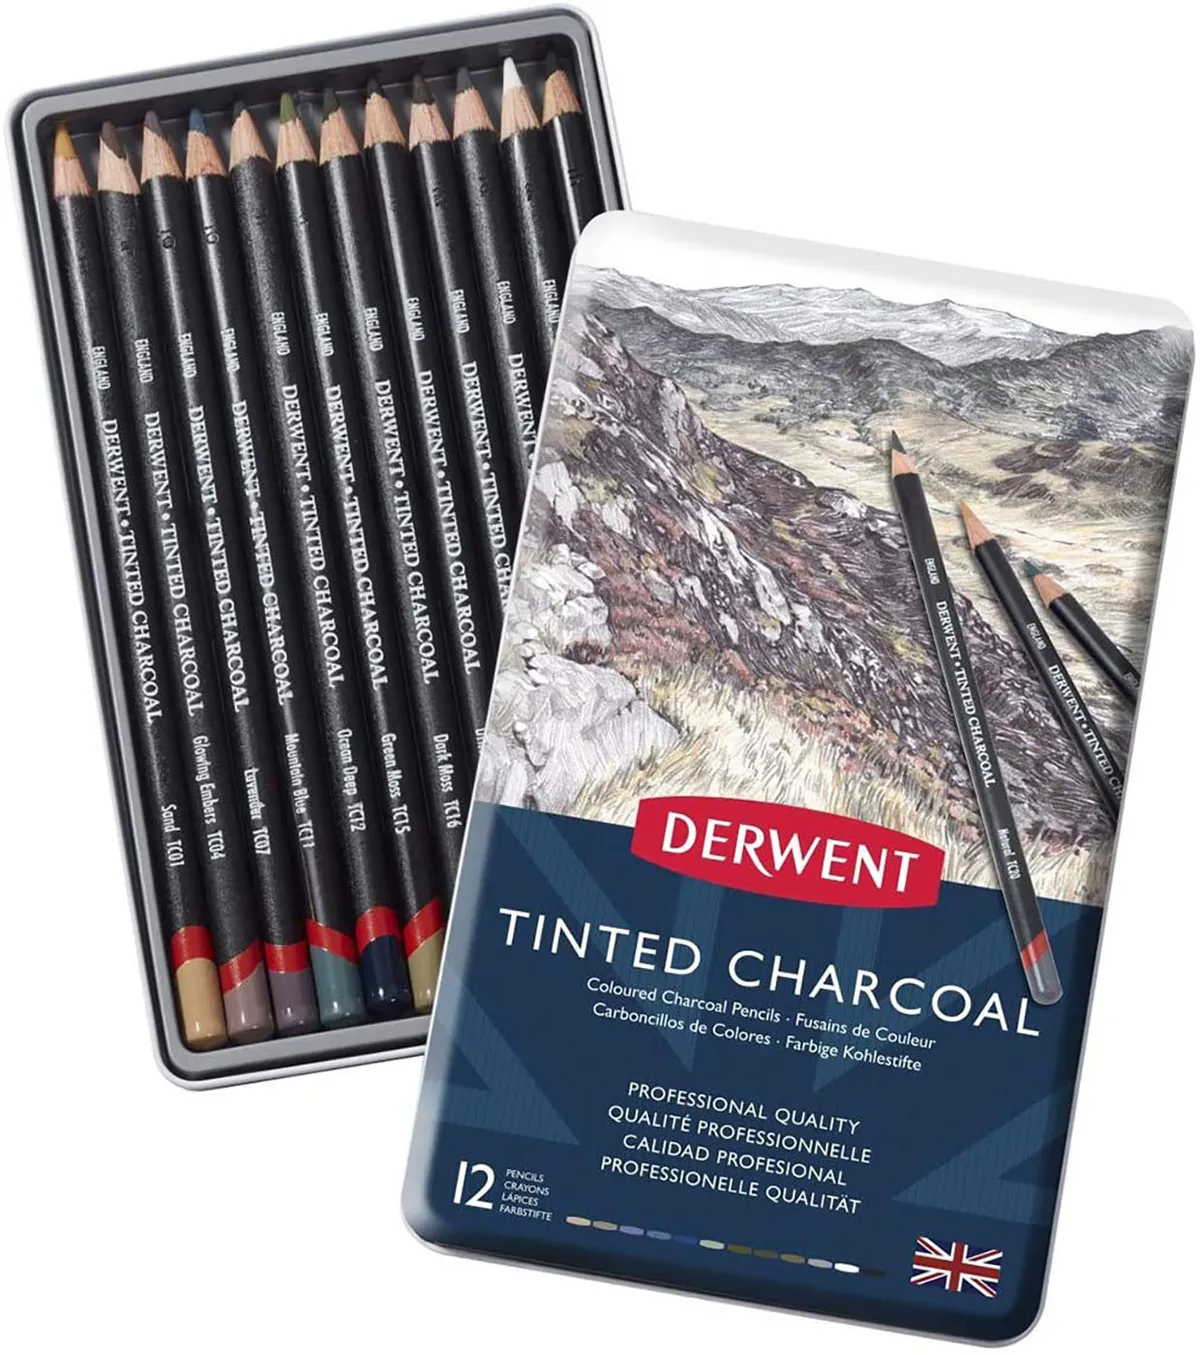
4. Derwent tinted charcoal pencil set
Want to add a little colour to your work? This Derwent tinted pencil kit allows you to add some subtle shades to your charcoal art. This is very effective when used in combination with a set of more basic charcoal drawing pencils. We’d recommend this set for landscape artists who want to add some muted colour to their charcoal drawings.
The set contains 12 water soluble charcoal pencils for you to try – use them dry or brush some water over your drawing with a pencil to create interesting effects! If you like this set, a larger 24 pencil set is also available to buy. Like the other Derwent charcoal pencil set, these pencils come in a robust tin.
Buy the Derwent tinted charcoal pencil set from Amazon for £17
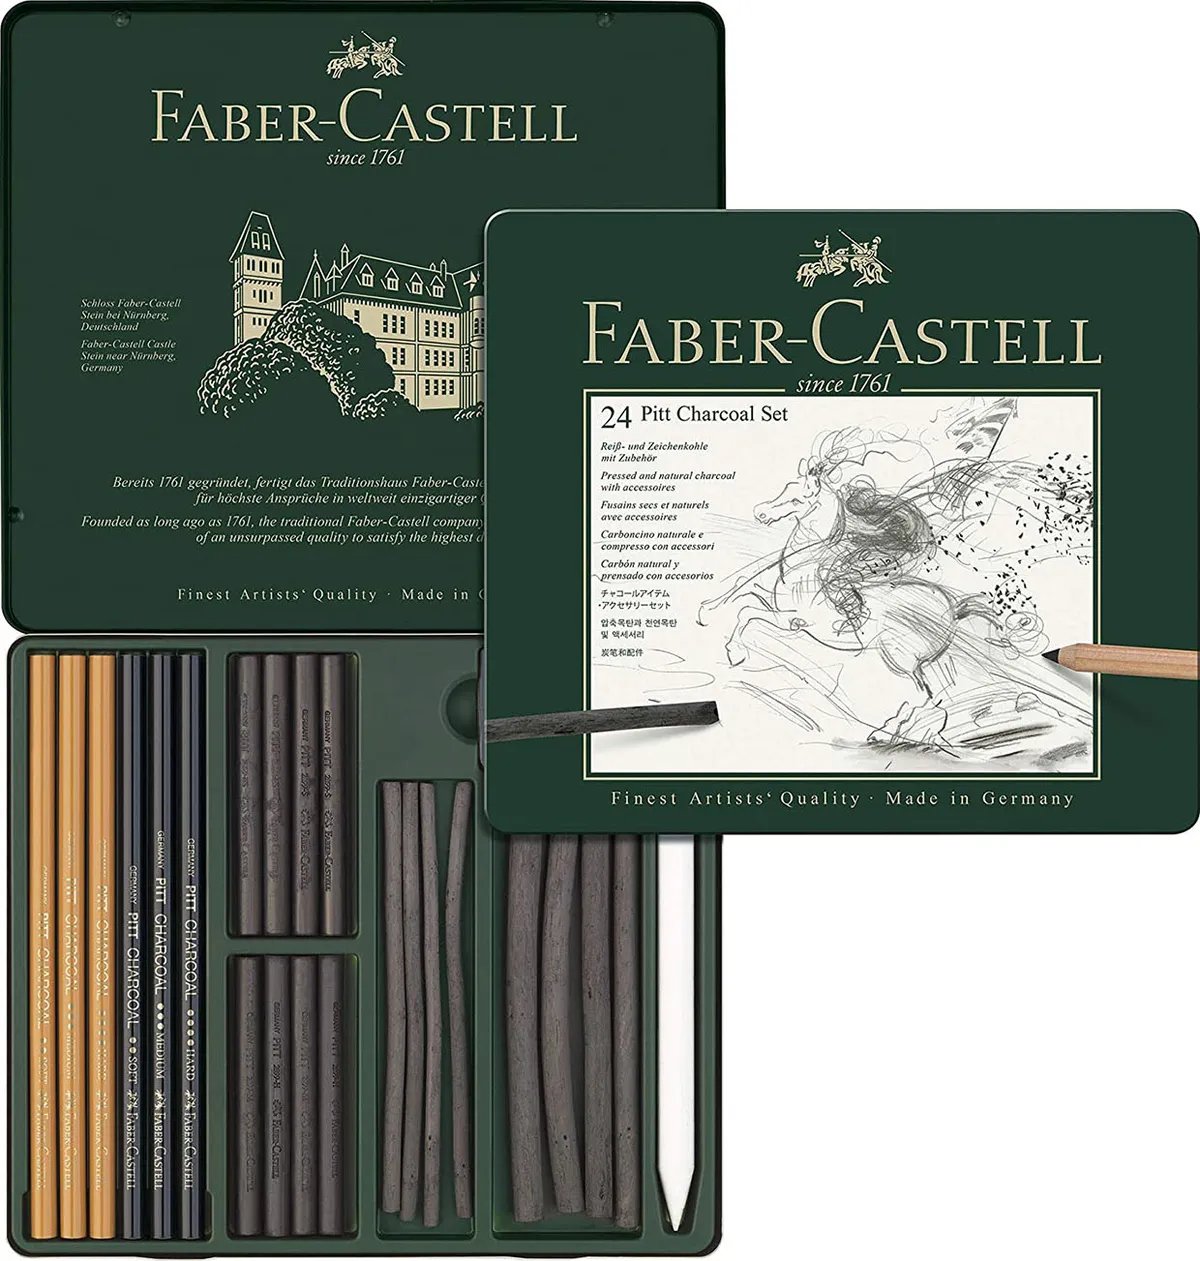
5. Faber-Castell charcoal set
Faber-Castell has a fantastic reputation within the industry for producing excellent materials for both amateur artists, students and professionals. This beautiful charcoal drawing set is no exception – it includes everything you need to produce charcoal art from pencils to compressed charcoal sticks. It even includes a kneadable eraser (sometimes called a putty rubber) and a paper stump (used for blending). This is a good set to buy if you’re into charcoal art and want a more complete drawing set for your work. The quality of everything in this set is top-notch, so you won’t be disappointed.
Buy the Faber-Castell charcoal set from Amazon for £33.18
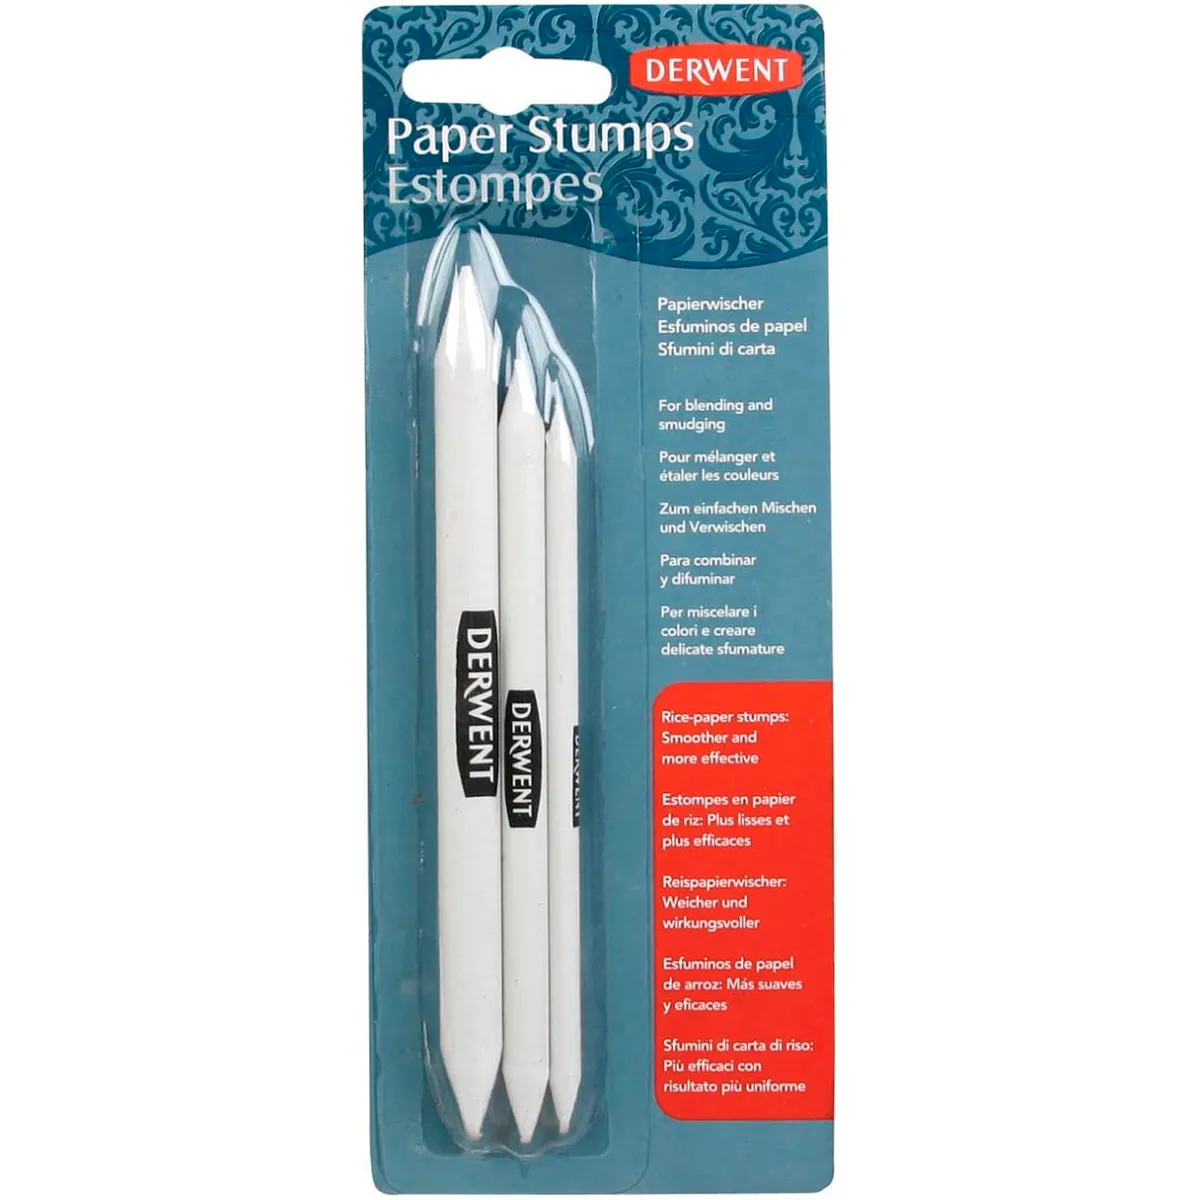
6. Derwent paper stumps
Paper stumps are really handy if you want to blend or smudge your charcoal drawings without getting your fingers dirty. To use them, you simply rub the stump over your drawing – as you would if you were blending using your fingers. If the end of the stump becomes too grubby or the point becomes flattened, you can easily clean it up and sharpen the point using a sandpaper block.
Paper stumps aren't essential for charcoal art, but they are really useful. If you don't want to buy a paper stump, you can use rolled-up paper instead.
Buy Derwent paper stumps from Amazon for £4.49
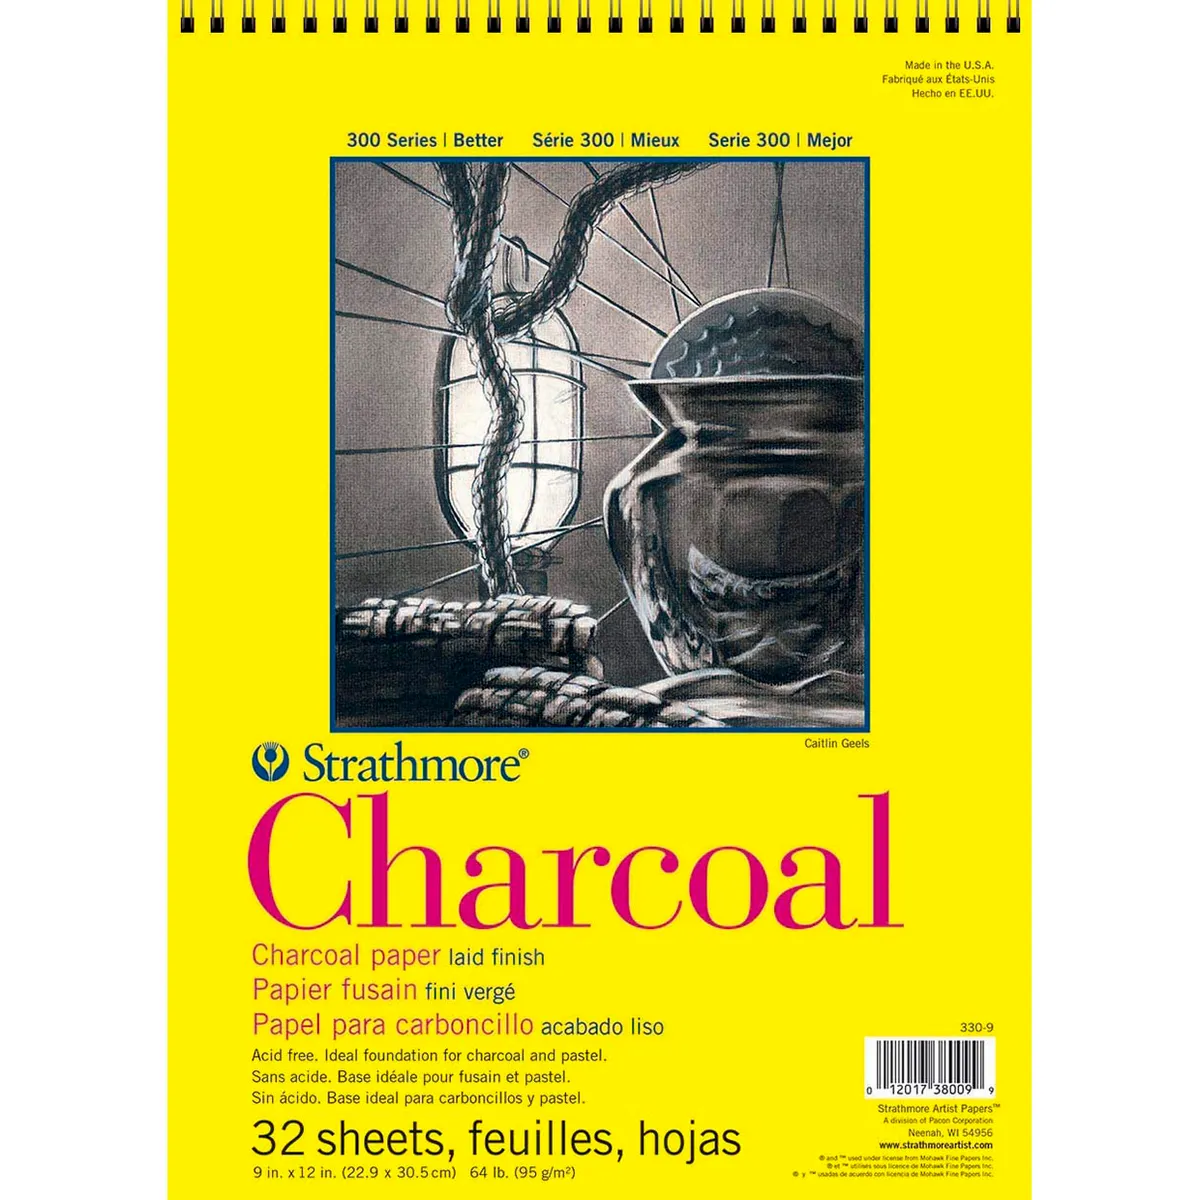
7. Strathmore charcoal paper
This pad of crisp white charcoal paper is ideal for beginners. The traditional laid finish is designed to pick up the charcoal easily, making it a good drawing surface. As you progress, you'll probably want to try using using coloured papers, but this is a good place to start.
Buy Strathmore charcoal paper from Amazon for £10.38
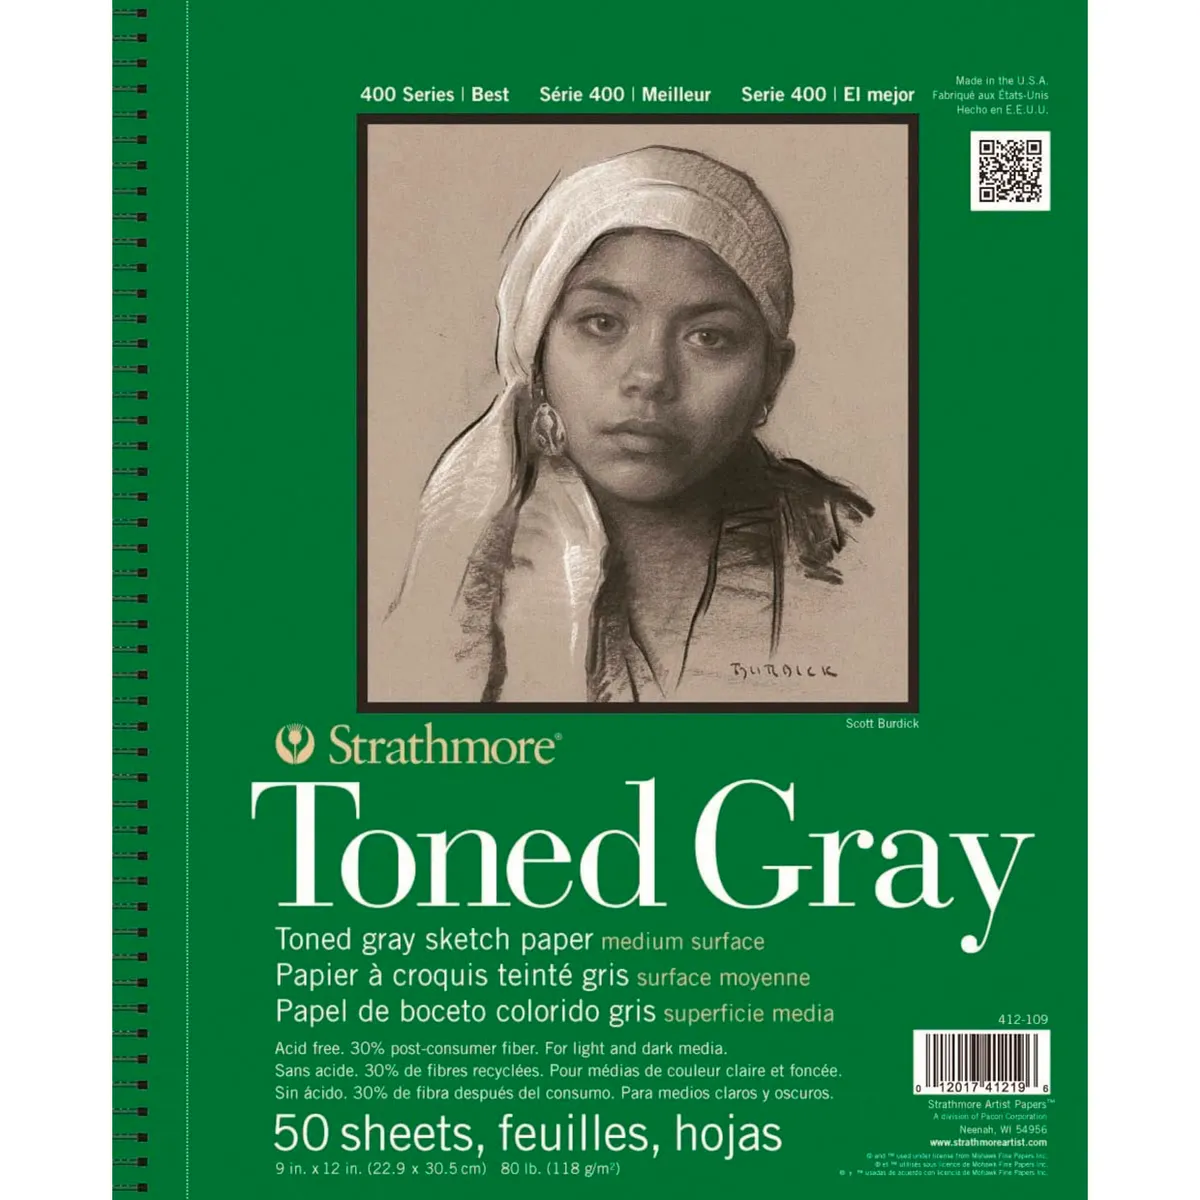
8. Strathmore toned gray paper
A light coloured paper can be used to create the mid-tones of your charcoal drawing, with black charcoal for the shadows and white charcoal for the lighter tones. This approach means you really focus on the way light interacts with your painting. This soft grey paper will be a good foundation for all of your charcoal art!
Buy Strathmore toned gray paper from Amazon for £11.39
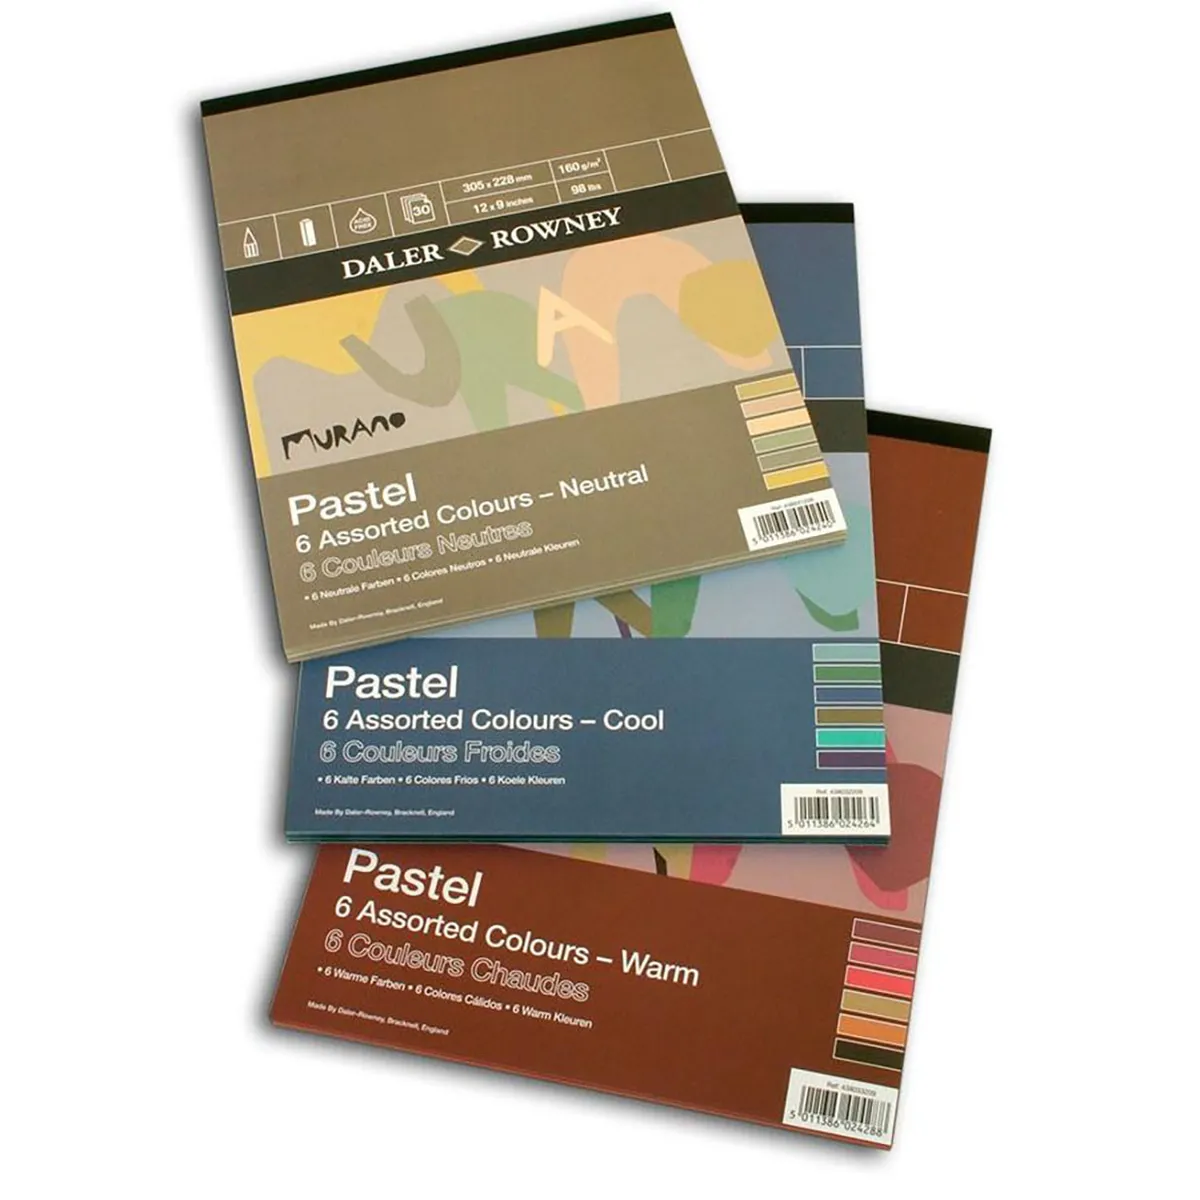
9. Daler Rowney murano pastel paper
Want to experiment with colour? Daler Rowney's murano range has a selection of paper pads in different colours – including cooler and warmer shades. This is a great way to bring colour into your charcoal art. Personally, I prefer the cooler paper pad for moody and atmospheric landscape drawings, but there's also a pad with warmer colours and a neutral pad.
Buy Daler Rowney murano pastel paper from Art Discount for £10.95
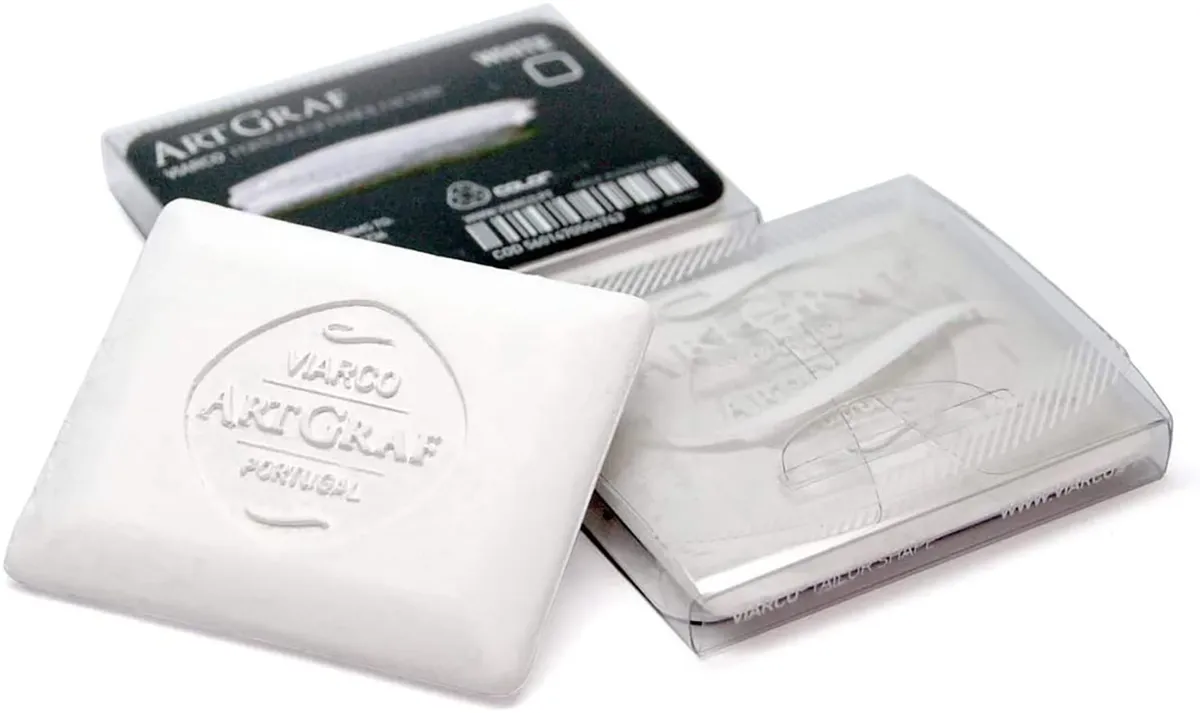
10. ArtGraf water soluble graphite disc
White graphite discs (sometimes called tailor's chalk) are ideal for adding highlights to your charcoal art. They can be used dry, or you can apply water using a brush to blend the graphite.
Buy the ArtGraf water soluble graphite disc from Amazon for £7.64
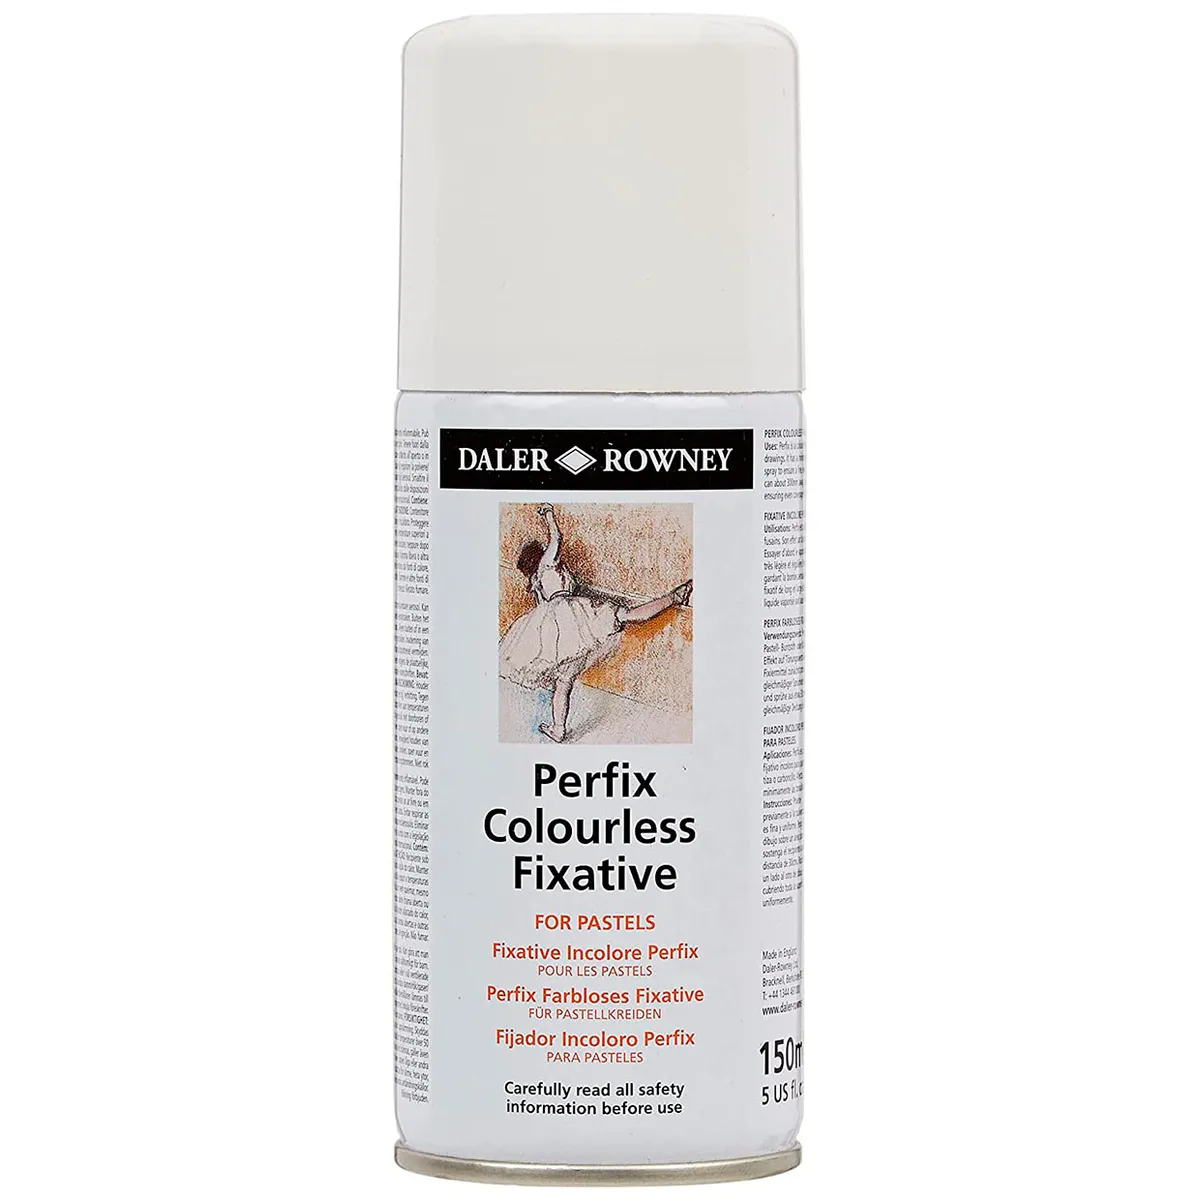
11. Daler Rowney perfix fixative spray
Once you've completed your charcoal drawing, you'll need to protect it. Most artists working with charcoal or pastels spray their work using a fixative to stop it smudging, but this can dull the colours a little. There are lots of different fixatives on the market, but this one is effective and reasonably priced.
Buy the Daler Rowney perfix fixative spray from Amazon for £7.65
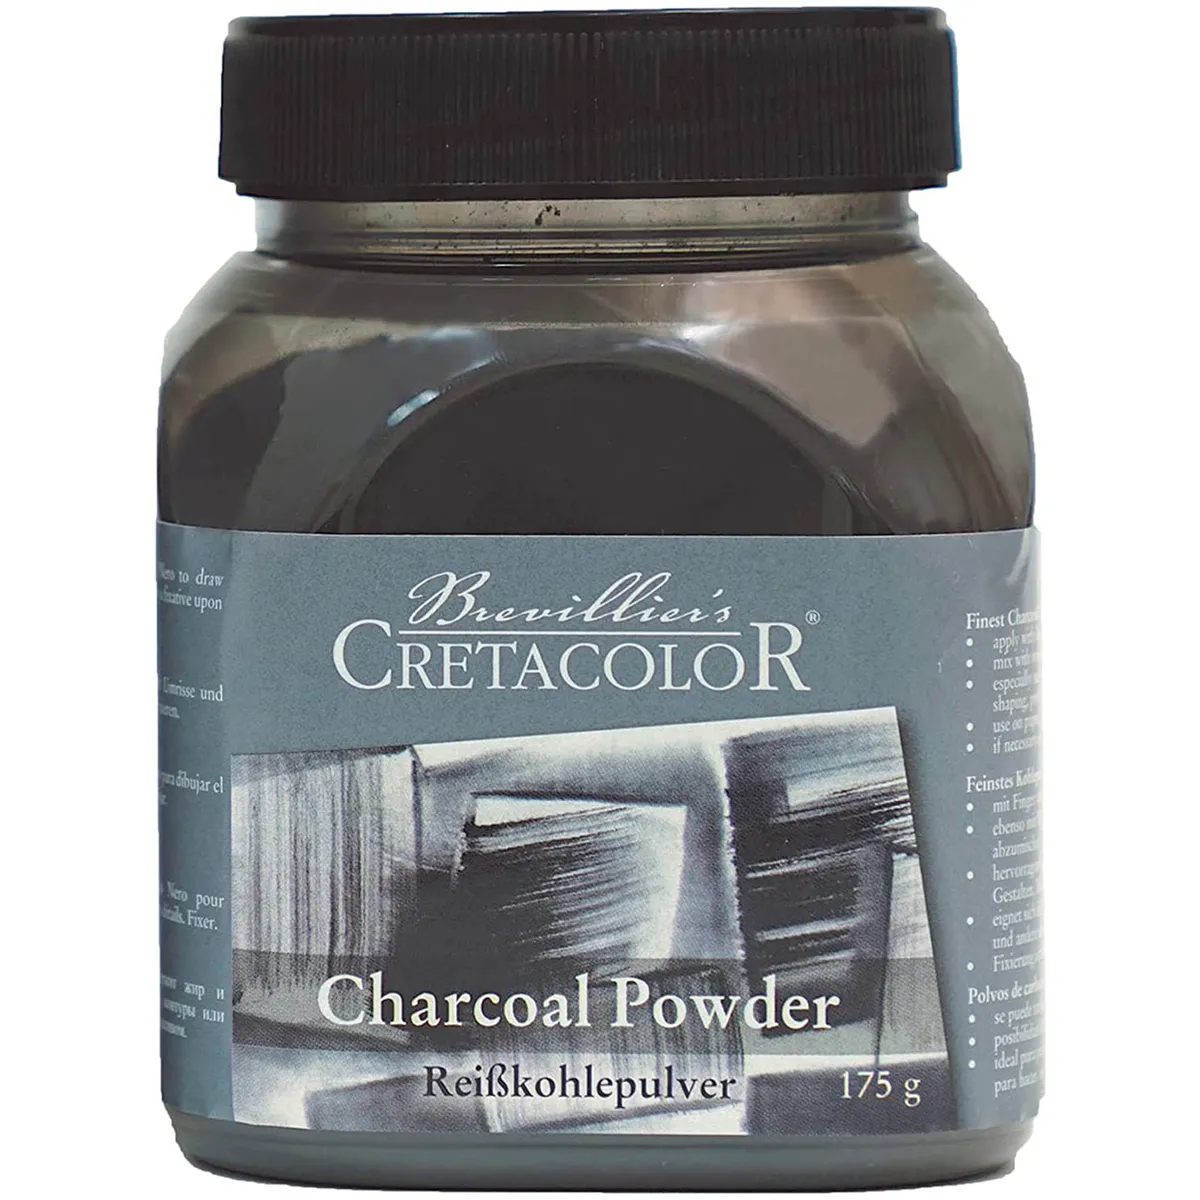
12. Cretacolor charcoal powder
This is a nice optional extra to add to your art supplies. Charcoal powder can be used to create smooth gradients and can be built up using a brush. Be careful not to apply too much at once – start with a light dusting and build up the colour gradually. When you're buying charcoal powder, make sure that you're buying a brand designed for artists, as edible charcoal is also sold. This charcoal is definitely not for eating!
Buy Cretacolor charcoal powder from Amazon for £17.60
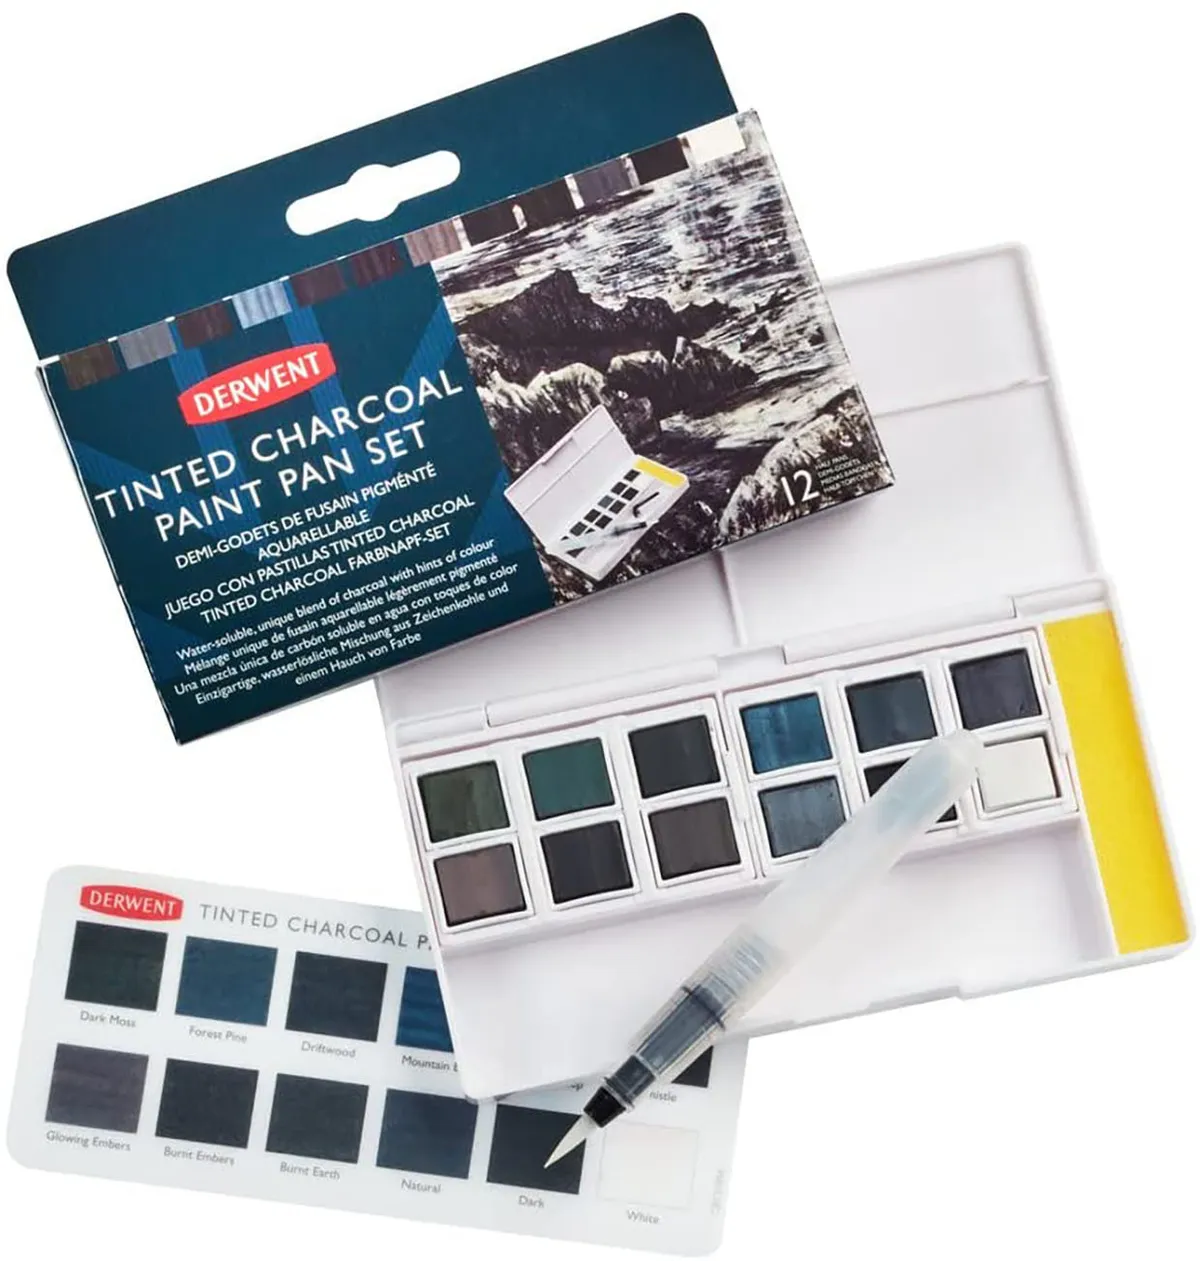
13. Derwent charcoal tinted paint pan set
This Derwent set offers you the chance to use charcoal in a different way! You can use the tinted charcoal to paint with, adding subtle colours to your work. These charcoal paints can also be used alongside more traditional charcoal sticks or pencils. This handy little set comes with a mixing palette, a mini water brush and a cleaning sponge.
It's a good set for charcoal sketches of a landscape or a person – and the results can be very striking!
Buy the Derwent charcoal tinted paint pan set from Amazon for £20.82
How to draw with charcoal
Now you've got all of your charcoal drawing supplies, we'll show you how to create a beautiful charcoal drawing step by step…


