All products were chosen independently by our editorial team. This review contains affiliate links and we may receive a commission for purchases made. Please read our affiliates FAQ page to find out more.

How to paint a sunflower

Sunflowers are everywhere at this time of year – and they look stunning! Learn how to paint a sunflower at home with Rhiannon's step-by-step tutorial

Try our magazines – get 6 issues from just £9.99!

Published: August 10, 2022 at 6:00 am

An acrylic sunflower painting is a lovely way to catch that end-of-summer feeling on paper. Acrylics are a great choice for sunflowers – their vibrancy makes them perfect for capturing the warm, bright tones of a cheerful, summery plant like a sunflower.

This tutorial on how to paint a sunflower will take you through some tips and techniques on using acrylics, as well as the materials you’ll need to get started, before taking you through the simple steps to create a beautiful acrylic sunflower painting.

For this painting, I’ve chosen to use a loose, expressive style. I like this for sunflowers, probably because when I think of painting sunflowers I instantly think of Van Gogh! But the other advantage of painting in a looser style is that it’s a simpler process to follow – making acrylic sunflower painting easy.

A few tips to make sunflower painting easy

Before you start your acrylic sunflower painting, here are a few tips you might want to bear in mind:

  • Be aware that acrylics dry fast. This can make them challenging to work with! But it also means that you can finish a painting more quickly than when working with something like oils, and I personally find them a little easier to layer than watercolours.
  • Work from back to front. Start painting whatever is farthest away in your reference photo, and slowly work towards what’s closest to you – as you layer up paint, this will give your painting more depth. In this painting, this means I start by painting the background before starting on the sunflower itself.
  • Cheat at blending. Acrylics can be tricky to blend. If you’re going for a more expressive look (like in this painting), you can make things easier for yourself by adding an additional layer of paint between the two colours you’re trying to blend. Just mix the two colours together on your palette and add this where the two meet on your canvas. You’ll see how I do this when it comes to blending orange into yellow around the centre of the sunflower.
  • Have water on hand. This will let you dampen your brush, clean brushes before using a different colour (less important when you’re blending similar colours, more so when you’re moving to a whole new part of the painting!), and thin the paint if you need to paint on very precise lines – like I did in the stalk to the left of the painting.

Art materials for your acrylic sunflower painting

In order to create your sunflower acrylic painting, you’ll need the following materials:

Acrylic paints

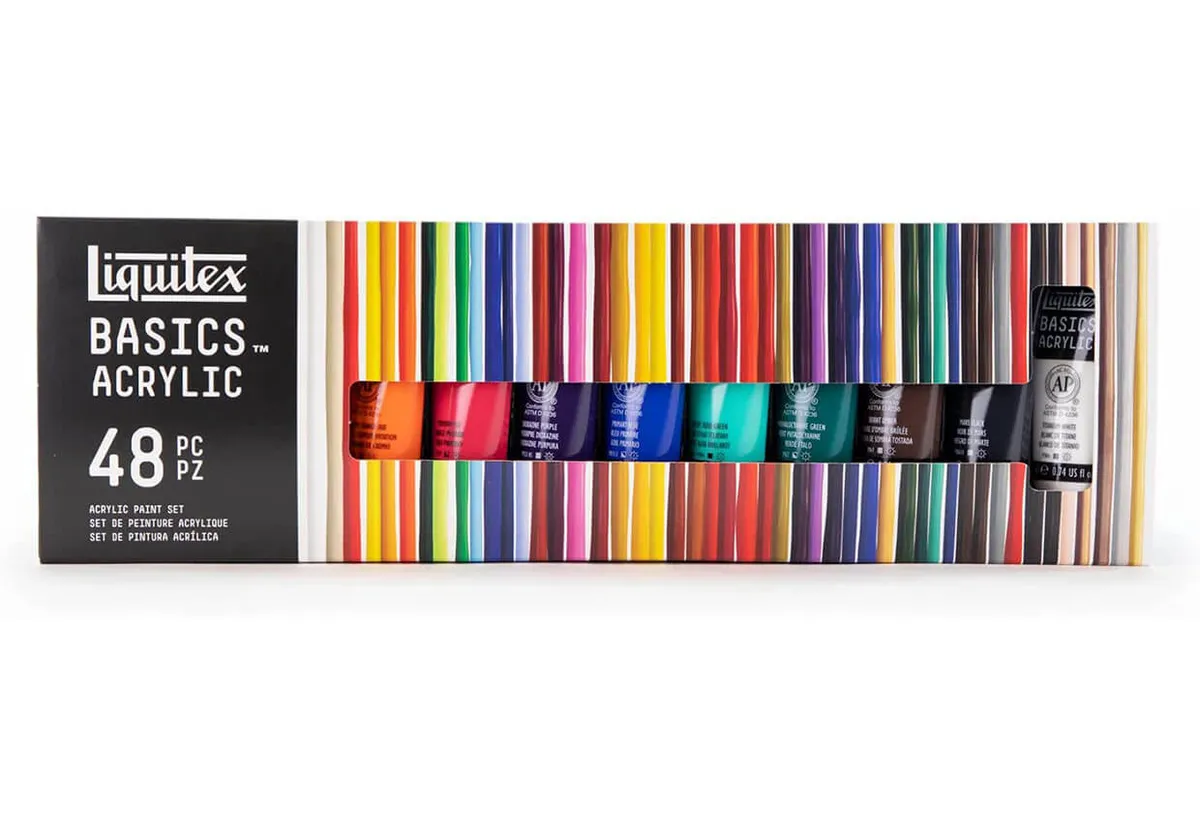
I use a Liquitex Basics acrylic set as I find these to be an affordable, good-quality option. I do find the paint a little on the thin side, so just be prepared to paint on more layers when using these paints. I also always have a bigger tube of white paint as I use this most often – at the moment I’m using the Cass Art own brand paint. If you're looking for more acrylic paints to buy, check out our pick of the best acrylic paint sets.

Paintbrushes

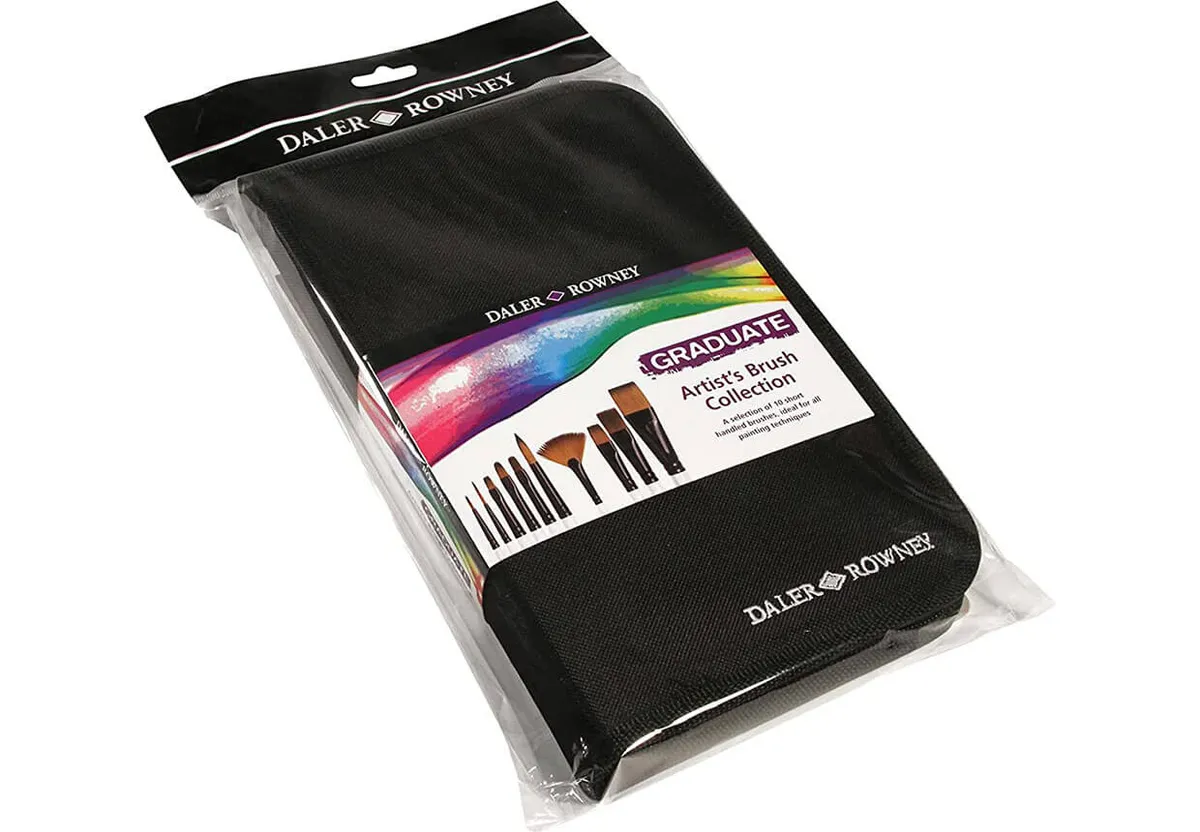
I like to have brushes with a range of shapes to the tips to make painting easier – you can use these to create interesting marks with your paints using just one stroke. I used a large brush which tapered to a fine point to do this here, when I painted the sunflower petals. Try this Daler Rowney brush set to get started! Take a look at our best paintbrushes for artists for more recommendations.

Canvas or paper

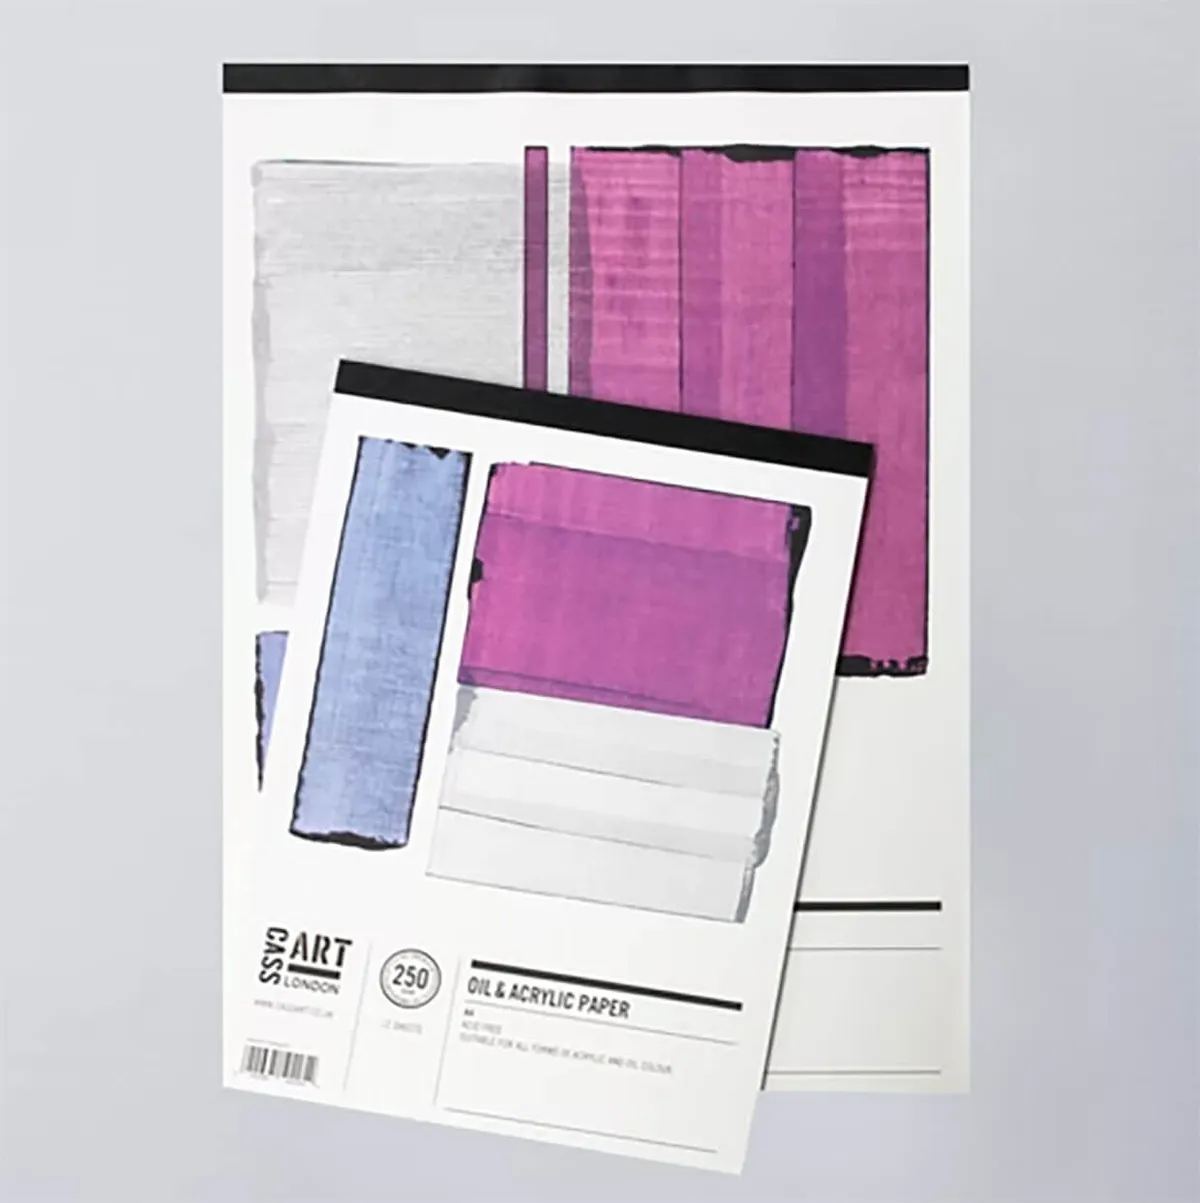
Think about what you’re going to do with your finished acrylic sunflower painting before deciding whether to paint on canvas or paper. If opting for paper – like I did in this painting – just make sure you choose a really heavy paperstock (300gsm or higher) or a paper pad that mentions it’s intended for use with acrylic paint. I’m using paper from Cass Art, because I find it does a good job of not buckling when it gets wet.

You can find a full list of supplies below. Read on to find out how to create your own beautiful sunflower painting…

Looking for more painting projects to try? Learn how to paint a portrait, how to paint a landscape or have a go at palette knife painting.

You will need:

  • Acrylic paints
  • paintbrushes
  • Canvas or paper
  • A jar of water (to dampen your brushes or thin the paint)
  • A palette
  • A rag or piece of kitchen paper (to take excess water out of your brushes and wipe them clean)

Step 1

Before you get started on your sunflower acrylic painting, you’ll need to choose a reference photo. You might have a photograph you’ve taken yourself, in which case, that’s great! If not, there are a few websites that offer royalty-free stock photos – I personally like Pixabay, Pexels, or Unsplash for finding reference photos.

For this painting, I used this photo by mploscar on Pixabay. After downloading the image, I adjusted the colour balance very slightly in Photoshop to bring out the red tones and really emphasise the warm evening light that drew me to the photo.

Once you’ve chosen an image you like, you’re ready to start painting.

Sunflower stock image

Step 2

Next, prepare your canvas/paper and sketch out the rough shapes of your painting.

If you’re painting onto canvas, consider using an extra layer of gesso to create a smoother surface.

If you’re painting onto paper, use masking tape to secure your paper to a hard surface. This helps the paper support the liquid you’ll be adding to it and means you’ll end up with a crisp white border around your painting when you’re done.

I usually stick the tape to my desk and lift it up again before using it on the paper, as this reduces the chance of it ripping the paper when you remove it.

Either way, I always begin by loosely sketching out the shapes in my reference photo. This helps get your head around the composition and means you won’t realise you’ve gone wildly wrong when you start applying paint.

Step 3

Now we’re going to paint the background. I think sunflowers can look very striking against a plain white background, in which case you might not want to paint in a background at all – but if you do want to include a background, I recommend starting by painting that in first.

If you’re using the same reference photo as I did, here’s how I approached the background in this painting.

As mentioned, I always start with the area that’s farthest away, so in this case, I started with the sky. I applied a large area of the lightest colour first, blending this out to the soft yellows and peaches around the edge of the painting, through to the darker oranges around the edges of the trees.

I then painted in the darker area of the trees, before adding additional layers of oranges and peaches to blend these out at the edges and mimic the dappled light coming through the trees. Since I knew I was going to be painting the sunflowers in a more expressive style, I didn’t worry too much about getting this perfect – I just want to give the rough impression of what’s there.

Once you’re happy with how your background is looking, let this dry before continuing to the next step.

Painting the sunflower background

Step 4

Let’s paint the basic shapes of your sunflower. Start by painting in the dark centre of the sunflower. I used burnt umber for this step. Then paint in individual petals using a dark yellow (I used yellow ochre). I like to use a bigger brush with a fine point for this step, which allows you to create interesting shapes for the petals with one sweep of the brush.

Add the petals at different points around the centre rather than working your way around the edge to help ensure you end up with an evenly shaped flower.

Let this layer dry before continuing to the next step.

Paint in the basic sunflower shape

Step 5

Load up your brush with a lighter colour paint to add a second ring of petals. It’s fine if these overlap – this will make your painting look more realistic.

Using a smaller brush, mix up a warmer orange colour and apply this in small dabs of paint to blur out the line between the petals and the centre of the flower. Use the same colour to add some texture to the brown centre of the flower, in a smaller ring shape.

Add the second ring of petals in a lighter colour

Step 6

Now we’re going to use a fine brush to add the highlights and darkest areas.

While the orange paint dries, mix up a very pale yellow paint and use a fine brush to add highlights to the petals. In this painting, I mainly added my highlights to the centre of each petal to match the reference photo, but think about the source of light when adding yours – where the light is coming from will affect which parts of the petals it hits.

At this stage, I decided the orange I’d painted in looked too vibrant, so I mixed some of the remaining orange paint with a little more yellow and used this to blend the orange more smoothly into the petals.

You can then use more dark brown paint to add some definition and darker areas to the middle of the flower.

Use a fine brush to add highlights and the darkest areas

Step 7

If you’re using the same reference photo as me, at this point you’re going to want to paint in the grasses to the left of the painting.

I approached this by painting in the highlights first, carefully painting thin lines and dabs of pale reds and golds to mark out where the sun hit the backs of the grasses. For the narrowest lines, I thinned out my paint with water to help me paint more precisely.

Paint in the foreground grasses

Step 8

I mixed together green, brown, and yellow paints with a little white to get a colour I was happy with for the stalks and leaves of the sunflower.

I began by simply blocking these in (including the grasses in the foreground of this painting).

Paint in the stalk and leaves

Step 9

Once you’ve got your green areas blocked out, I added some more yellow and white to make a lighter colour to add highlights to the leaves and stalks. I also added some touches of red where this was visible in the reference photo.

Finally, I added some darker brown to the green to add shadows to the stalks.

And there you have it! With the addition of these final details, your acrylic sunflower painting is complete.


You’re done! We hope you enjoyed creating your own beautiful sunflower painting. Looking for more painting ideas? Explore our watercolor ideas, gouache painting ideas and acrylic painting ideas.

How to paint a sunflower