How to make air dry clay Christmas decorations

Bring character to this year’s tree with Emily Ashbourn’s air dry clay Christmas decorations. Everyone needs a glittery lobster, avocado, and pretzel on their tree!

Try 6 issues of your choice of craft magazine from just £9.99

Published: September 2, 2021 at 8:20 am

Bored of baubles? Putting a twist on tradition, these DIY air dry clay Christmas decorations by Emily Ashbourn are the pop of colour your tree needs. These decs tap into our most favourite pastime ever – snacking.

Finished with a generous sprinkling of glitter, they have the power to transform your tree in the most gloriously garish way. If you can’t go kitsch at Christmas, when can you? Whether you’re handy with polymer clay or it’s become a stranger since your school days, these are simple and fun to make. We have a beginners guide to polymer clay here on Gathered if you want a little help with using the clay. It's a great medium because it's so easy to use and quick to dry, meaning you can get your air dry Christmas decorations up straight away. Grab a couple of pals, chuck on your favourite cheesy Christmas tunes and let your inner child get to work.

If you become obsessed with air dry clay after this fun tutorial don't blame us! Luckily we've got DIY coasters, salt spoons and a tropical trinket bowl for you to make next. But first here's Emily and her air dry clay Christmas decoration tutorial.

You will need:

  • Polymer clay in red, brown, white, copper, light green, dark green and black (we used FIMO in Ruby Quartz, Cognac, Translucent White, Pearl Rose Gold, Leaf Green, Jade Green and Black)
  • Fine glitter in red and bronze
  • Three eye pins
  • Baking tray
  • Baking parchment
  • Craft knife

How to make air dry clay Christmas decorations

You will need:

  • Polymer clay
  • Glitter
  • Baking tray
  • Baking parchment
  • Craft knife

Step 1

Pre-heat the oven to 110°C (230°F), or to the temperature advised by the manufacturer.

How to make air dry clay Christmas decorations - Pretzel

Step 1

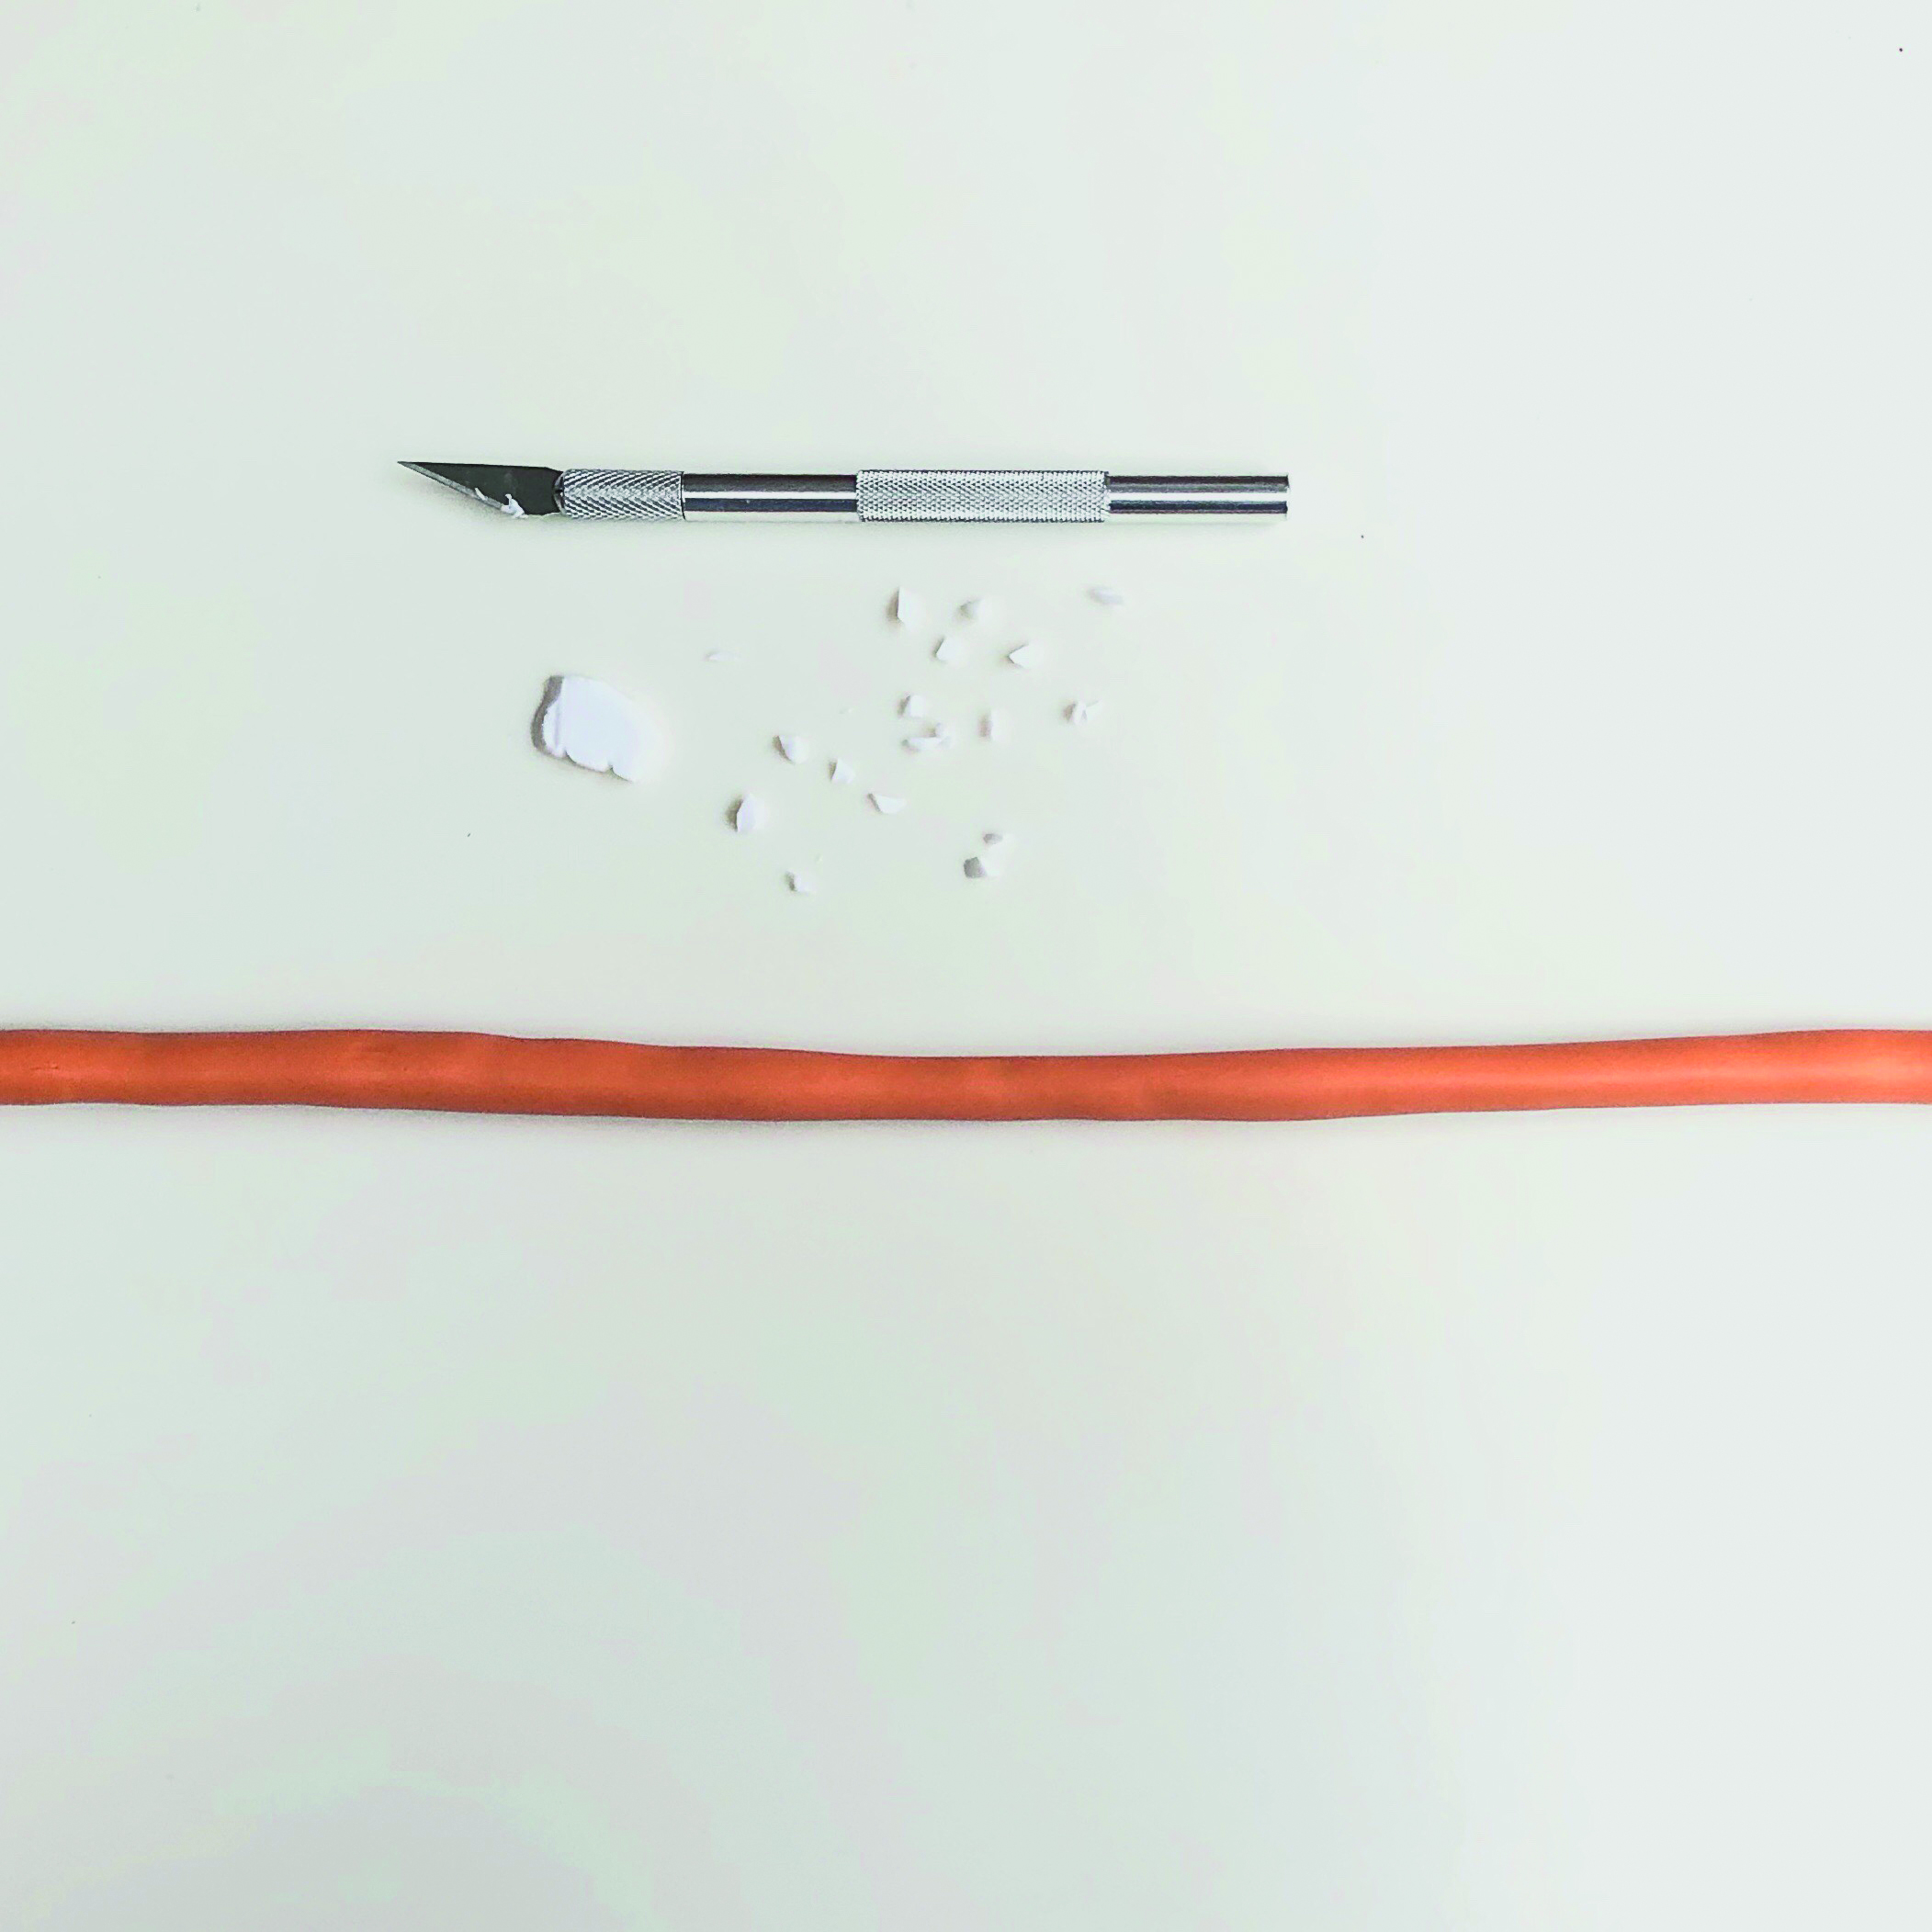
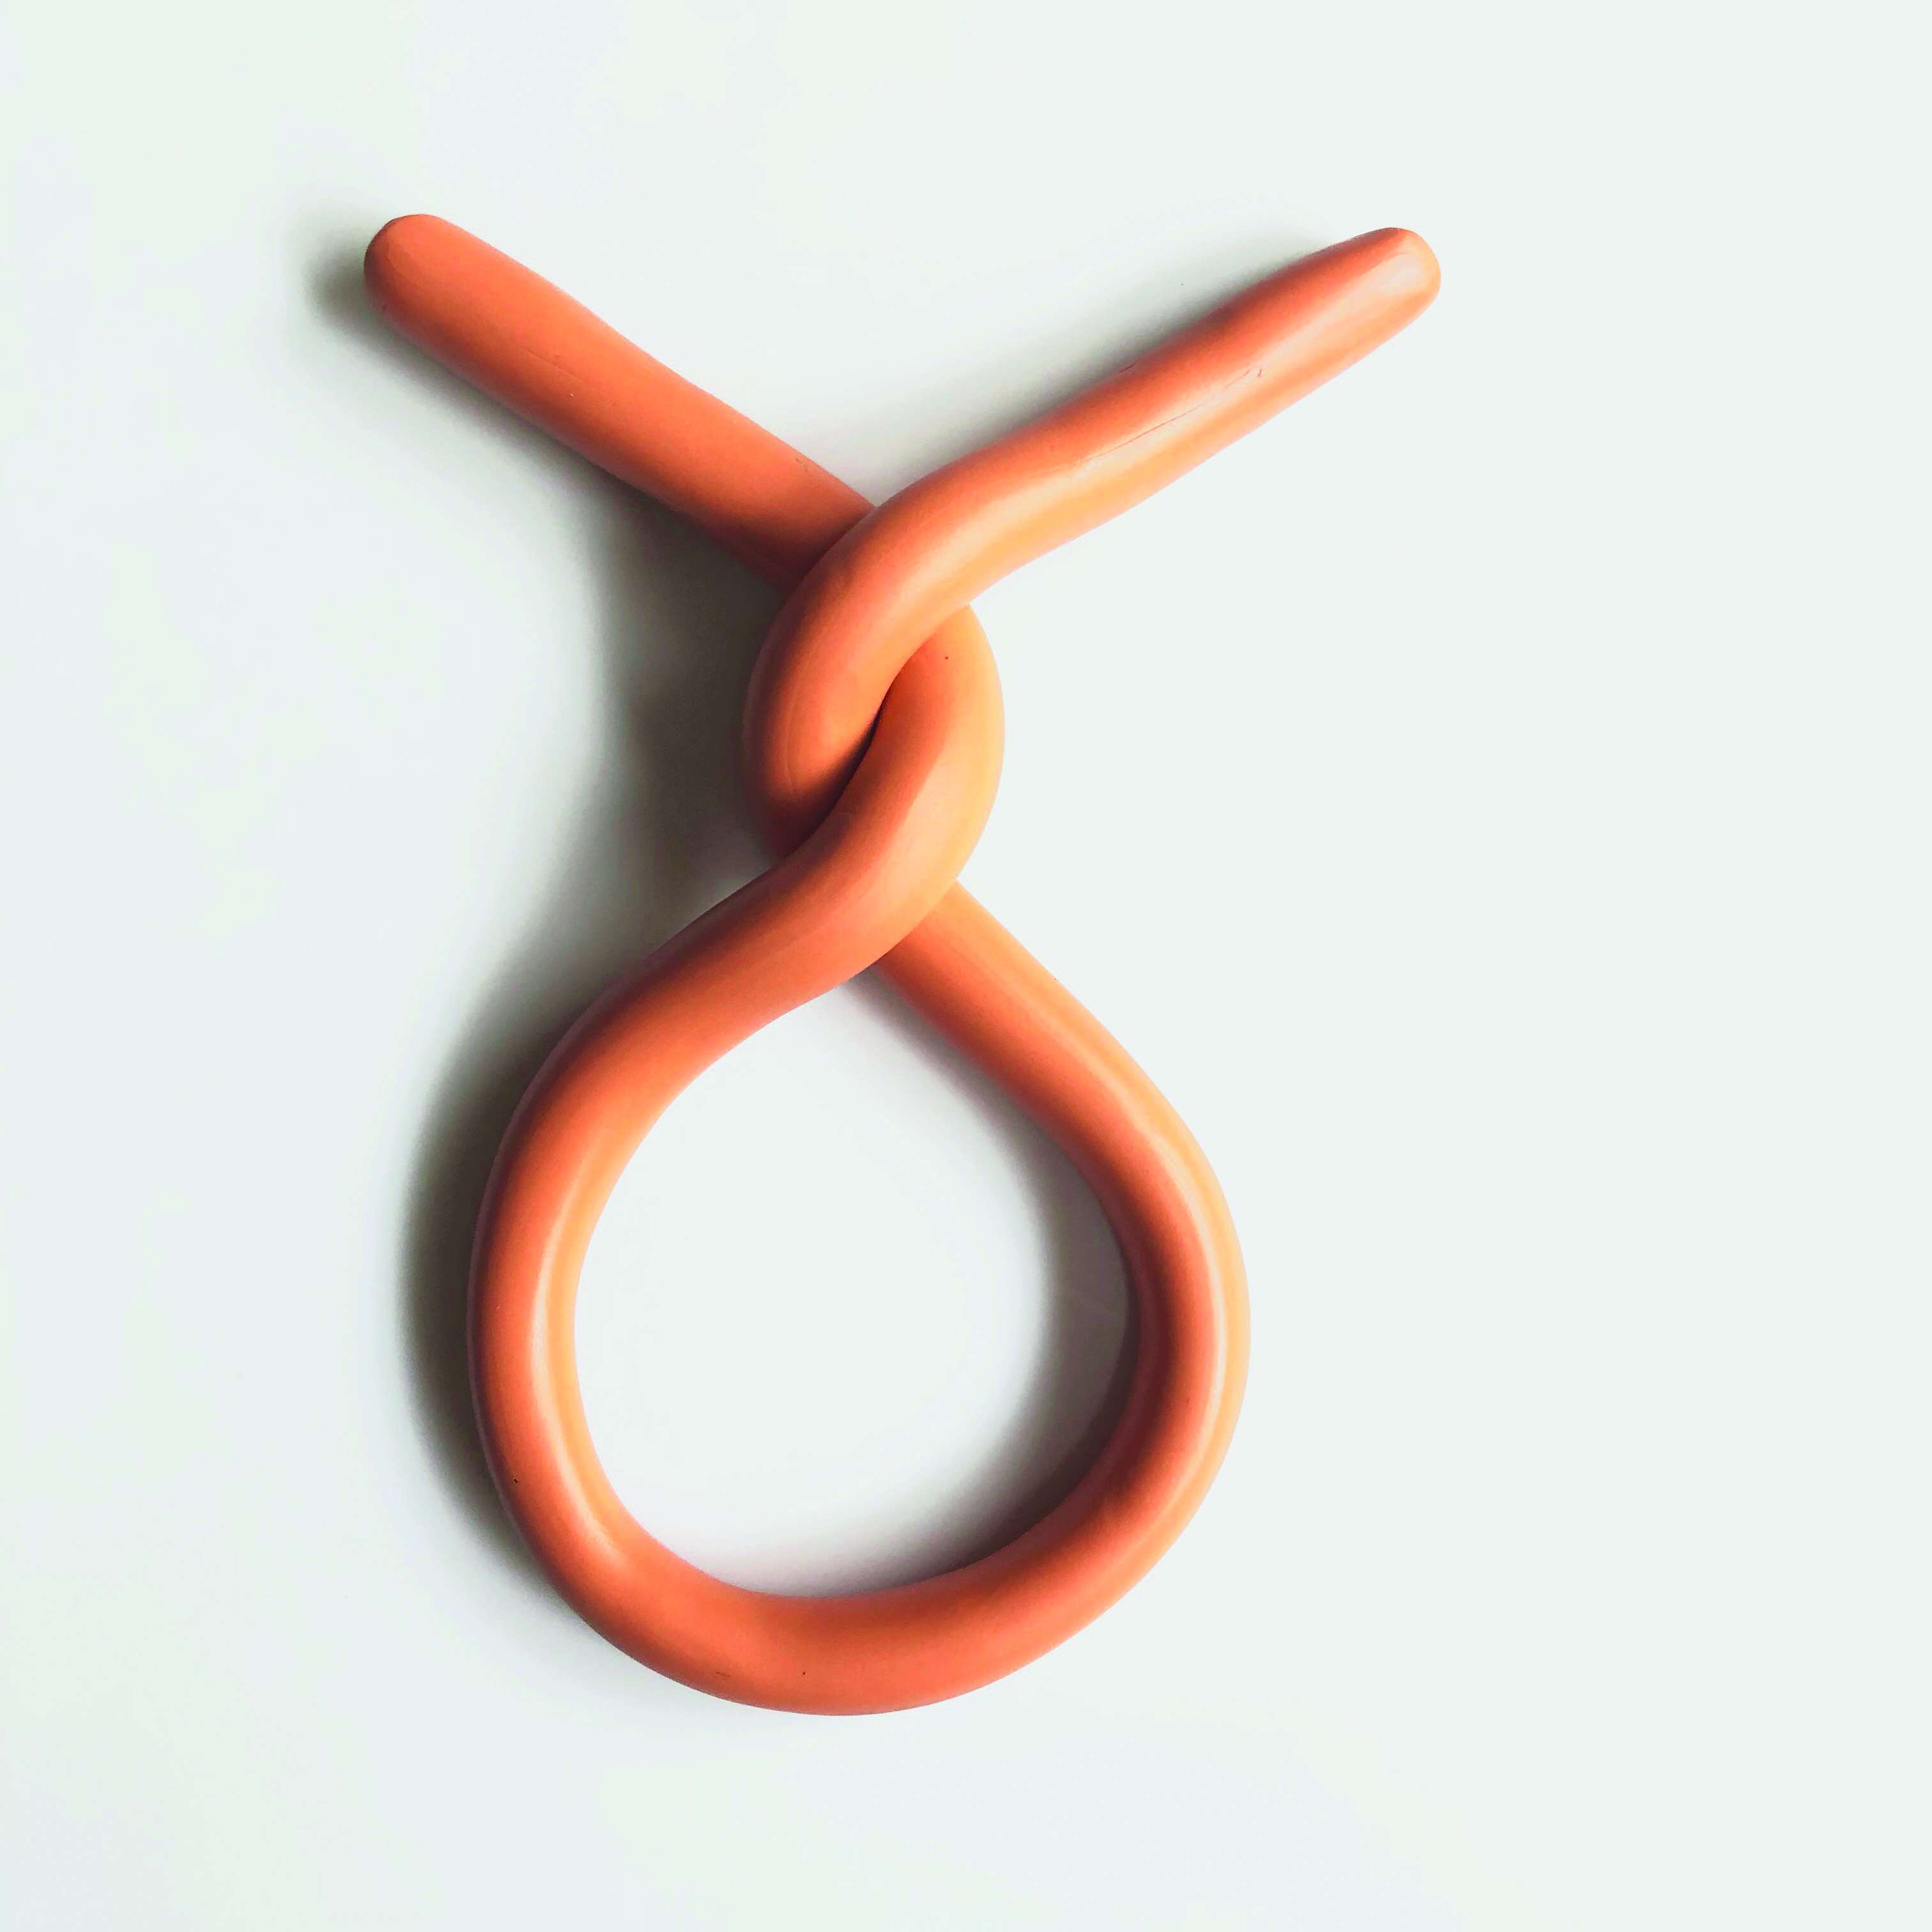
How to make air dry clay Christmas decorations Pretzel – STEP 1To make the pretzel, roll a sausage shape approximately 40cm (153⁄4") long using the brown polymer clay. Cut small chunks from the white polymer clay to create the pretzel salt.
Step 2

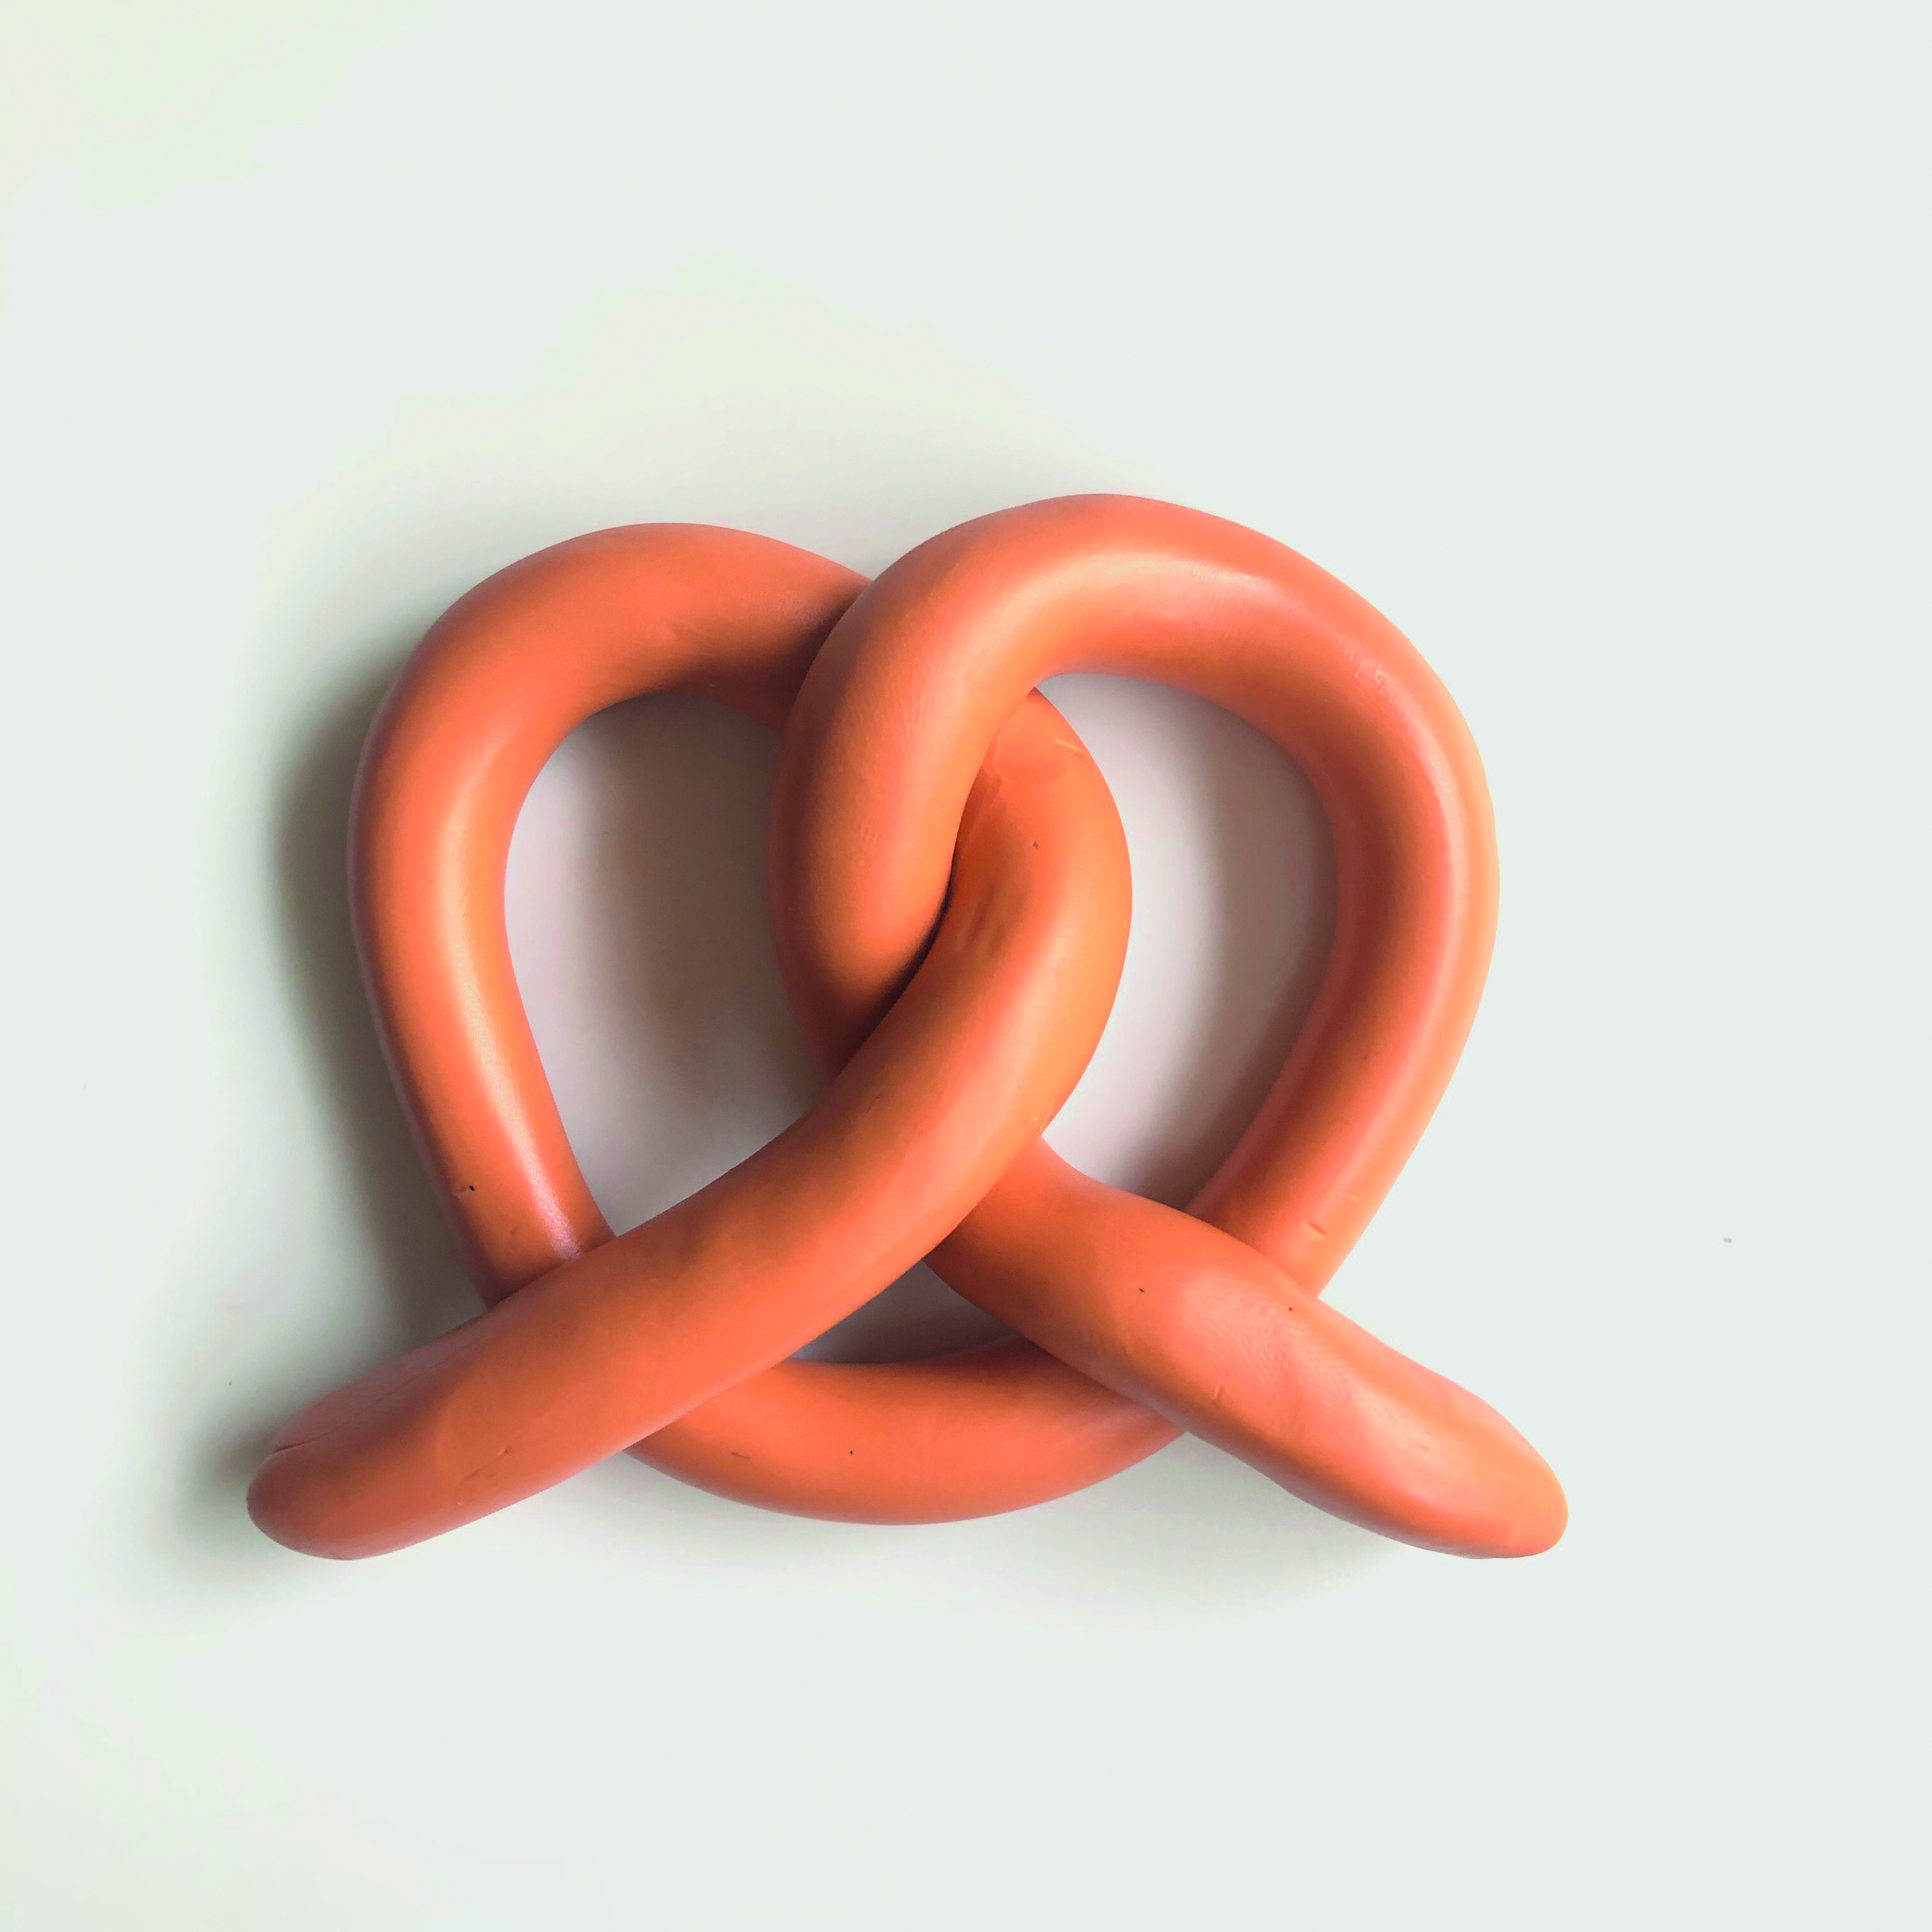
How to make air dry clay Christmas decorations Pretzel – STEP 2Taking one end of the sausage in each hand, twist the ends around each other once, leaving tails approximately 5-6cm (2-23/8") long from the twist.
Step 3

How to make air dry clay Christmas decorations Pretzel – STEP 3

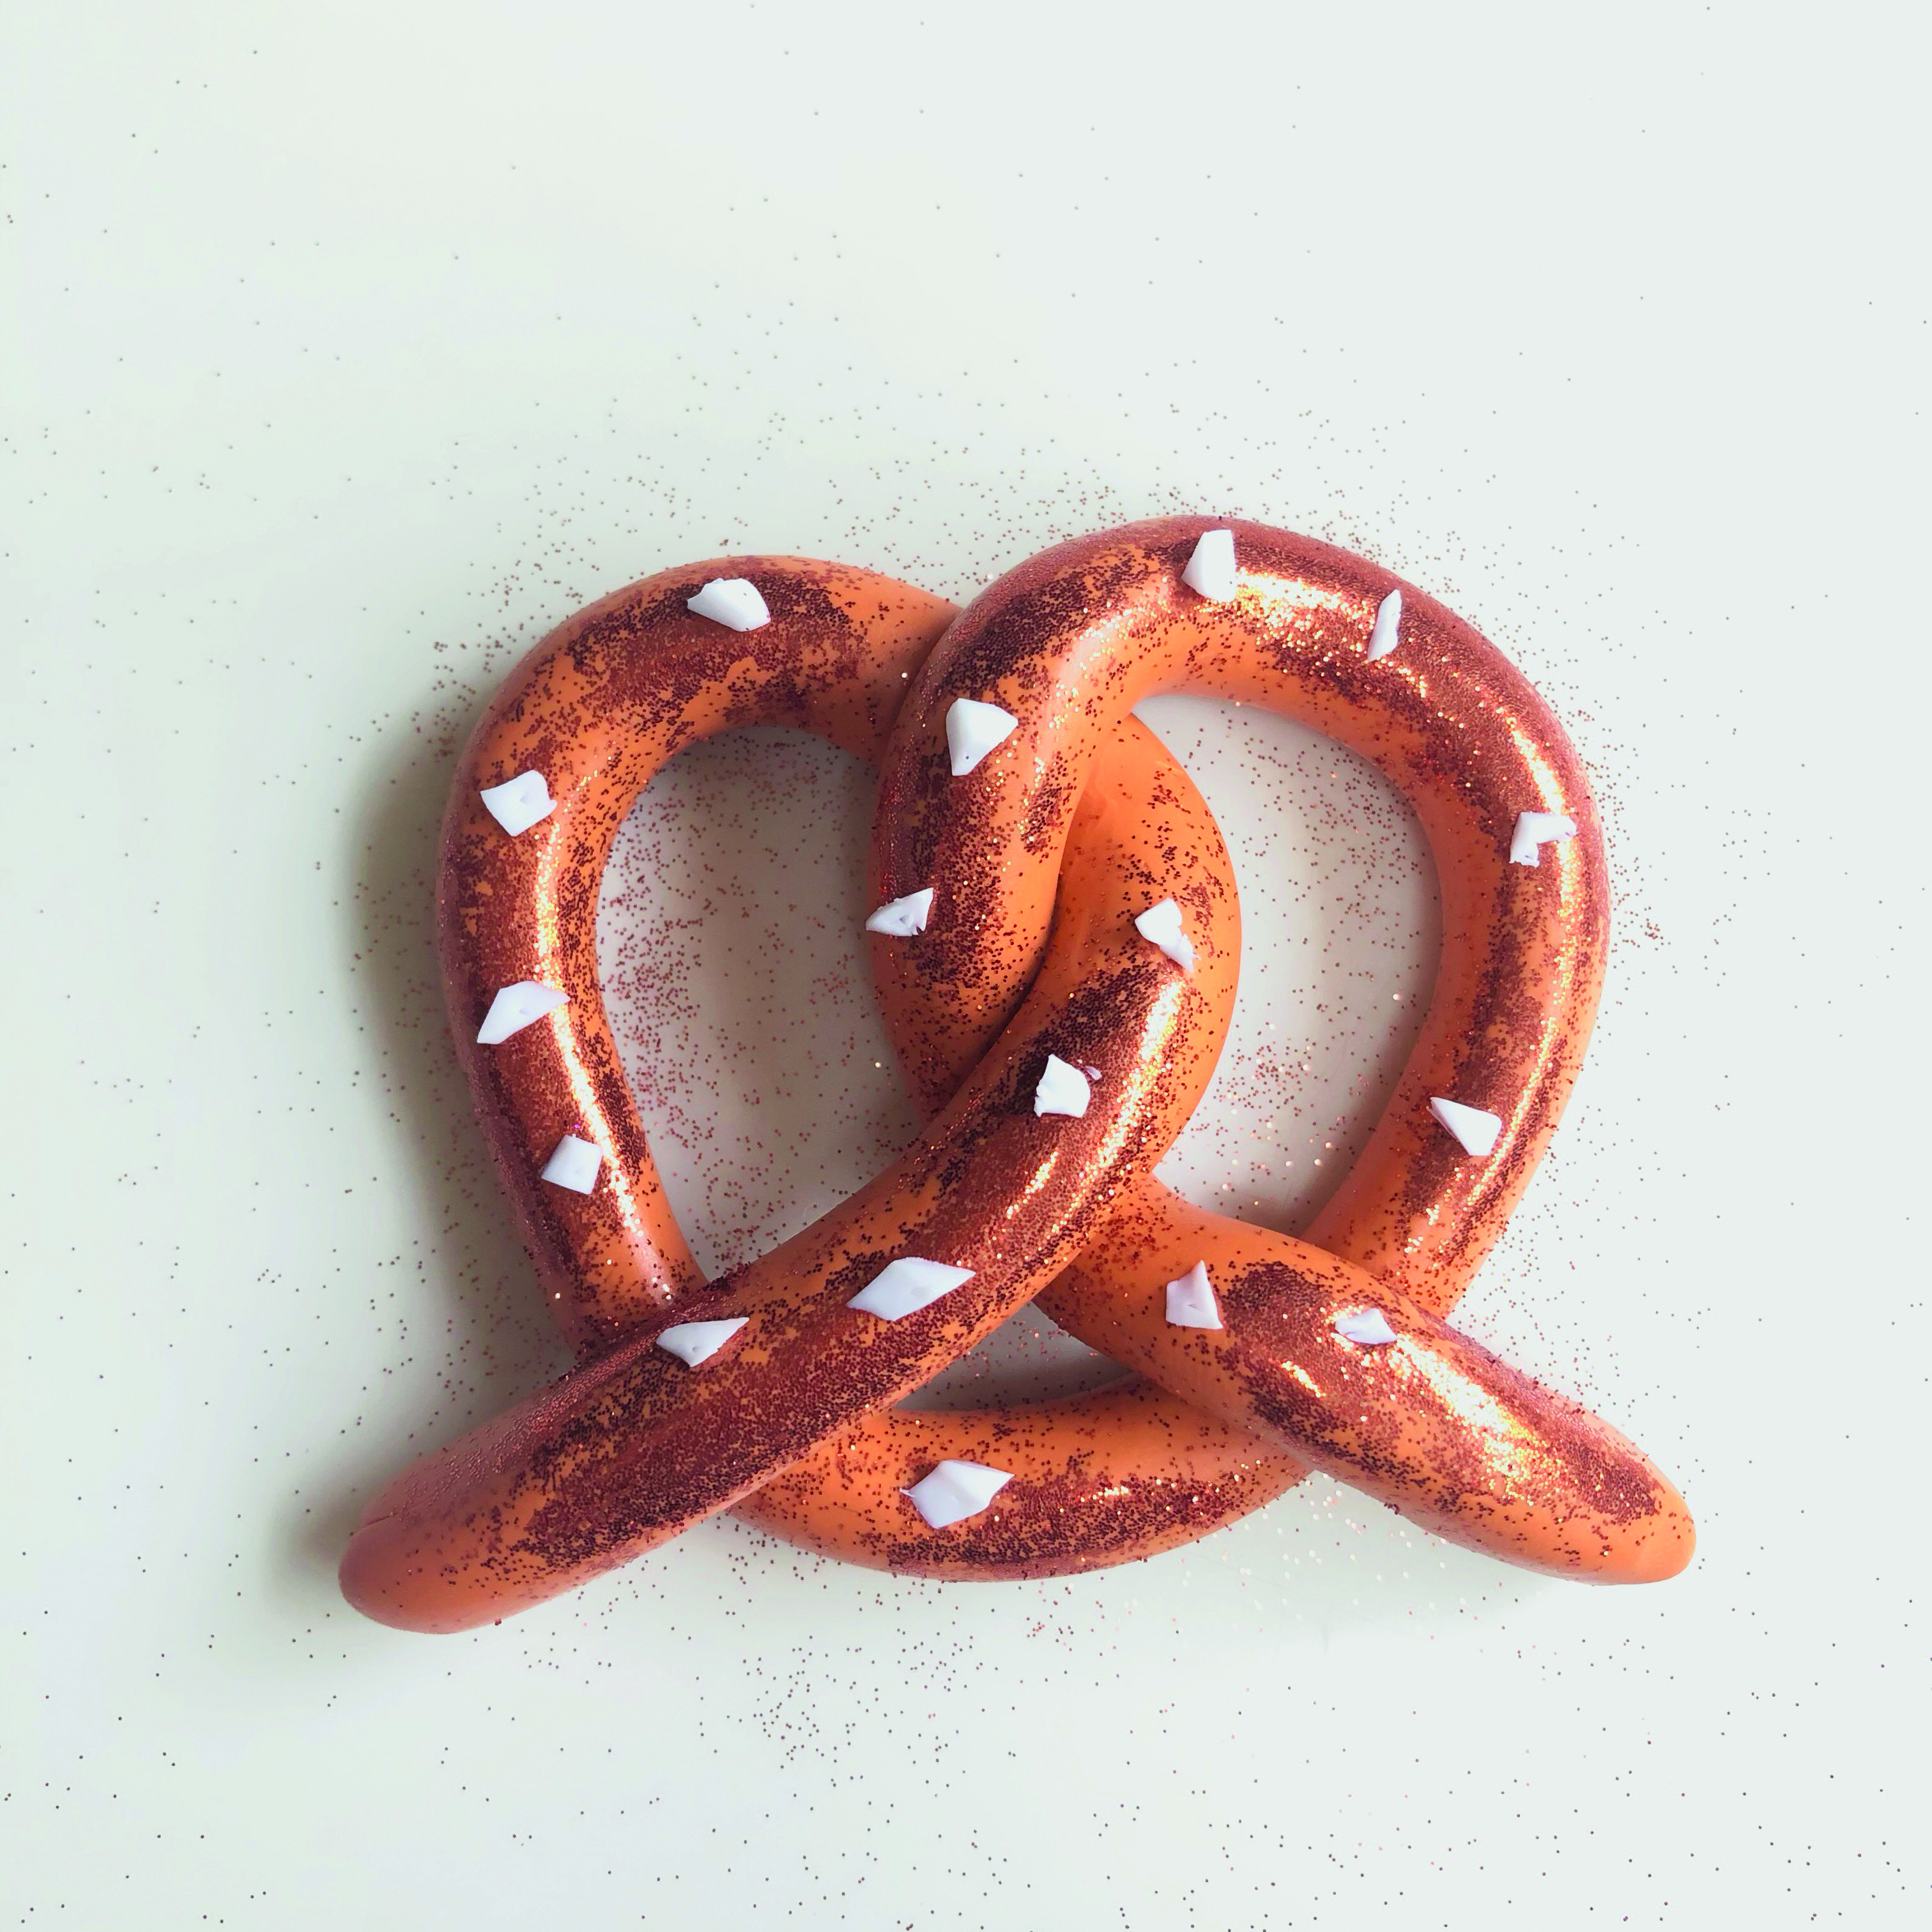
Fold the ends over and lay them down in a pretzel shape. Use the end of your finger to rub bronze glitter over the pretzel so it smooths into the polymer clay. Add the chunks of white salt on top and press in position. Place a sheet of baking parchment onto the tray, then place the pretzel on top.

How to make air dry clay Christmas decorations Pretzel – STEP 4

How to make air dry clay Christmas decorations - Avocado

Step 1

How to make air dry clay Christmas decorations Avo – STEP 1

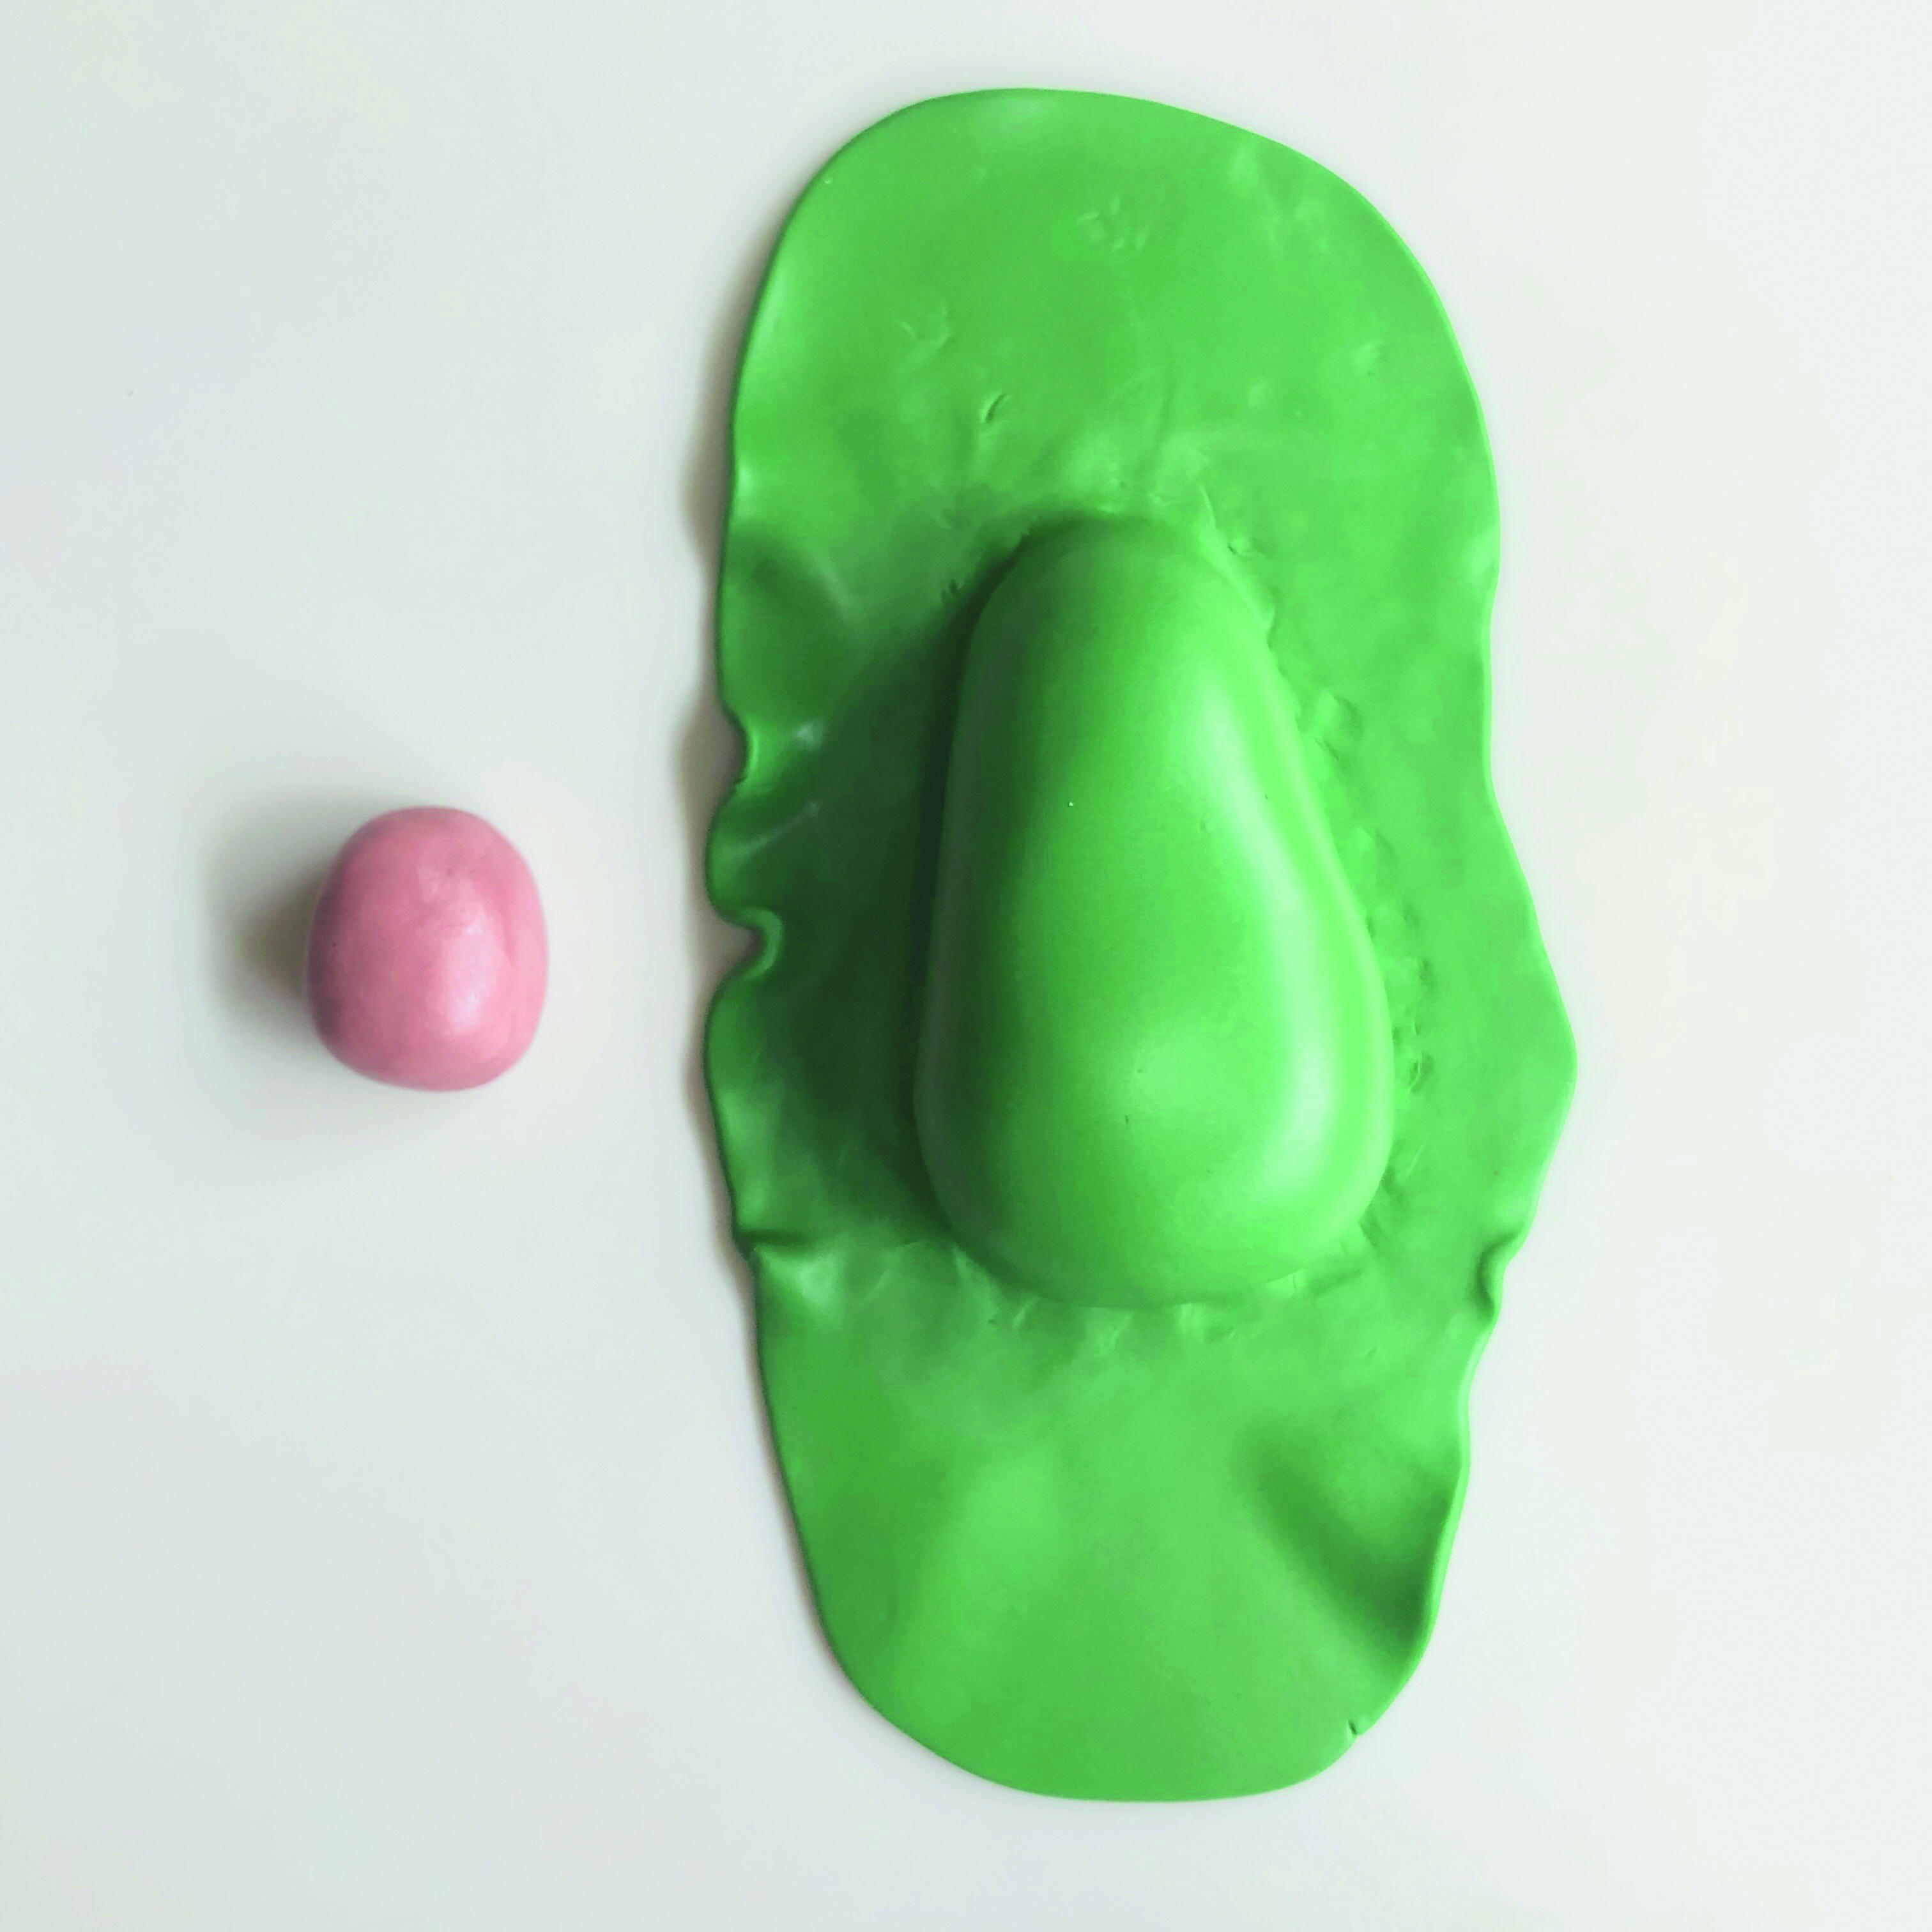
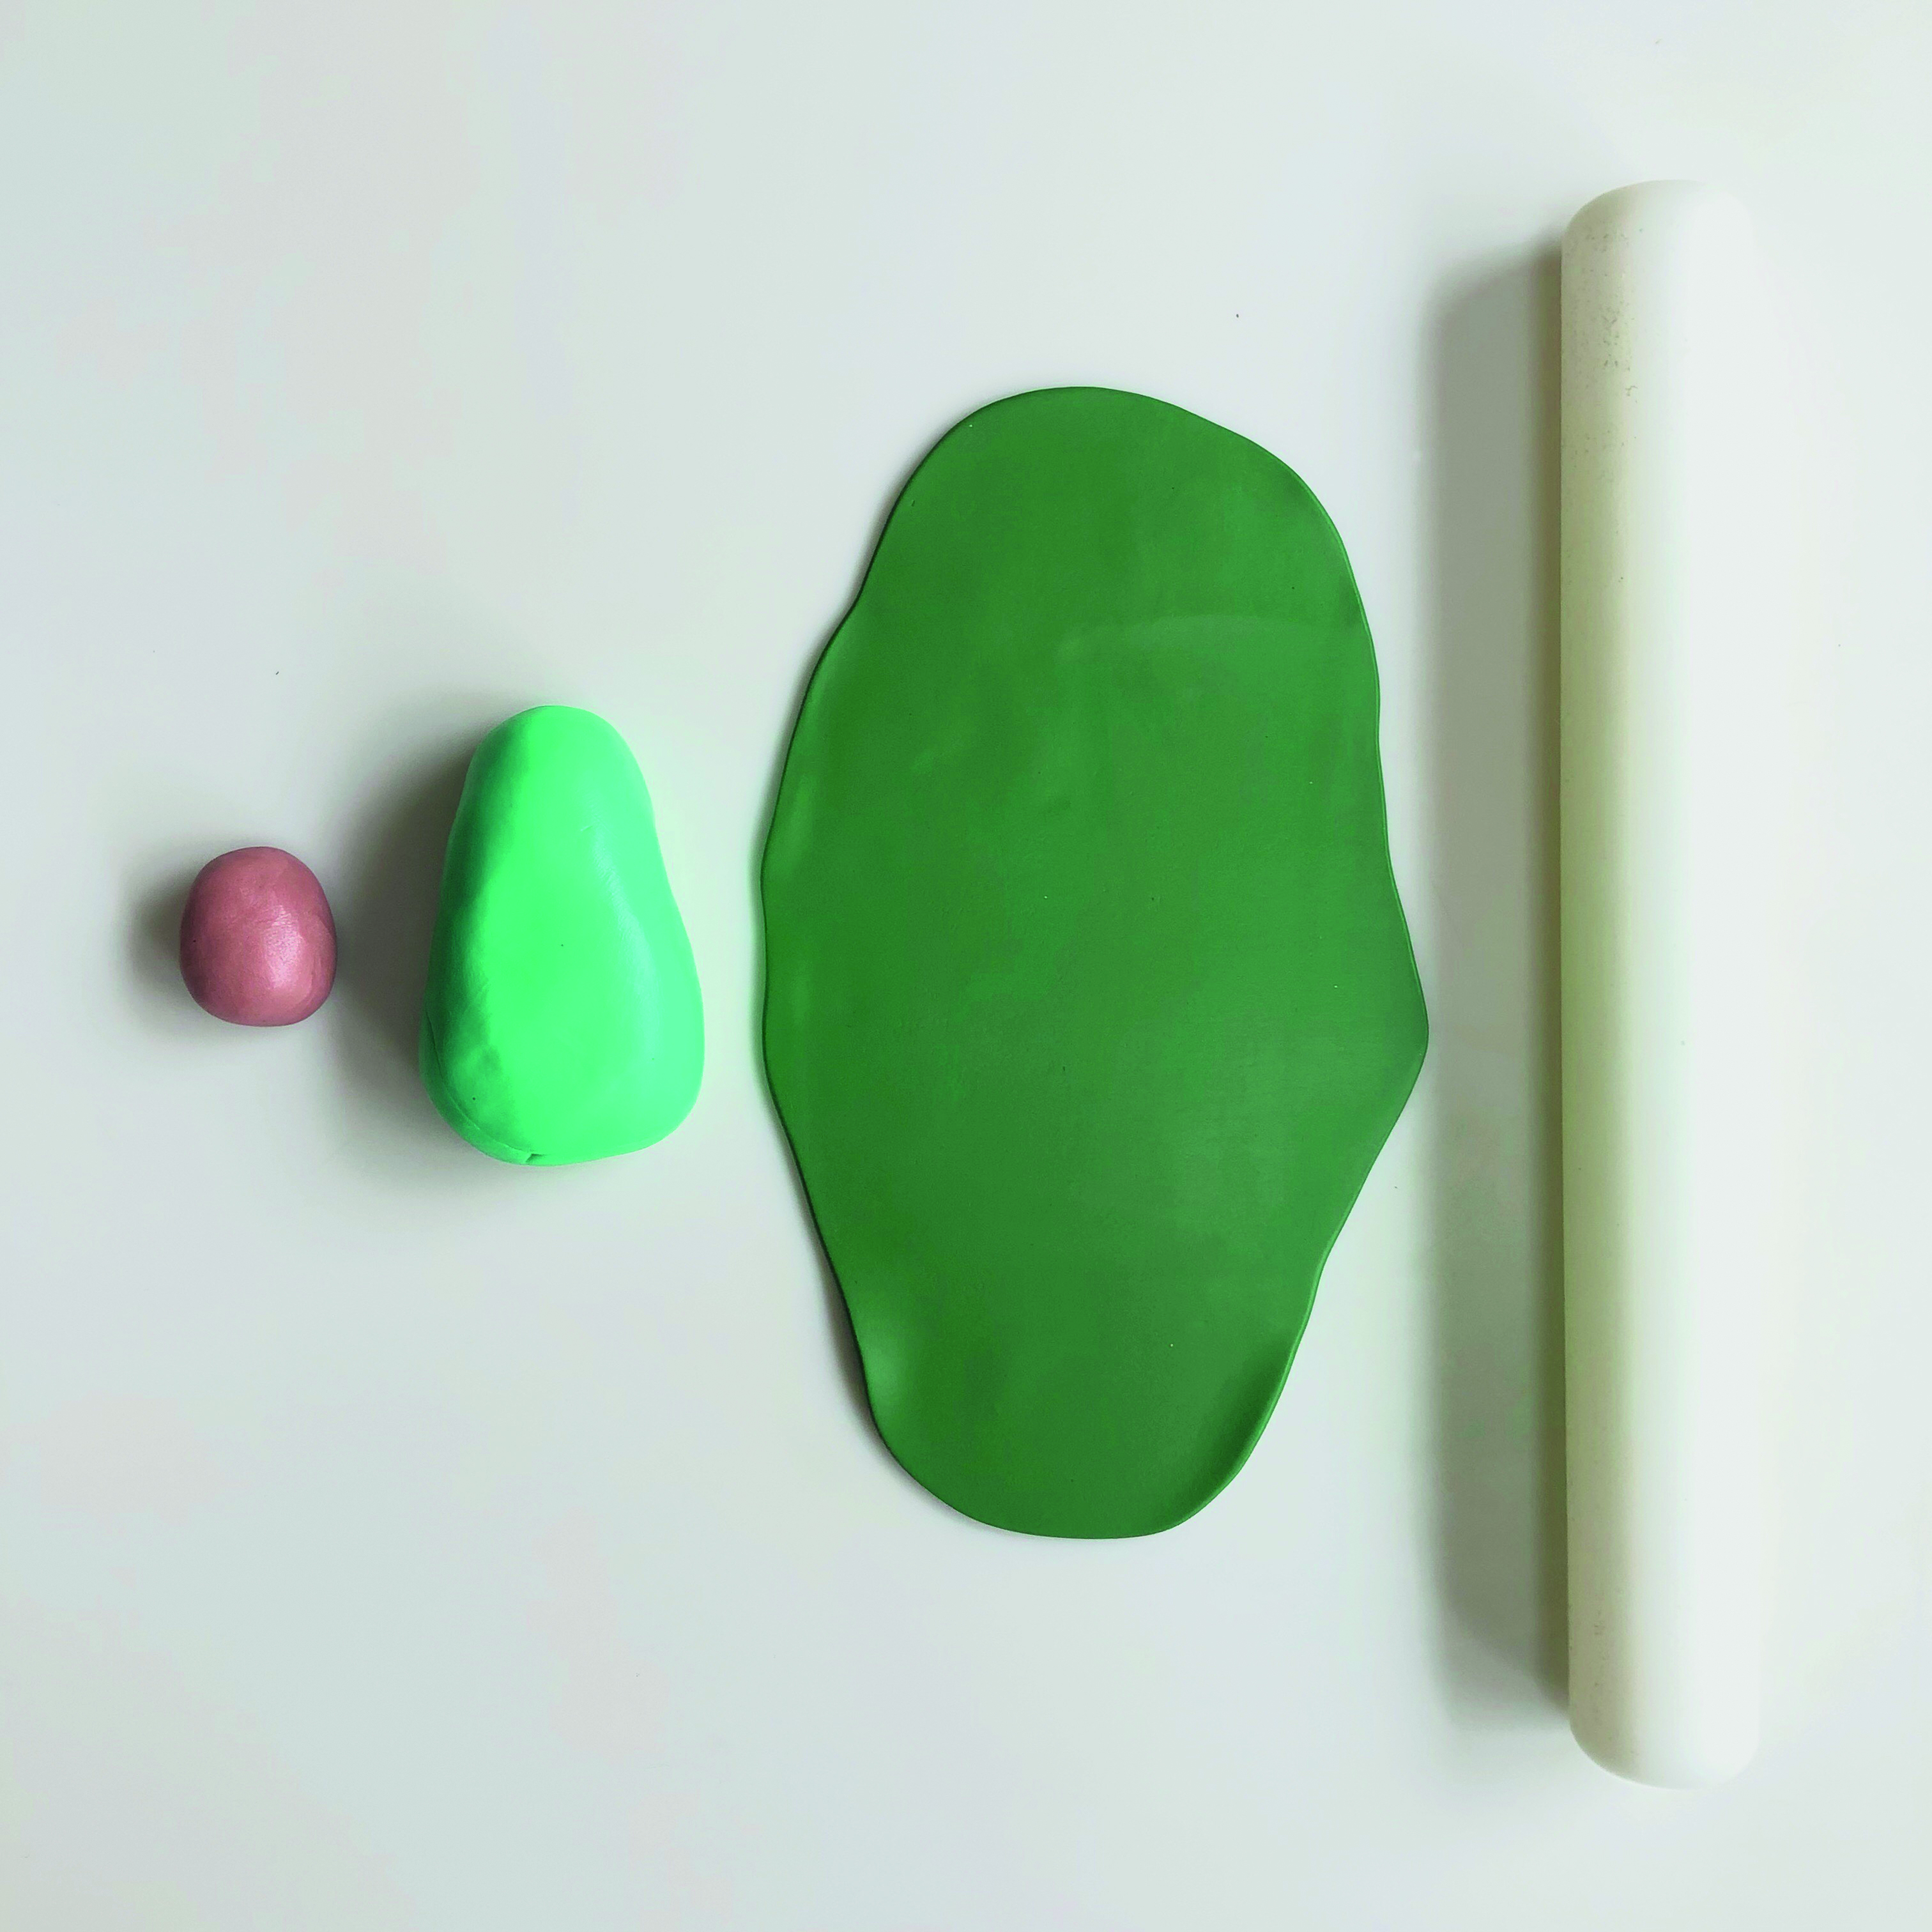
For the avocado, roll out an egg shape roughly 8cm (31/8") long using light green polymer clay. Press it down onto a non-stick flat surface, then roll out the dark green colour to a shape big enough to cover the light green clay. Roll a small amount of copper clay between your hands to make a pit approximately 3cm (11⁄4") long.

Step 2

How to make air dry clay Christmas decorations Avo – STEP 2

Drape the dark green clay over the light green clay, as shown, smoothing out any air bubbles or folds under the surface.

Step 3

How to make air dry clay Christmas decorations Avo – STEP 3

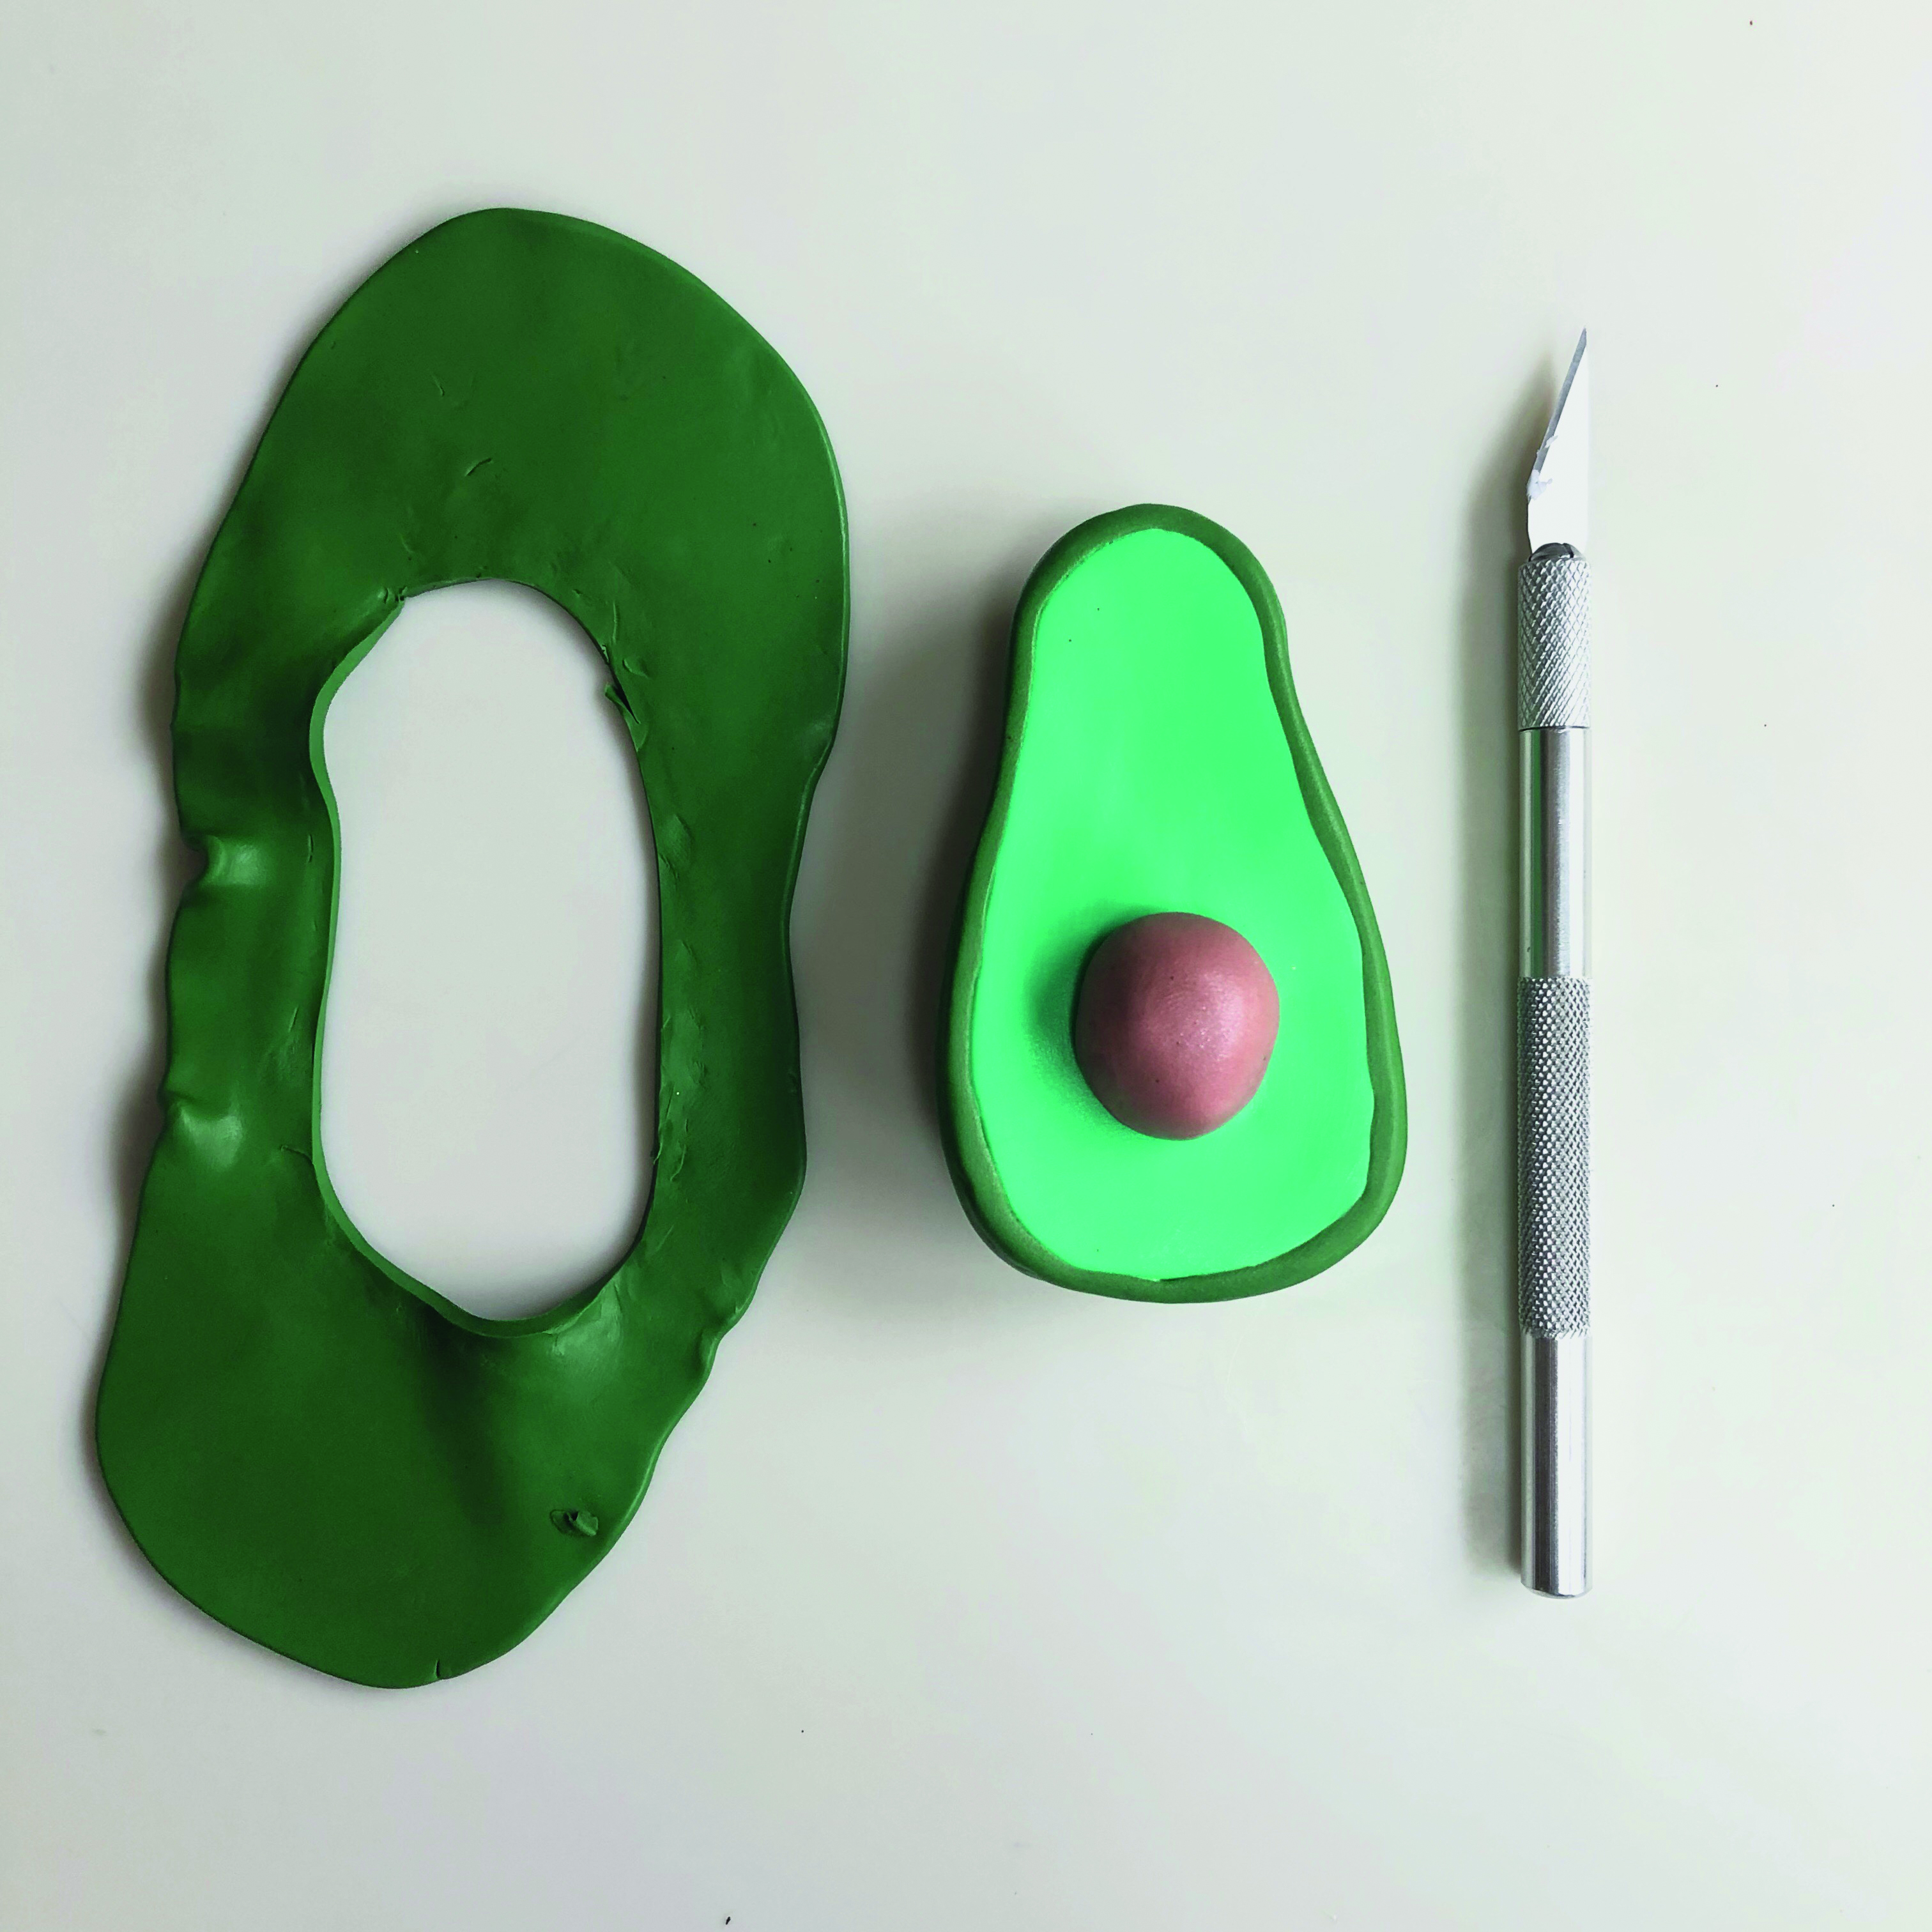
Gently pick up the clay. Using a craft knife, carefully cut away any excess to make an avocado shape you’re happy with. Press the pit in place, using the image as a guide, and add it to the baking tray.

How to make air dry clay Christmas decorations - Lobster

Step 1

How to make air dry clay Christmas decorations Lobster - STEP 1

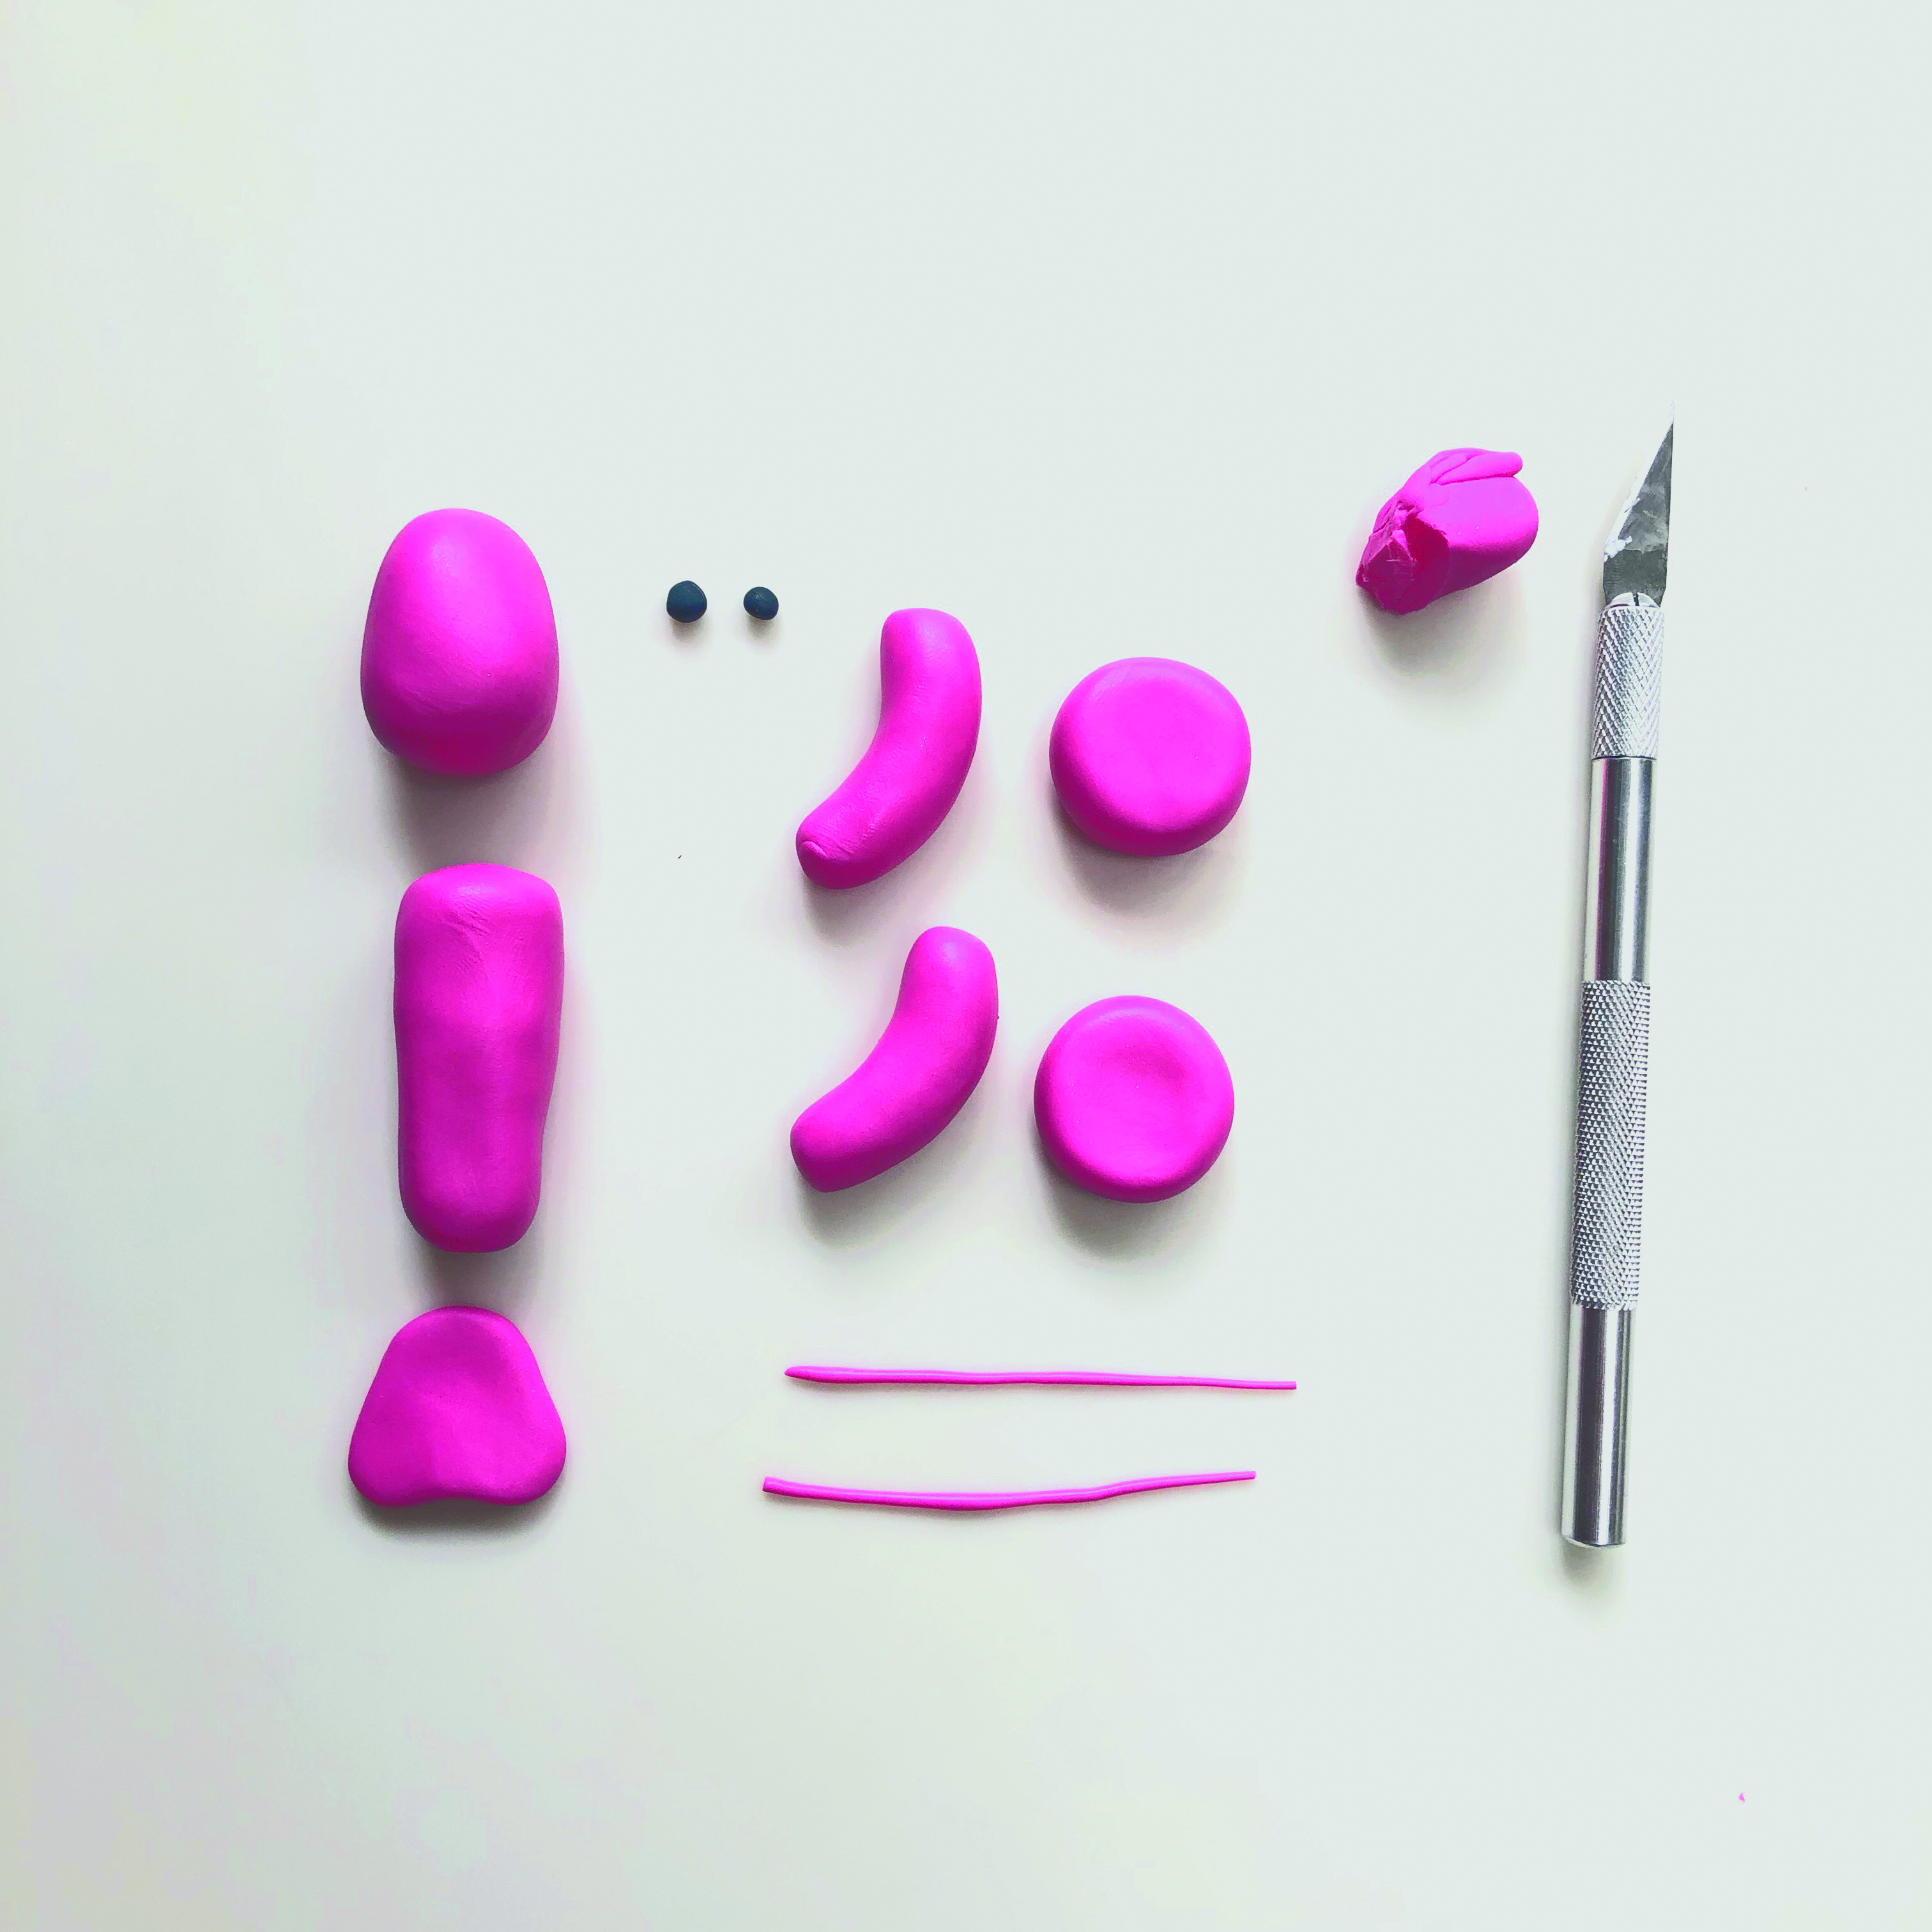
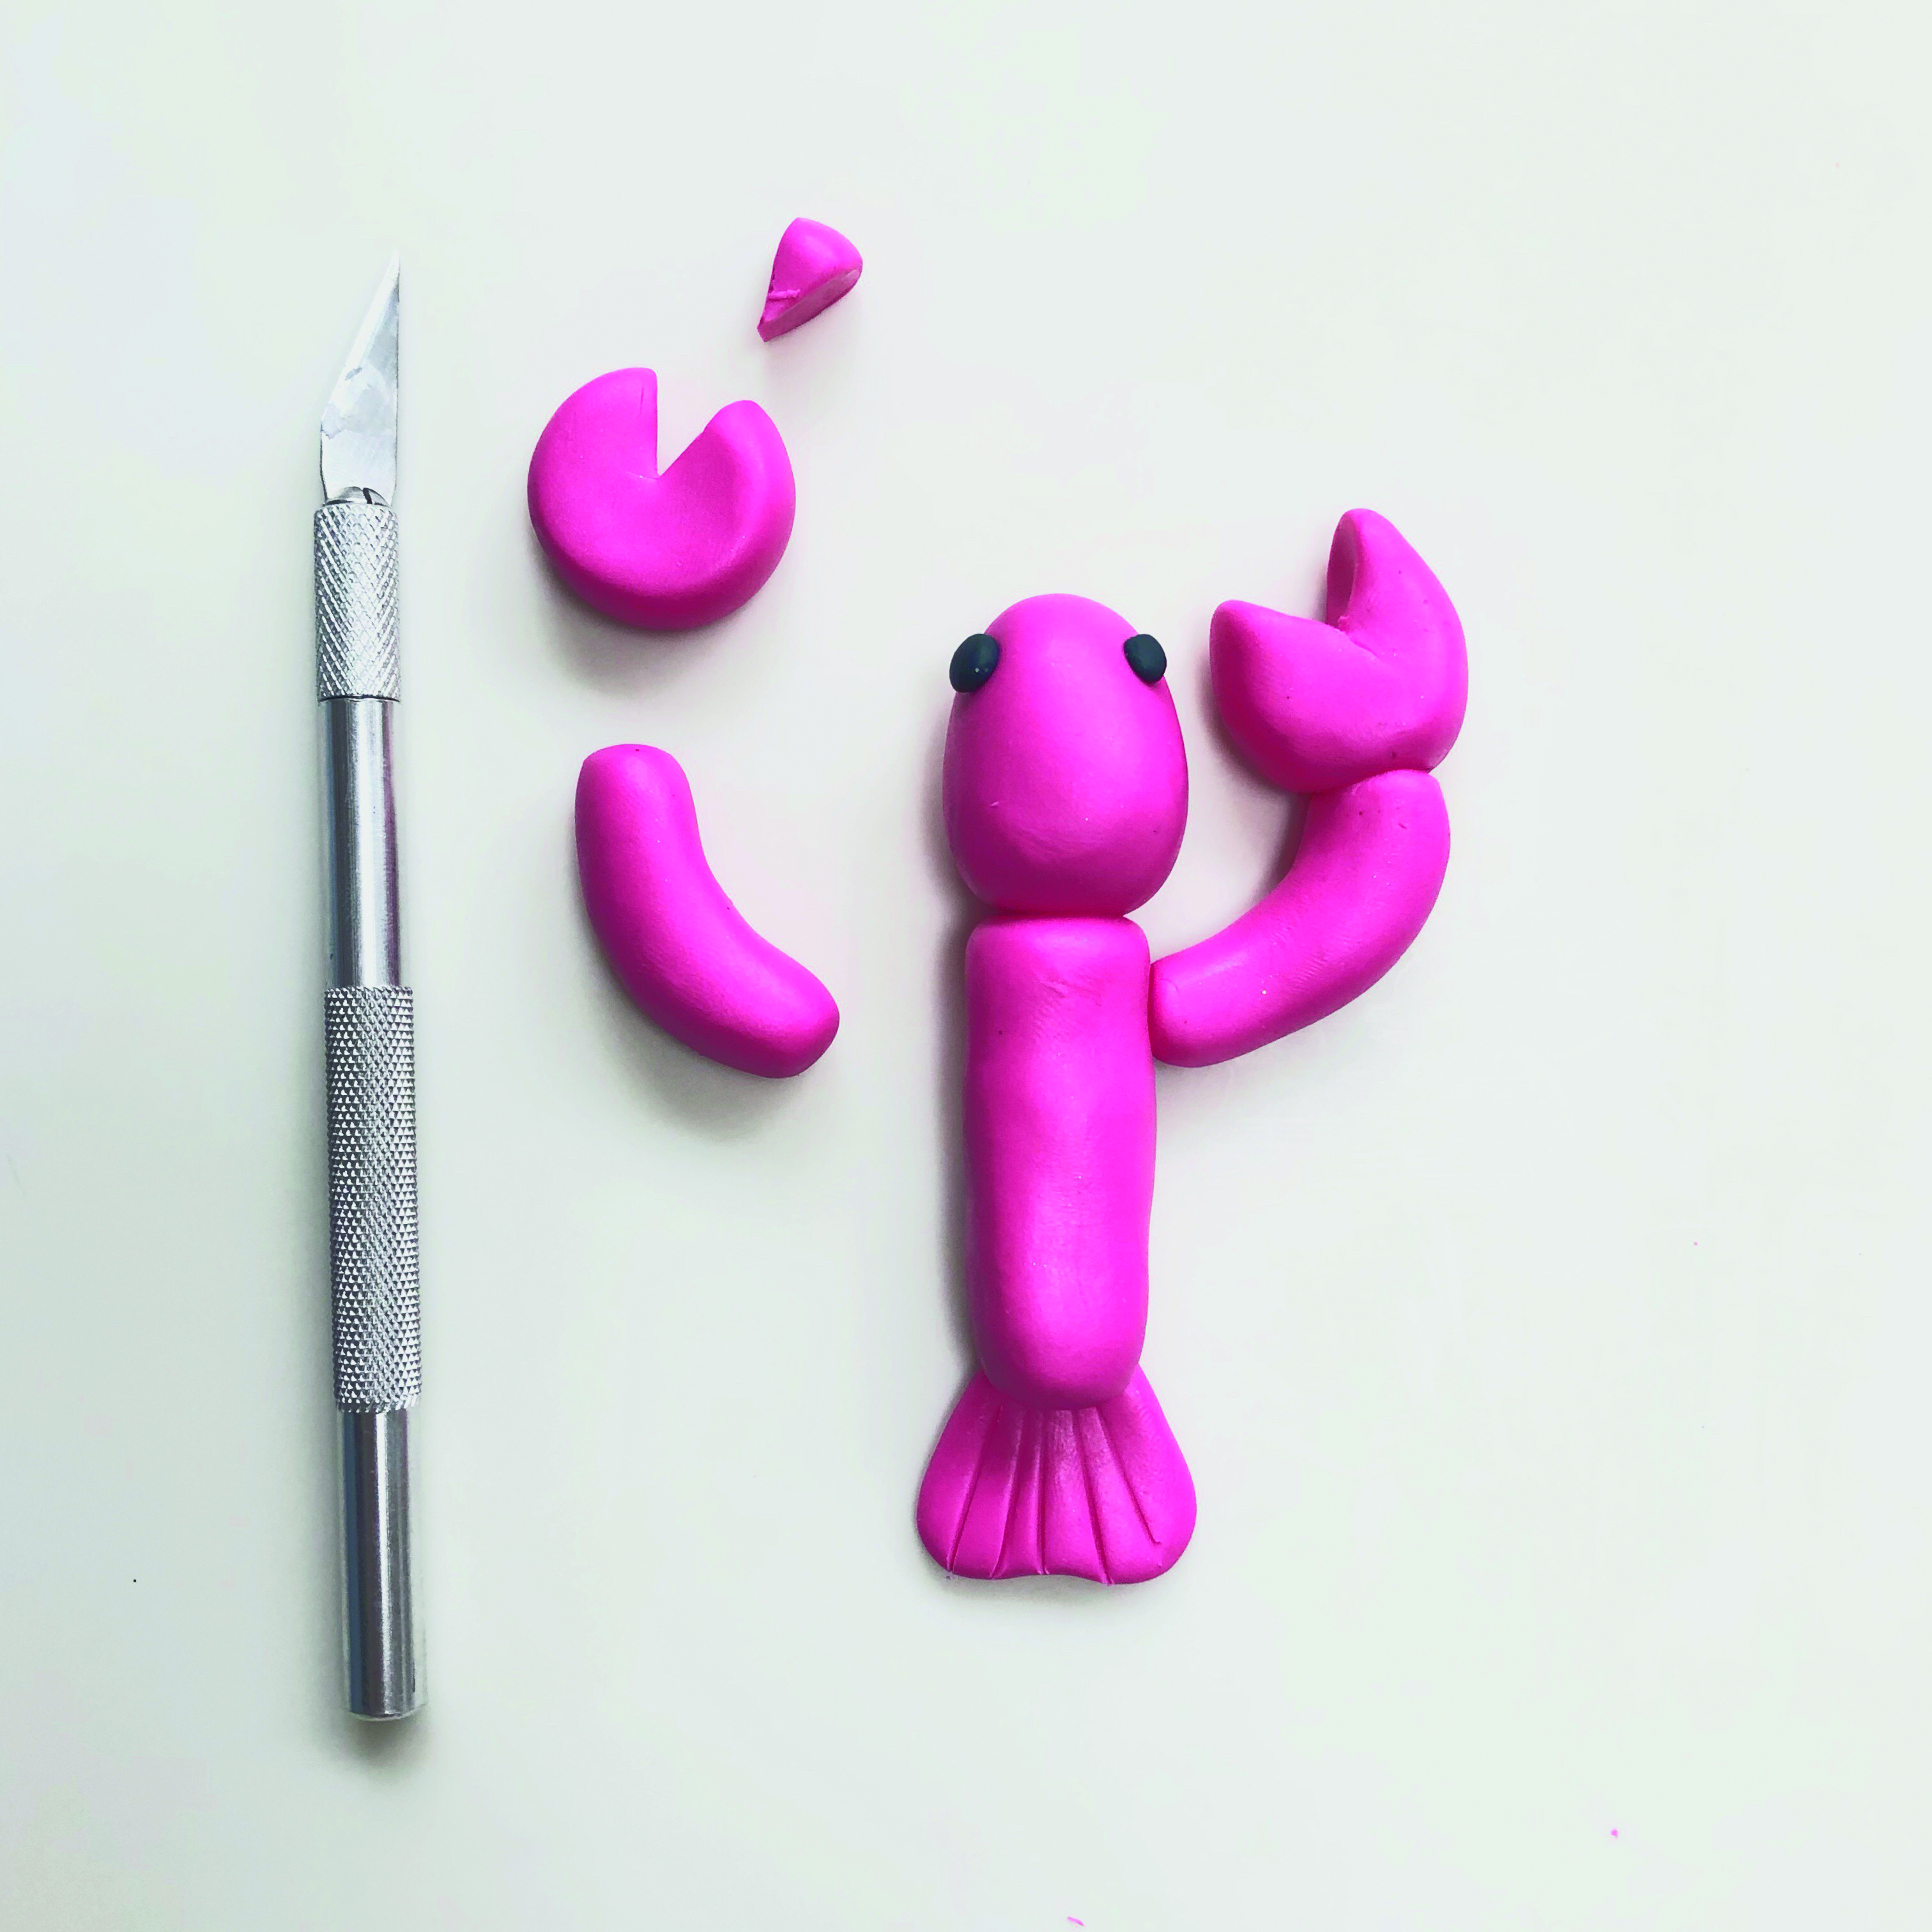
To make the lobster, roll out the following from the red polymer clay: one head roughly 3 x 2.5cm (11⁄4 x 1"), one 5cm (2") long body, two 4cm (15/8") long arms, two 3cm (11⁄4") balls for claws, two 6cm (23/8") antennae and one tail fin, leaving a small piece aside for Step 11. Roll out two small eyes from the black polymer clay.

Step 2

Piece the head, body, arms and fin together, making sure to push the pieces into each other so they stick. Use the back of a craft knife to add detail onto the tail fin.

Step 3

How to make air dry clay Christmas decorations Lobster - STEP 2

Squash the claw balls between your fingers slightly to flatten them. Using the craft knife, cut out a claw shape, as shown. Attach the claws to the ends of the arms.

Step 4

How to make air dry clay Christmas decorations Lobster - STEP 3

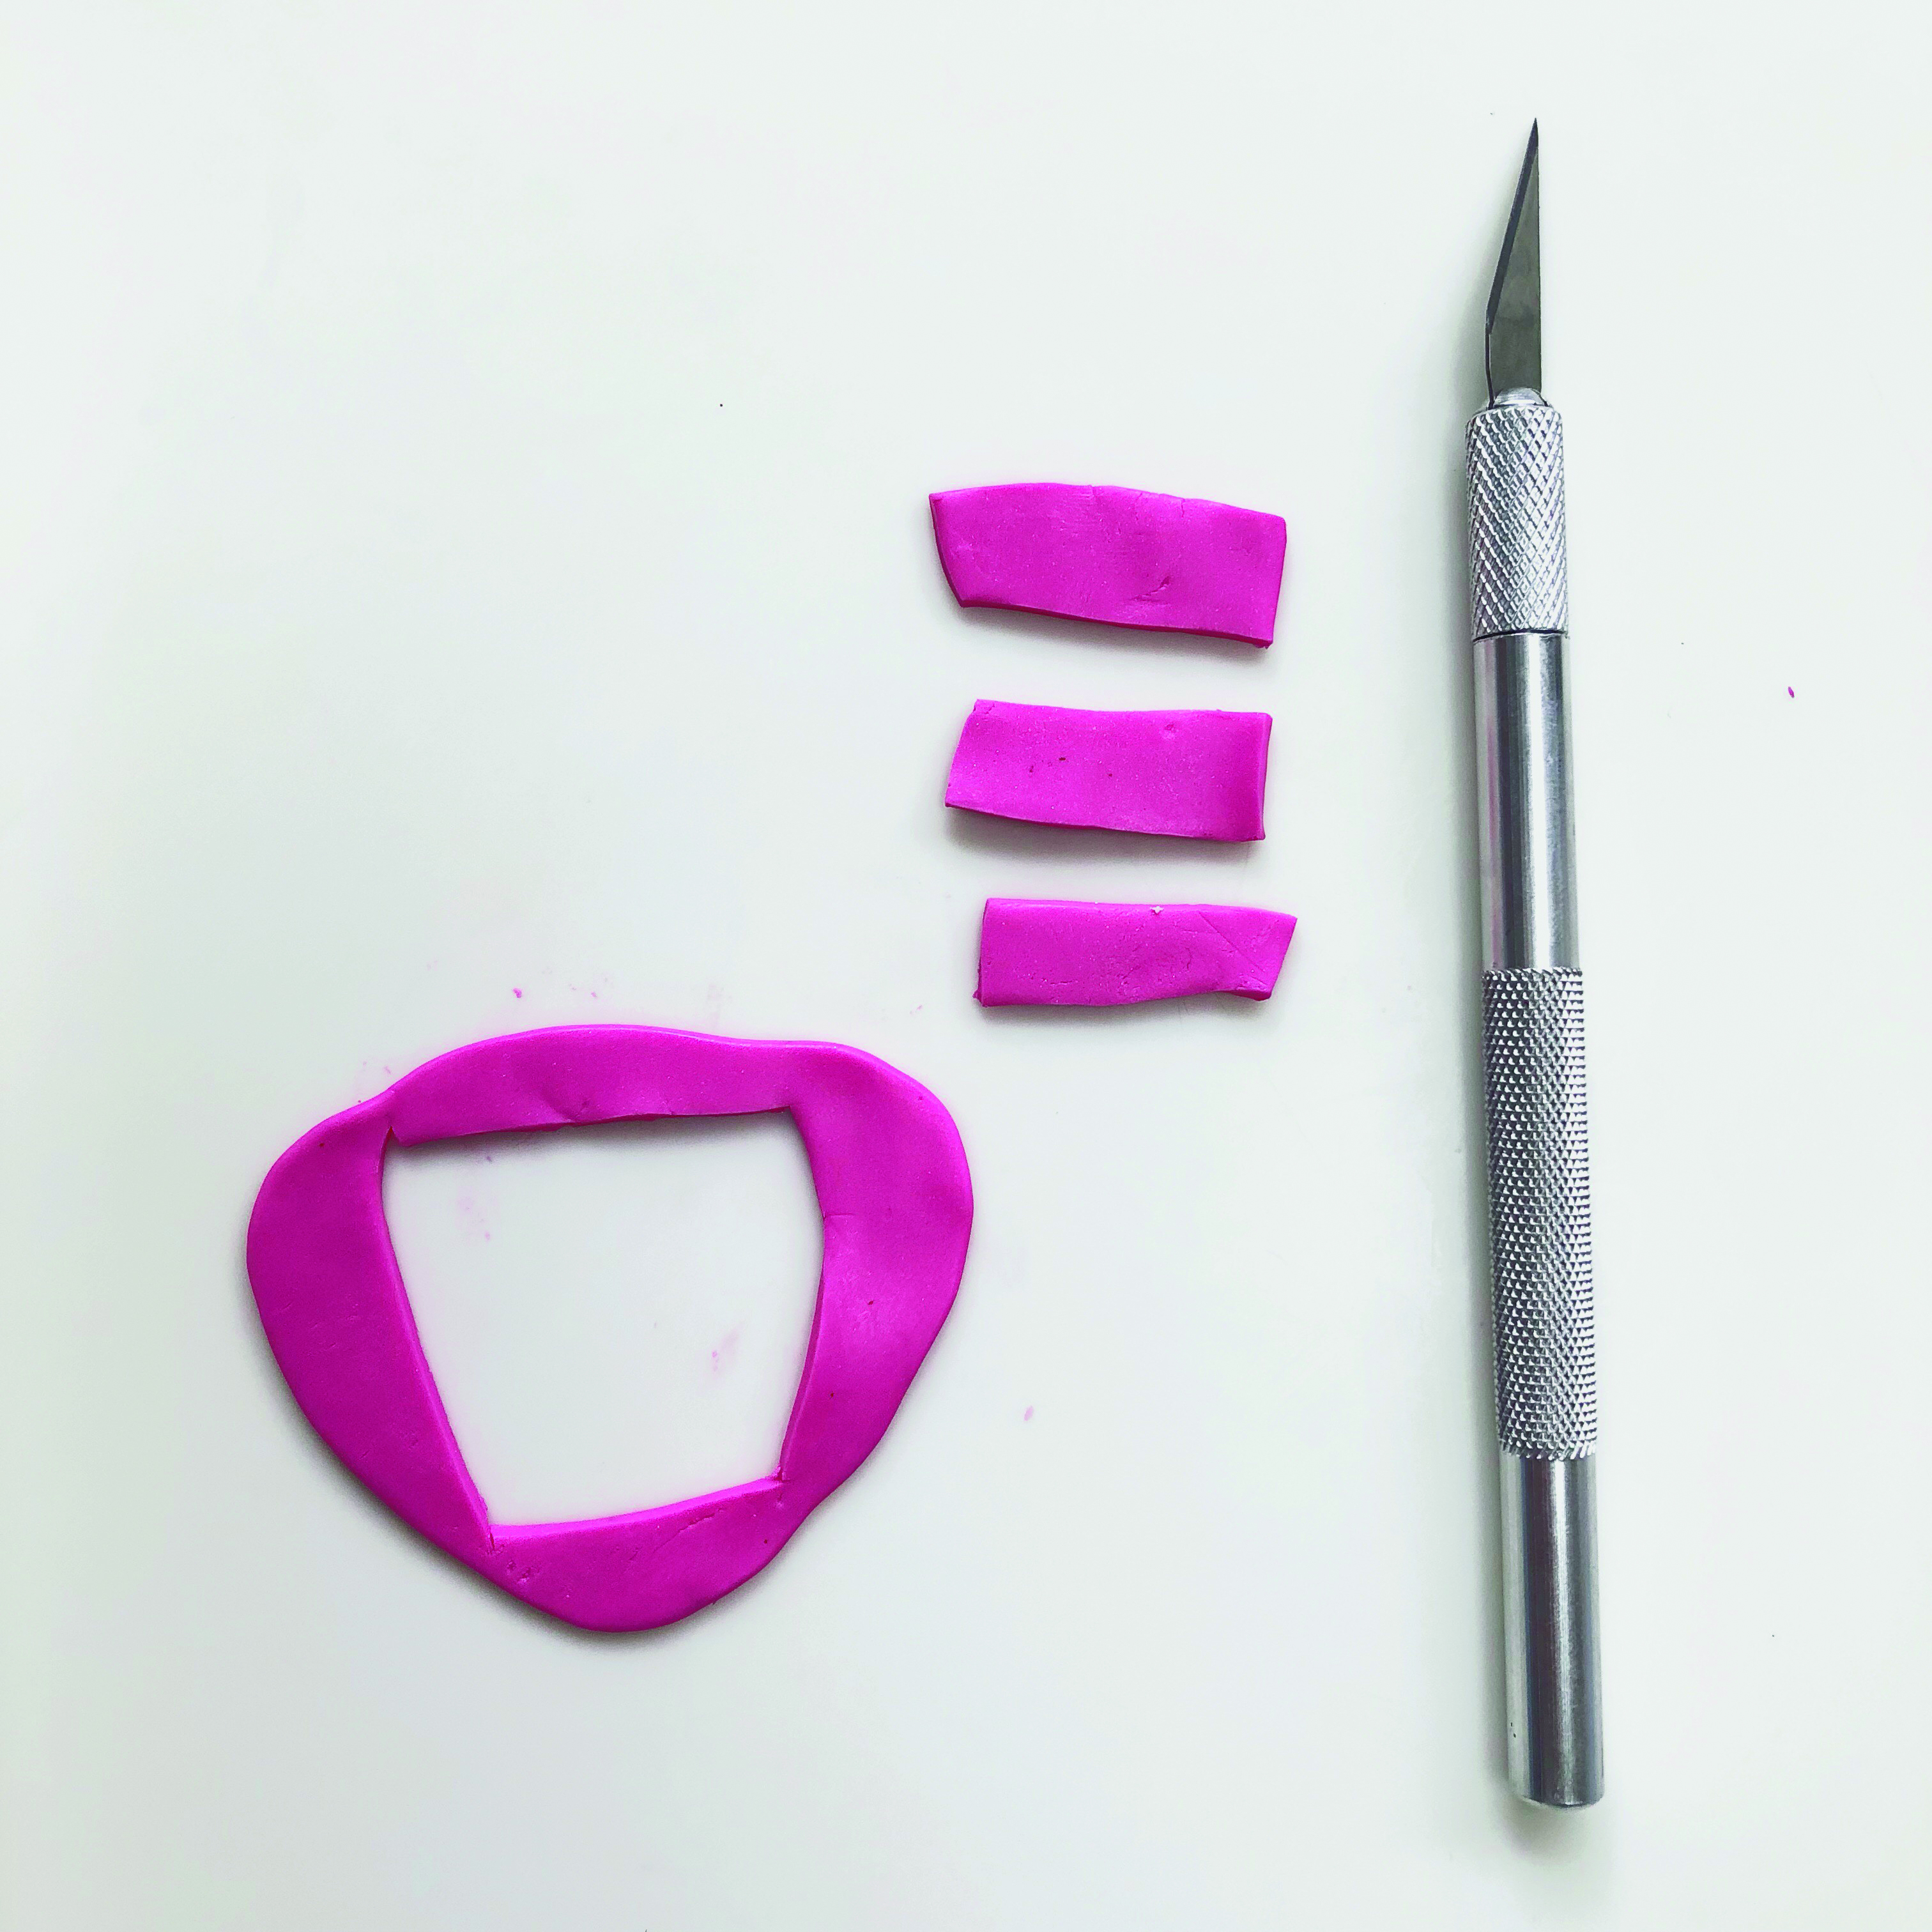
Roll out the remaining small piece of red polymer clay and use a craft knife to cut out three small rectangle shapes approximately 3.5 x 1cm (13/8 x 3/8").

Step 5

How to make air dry clay Christmas decorations Lobster - STEP 4

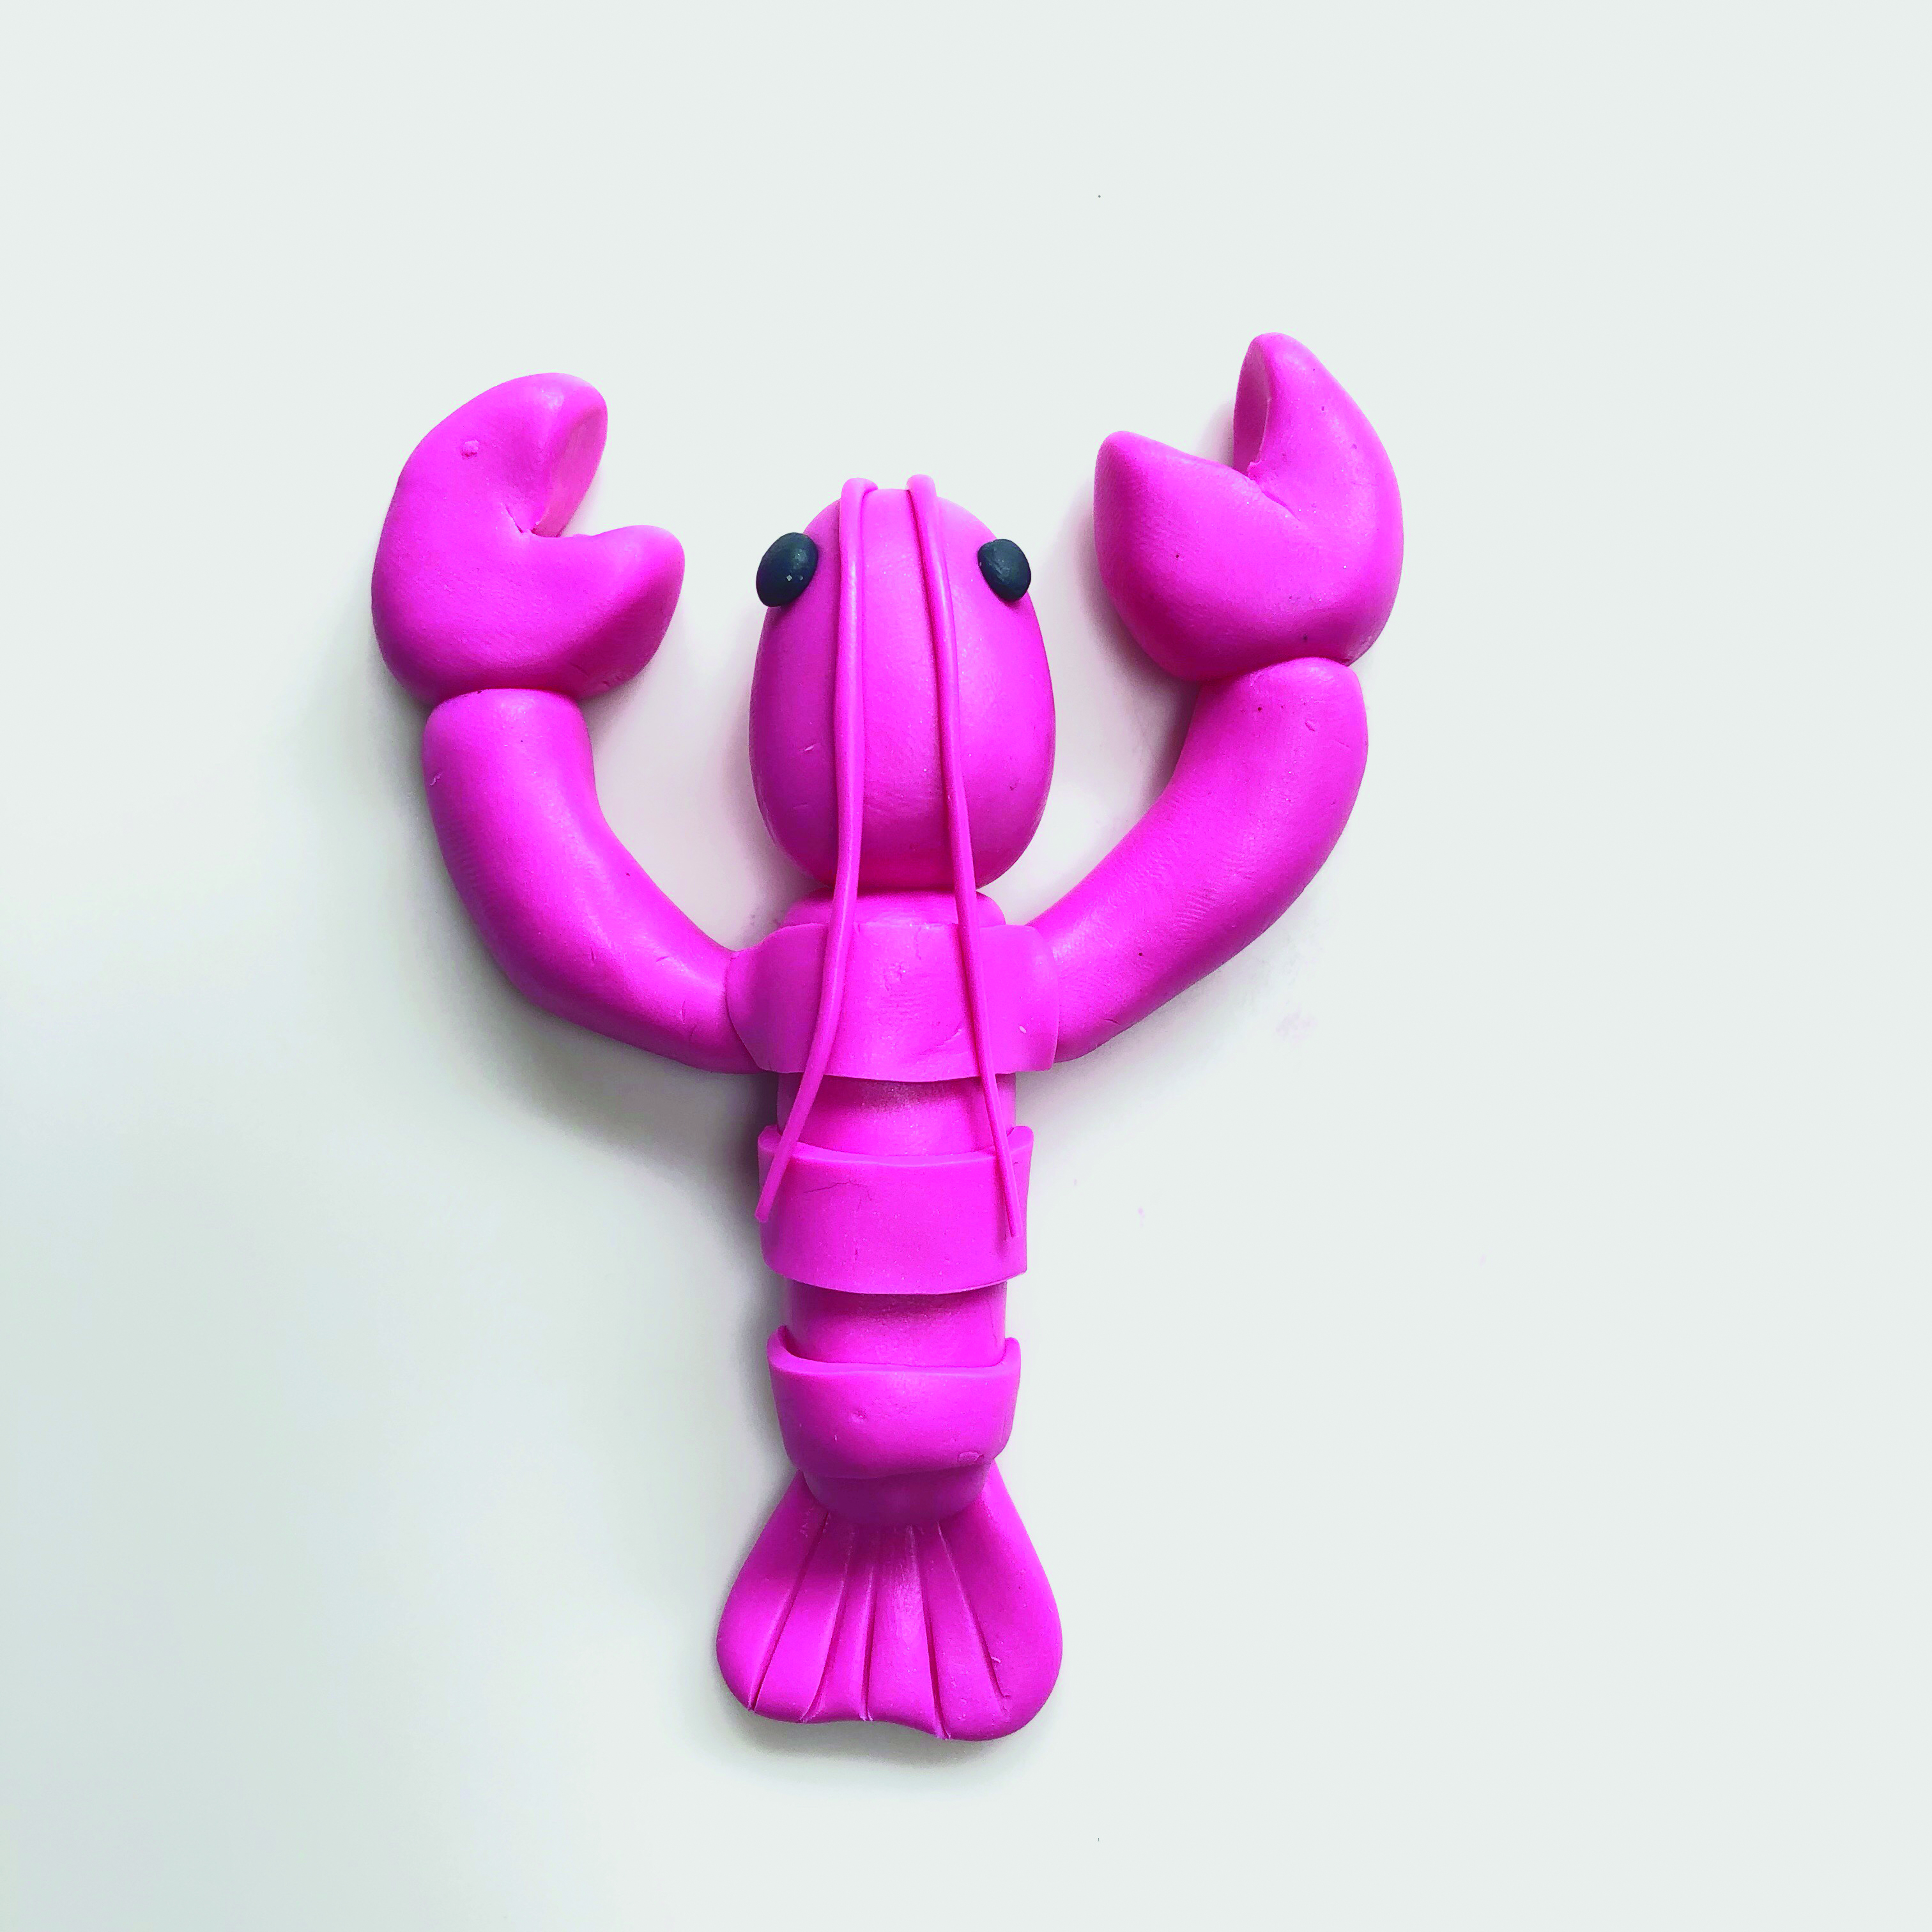
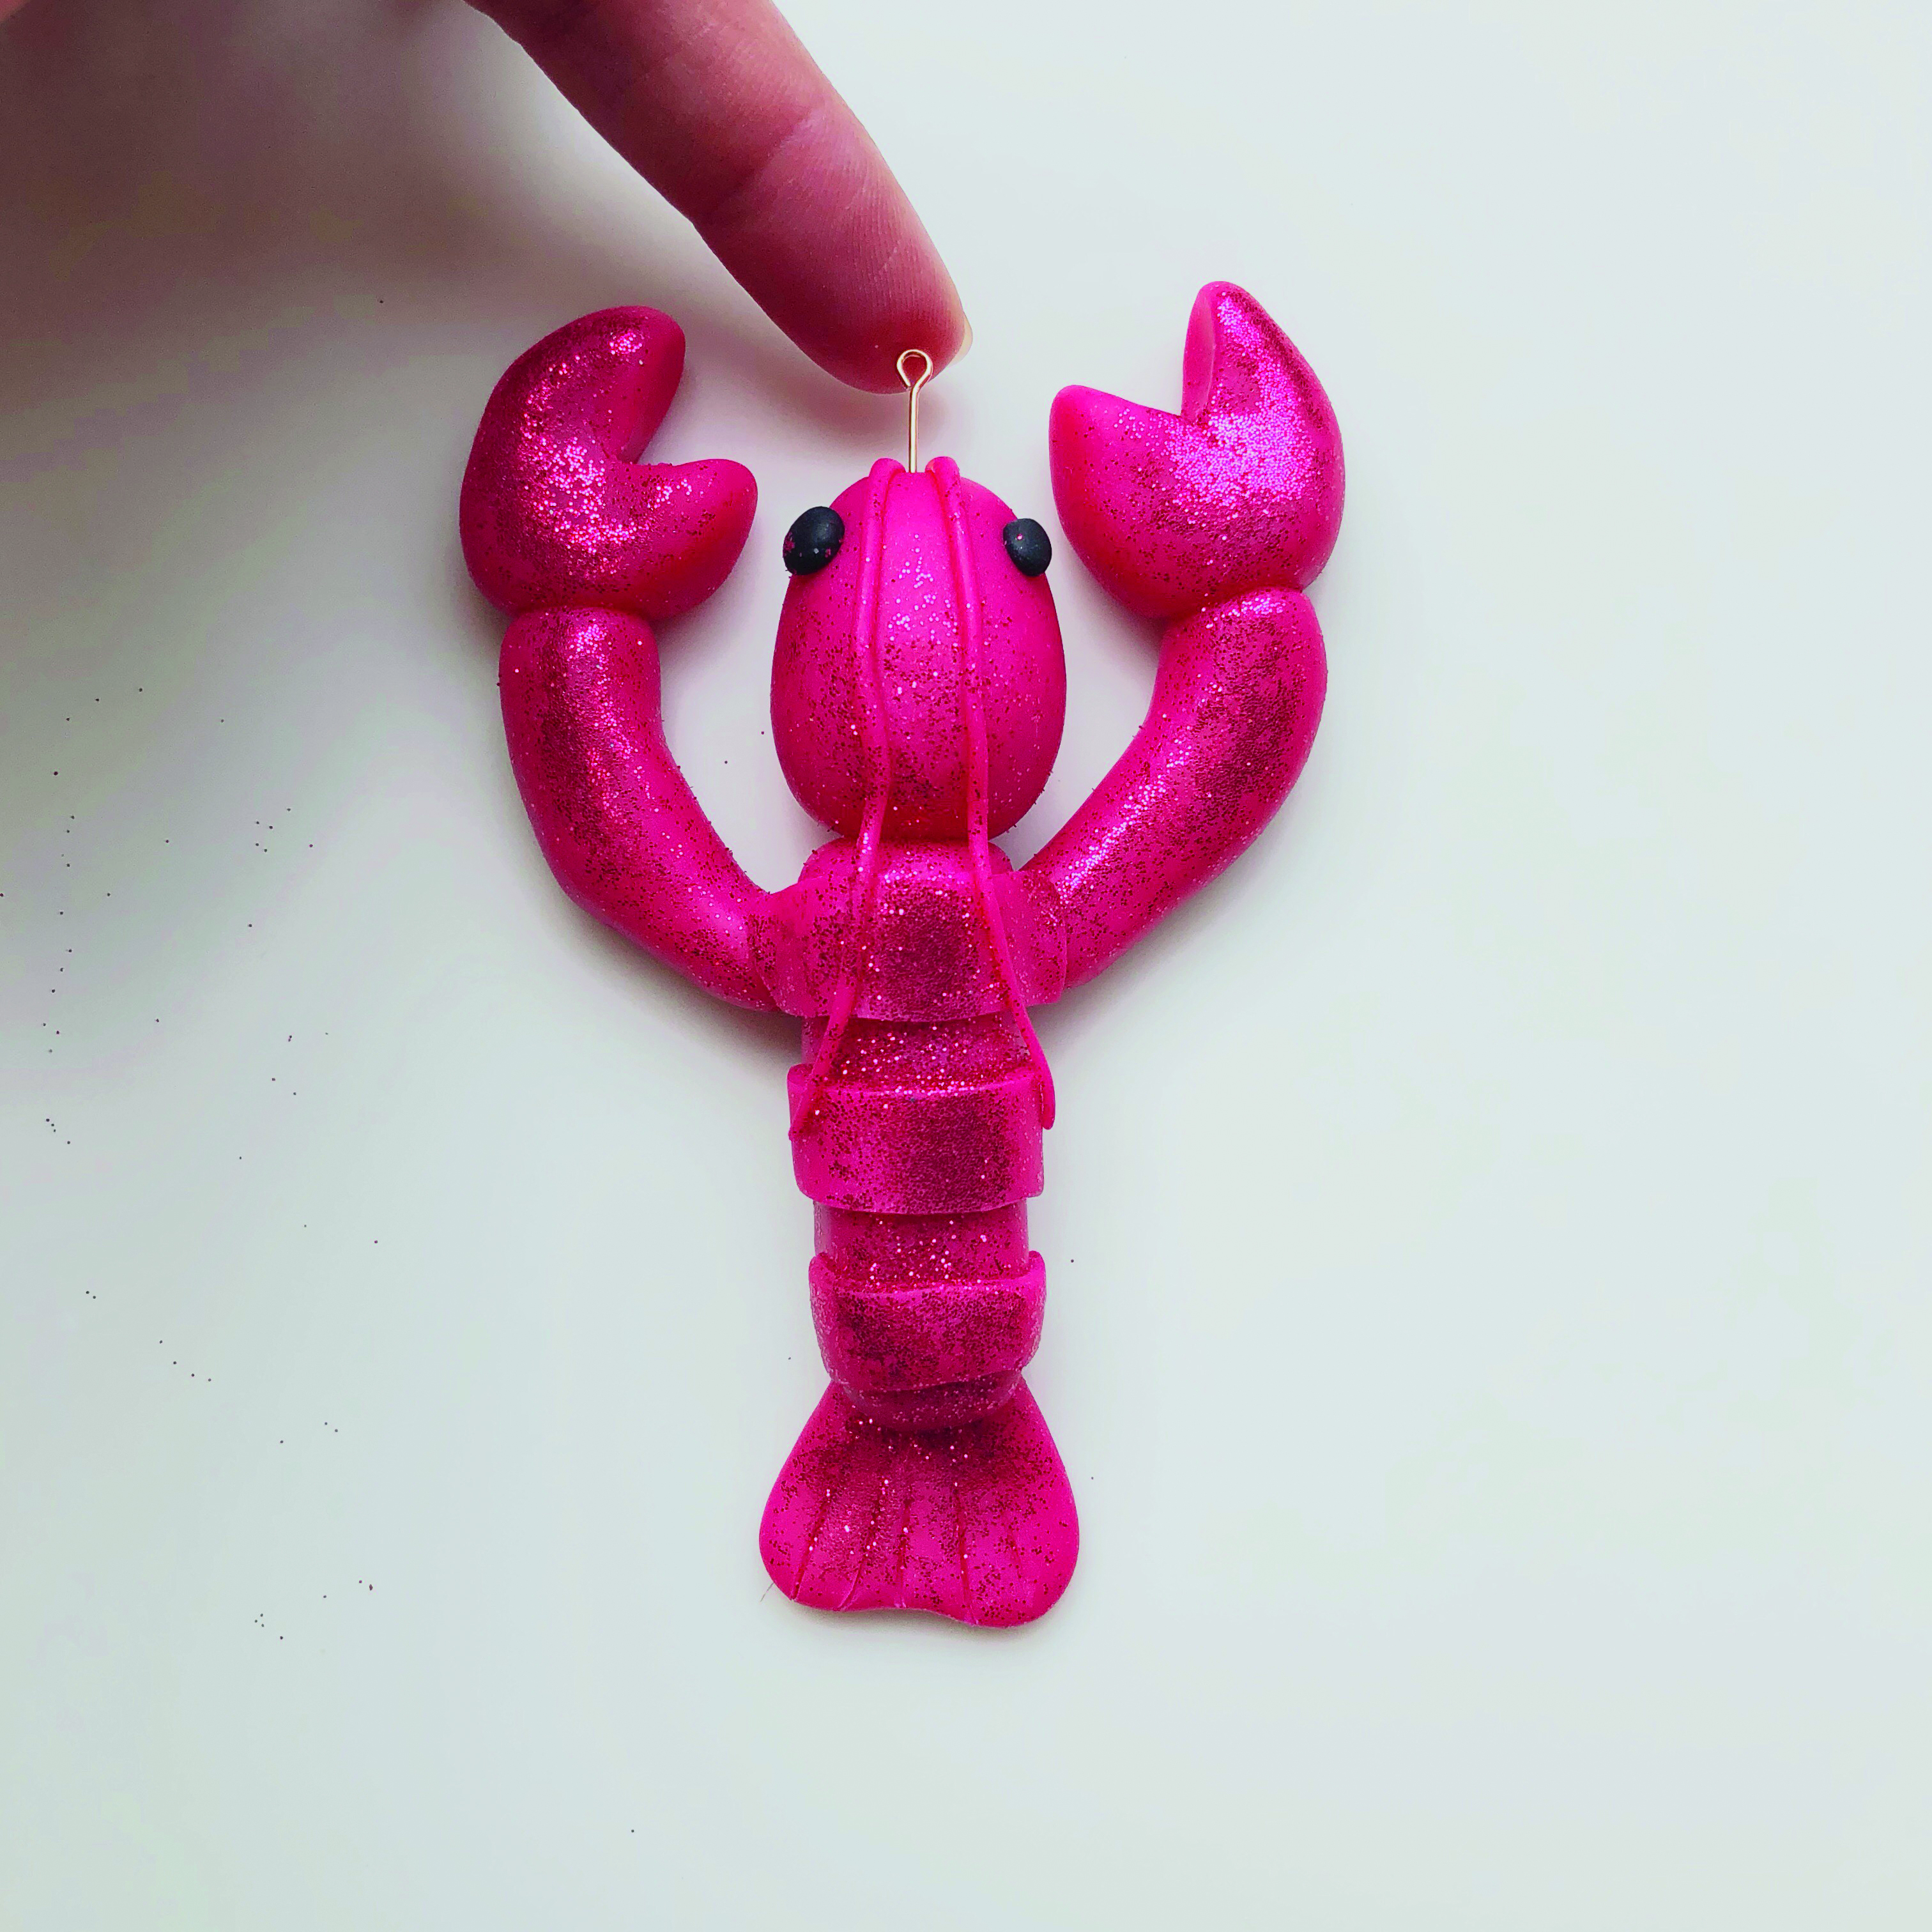
Position the three cut-out rectangles down the back of the body, then add the antennae, starting at the top of the head and laying them over the back of the head and body. Using the end of your finger, gently rub red glitter over the lobster body and claws. Place the lobster on the baking tray with the other decorations.

How to make air dry clay Christmas decorations Lobster - STEP 5

Step 6

Carefully push an eye pin into the top of each decoration. Bake for 30 minutes, then allow to cool fully. To finish, add a loop of bakers’ twine for hanging.

And you’re finished! You’ve learned how to make air dry clay Christmas decorations so all you need to do now is hang your creations on the tree. For more pretty DIY Christmas decorations christmas check out our Christmas star garland and our crochet Christmas decorations round up.