Step 1
Apply the white base layer
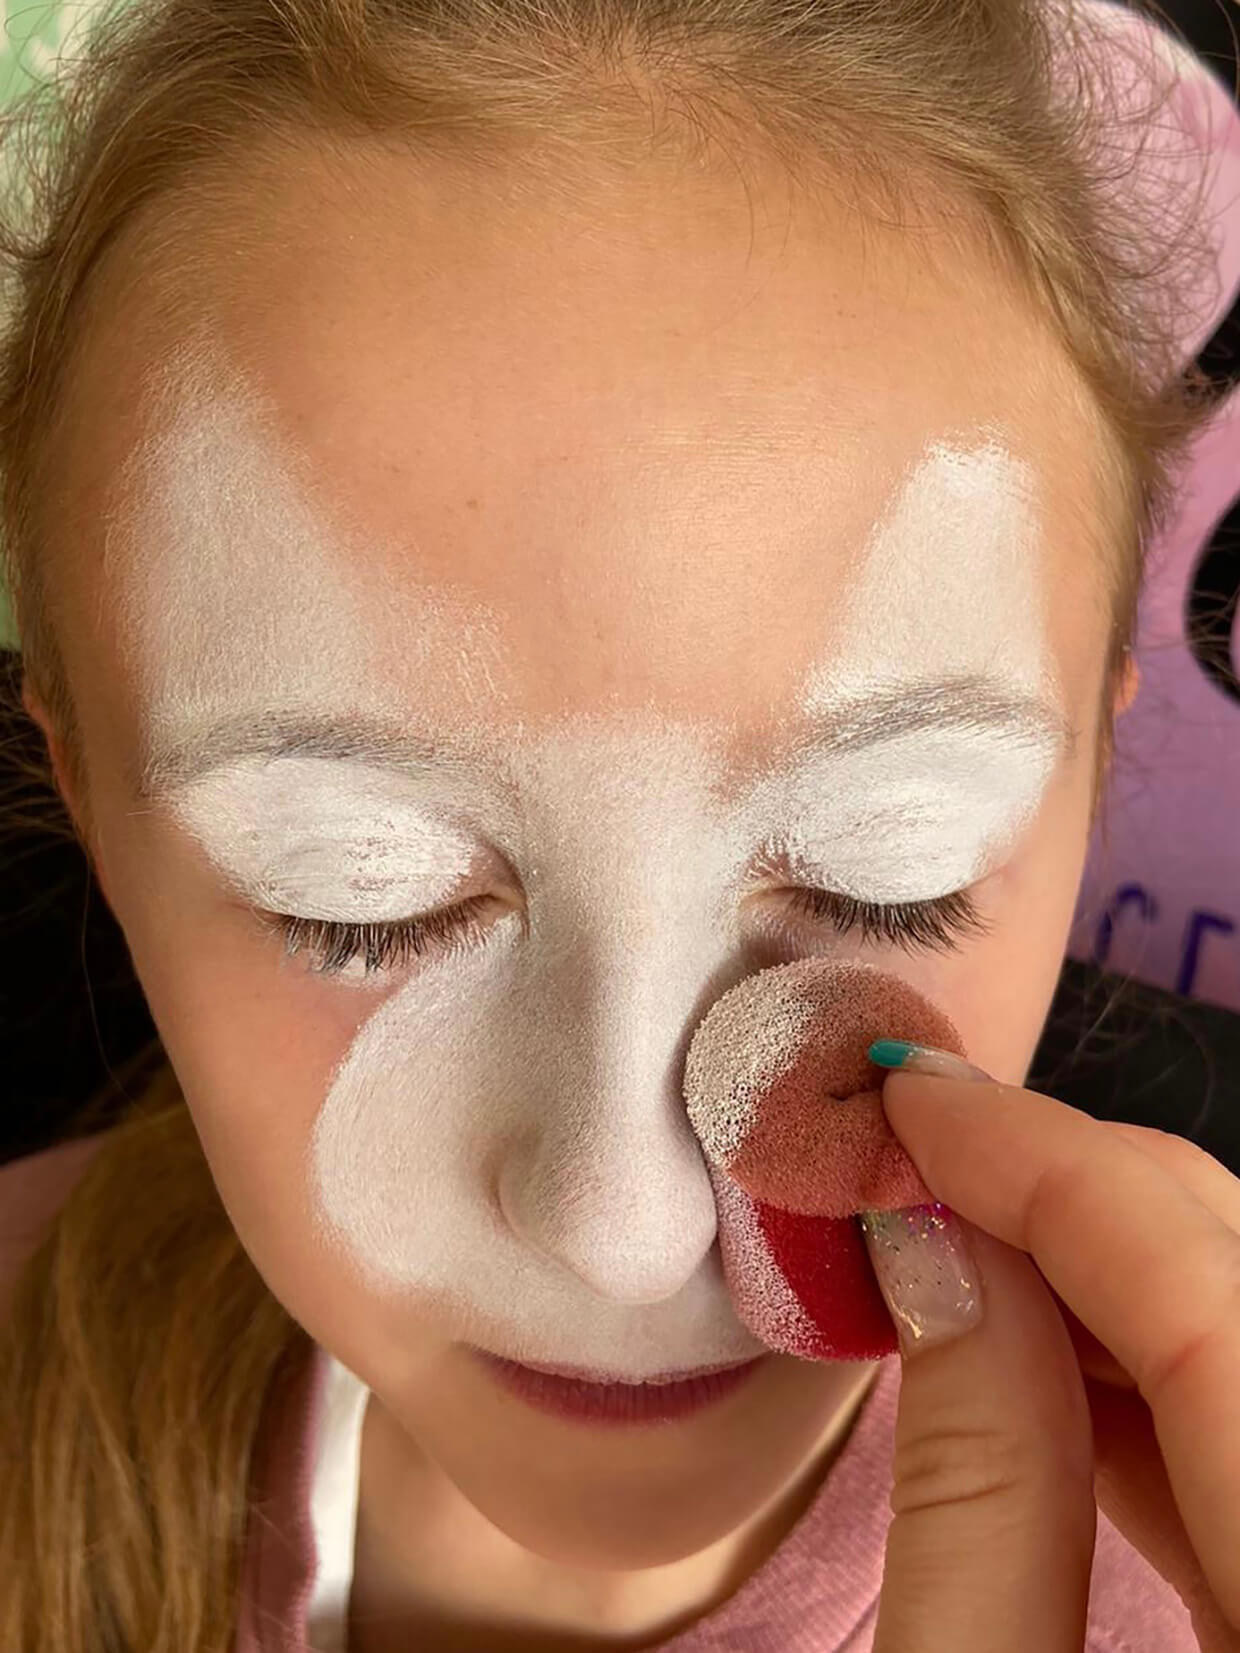
Start by lightly dampening your face paint sponge and loading it with the white face paint.
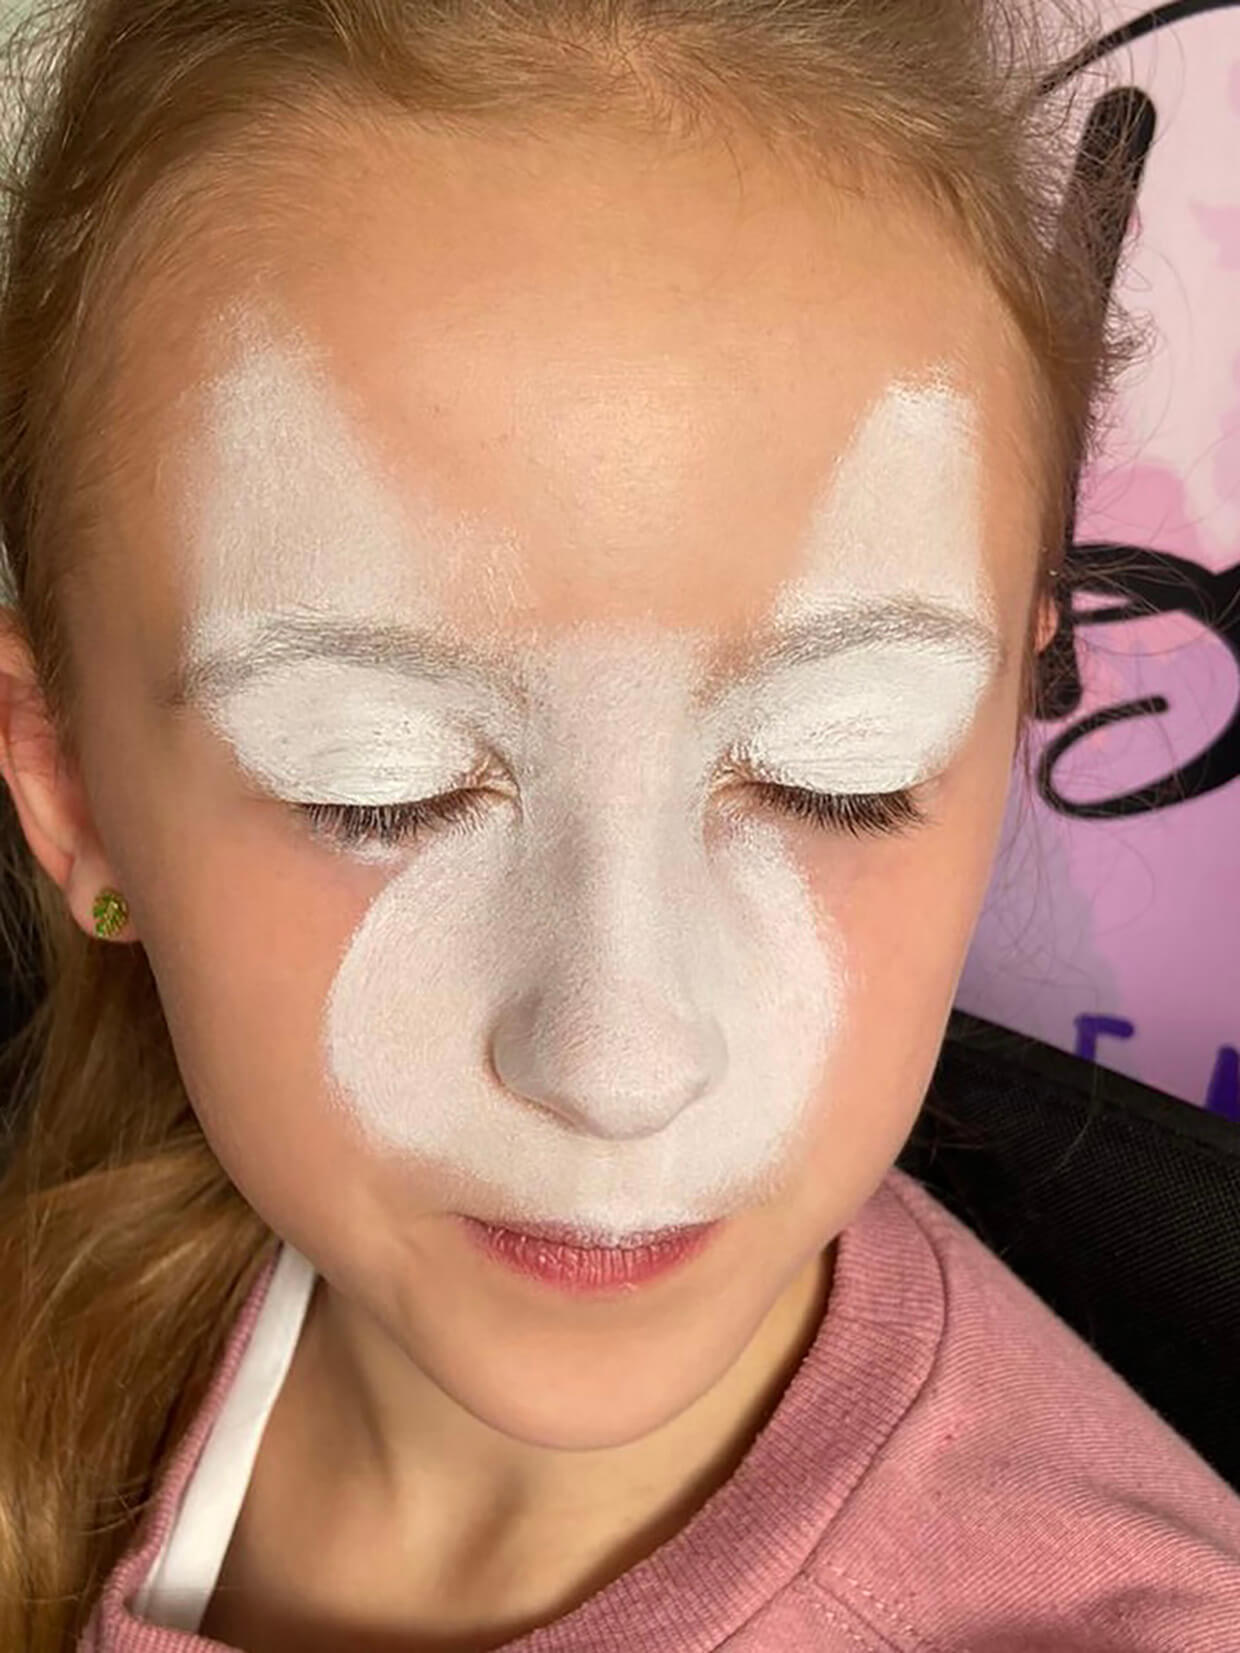
Using a ‘dabbing’ motion, put the white paint over the eyes, down the nose, around the nose (to create the muzzle), above the lip and then create a triangular shape for the cat’s ears above the eyebrows.
Step 2
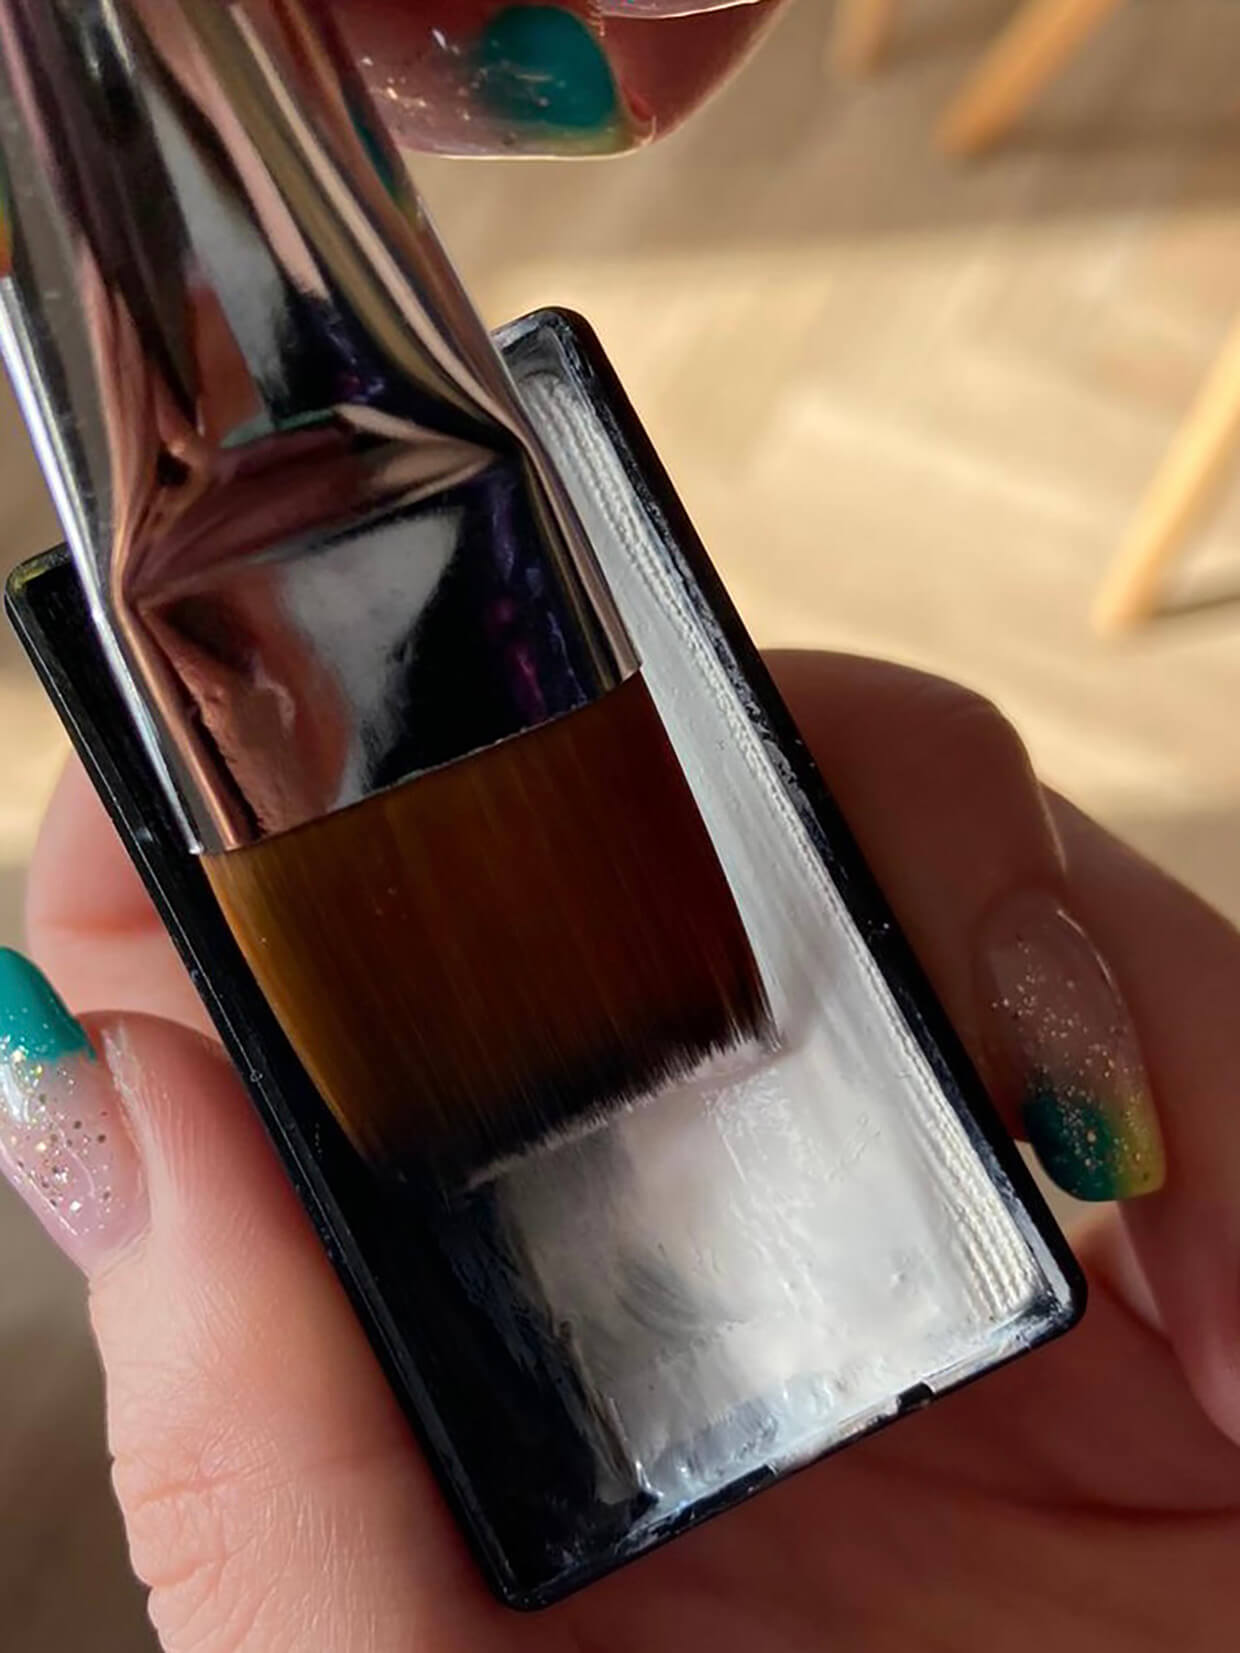
Load up your brush
Take the ¾” Flat Brush and your one-stroke face paint, and thoroughly wet the paint brush. Place the brush as flat as possible over the paint and load the brush on one side, then flip the brush to load the colours on the other side. Make sure you marry the colours up!
Step 3
Creating the cat ears
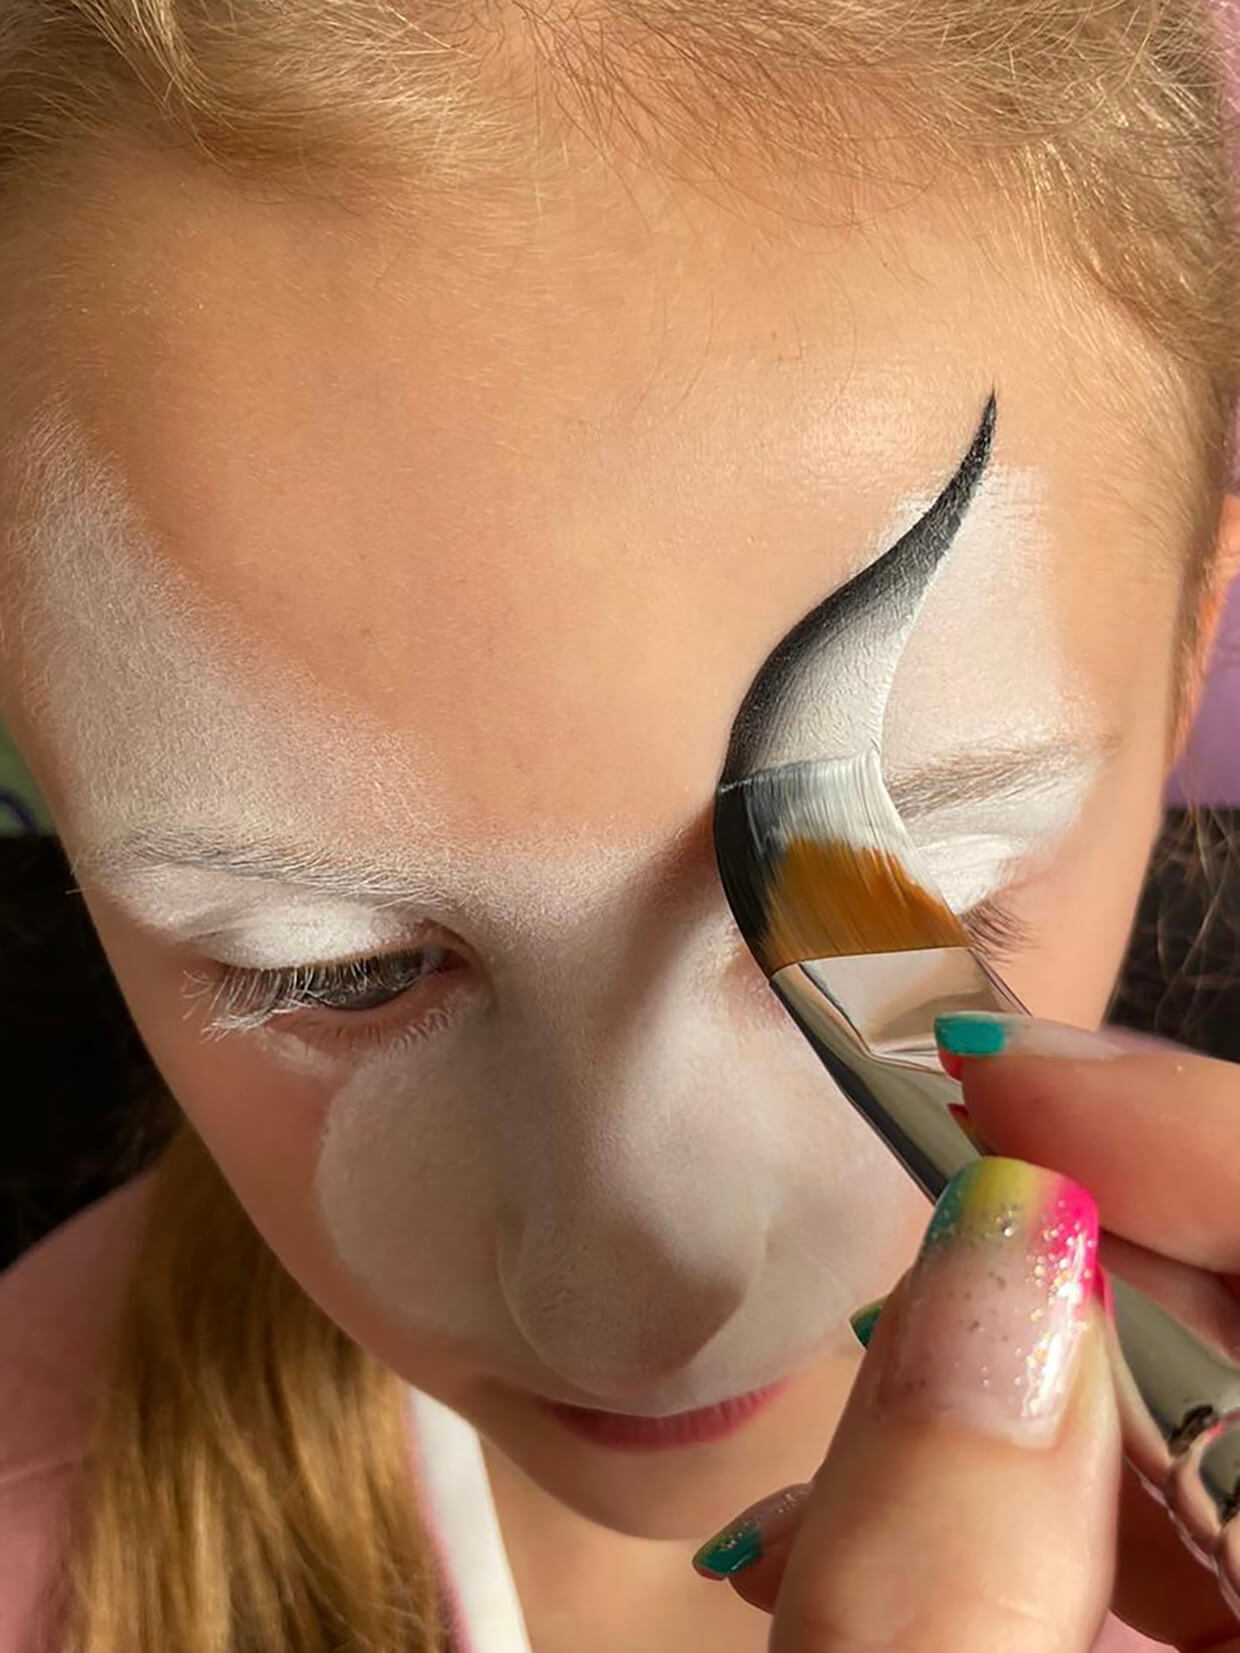
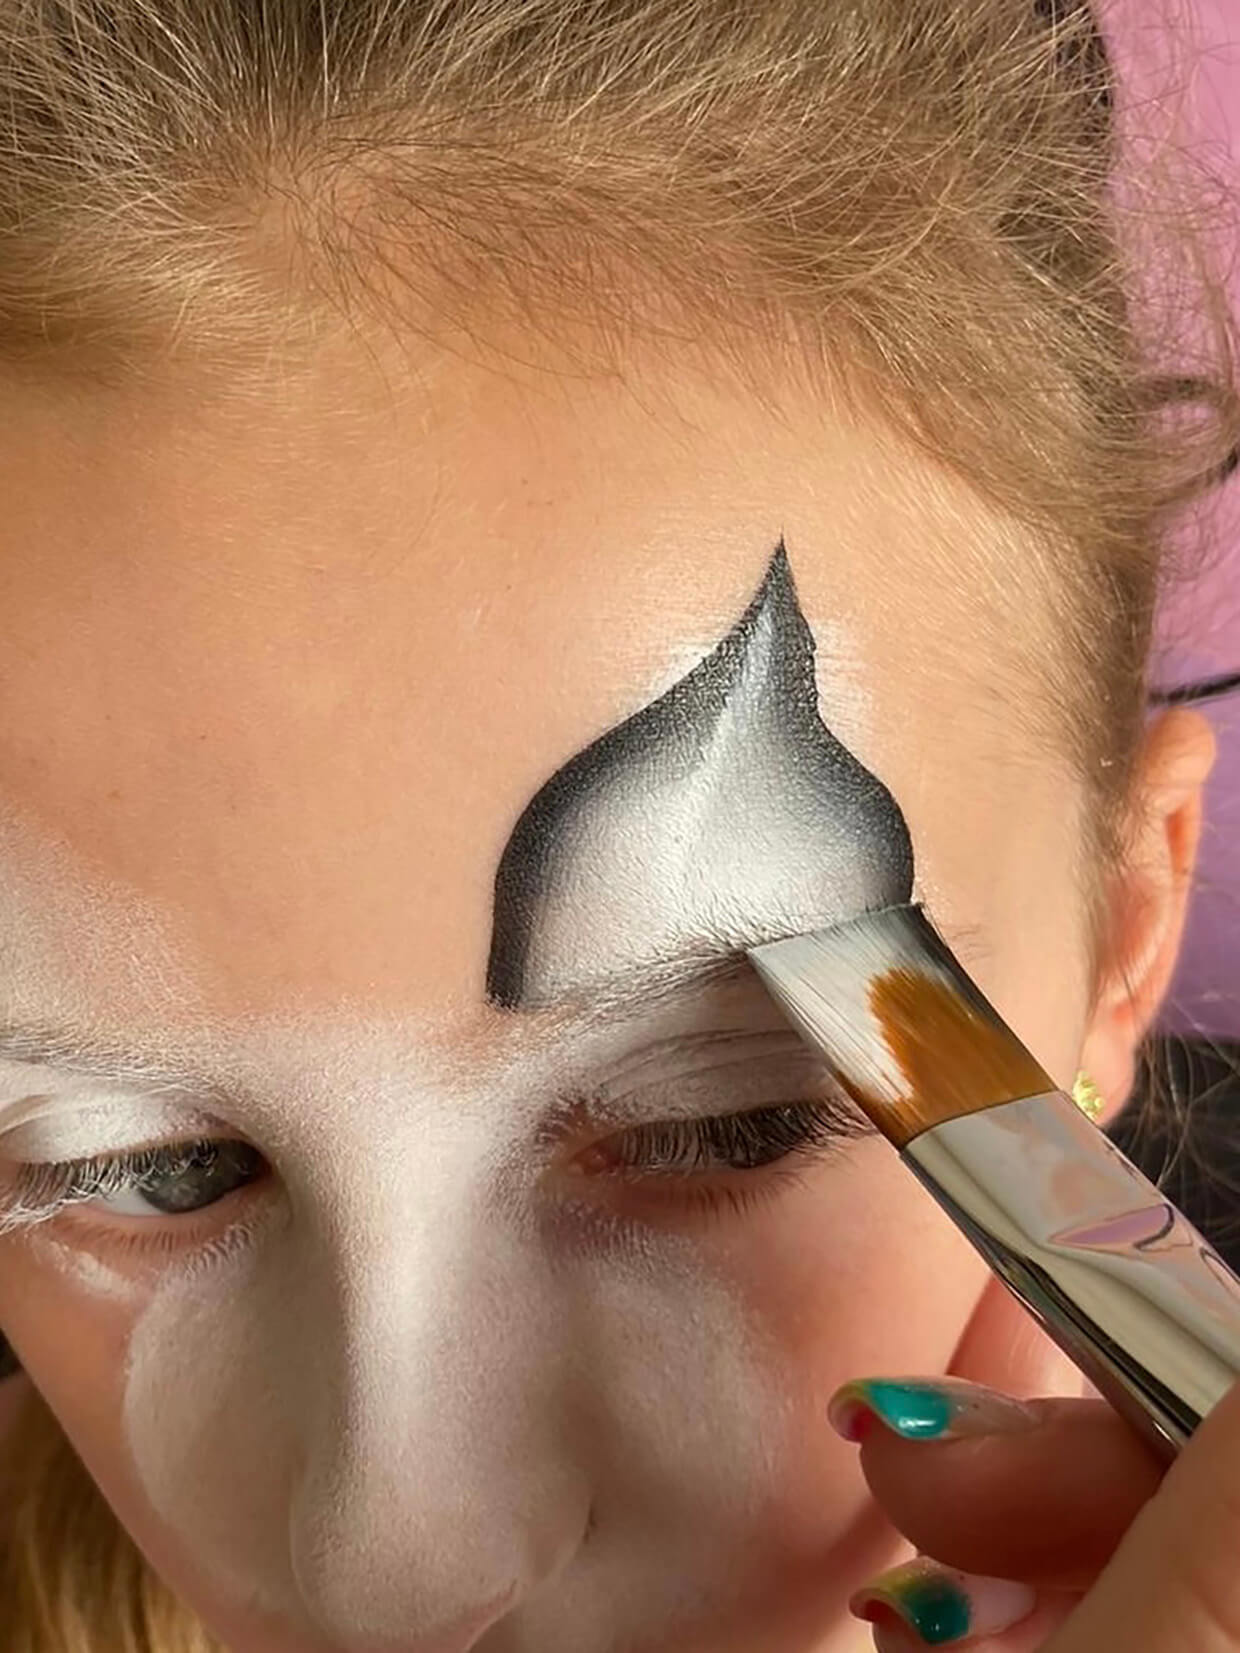
Start at the top of the ear with the tip of the brush, then turn the brush until it is flat as you come to the bottom.
Take the brush to the top and angle it flat against the paint you have put down and keeping the brush flat, bring it down the other side of the ear, filling in the gap, as demonstrated in the images below.
Step 4
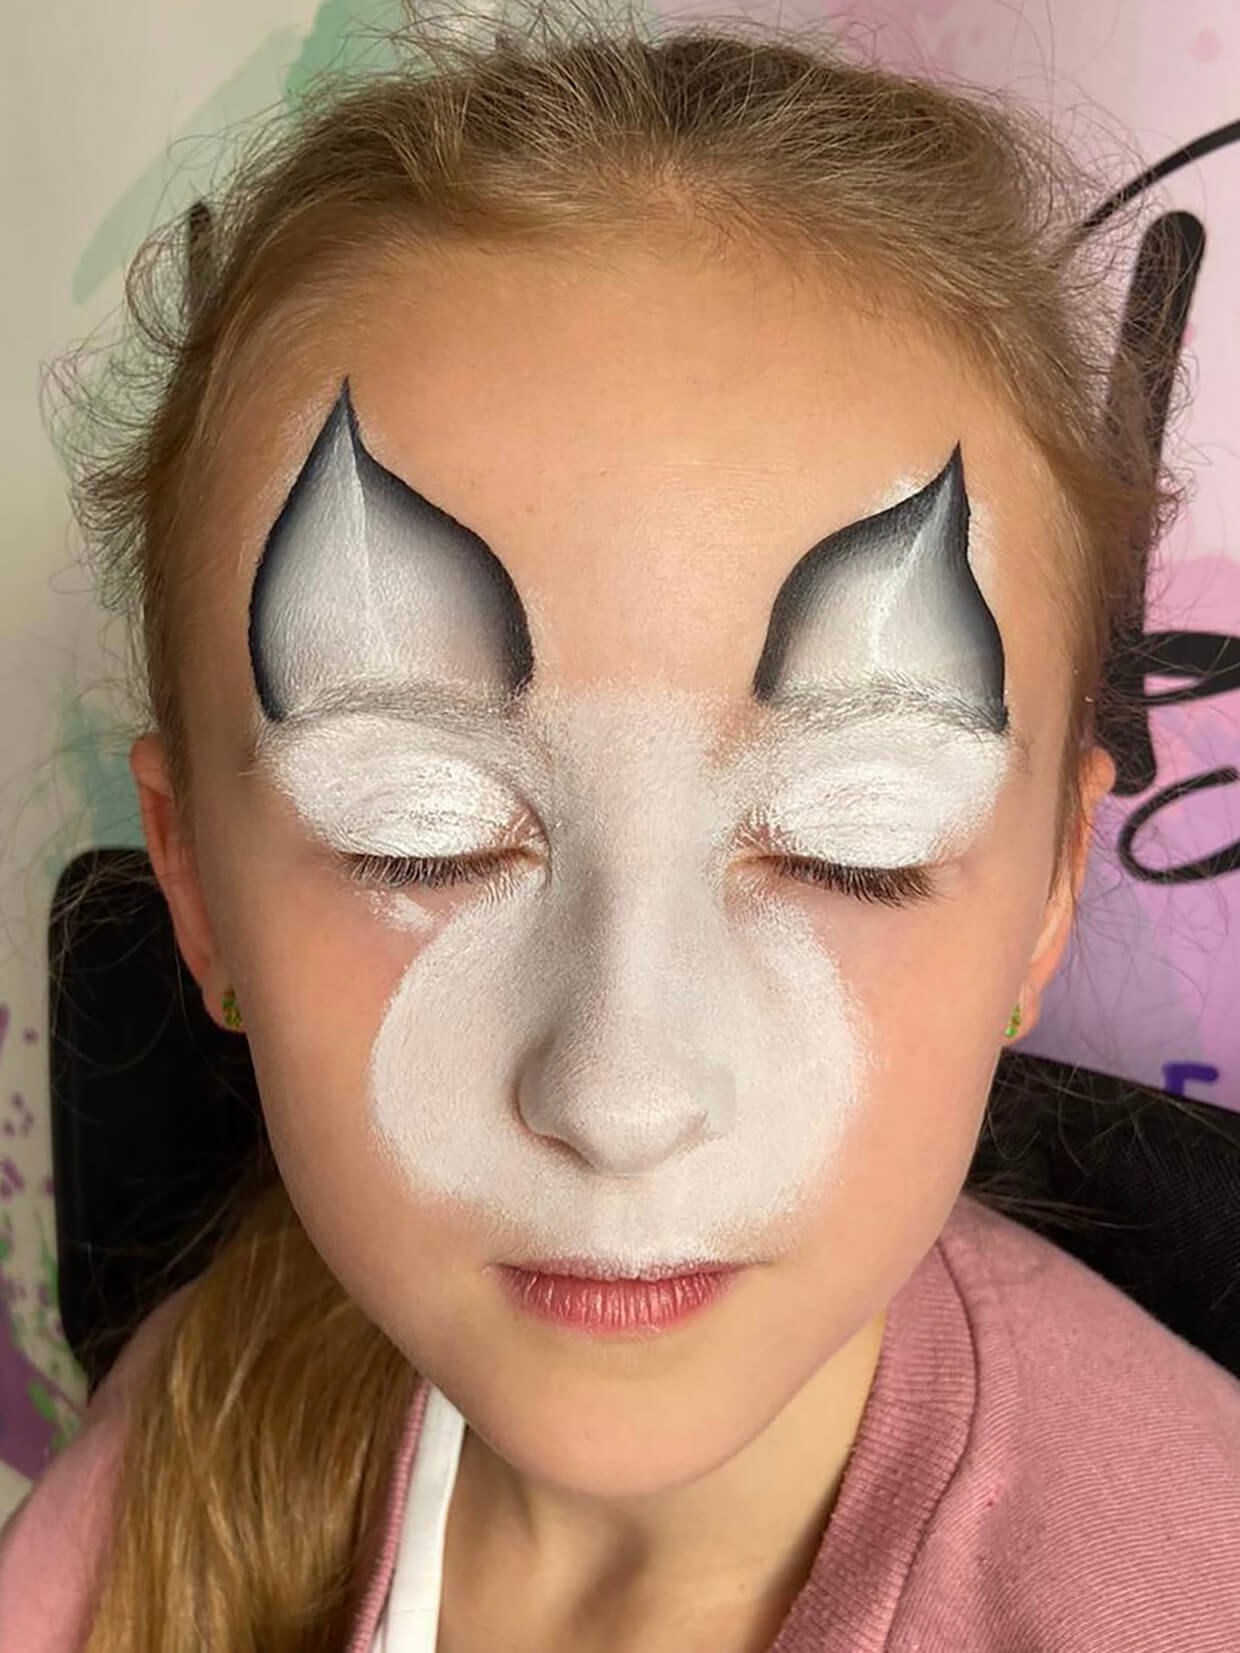
Repeat step 3 for the other ear.
Step 5
Create some fur
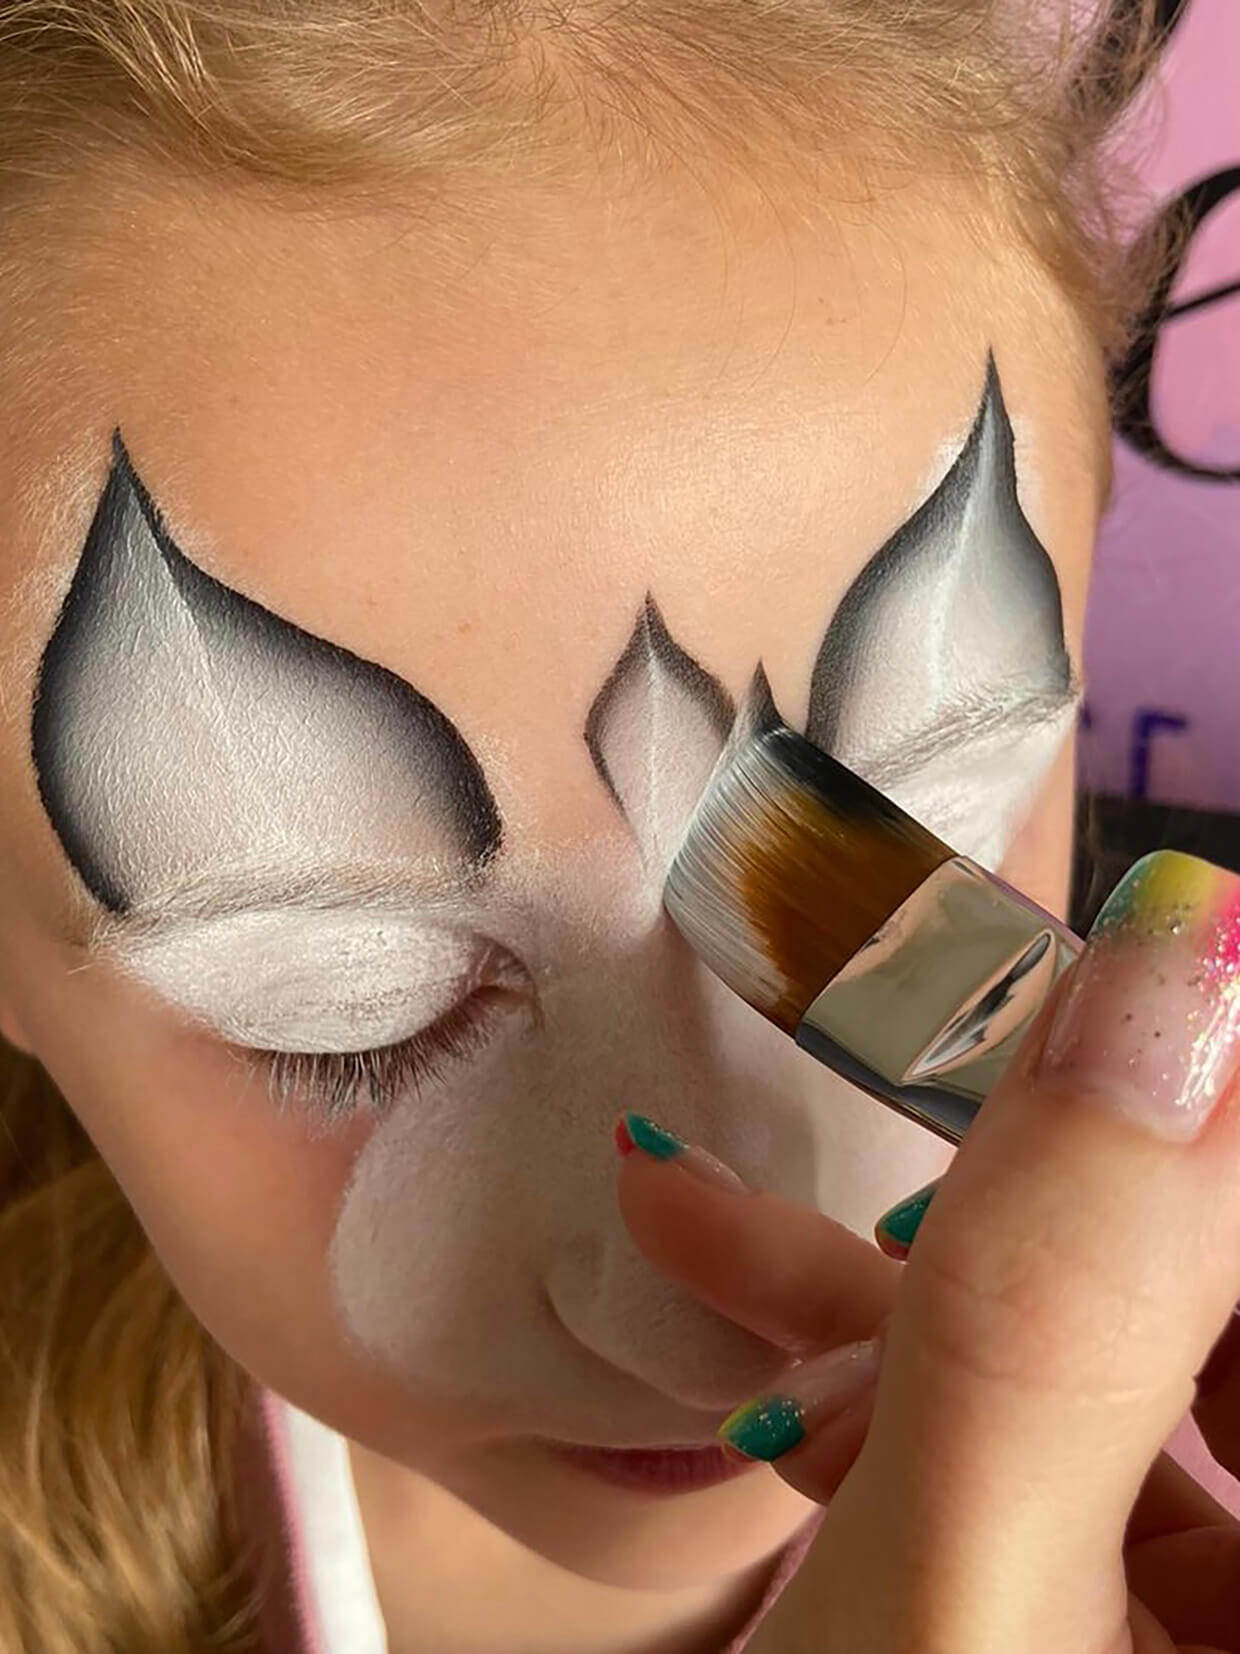
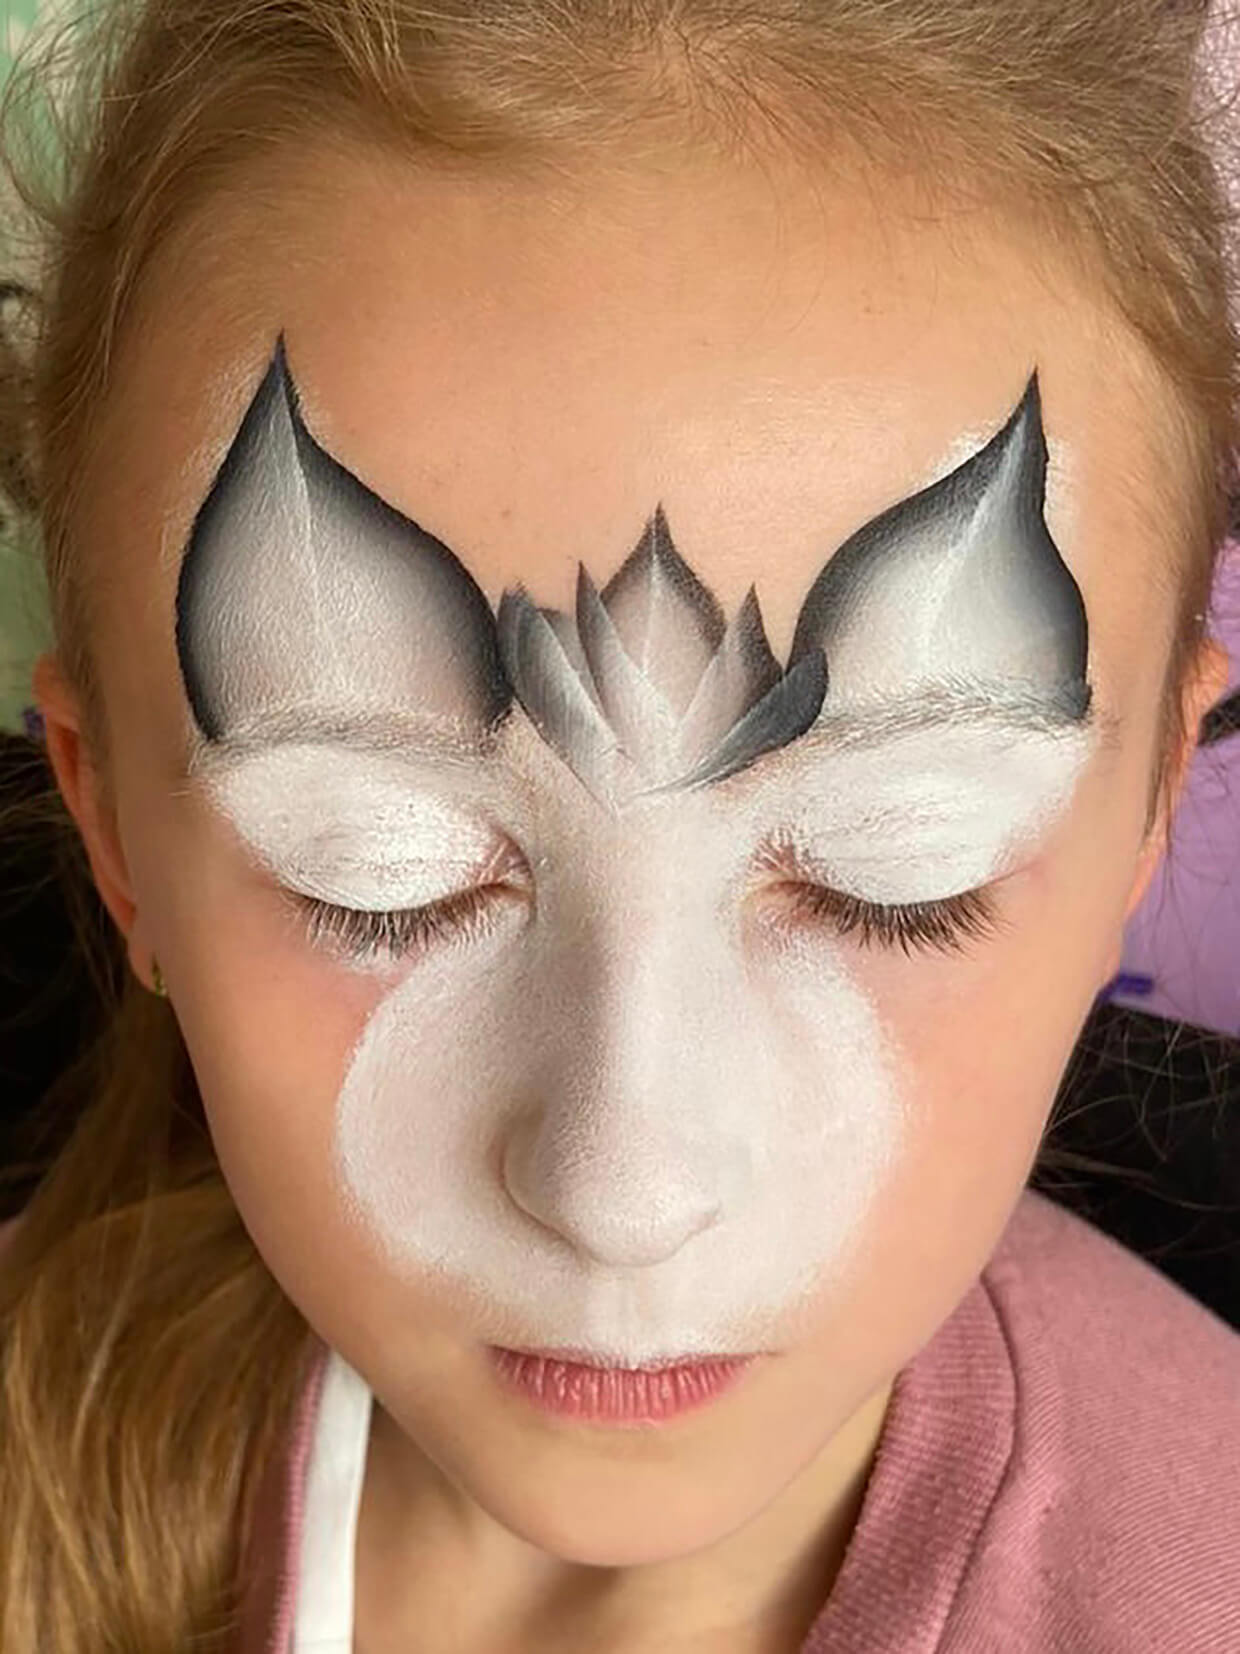
Fill in between the ears using the same brush, keeping the brush flat but only doing small, half strokes.
Top top – Start in the middle with an ‘upside-down V’ shape, then work outwards on either side, creating a fur-like effect.
Step 6
Painting the eyes and cheeks
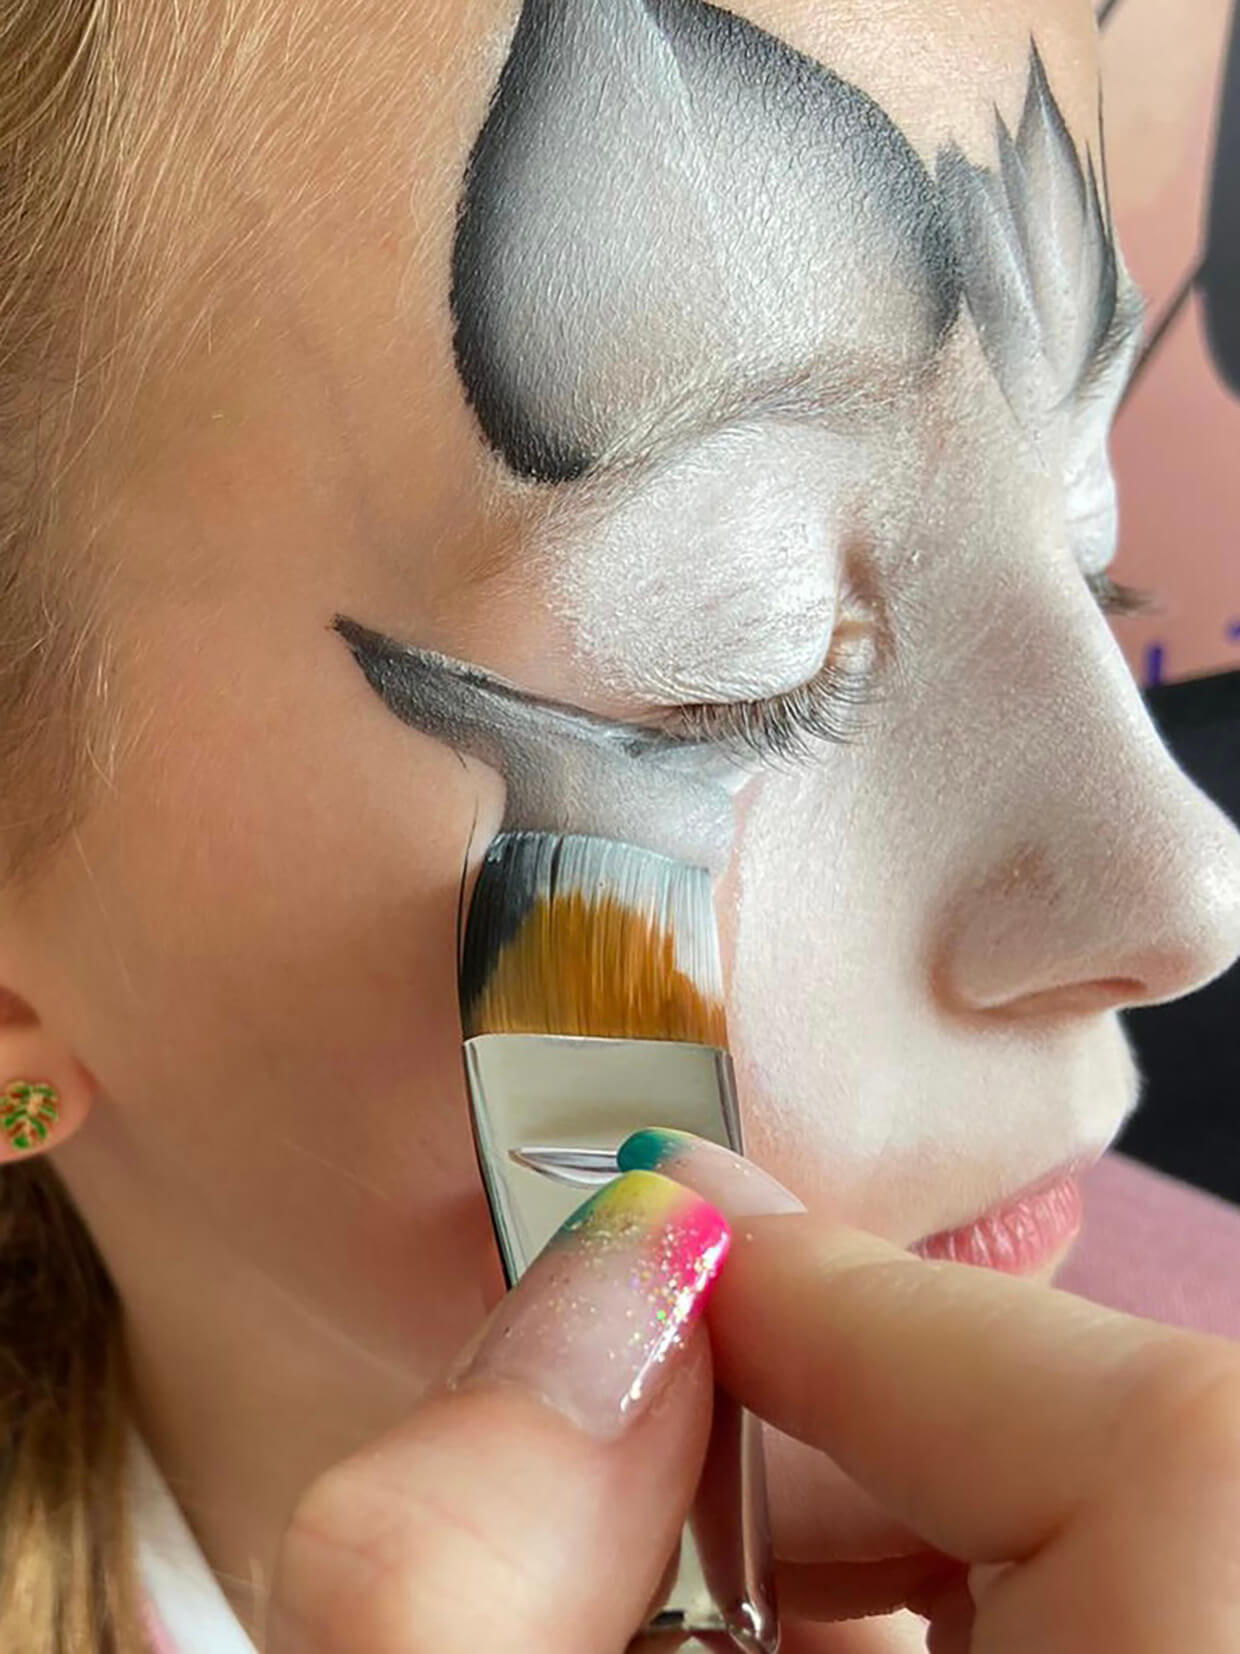
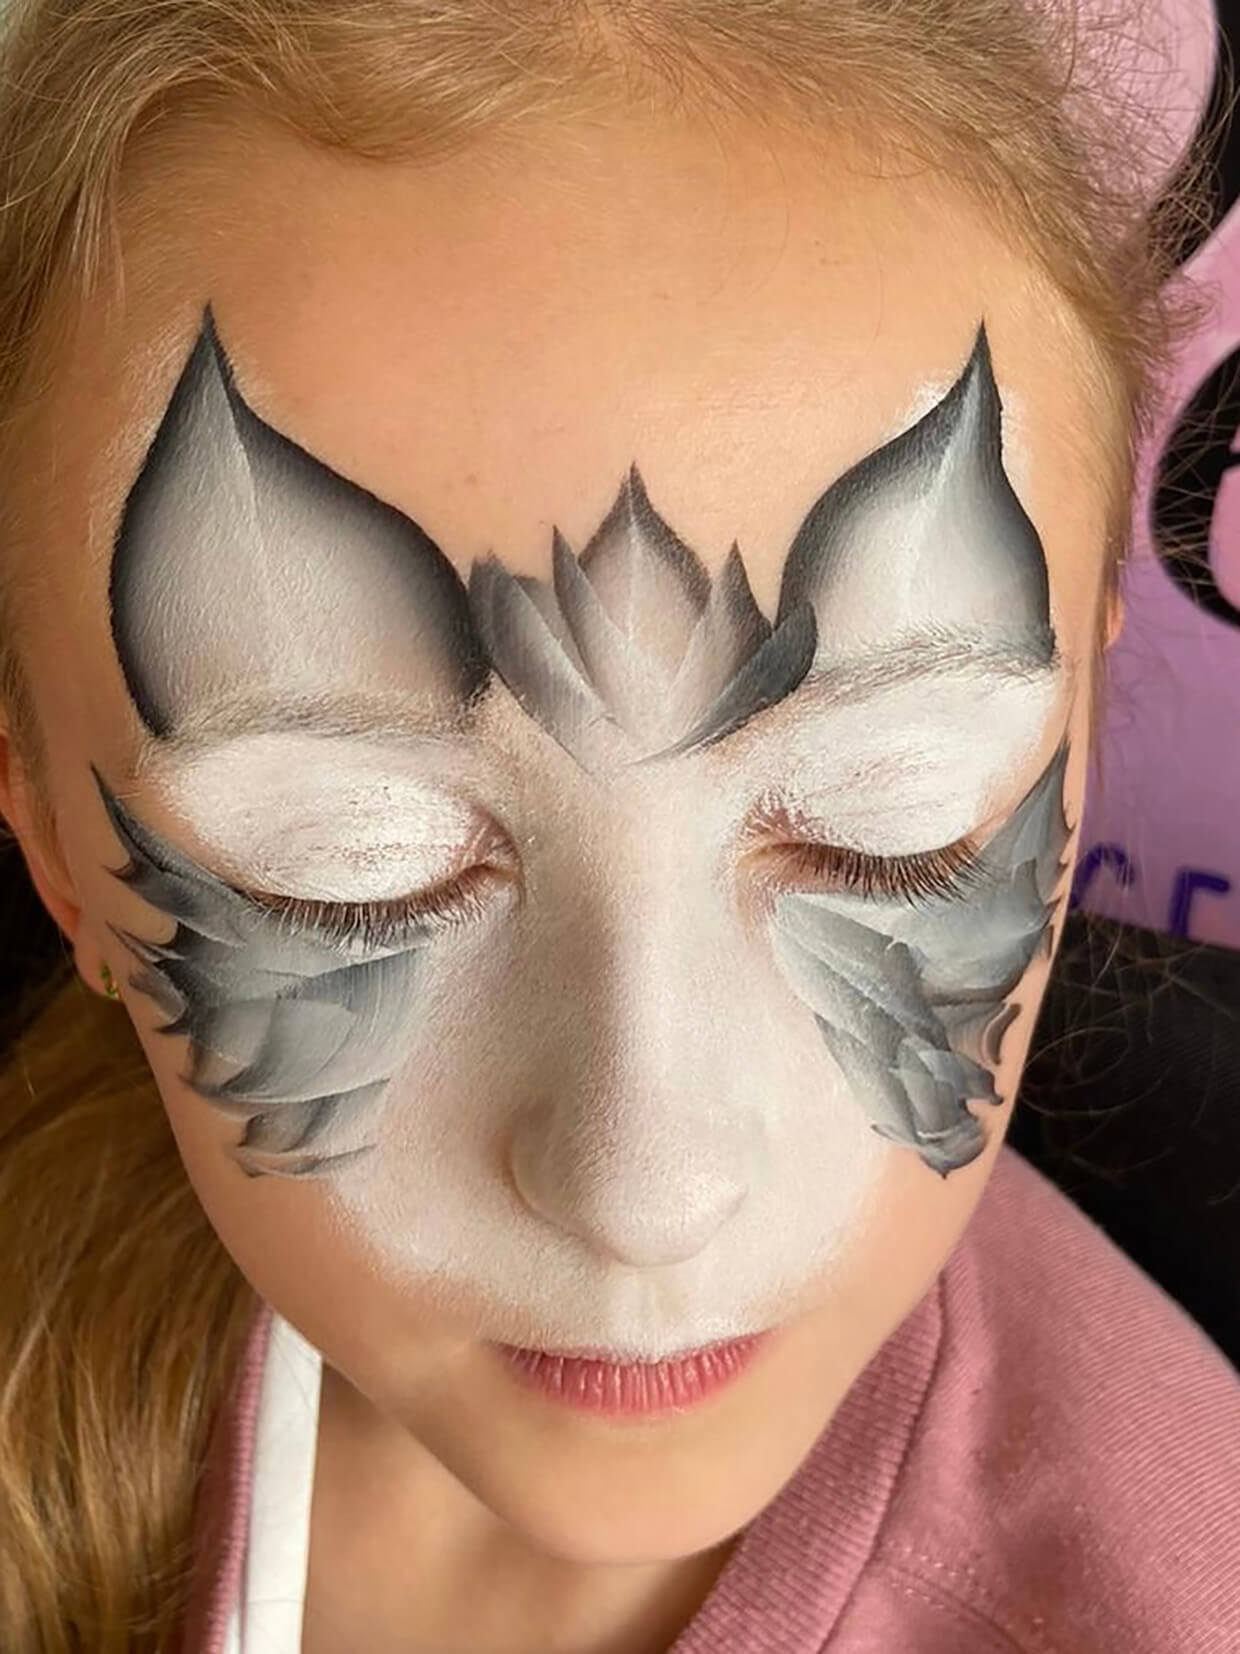
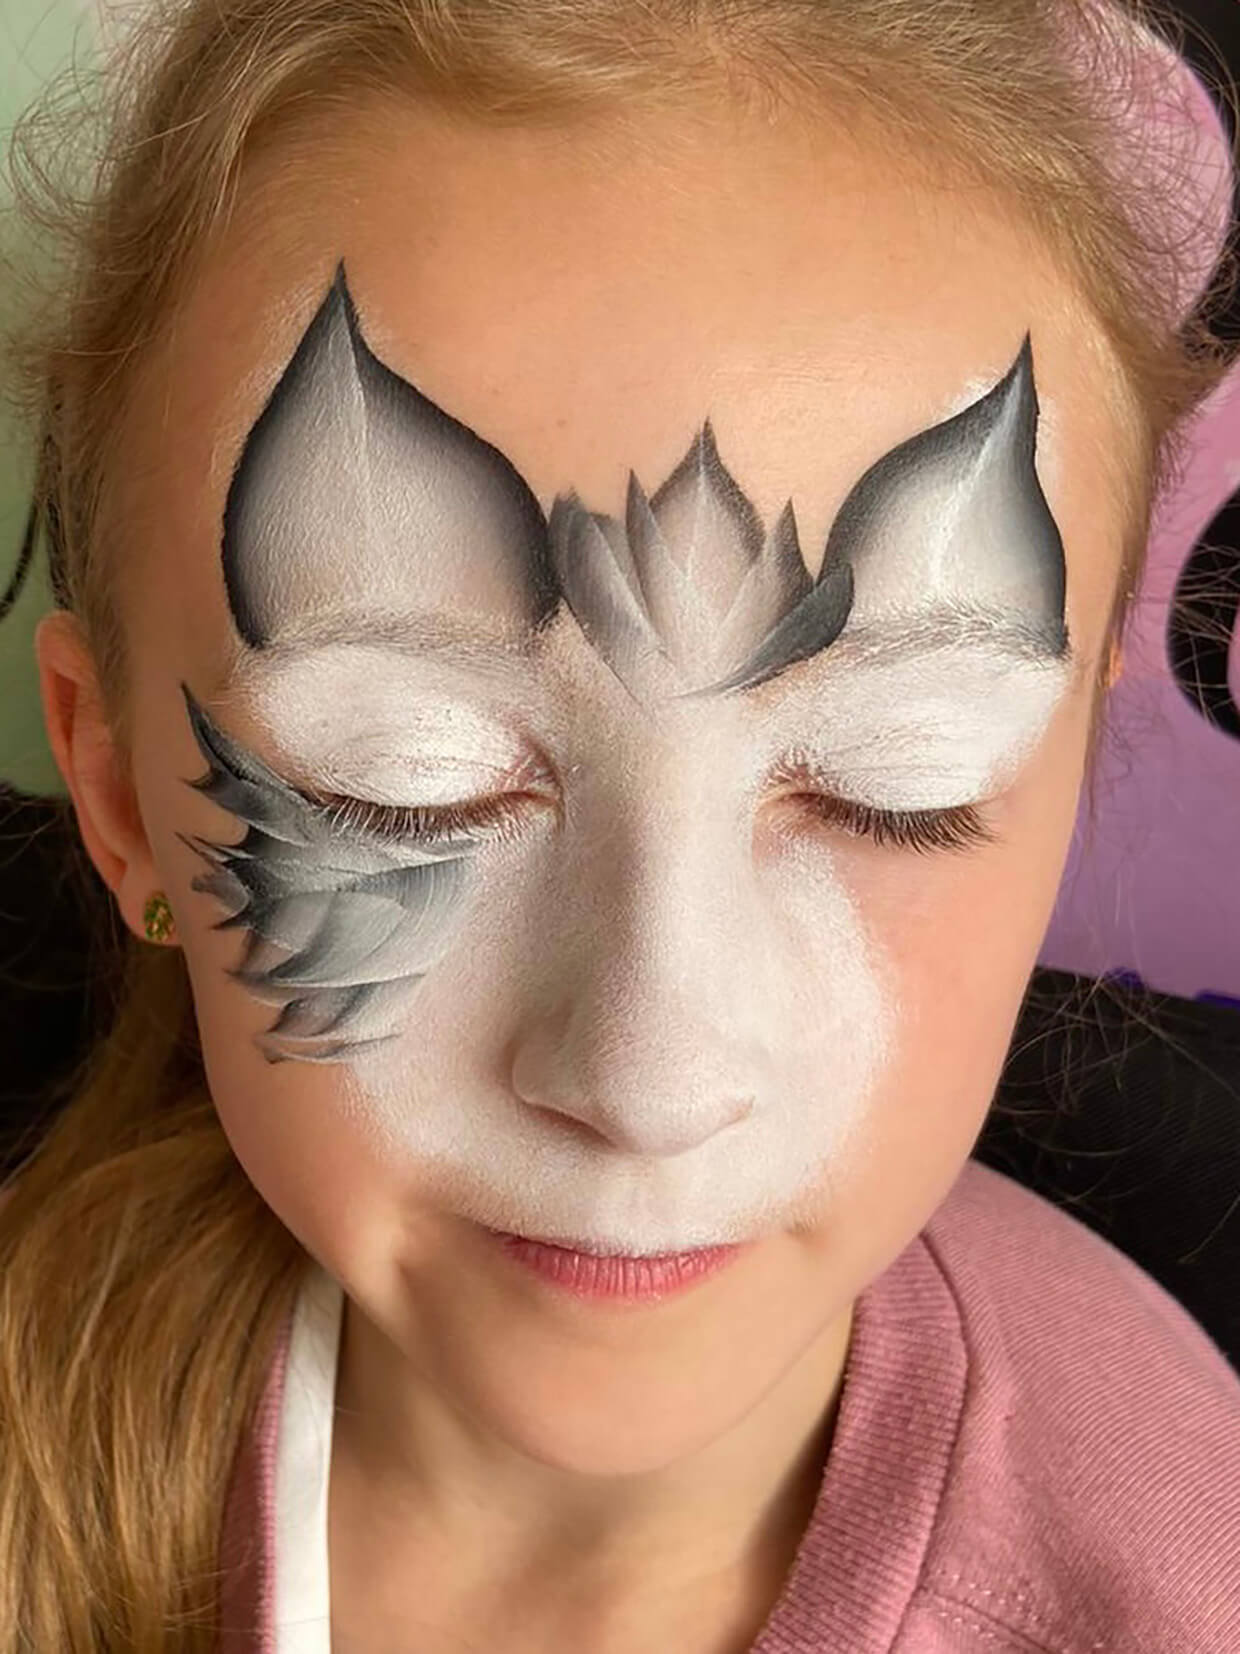
Continuing with the same ¾” flat brush, rinse and reload the paint and starting at a slight angle towards the corner of the eye, swoop the paint in towards the eye and back out, almost creating a backwards ‘C’.
Then using smaller ‘C’ like flicks, fill in the fur around the muzzle on each cheek.
Top tip – You can layer the paint on top of itself and the best part is… it doesn’t have to be perfect! With Halloween designs, it can occasionally benefit the overall face paint design, if it isn’t ‘perfect’.
Layering the paint on top and not being 100% careful with the paint creates a furry, texture for the cat’s fur!
Step 7
Create the line work around the ears and mouth
Using the black face paint and the round No 3 brush, you can now create the black line work around the ears and the mouth. Simply follow the grey one-stroke paint to add the detail.
To create the outline around the muzzle, start your brush from just inside the corner of the eye, then follow your brush around where the white and grey paint meets, down to the corner of the mouth. For extra effect put 2 x lines at either side of the muzzle.
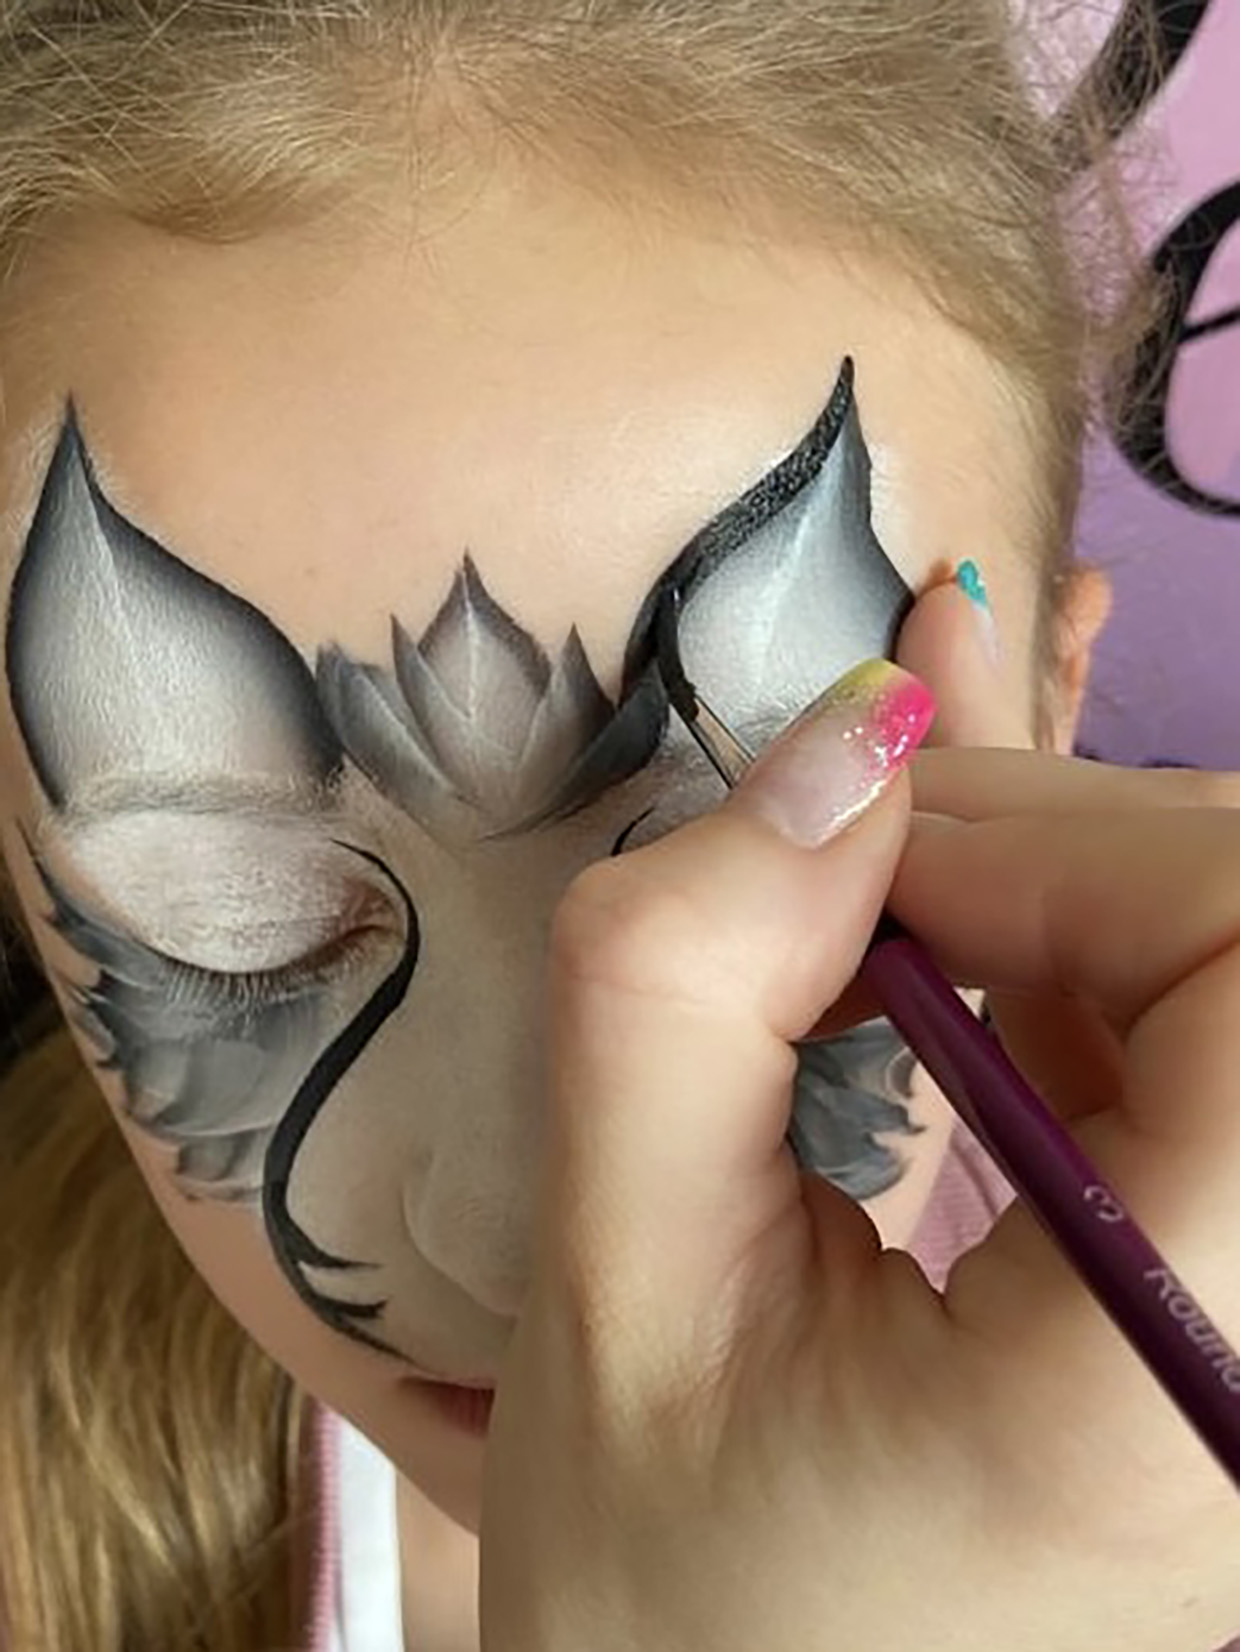
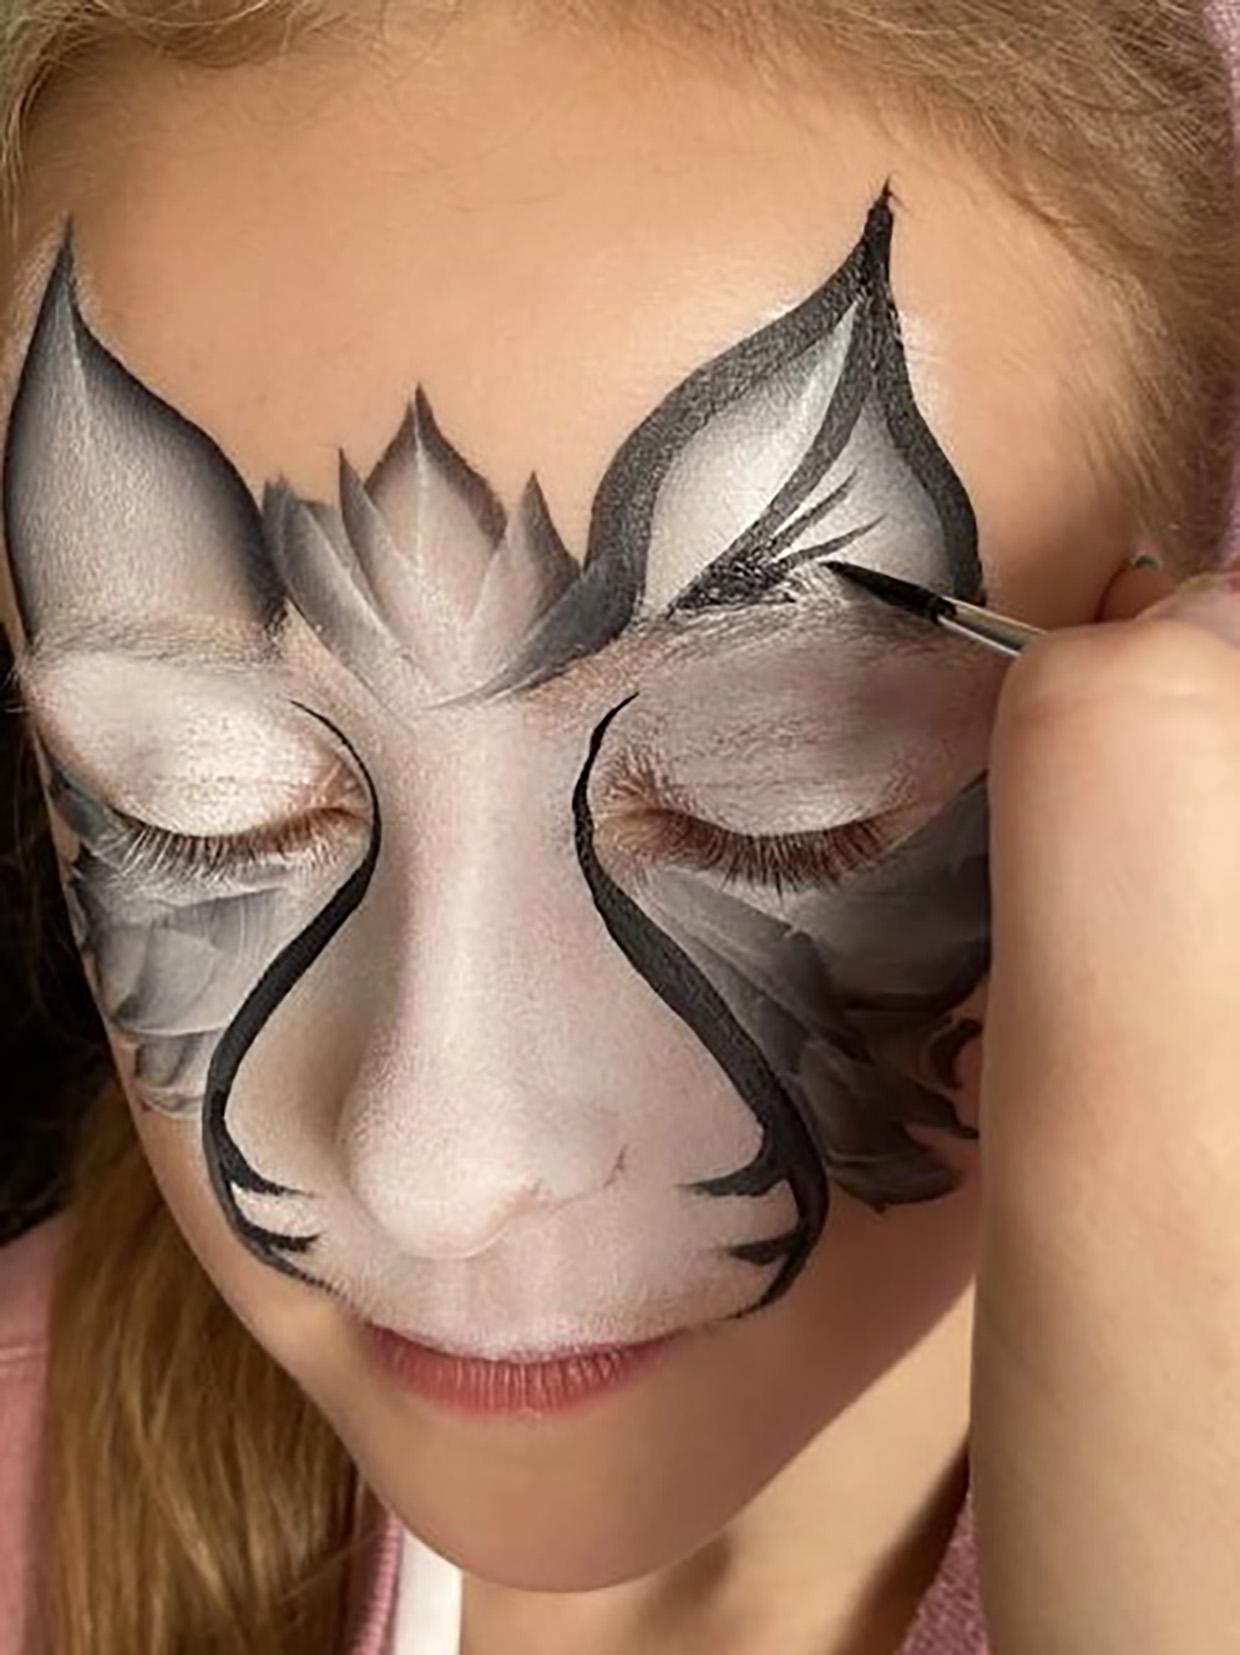
Step 8
Add more fur
To complete the black detail, using the No 3 round brush, create rough, ‘flicks’ of paint along the outer edges of the grey and for the fur in-between the ears.
Remember! It doesn’t have to be perfect!
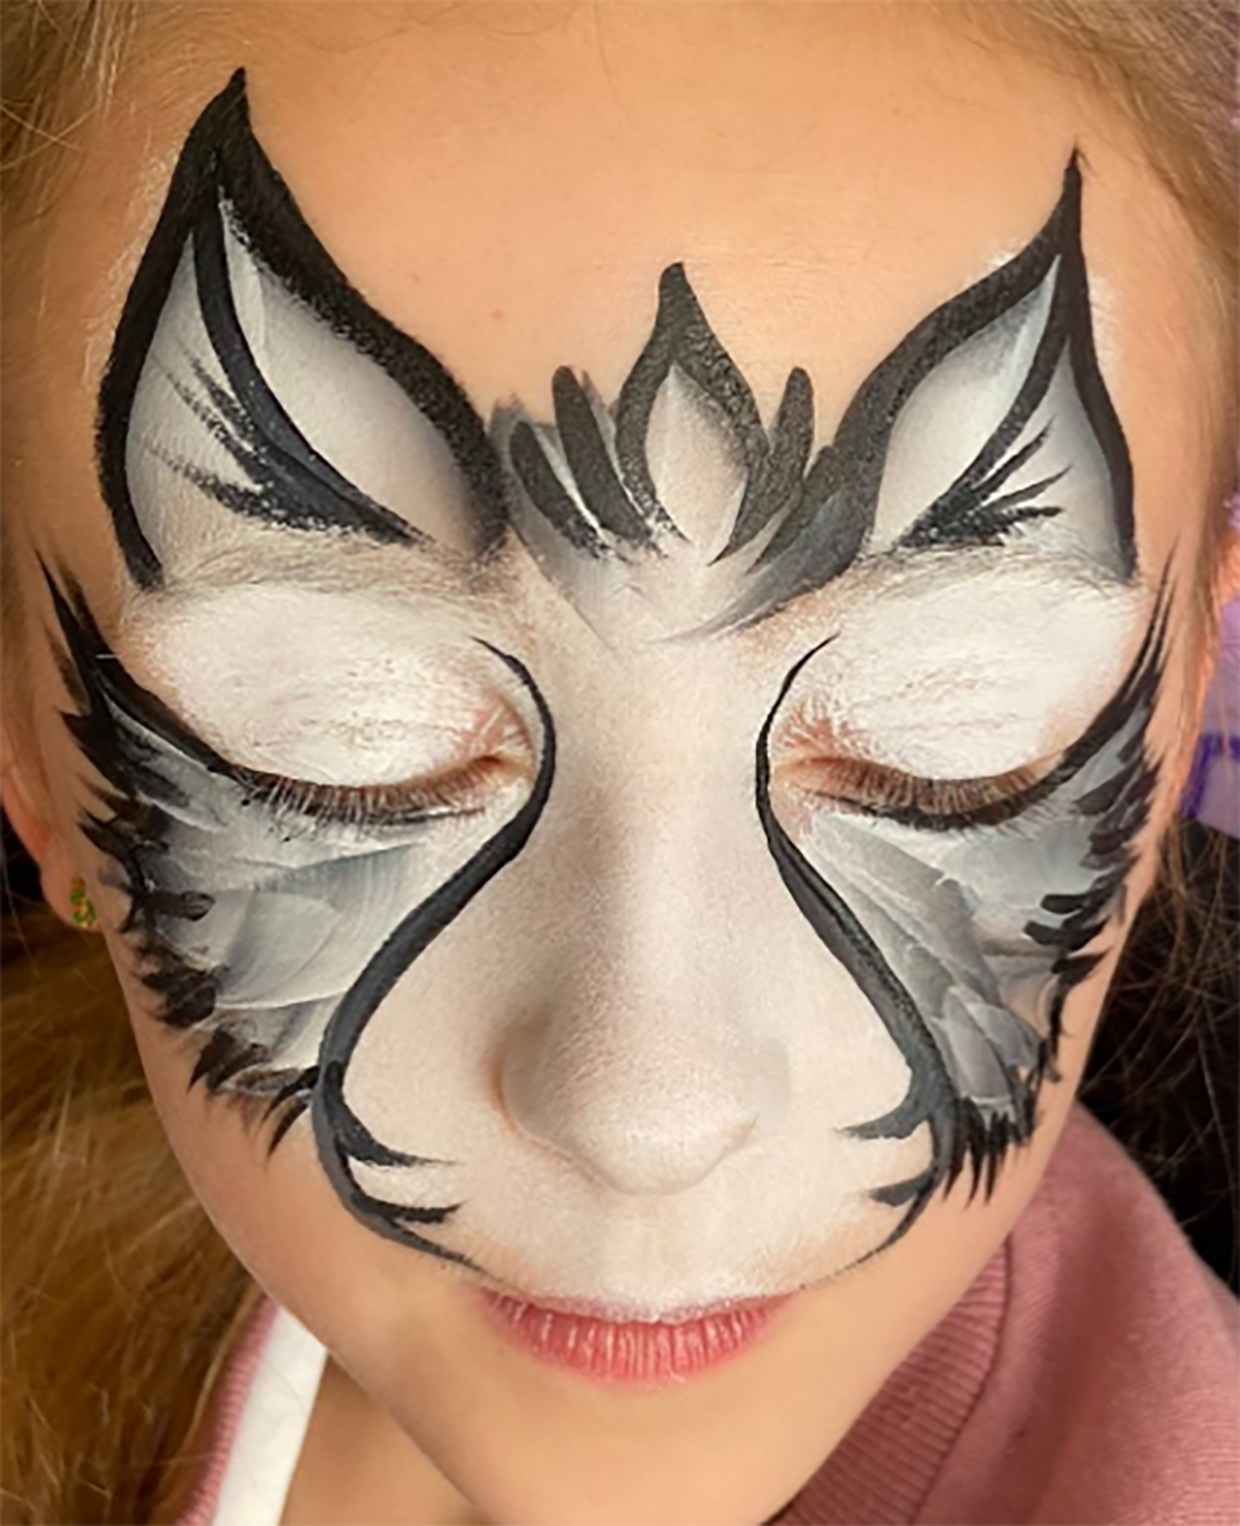
Step 9
Add the nose!
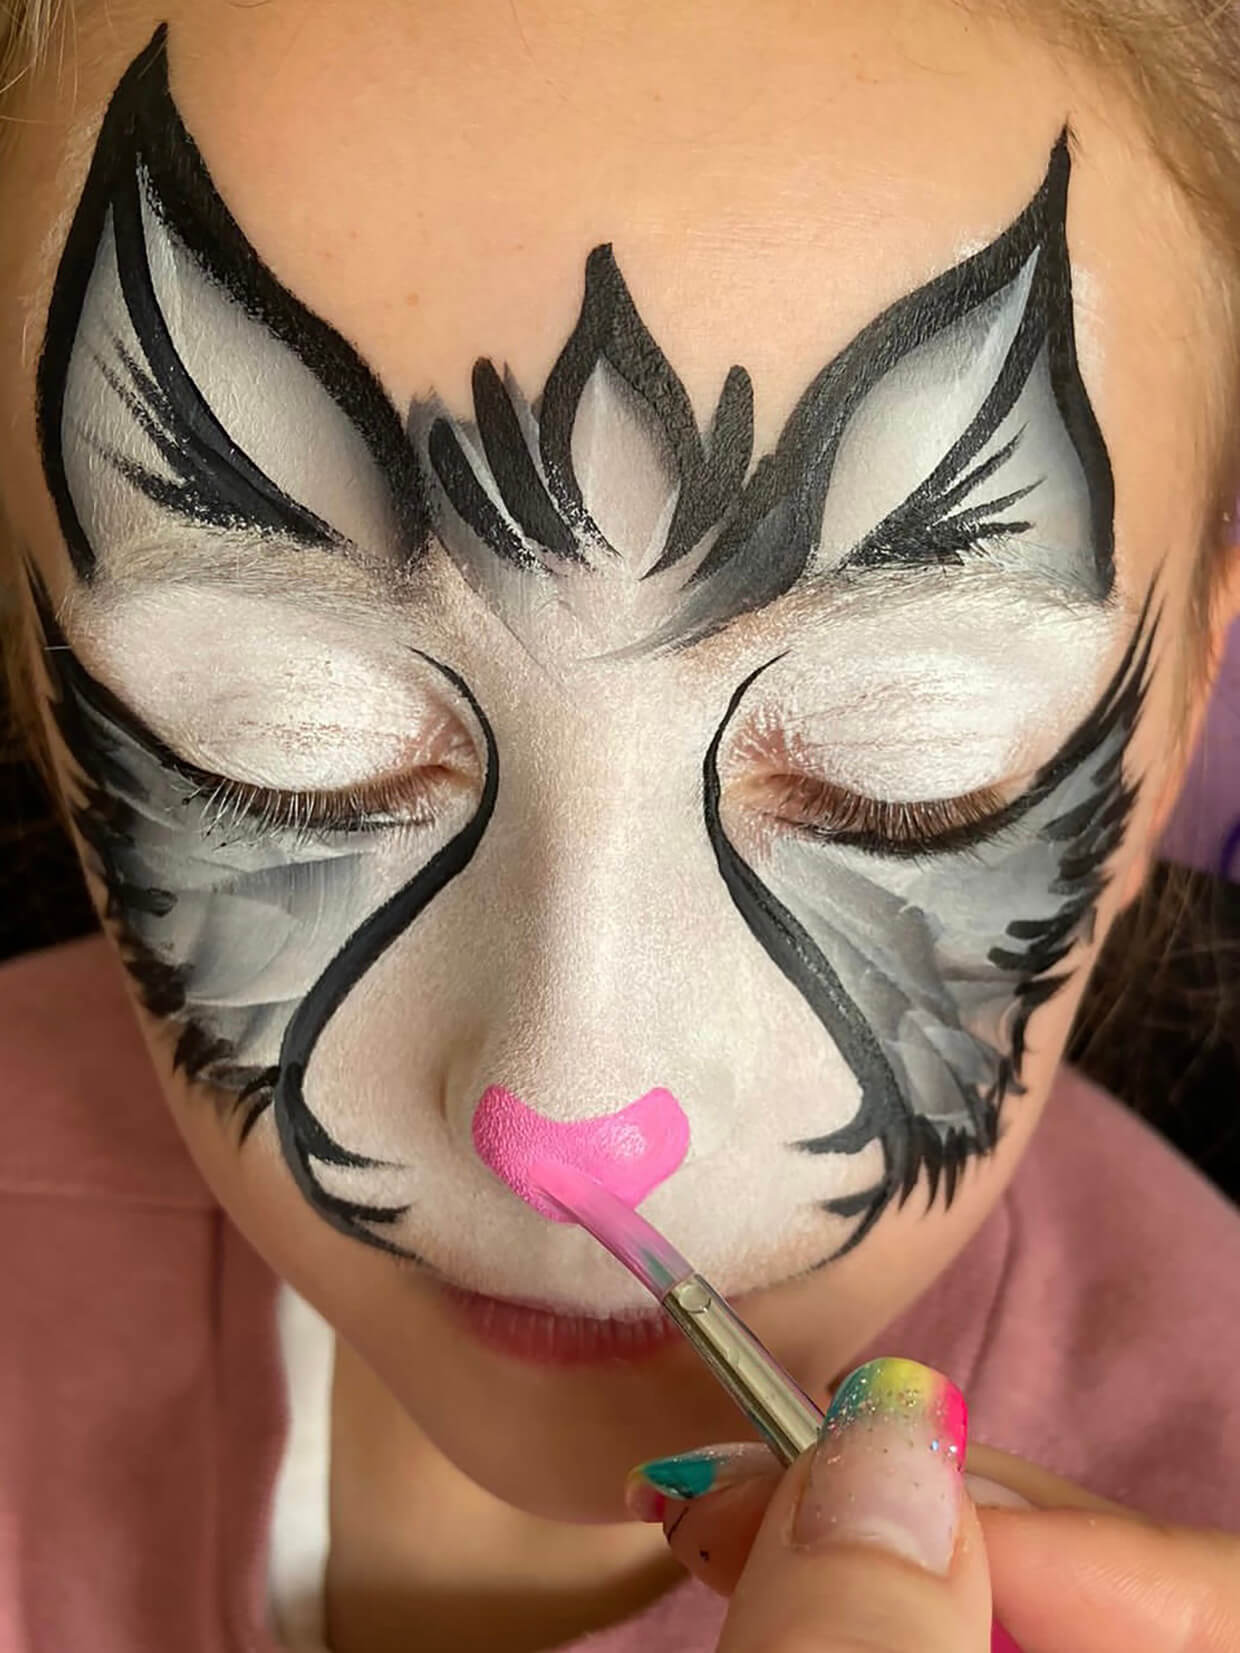
Load the slightly larger round No 6 brush with the pink face paint to add the nose.
Top tip -Try to keep the nose quite small!
Optional – You can add fine glitter at this point if you wish to, while the paint is still a bit wet, to give the cat a sparkling nose.
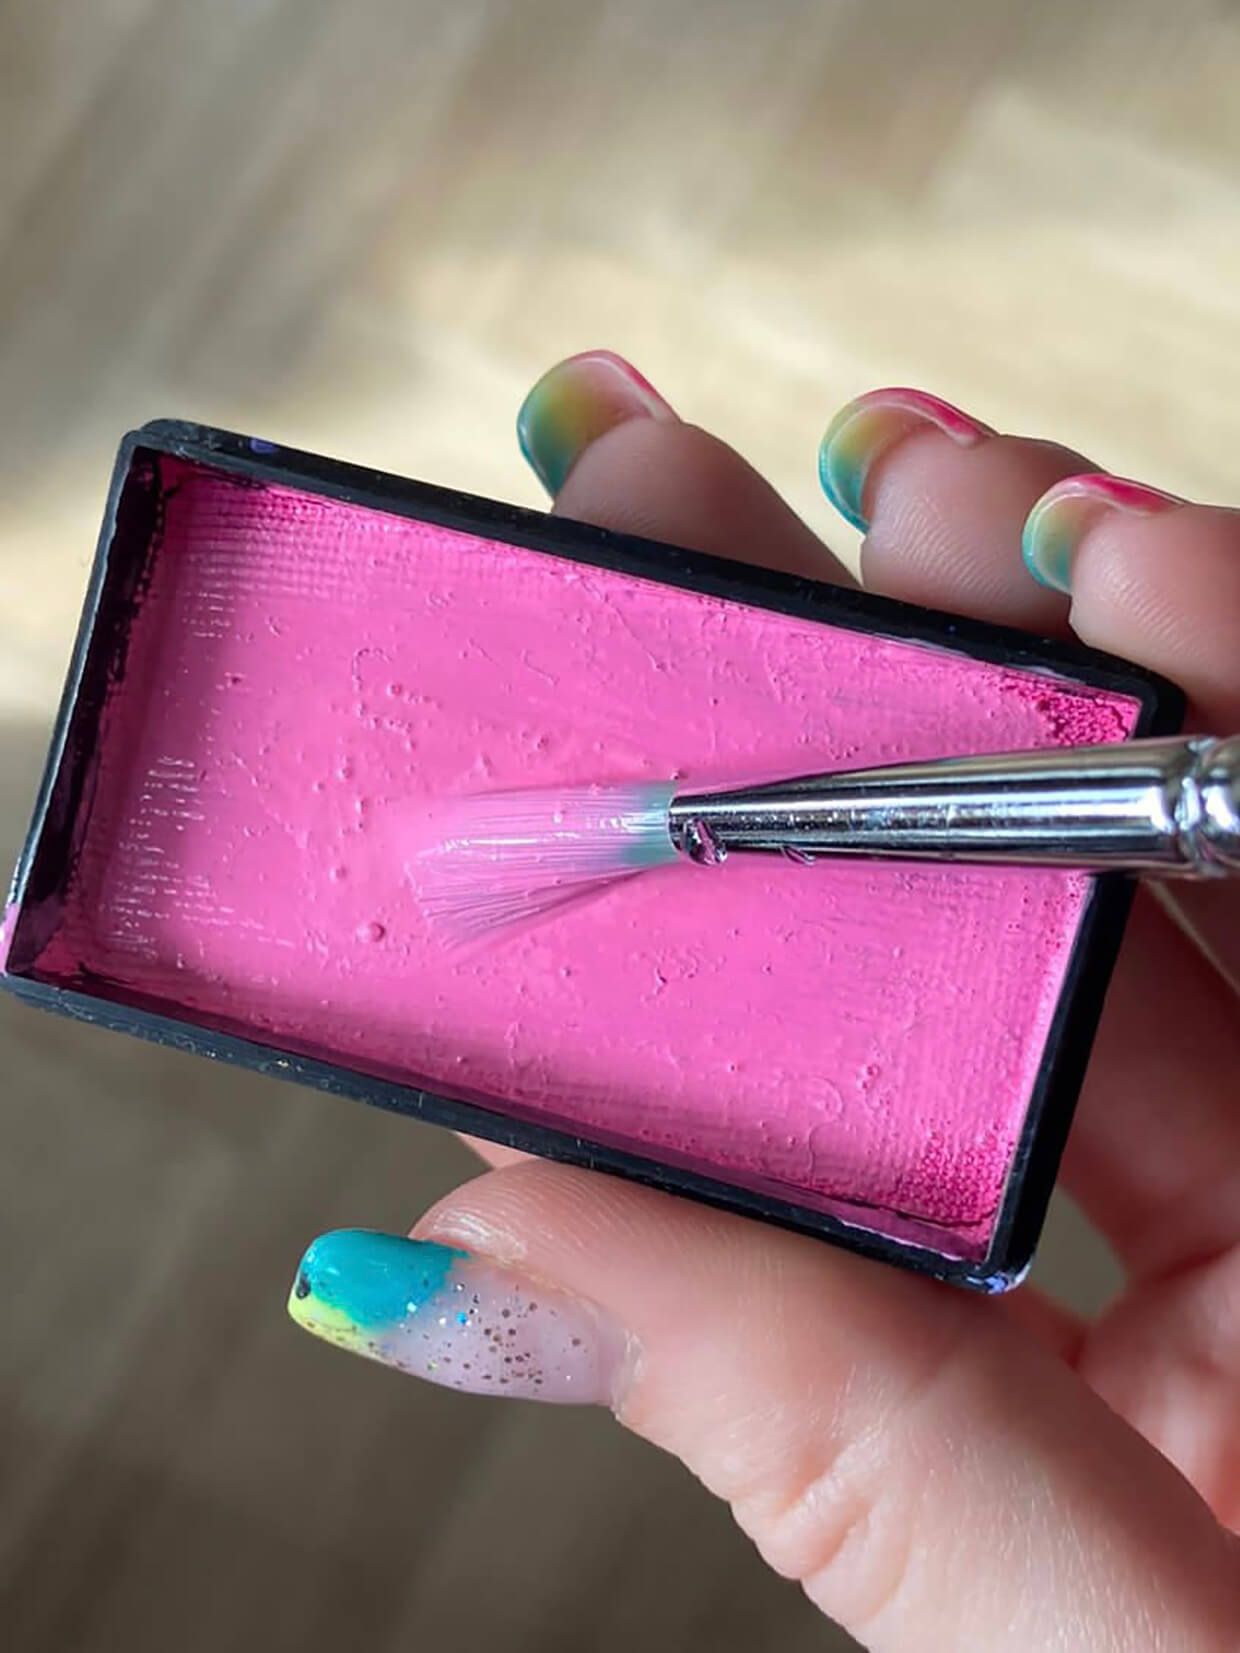
Step 10
Adding the whiskers
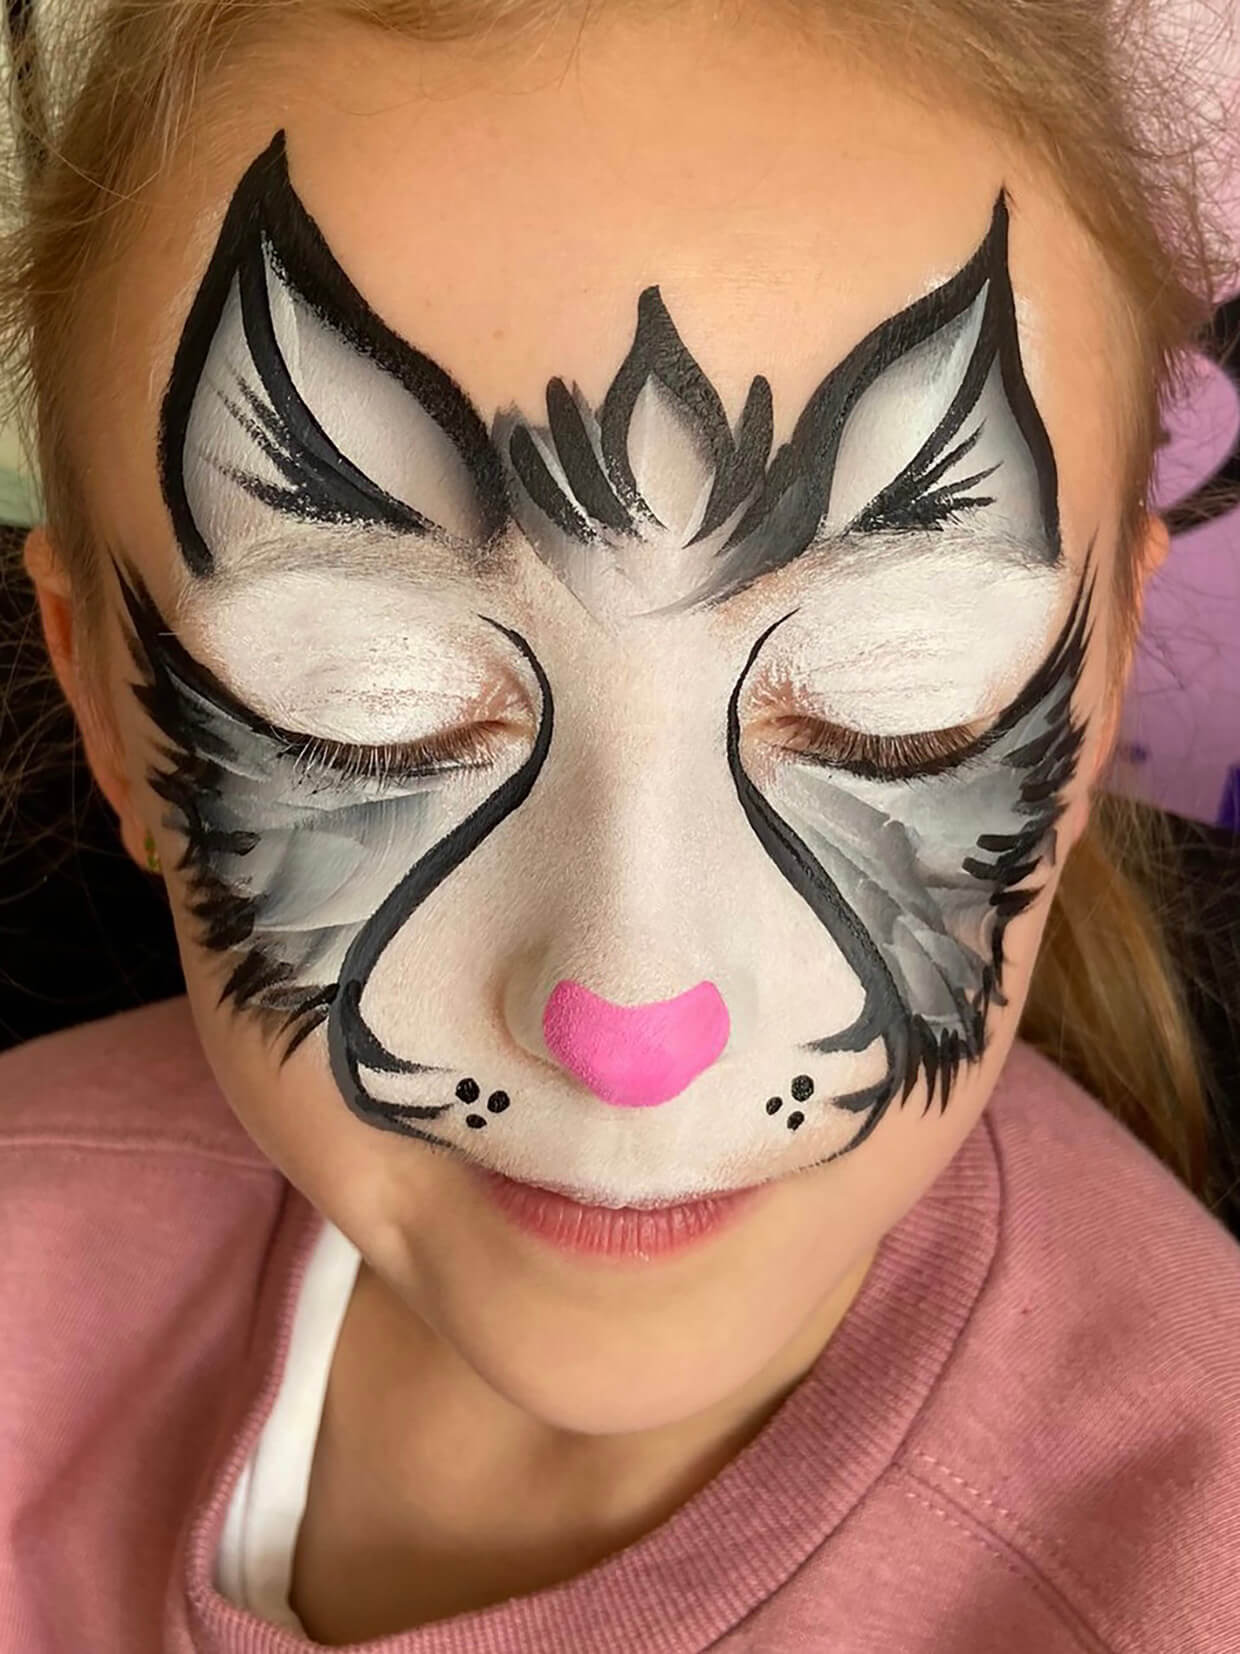
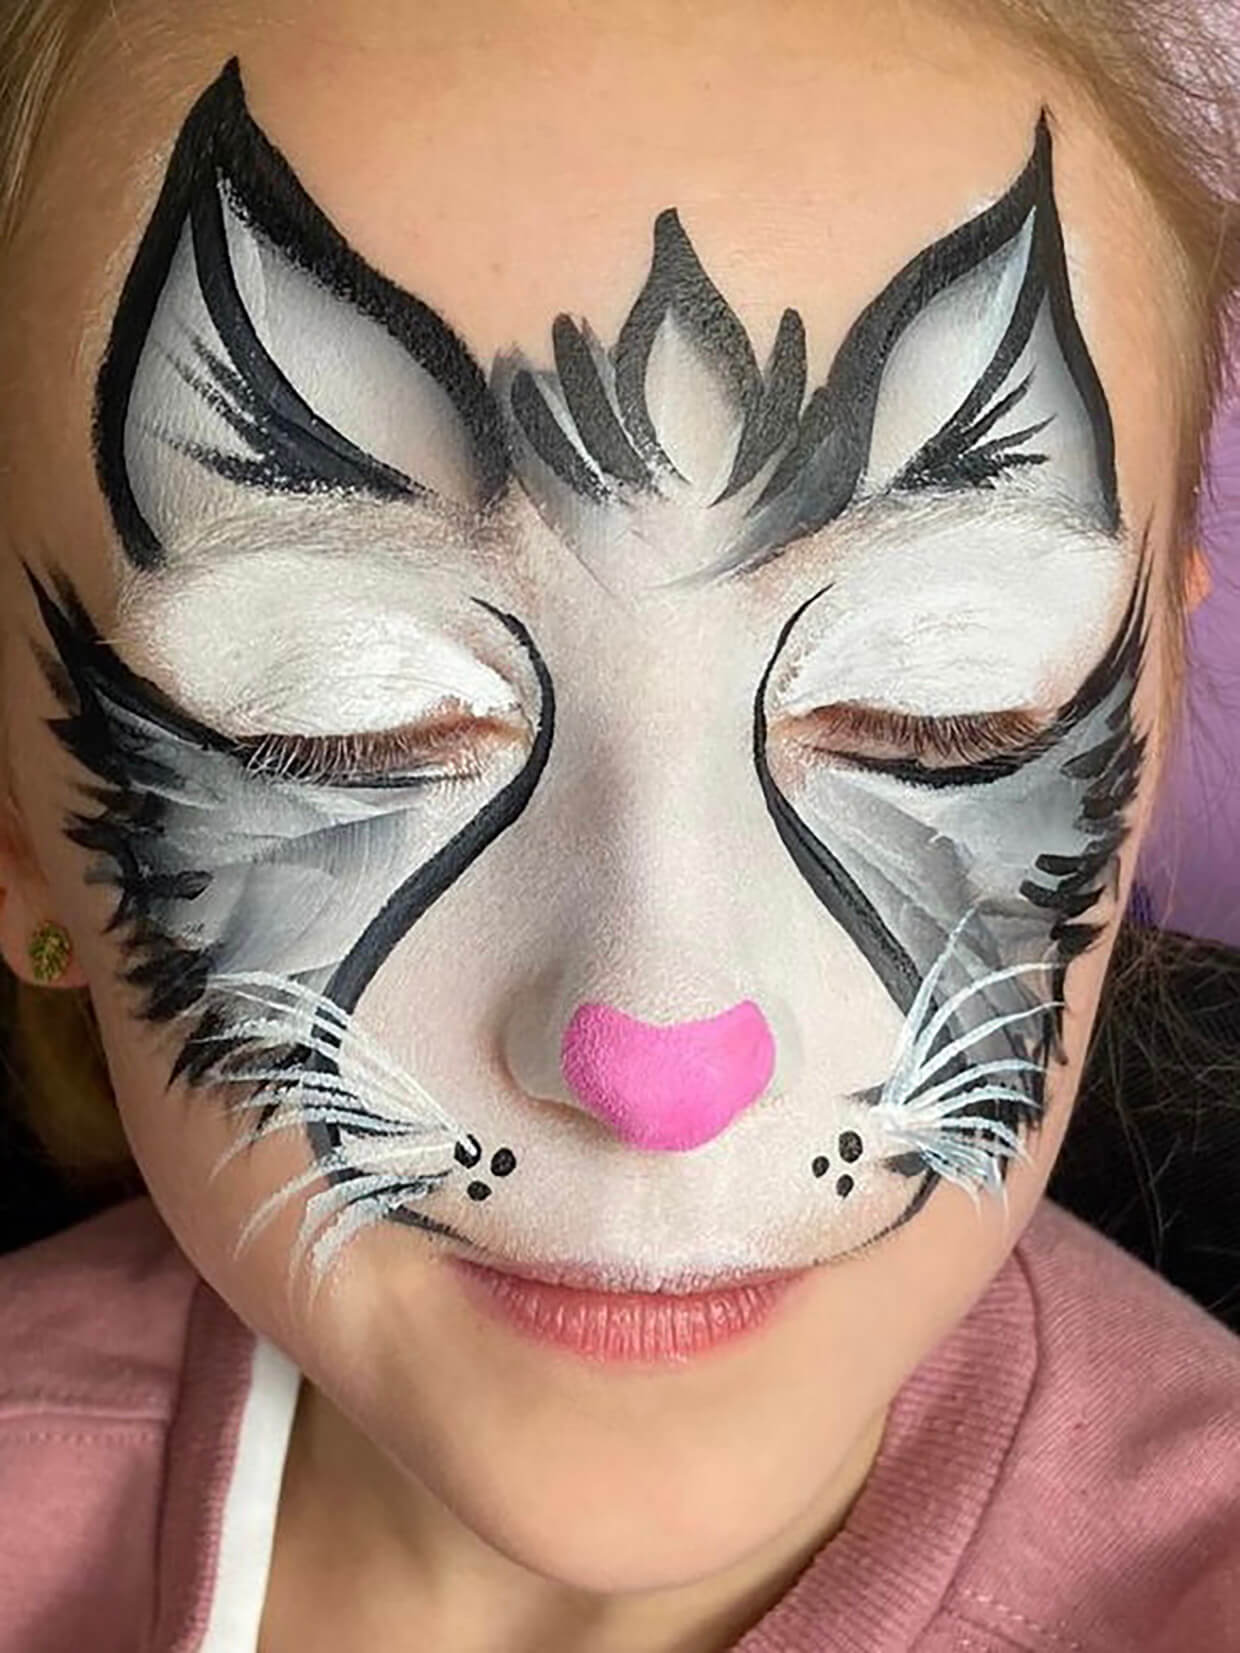
Finally, add black dots at either side of the muzzle then load your No 0 script liner brush with white paint. Add the white whiskers by flicking the brush out from the black dots in an outward motion.
Step 11
Want to take your cat face paint painting to the next level? (Optional step)
You can always take your Halloween black cat face paint to the next level if you are willing to invest in extra materials, such as face painting stencils. UK suppliers have a wide range of stencils, especially for Halloween.
So, for example, if you invest in a small spider stencil, you could add small spiders to the cheek or just below the fur line. The possibilities and creative opportunities are endless.


