
You might have heard of tie-dyeing (if you haven't head straight over to our complete guide to tie-dyeing) but what about ice dyeing?
Ice dyeing is a gorgeous modern craft that is perfect to do on a hot summer's day. With mesmerising colours blending into the fabric, and the chill of fresh ice, we can’t think of a better excuse to get outside and craft at the same time.
We’ve created a beginner’s guide to get you up and running in no time. In this article, we’ll share what ice dyeing is, why it’s great and how you can do it yourself.
Welcome to the wonderful world of ice dyeing!
What is ice dyeing?
Ice dyeing is the process of using frozen cubes to produce unusual and unique designs on fabrics. Ice dyeing typically involves placing ice cubes on the fabric, sprinkling powdered dyes on top then letting the ice melt through, leaving a design once dry.
The process produces random patterns on fabrics, depending on where the colours of the powdered dyes land as the ice melts.
What do you need to start ice dyeing?
Fabric
Natural fabrics, such as cotton, silk or linen are ideal for ice dyeing, as it’s a cold-water process. Synthetic fabrics, by contrast, usually need hot dyes to achieve the best results.
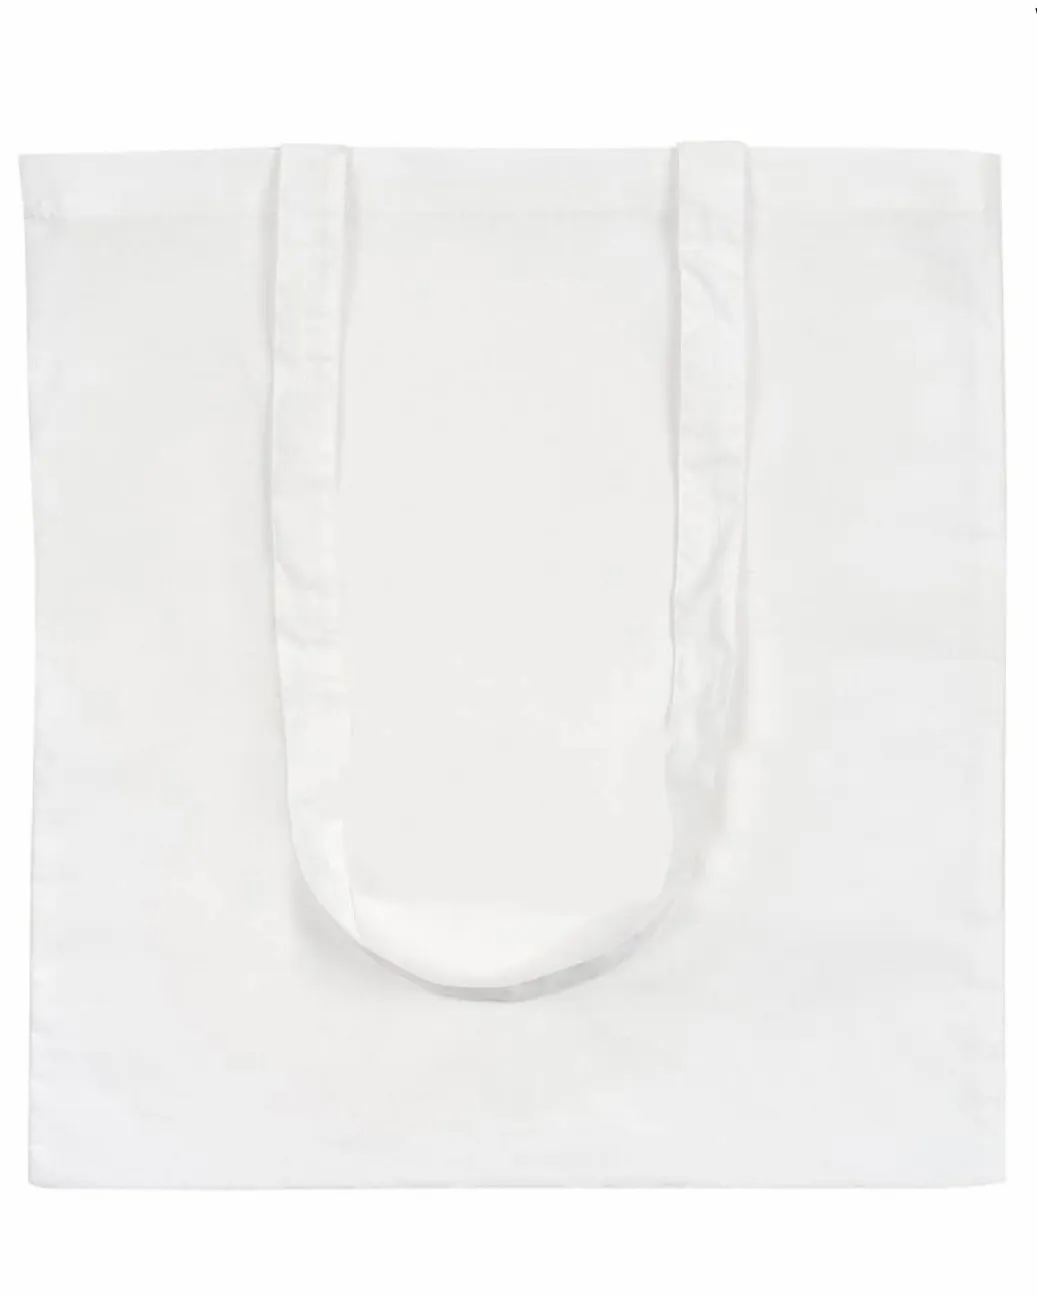
In our opinion, white natural fabric works best. Lightweight cotton is ideal, as it’s versatile enough to make clothes, cushions, bags and more.
If you’re not a keen sewer, then it’s best to use natural fabric clothes or items to dye instead. A basic white t-shirt is a great choice to try out your ice-dyeing techniques on, as it’s not too bulky.
Tote bags are also great for ice-dyeing, not least because they make great gifts.
Soda ash powder
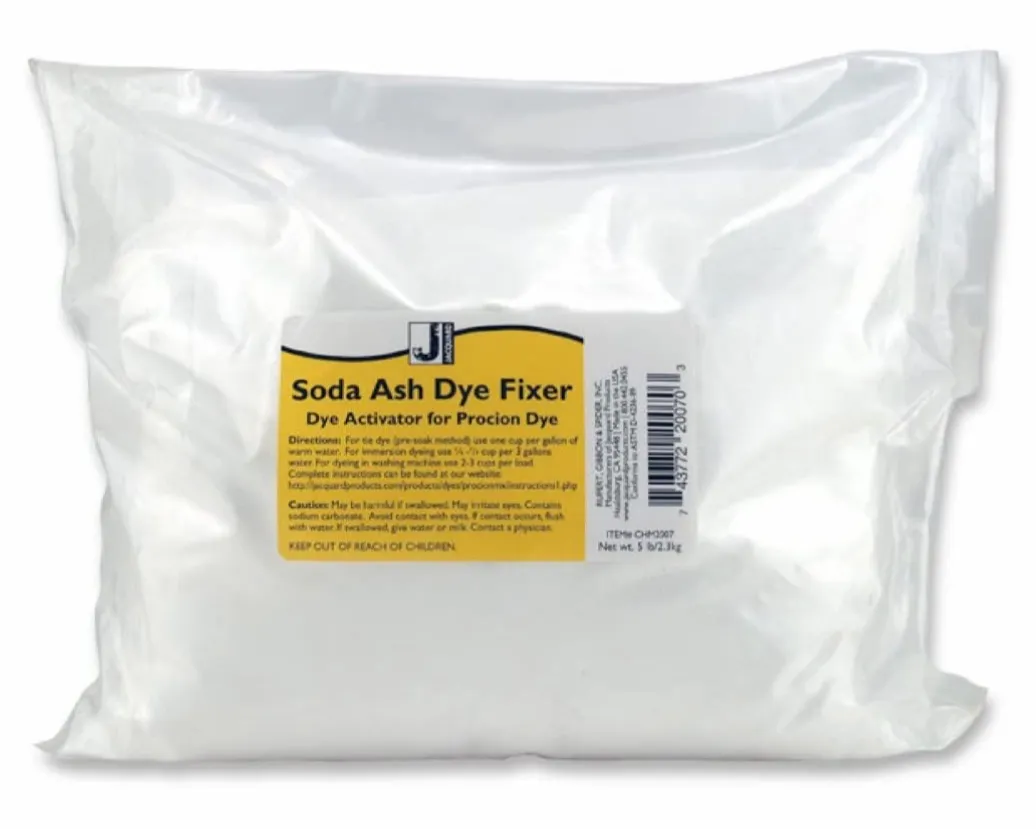
Once you’ve got your fabric, you’ll need to get it pre-washed to remove anything that could hinder the dyeing process. If you are going to wear the ice-dyed fabric then pre-treat it with a soda ash solution to help the dye adhere to the fabric.
Simply follow the instructions on the packet to treat your fabric before you start the ice-dyeing process.
- Pick up some soda ash powder from Amazon
Powdered dye
You’ll also need a selection of powdered dyes suitable for cold water. This process won’t work with liquid dyes, as the design is determined by the powder spreading across the ice’s surface as it melts.
The finished pattern will be more unique, which is the beauty of ice dyeing. Parts of the ice will have more powdered dye sprinkled on top, so it’s normal for some of the fabric to be denser in colour. Powdered fabric dyes go a long way, so you can make all sorts of ice-dyed creations once you stock up. All you’ll need in future is to buy another bag of ice!
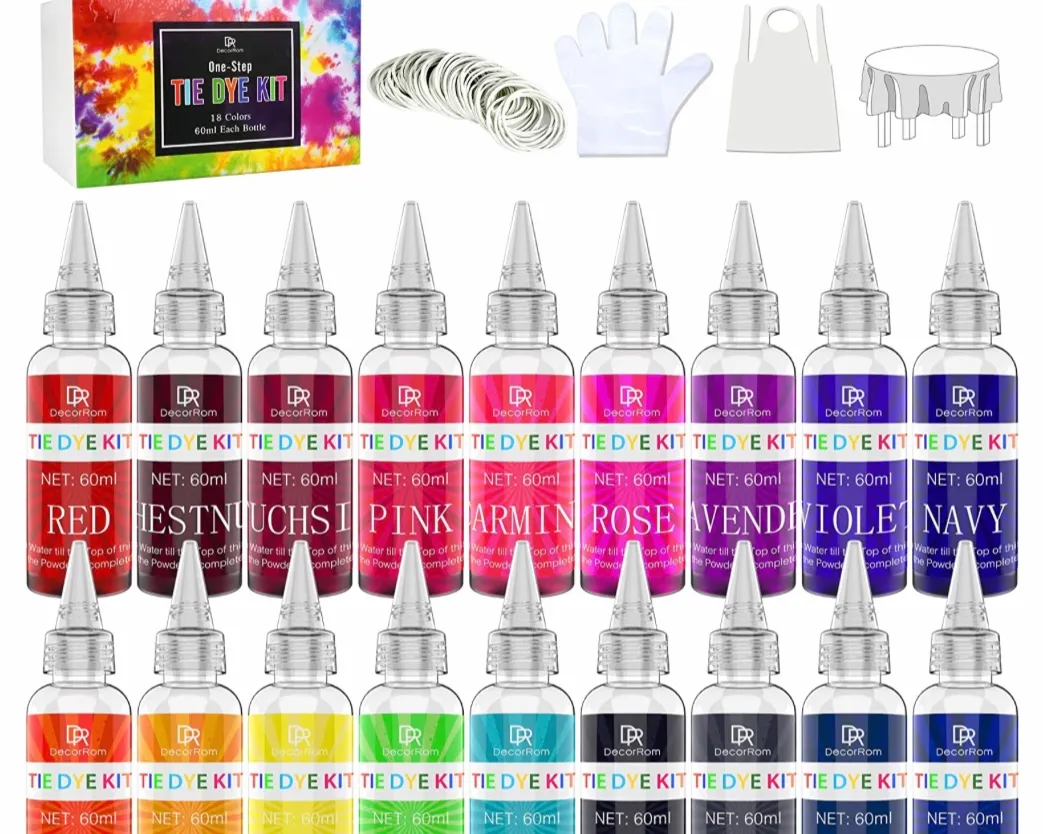
A basic tie-dyeing starter kit is ideal as it contains plenty of colours as well as protective gloves. The dyes come in powdered form, ready to be sprinkled on. If this isn't the kit for you then make sure you check out our collection of the best tie dye kits.
- Get your tie dye kit from Amazon
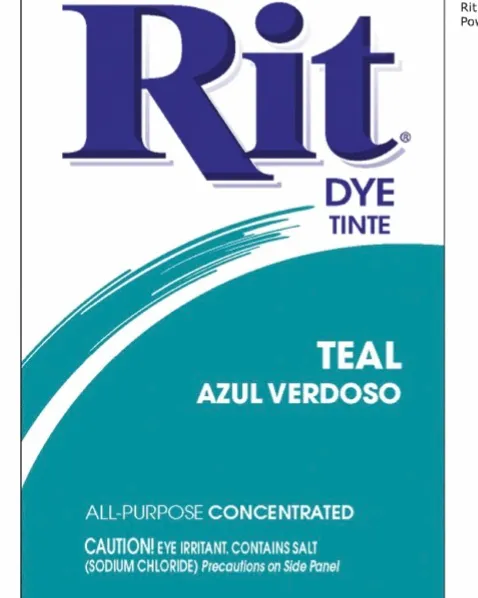
If you're looking to create lots of items with a similar colour palette, consider buying a couple of individual powdered dyes.
- Buy powdered dyes from Amazon
Protective equipment

Keep your hands protected from the dye! Wear plastic or rubber gloves to avoid stained hands. Powdered dye kits typically have gloves in them, but it’s always best to be prepared!
- Find gloves and other equipment over on Amazon
Ice
You’ll need quite a lot for ice dyeing as the fabric has got to be covered completely for the process to work. You either can use a large bag of ice cubes or crushed ice.
Crushed ice tends to stay on top of the fabric better, whereas cubes can sometimes roll off the top. Crushed ice will also cover the fabric more thoroughly. Ideally, you want as wide a surface area of the fabric covered as possible: uncovered fabric won’t soak up any dye.
Bags of ice are a more convenient purchase option when ice dyeing. A large bag of ice should be ample for two or three projects.
- Pick up ice from Sainsbury's
A bowl
You’ll need your bowl to catch melted, dyed ice. A large plastic washing-up bowl or a large foil tray works well.
- Buy a washing-up bowl from Amazon
A wire rack
Finally, you’ll need a wire rack to place over the bowl, on top of which your fabric will sit. A large baking cooling rack is ideal for this purpose.
- Buy a wire rack from Amazon


