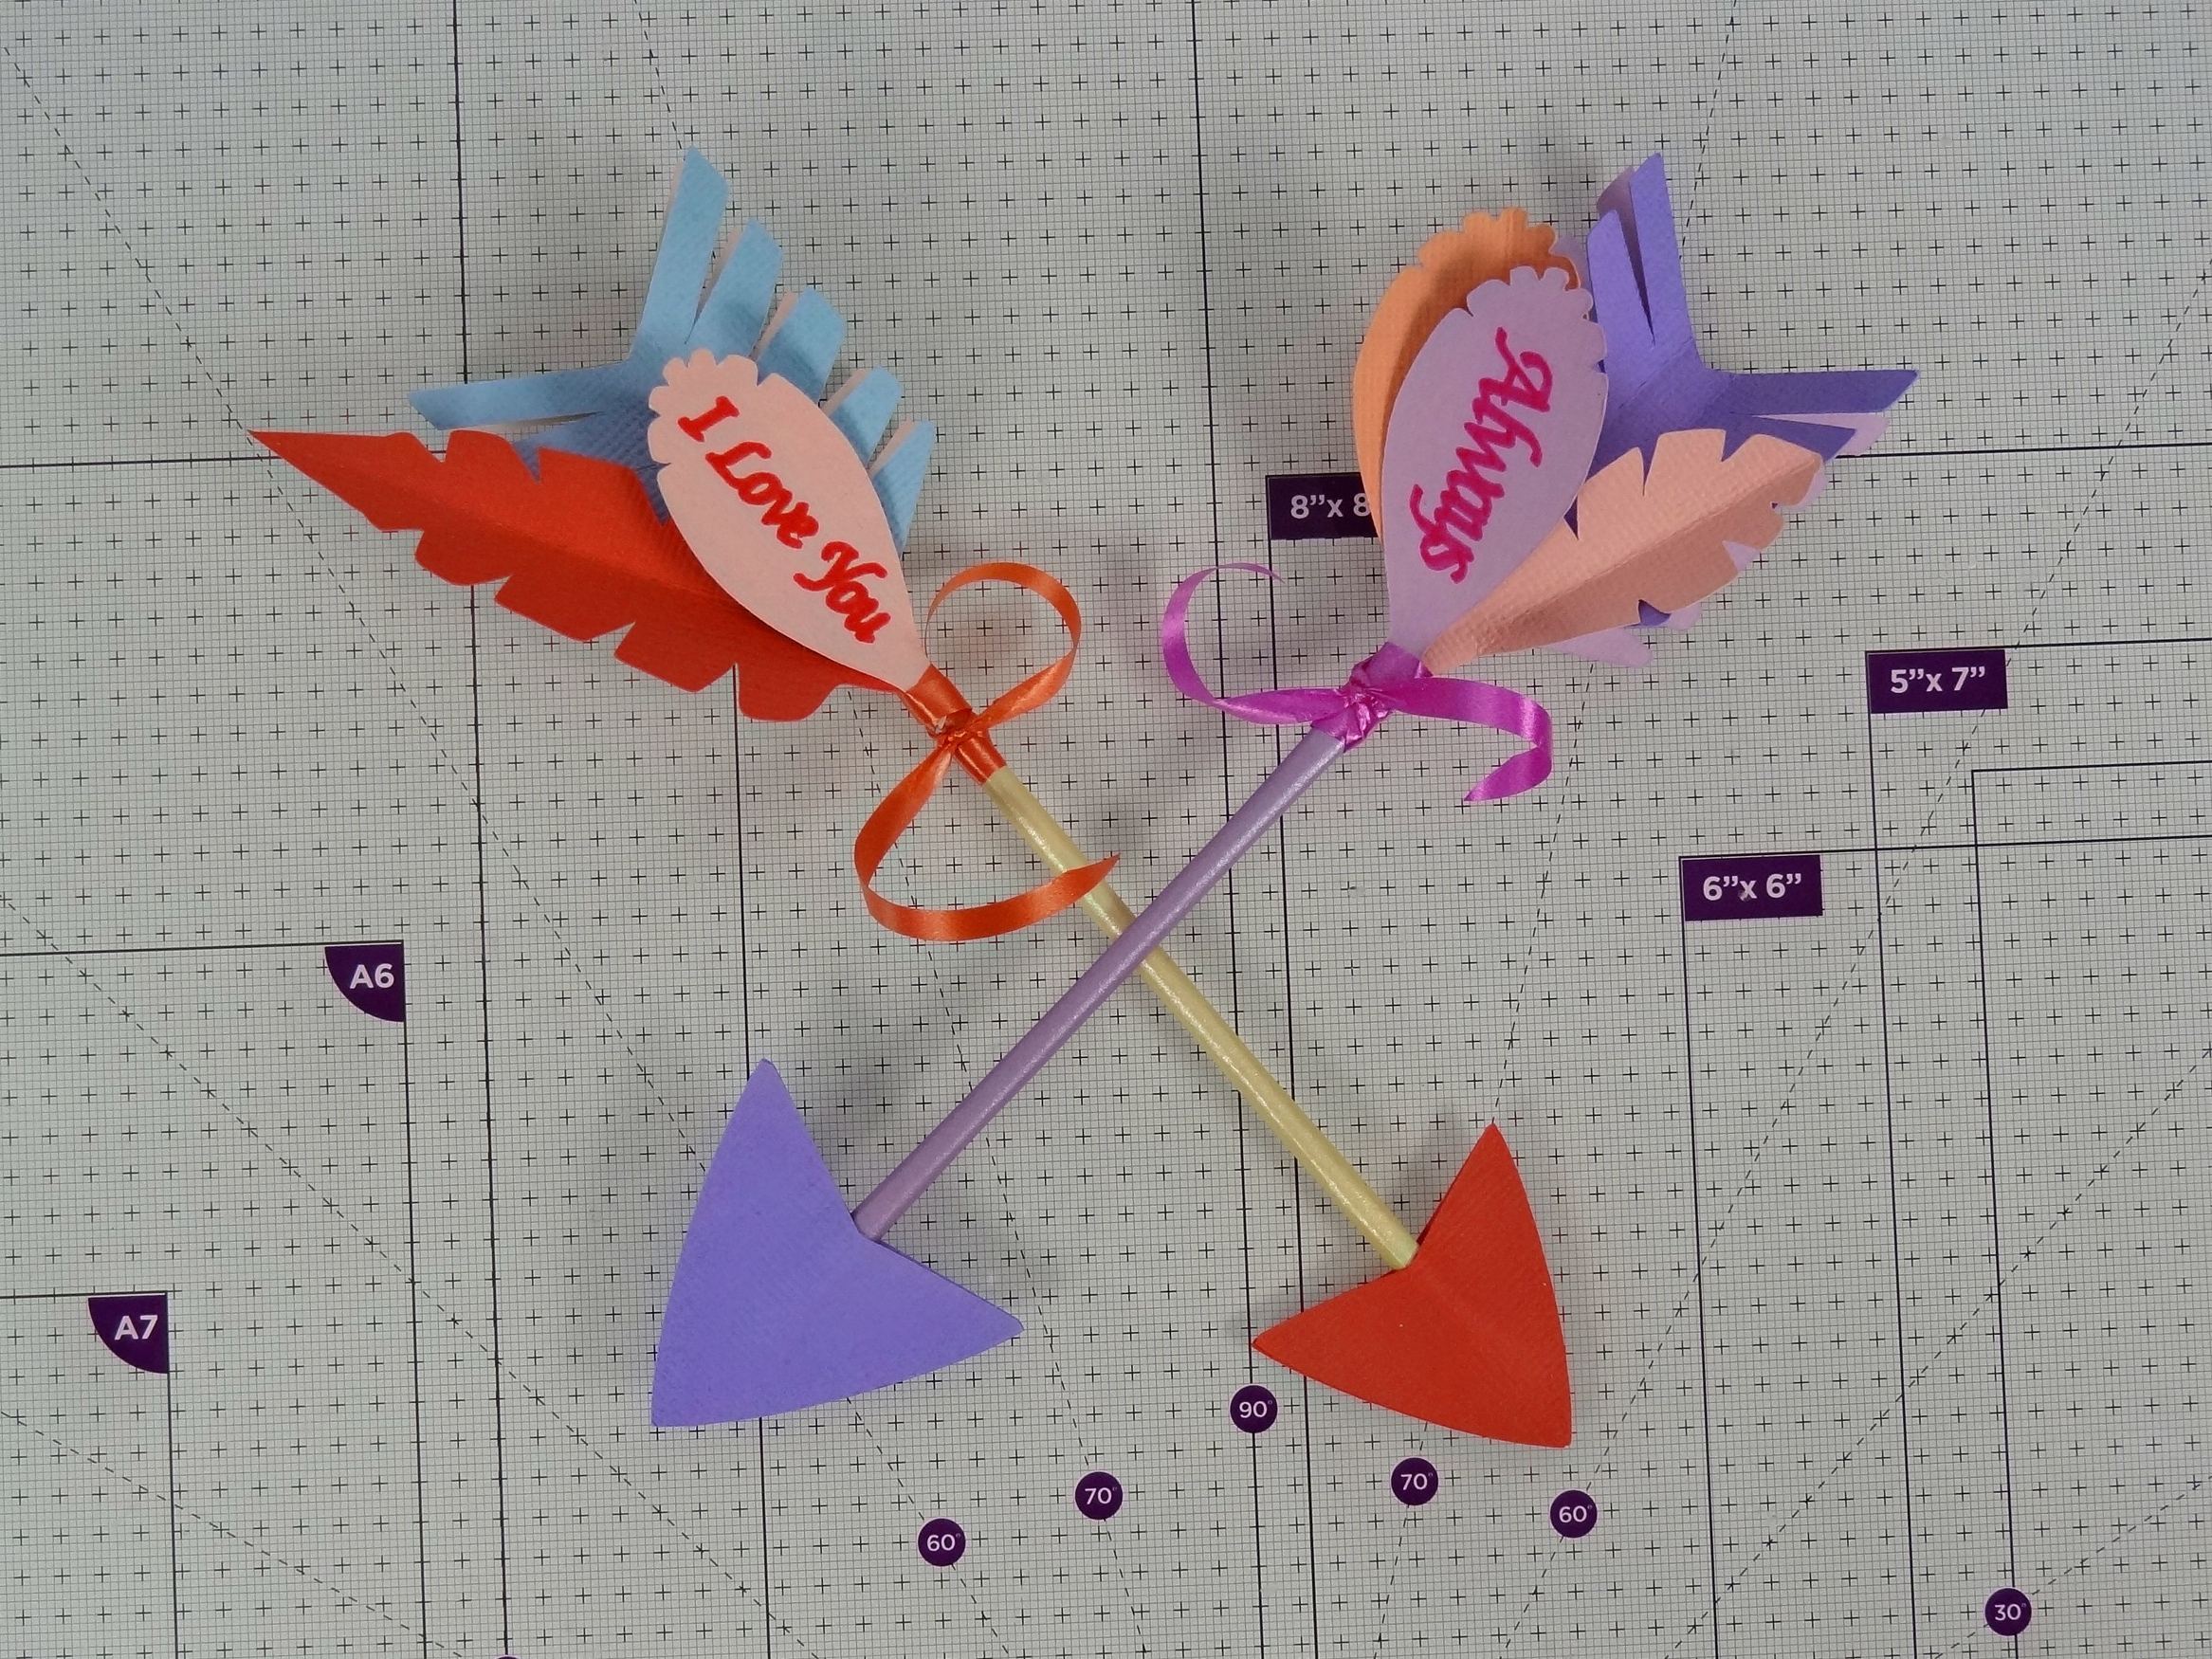
How to make a paper arrow

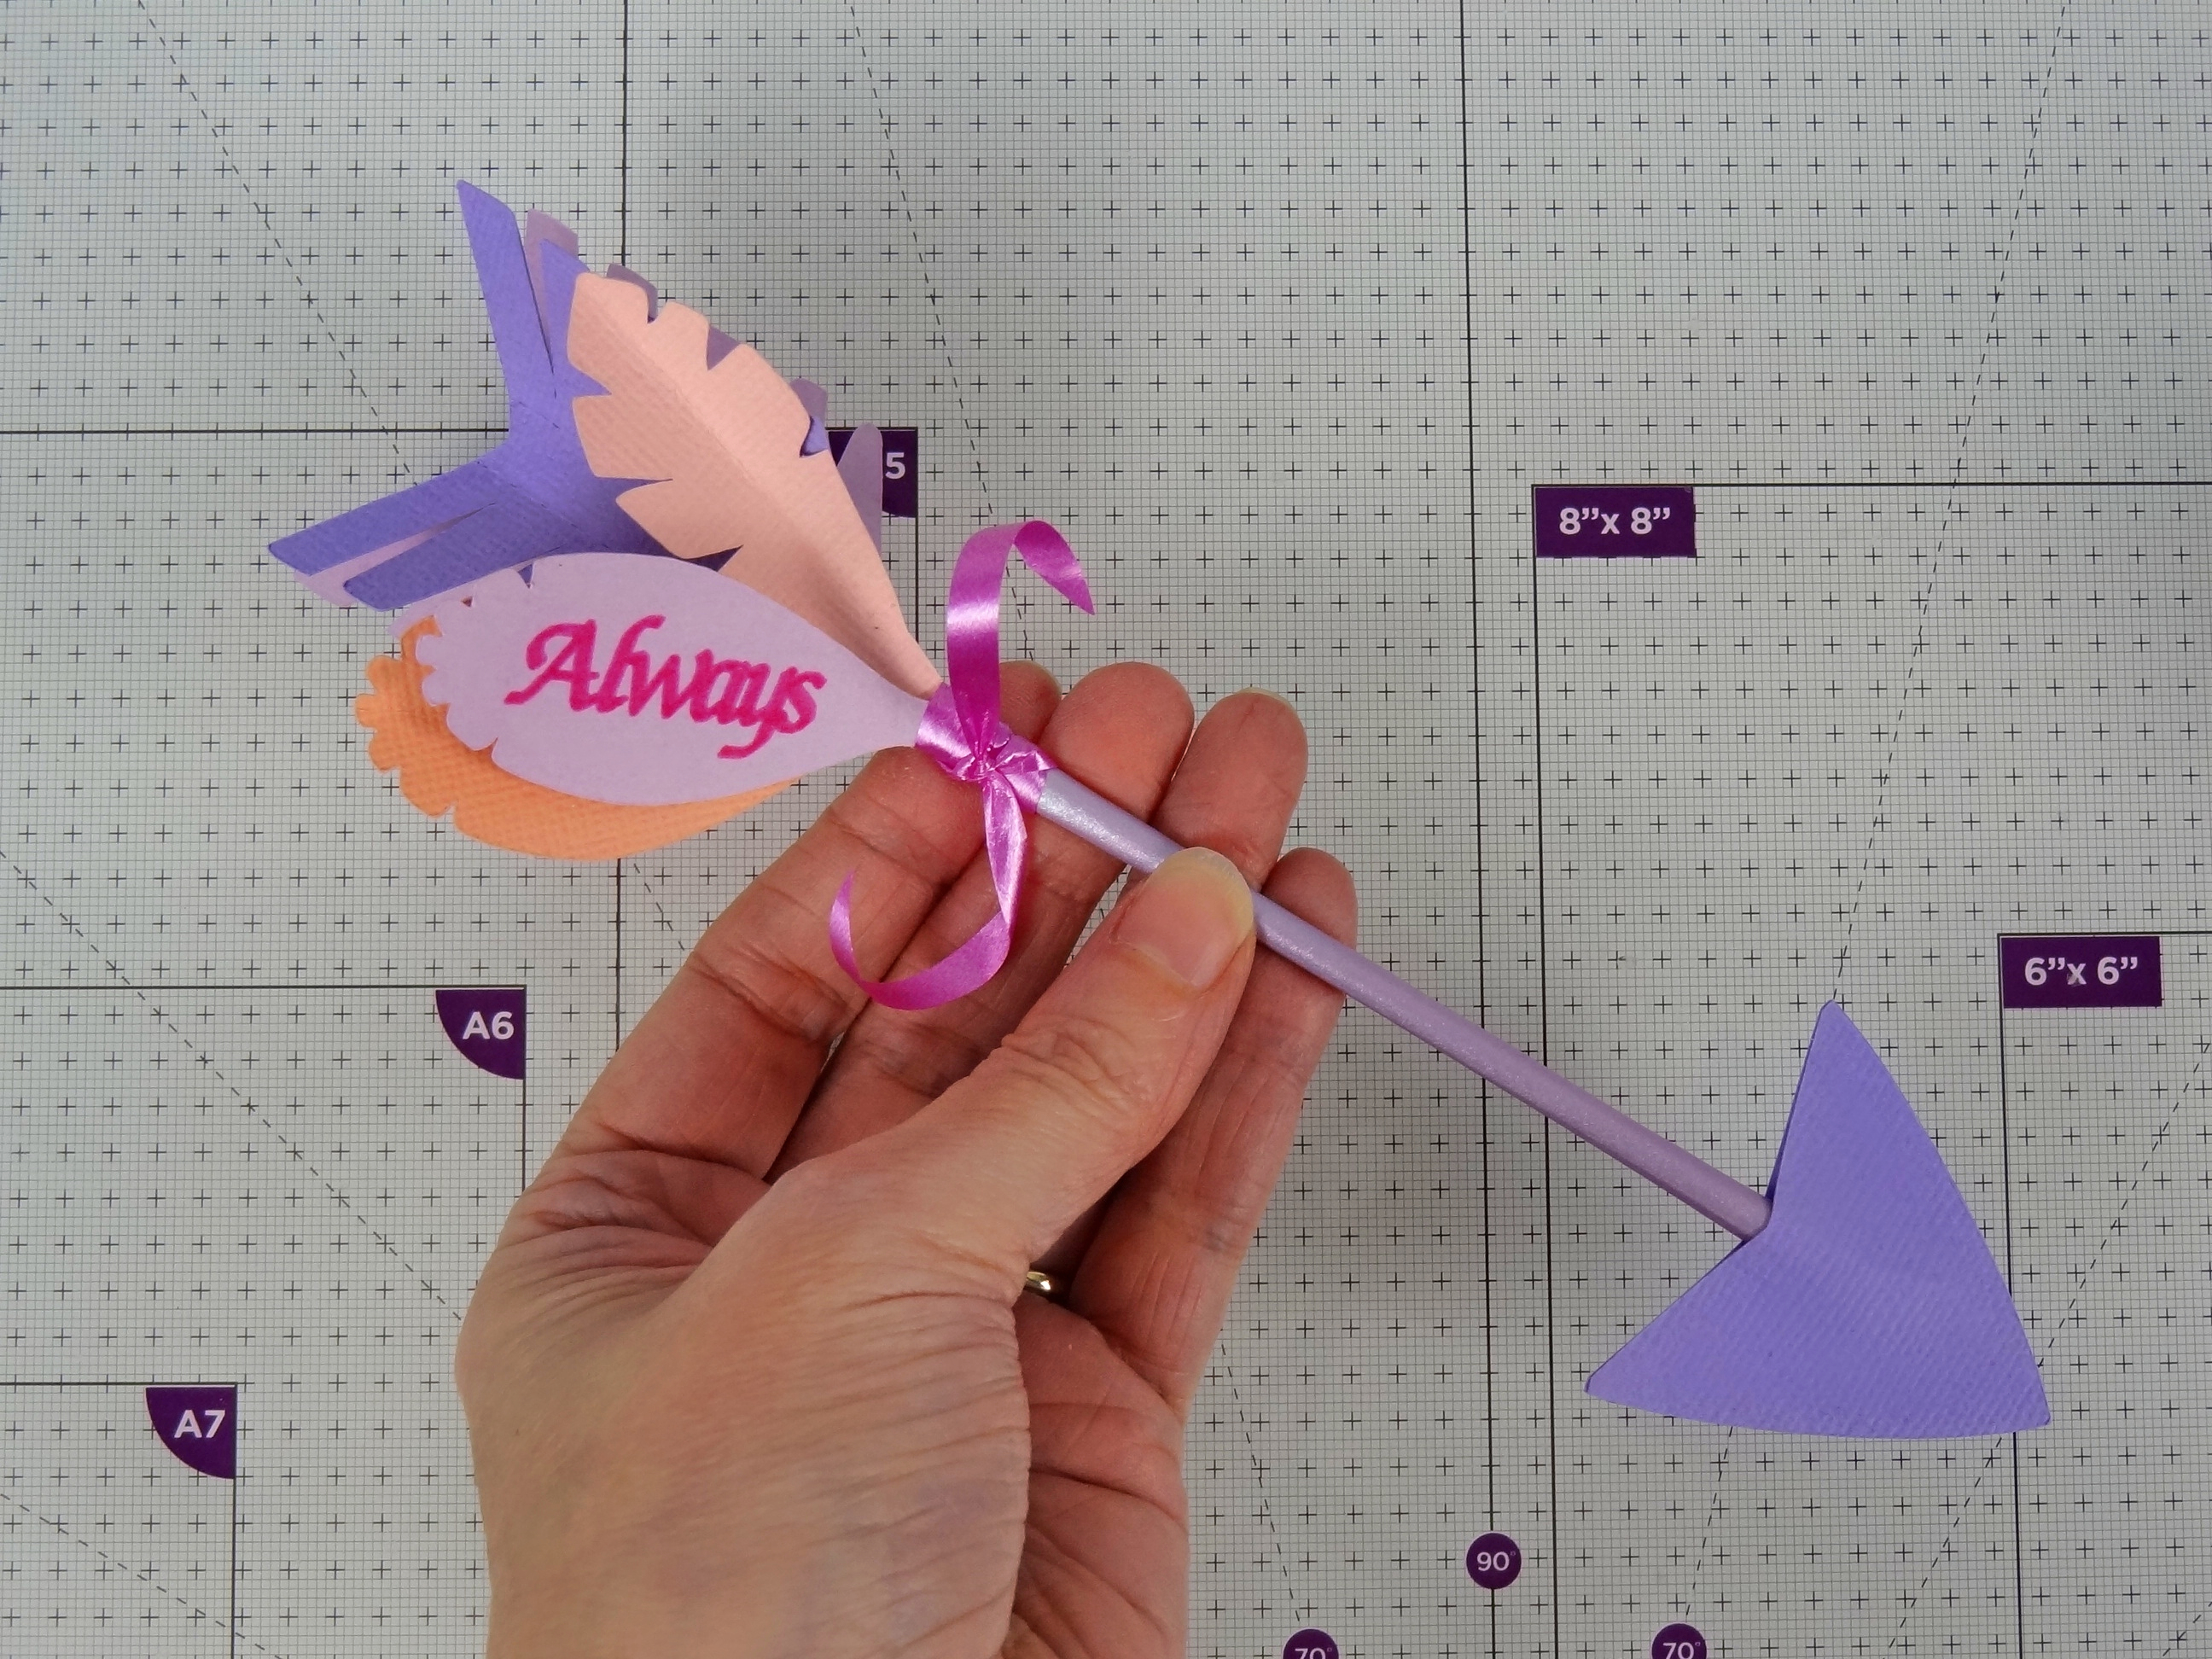
Give cupid a helping hand and craft your true love this paper arrow love token

Try our magazines – get 6 issues from just £9.99!

Published: January 19, 2022 at 12:01 am

Learning how to make a paper arrow with our tutorial and video shows you the easy way to make a bespoke love token. These Cupid's arrows are great makes for your true love on Valentines Day, but are great for other occasions, too. These would also make lovely wedding tokens, or table decorations, perhaps adding the initials of the bride and groom. Add foiling, gilding or sparkle! Or why not use as a proposal? ‘Will You?’ on the sentiment for a sweet marriage proposal.

You can make a paper arrow entirely by hand, and write your own message on the feather but we are using the ScanNCut to cut our shapes and making the most of the machine's text feature. For the sentiment feather you can use the ScanNCut and its coloured pens to write your sentiment first then cut out the feather around the sentiment. The style used on our paper arrows using is available in the free online Canvas Workspace software and is accessed via the ‘Text’ option , select the 2nd font down which is FO-A003: Calgary Medium italic. You type your chosen word on-screen and if you wish to join the letters, follow these steps: select all the word, then click ‘divide’, then move a letter until it slightly overlaps the one you want to join to, select both and click ‘weld’, continue to do this welding 1 letter at a time until the word is joined as desired. Easily resize the word by placing it onto the feather shape and adjusting the size to fit. Ensure you select the word as a ‘drawing line’ in the properties box and tick the ‘fill’ box if you wish it to be a solid word instead of an outline, before sending to machine, ensure the shape is a cut line and group them together. We advise ‘drawing’ first , then cutting when you are ready to use your files in your machine. (this editing can’t be done on the machine itself on-screen).

Of course, if you want to hand-write your greeting instead, you can do this after the sentiment feather is cut out if you wish. There are a variety of different feather shapes in the paper arrow templates, you can mix and match to create elaborate or more simple designs.Experiment with different coloured card, patterned papers, different ribbons or lace, and embellishments such as adhesive gems, inks and glitters for a really bespoke paper arrow for your love.

How to make a paper arrow video

Paper arrow templates and SVG files

Click to download the paper arrow templates.

These templates have been designed to be cut at 100%, however the shapes can easily be resized to suit your requirements. Perhaps they could be toppers for cards or gift boxes too.

Click to download the paper arrow SVG cutting files that you can use directly in your ScanNCut.
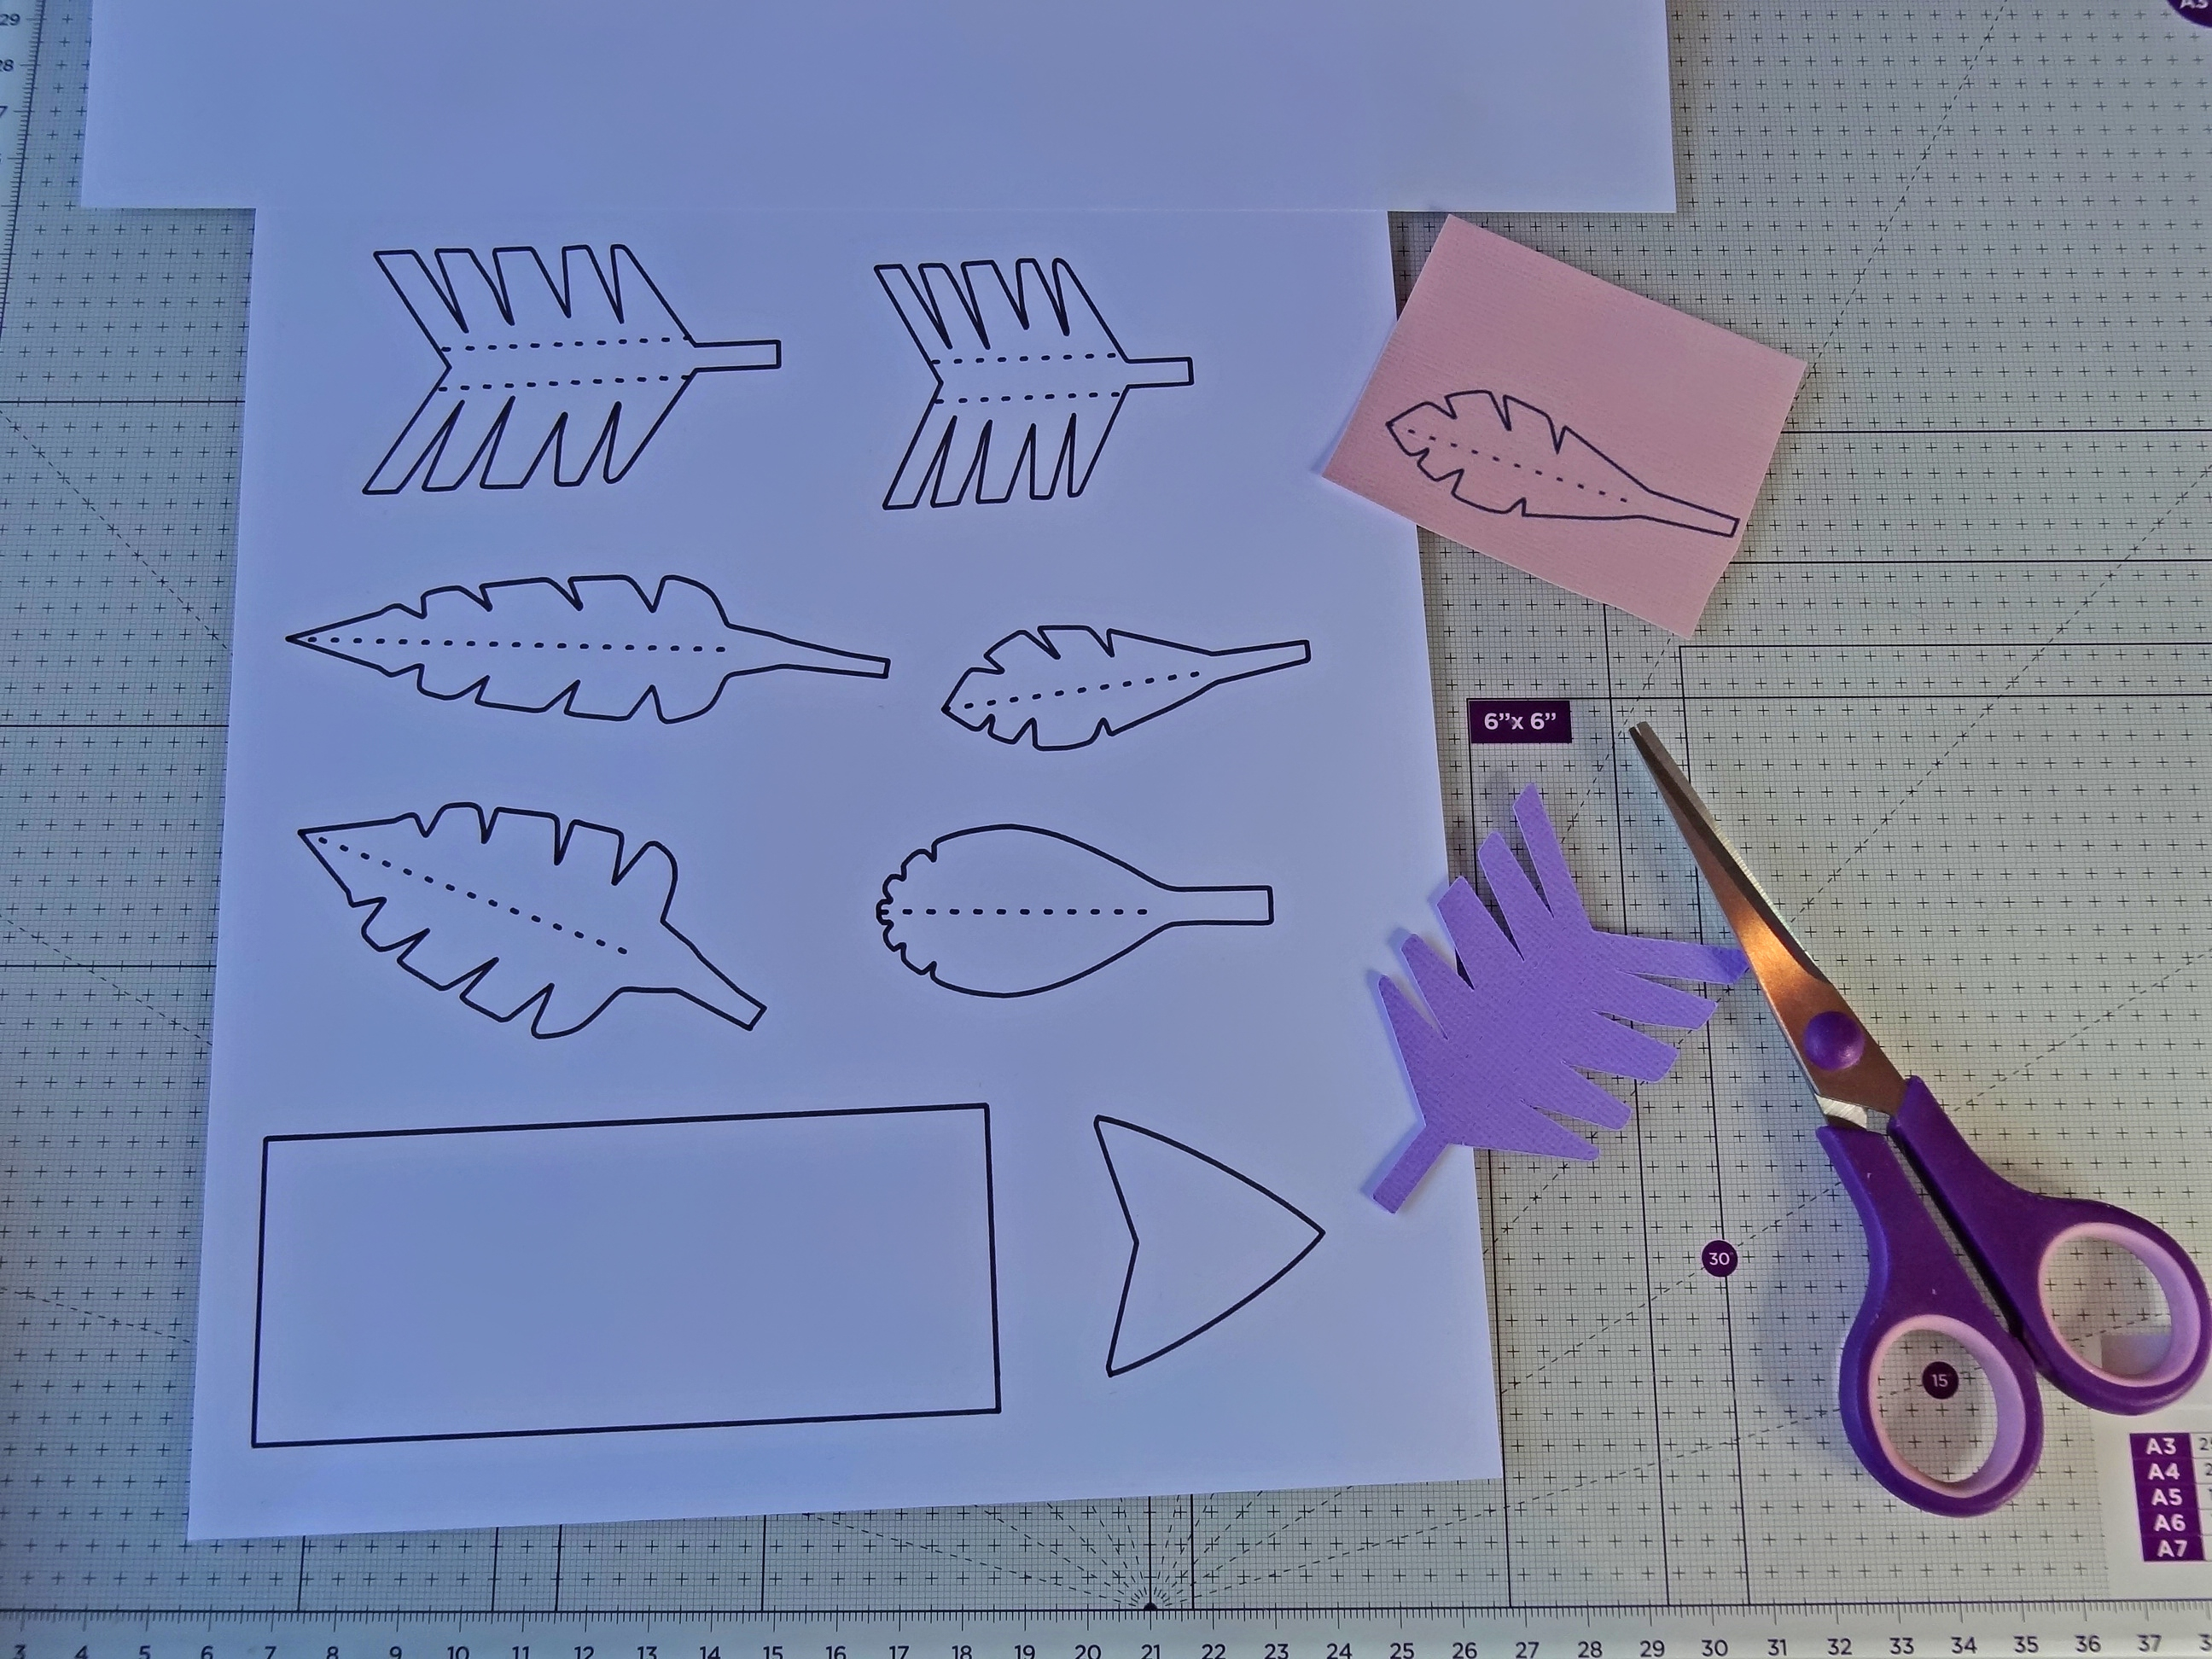
You will need:

  • Paper arrow templates
  • Coloured card
  • Cocktail stick or wooden skewer
  • Craft glue
  • Rbbon

Step 1

How to make a paper arrow 1

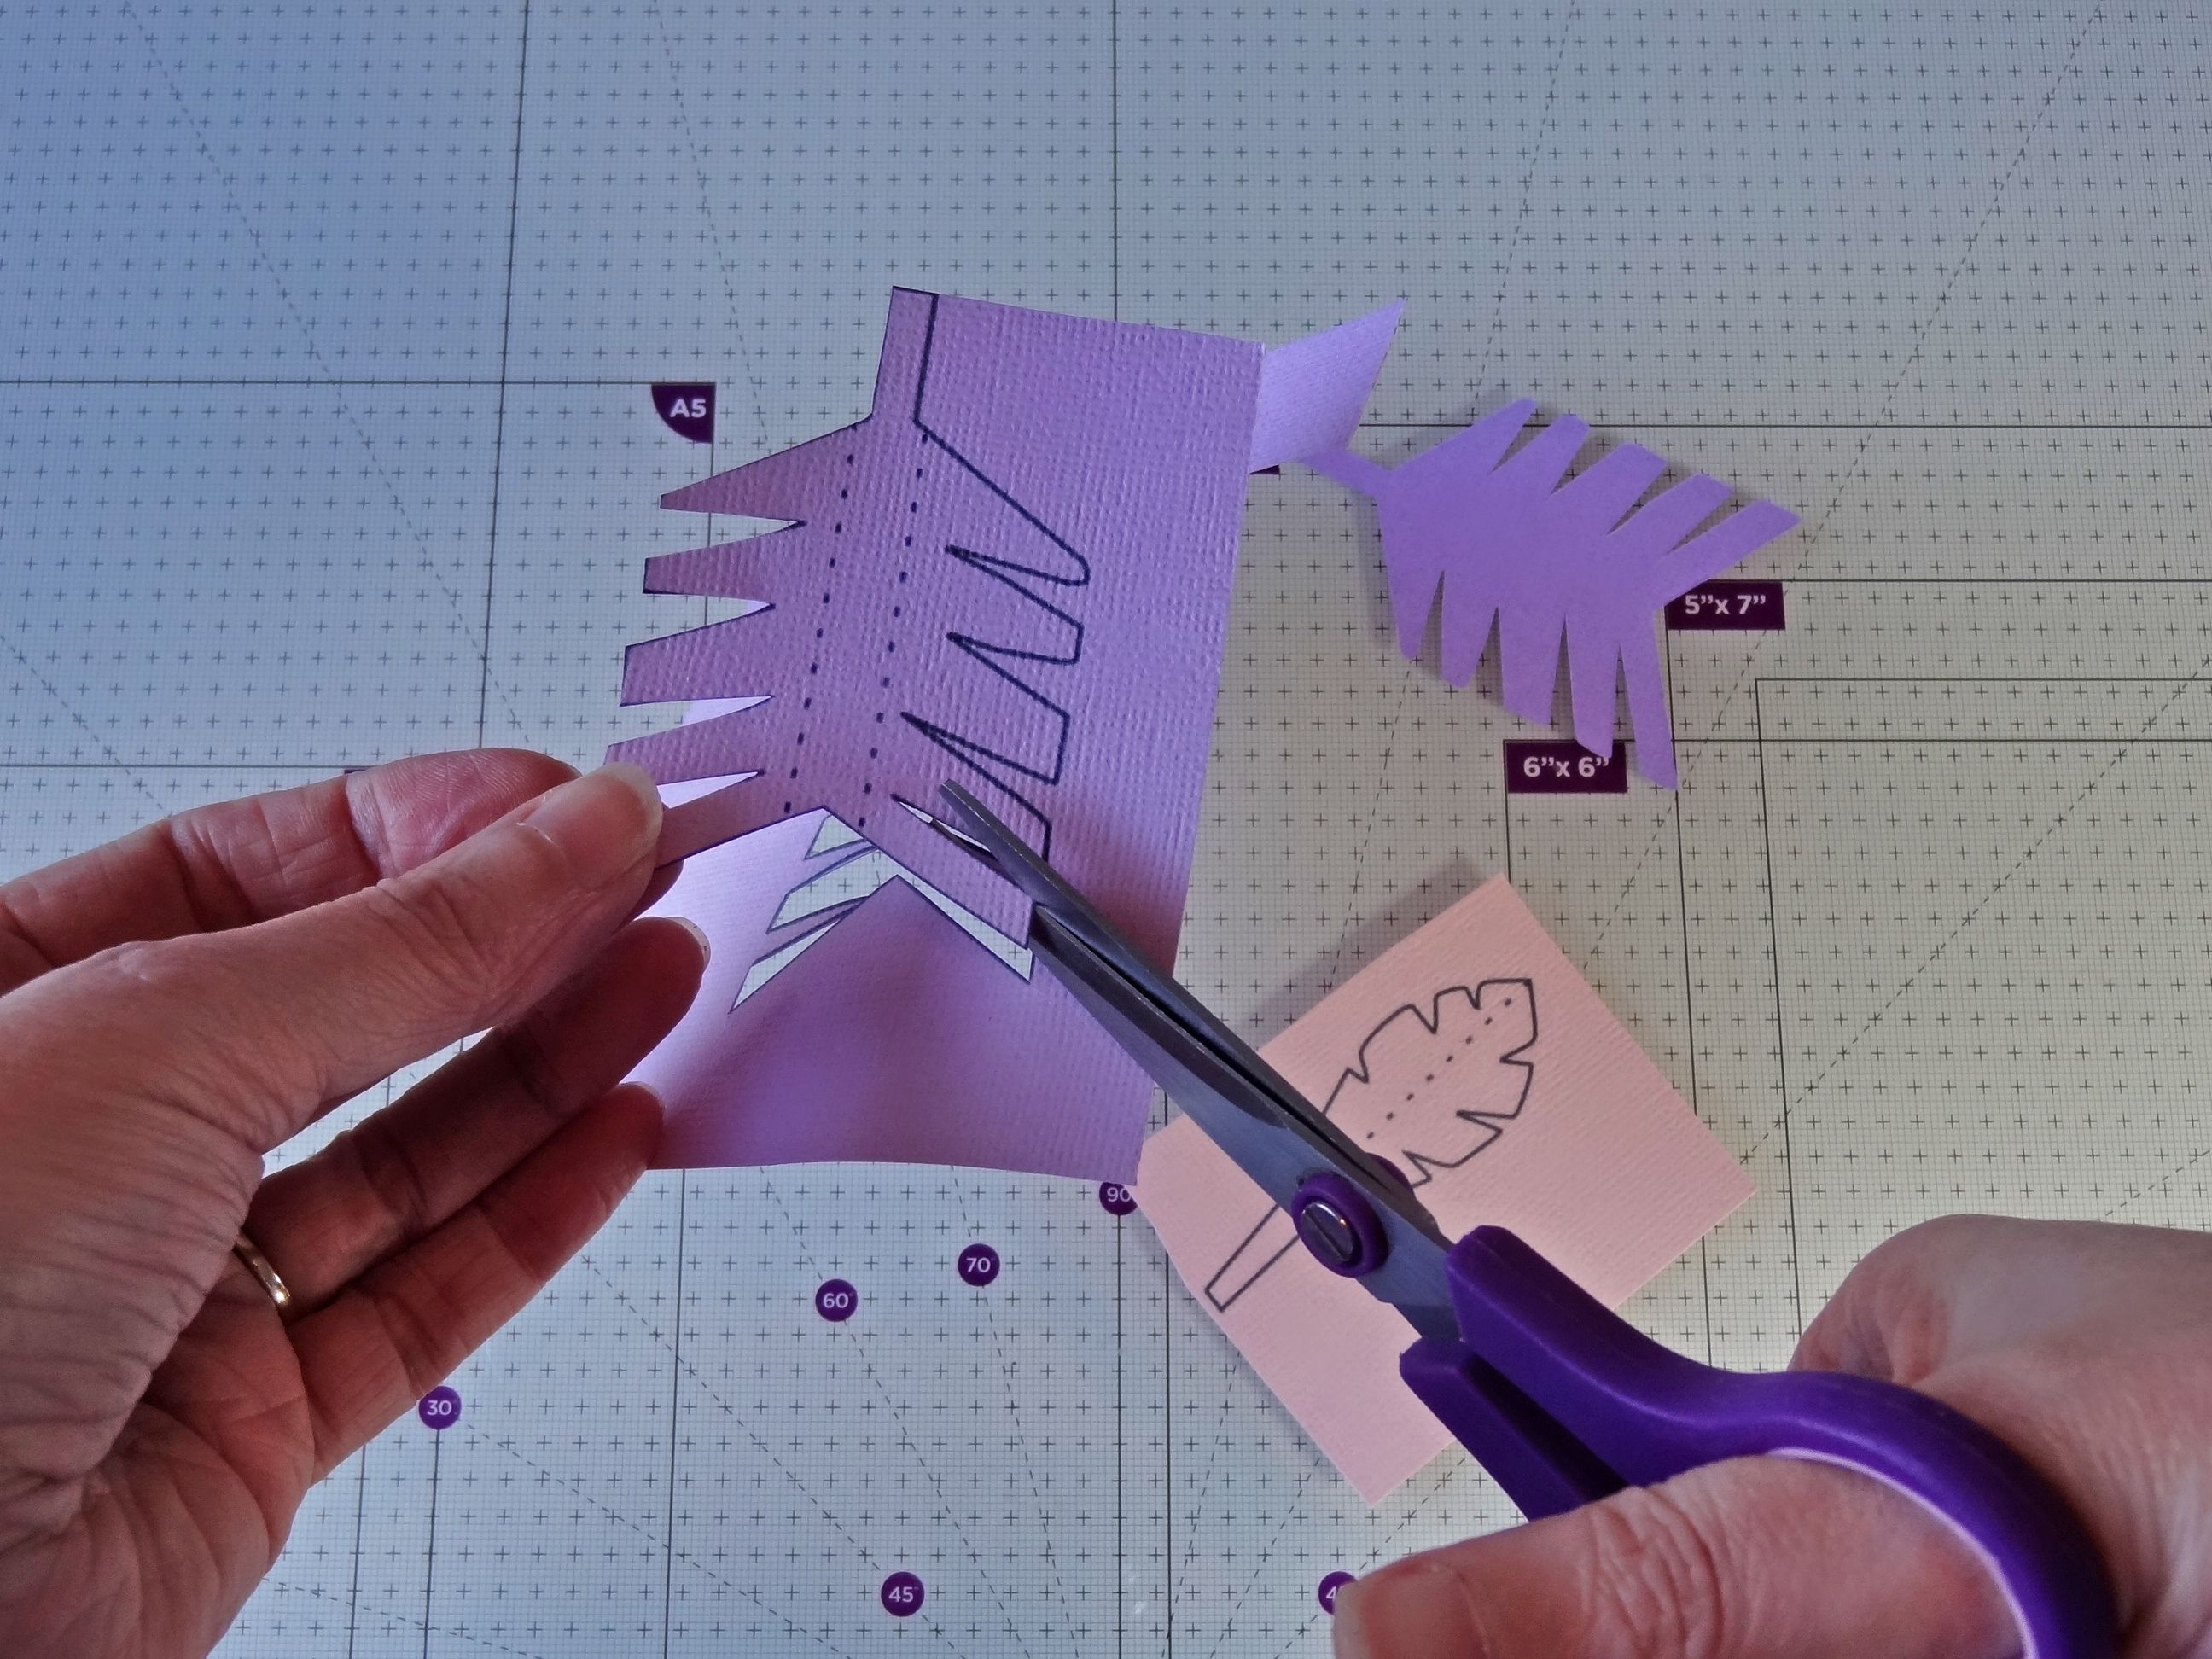
If cutting by hand print off your templates onto coloured card and use scissors to cut out the shapes. If you have a ScanNCut, download the cutting files into your machine or print off the templates and scan into your machine.

Step 2

How to make a paper arrow 2

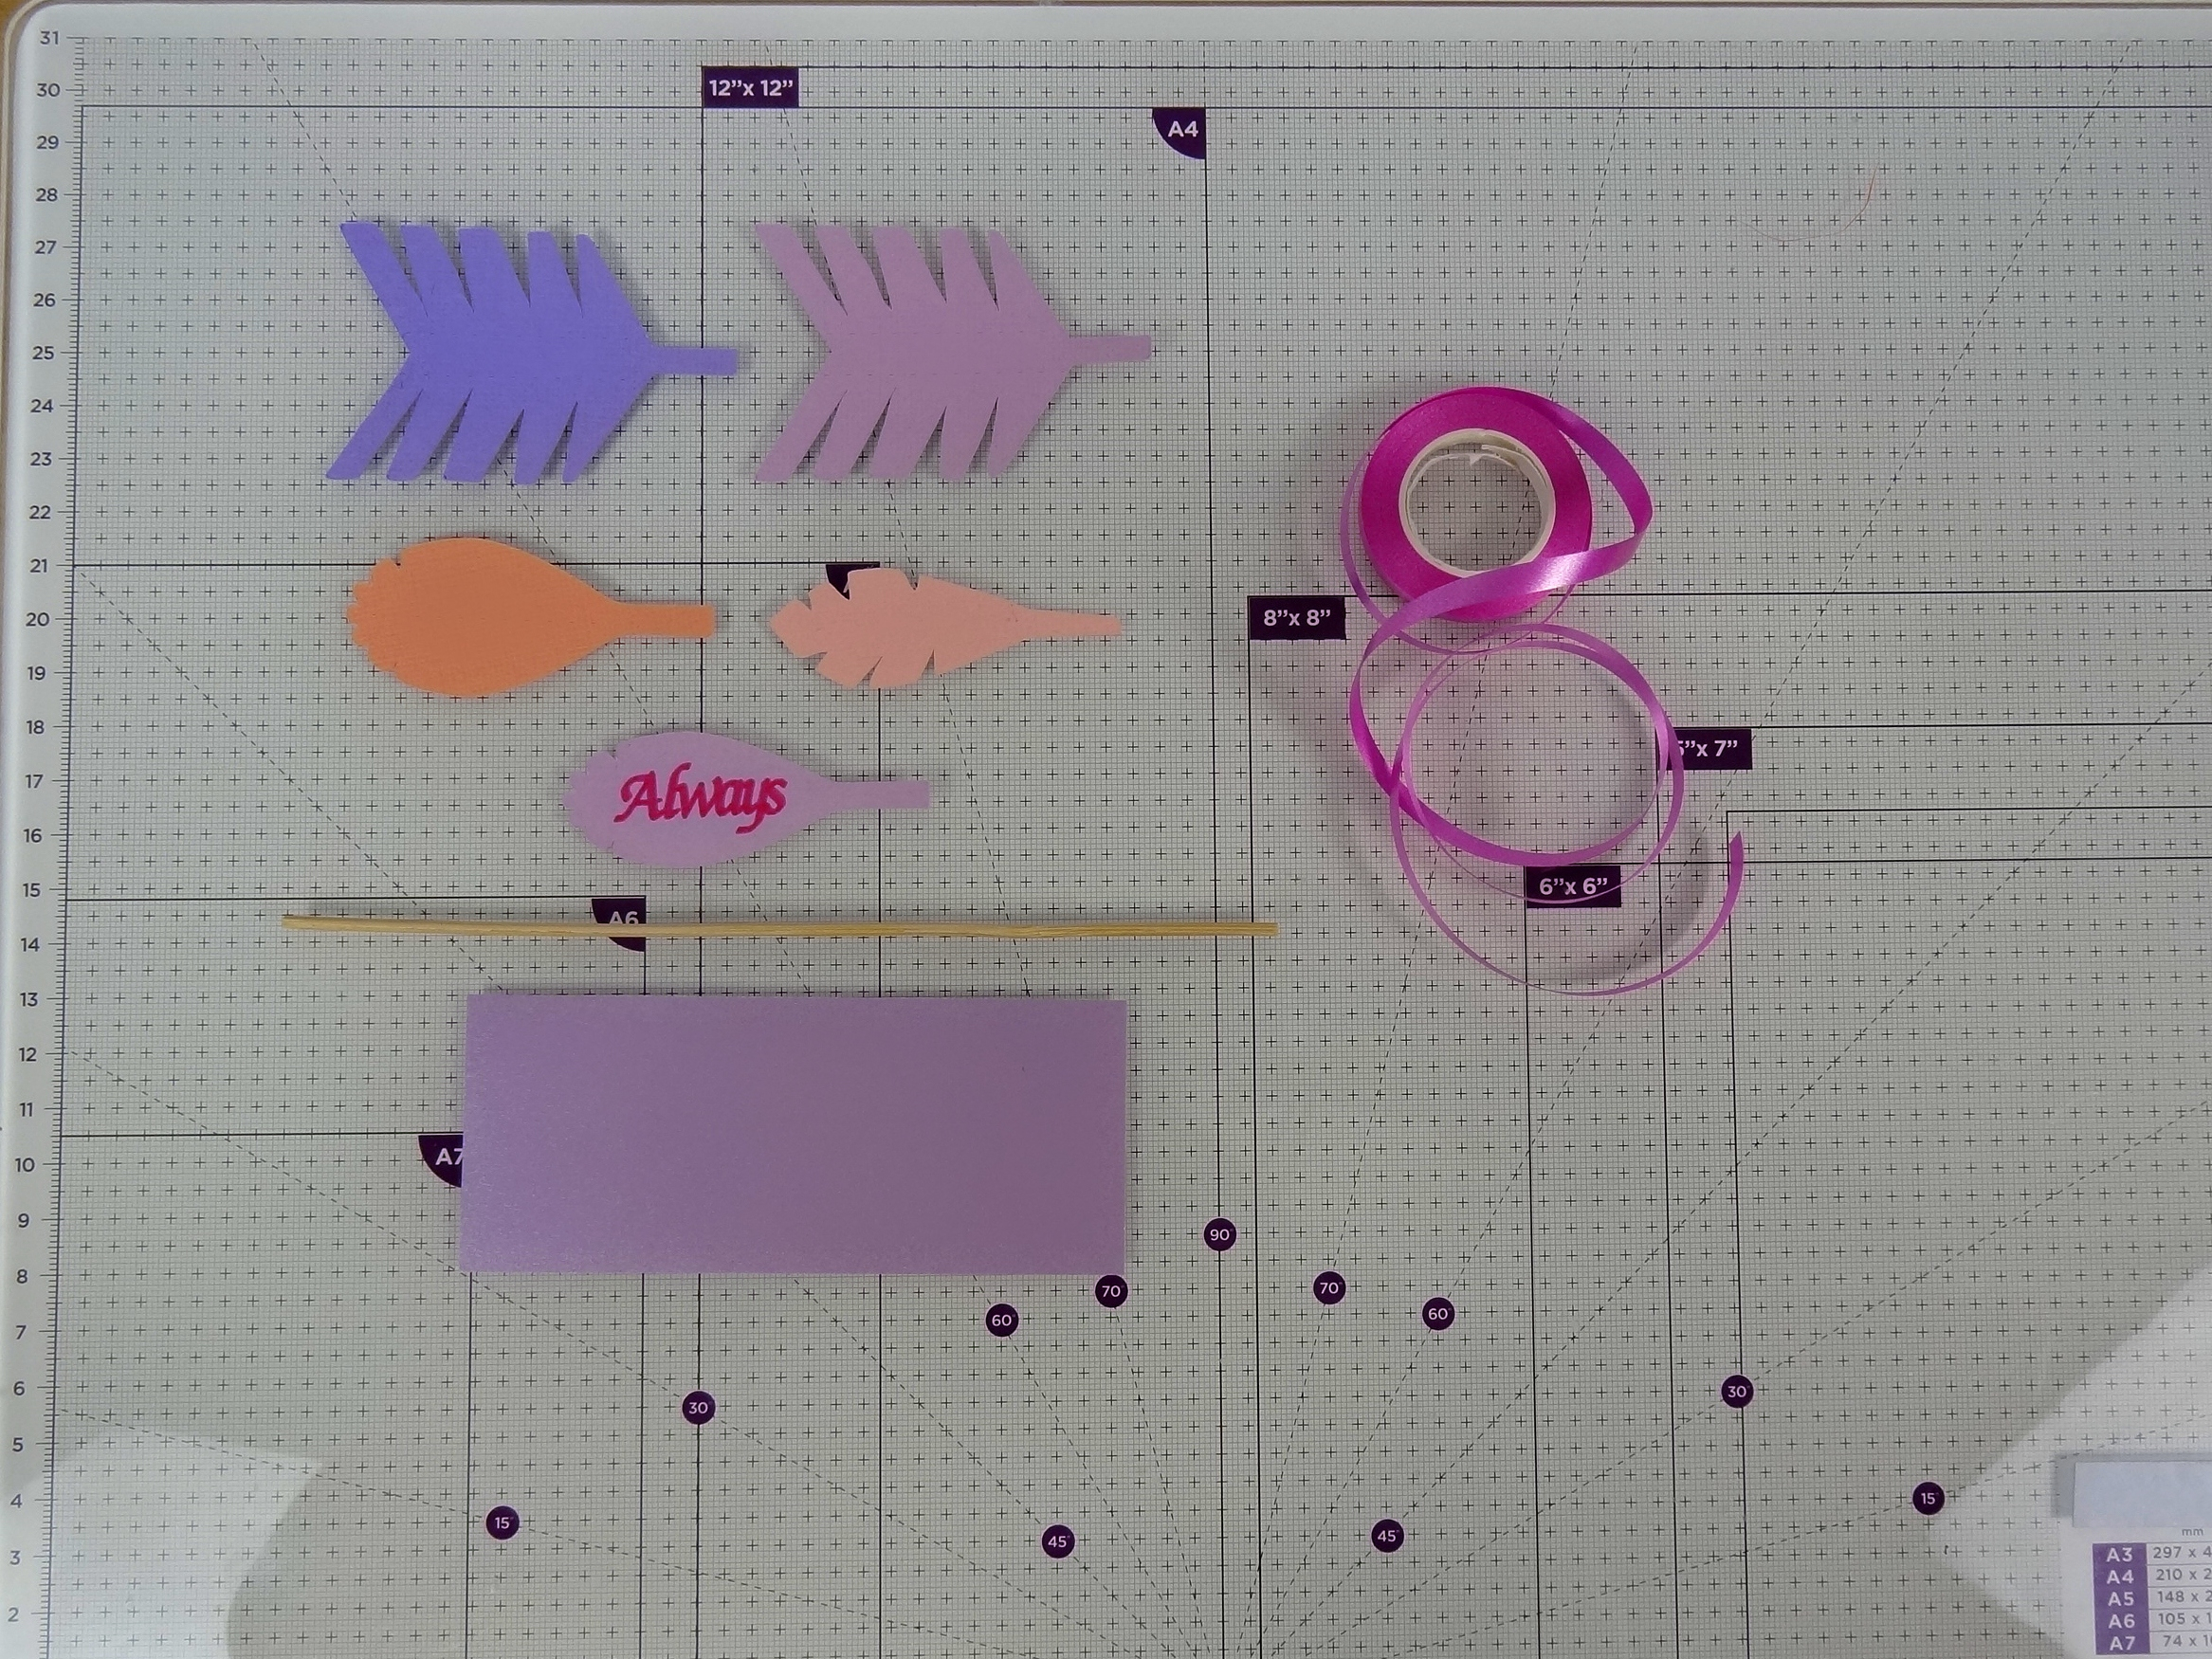
Cut the following pieces from your choice of coloured cardstocks:

1 x rectangle stem piece – 100gsm paper / card

2 x arrow heads – 216gsm

2 x large chevron main feathers – 216gsm

2 x smaller feathers – 216 gsm

1 x sentiment feather – 216gsm

Step 3

How to make a paper arrow 3

You will also need a wooden baroque skews to shape the shaft, and some optional raffia ribbon to decorate the finished paper arrow.

Step 4

How to make a paper arrow 4

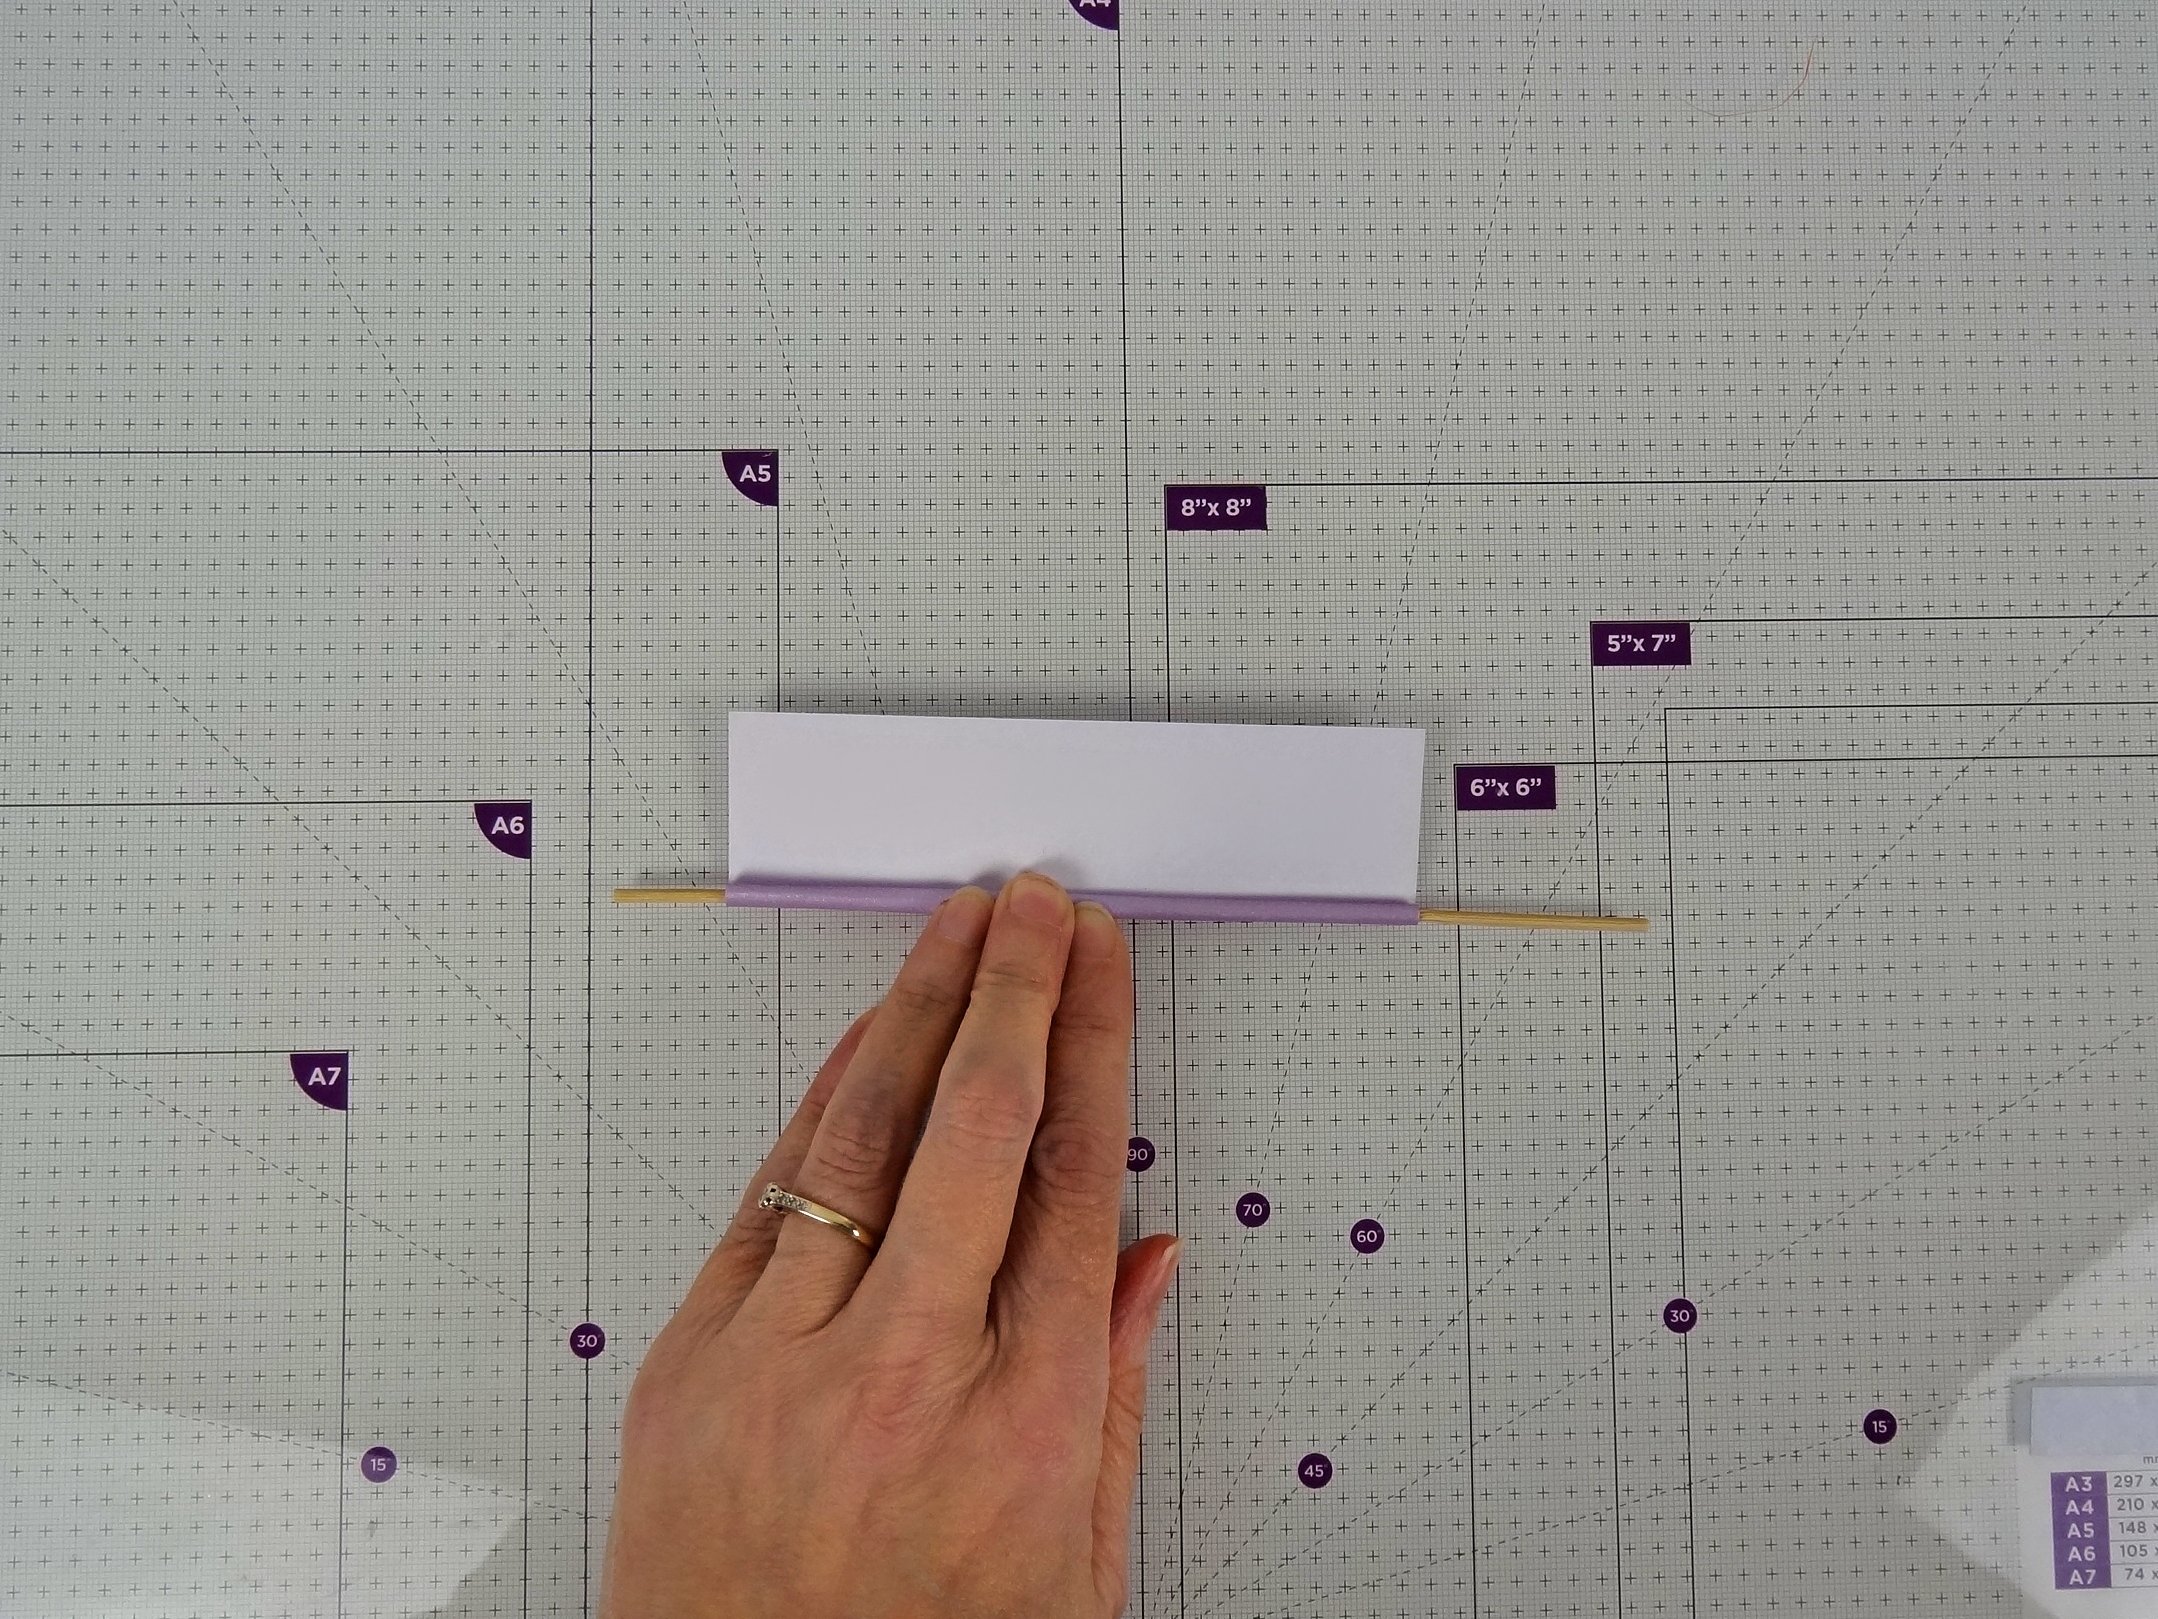
Take the rectangle stem piece and roll it to form the arrow stem body. It is easier to roll if you use a  skewer, cocktail stick or thin pencil in the centre, and using a lighter weight paper or card will make it easier to roll.

Step 5

How to make a paper arrow 5

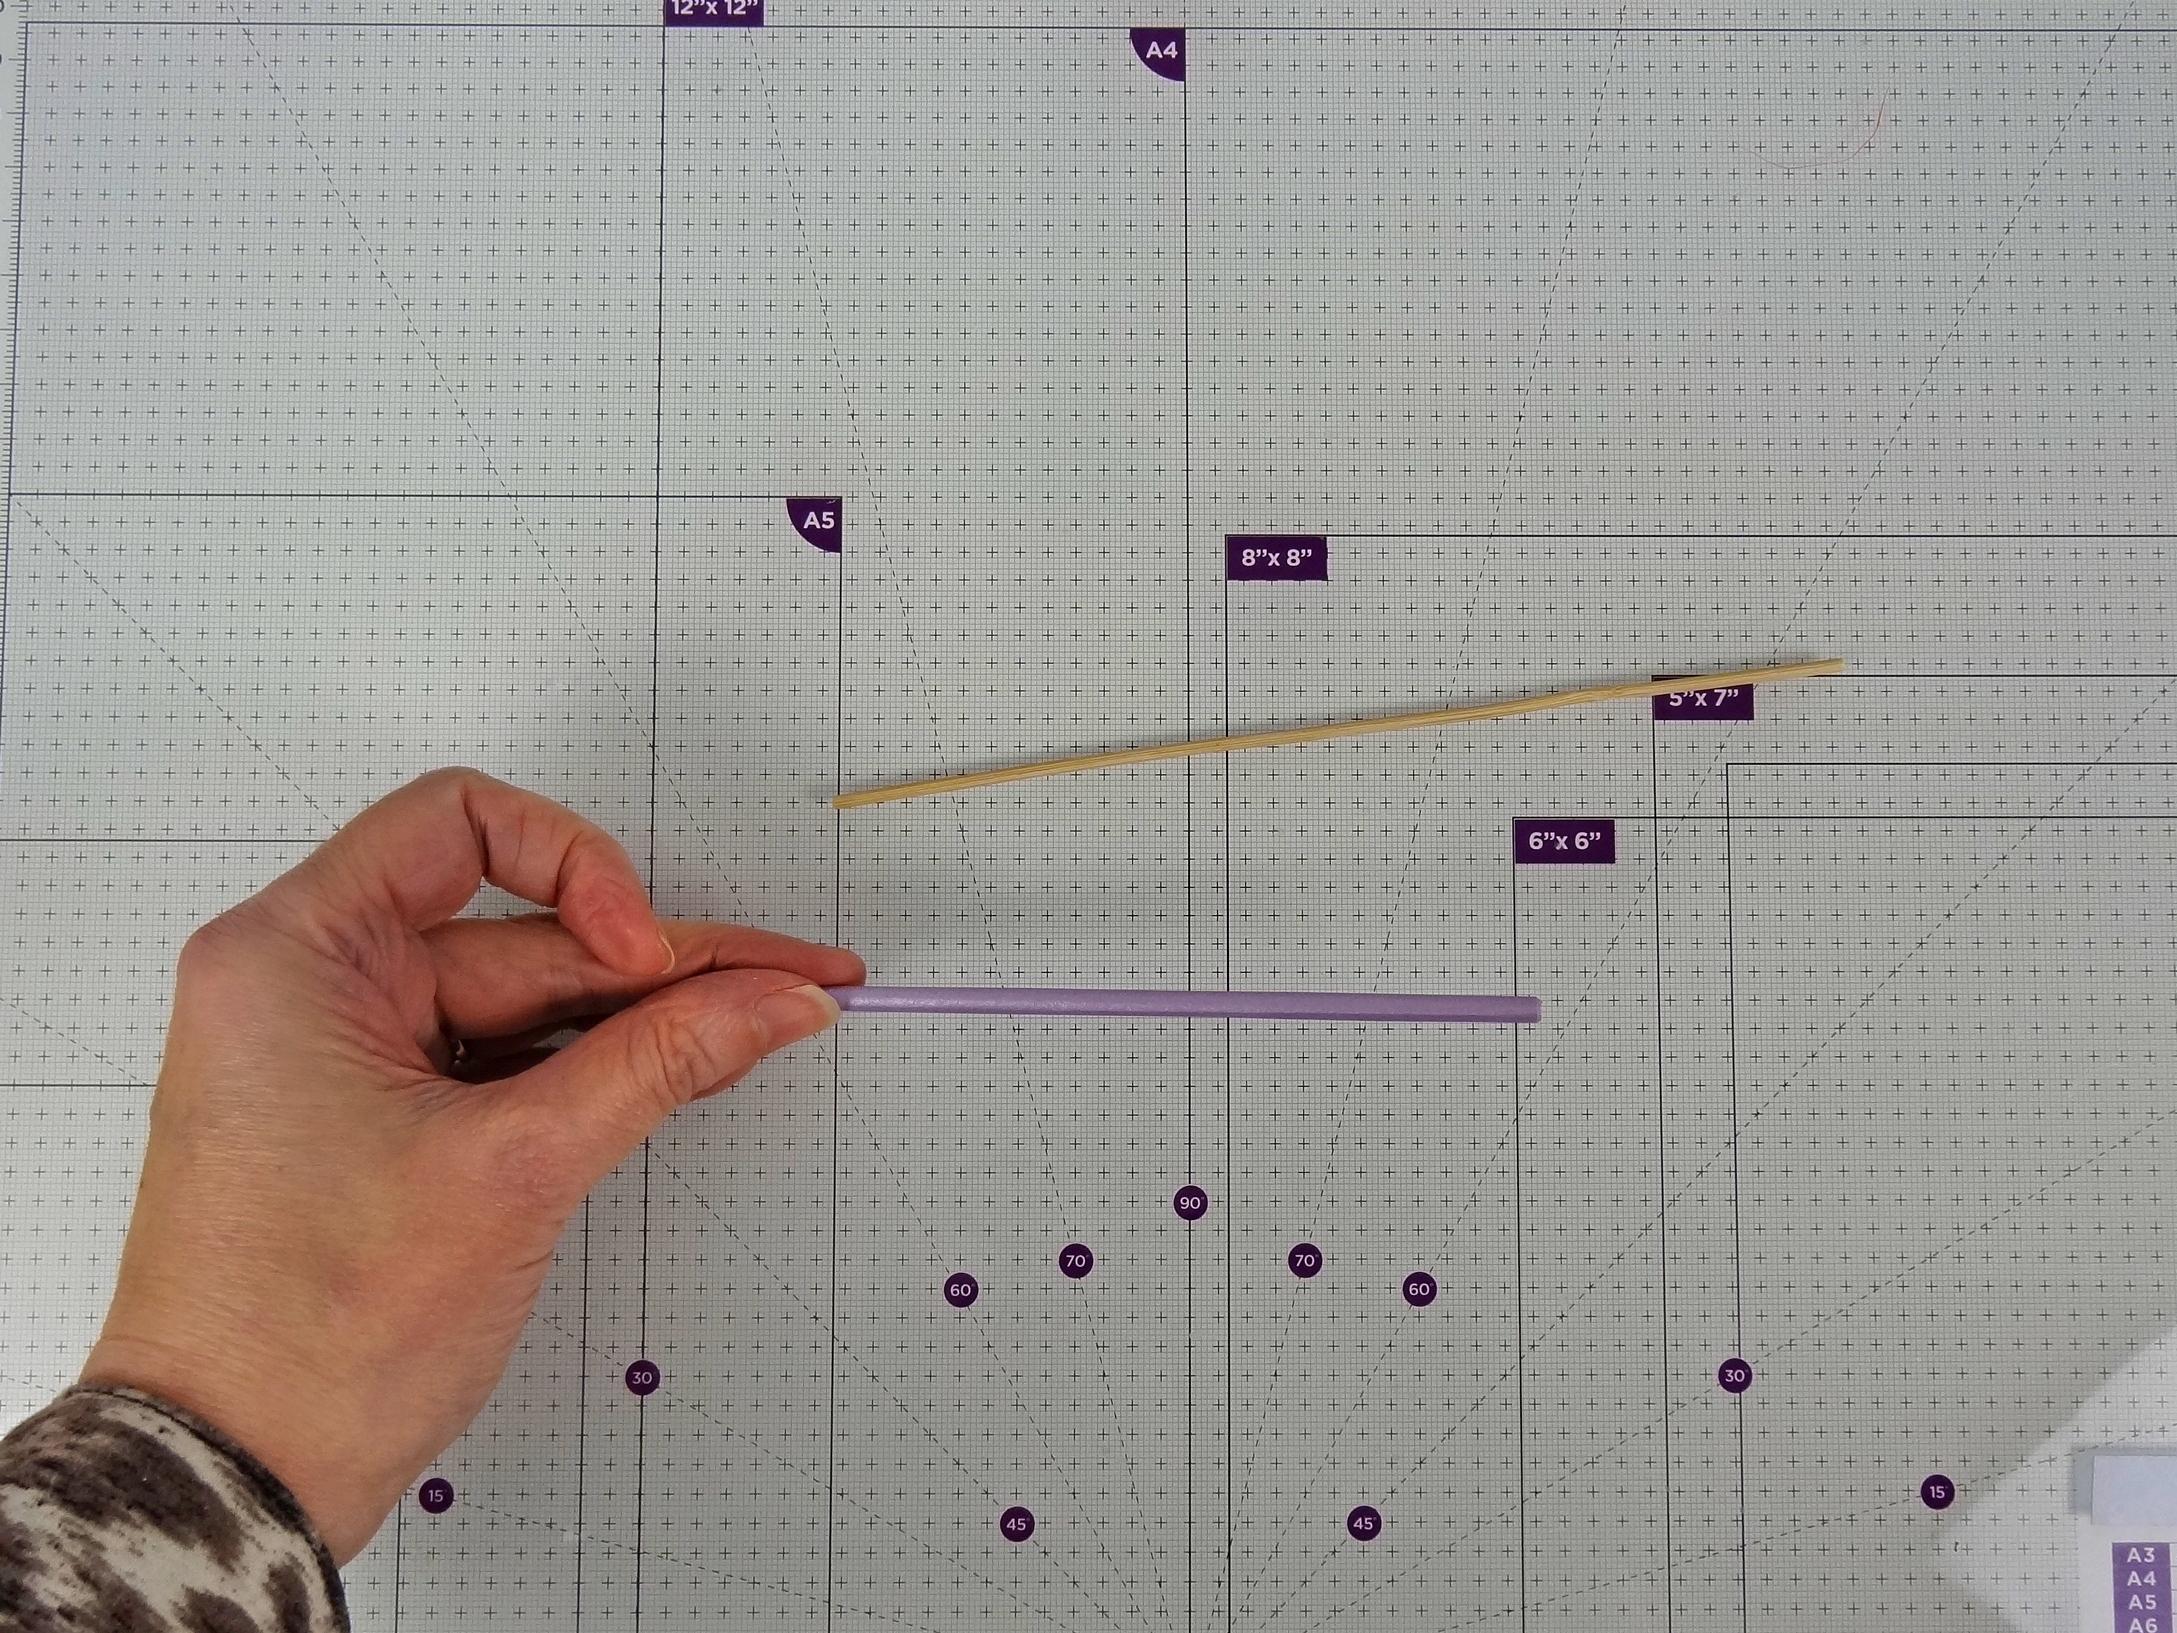
Roll tightly and add double-sided tape or glue to seal the roll before slipping it off the forming stick.

Step 6

How to make a paper arrow 6

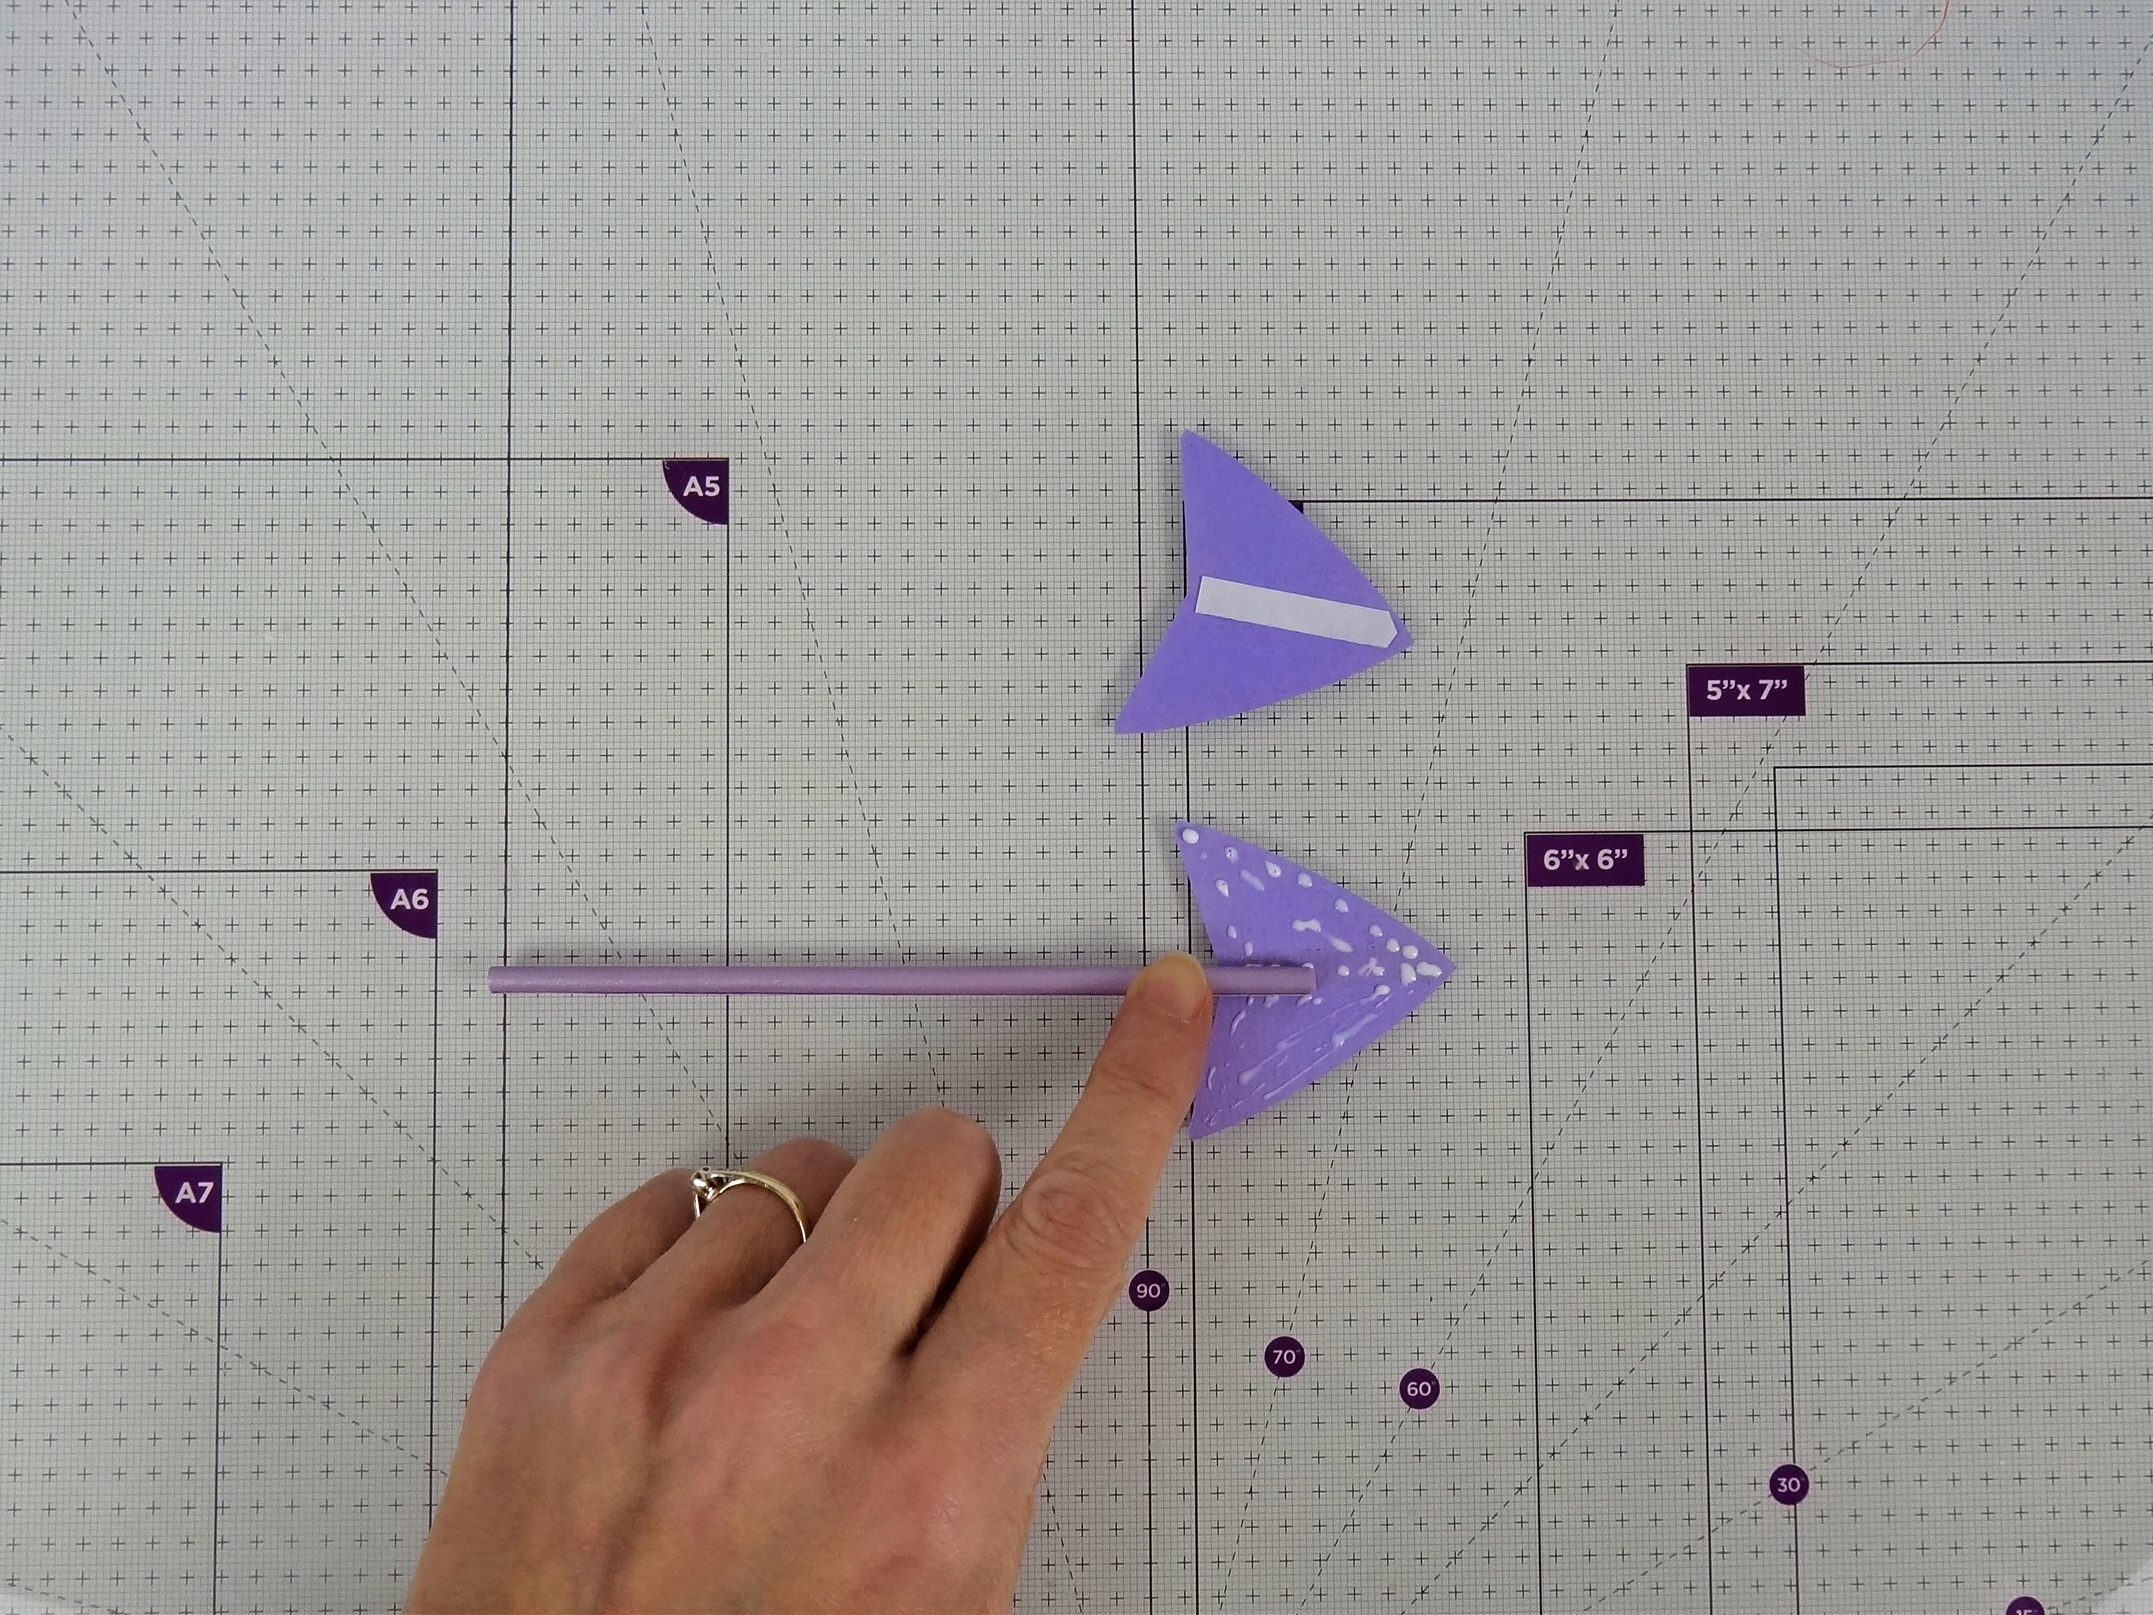
Take the 2 arrow heads and add a strip of double sided tape down the centre, place the end of the arrow stem onto one of the arrow heads as shown and add some clear drying glue. Carefully Line up the 2nd arrow head on top of the first one, making sure it meets up all round, press and hold firmly to encapsulate and secure the stem inside.

Step 7

How to make a paper arrow 8

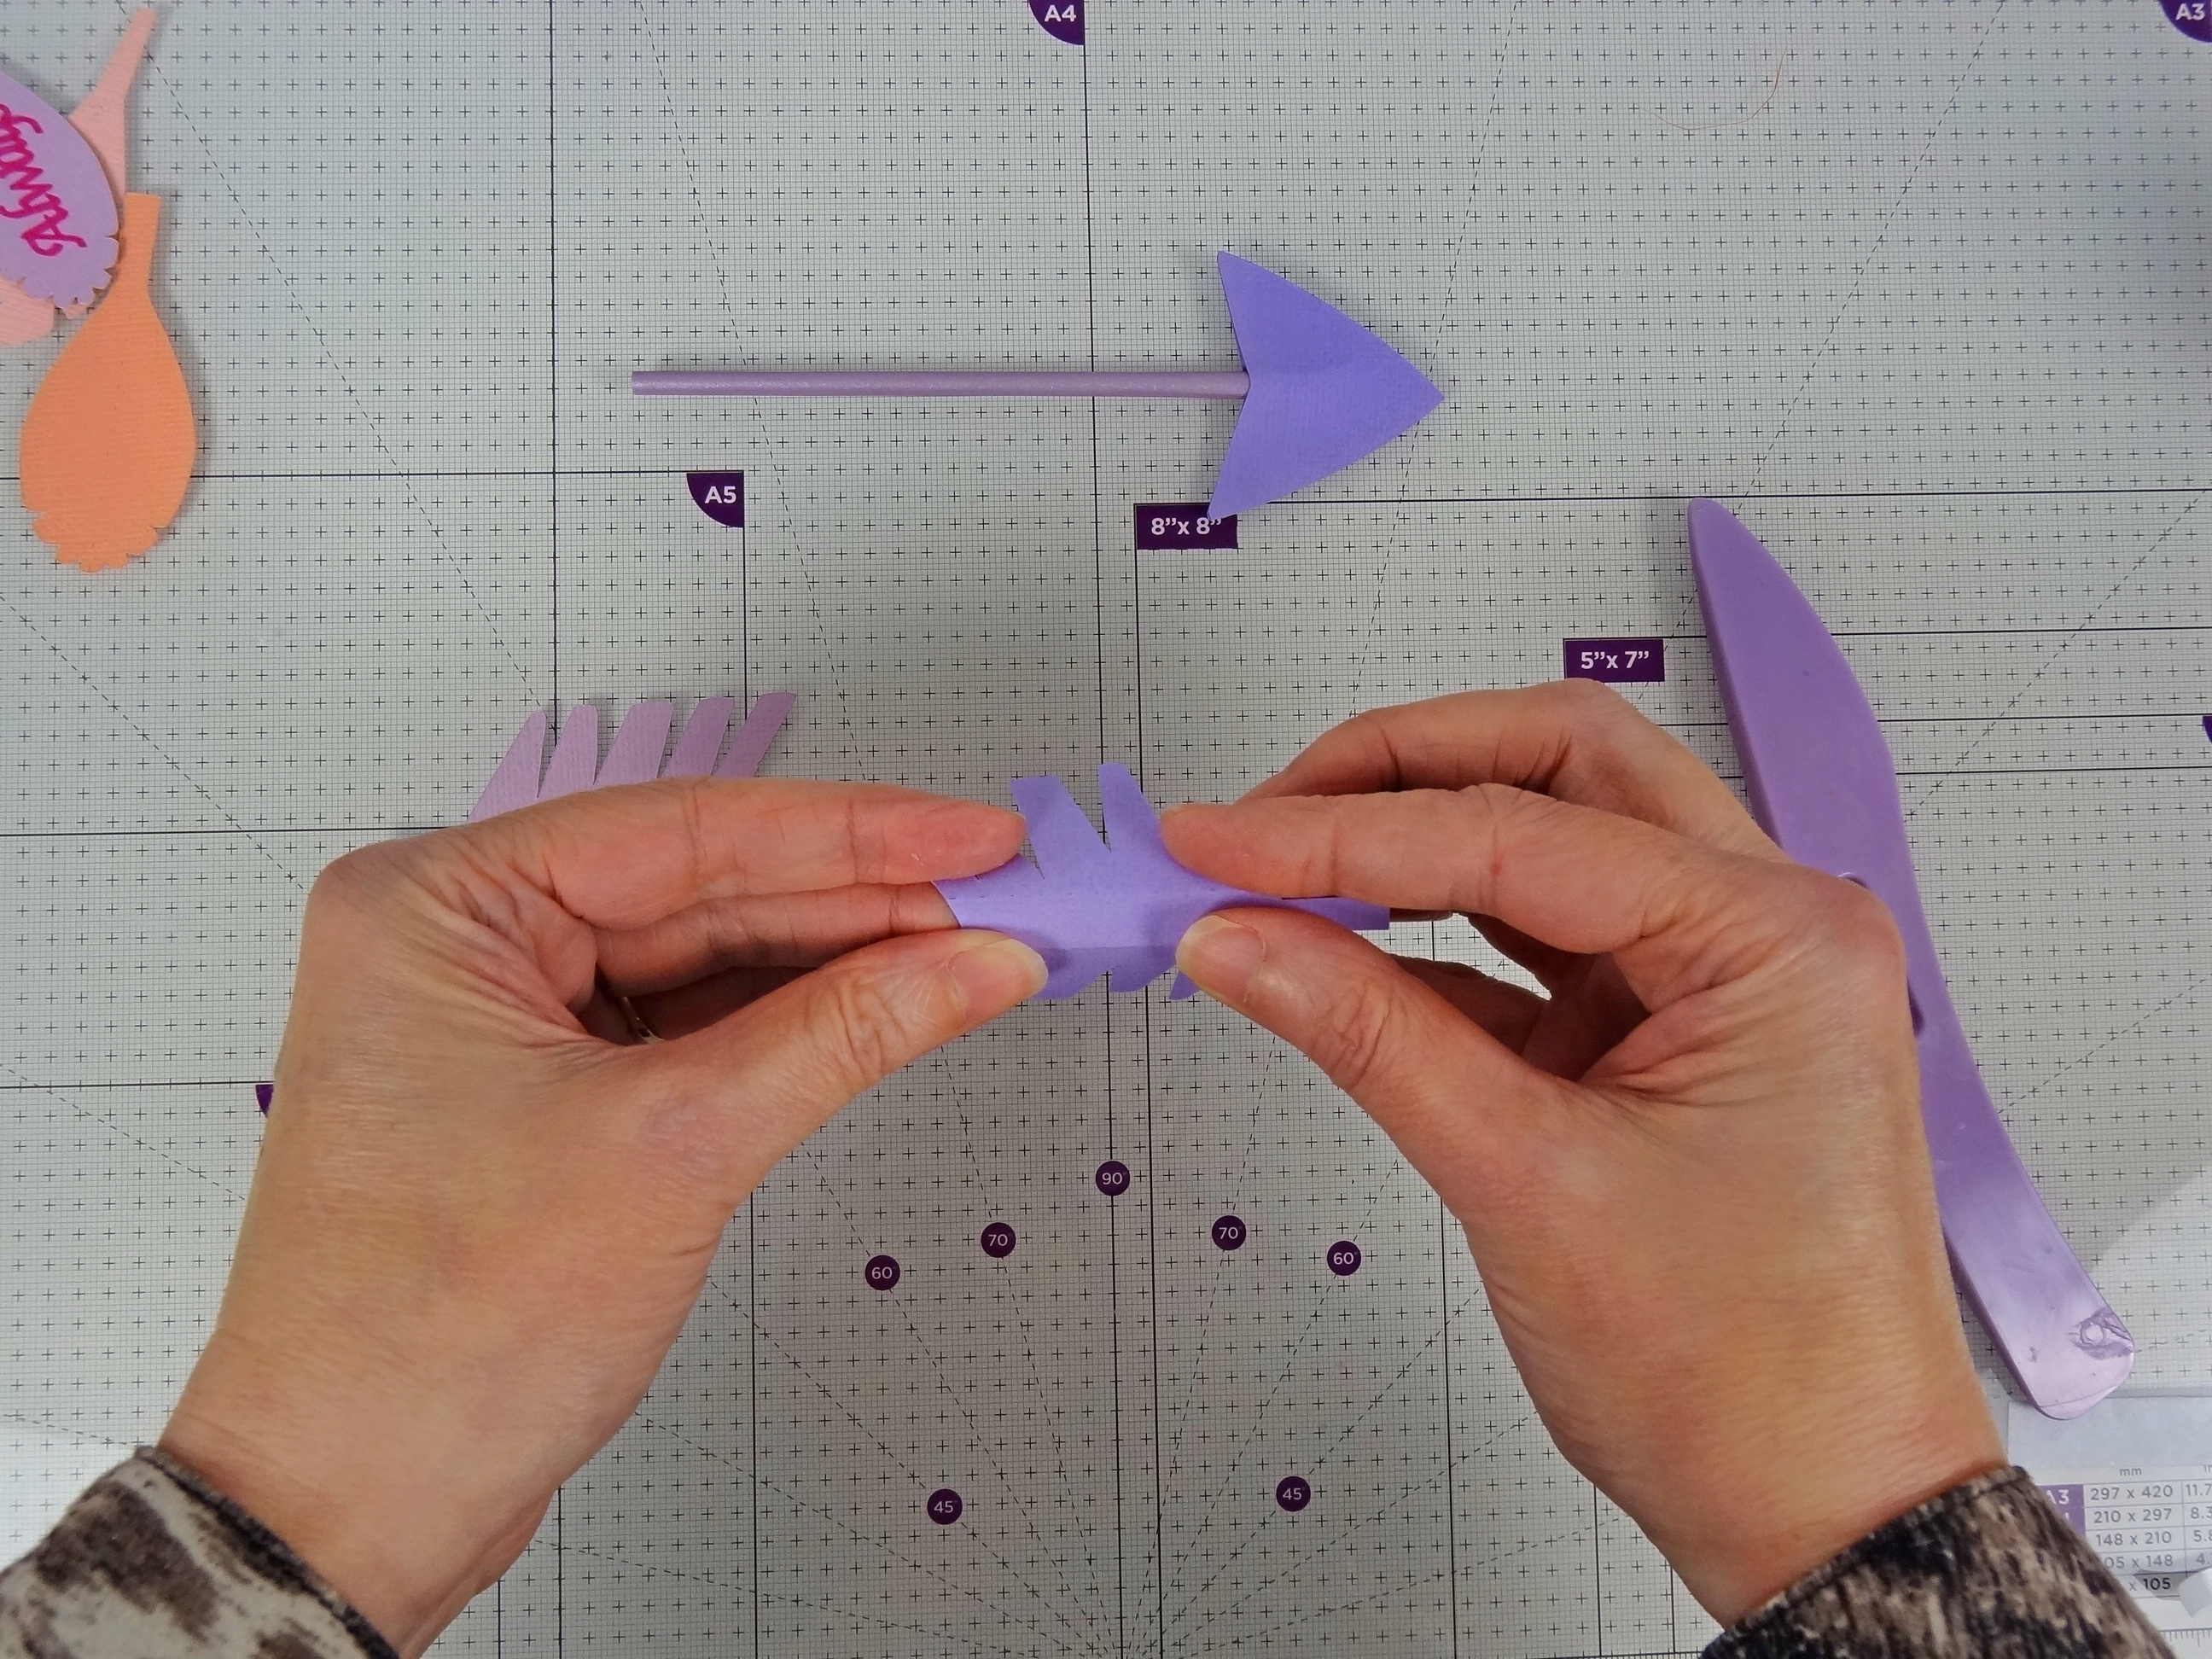
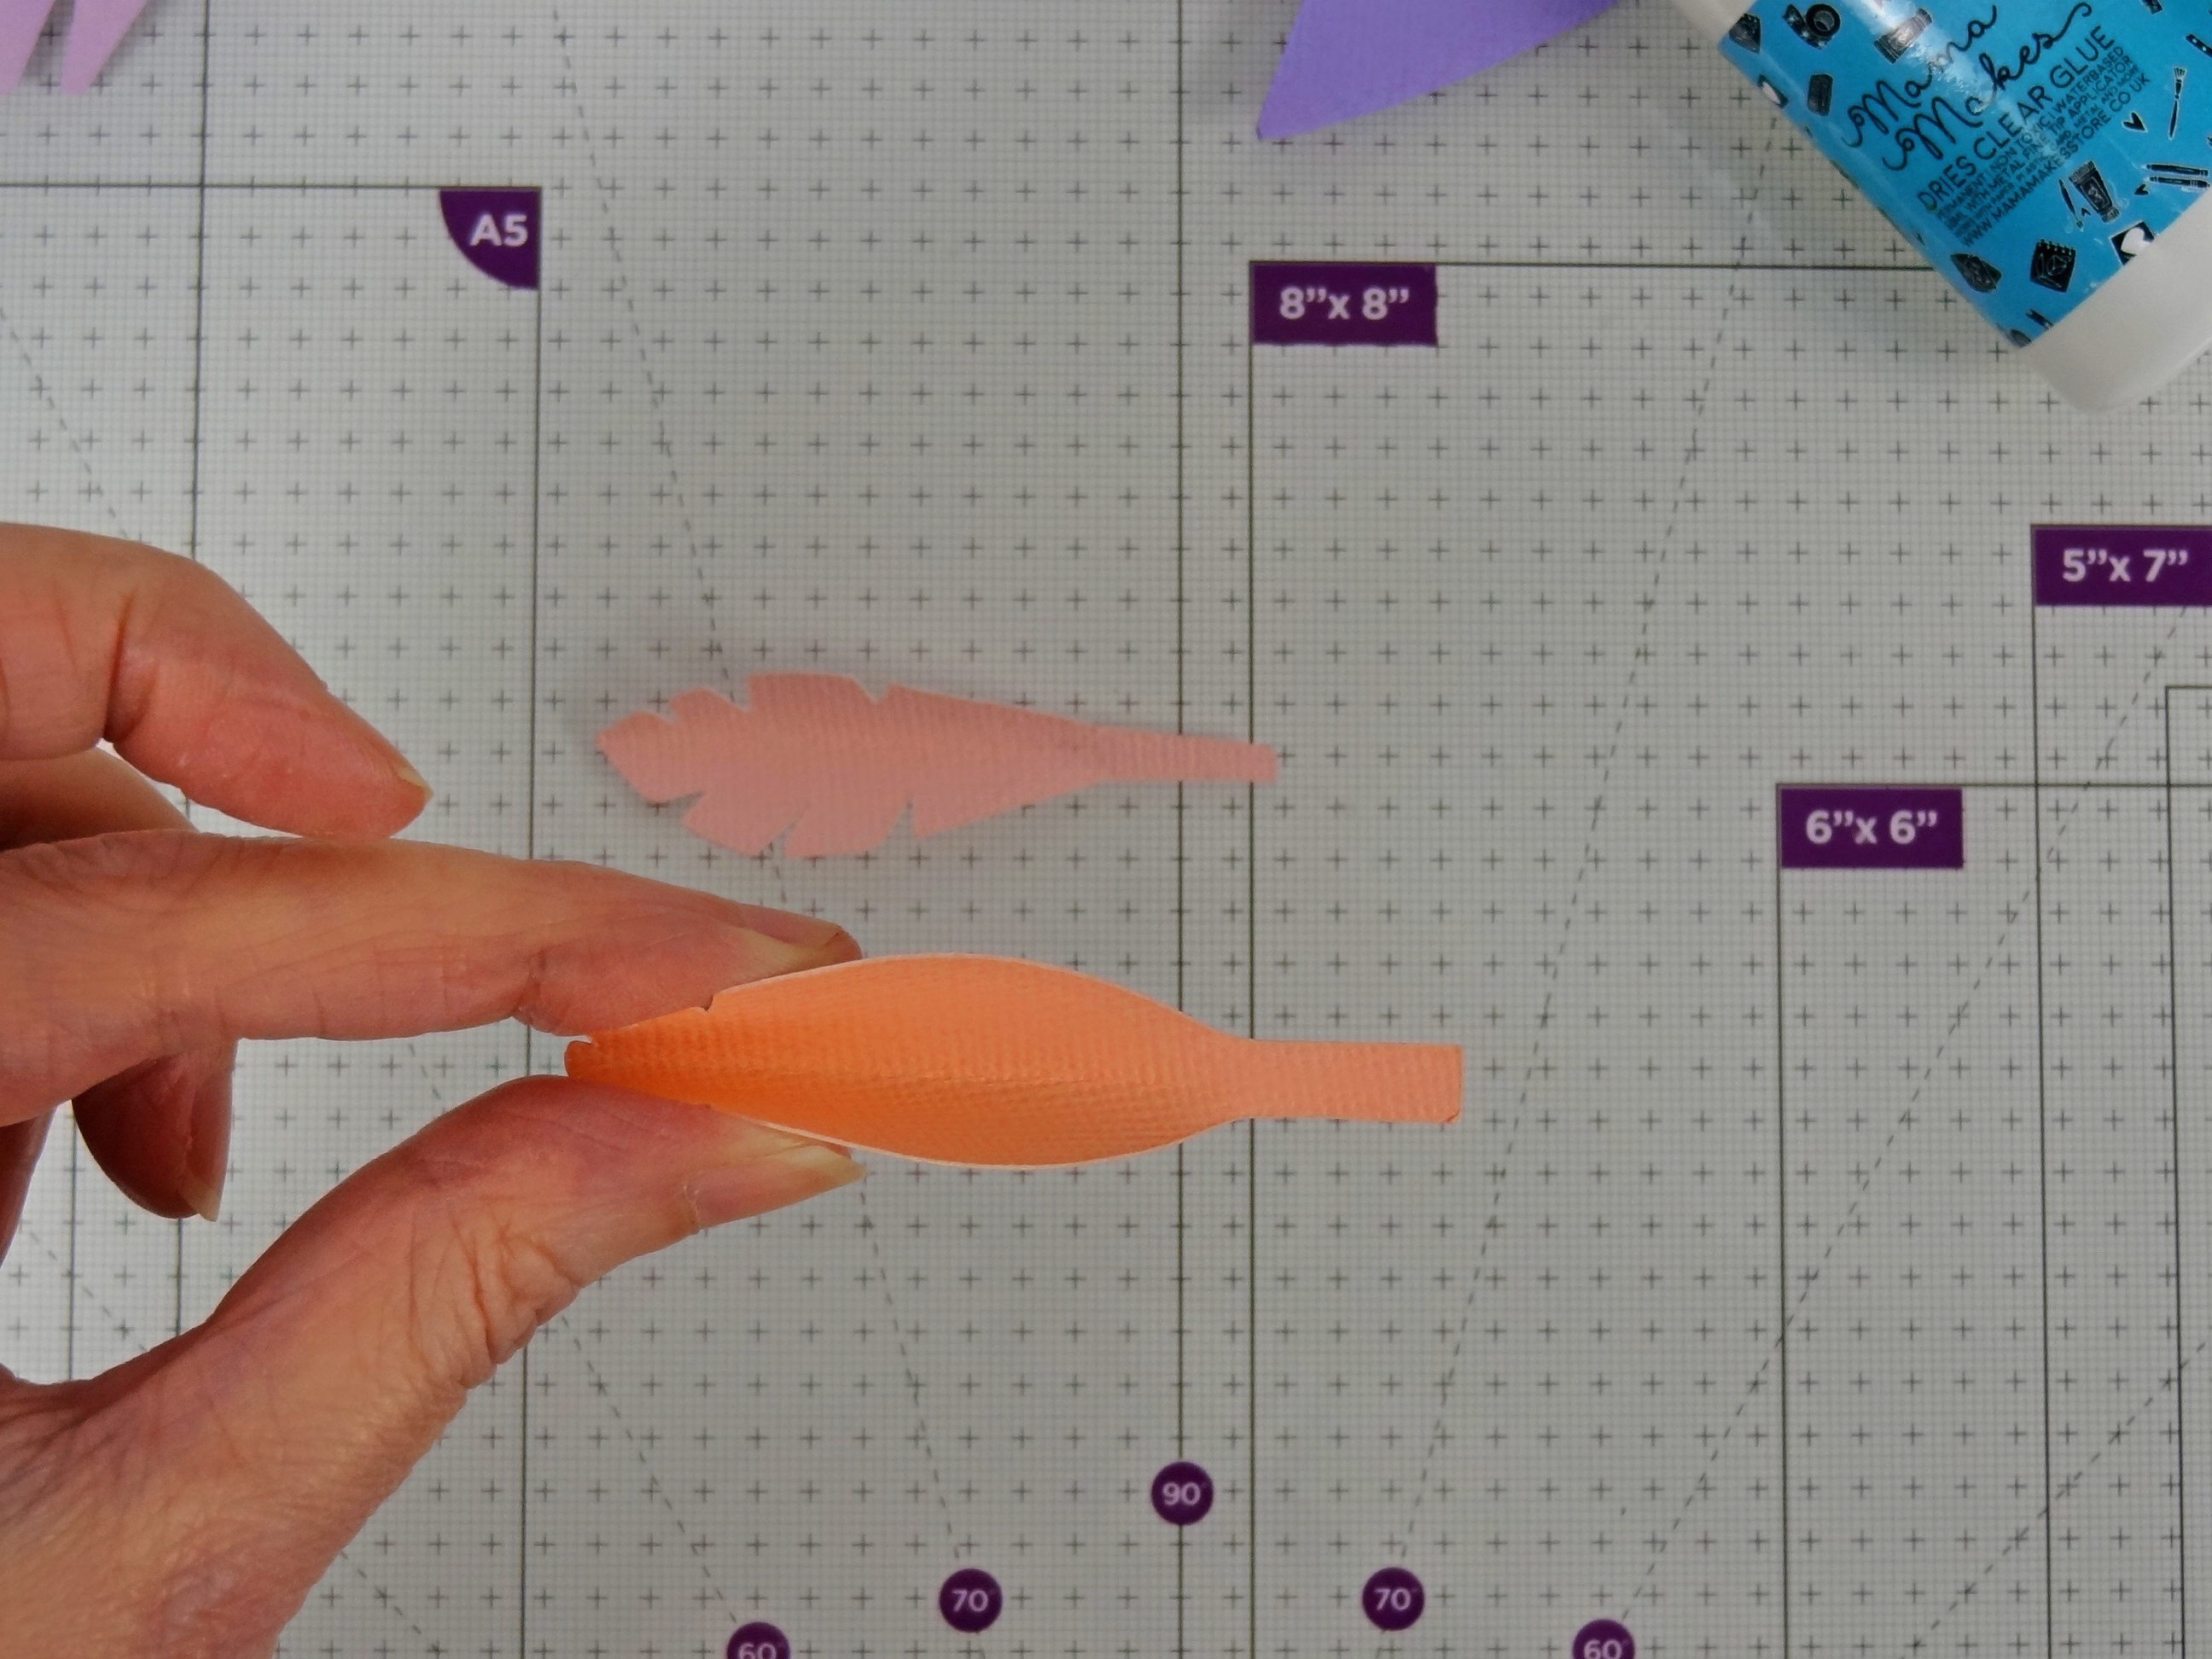
Take a large main chevron feather and fold gently at the score lines to shape.

Step 8

How to make a paper arrow 9

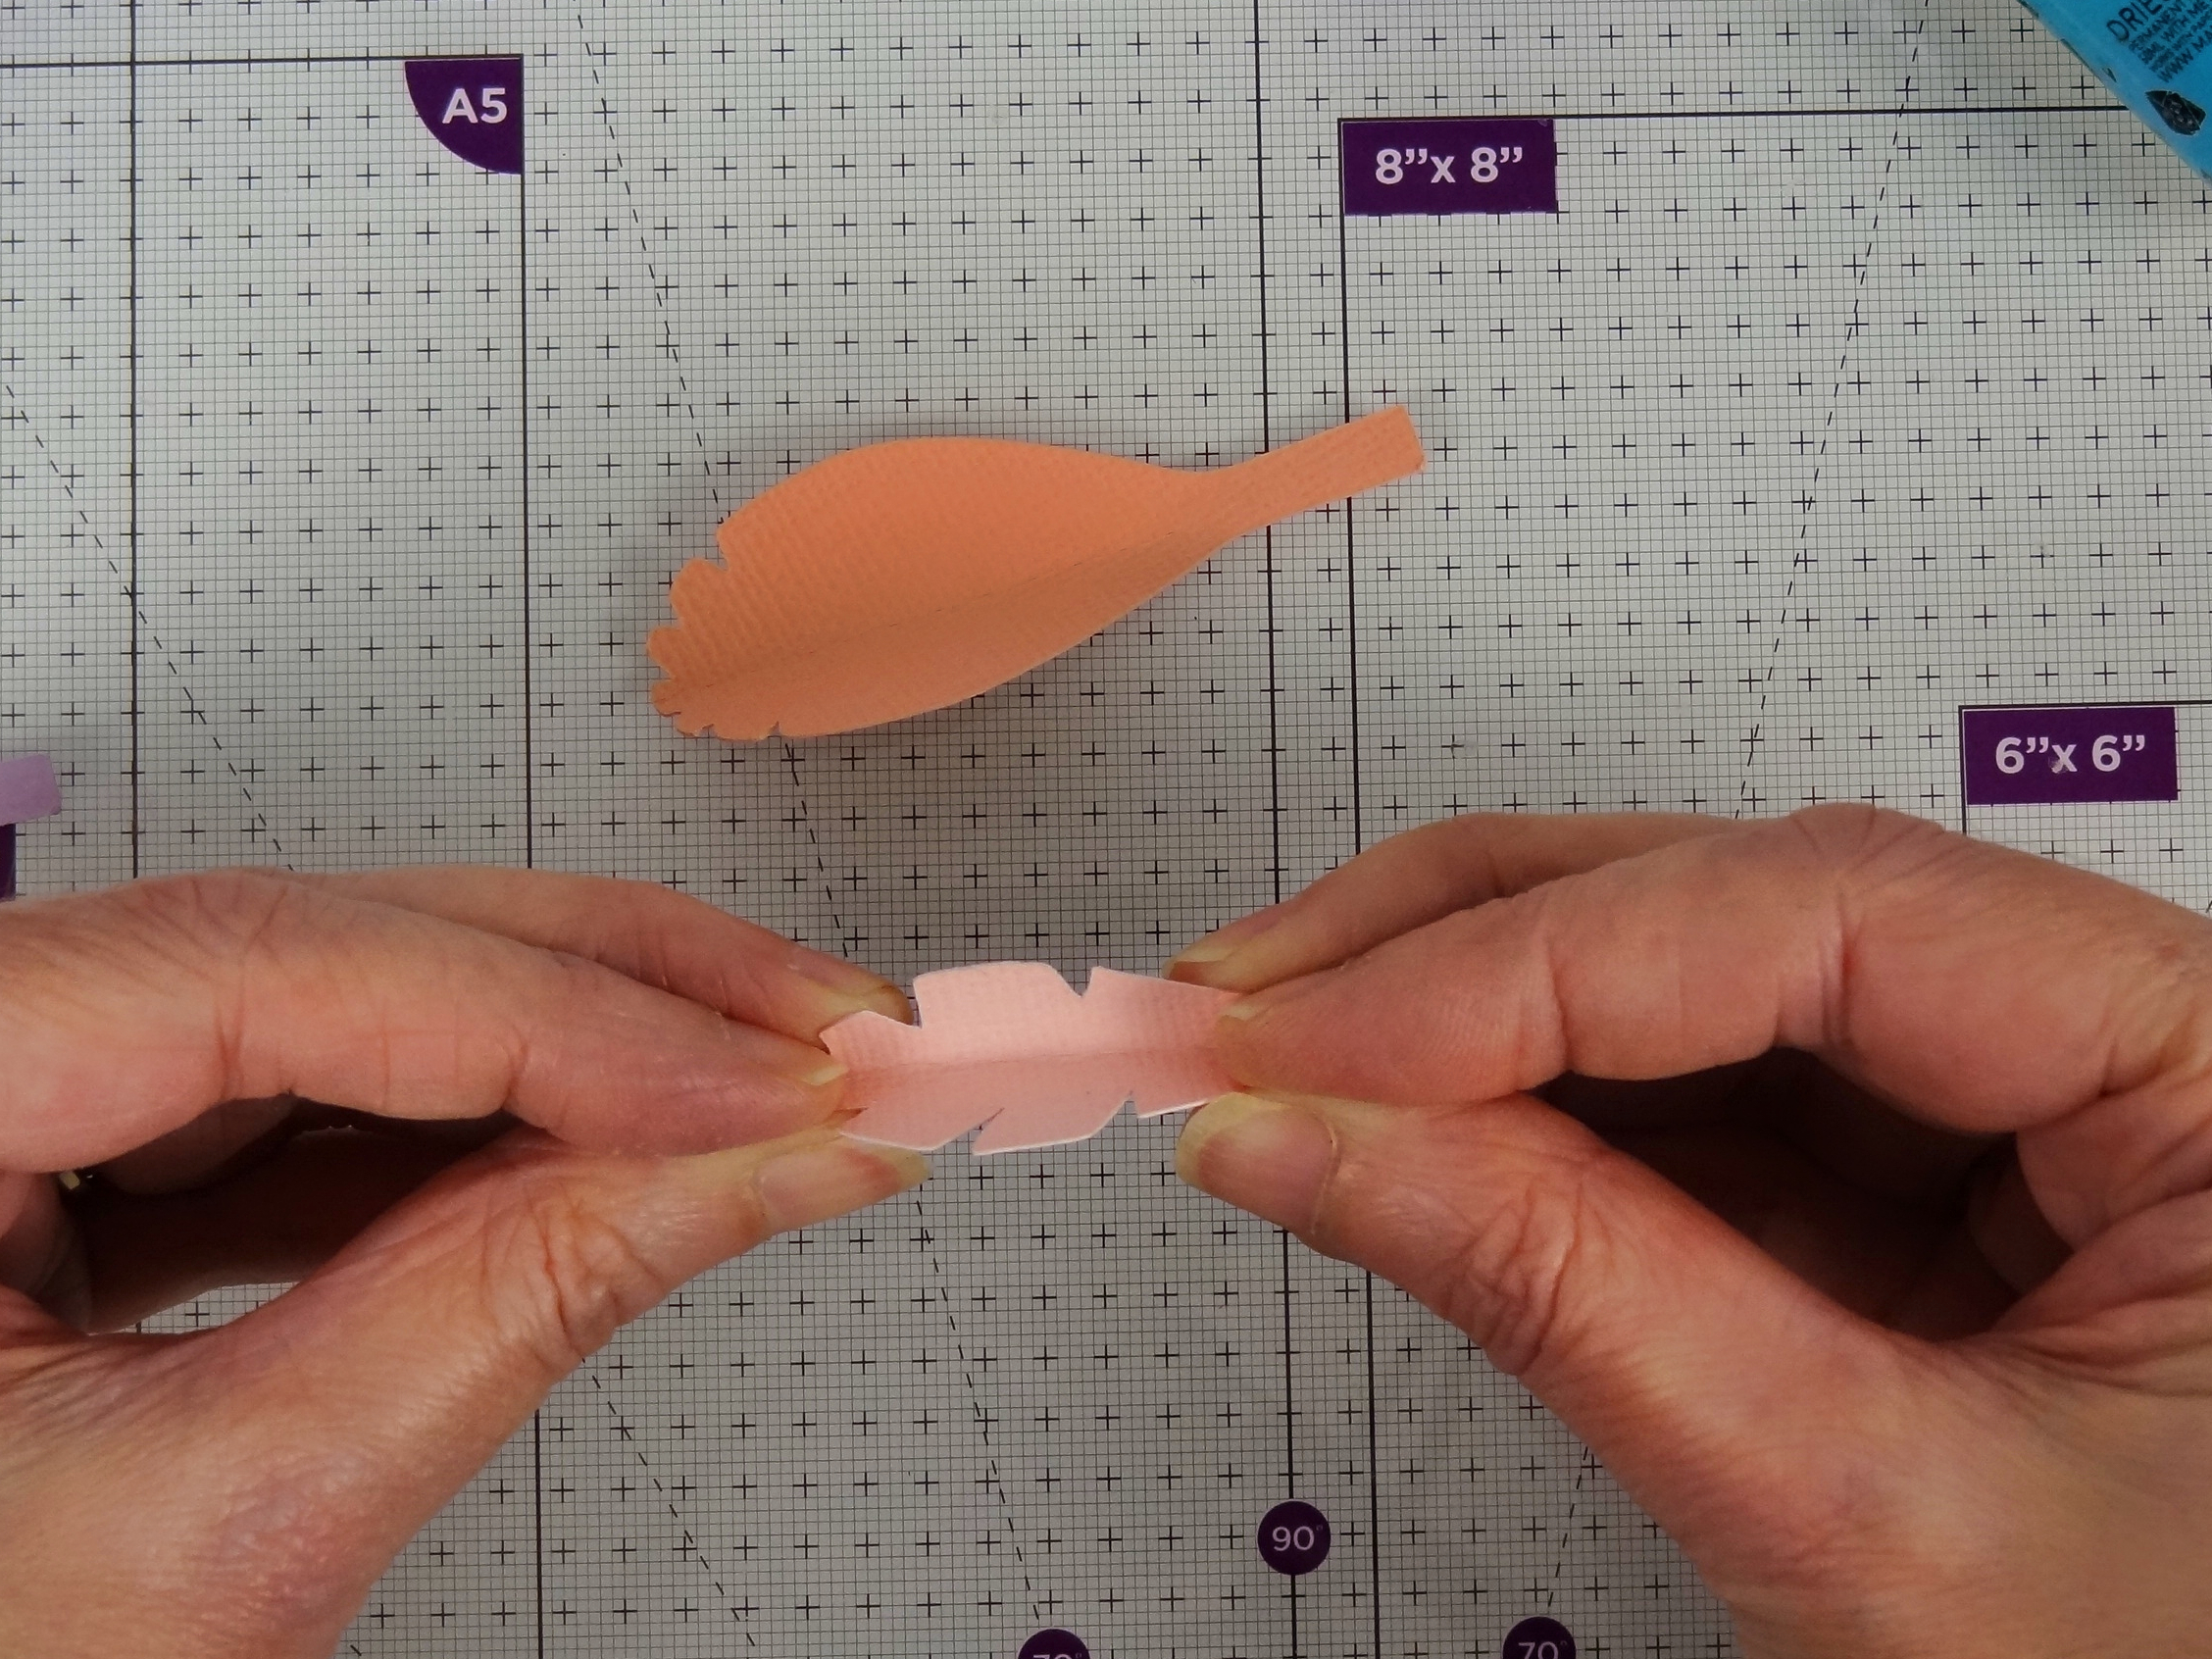
Repeat with the 2nd chevron feather.

Step 9

How to make a paper arrow 12

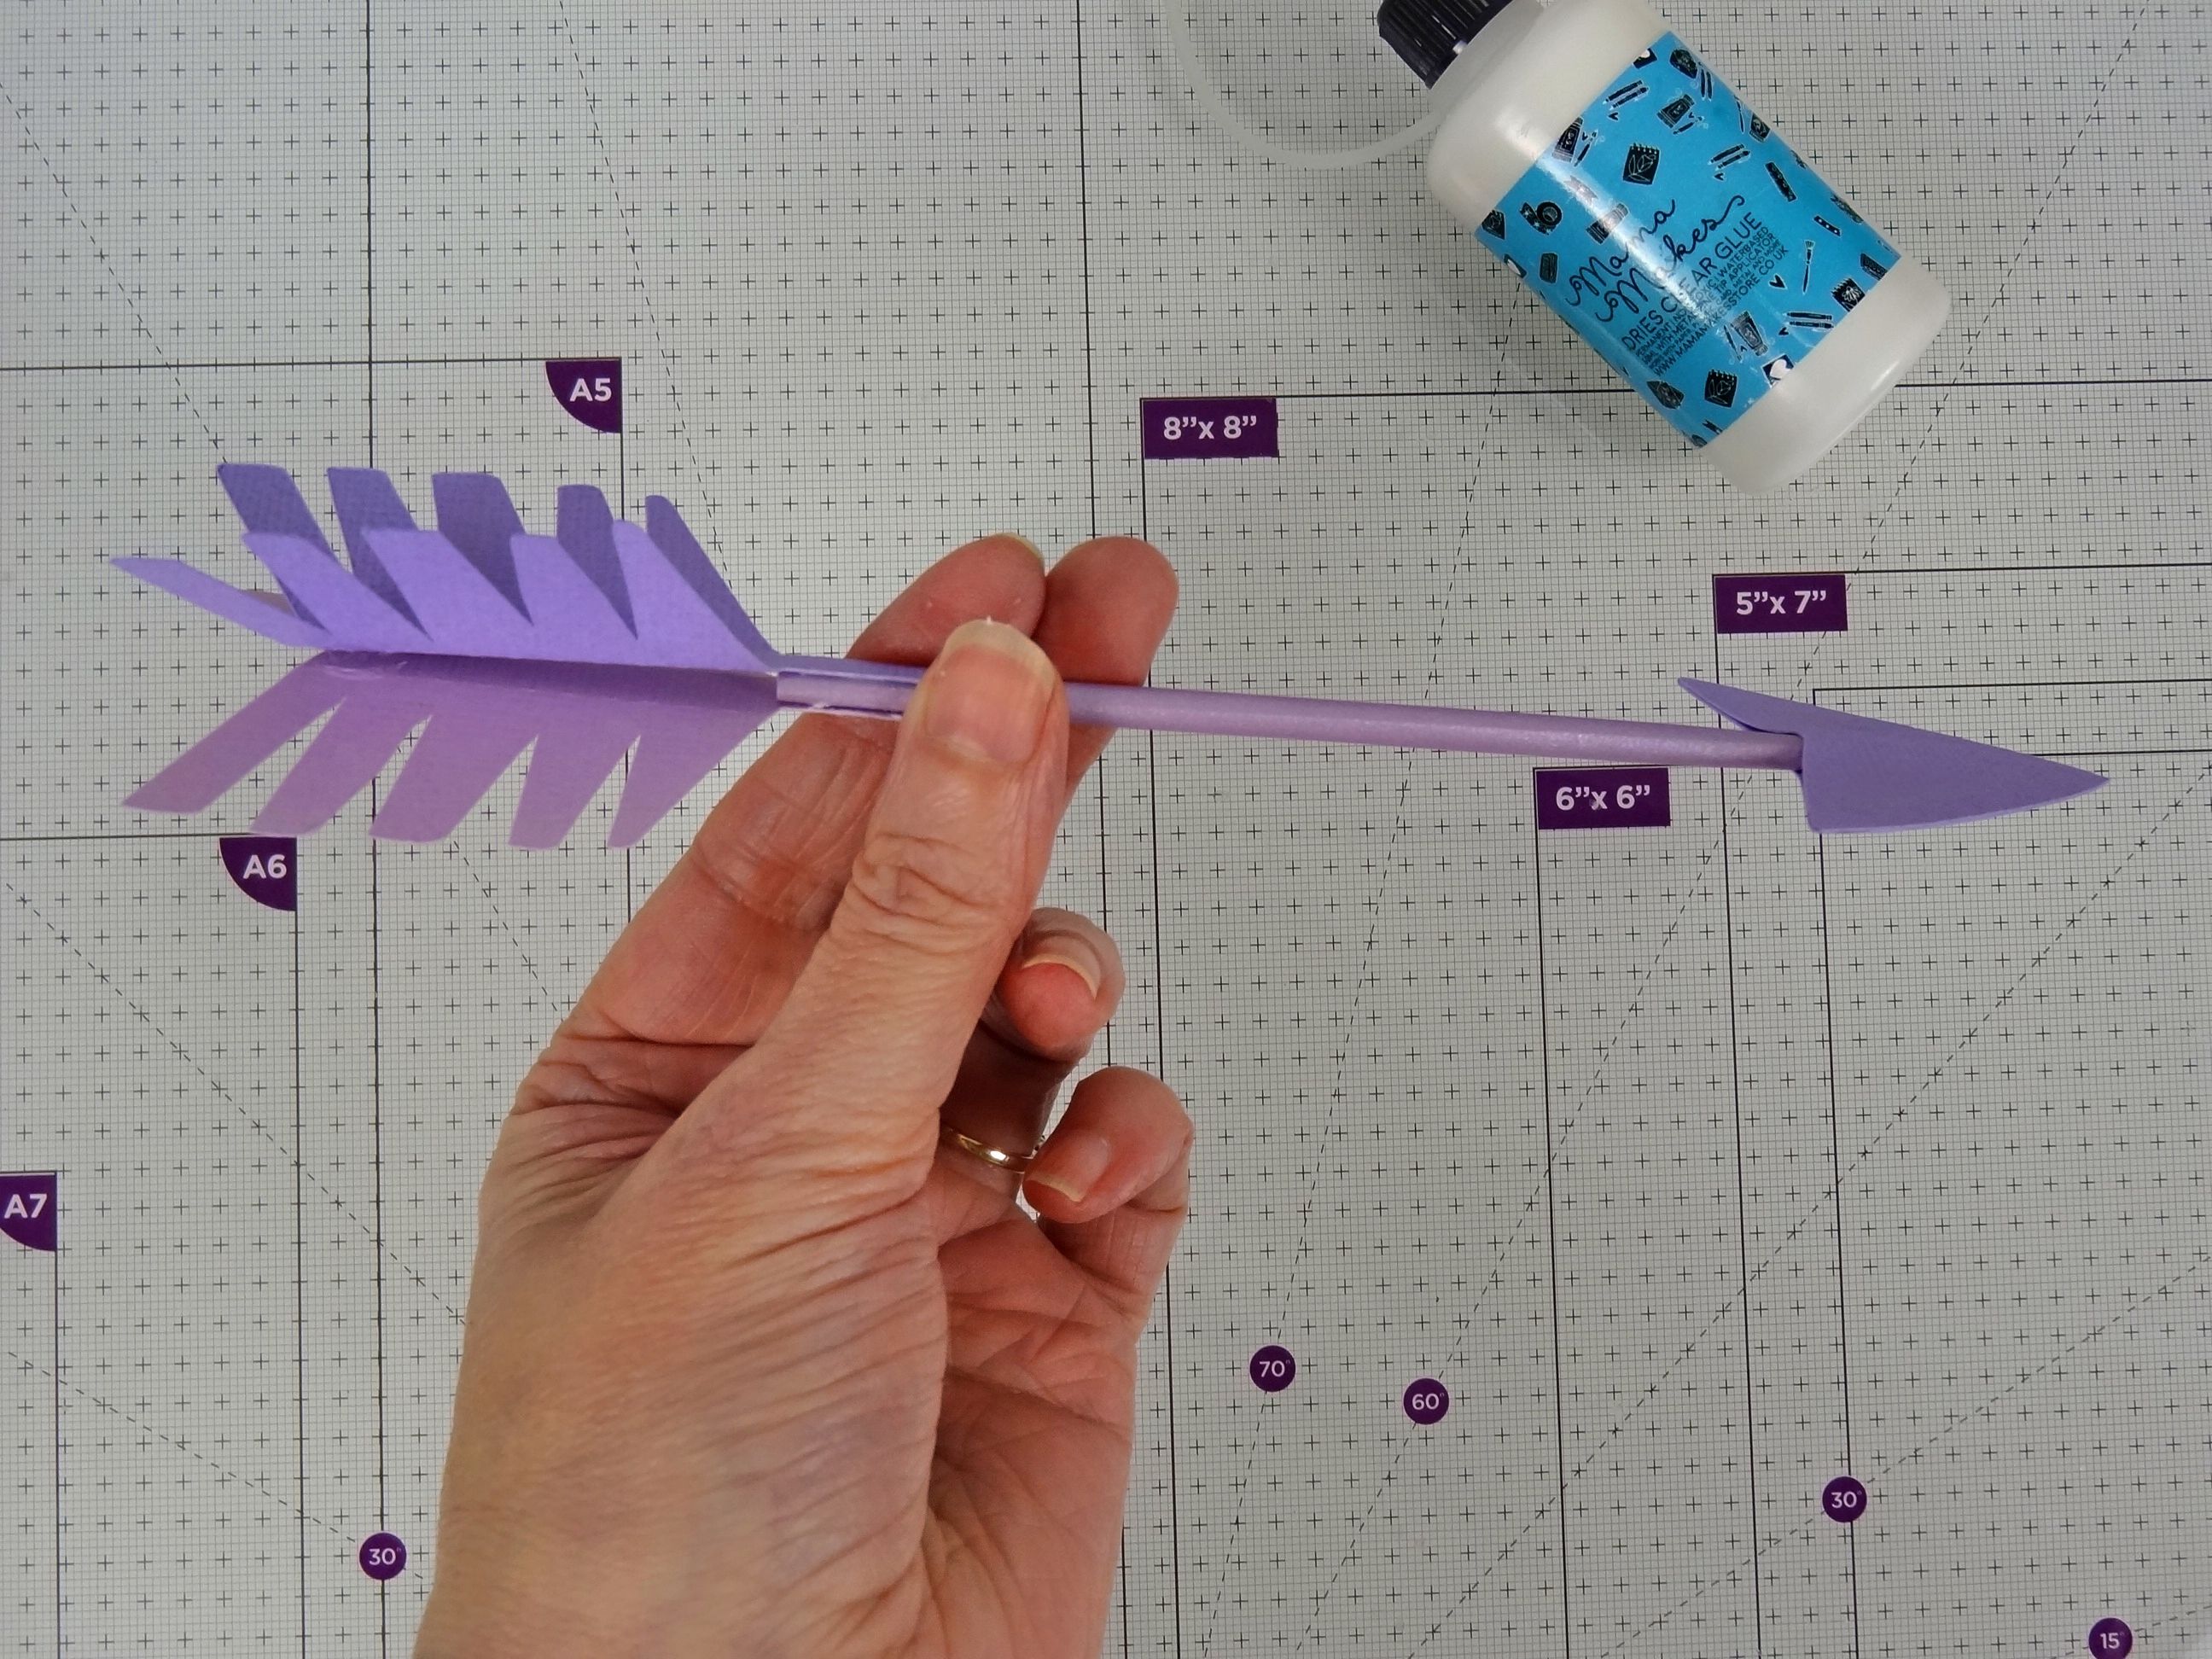
Add glue to the tab on the first chevron feather and line top of tab up with other end of arrow stem. Add glue to tab on 2nd chevron and attach to opposite side of stem. Ensure both feathers are lined up before pressing firmly to secure the them both. (if you wish you can add a dot of glue inside the 2 feathers at the top and press gently, if you wish to make the end pieces more secure)

Step 10

How to make a paper arrow 14

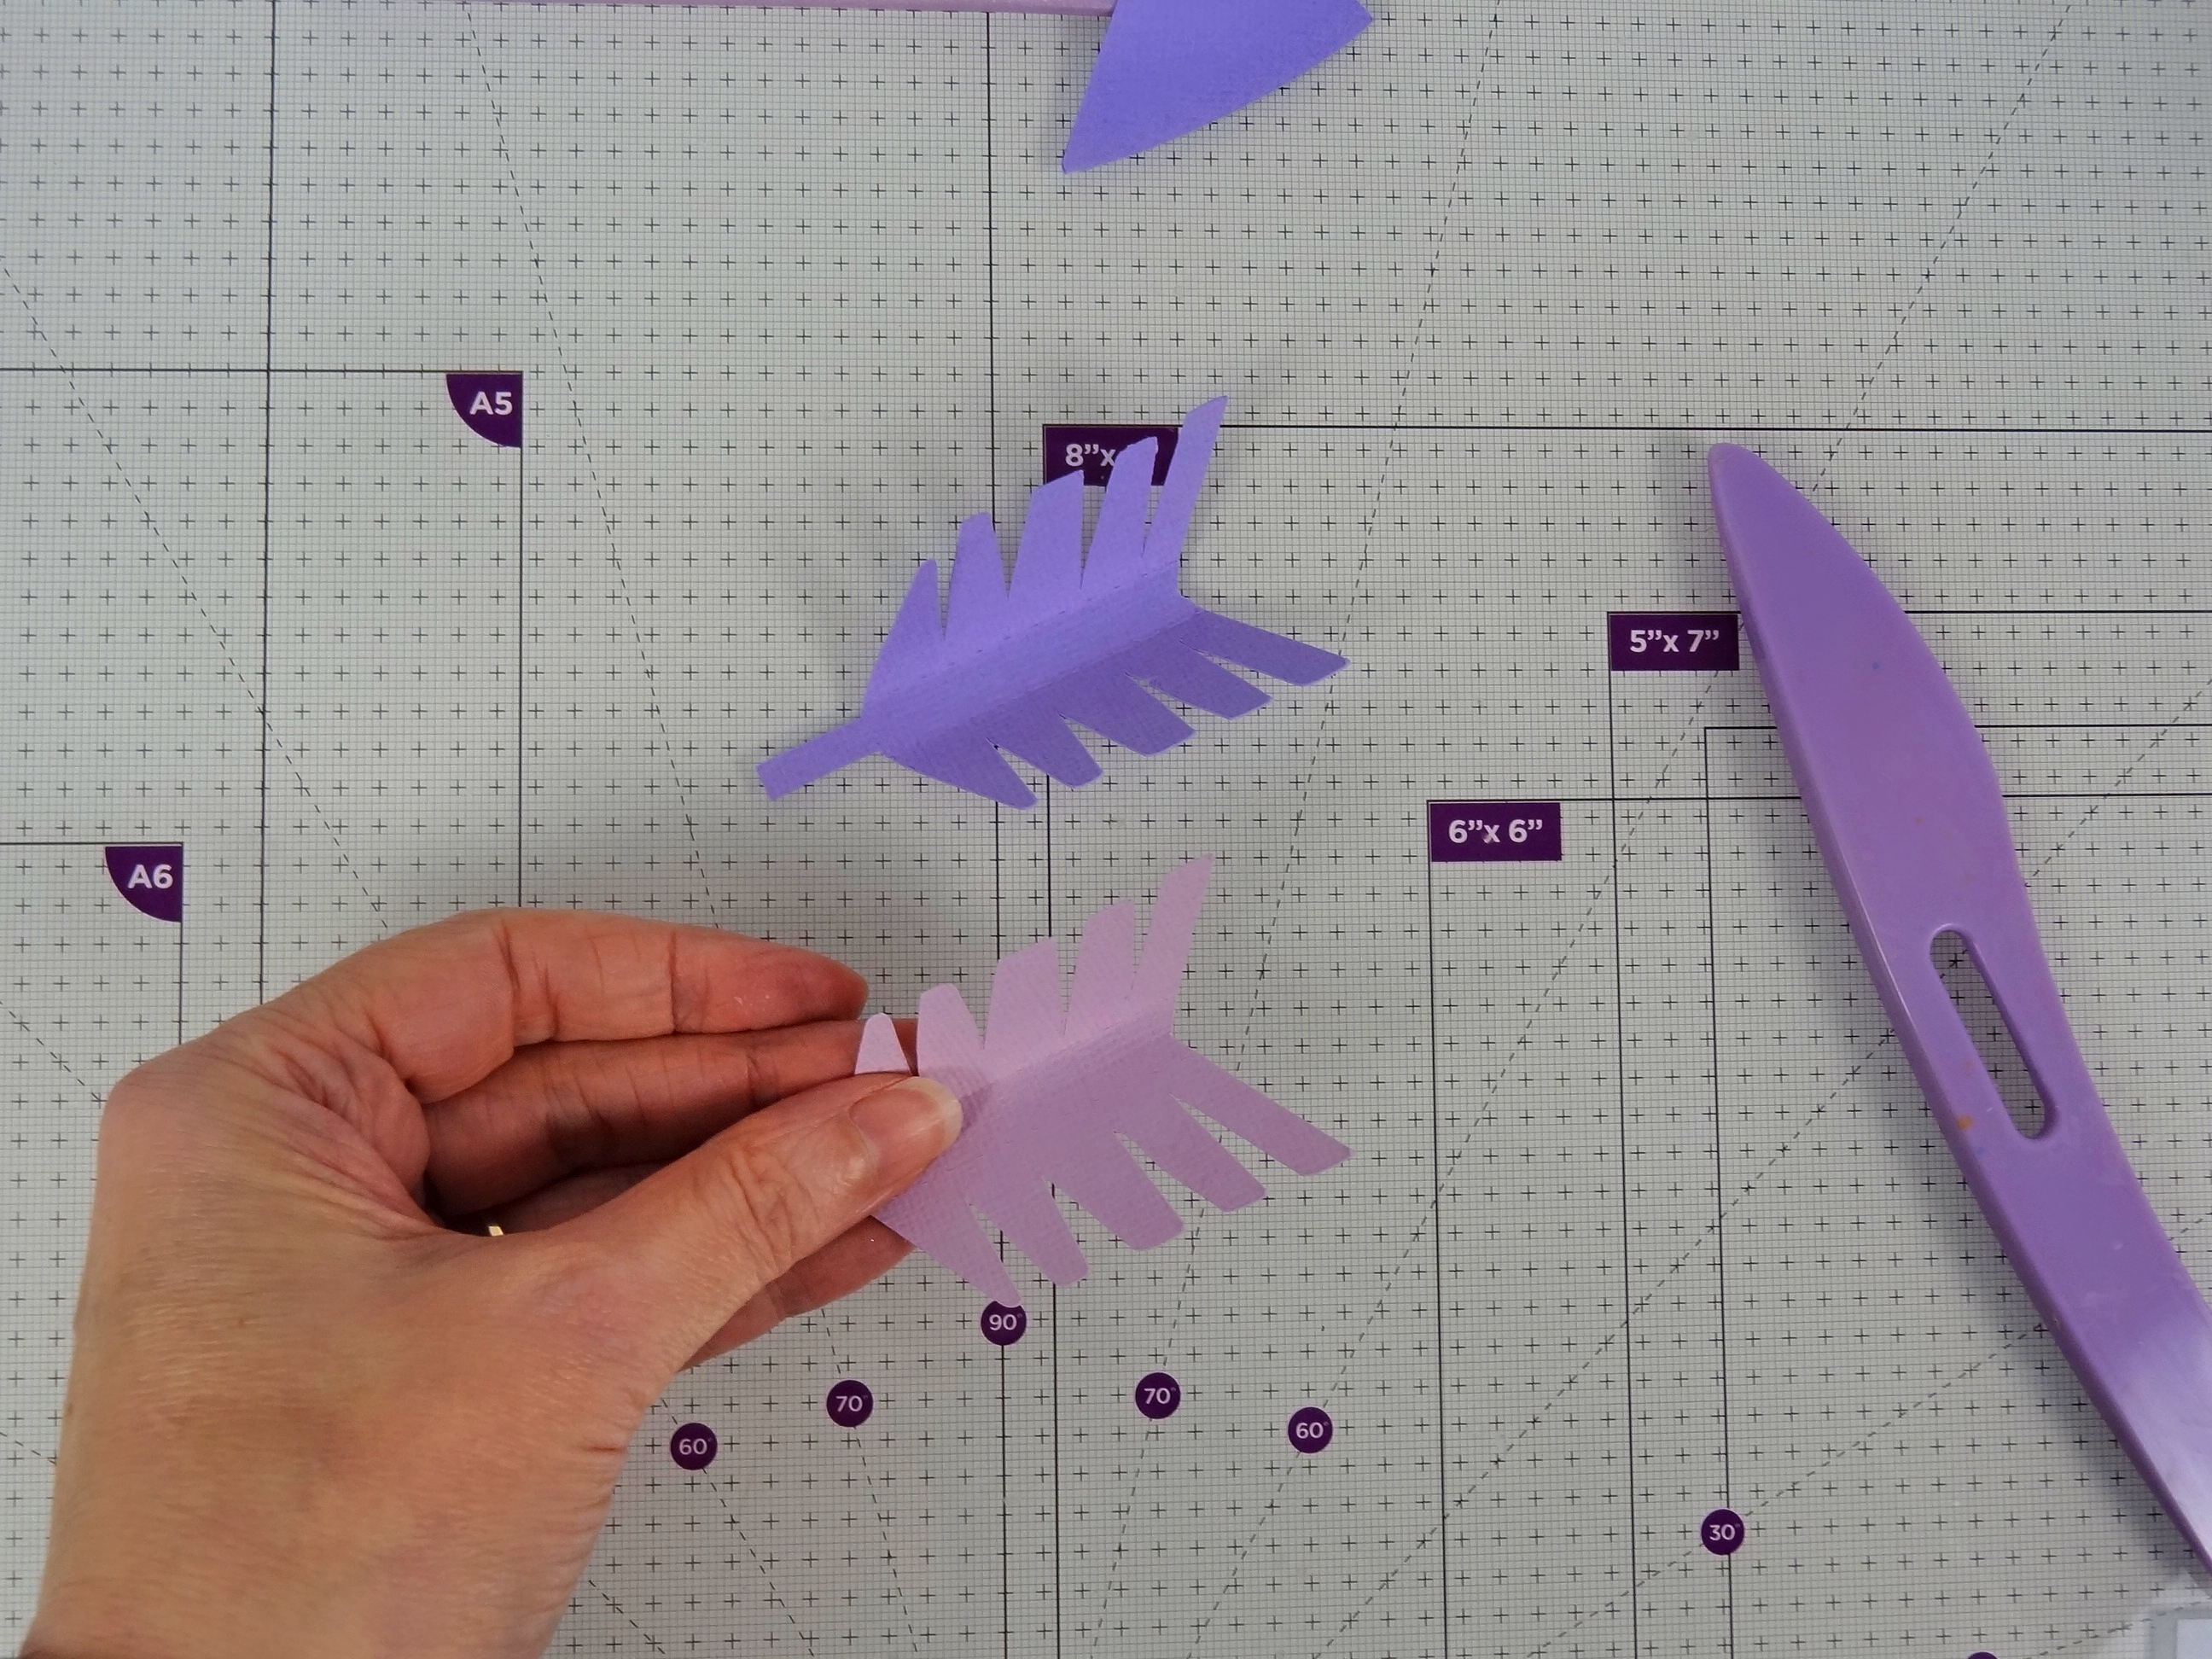
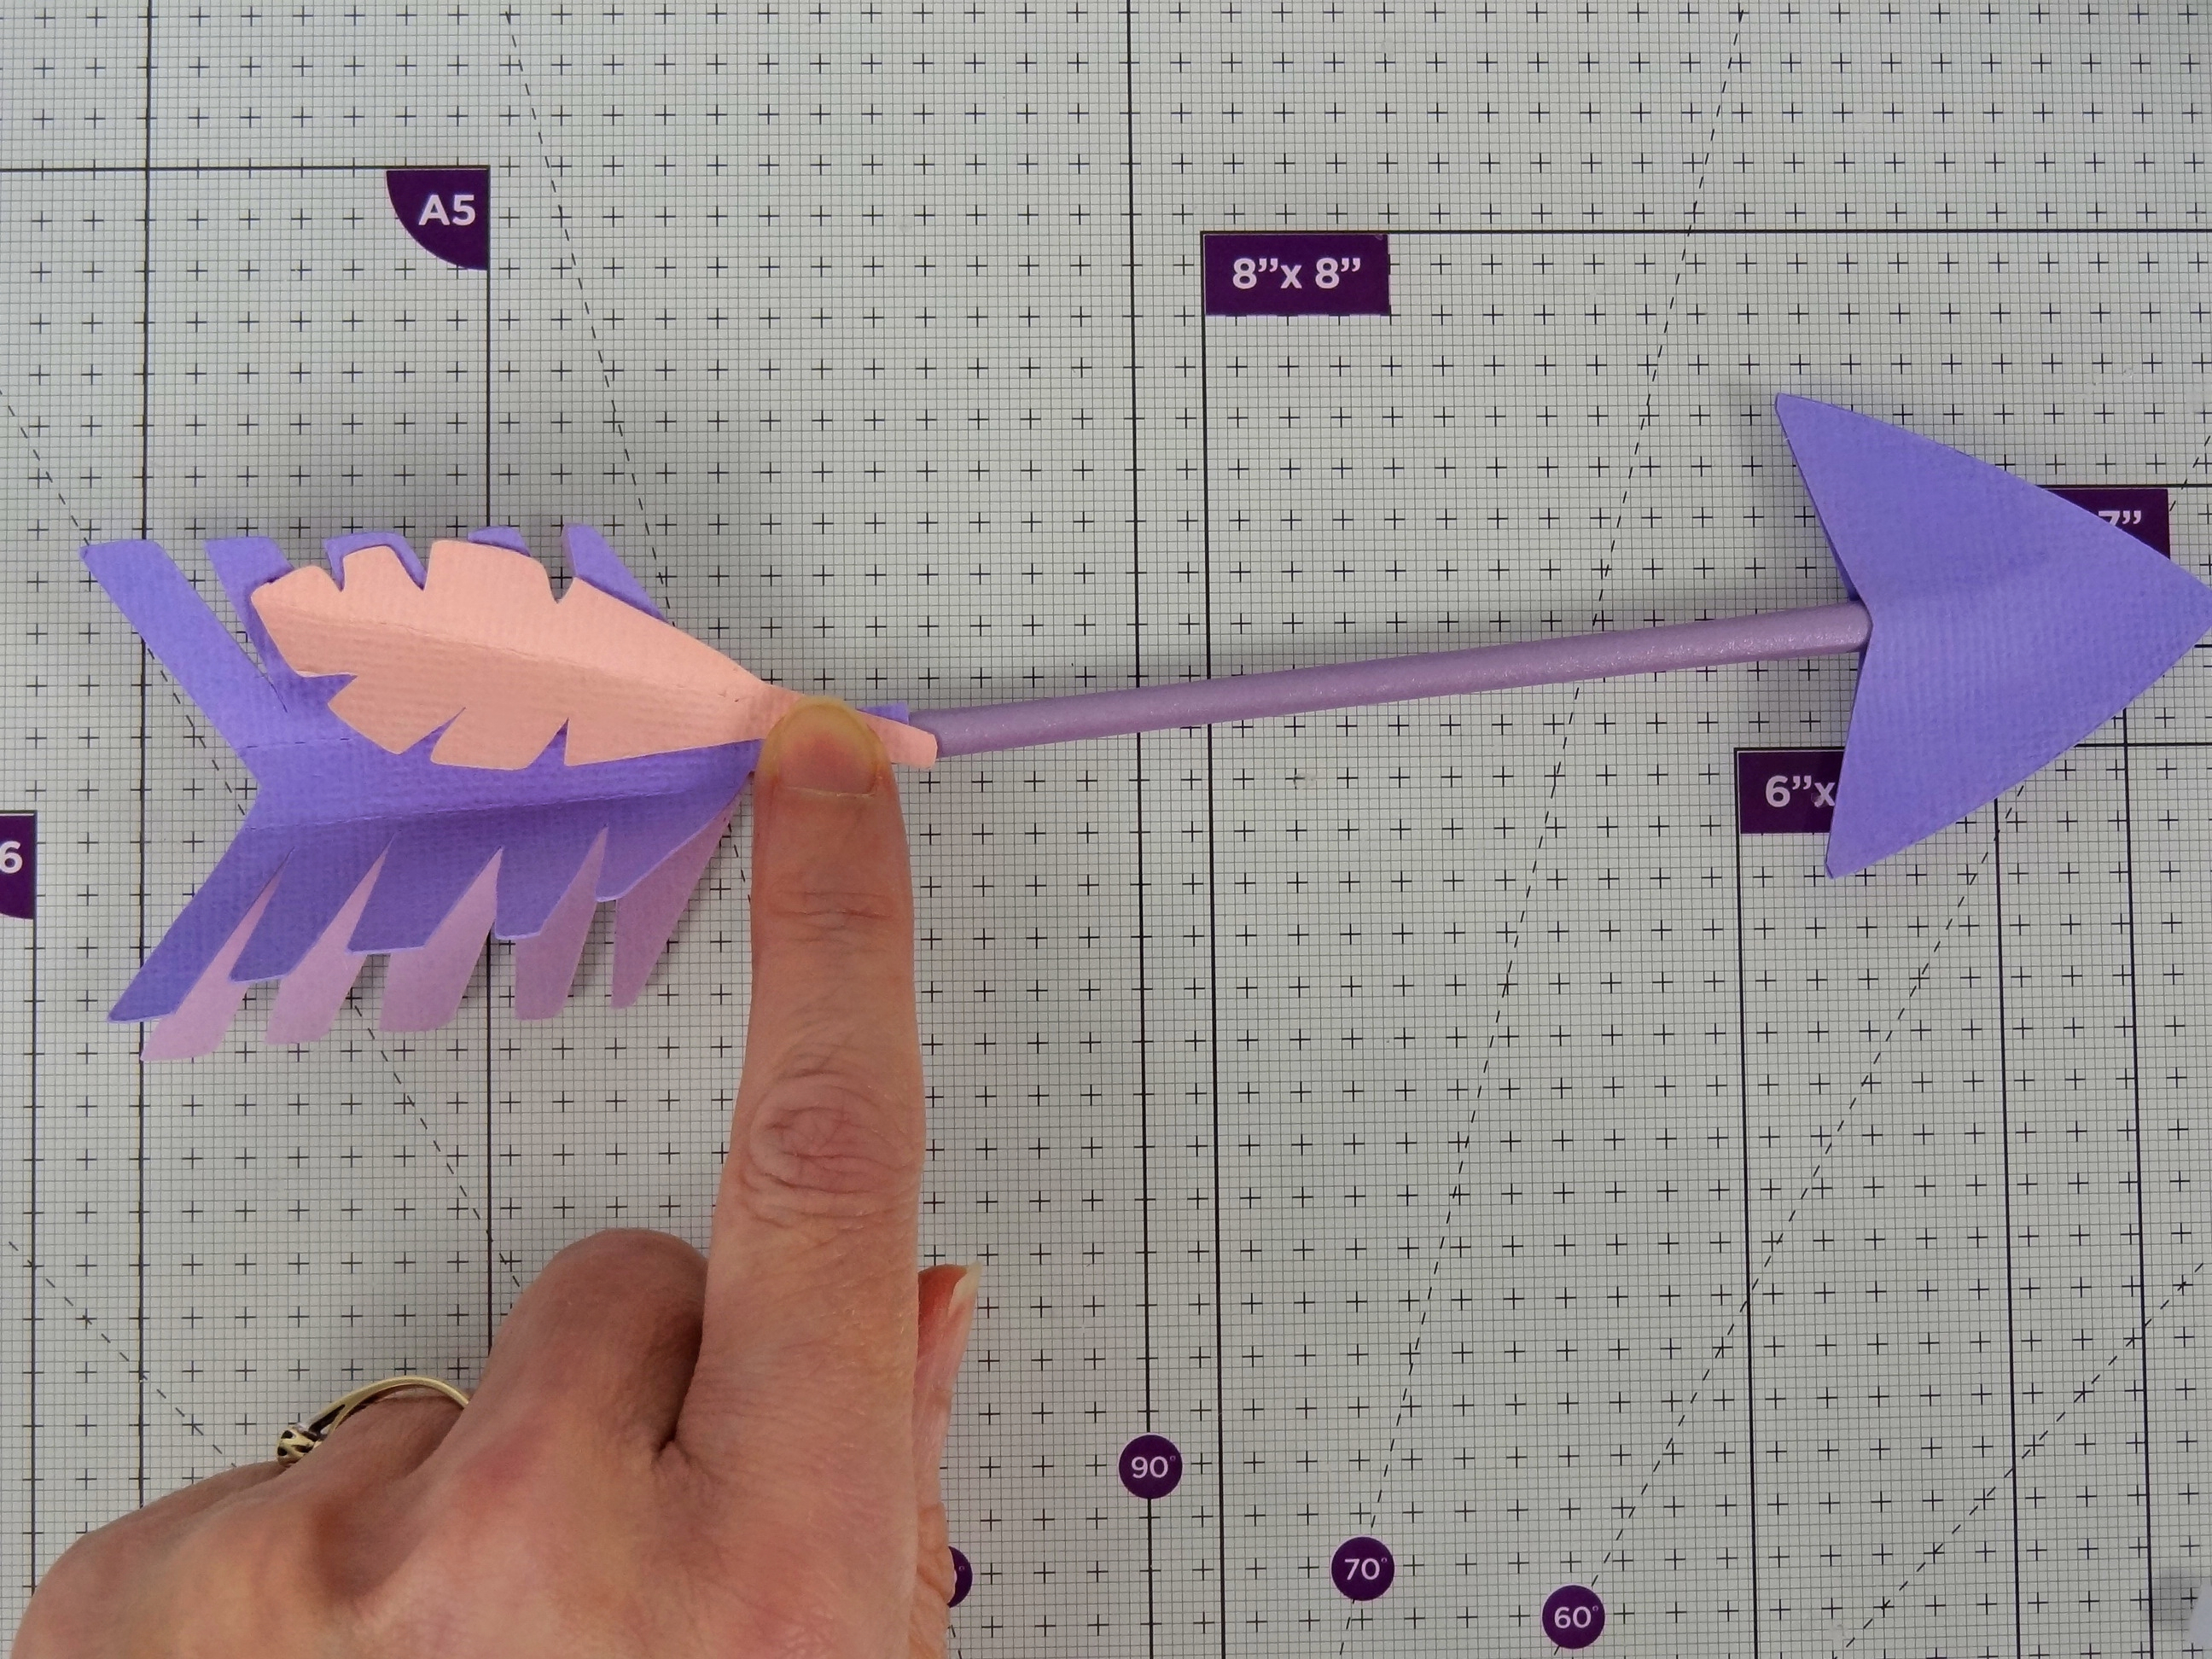
Take your chosen additional feathers and fold on score lines to add shape.

Step 11

How to make a paper arrow 15Apply glue to the feather tab on one feather. Decide where you want to place it on top of chevron feathers and press firmly to secure in place.
Step 12

How to make a paper arrow 16

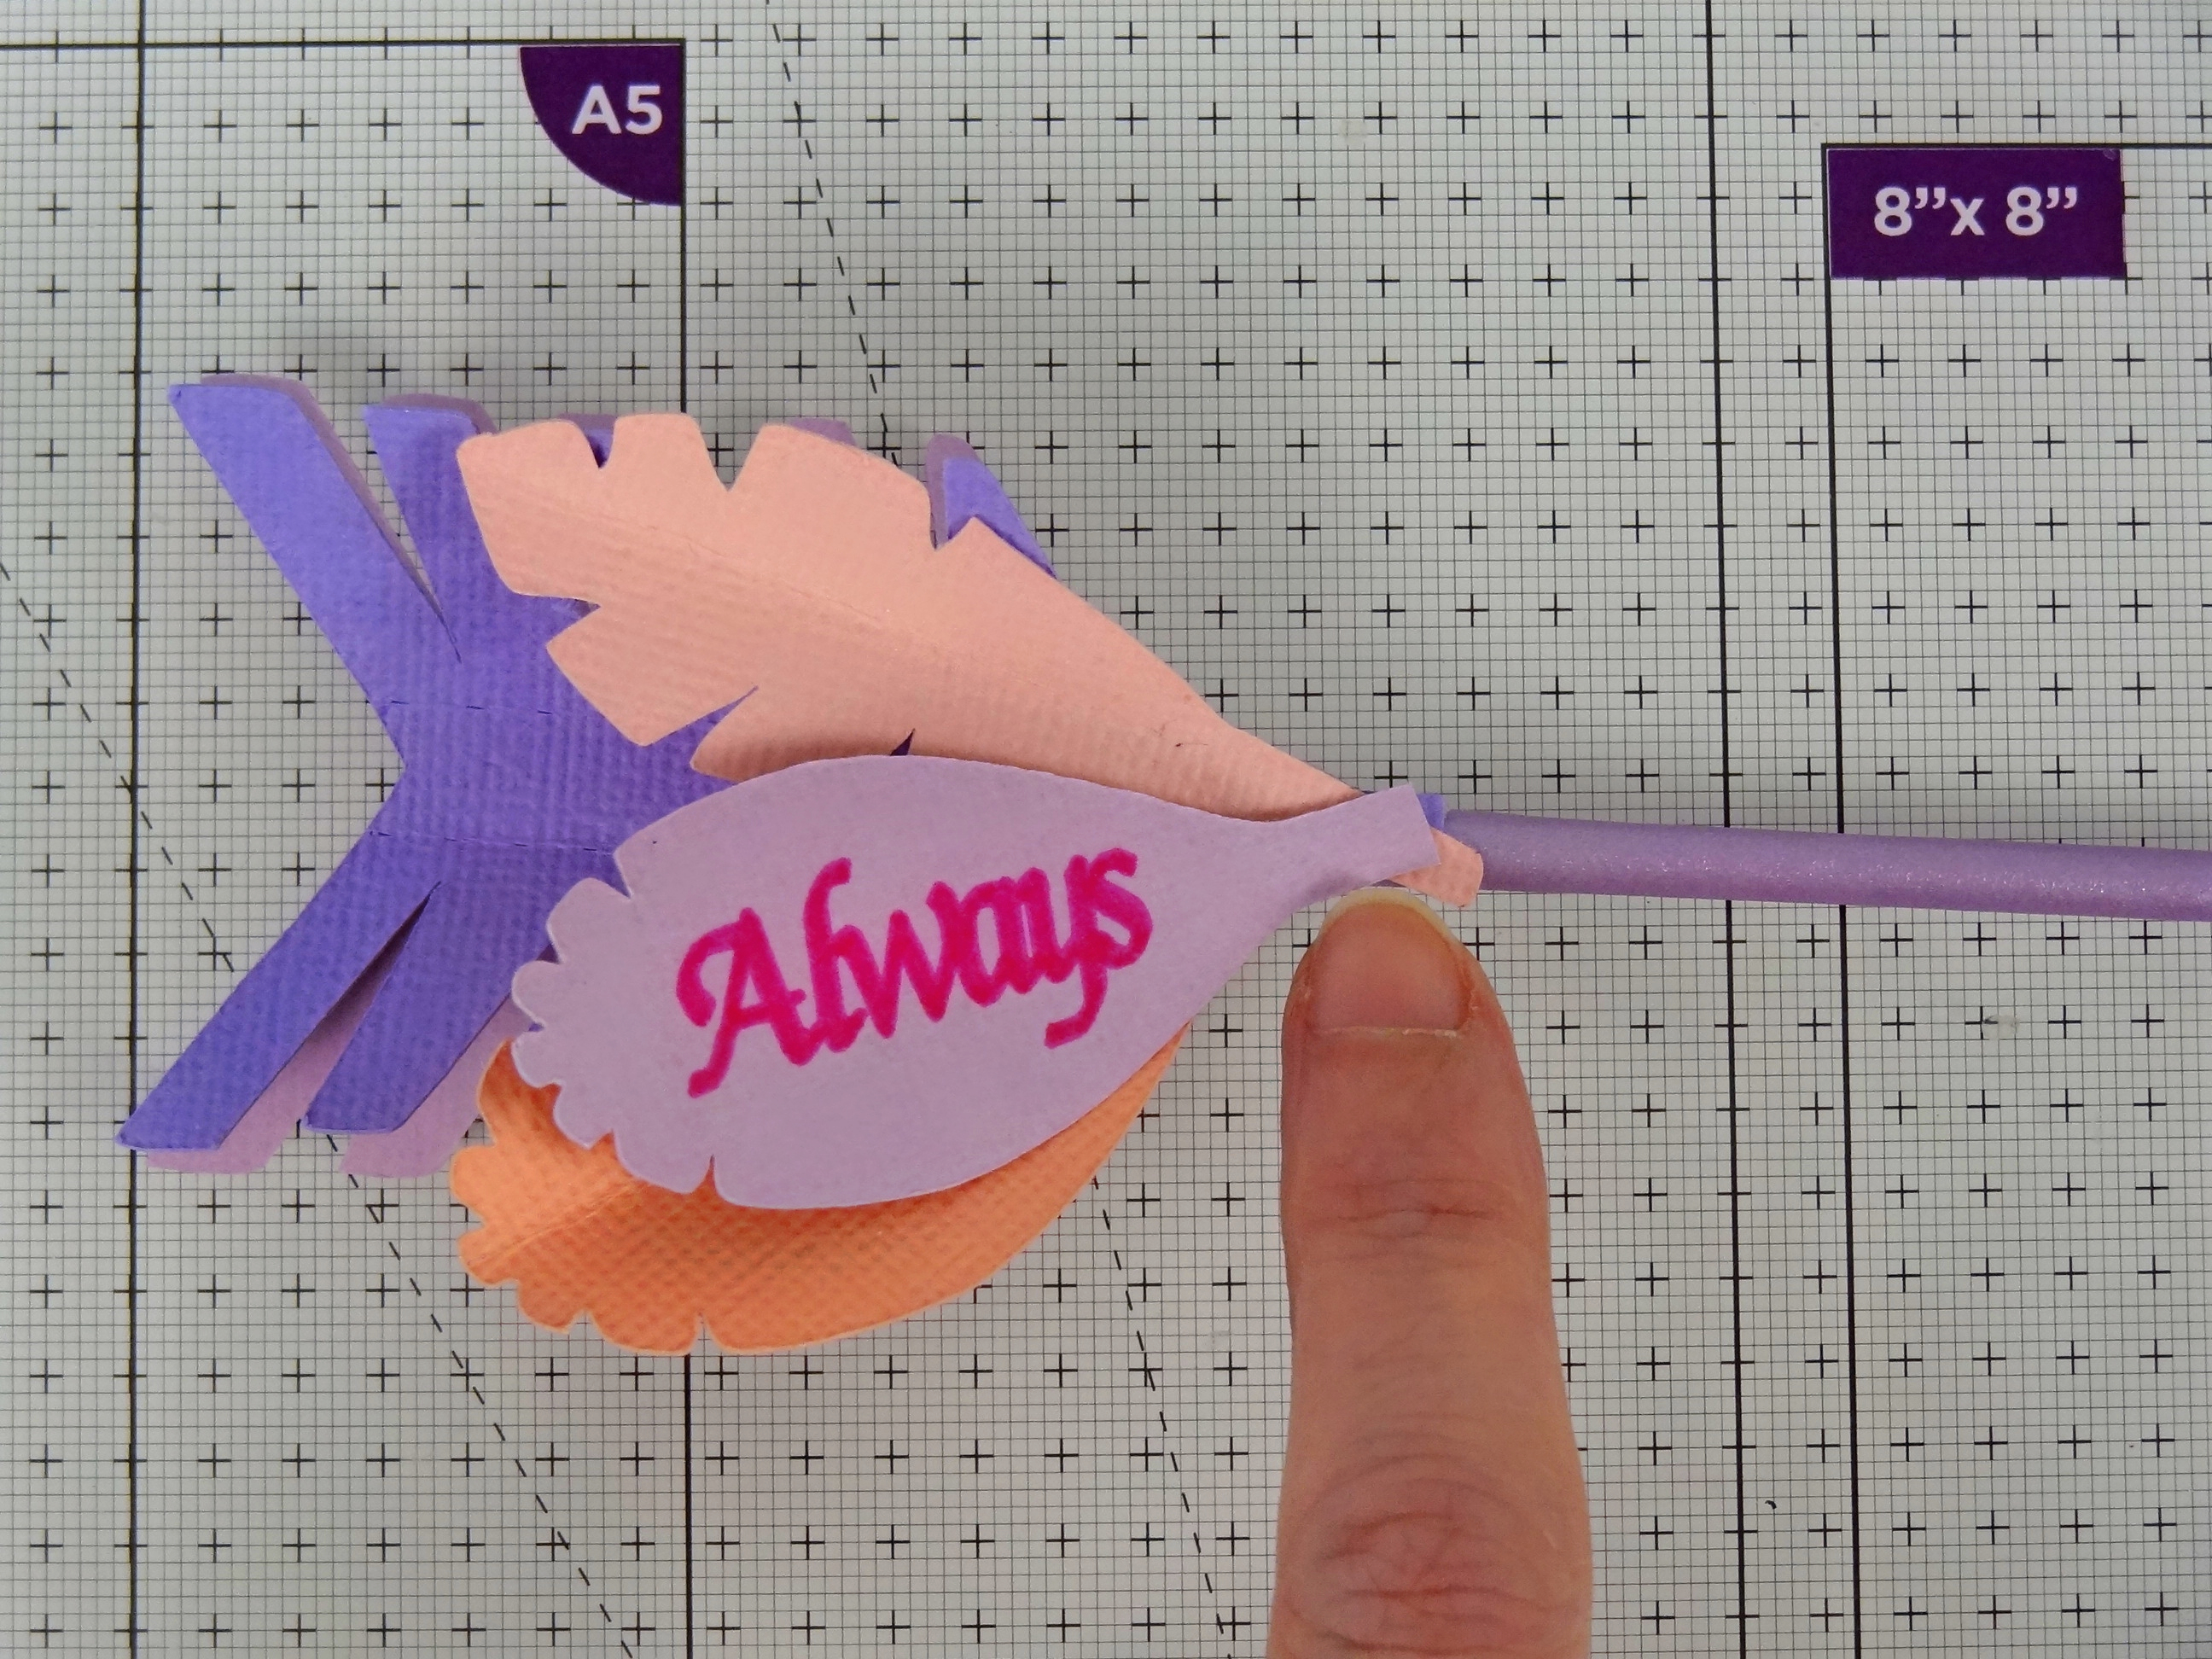
Take a sentiment feather and arrange it on top of the other chosen feather, glue in place when happy with arrangement and trim stems if they overhang.

Step 13

How to make a paper arrow 18

Add glue to the back tab and arrange the sentiment layered feather onto the arrow as desired. Press firmly to secure.

Step 14

How to make a paper arrow 19

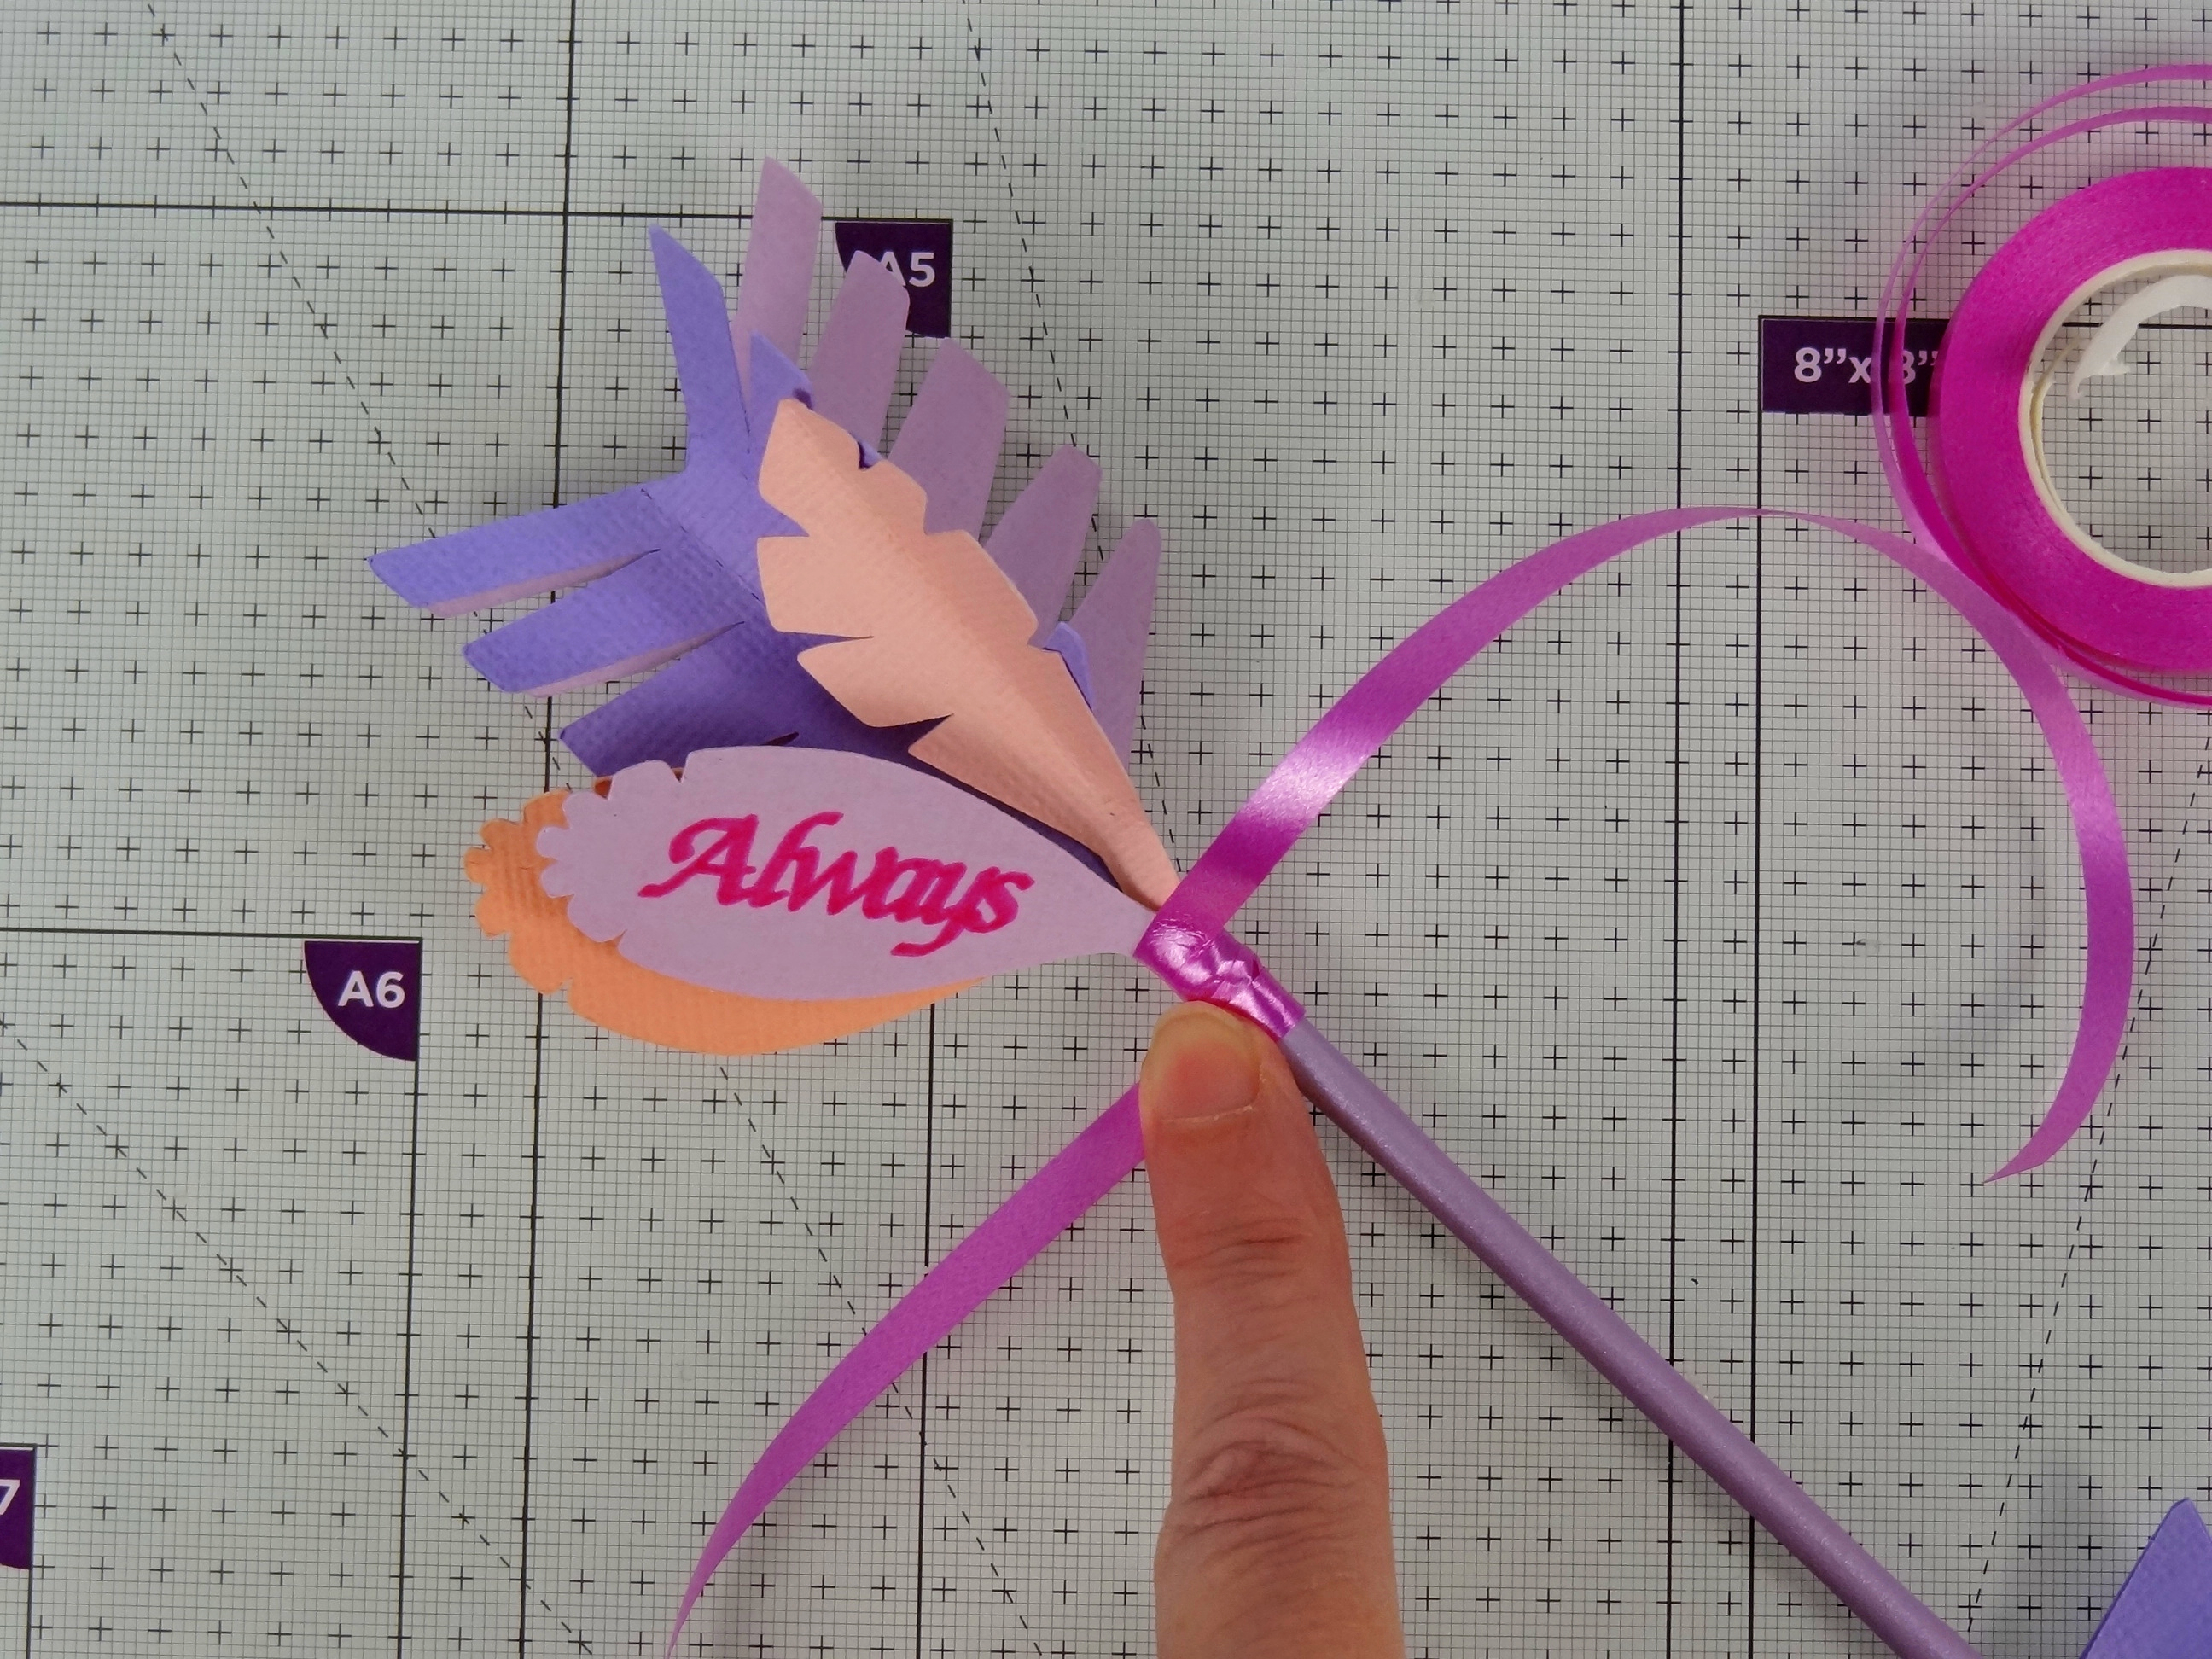
When glue is dry, wind some coloured ribbon around the feather stems, you may find it easier to add a little strip of double sided tape first to help the ribbon stay put whilst you wind it round.

Step 15

How to make a paper arrow 21

Tie ribbon with a double know to secure it in place. Curl ribbon if using curling ribbons, and trim off any excess, you could angle the cuts at the ends for a neat finish.

More like the paper arrow

You’ll find many more brilliant creative makes to try right here on Gathered. Check out our other paper projects that you can make by hand or with your machine. Learn how to make a piñata with our fun tutorial, or discover how to make a pop up card or how to make a stencil. For craft buys, check out our best die cutting machines review, or discover our pick of the best glue guns and the best printer for card making.

how to make a paper arrow final