Step 1
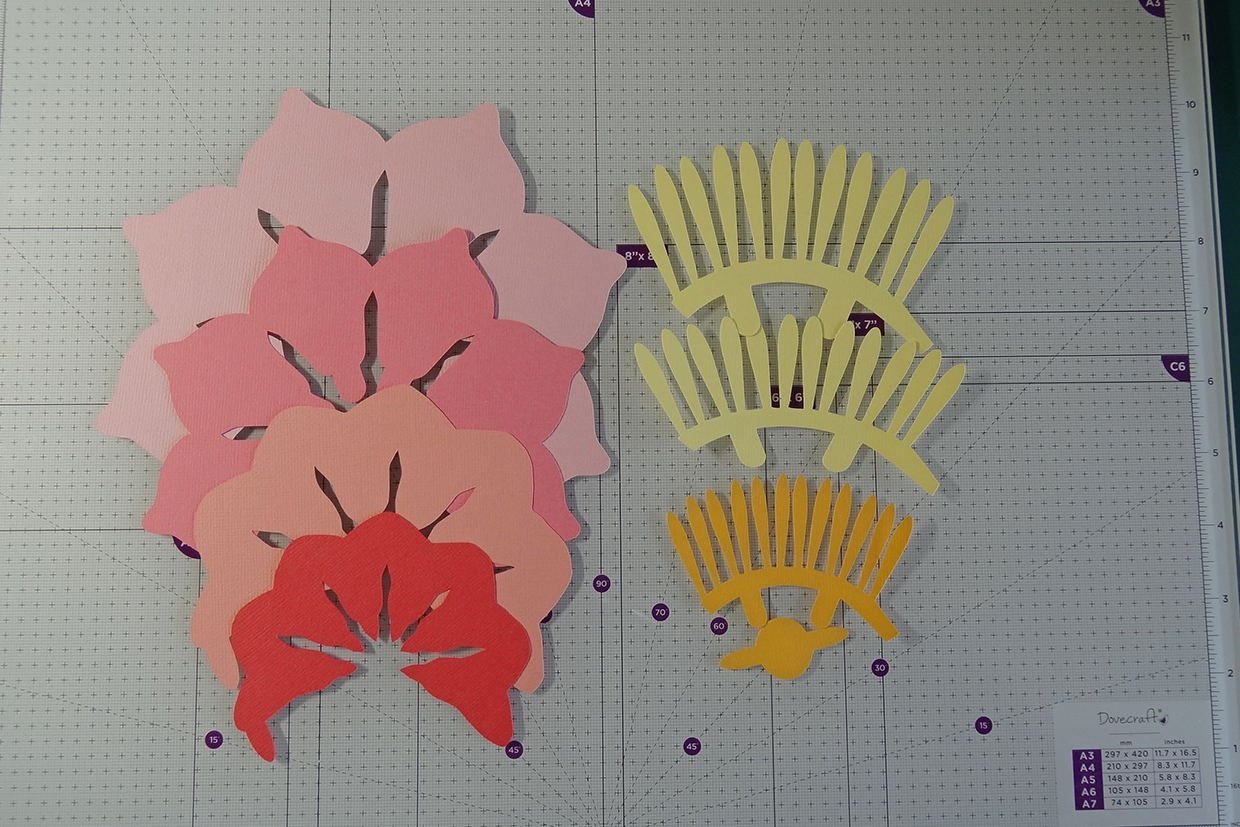
Use the pop up card templates or the free pop up card SVG files to cut out the shapes for your pop up flowers card. You’ll need:
- 4 large flower sections in 4 shades of pink card
- 2 inner petal sections in light yellow card
- 1 small inner petal section in yellow gold card
- 1 circular flower middle in yellow gold card
- 1 card base in white card
- 2 large half flowers in pale green card (optional)
- 2 belly band enclosure pieces in white card (optional)
- Butterflies in blue, purple and lilac card (optional)
- Leaves in green card (optional)
- Sentiment in pink card (optional)
Step 2
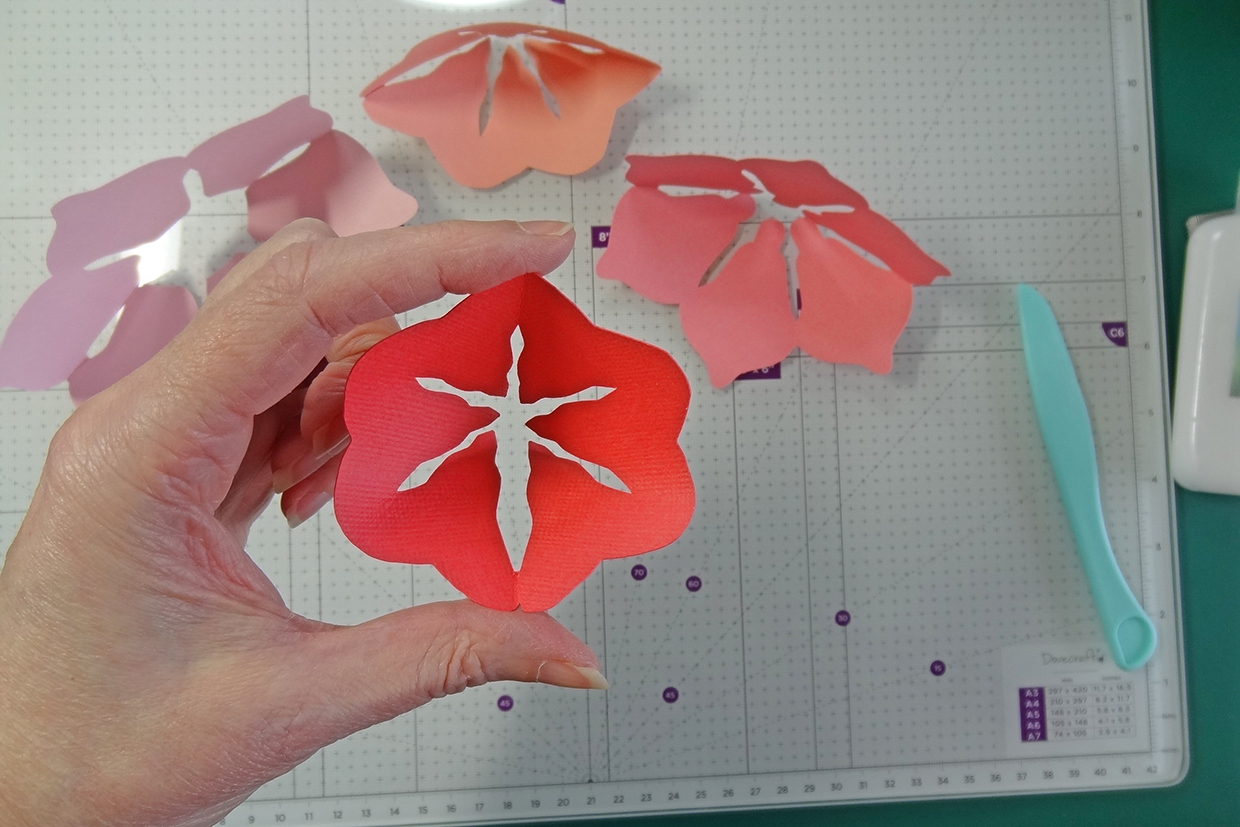
Assemble the flower for the pop up card by folding the largest pink flower shape in half, fold over tab and glue to join into a single circular piece. Repeat for the other pink flowers to create 4 joined flower pieces. Leave to dry.
Step 3
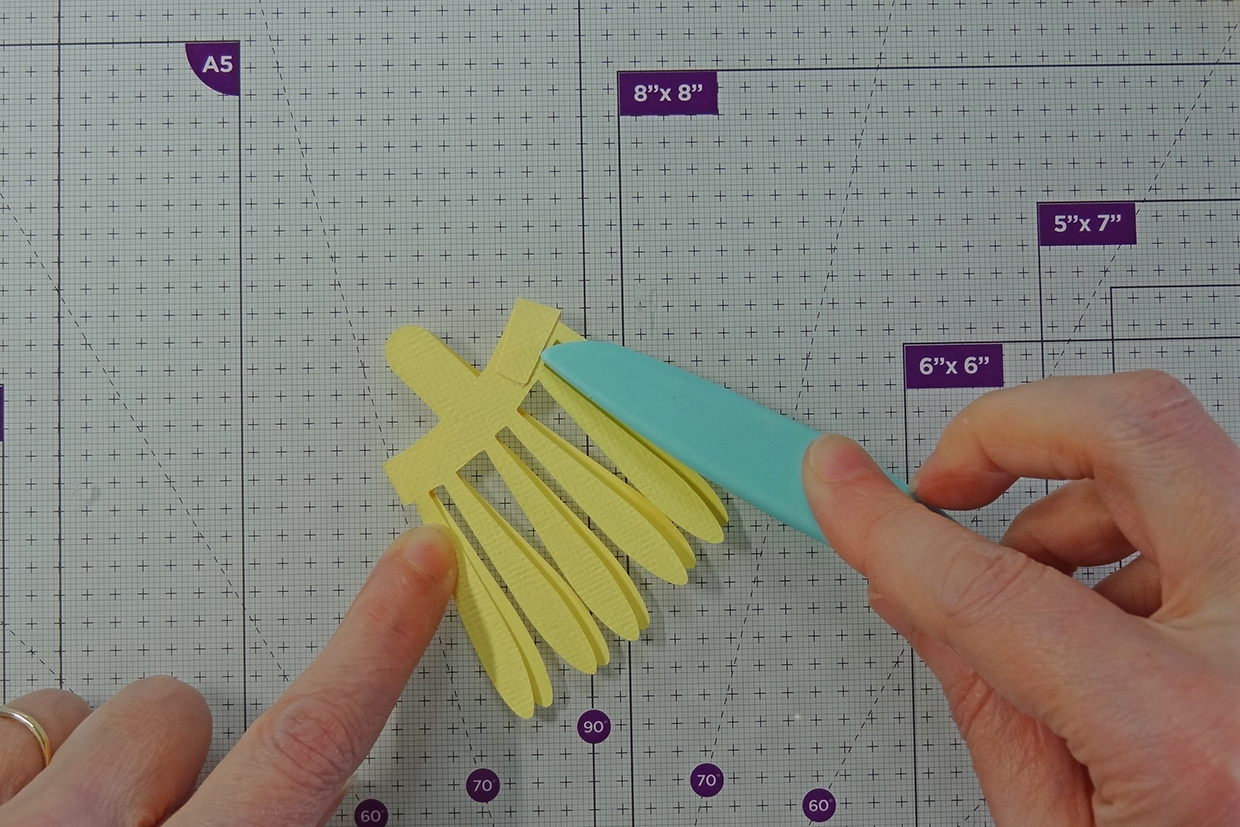
Assemble the inner petals by folding each yellow piece in half, lining up side tabs and join as before using glue on the end tab. Repeat to create 3 yellow petal pieces. Leave to dry.
Step 4
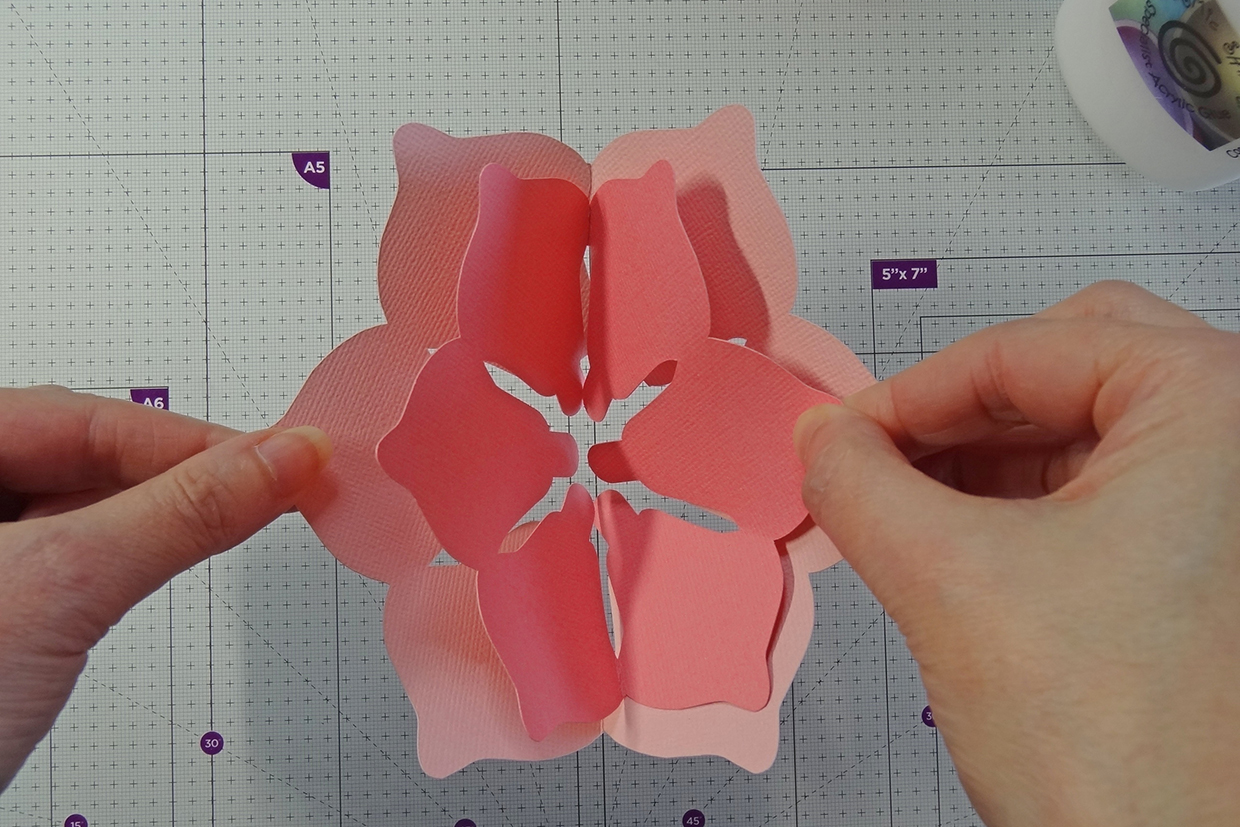
Take the 2 largest pink flower pieces, and slide the smaller one inside the larger one, fold the tabs of the smaller one over the back of the larger piece’s petals and glue in place by lining up and gluing the centre petals on each side first. Press down firmly to ensure they have adhered.
Step 5
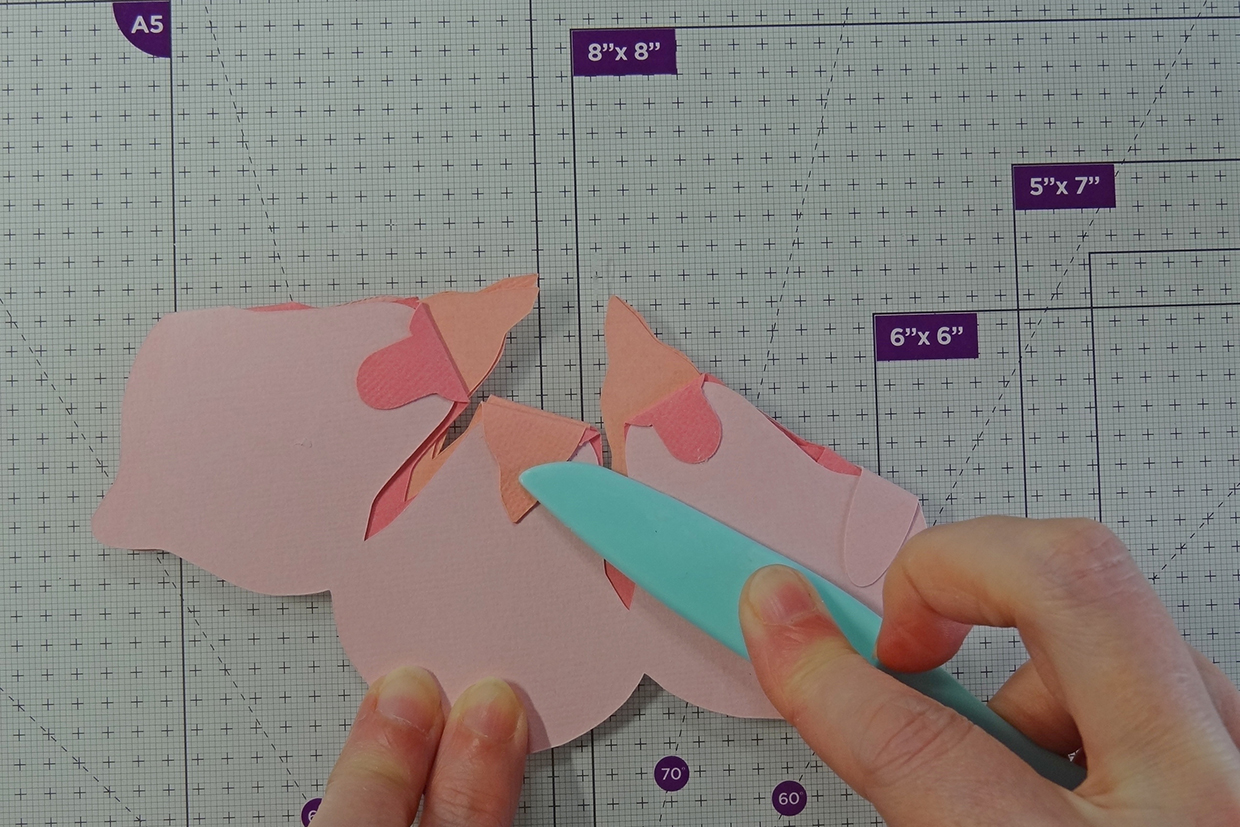
Take the next size down of the pink flower pieces and slide inside previous flower set, fold back tabs and adhere as before.
Step 6
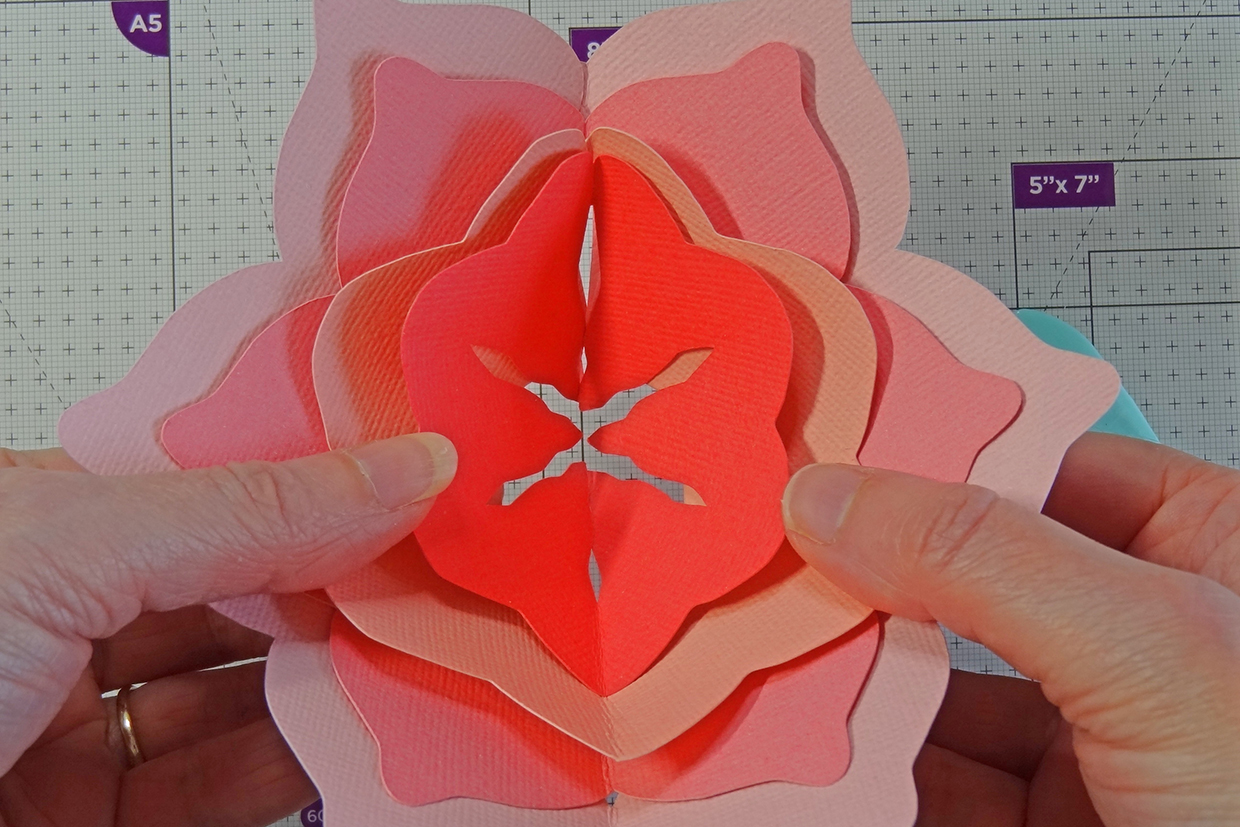
Take the final final pink flower piece and slide inside previous flower set, fold back tabs and adhere as before to create a 4 layered pink flower.
Step 7
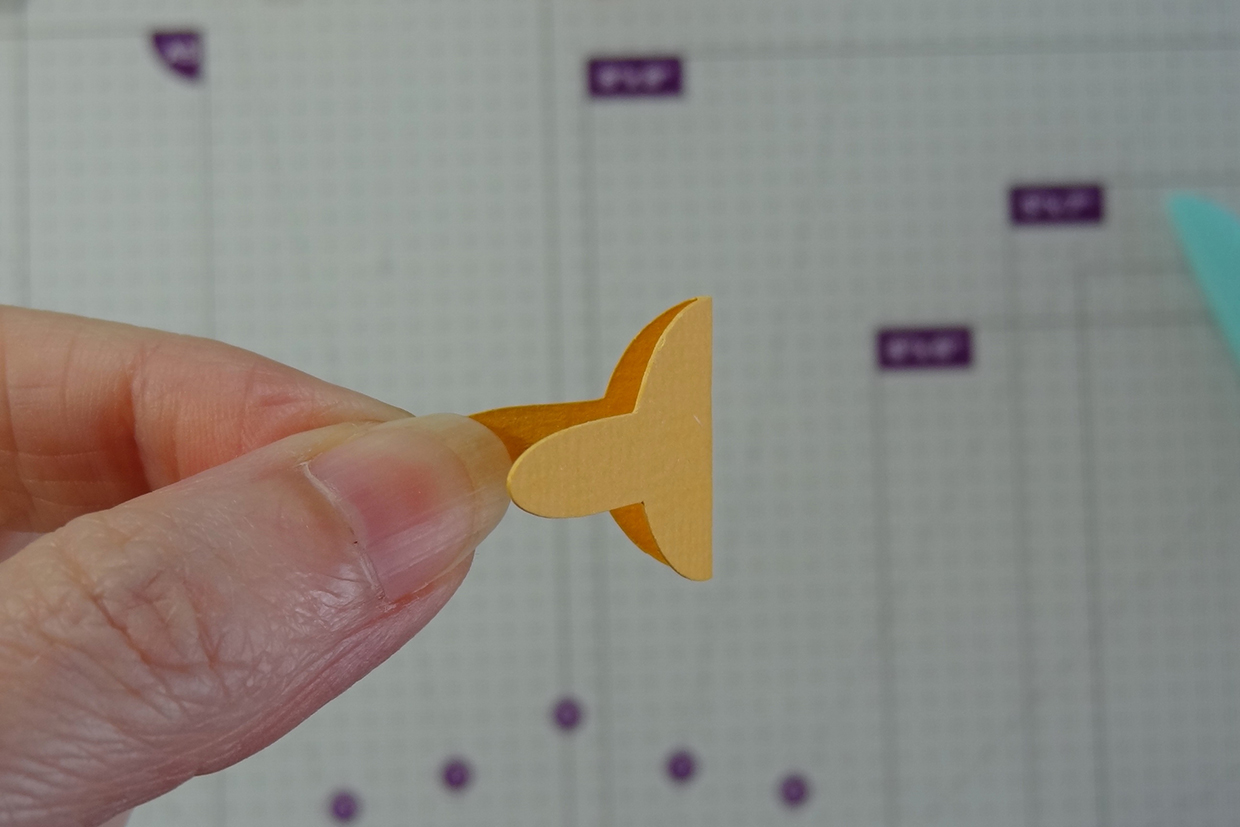
Take the small yellow gold circular piece and gently fold in half (mountain fold) lining up tabs. Fold back the 2 side tabs (valley folds).
Step 8
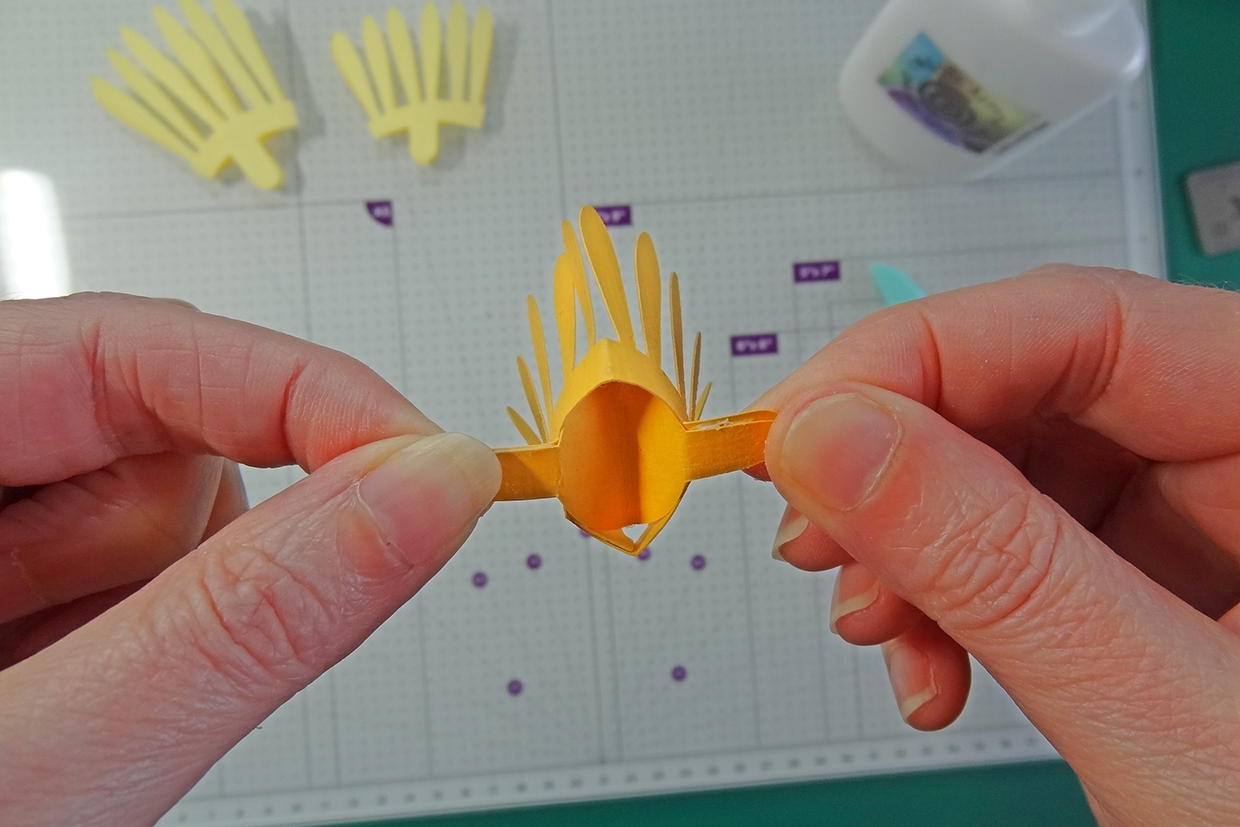
Slide the folded circle section into the smallest (yellow gold) petal section, line up the tabs, fold back and glue. The circle will fill in the centre of the flower.
Step 9
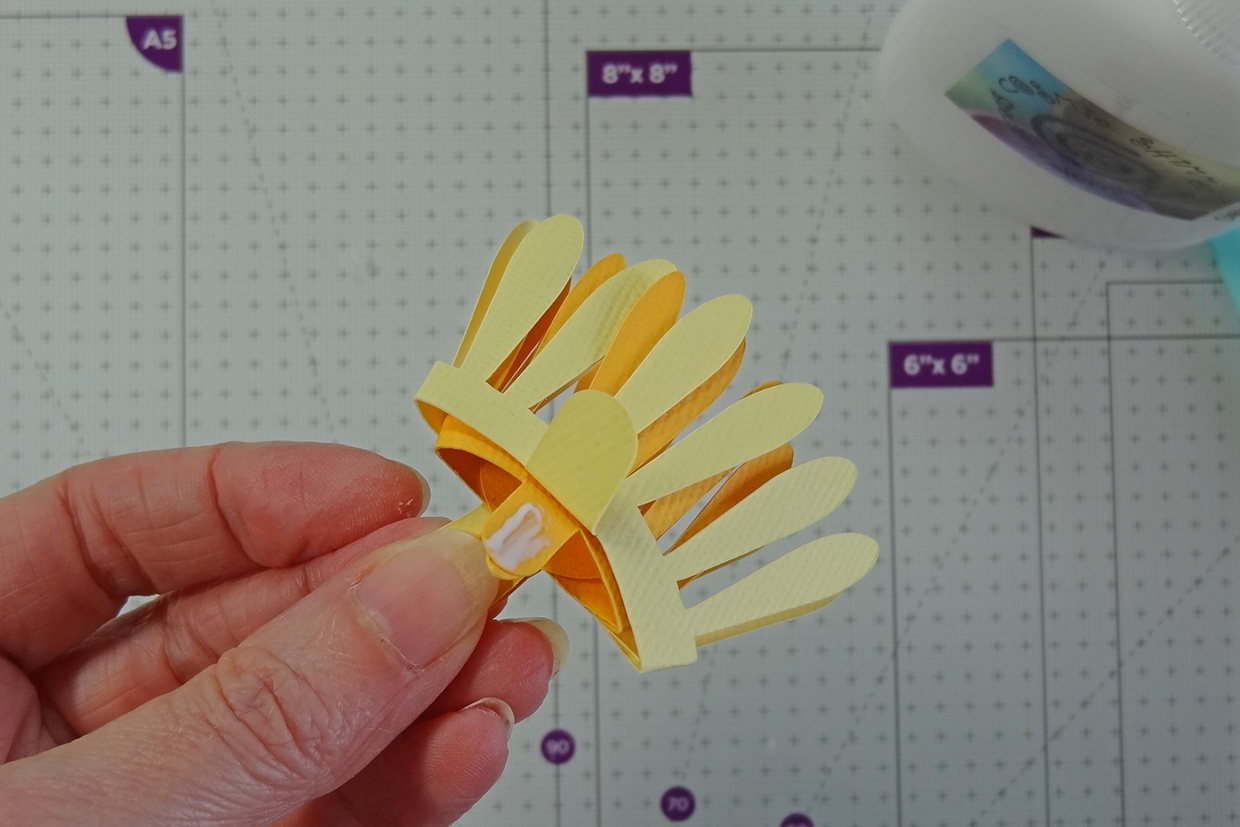
Take the next size up yellow petal section, slide the gold section inside, line up the tabs, fold back and glue.
Step 10
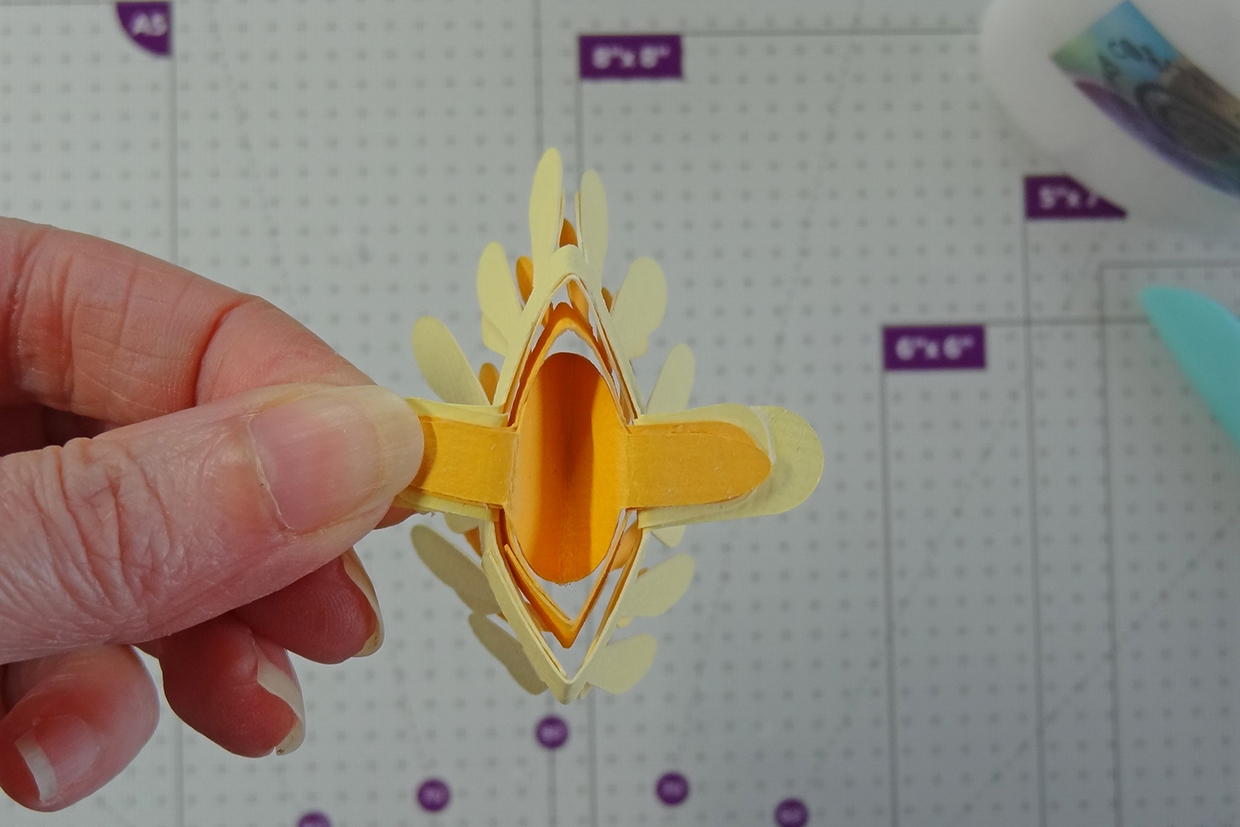
Repeat above steps for the 3rd yellow inner section to create a 3 layered inner flower with a middle. Arrange petals as desired.
Step 11
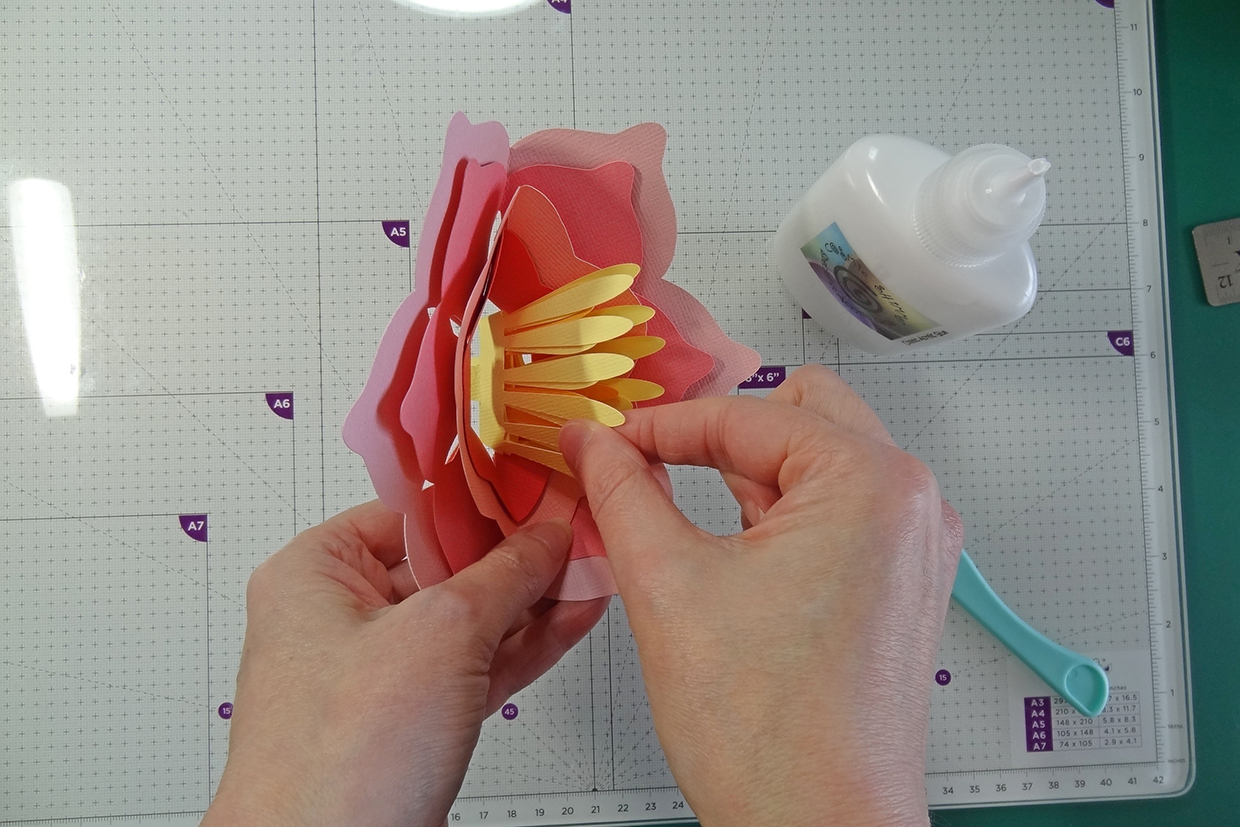
Slide the completed yellow inner section inside the completed pink flower section fold back the yellow side tabs and glue to back of the pink flower section. Press down firmly to ensure the tabs are securely adhered.
Step 12
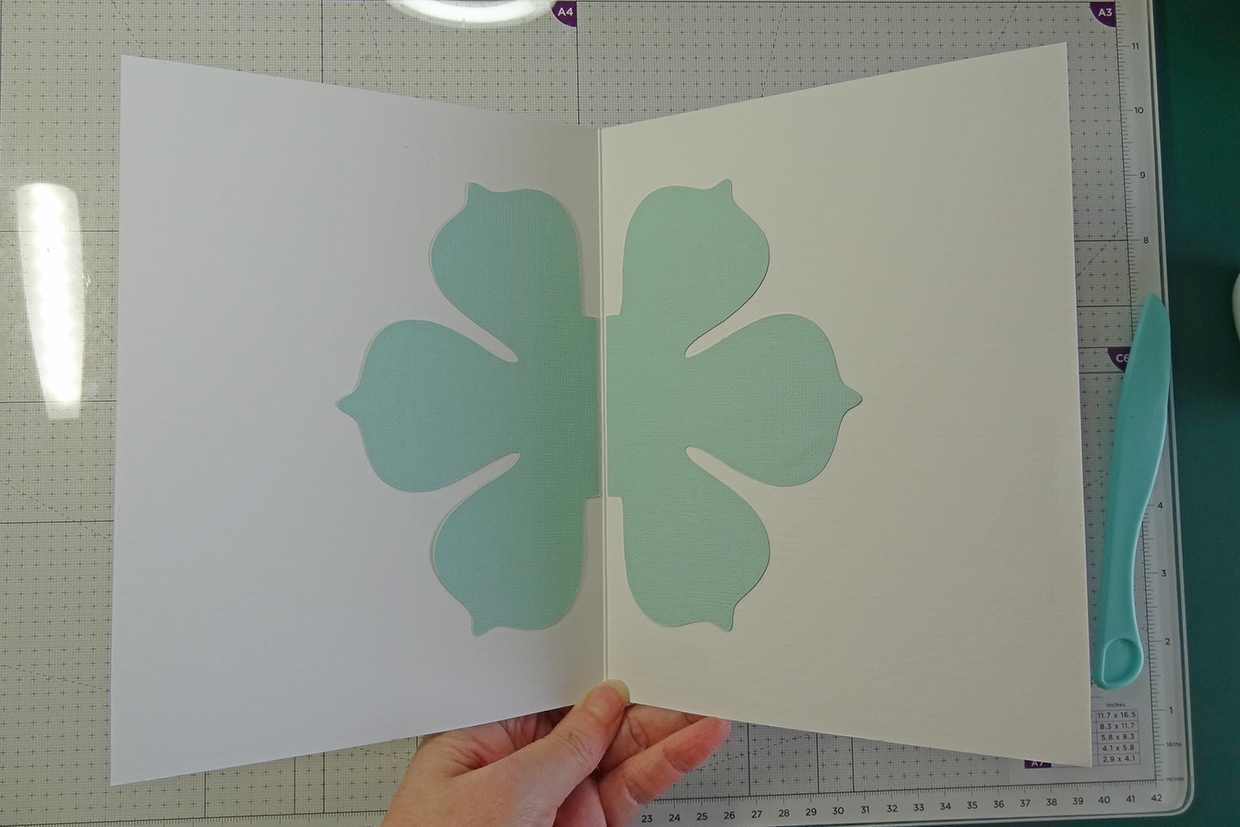
Create the card base using the pop up card templates by cutting the card base in card and fold in half at the score line to create the card base. You can also score and fold a piece of A4 card in half and trim down to 200 x 294mm to create a card base that is 200mm x 147mm when closed. Take one of the half flower shapes and adhere inside card, lining up straight edge, a few mm away from the centre crease, use glue to adhere to allow ‘wriggle room’ to adjust if needed. Repeat for opposite side.
Step 13
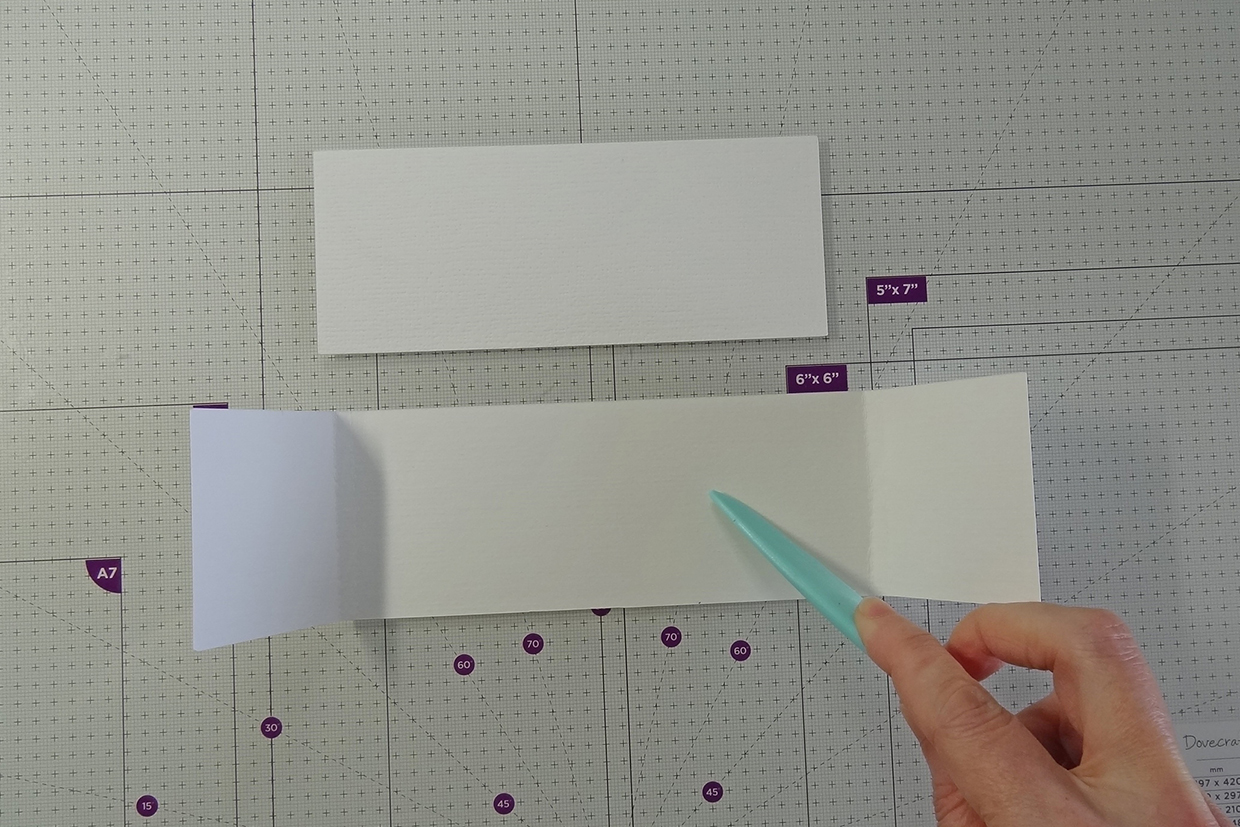
You can create an optional belly band which will keep the pop up flower card closed and make it look more decorative when closed. Take the larger white card strip and fold at the 2 score lines at each side. Attach the smaller strip to each side using glue to create an enclosed band for the card.
Step 14
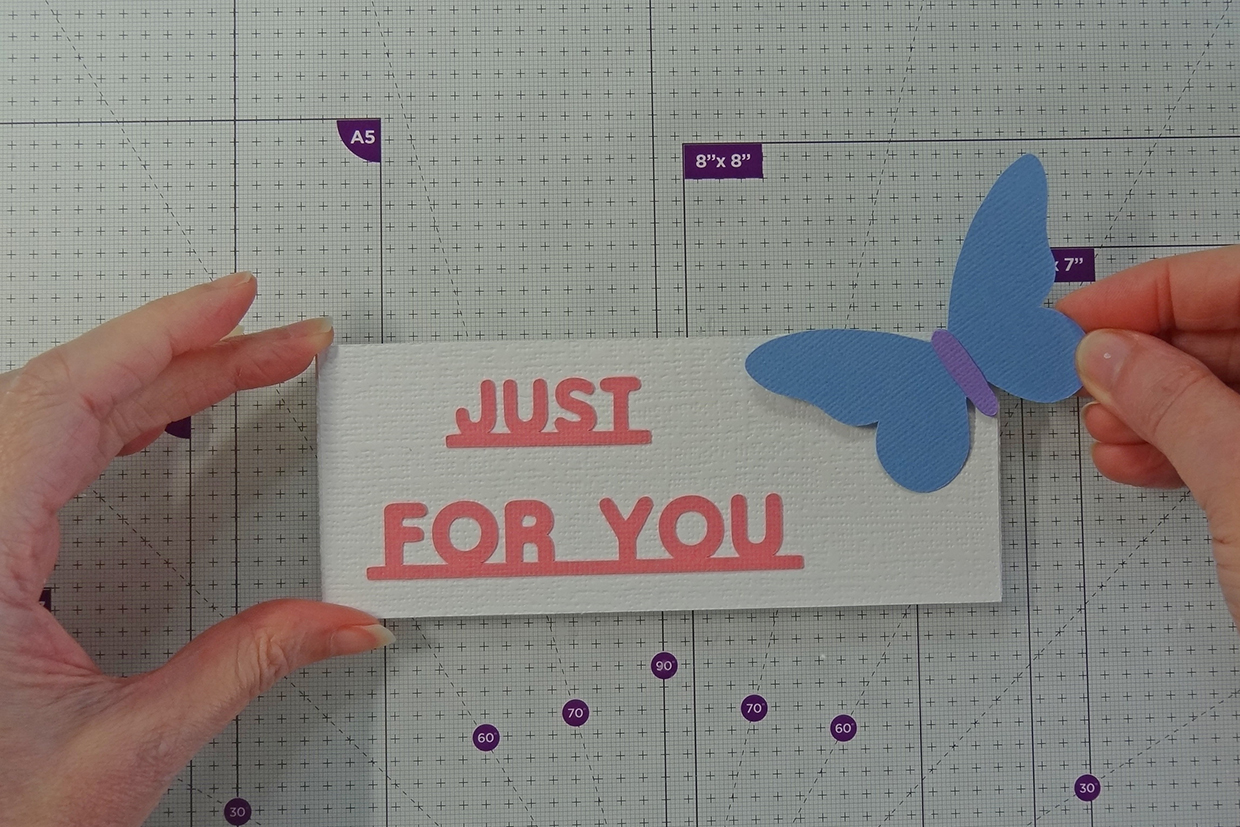
Decorate the belly band by gluing the ‘Just for You’ sentiment to the front and glue a butterfly at top right.
Step 15
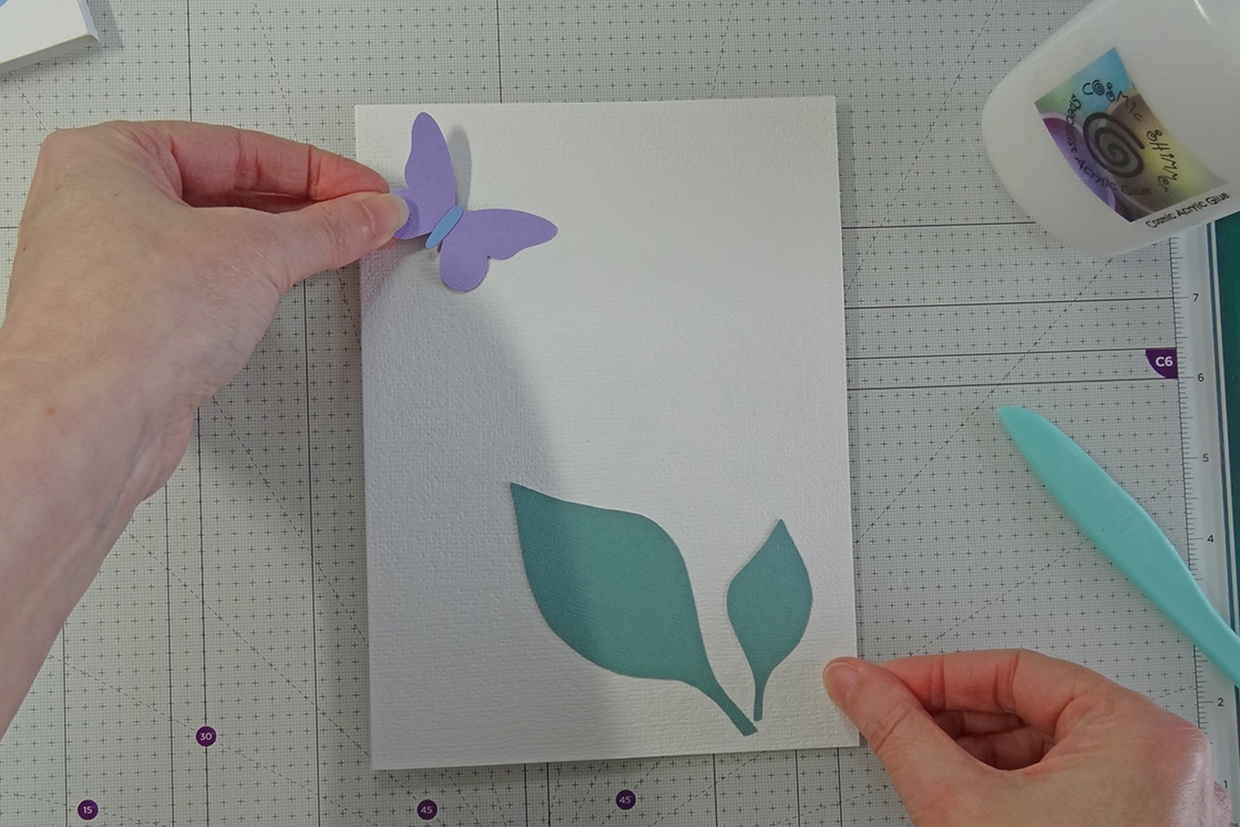
Decorate card front by glueing 2 leaves to bottom right and 1 butterfly to top left.
Step 16
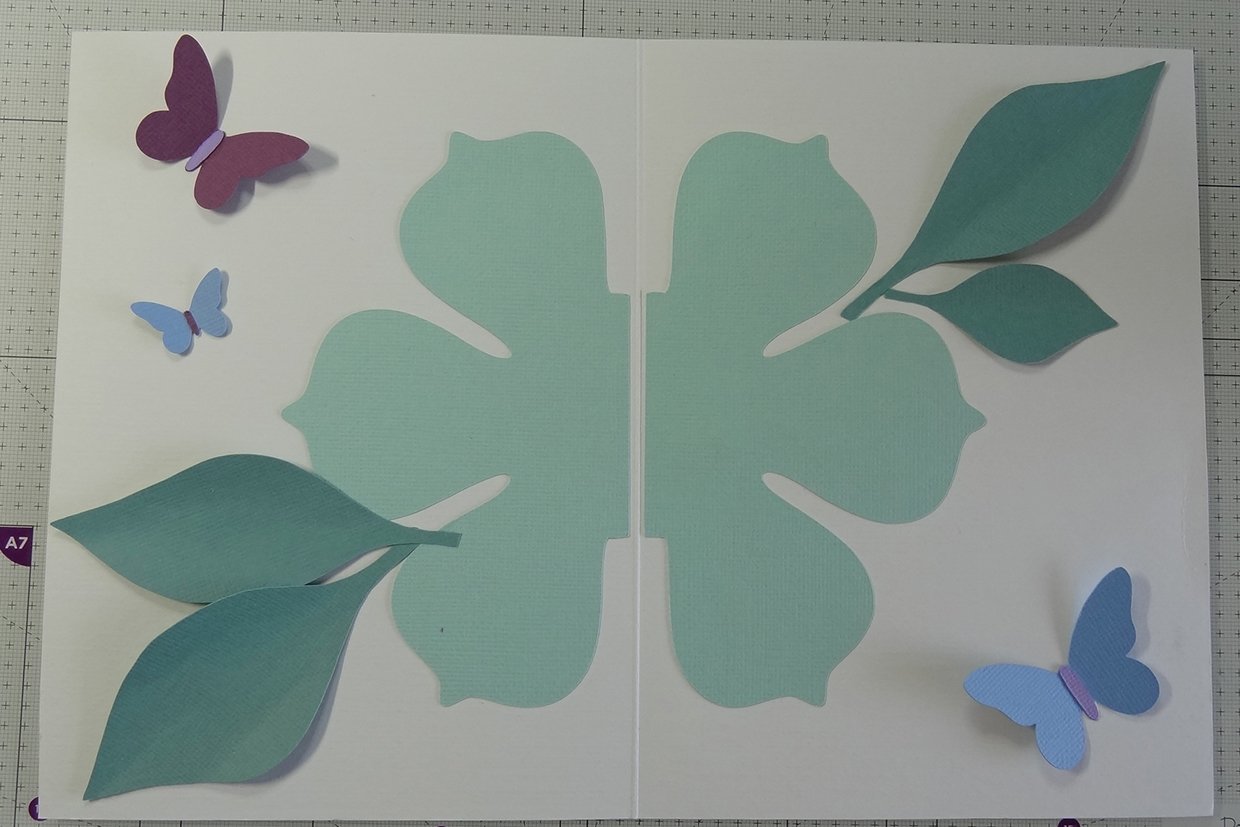
Open the card and decorate inside by gluing leaves and butterflies around the centre flower shapes. Fold the leaves slightly and adhere the butterflies along the body only to create extra dimension if desired.
Step 17
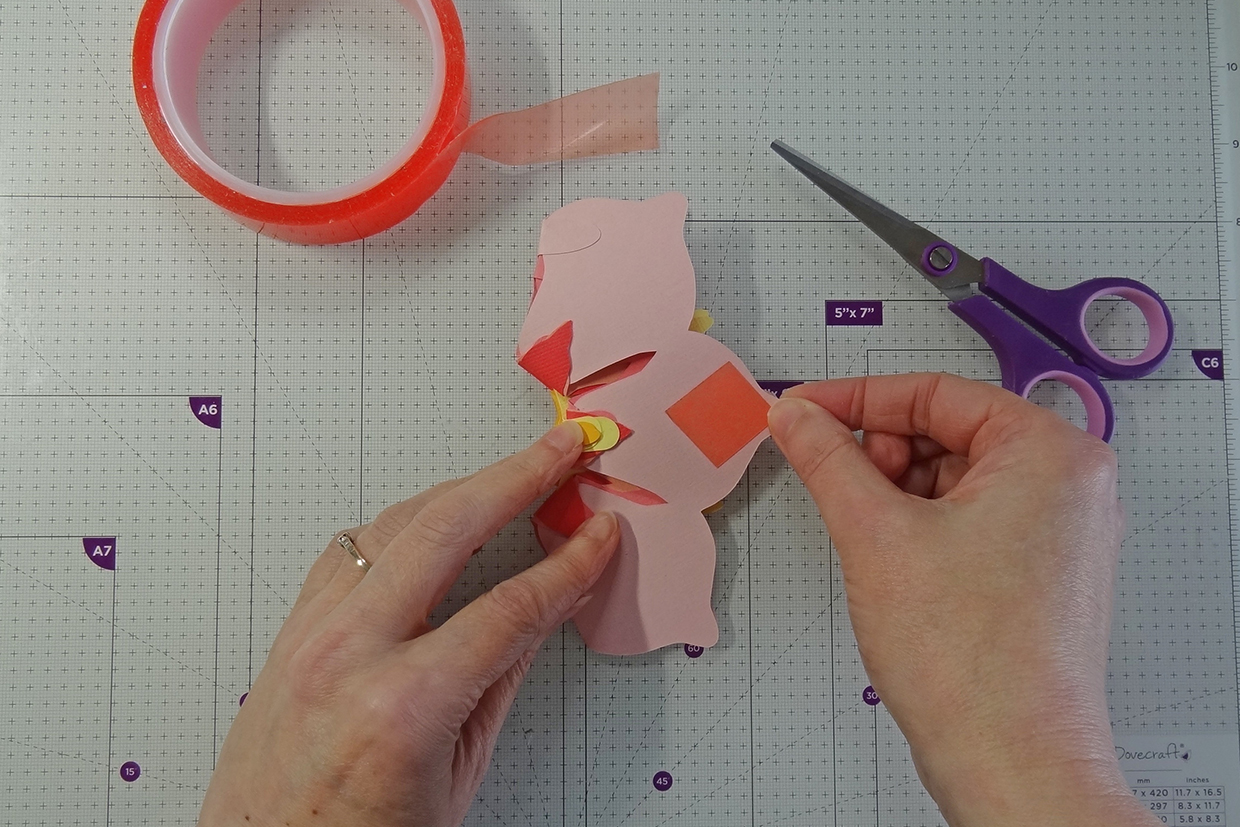
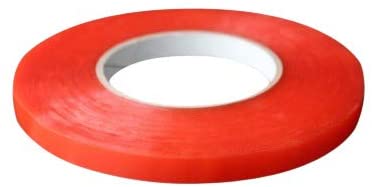
Take the pop up flower and add a strong double sided tape to the 2 side petals only –apply to the outer part of the petal as shown. Peel off the tape backing on one side of the pop up flower, position the pop up flower lined up towards the centre crease in the card base, close card pressing down firmly to attach one side of the flower. Open card and peel off backing tape of the other side of the flower, close card again and press down firmly. Open card and press firmly over the attached petals to ensure secure adhesion.
Step 18
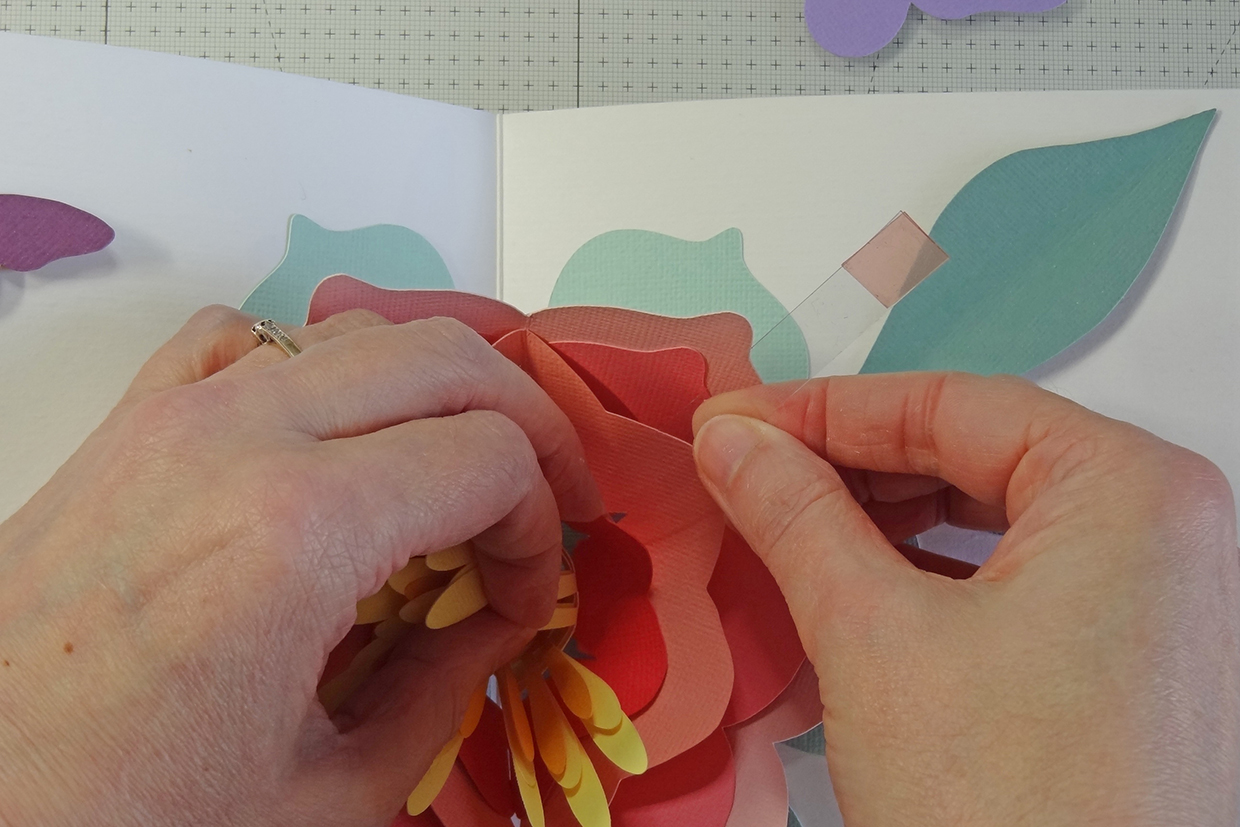
To add optional decoration, cut a thin strip of acetate and add strong double sided tape to both ends. Adhere one end under the petal on the smallest pink flower at right hand side. Adhere a butterfly to the to the top of the strip, at an angle and being careful not to extend over the card base. Press down firmly to attach.
Step 19
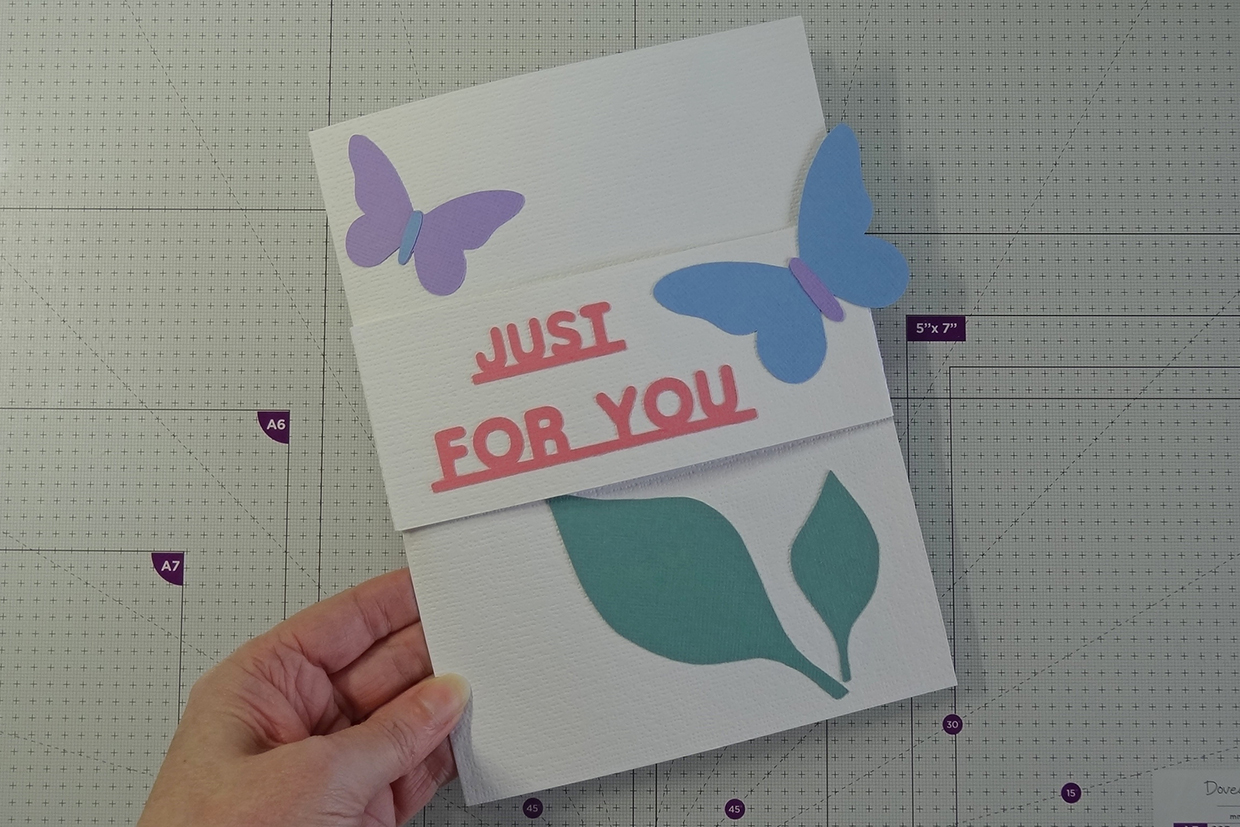
Close card and slide on the belly band card enclosure from the top to close card and keep the surprise inside.
Step 20
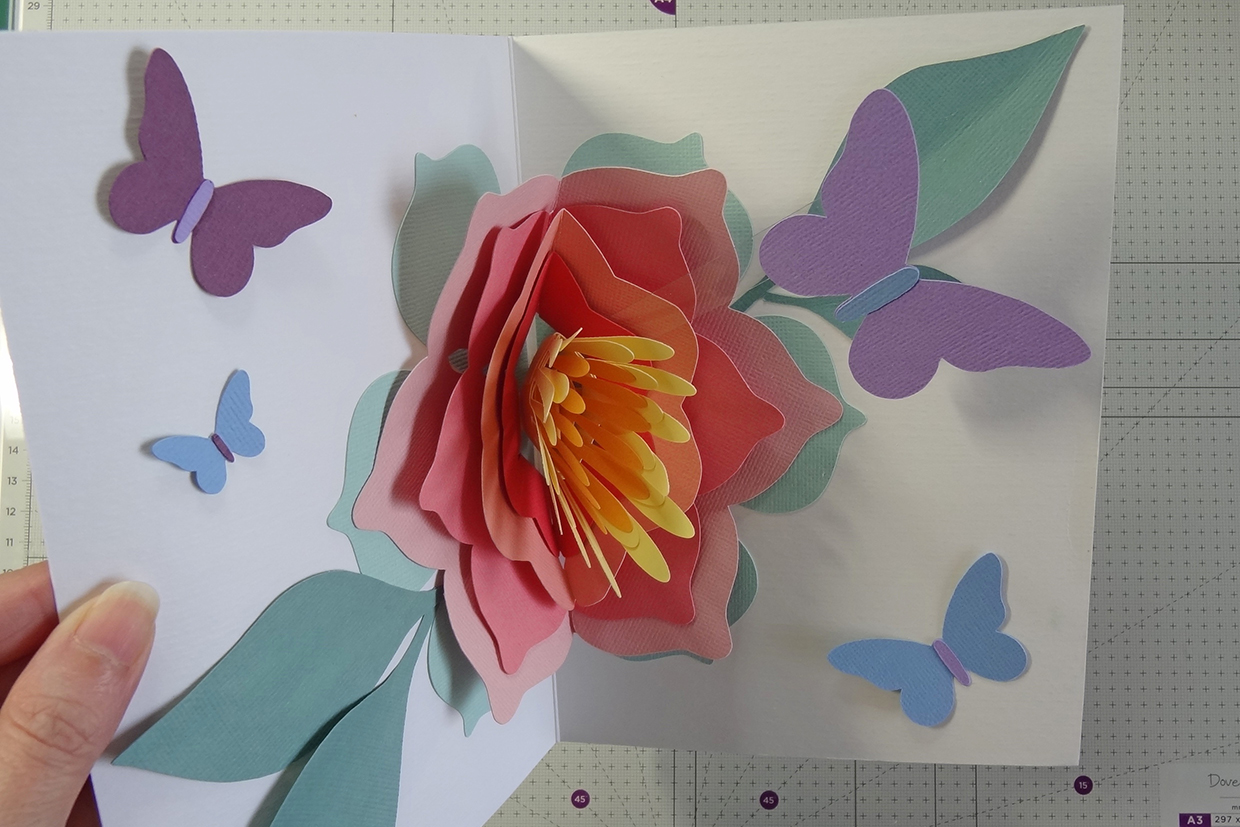
Slide off belly band and open and close card a few times to ensure all is folding down and secured and of course to admire your pop up flower!
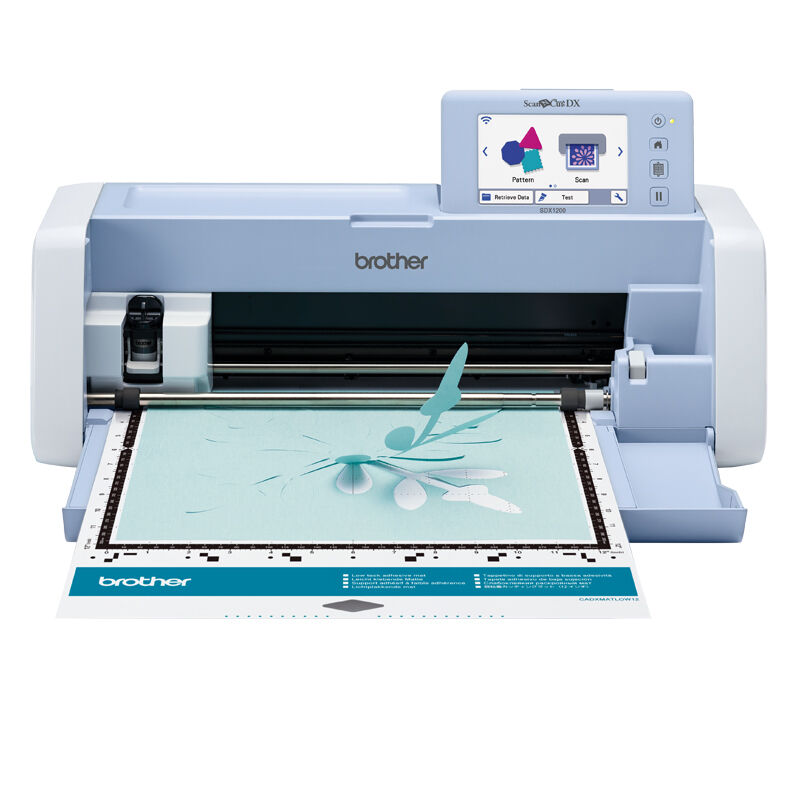
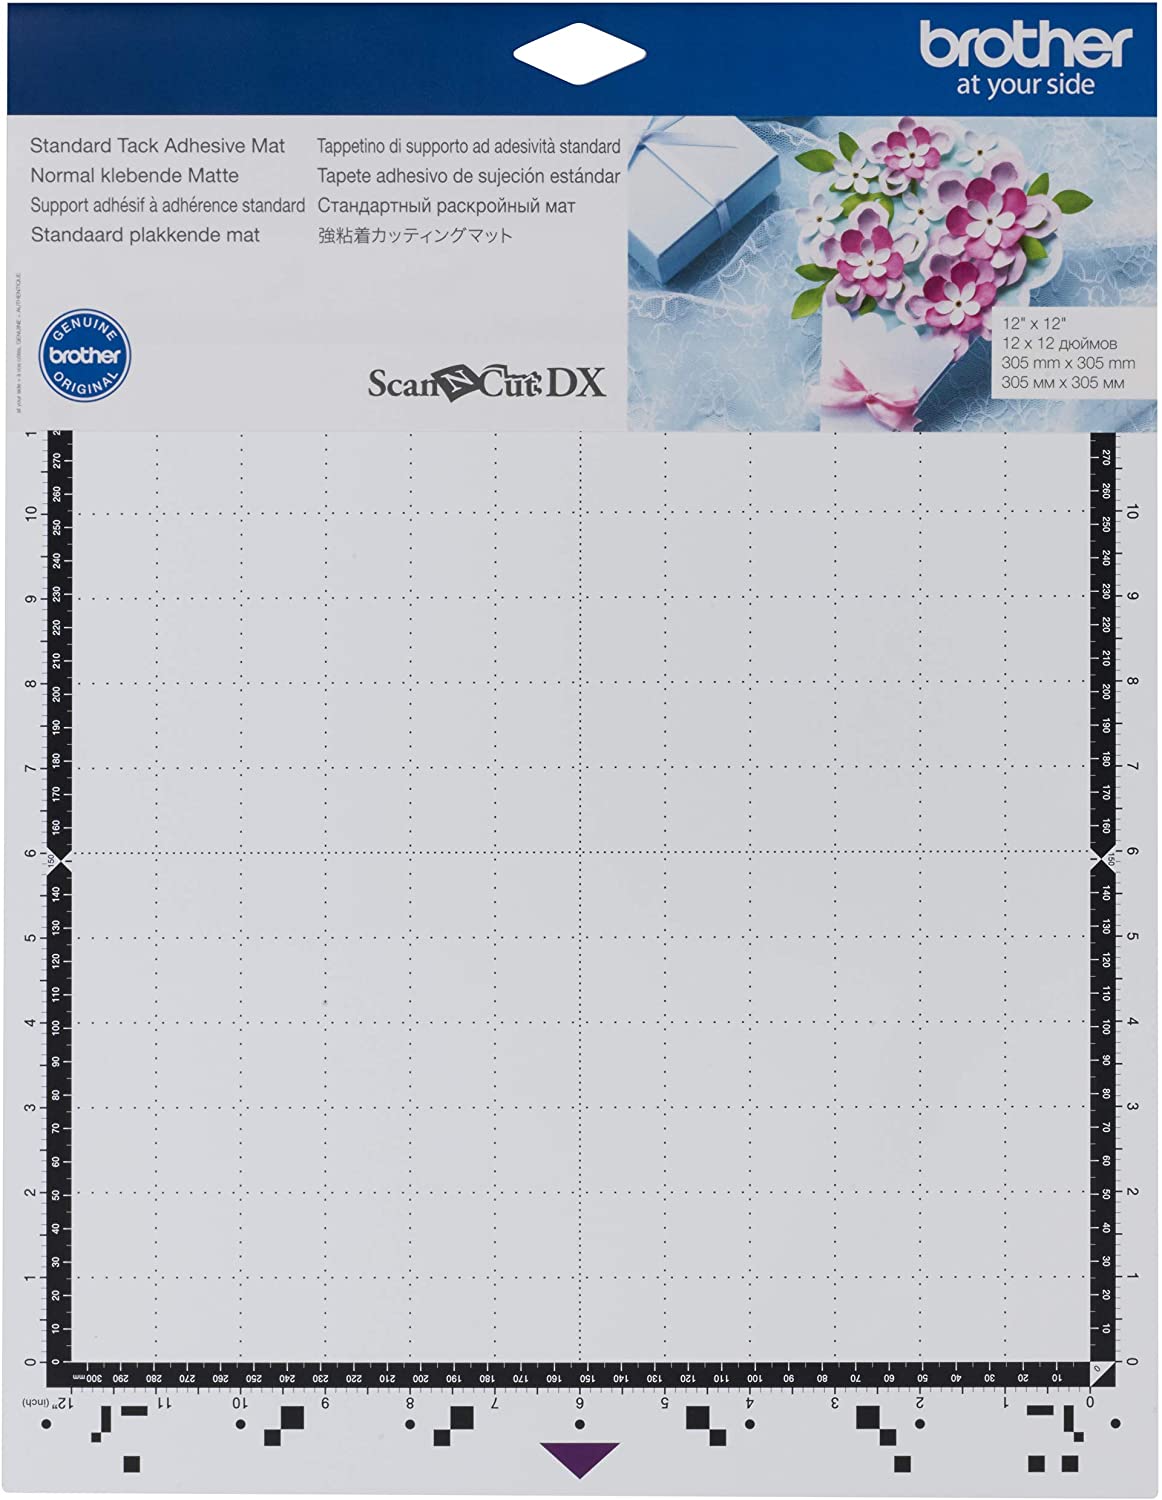
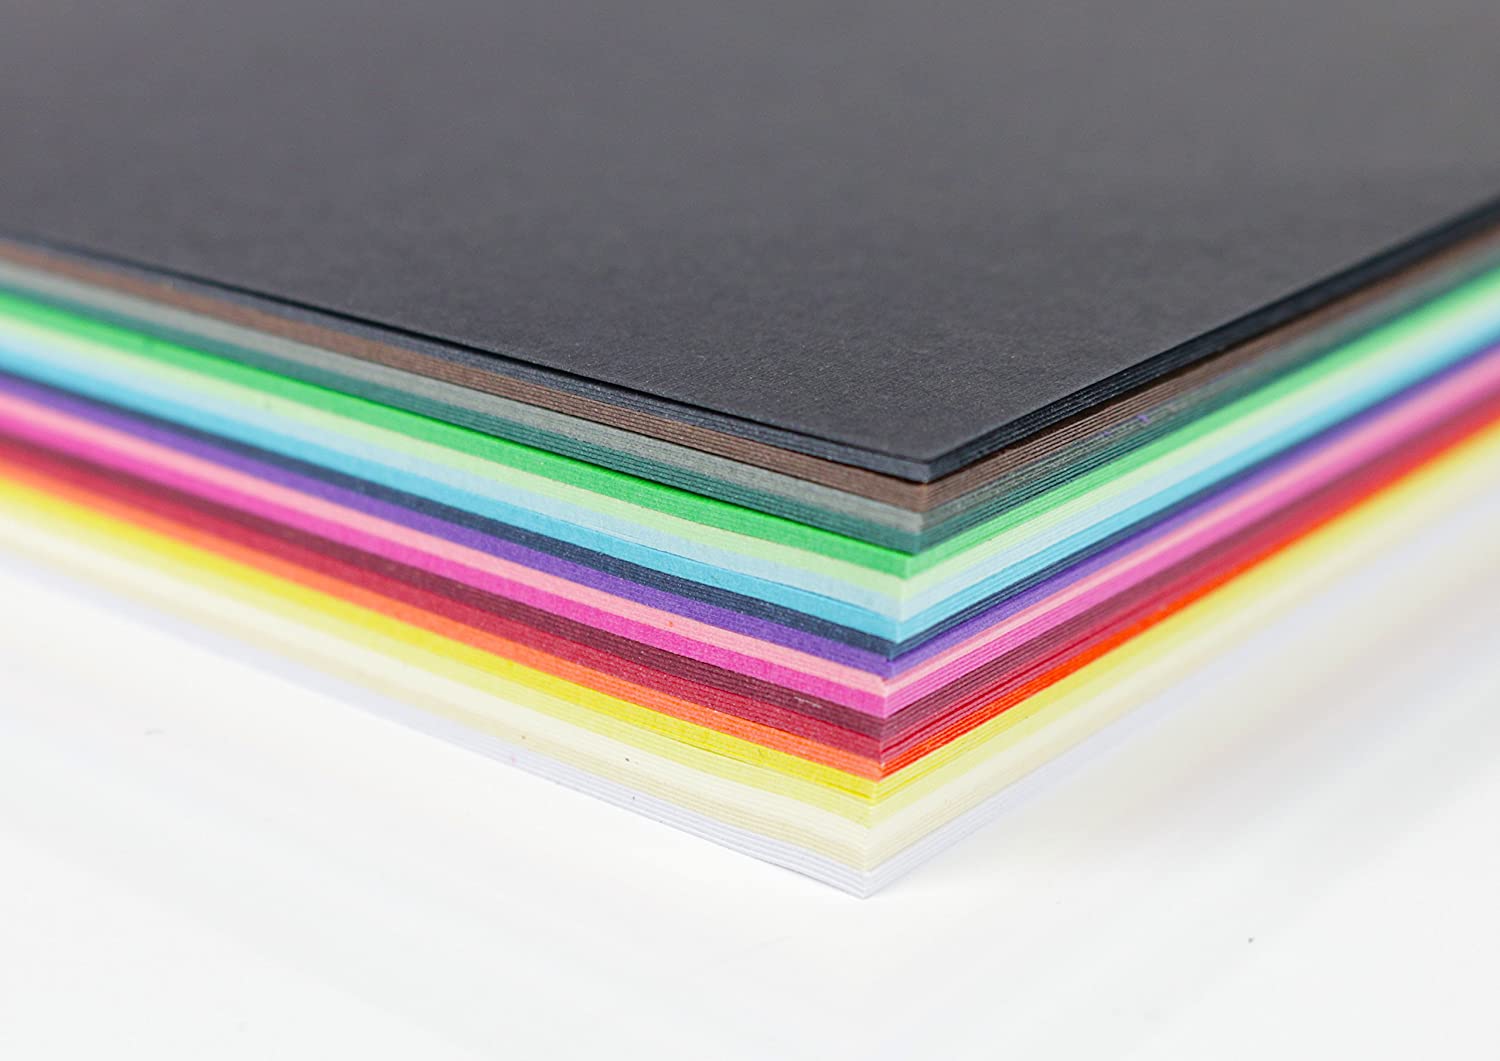
How to make a pop up card materials
Here's where to buy the crafty essentials that will help you make the pop up flower card.


