Friendship bracelets are back with a bang! They're trending at the moment with both adults and kids. There's thousands of different styles of friendship bracelets that you can make, using thread, beads, looms, clay beads and much more.
Each bracelet made is unique to you – because you made it! Making it a very special gift for your best friends. In this article, you'll find plenty of ways to make friendship bracelets, and there's a tutorial to make your first woven friendship bracelet using embroidery threads.
Whichever you choose we know you'll have lots of fun making them, they're the perfect beginner-friendly craft for anyone and everyone!
Jump to:
- What are friendship bracelets?
- Friendship bracelet patterns
- Friendship bracelet kits
- Clay bead bracelets
- Taylor Swift friendship bracelets
- Crochet friendship bracelet patterns
- How to make a chevron friendship bracelet
What are friendship bracelets?
Friendship bracelets are handmade bracelets that are given to friends and family as a special token of friendship and love. They can be made using a variety of materials, such as embroidery thread, beads, a loom, yarn and many more.
Friendship bracelet patterns
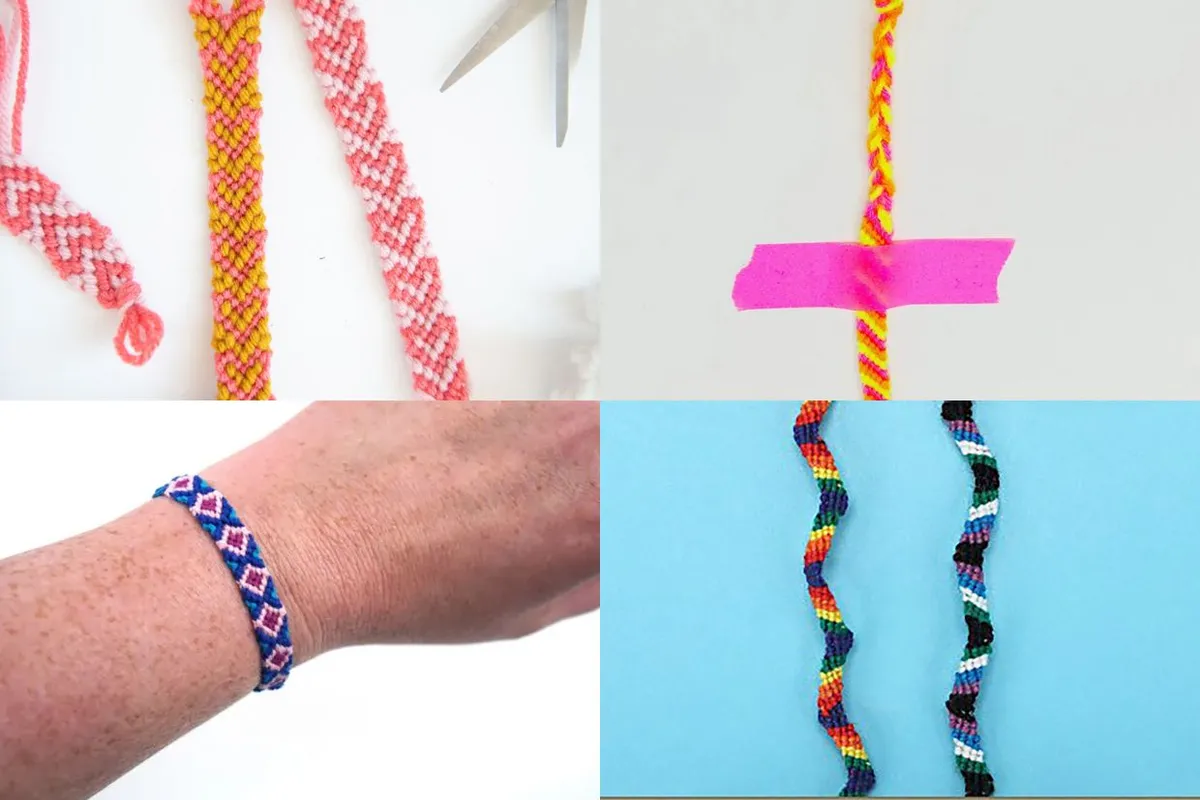
If you've chosen to create your friendship bracelets using embroidery threads, then using a pattern can help you achieve the design you'd like.
There's lots of different designs out there which use a variety of knots. It involves knotting each thread colour in a certain way to achieve a pattern. For example, creating a repeating heart or a zigzag pattern.
If you'd like to have a go at this technique, check out our friendship bracelet patterns guide.
Friendship bracelet kits
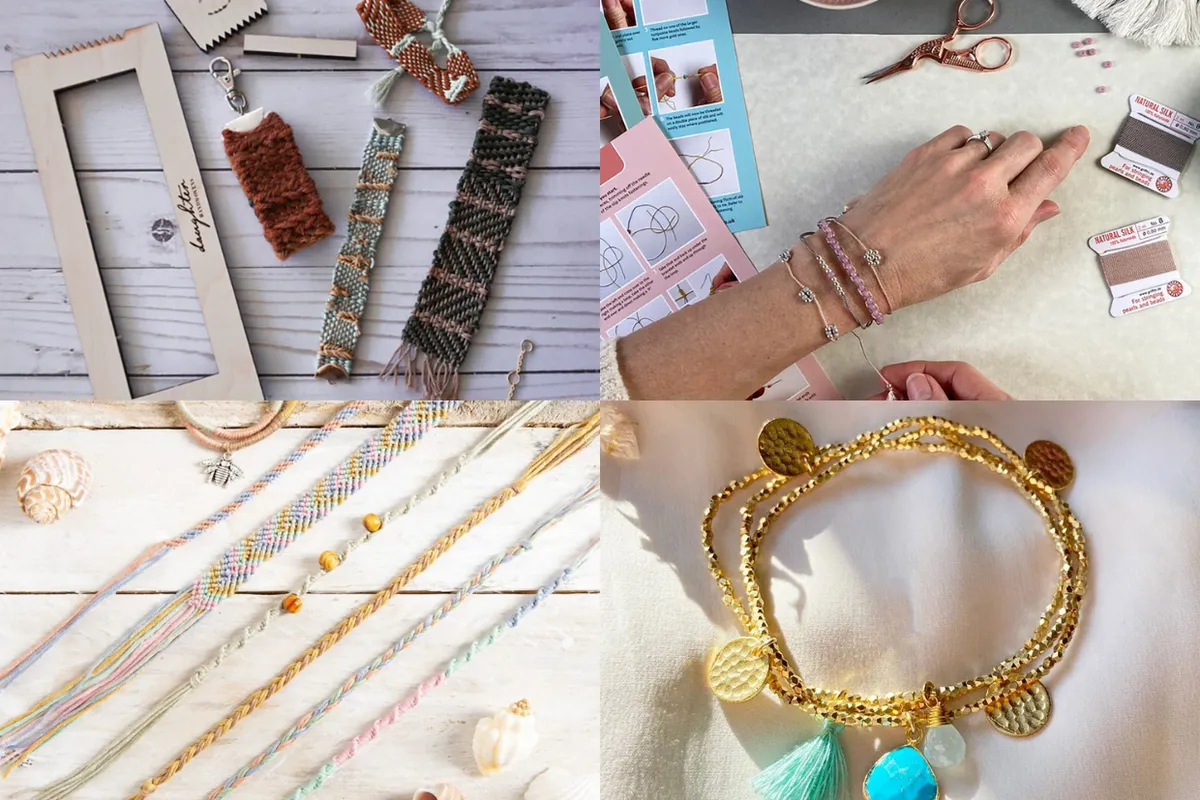
If you love to have all the materials and tools at your fingertips then a friendship bracelet kit will be right for you.
You can choose the style of kit that you'd like, and inside you'll everything you need to create beautiful friendship bracelets. In our round-up, you'll find plenty of gorgeous kits, including a shining gold beaded bracelet with pretty charms, to a loom bracelet kit.
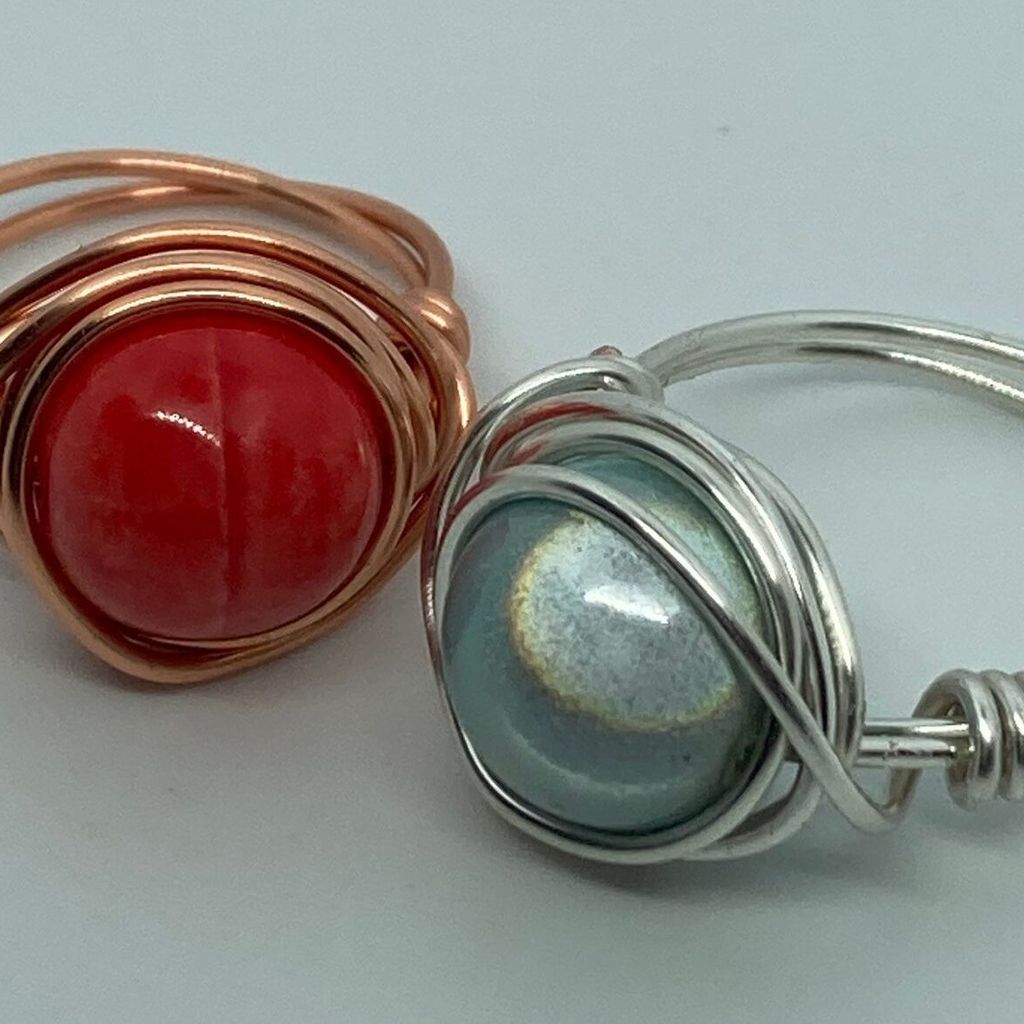
Clay bead bracelets
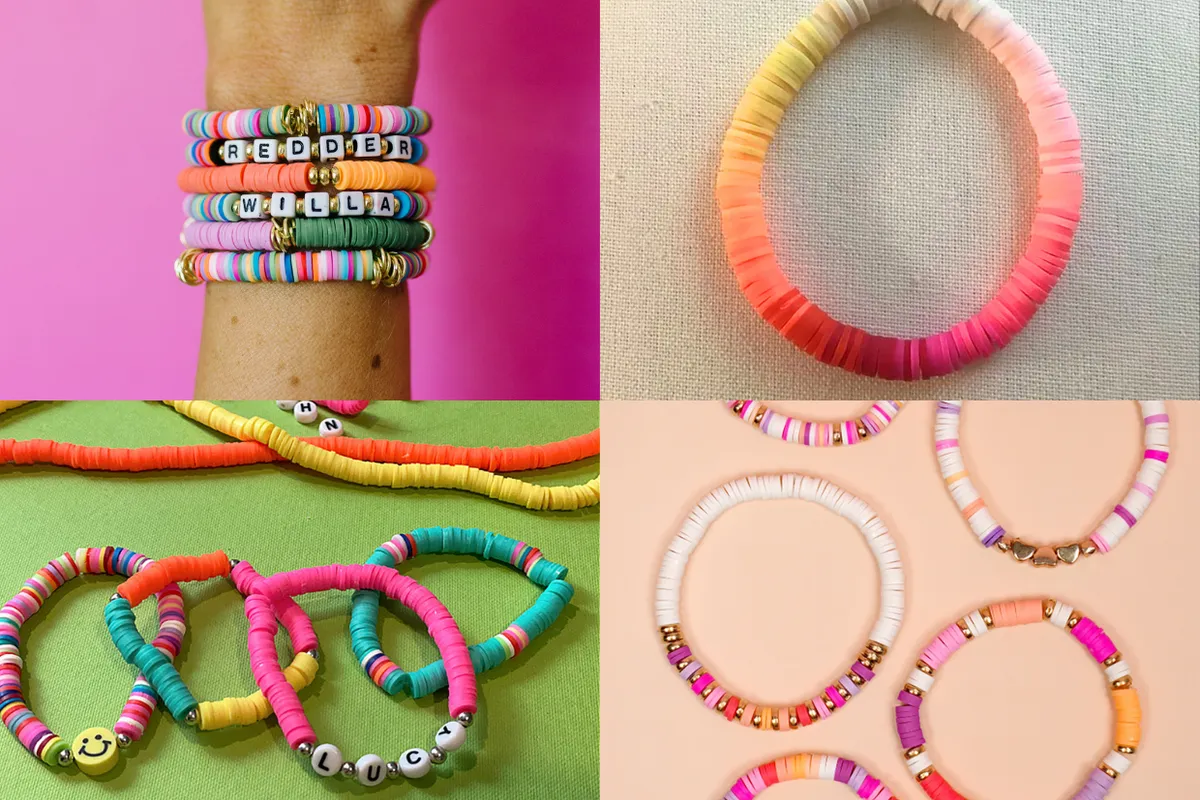
Clay beads are so pretty and so versatile! If you've never heard of them they're small round flat beads typically made from clay that are available in a variety of vibrant colours. They have a small hole in the middle of them so they're easy to thread.
You can choose to create a whole bracelet from clay beads or mix them with gold accents or letter beads for a unique look.
For lots of ideas and where to find clay beads, take a look at our clay bead bracelet ideas.
Taylor Swift friendship bracelets
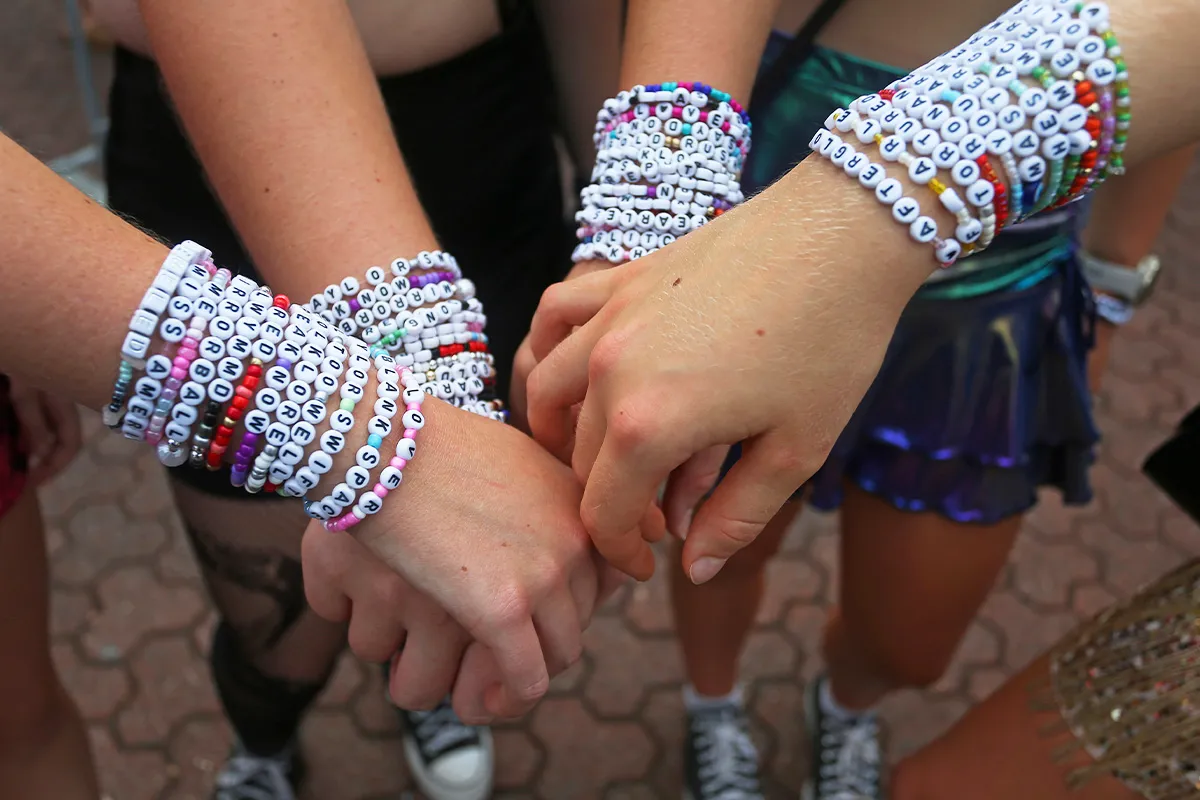
Taylor Swift and friendship bracelets go hand-in-hand! If you've ever been to or seen one of Taylor's concerts you'll know that her fans are mad about friendship bracelets.
Her fans will make lots of friendship bracelets, usually containing letter beads which spell out song names, album titles or tour dates. When they attend her show they'll trade friendship bracelets with other Swifties! It's a huge community.
Find out more about the Taylor Swift friendship bracelet trend.
Crochet friendship bracelet patterns
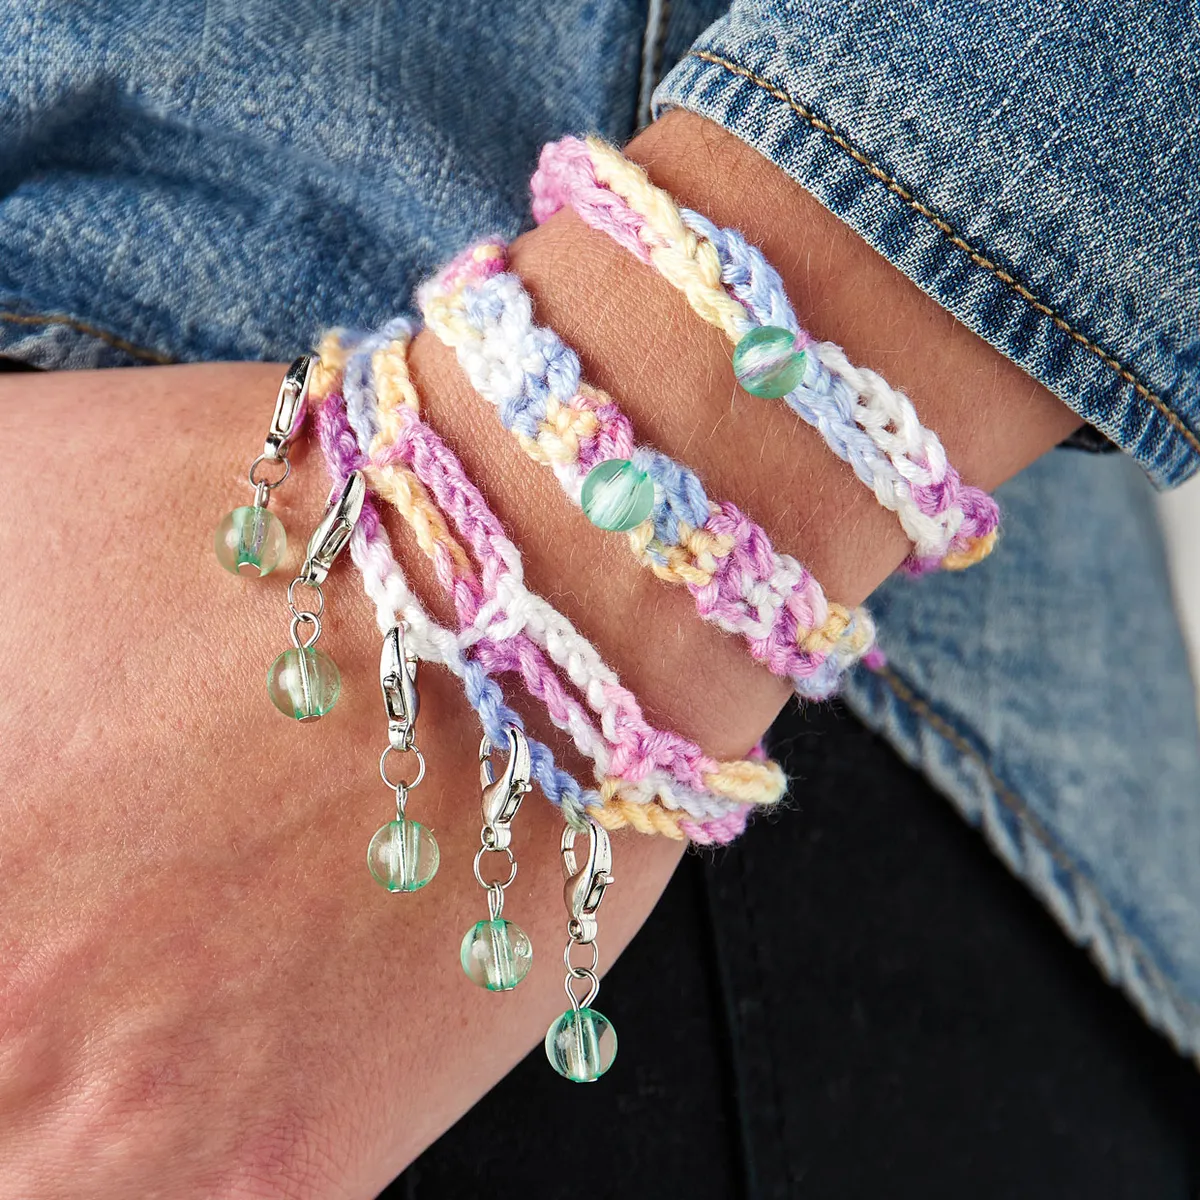
Did you know you can make friendship bracelets using crochet? It's a great stash buster for seasoned crocheters or a great introductory project for beginners.
You'll only need a small amount of your favourite yarn and any charms you'd like to add.
Get the crochet friendship pattern and start making.
How to make a chevron friendship bracelet
All the different designs in this type of friendship bracelet are built up from the same basic knot, in a similar way to macrame. So once you've learned how to do this knot, you can do any of the patterns.
How to make a chevron friendship bracelet video
We have a full video to create this gorgeous chevron friendship bracelet, if you prefer written steps keep scrolling.