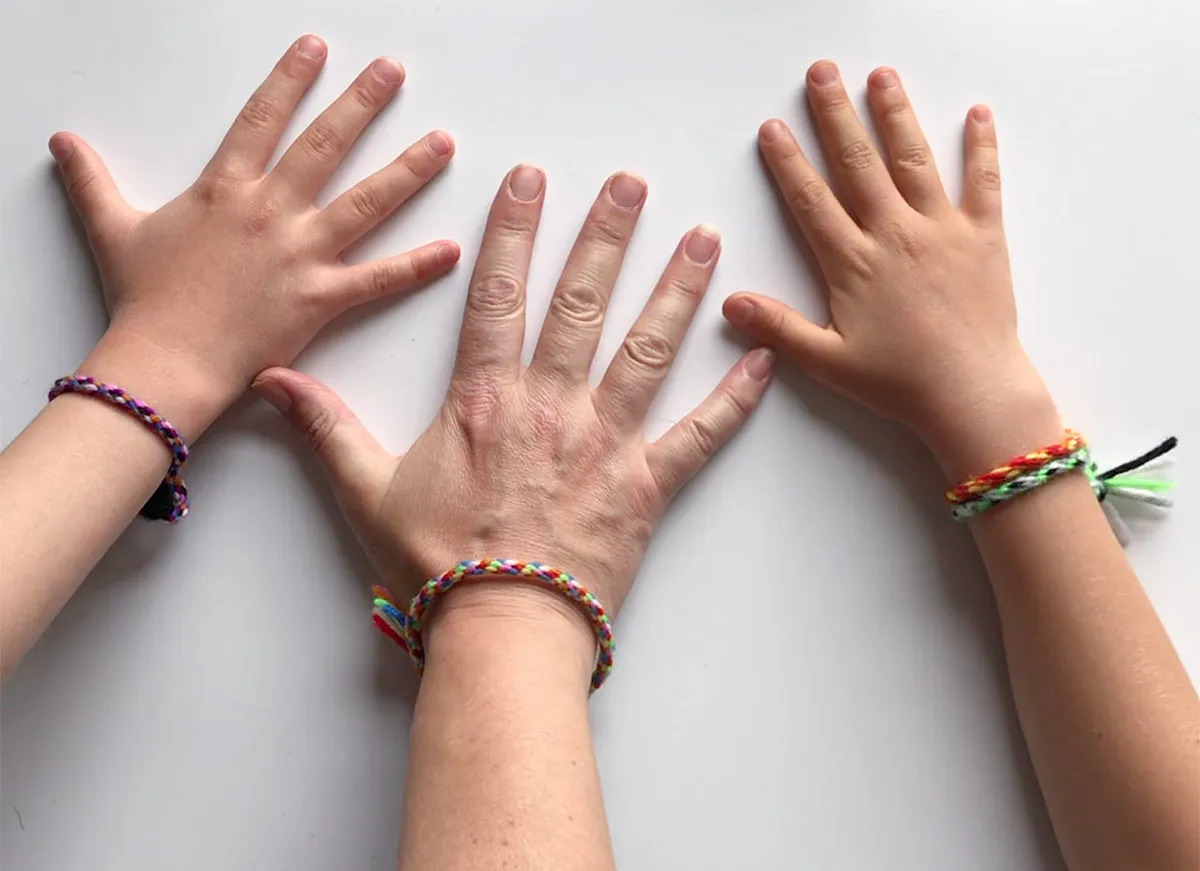
Listen up! You need loom bracelets in your life right now. They're easy to get started, don't cost a lot, and are quick to make. David Beckham, Harry Styles, and even The Duchess of York have been sporting them. Jimmy Kimmel even famously wore a full suit of loom bands!
You can choose from thousands of colours and patterns for your loom creations. They're so easy to twist into beautiful jewellery and countless other trinkets. Follow along with our loom band tutorial to get started right now. Once you've mastered the basics we'll show you how to put your new skills into play with plenty of fun projects.
Loom bands are hugely popular amongst youngsters, but even adults are using this craft as a fun way to relax. So what are you waiting for? Read on to get making!
In this article, we'll show you:
- Loom band tutorial video
- Loom band tutorial step by step – 3 easy ways to make a bracelet. We've picked two ways you can use your fingers, while in the third we show you…
- How to make rainbow loom bracelets using the Rainbow Loom
- Loom band ideas – what else can you make with them?
- Where to buy loom bands
Main image © grafvision
Loom band tutorial video
If you prefer to learn from a visual demonstration rather than written instructions, get your loom bands ready and follow along with our video loom band tutorial.
Loom band tutorial: 3 methods to try
We'll show you two methods without using a loom and one method using a rainbow loom.
How to make a bracelet without a loom
Method 1: How to make a loom band bracelet with your fingers (single chain bracelet)
In this easy method, you'll use your fingers (or two pencils) to make a single chain loom band bracelet.
You will need
- About 25 loom bands (depending on the size of your wrist)
- An "S" clip to secure the two ends of your bracelet together
Step 1
Twist the first band into an 8 shape. Loop it onto two fingers, as shown in the picture.
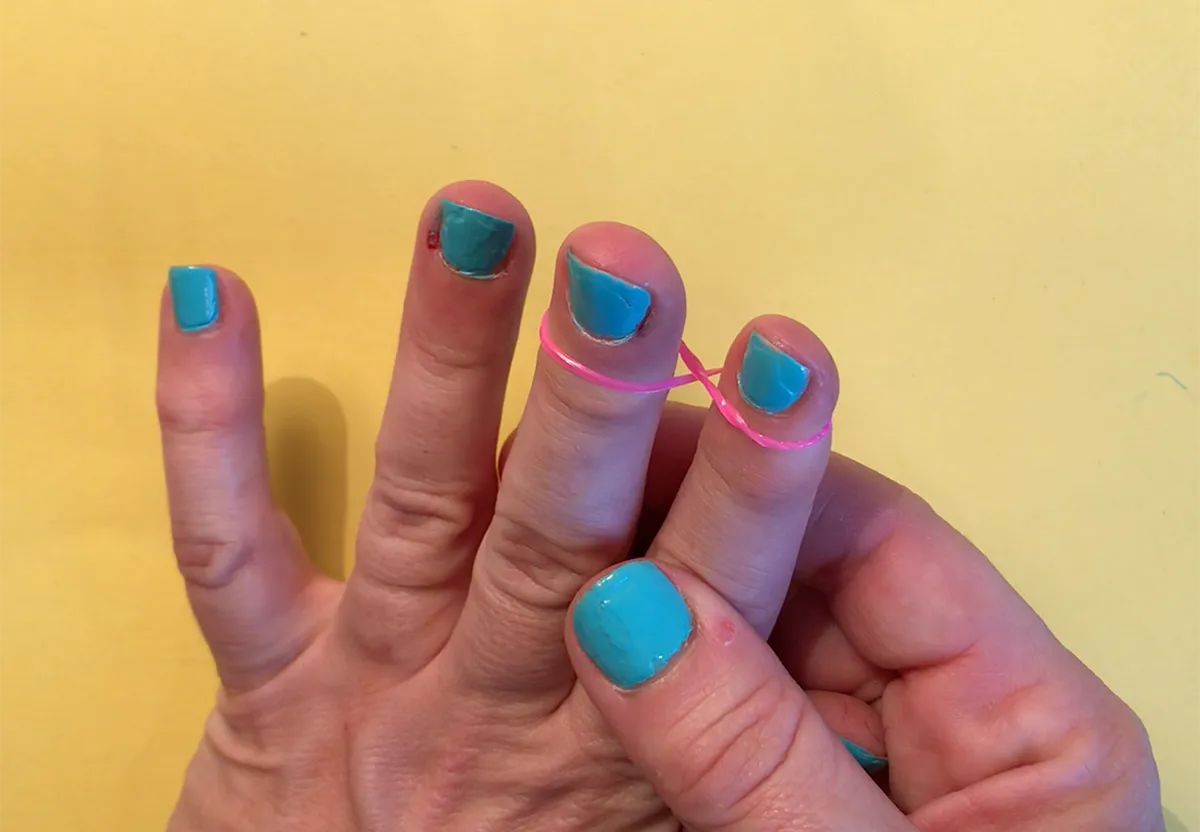
Step 2
Take a second loom band and slip it over your two fingers so that it sits slightly above the first. You don't need to twist this one – just loop it straight over both fingers to form a stretched loop.

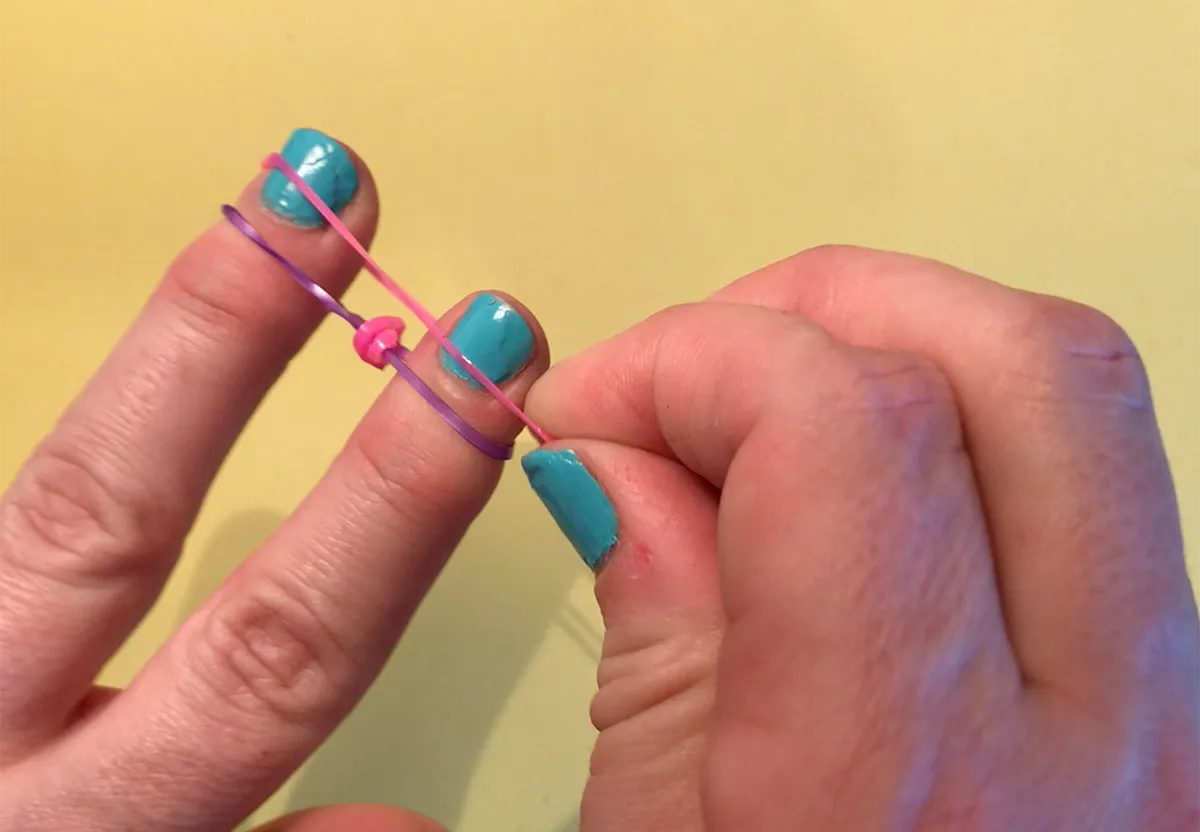
Step 3
Take the first band you put on, pull it up and over your finger to the space between your fingers, pulling it over the second band as you go but with the second band staying in place. Now let go of the band and let it ping into place in between your two fingers. Repeat this with the first band on the other finger.
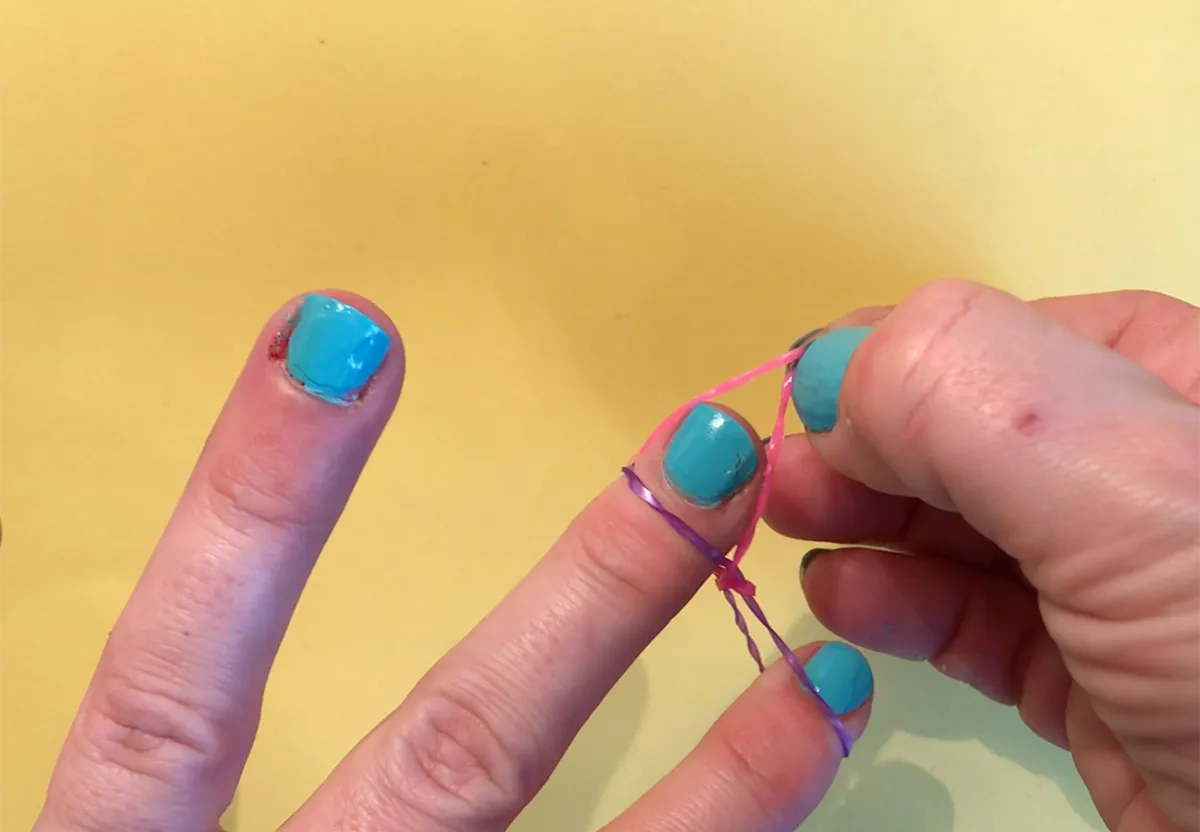
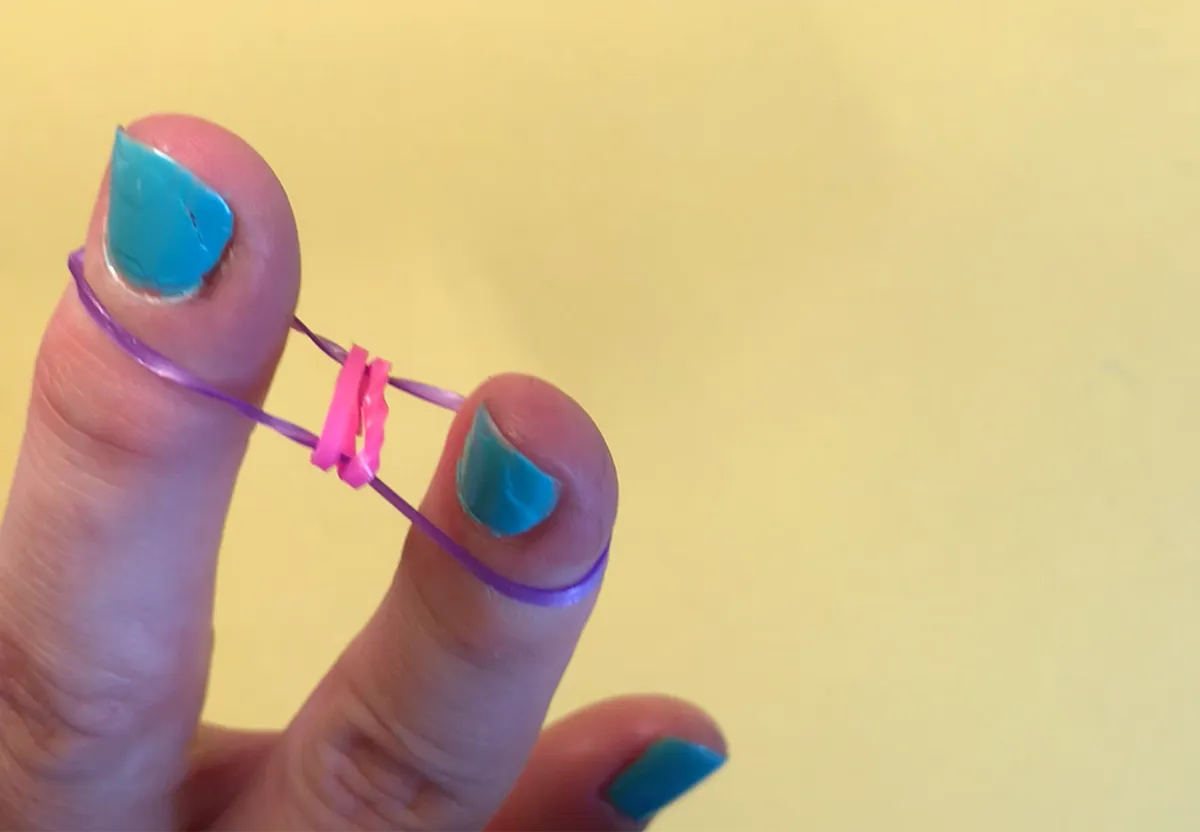
Now roll the band that's left on your fingers down slightly to make room for the next band.
Your first two bands should look like this at this stage:
Colour combos to try! Go rainbow – add colours in the rainbow order. For a stripy effect, alternate 4 bands of one colour, then 4 of the next. For a more subtle rippled effect, pick three similar toned colours and add them in a 1, 2, 3 pattern (darkest to lightest).
Step 4
Add a third loom band on top of the one that is still in place on your fingers.
Repeat the step above and pick up the lower band on each of your fingers in turn, pulling it up and over the upper band and dropping both sides into the middle. Lower the current band on your fingers slightly to make room for the next.

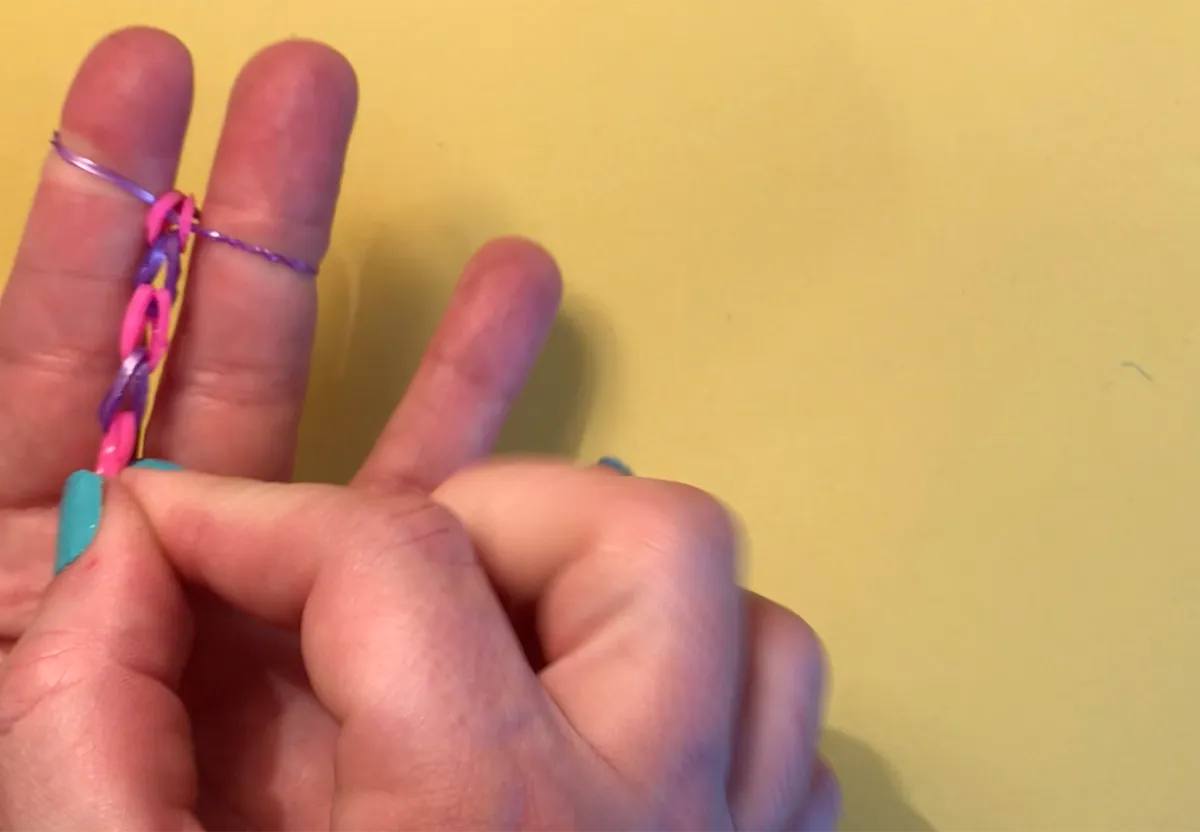
Repeat this step until you have added enough loom bands to make a bracelet that is the right size for your wrist.
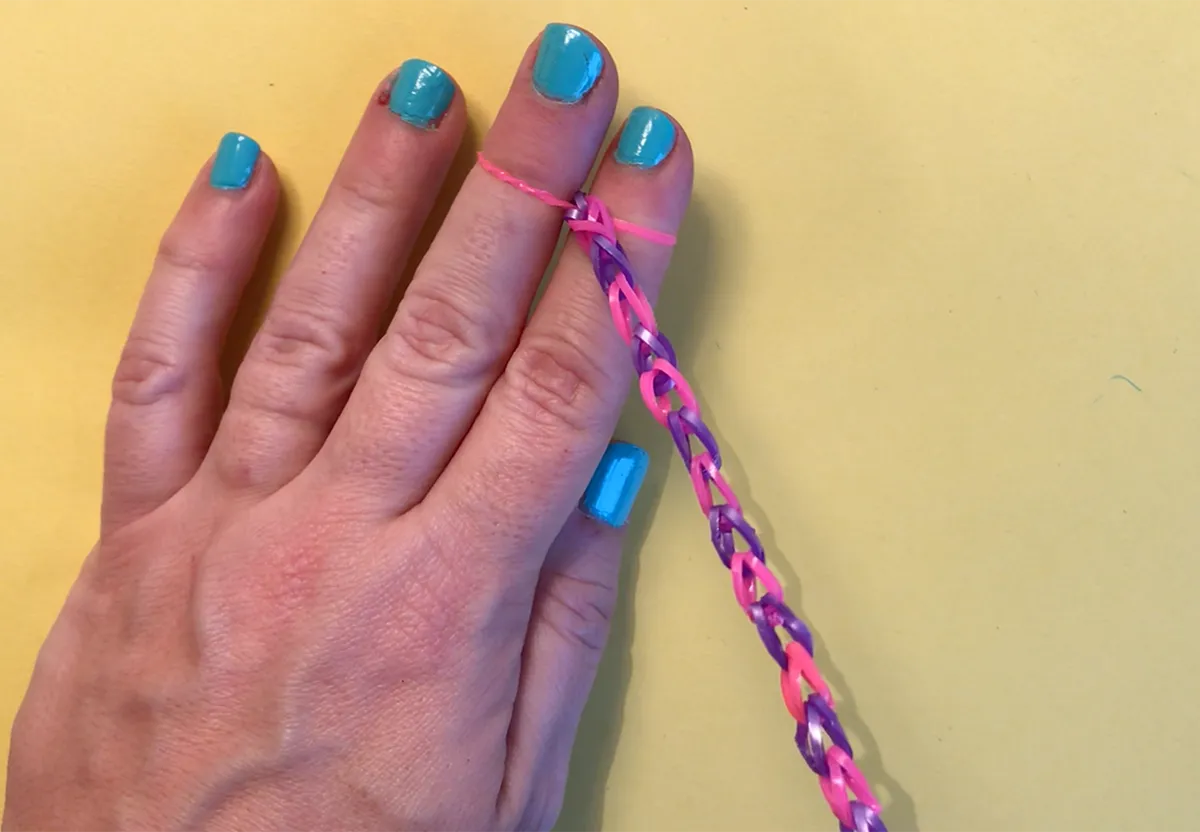
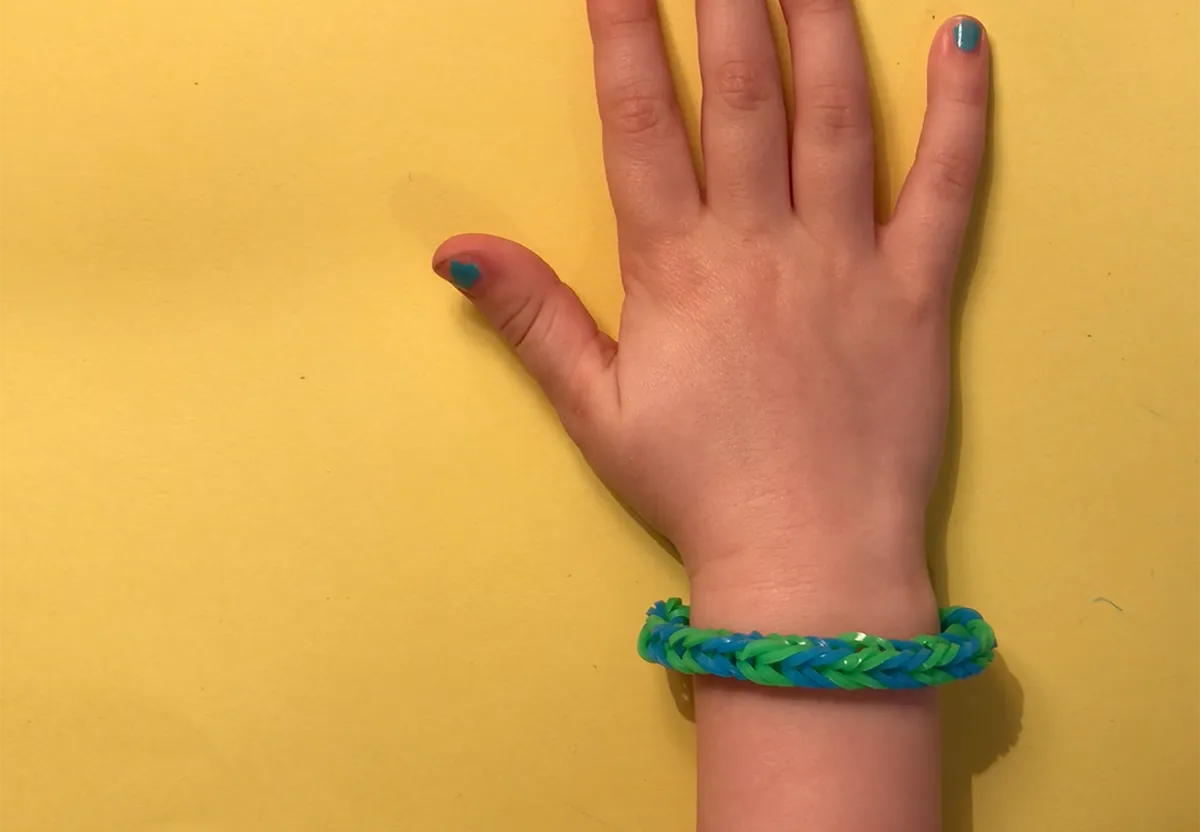
It doesn't take long for your loom band bracelet to grow from this…
To this!
Step 5
Once you are happy with the length of your bracelet, take both parts of the loop on your fingers and slip them onto one half of an S clip (see below).
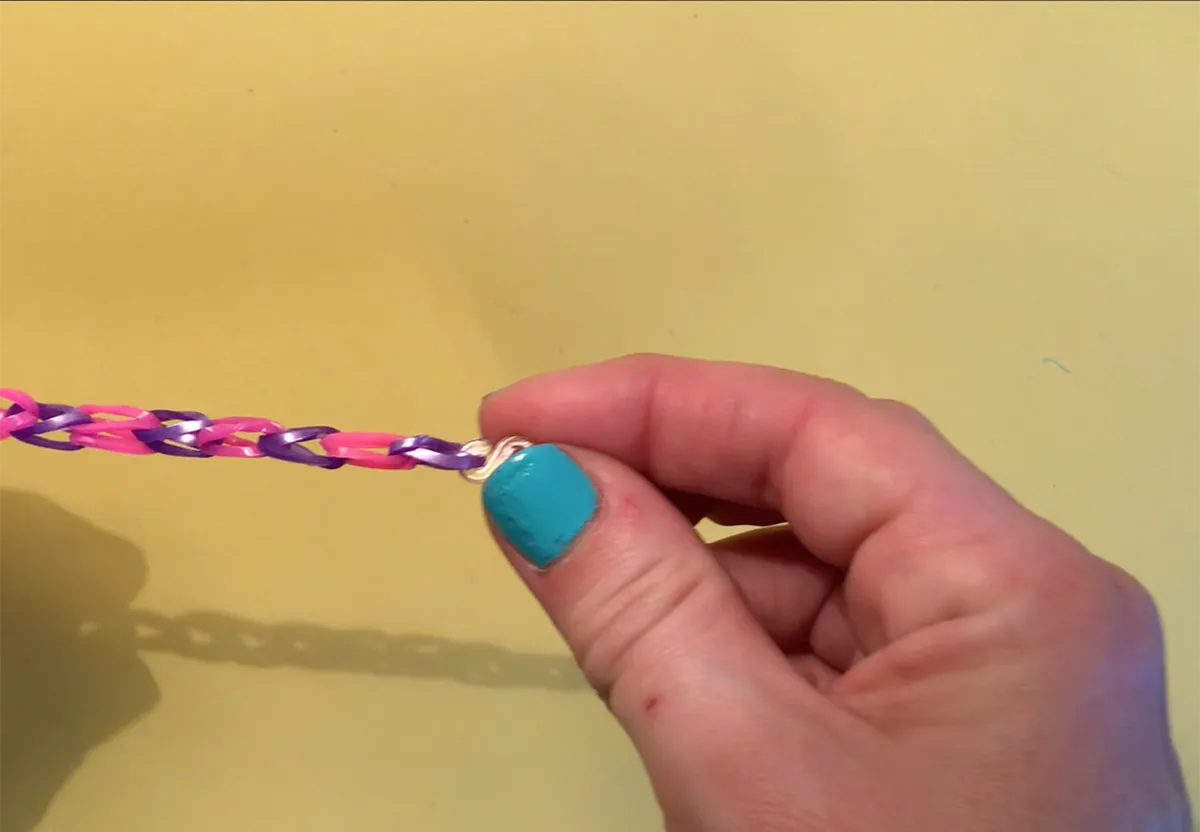
Now secure both parts of the band on the other end of your bracelet into the other half of the S clip. Ta da!

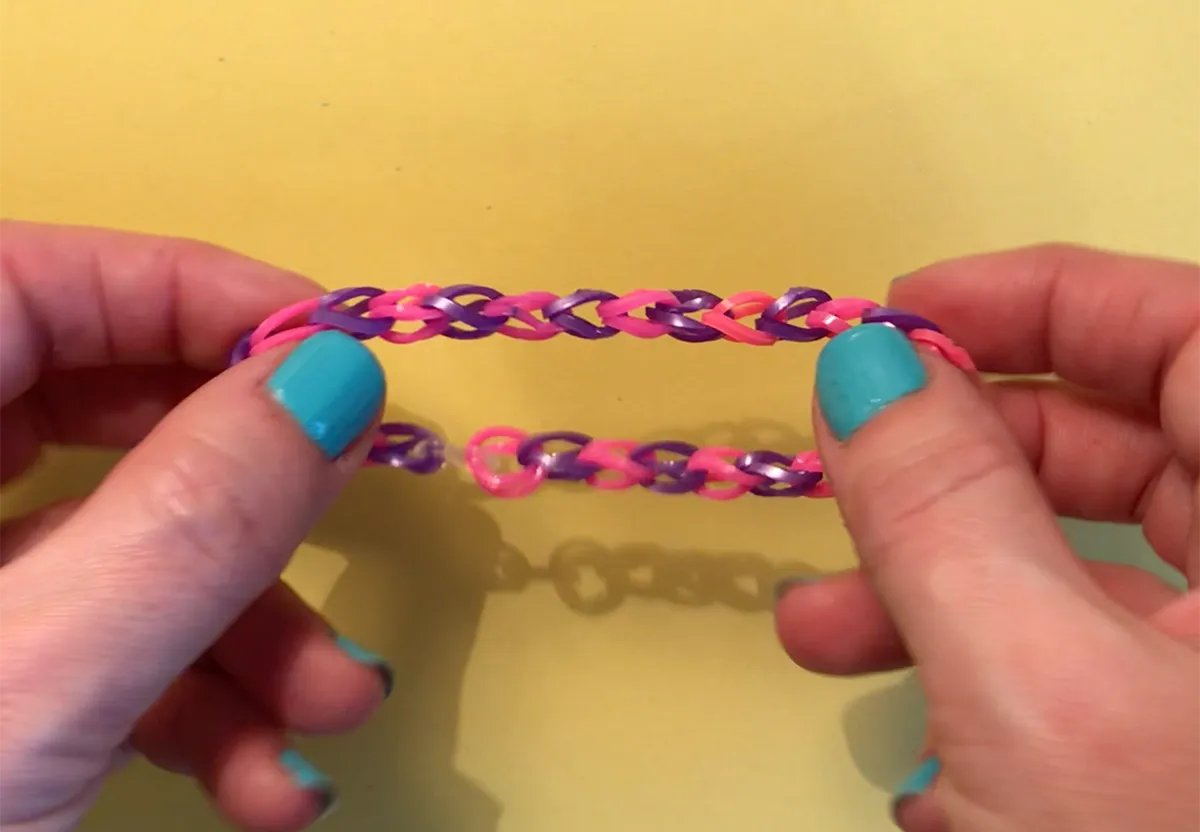
Method 2: How to make a fishtail loom bracelet – with your fingers or the Mini Rainbow loom
If you want your patterns to stand out, this chunkier technique will be for you! Like the method above, you will create a chain but instead of two bands, you'll use three.
You can make this bracelet using your fingers or a loom. We are going to use the Mini Rainbow and a hook for this loom band tutorial.
You will need:
- About 30 loom bands (less for a small child's wrist, more for an adult wrist)
- An S clip
- Optional: ready to try some tools? Choose from either your fingers (or two pencils), a Mini Rainbow Loom or two pegs from a full Rainbow Loom
- You'll also find it easier if you have a loom band hook to speed things up
All these tools are available in most standard loom band starter kits – find our favourite kits below. But for the sake of this tutorial, we'll be using the Mini Rainbow Loom, which is basically a tool with two prongs. If you don't have one, just use your fingers instead.
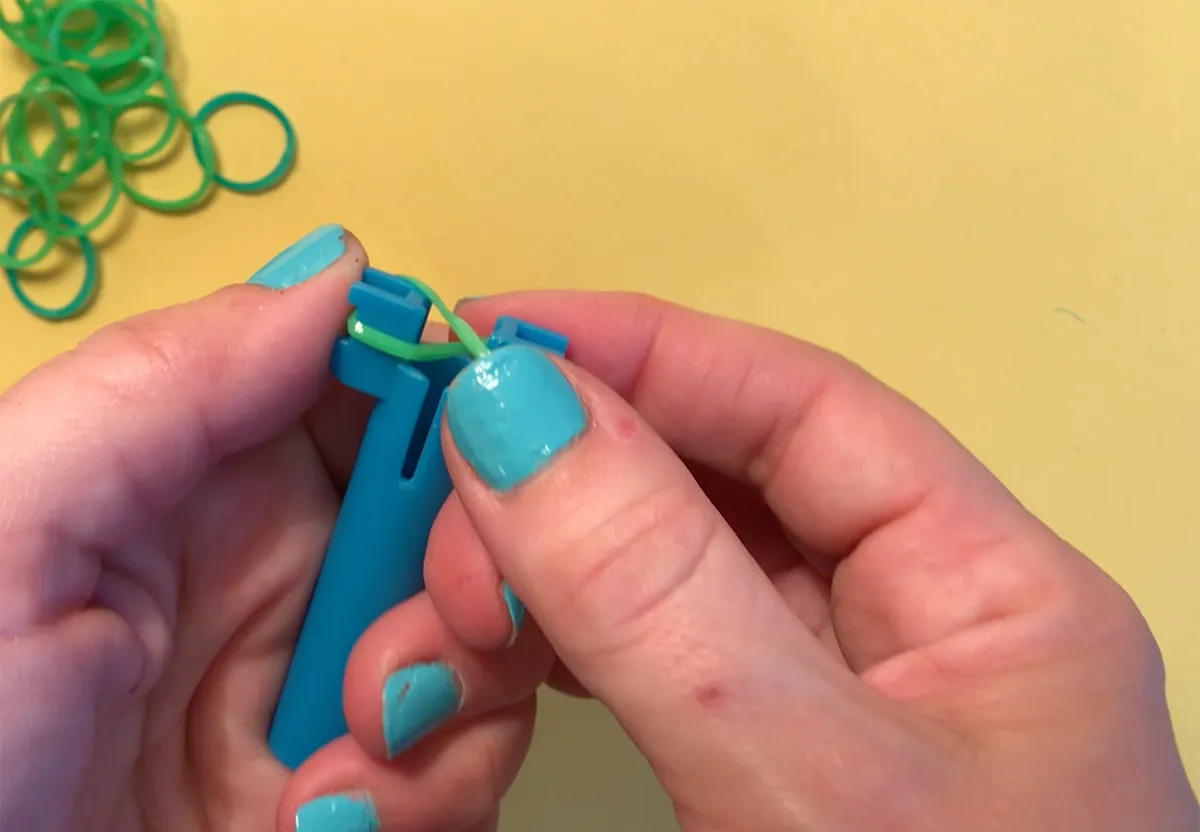
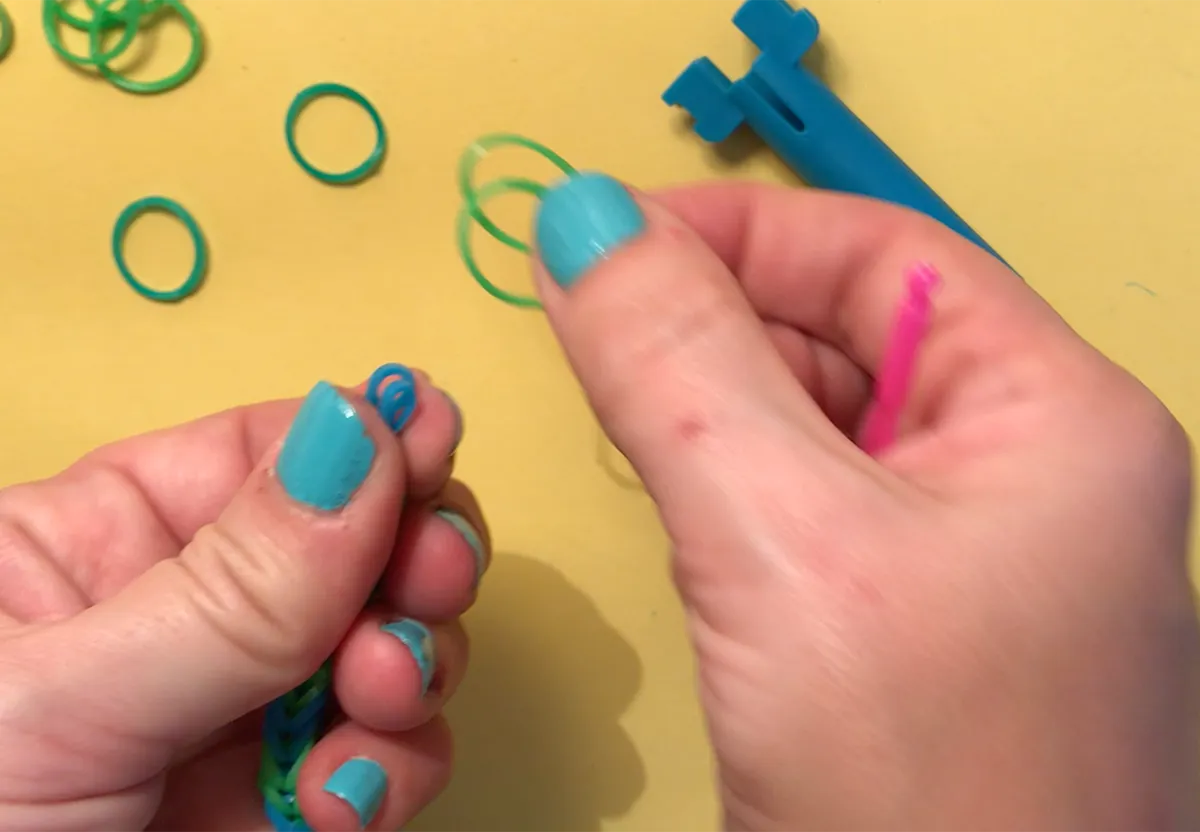
Step 1
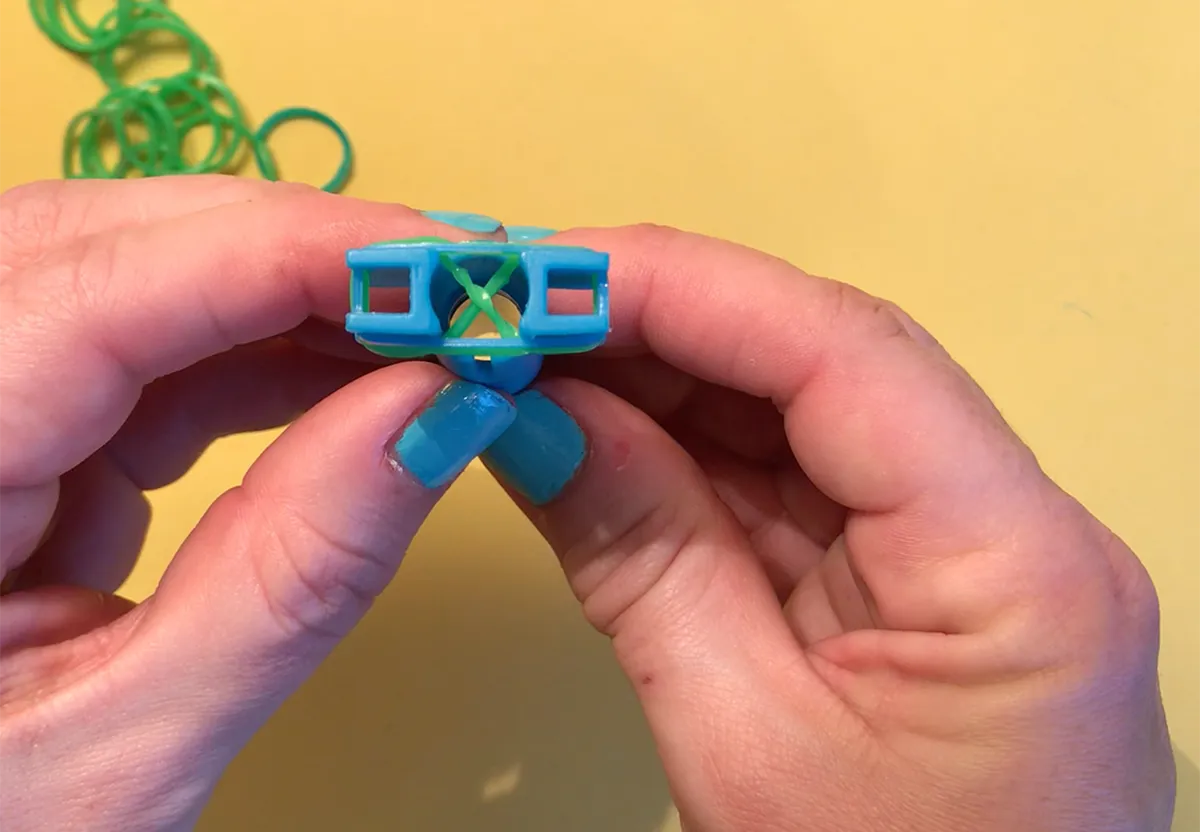
Exactly as above, take your first loom band and twist it into a figure of eight. Pop one of the loops of the eight over one prong of the mini loom, and the other over your second prong.
You'll see the twist of the figure of eight in between your two prongs. Roll the band down the prongs slightly to make room for the next band.
Step 2
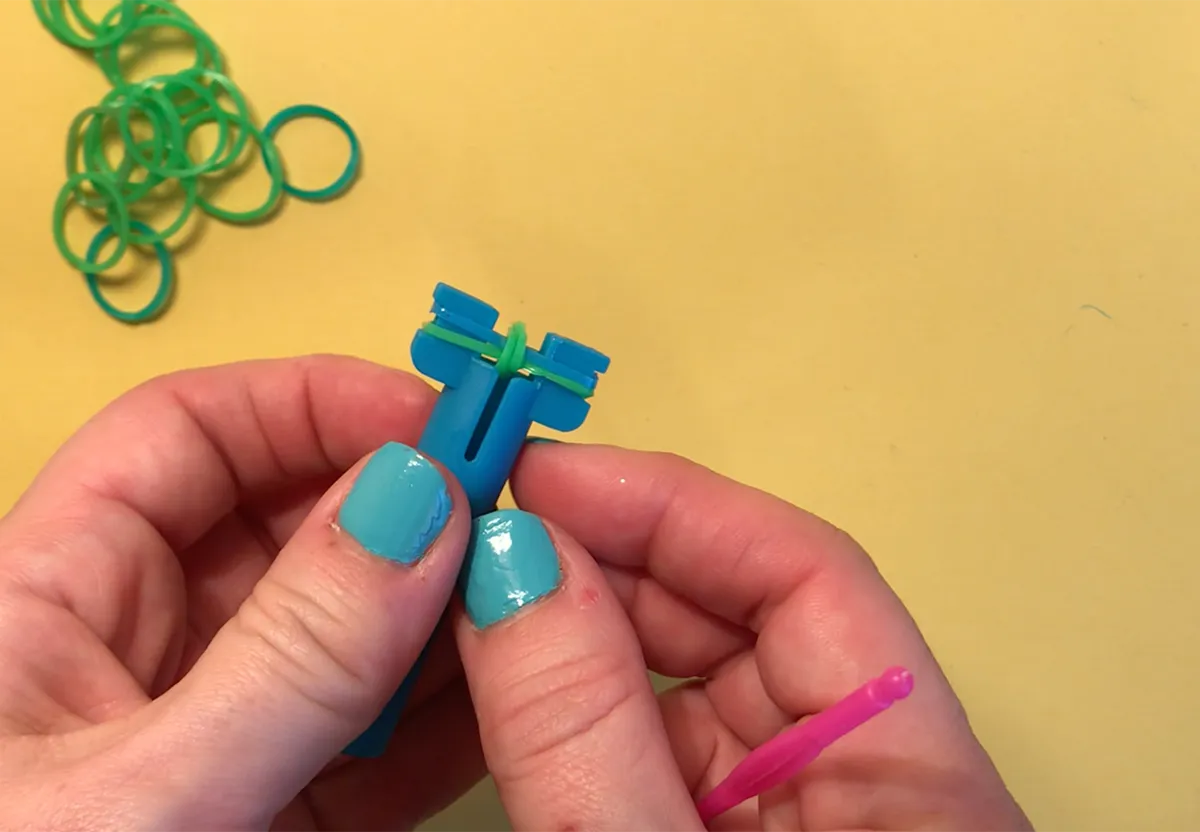
Take a second loom band and slip it over both of the prongs so that it sits slightly above the first. You don't need to twist this one – just loop it straight over both prongs to form a stretched loop. Roll both bands down slightly.
Now add a third loom band in the same way, above the first two. You will now have 3 bands on your mini loom (or fingers!).
Got your three bands in place? Then let's go!
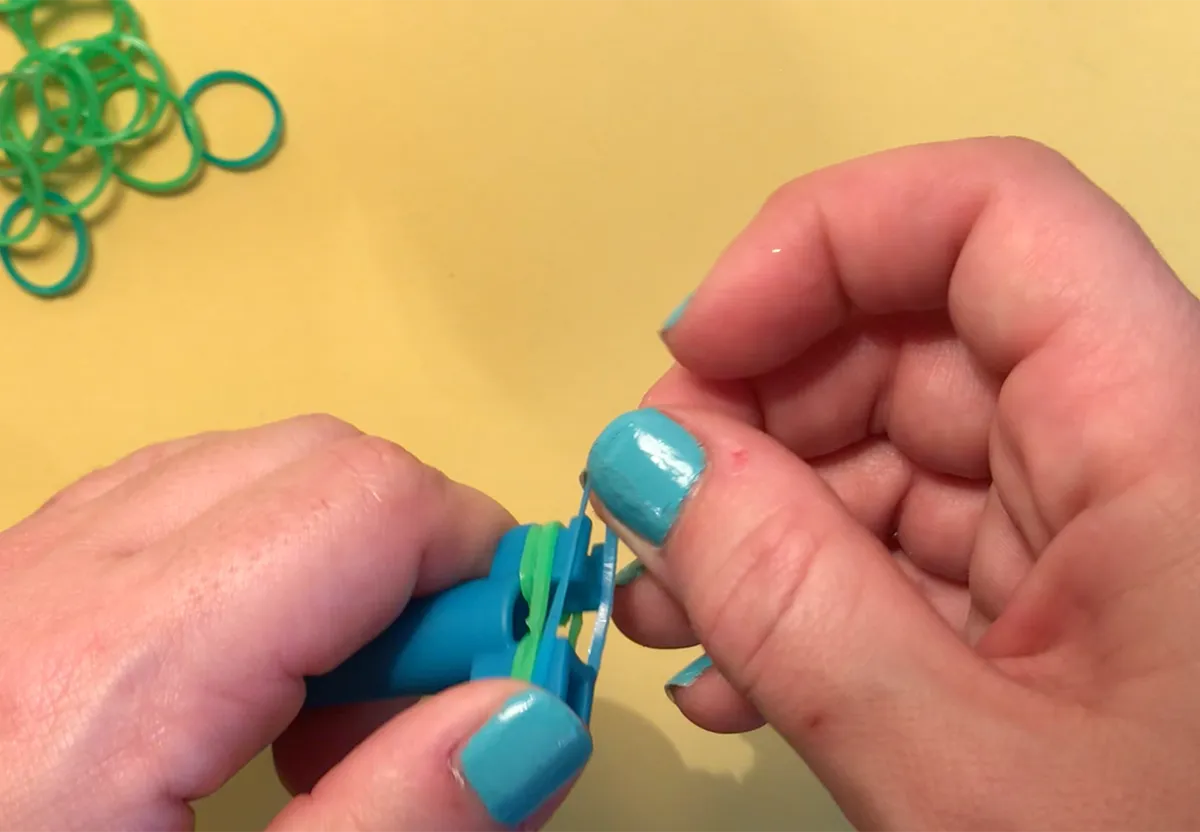
Step 3
Using a hook tool if you have one (or your fingers if not), pick up the bottom band on the prongs.
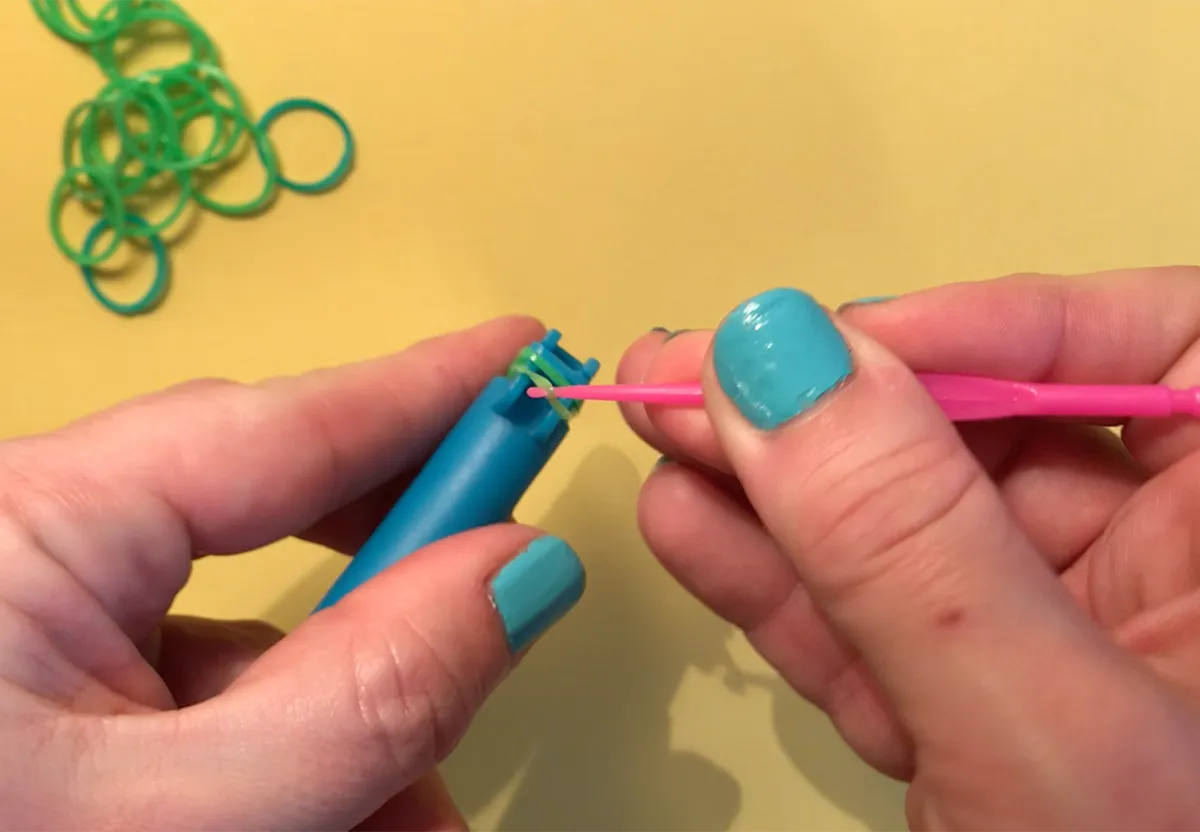
Then pull it up over the other two bands (without removing them from the loom/your fingers). Bring it into the centre and let it drop between the two prongs. Repeat this with both sides of the band. Now your budding bracelet should look like this:
Step 4
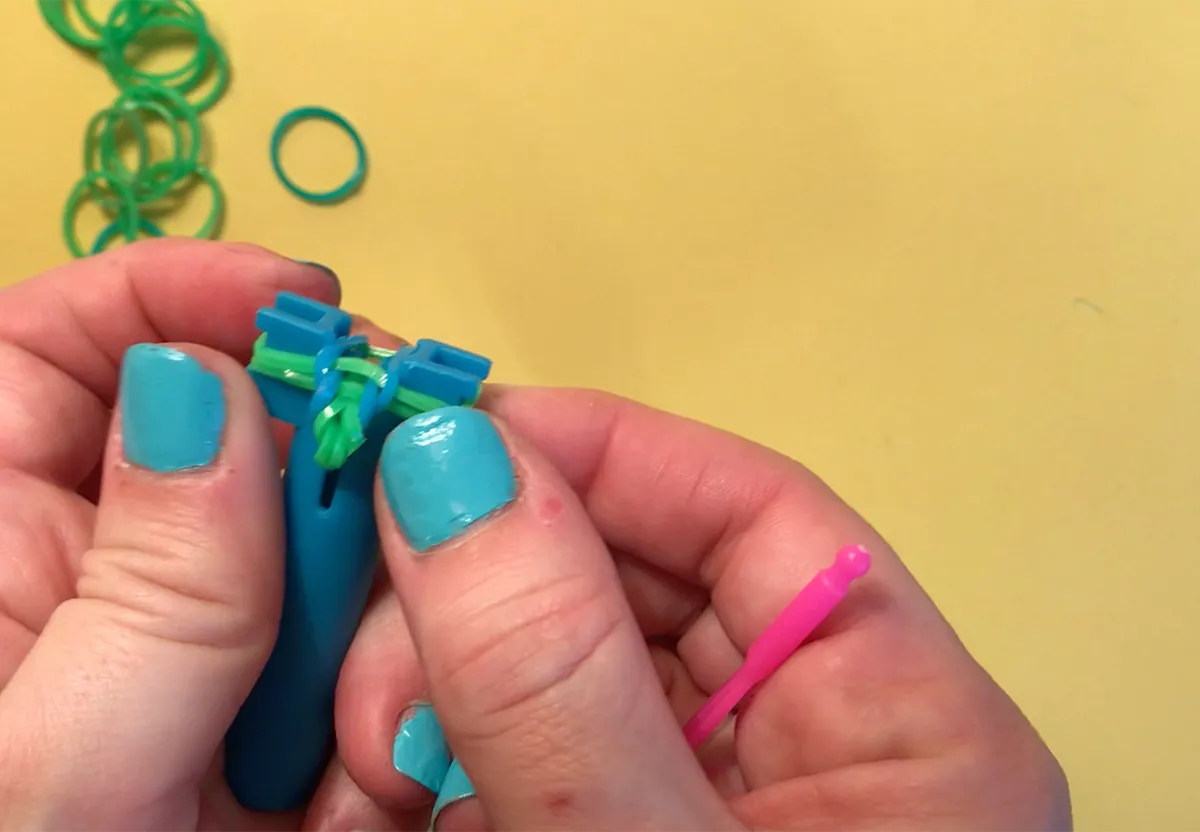
Add another band on top of the first two, then loop the bottom band on the prongs up and over again as above. Keep repeating this step until you start to see your bracelet form.
Top tip: If you're using a Mini Rainbow Loom, give the bracelet a bit of a tug to the side during this stage. This will stop it from travelling inside the loom.
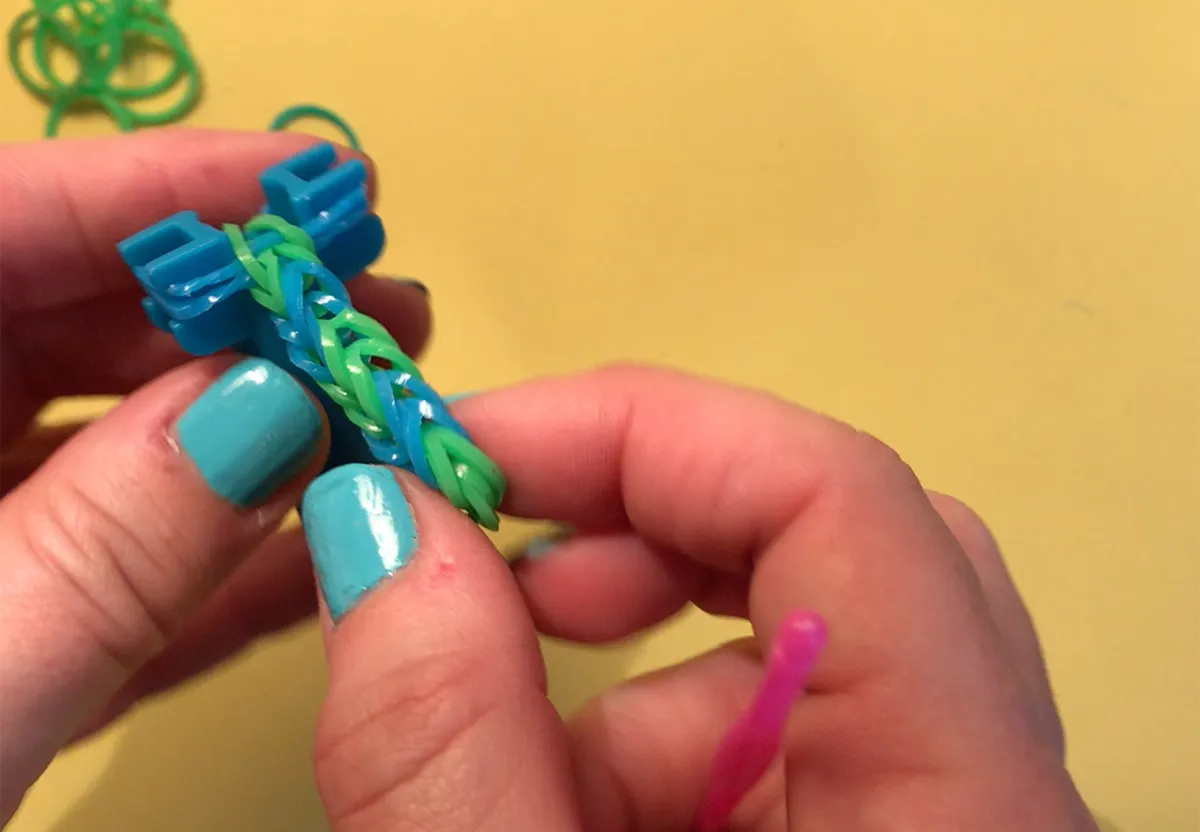
Step 5
Keep adding more and more bands in this way and watch your bracelet grow. You'll see that we have alternated two bands in one colour, two the next – this creates a chunky striped effect.
Step 6
Once you're happy with the length of your bracelet, gently remove it from the loom.
At the end, you'll have one band that's woven into the bracelet, with two more that sit loosely inside this one. Remove those two excess bands so you're left with the one, twisted band at the end.
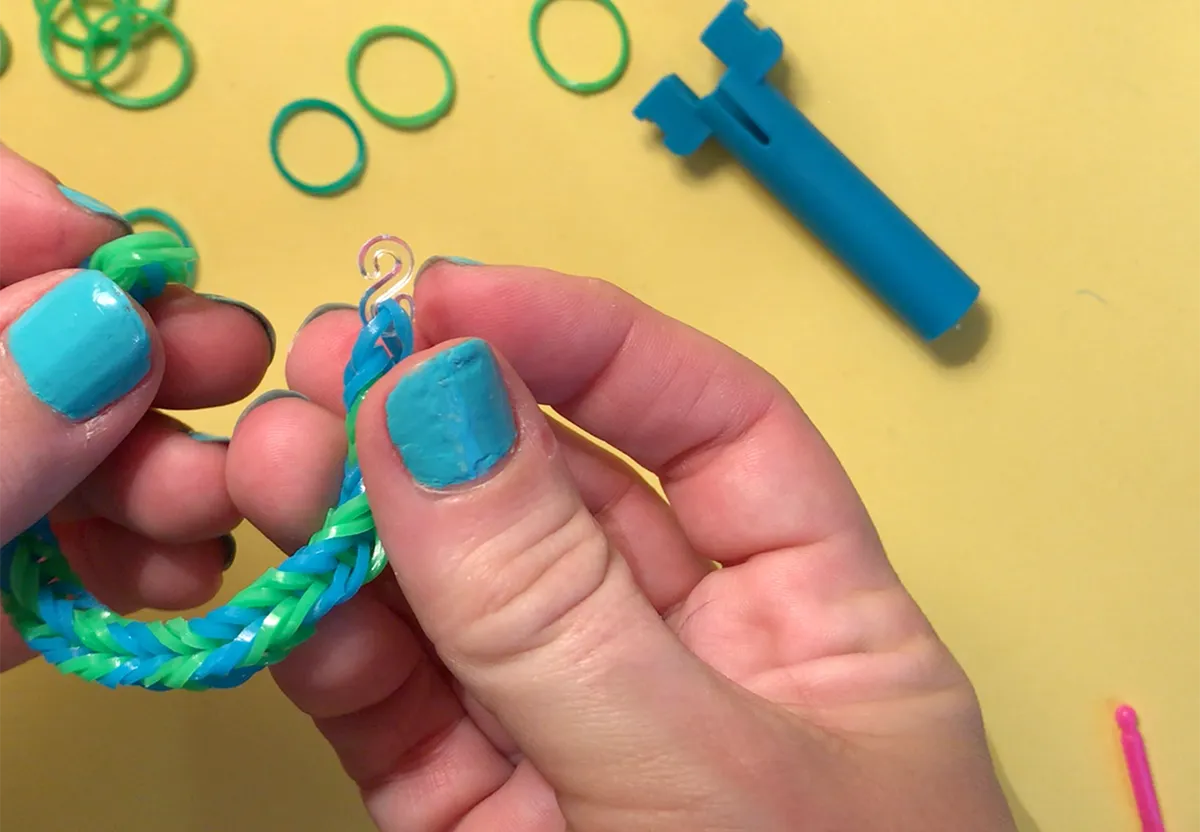
Step 7
Take an 'S' clip and slip both parts of the end band onto one half of the clip.
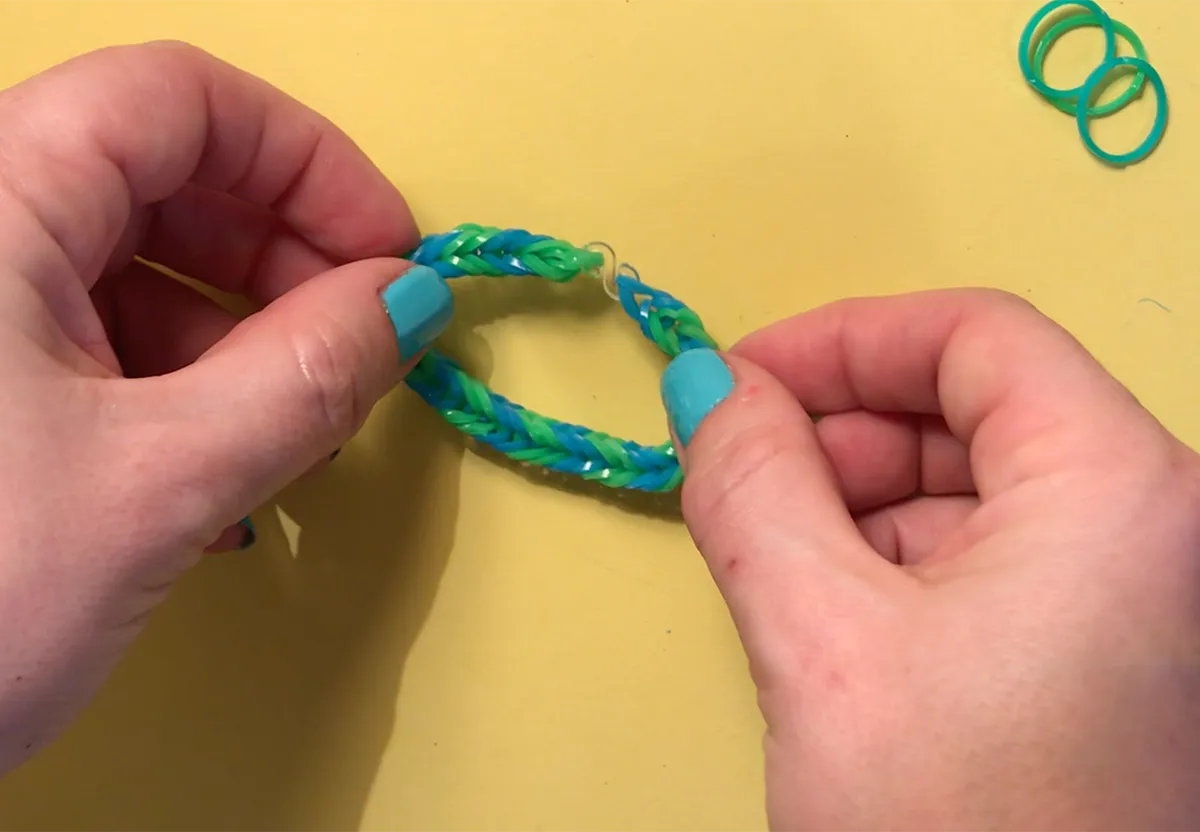
Step 8
Now twist your work into a loop and connect the S clip to the other end of your loom band strip to make a bracelet.
Try paracord bracelets
If you've got the bracelet-making bug, give paracord a try! Learn how to make a paracord bracelet with our guide.
How to make a loom bracelet with a loom
Method 3: How to use The Rainbow Loom
The Rainbow Loom is one of our favourite tools for easy loom bracelet making. Most of the beginner kits below come with some variation of this handy tool.
It's a large plastic block with three rows of pegs sticking up from it. The base block has arrows that guide you. This will help keep track of the direction you're working.
You can use The Rainbow Loom to make a single loop, double or triple fishtail effects. You'll also be able to do other complex designs, from ladders to starburst bracelets. In this loom band tutorial we've stuck to showing you how to use it to make a basic single loop bracelet, to keep things simple.
You will need
- Rainbow Loom
- A hook
- Loom bands
- S clip
Step 1
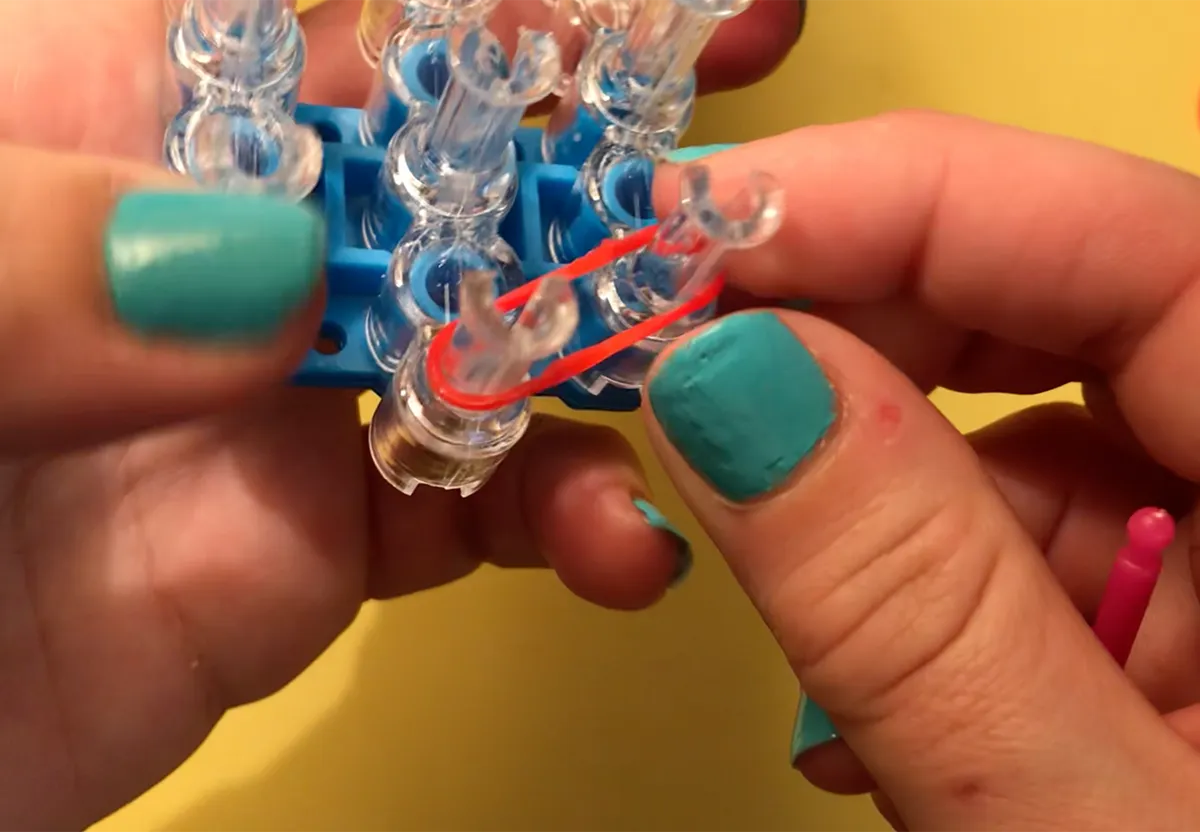
Take your first band and slip it over the bottom central peg of the loom, then up and to the right diagonally like this.
Step 2
Now take your second band, and start by slipping it onto the second peg that you looped on to last time (along the right edge of the loom).
Now pull it up and right diagonally and slip it over the next peg as shown below.
Step 3
Keep adding bands, one at a time, in this pattern all the way up the loom.
Step 4
Keep going until you reach the top of the loom.

Step 5
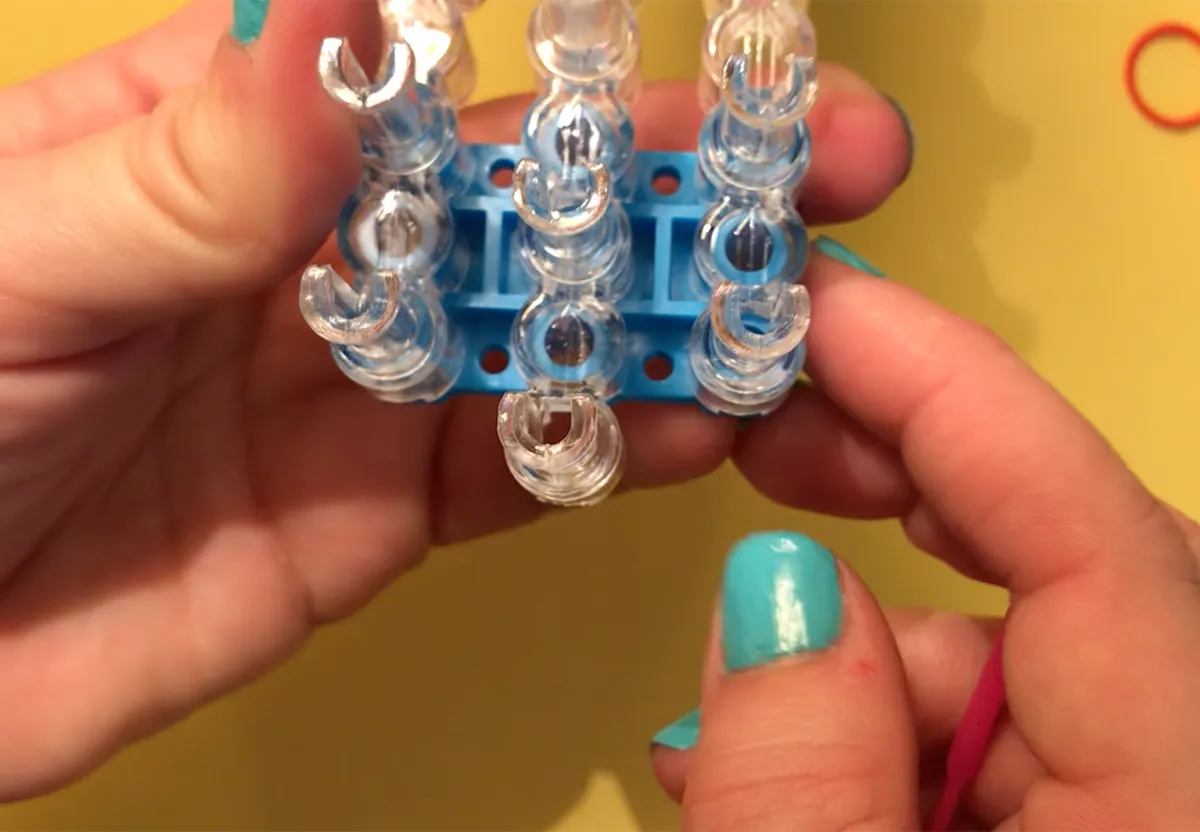
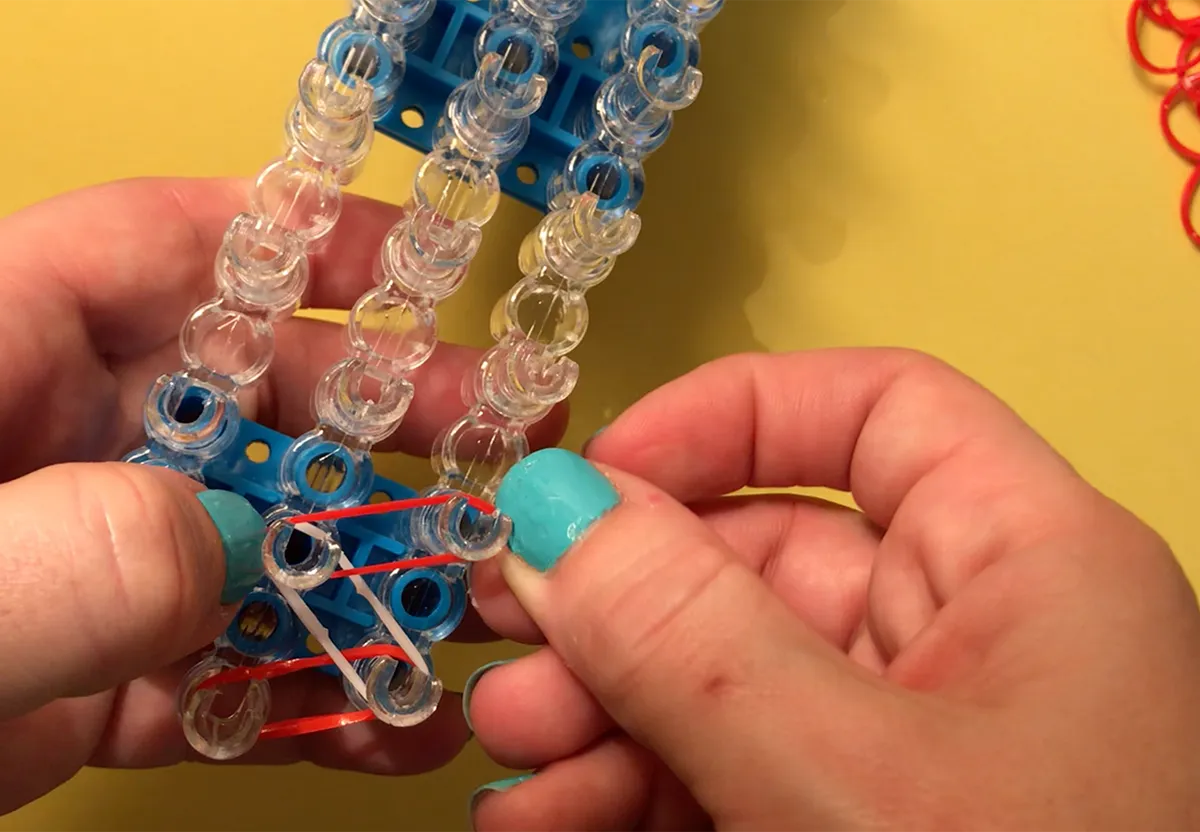
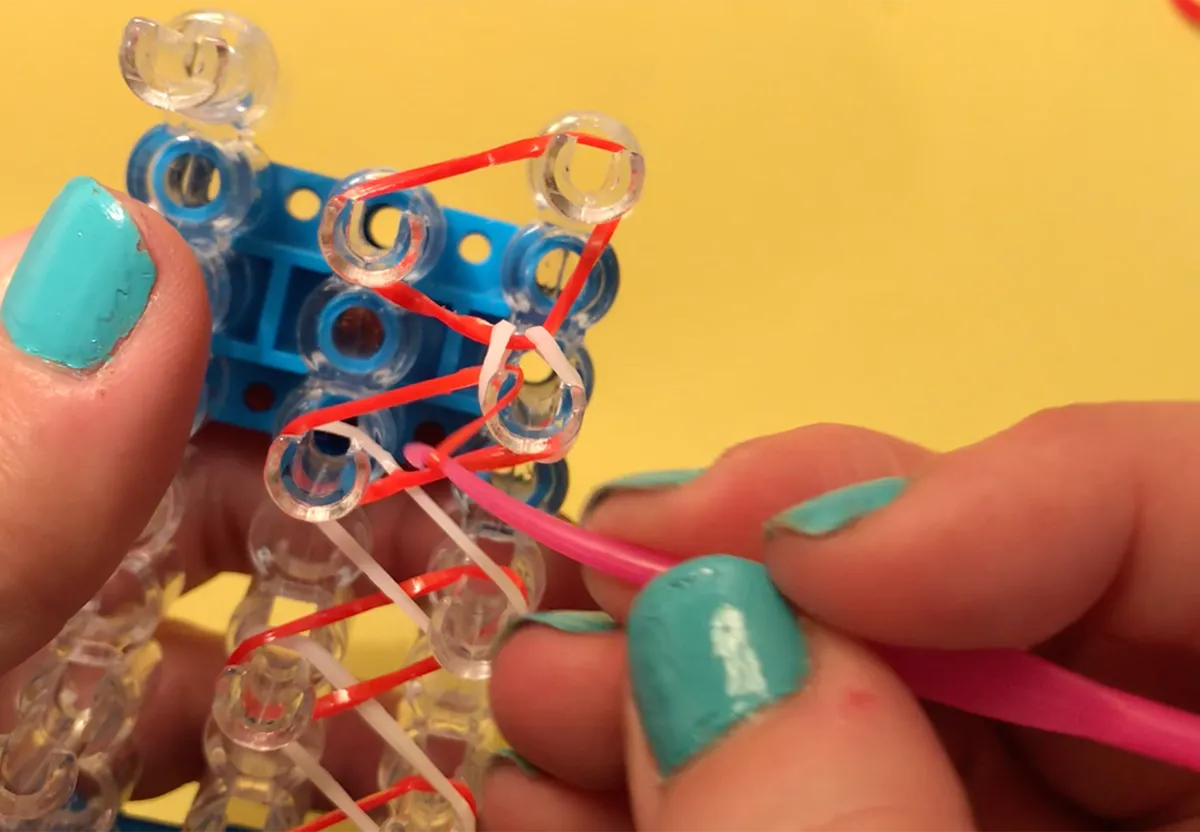
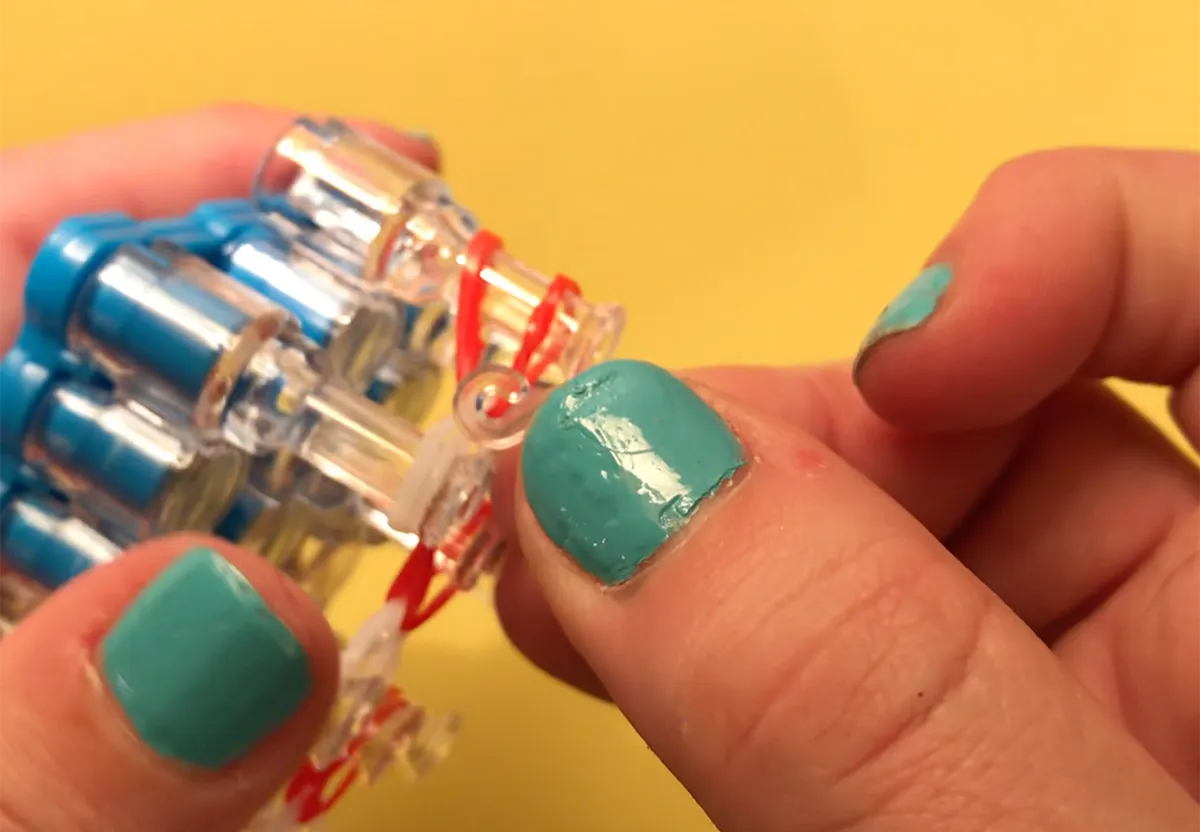
Now you'll need your hook. This step takes a bit of practice but you'll soon get the hang of it. Leave the top right peg band in place – we're going to focus on the next peg down the board (so the top peg in the central row).
Take a loom band hook inside the horseshoe shape of the peg. Then twist the hook and use it to scoop up the lower band on the peg (in our example the white band). Bring this band up, over the top of the peg, inside the red band that was placed above it. Then pull it down to the right – securing it over the peg that the other half of the same band is sitting on.
Step 6
Can't work out what's happening yet? Never fear, all will become clear. We're going to move down the loom, repeating this step peg by peg.
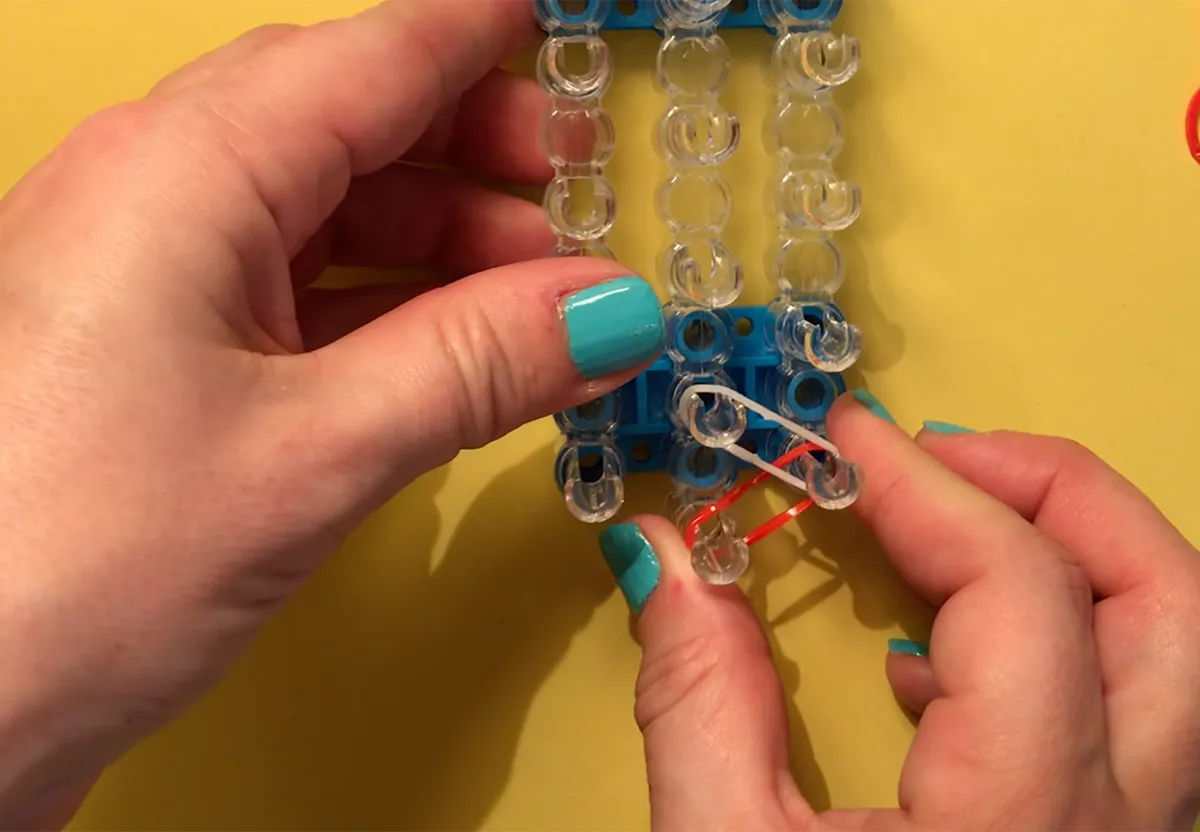
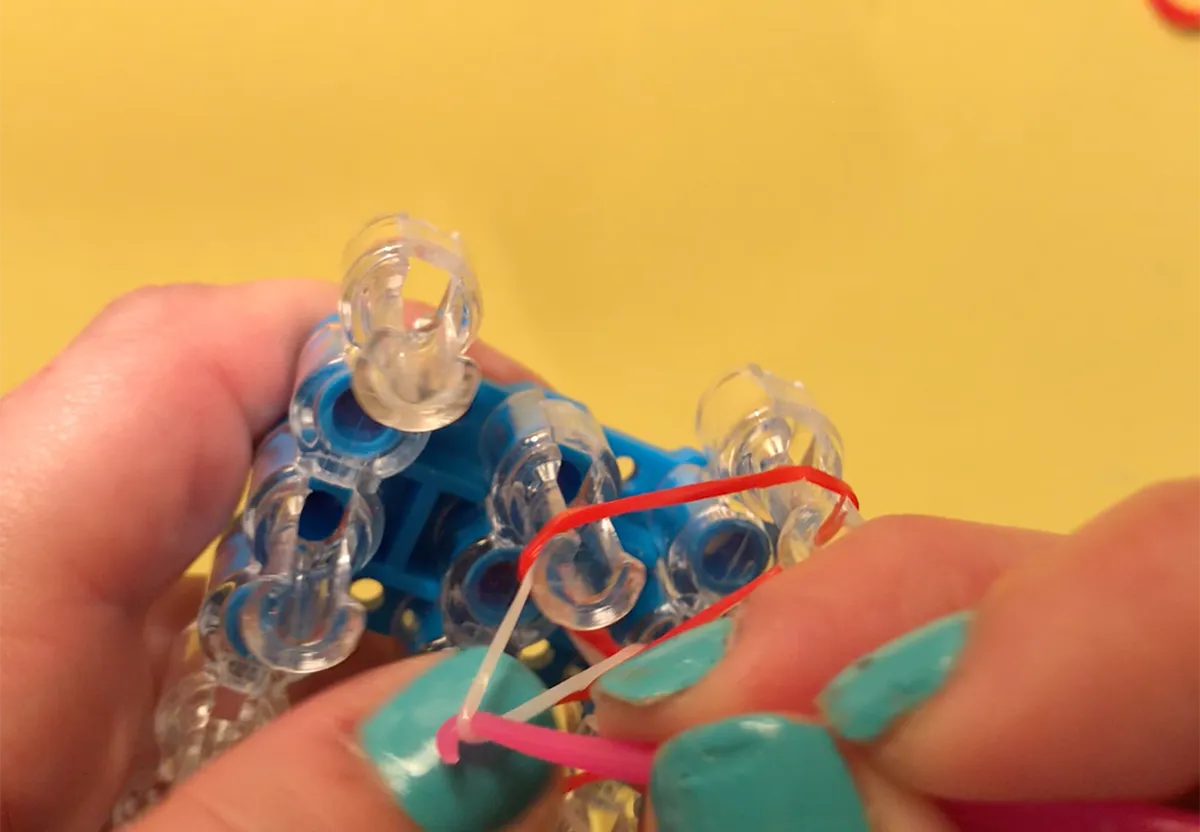
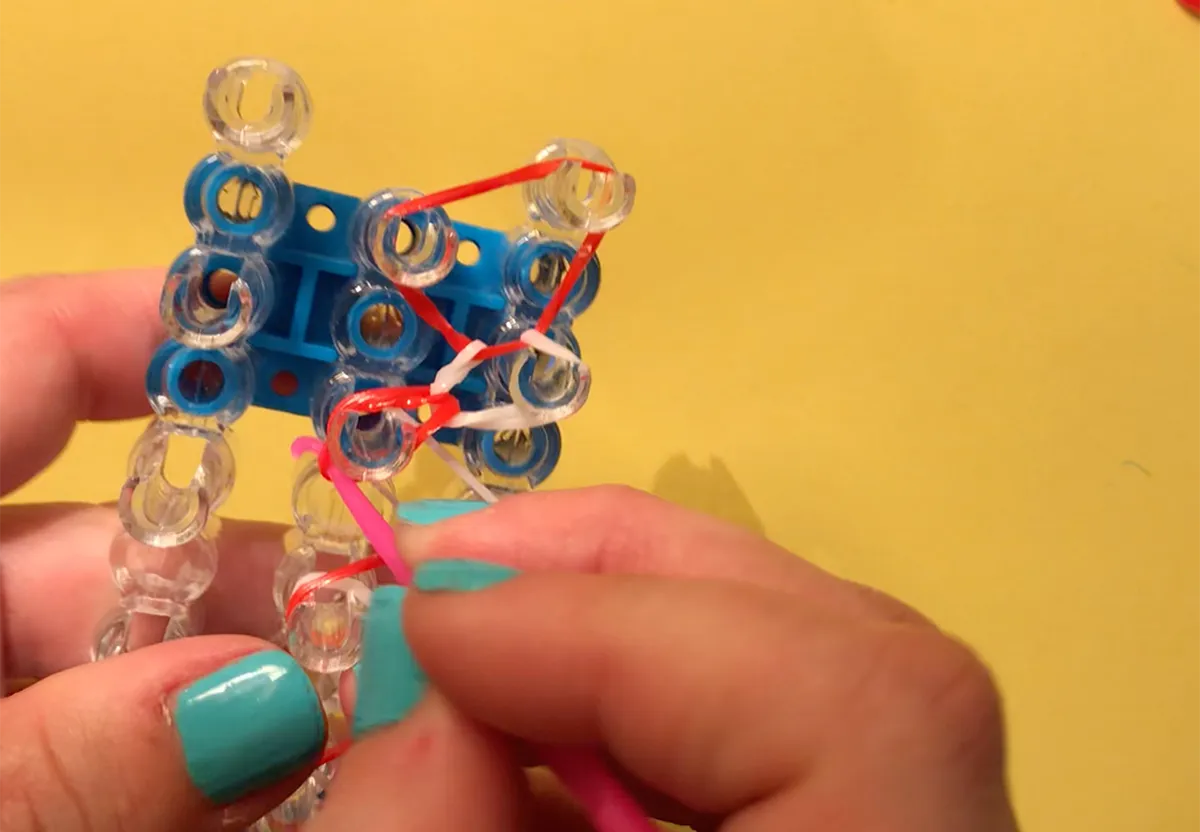
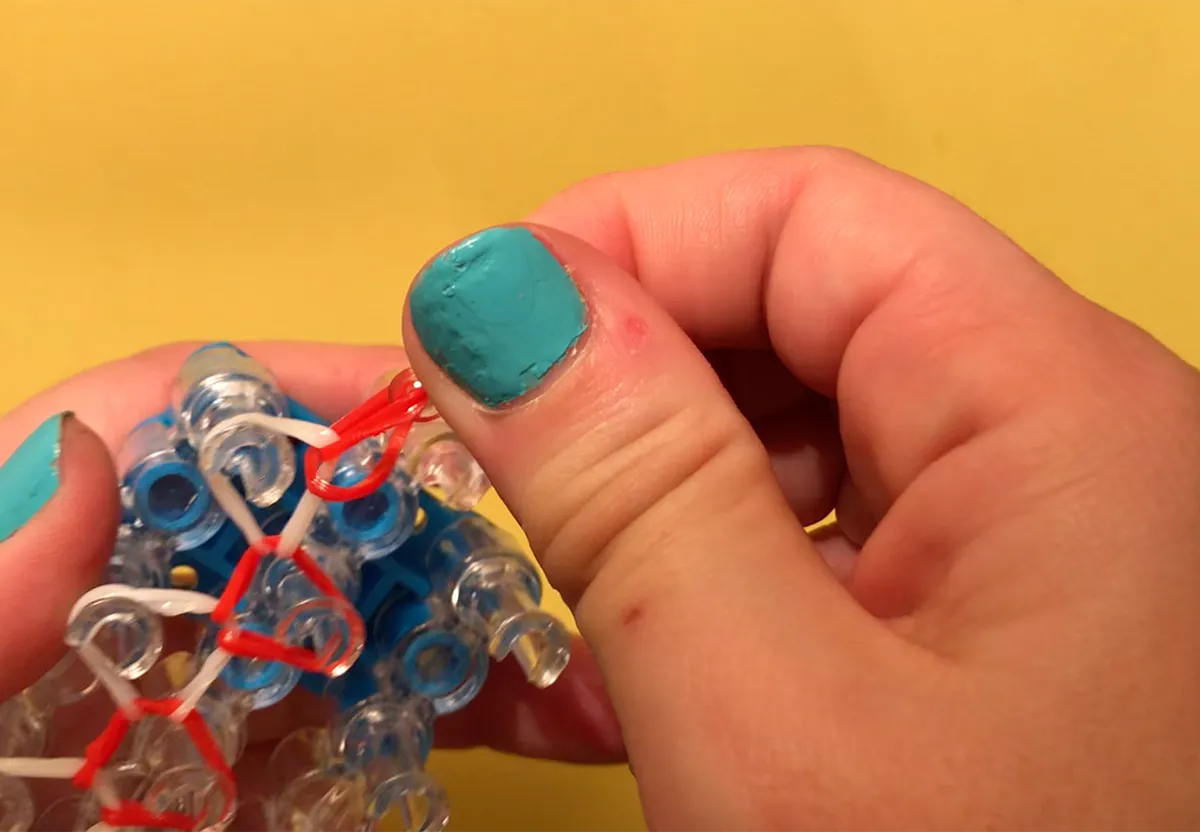
For this next step, we'll be focusing on the peg that you rested the last band on (the second peg down on the right). This peg should now have a lower band on it (red band), with the two loops of an upper band above it (white band). Take your hook again and reach inside the horseshoe-shaped peg to pick up the lower band (the red band in this case).
Pick the lower band up on your hook and pull it up through the gap in the middle of the peg. Then up over the top of the peg (so it's still inside the band that was on the peg above it). Pull it down diagonally to the left and secure it on the next peg down.
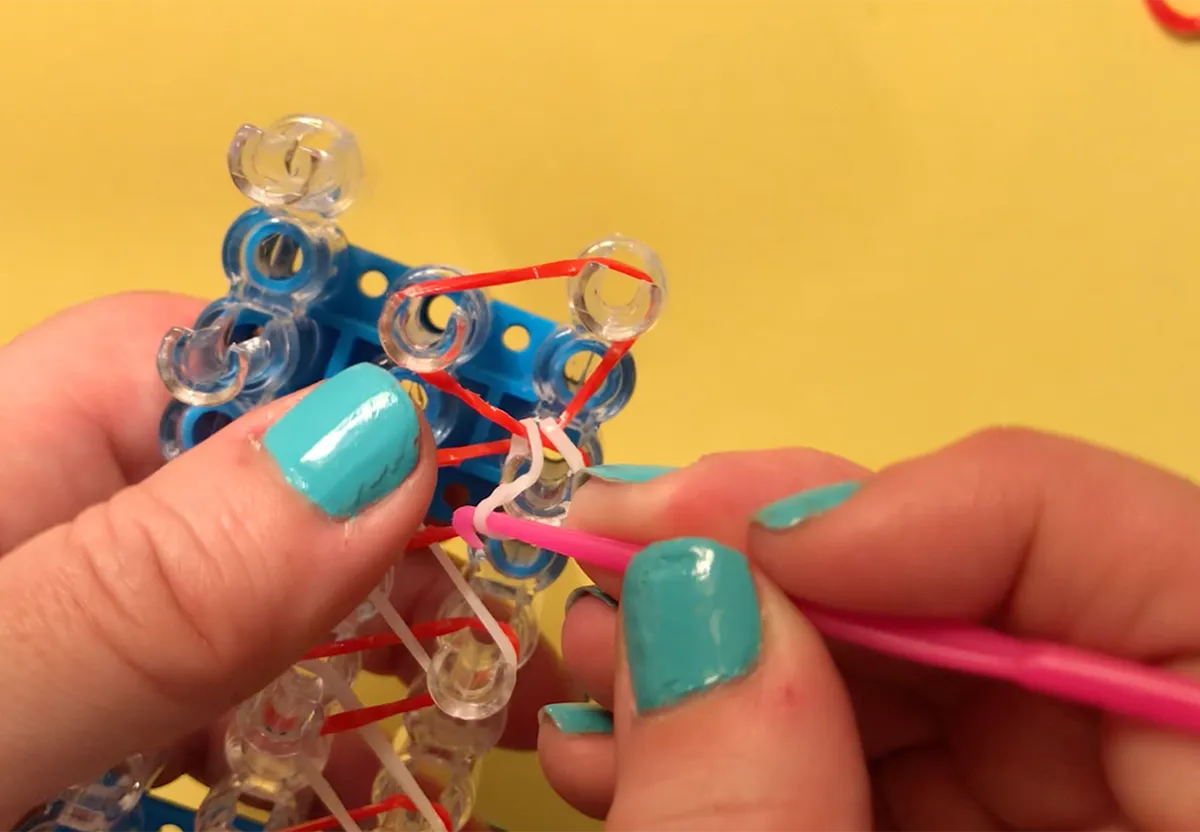
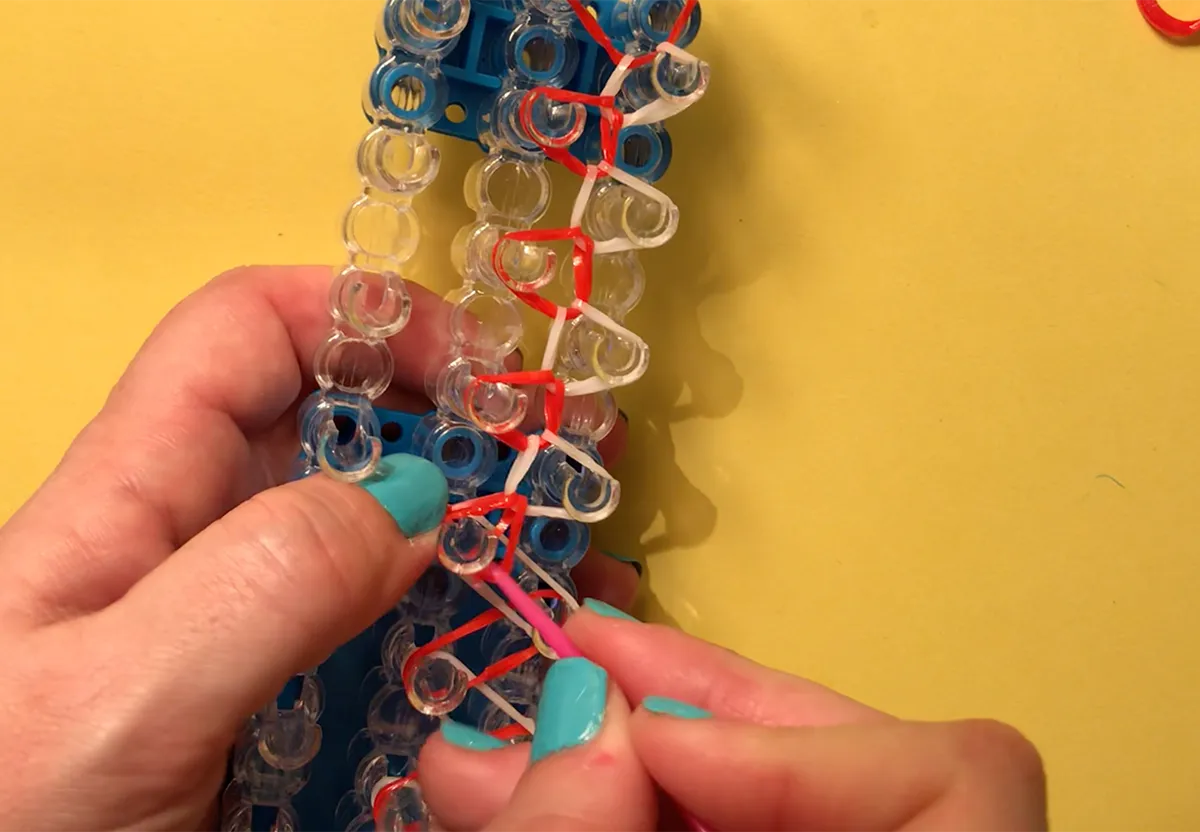
Step 7
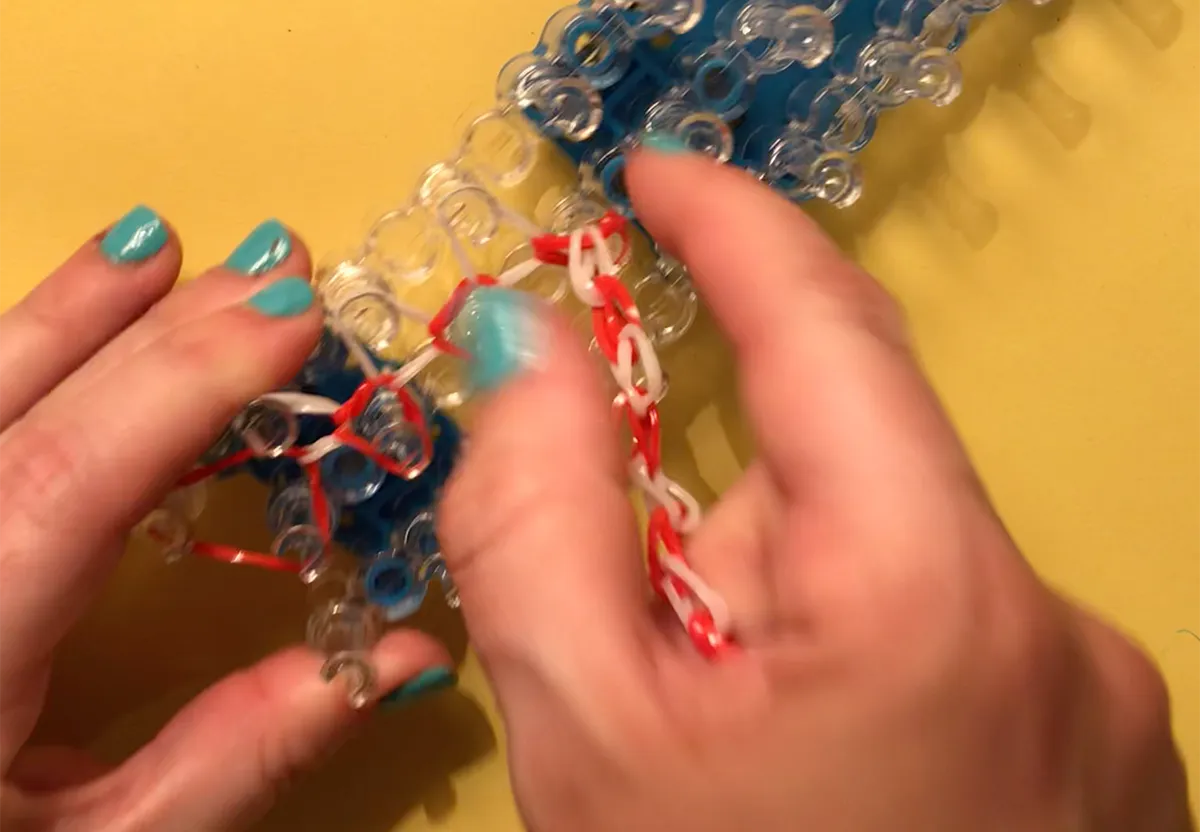
Move down the loom, hooking each band using this method as you go. Your loom should look like this…
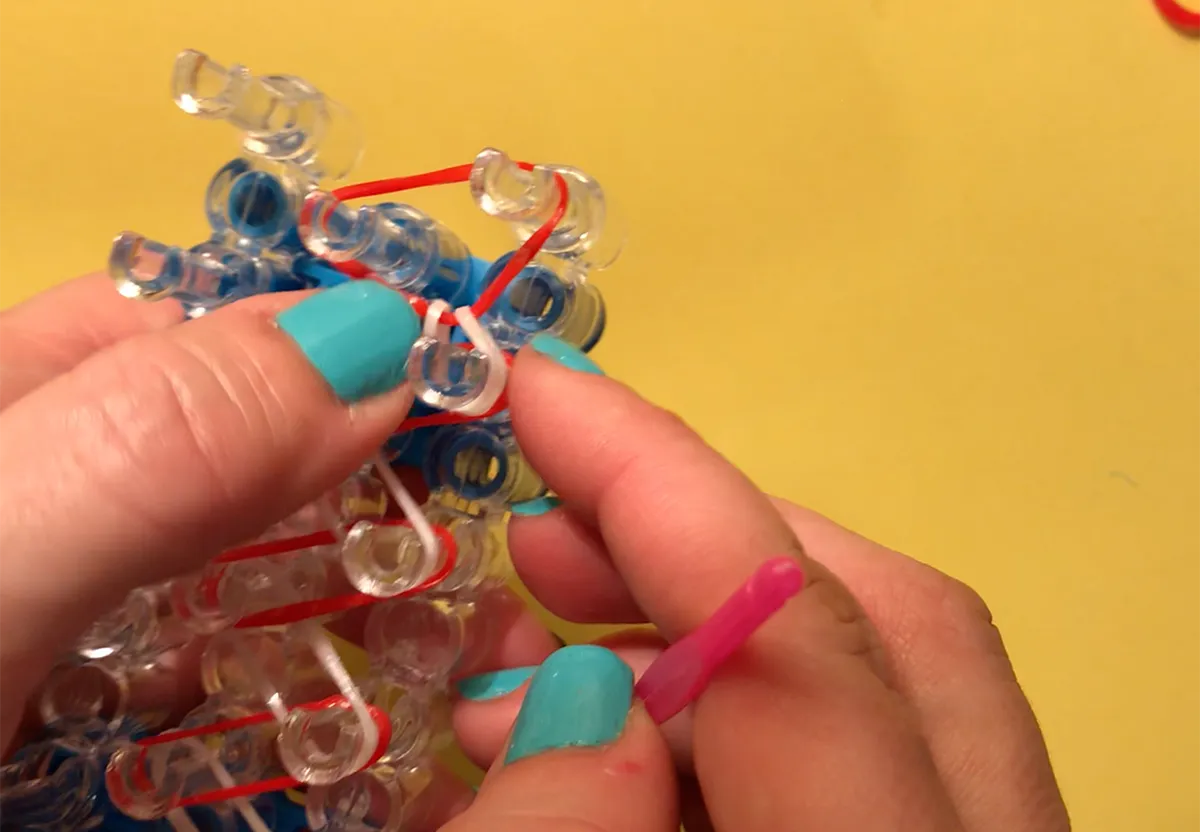
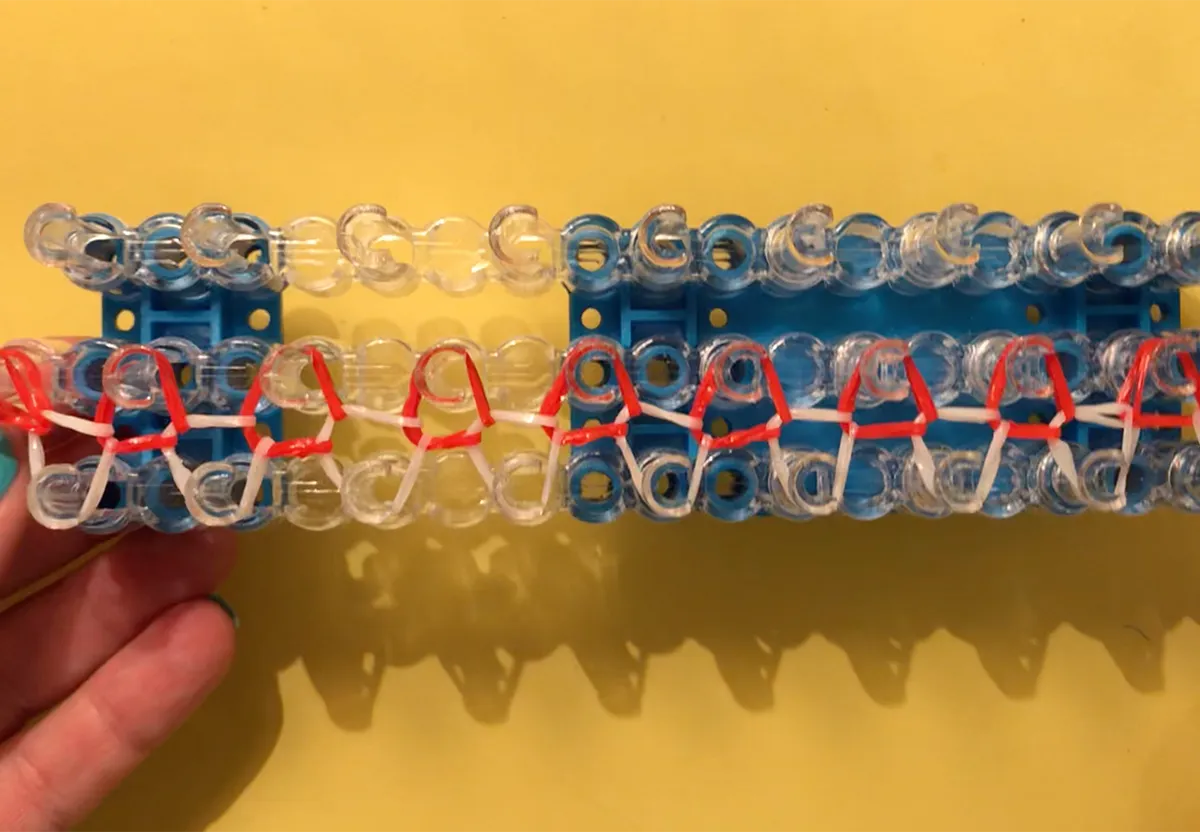
Step 8
Once you get to the bottom, your loom should look like this and you're ready for the finishing stage!
Step 9
Take the band at the very bottom of the loom (the peg you started on) and hook an S clip into both loops of the band.
Step 10
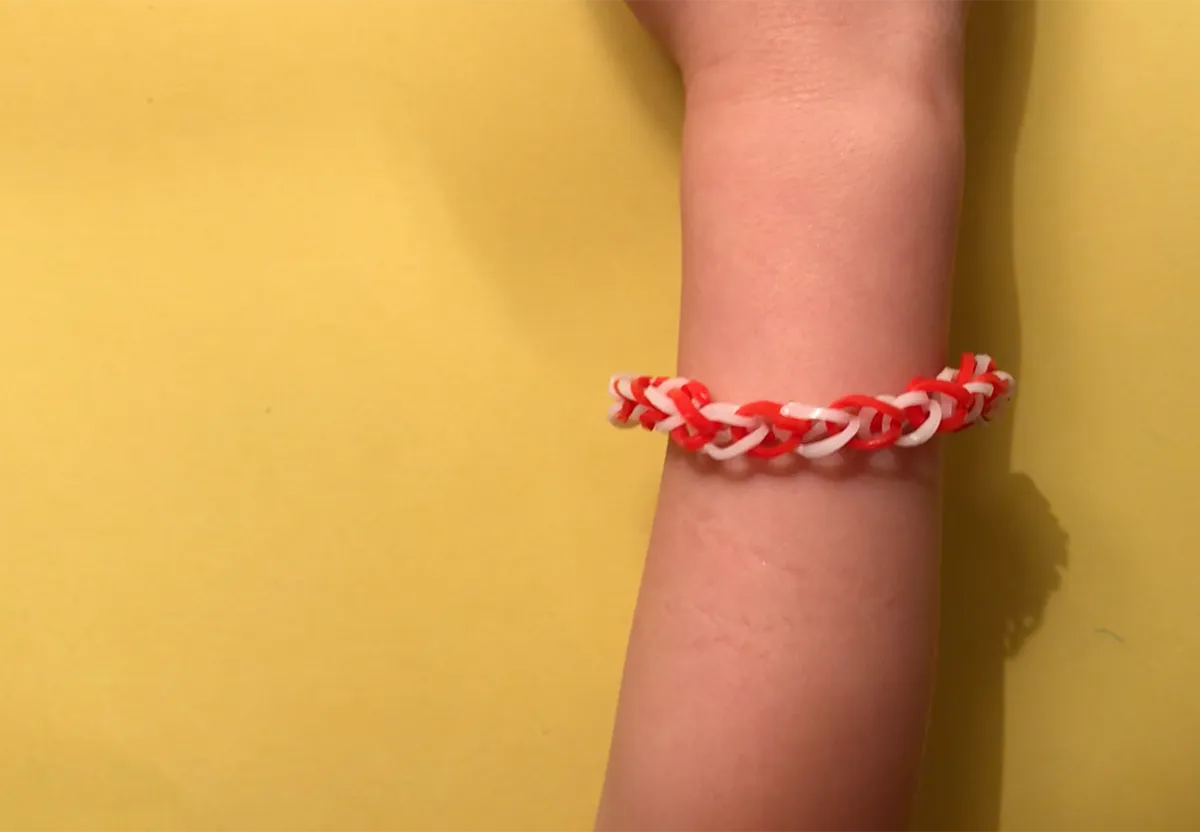
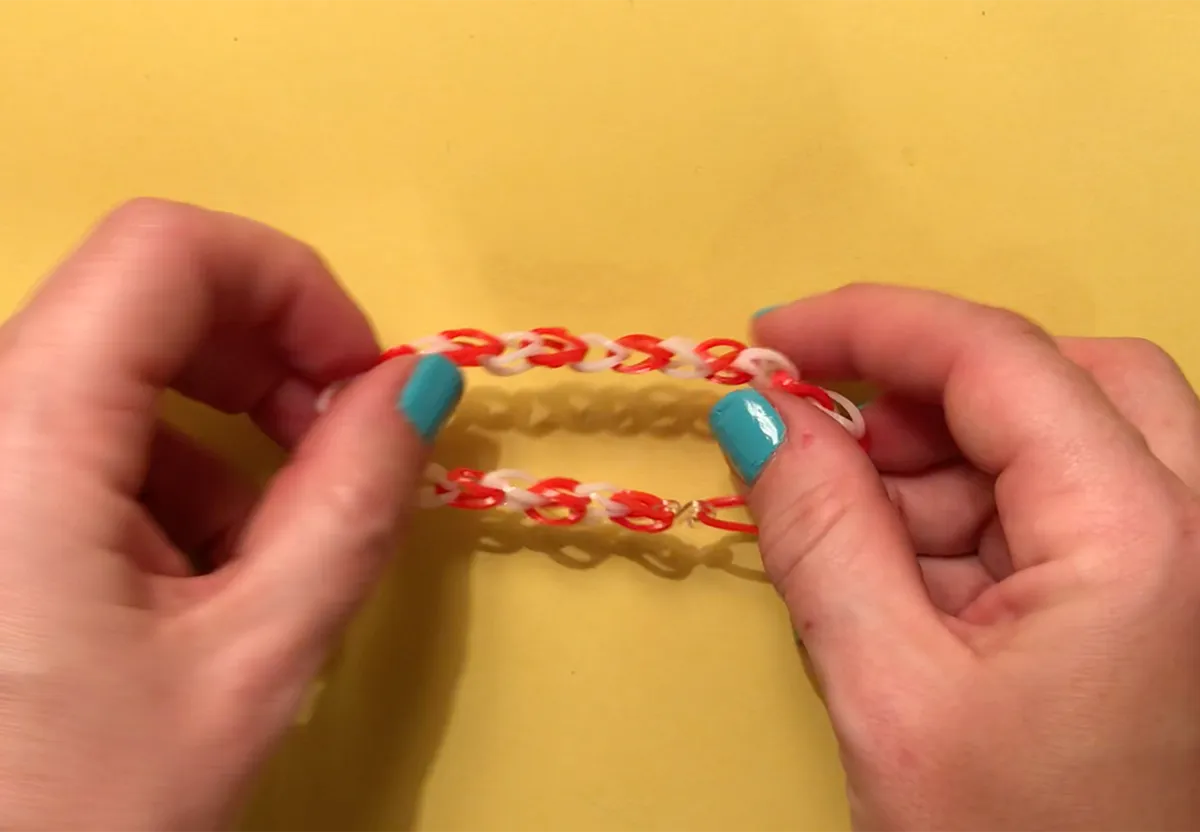
Secured both loops of the end band? (in our case the red one). Great! Your bracelet is ready for the big reveal.
Now gently tug the end band with the S clip in place up to pull the bracelet off the loom. Do this all the way down the loom until you get to the end loop.
Step 11
Finally, secure the other half of the S clip onto the band at the other end to complete your bracelet!
Loom band ideas: what to make with loom bands
Why stop at loom bracelets? This is the tip of the iceberg – there's a whole world of amazing tutorials out there to make all sorts of loom objects. A warning though: once you start creating, you'll find it hard to stop!
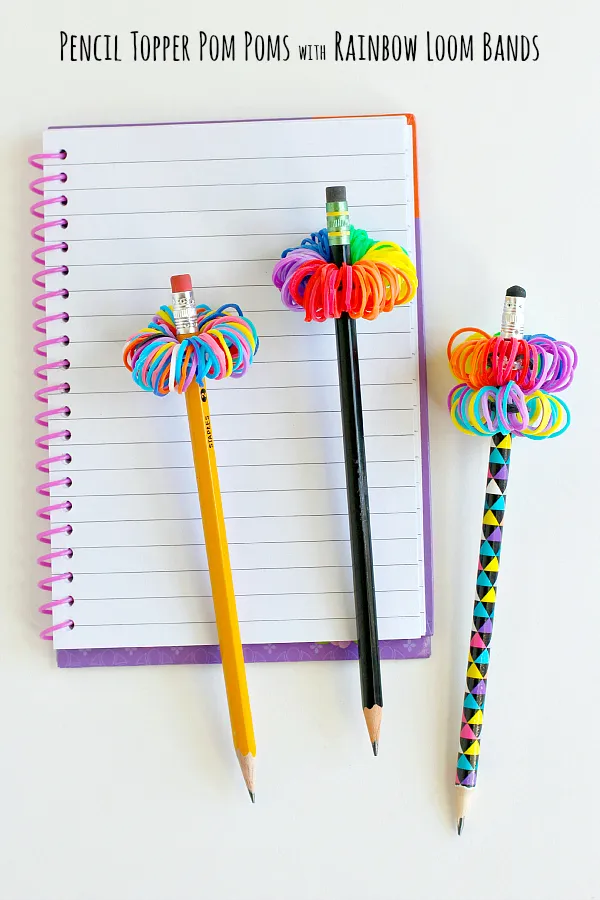
Rainbow loom band pencil toppers
Give your stationery a quick colour boost with this easy pencil topper tutorial from Makes and Takes.
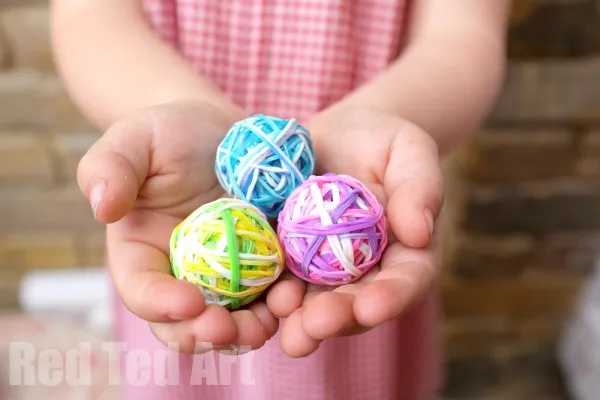
DIY rubber band balls
Keeping it simple, twist them all into a massive bouncy ball! Red Ted Art have a tutorial to show you how.
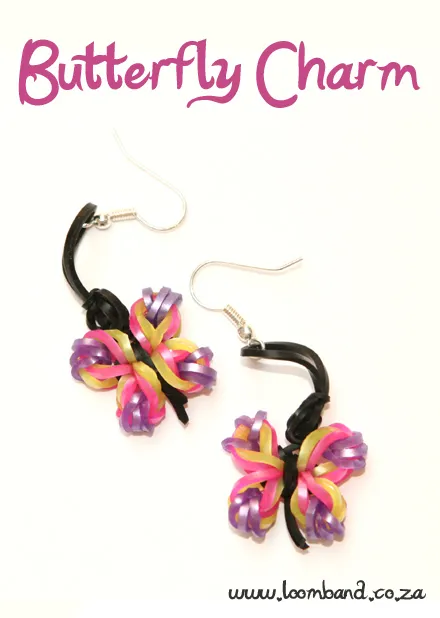
Make butterfly charms
Add them to earring clips or keychains! Whatever you choose to do with them, these super cute butterflies are easy to twist and great to give as gifts.
Loom band wallet
Twist up an easy wallet or coin purse with this video tutorial from DIY Ideas on YouTube.
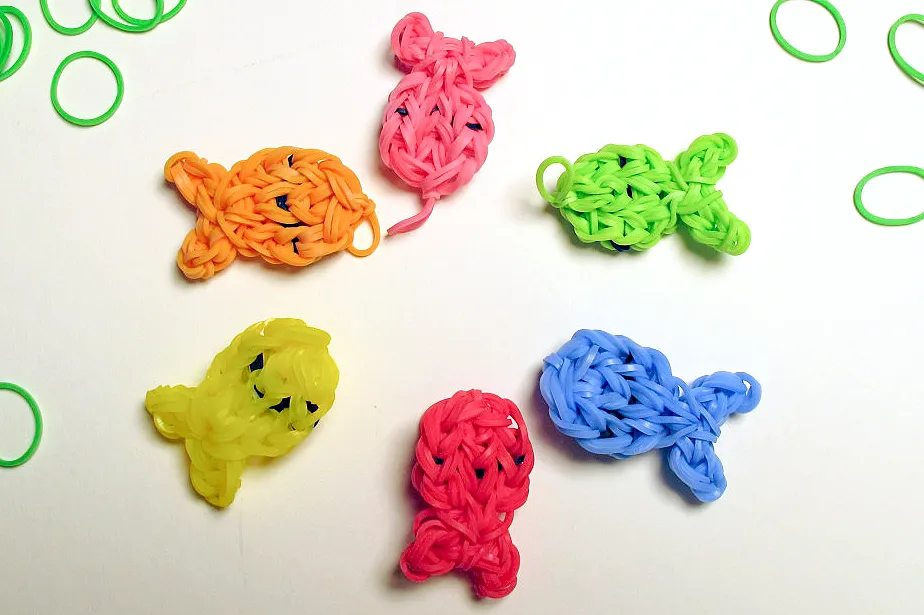
Rainbow goldfish
Could this be the cutest make in this article? We think so. Find out how to turn loom bands into these sweet goldfish charms over on Joy of Art's YouTube channel.
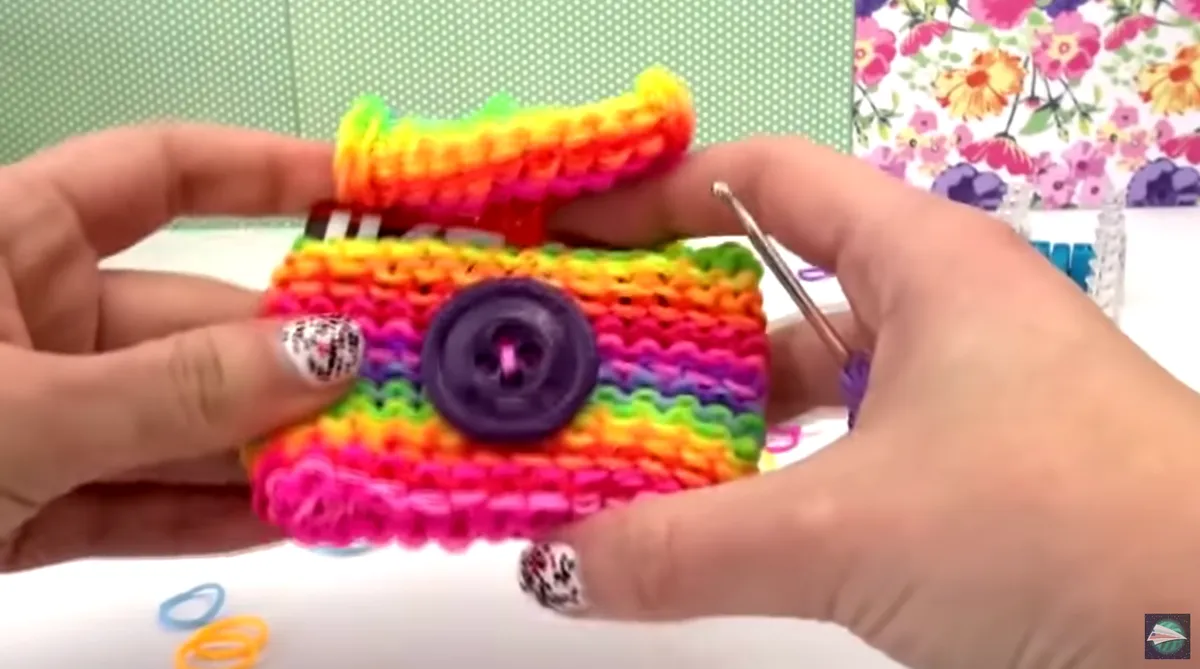
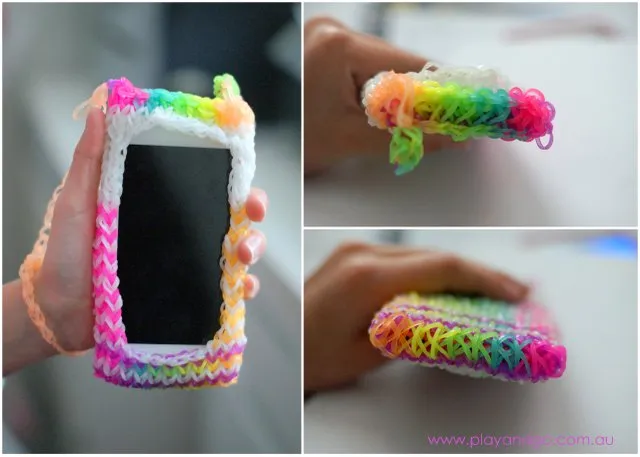
Loom Band phone case
Loving the loomy life? What else can you decorate with loom bands apart from your wrists? We've found this nifty little tutorial for how to make a gadget cosy out of loom bands by Play & Go.
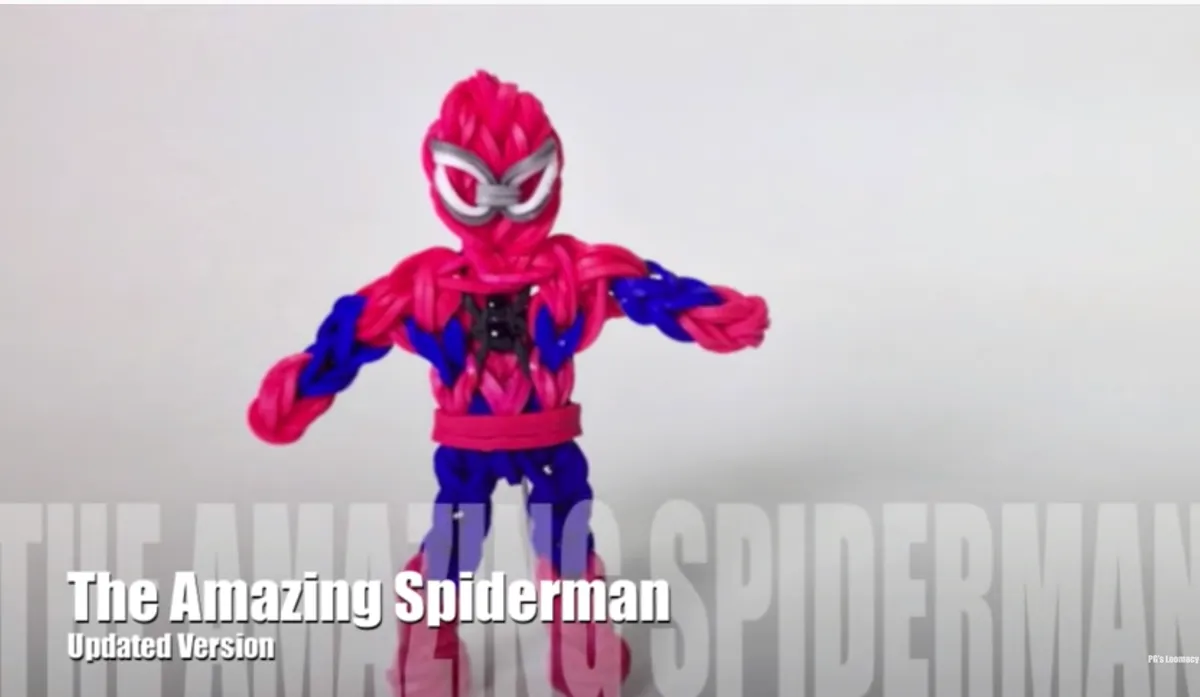
Make your own super heroes!
If you feel you're ready to graduate to expert loom level, you have to check out PG's Loomacy on YouTube. They have a whole series of video guides to making your very own Avengers out of loom bands. We especially like The Amazing Spiderman.
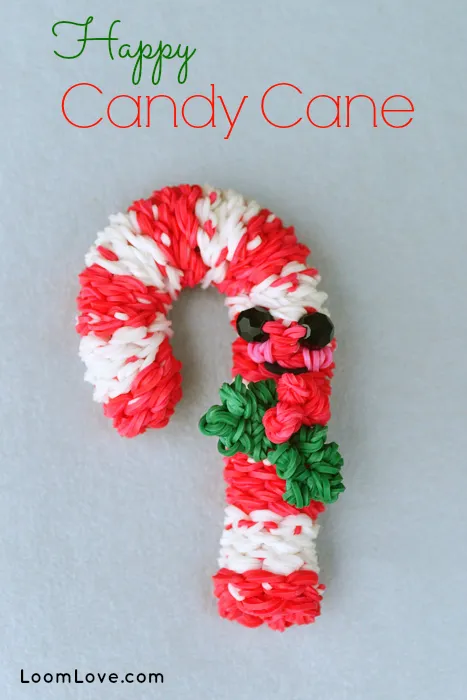
Loom band candy canes
Loom Love has a series of 20 holiday-inspired loom band ideas to try, from Christmas stockings to the Grinch! But our favourite is this loom band happy candy cane DIY by FeelinSpiffy.
Taylor trend
If you have a Swiftie in the house, they'll love this Taylor Swift friendship bracelets tutorial.
Where to buy loom bands and rainbow looms
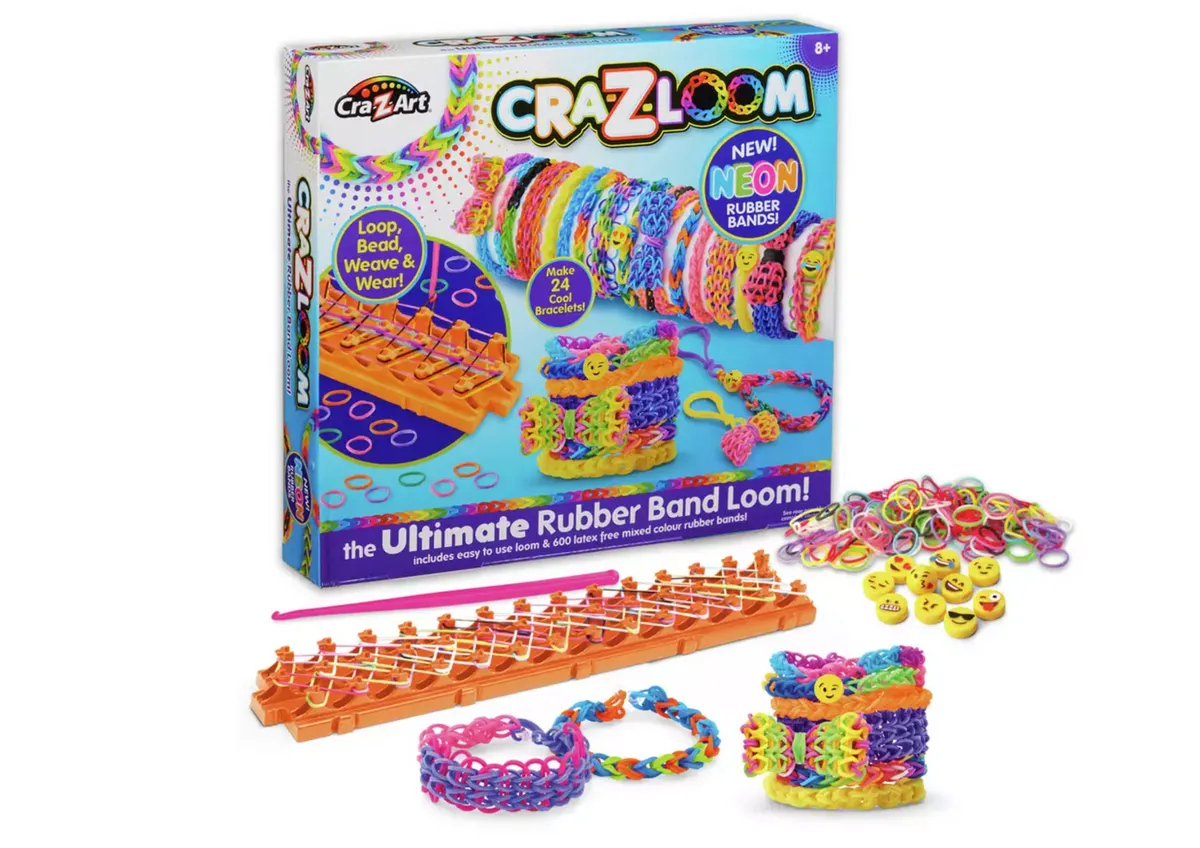
1. Cra-Z-Loom Band Maker
Loop, weave and wear easy DIY bracelets! This kit will help you make 24 different designs. It includes an easy-to-use loom and over 600 latex-free rubber bands. You'll even find neon bands, plus 10 emoji beads to decorate your bracelets and 25 "S" hooks.
- Buy Cra-Z-Loom band maker from Argos
2. Rex-World Loom Bands Kit
Many of the kits we've featured here include similar elements. Usually an array of rainbow bands, a starter loom and hooks and sometimes charms. We especially love the super cute charms included with this set!
- Buy Rex-World Loom Bands Kit from Amazon

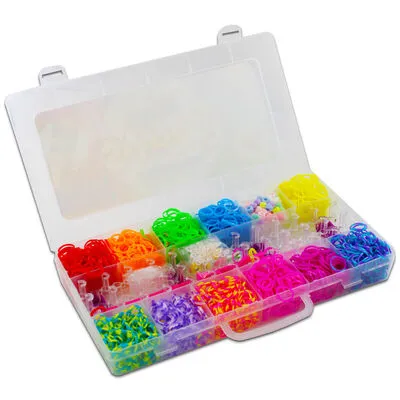
3. Loom bands and accessories kit
This starter kit includes all the essentials from bright bands to a handy board. With lots of colourful bands and charms, this kit will keep you busy.
- Buy Loom bands and accessories kit from Amazon

4. Mega Looms Bumper Set
Are you looking for a simple kit containing plenty of bands? This one is for you. This kit contains everything you need: bands, hooks, S clips and even handy instructions.
- Buy the Mega Looms Bumper Set from The Works
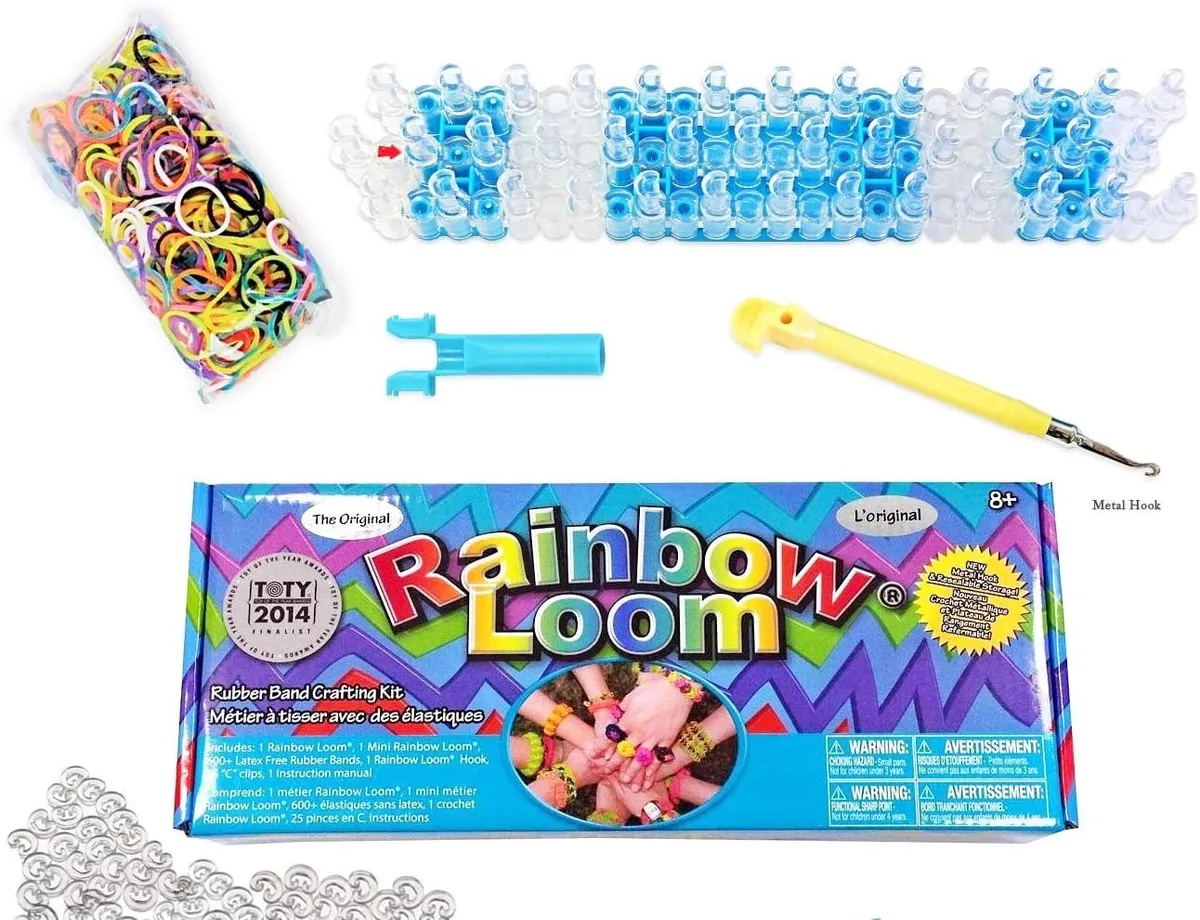
5. Rainbow Loom kit
You can't really beat the OG! Get creating with this big loom board, which you can use to make all sorts of loom creations.
- Buy Rainbow Loom kit from Amazon
Where did loom bands come from?
Loom bands are small plastic or rubber bands that come in a huge variety of bright colours. They first came into the public eye when the Rainbow Loom was invented in 2010 by Cheong Choon Ng in Novi, Michigan.
Choon Ng created a plastic pegboard used to weave colourful rubber bands. The loom didn't take off at first, as people struggled to work out how to use it. Then Choon Ng bagged a major toy chain listing and word spread. Soon enough this invention sparked a global phenomenon.
The BBC reported loom bands to be one of the most popular toys in the world in 2014. That year, all 30 of the best-selling toys on Amazon UK were loom band related, topping the sales for every age except under-twos.
The Rainbow Loom has sold more than ten million units worldwide since it first launched. The sheer scale of the craze can be seen in the stats for Amazon UK. Today they're still hugely popular among children and adult makers.
Join the craze with our loom band tutorial!
Loom bracelets are everywhere at the moment, so join the trend and have a go at creating them yourself. Easy and quick to make for all ages, they're great fun for rainy days and holidays. Grab yourself a loom band kit and get making!
Share the love with friendship bracelets
Loom bracelets make brilliant little gifts for kids to give to their friends, so if they enjoy these they'll also love friendship bracelets! Learn three ways to make them with our guide.