How to make peg magnets

Rock the vintage trend with these pretty peg magnets – perfect for fridge doors, they're just the thing to give your stationery range a boost.

Try our magazines – get 6 issues from just £9.99!

Published: July 23, 2021 at 6:23 am

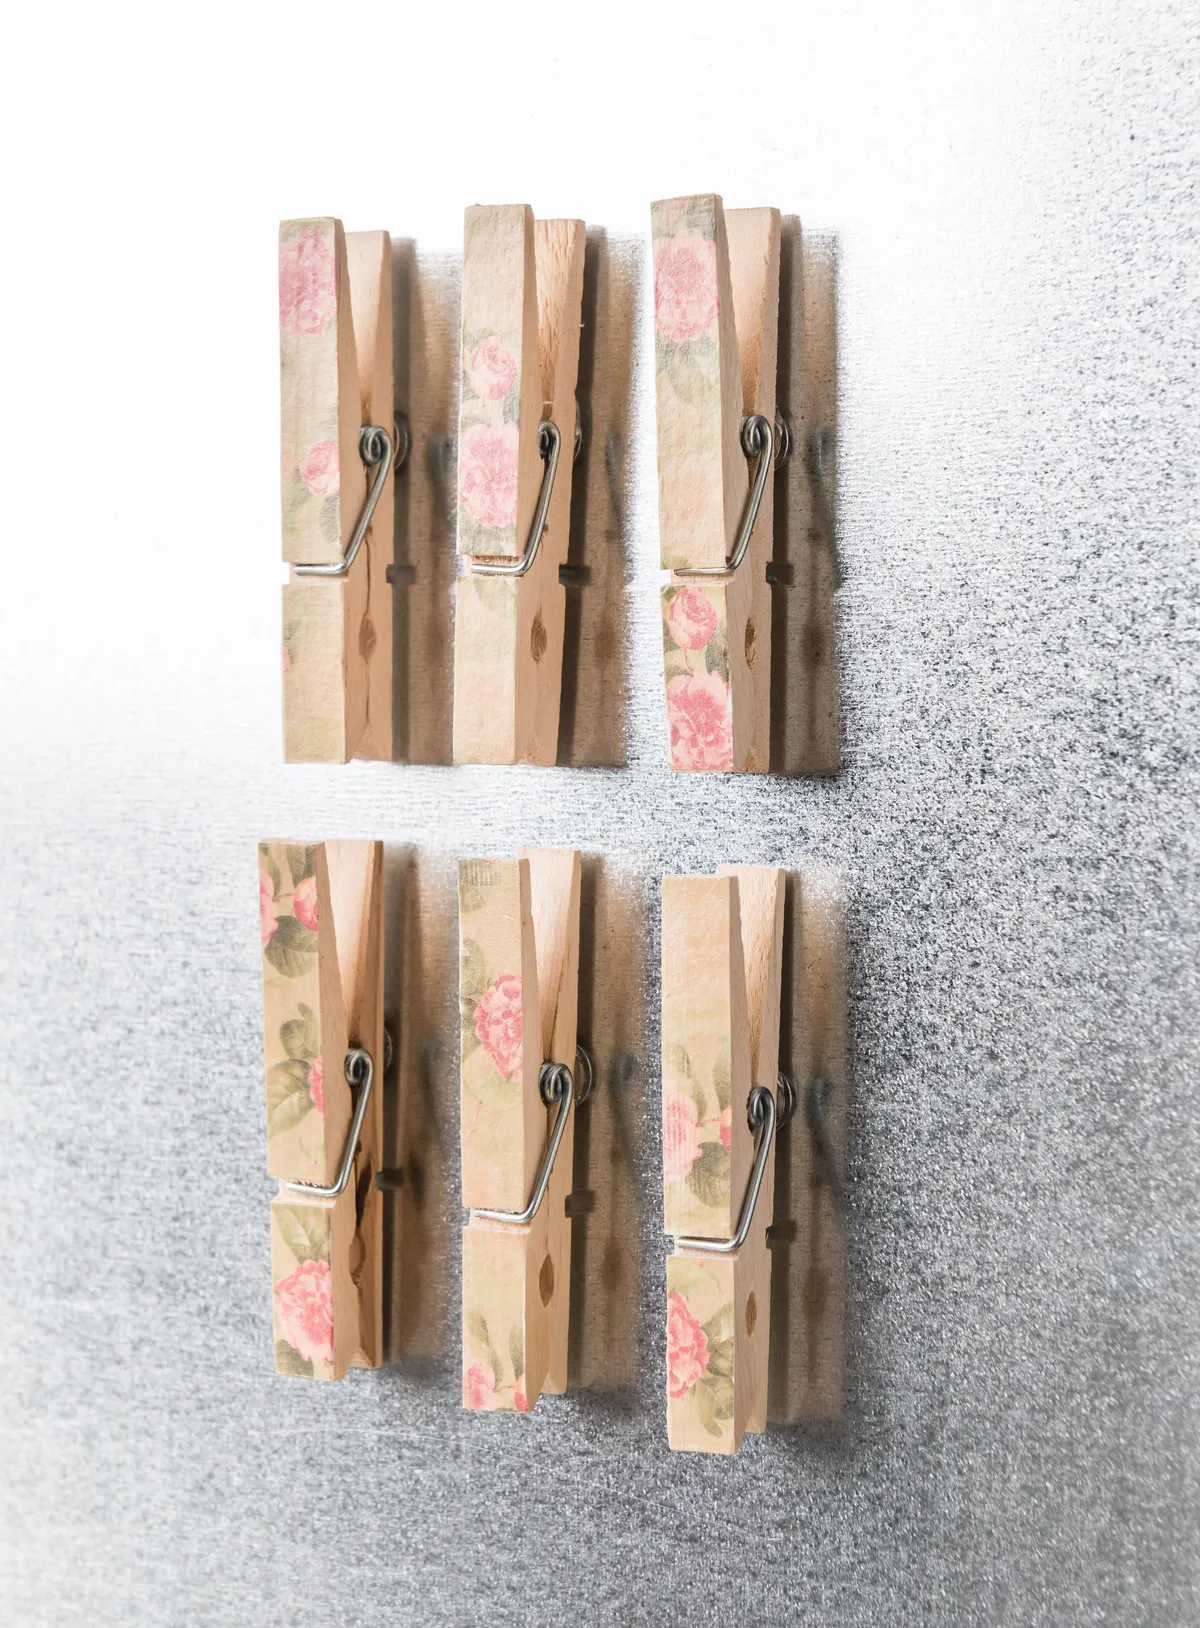
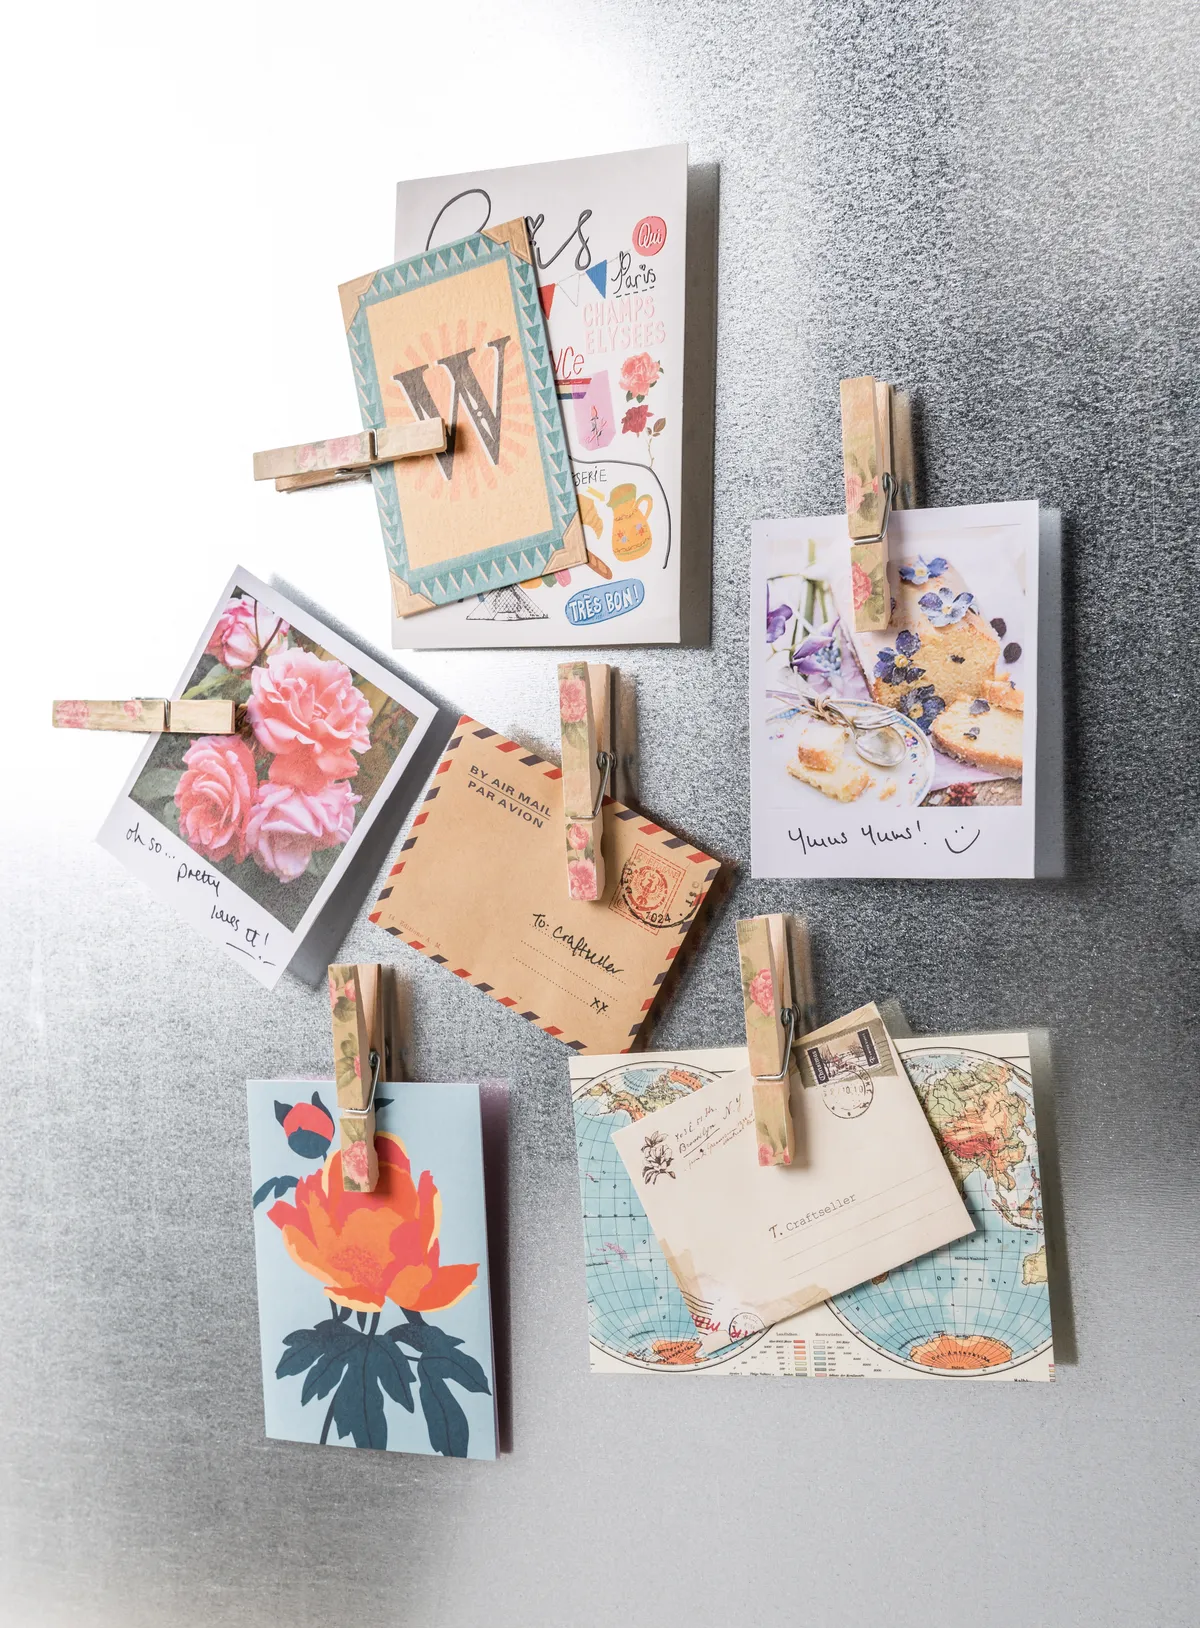
Shoppers are always searching for unique gifts, and these peg magnets will look sweet on office pinboards and kitchen fridges, keeping 'to do' lists tidy or displaying photos or children's paintings. They're so easy to make, you can easily whip up enough sets to fill your craft stall in just a few hours, and with low making costs they're great for turning a quick profit. Use different papers for a wider appeal.

Check out our other upcycling projects for more inspiration, we love this upcycled corkboard, or how about this teddy made from an old t-shirt? Sea glass is extremely popular at the moment, and it's easy to see why - all those beautiful colours eroded by water to make smooth translucent pebbles. If you love sea glass as much as we do - check out our round-up of the best sea glass projects.

We love seeing what you make, so don’t forget to share your upcycling or craft projects with us on Instagram, Facebook or Twitter, too!

You will need

  • Wooden pegs
  • Patterned paper
  • Small magnets
  • Extra strong glue
  • PVA glue
  • Clear varnish
  • Craft knife
  • Cutting mat

How to make peg magnets

Step 1

Choose some patterned paper to cover your pegs with. If you would like some freebies – check out our collection of patterned paper, all free to download and print! If you have any decoupage paper – this is ideal. If you need a refresher, check out our handy guide on how to decoupage

Step 2

Use wooden pegs (as opposed to plastic ones – we need pegs that have a flat surface) and apply a thin coat of PVA glue to one side of the peg and then stick it to the paper, leave to dry. 

Step 3

Trim away the paper around the edge of the peg using a craft knife, then cut away the area over the wire. This should be easy if you have let the glue dry completely – if you trim when the glue is still wet, then the paper is likely to tear. 

Step 4

For a distressed look, gently sand the edges of the peg using sandpaper. This will also help to smooth off any rough paper edge that may remain after cutting.

Step 5

Give the peg and paper a coat of varnish, being careful not to varnish over the metal wire as this part needs to be free to move. Leave to dry.

Step 6

Use extra strong glue to attach a magnet to the back of each peg. Leave to fully dry before using on your fridge, radiator, magnet board, or any metal surface!

How to make peg magnets 2


We hope you’ve enjoyed this quick and easy tutorial on how to make peg magnets. If you like organising, why not make this seed storage box or check out our upcycling projects for more brilliant inspiration.