How to make wine bottle lights

Get double the fun when you turn old wine bottles into illuminating homewares with this fab upcycling project!

Try our magazines – get 6 issues from just £9.99!

Published: June 25, 2021 at 6:10 am

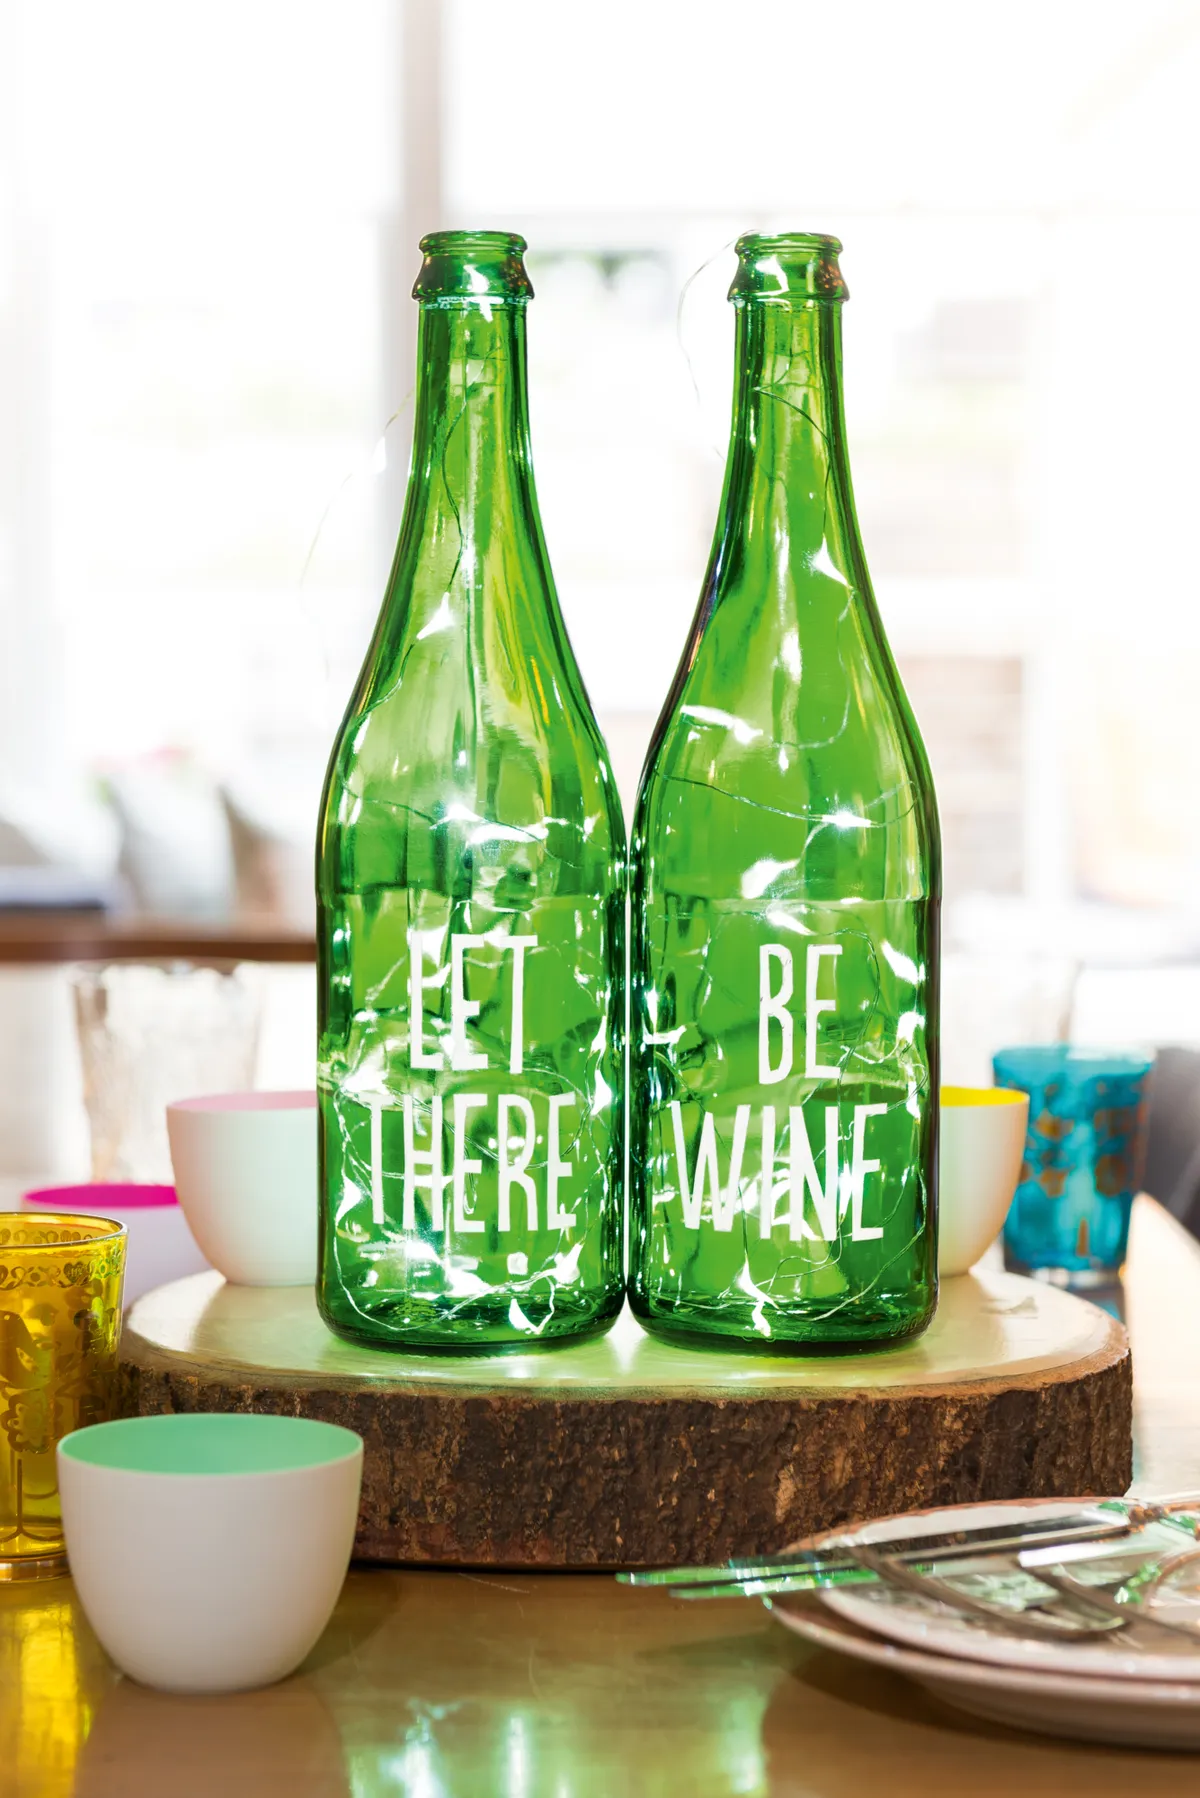
These quick and easy wine bottle lamps are the ideal summer craft for all those socially distanced garden parties and are the ideal (and one of the easiest) wine bottle crafts. We got our bottles for free as they were leftover from a party, so ask friends and relatives to save their empties so you can put them to good use. We used sticky back plastic to create the wording for our lamps, which is a speedy way to achieve the look and perfect for those who are nervous about painting on glass. But if you would like to try your hand at glass painting - go for it!

We have lots of other brilliant upcycling projects here on Gathered. Check out these gorgeous sea glass crafts, or how about upcycling an old t-shirt and learn how to make t-shirt yarn? And if you love to decoupage - check out this beautiful way to upcycle a table.

We love seeing what you make, so don’t forget to share your craft projects with us on Instagram, Facebook, or Twitter, too!

To make wine bottle lights you will need:

  • Old wine (or champagne!) bottles
  • White sticky back plastic
  • Small sharp scissors/ craft knife and cutting mat
  • Pencil
  • Printer and A4 paper
  • Fairy lights (we used 20 white LED silver wire micro battery fairy lights)

How to make wine bottle lights

Step 1

Wash out the wine bottles in hot soapy water, and soak if necessary to remove any labels. Don’t be tempted to scrape the labels off, as you may scratch the glass.

Step 2

If you’re feeling confident – draw some letters freehand onto some vinyl and cut them out.

If you prefer, in a text programme like Word, type your phrase – we went for ‘Let there be wine’ – and print onto A4 paper (we used Populaire Medium font at 132pt). On the reverse side of the printout, scribble over the lettering in pencil. Place the lettering, right side up, over the sticky back plastic and draw around the letters to transfer them to the sheet. Cut out each letter – don’t worry if there are pencil marks showing on your letters as this can be wiped off later.

You could also use alphabet dies to cut your letters, or alternatively – grab your Cricut machine and let it do all the hard work.

Step 3

Place the letters against the wine bottle where you’d like them to be. Use a pencil to mark the top and bottom position of each letter to help you apply them straight.

Step 4

Peel off the backing paper from the sticky back letters and stick the first word ‘Let’ to the bottle. Attach the ‘H’, ‘E’ and ‘R’ from ‘There’ underneath the word ‘Let’ so they are lined up centrally below. Apply the ‘T’ and other ‘E’. Add the ‘Be’ and ‘Wine’ to the other bottle in the same way, positioning the ‘I’ and ‘N’ of wine lined up directly below the word ‘Be’.

Step 5

Clean off any pencil marks from both the bottles and the lettering with a slightly damp piece of kitchen towel.

Step 6

Feed the fairy lights into the bottles, using the handle of a wooden spoon to push them down if necessary. Bend the wire lead over the lip of the bottle to prevent the lights from slipping out. Insert batteries into the block, to finish.

How to make wine bottle lights – wine bottle crafts – detail


We hope you’ve enjoyed this wine bottle upcycling project! We have plenty of other upcycling projects here on Gathered, too. Why not make your own DIY birdhouse, organise your seeds with our seed storage box or give these needle felted birds a go?


This website is owned and published by Our Media Ltd. www.ourmedia.co.uk
© Our Media 2023