Create amazing shapes with slab pottery

Get your ruler ready and create stunning shapes with our slab pottery hand building guide.

Try our magazines – get 6 issues from just £9.99!

Published: February 15, 2023 at 9:00 am

While slab pottery may initially sound like a simple technique, it’s anything but basic! It’s a pottery hand building method that has both pros and cons, however, it’s one that every potter needs to know.

If you're completely new to ceramics or just want to learn more about the wonderful world of clay, take a look at our beginners guide to pottery.

What is slab pottery

Slab pottery is exactly what it sounds like – pottery made from a flat sheet of clay. Unlike the other hand-building methods (coil pottery and pinch pottery), you make your constructions using flat slabs of clay cut to specific shapes and sizes, which are then joined together.

Sounds simple right? That’s just the start though. There’s a wide range of effects and results that can be obtained from the slab pottery technique, from precise geometric panels to flowing organic shapes.

What are the advantages of slab-building

As a rule, slab building is the go-to technique for creating pottery that features geometric shapes or tight angles. The great thing about slab pottery is that subtle variations such as the size of slabs or drying time dramatically affect the potential outcome.

For example, You can use large slabs to create a solid smooth wall of a geometric-shaped pot. However, you will need to let it dry until it’s at least leather-hard before joining, otherwise, the slab won’t be able to hold its own weight and will crumple.

Conversely, you can also take a solid slab and bend it to create waves and undulations, or fold it to create angles and corners – but you will need to do this when it is still pliable. The thickness of the slab plays an important role; too thin and it can flop or collapse, too thick and it might crack or be too heavy to support itself. It’s all about getting the balance right.

You will need:

  • Clay
  • Rolling pin (or slab roller or bow harp)
  • Knife/Modelling tool

Step 1

Preparing your clay slabs

Cutting Clay With Wire

First things first, you need to take your block of clay and turn it into slabs. There are a few different ways of doing this, from using specific tools to flattening it by hand. We’ll briefly cover the different methods now, but whichever you choose the most important thing is to create an even slab that has a uniform thickness.

Slab roller machine

clay slab roller

If you have access to a proper pottery studio, you can use a slab roller machine. These are large tabletop machines that squeeze the clay through rollers to create an even and flat sheet – a bit like a pasta maker or an old-fashioned laundry mangle! Alternatively, you can also use a bow harp clay slicer to cut a neat slab straight off your block of clay.

By hand with a rolling pin

rolling pin clay slab

For those of you who like to get stuck in with your hands, a good old-fashioned rolling pin on a non-stick surface will also do the job.

By hand without a rolling pin

flattening clay by hand

You can even just flatten by hand. Give your clay a good strong throw onto your surface at a slight angle, then repeat. Each time you slap the slab onto the surface it will stretch and get a bit flatter, keep going until you reach your desired thickness.

The thickness of your final slab will depend on the size of your project and what you hope to achieve. Realistically you will want your slab to be no thinner than a quarter of an inch, going up to half an inch for bigger projects or even in increments up to an inch thick for really big makes.

Step 2

Soft slab or dry slab?

Depending on the effect you hope to achieve with your slab, you now need to make the decision of whether you require a soft slab or a dry slab.

Soft slab

Soft slab pottery

A soft slab is pretty much ready to go once you’ve flattened it and is best used when you want to fold or manipulate your slab into curves or angles. Because the clay is still pliable, you can easily add folds or arrange it into shapes.

However, it won’t be strong enough to fully support itself, so this technique works best when placed over a mould or support structure. Soft slabs are generally better for smaller builds, as larger slabs that are soft can still potentially stretch, warp, or even collapse.

Dry slab

Dry slab pottery

A dry slab is one that has been left to dry to a state that is described as ‘leather hard’. There are three stages of dryness your clay will need to go through before firing – the first when it’s still soft and pliable, the second when it’s leather hard, and finally when it’s bone dry.

The leather hard stage can take anywhere from one to three days depending on the atmosphere and environment. It’s worth checking on your slab regularly, as you want the clay to still be cool to the touch but not sticky. You should still be able to gently bend and manipulate your leather hard slab without it cracking, however, this will only get more difficult as the clay dries out further.

Dry slabs are much better suited to larger builds and are particularly useful for creating smooth and solid walls for geometric structures such as cuboids.

Step 3

Shape your slab

folding clay slab to shape

Once your slab is made and it has had the appropriate drying time, it’s time to shape your slab. If you haven’t done it already, now is a good time to cut your slab to desired measurements. You can still trim off any excess at any point during your clays leather hard stage.

With your slab now at the perfect size, it’s time to make your desired shape. Generally, this is best done by hand, although you can also use moulds or objects to help you. Take your time with your shaping, especially with dry slabs.

When using soft slabs, it’s wise to make sure you have a mould or support structures to help maintain your shapes while it dries to the leather hard stage. It may even be helpful to have someone act as an extra pair of hands if you’re making particularly large structures with soft slabs.

Step 4

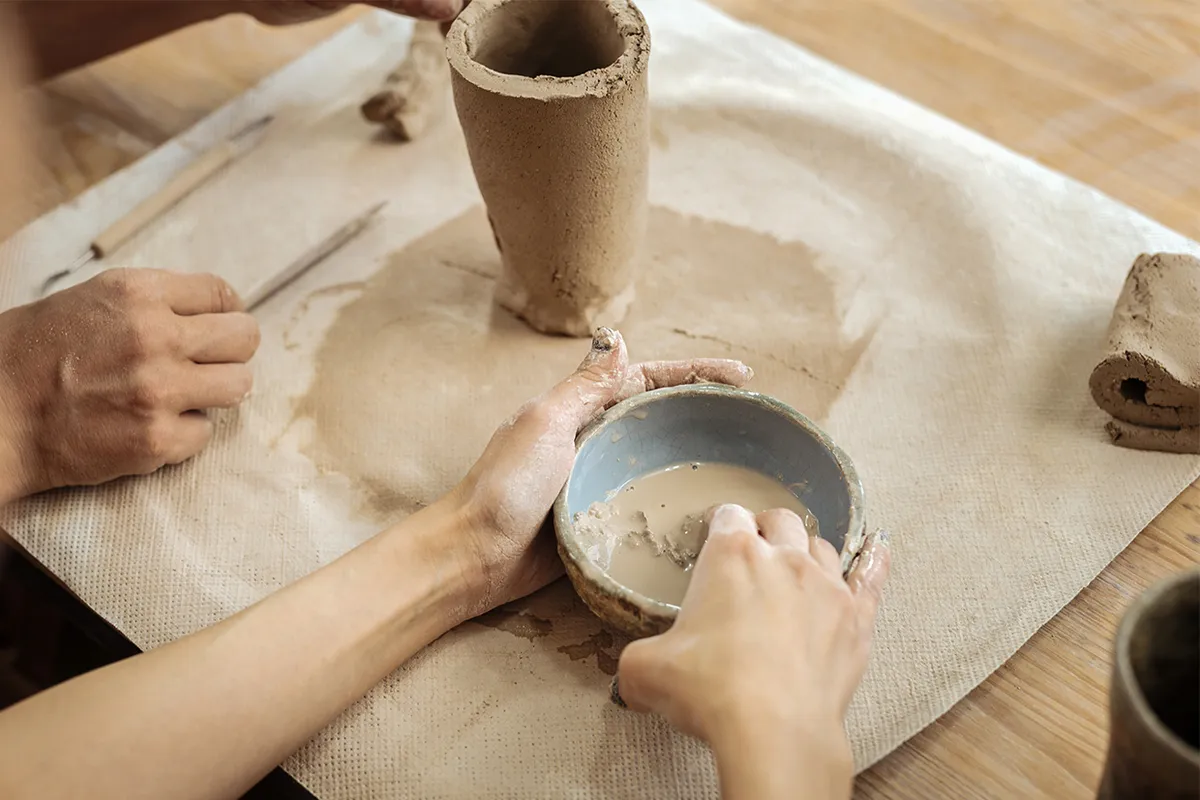
Score and slip to join areas

scoring slab pottery

Regardless of whether you’re using a soft slab or a dry slab, both can be joined with the classic score and slip technique. This is the same method used in many types of pottery projects to create joins. If you’re using a soft slab it’s best to let it dry out a bit to get a better join.

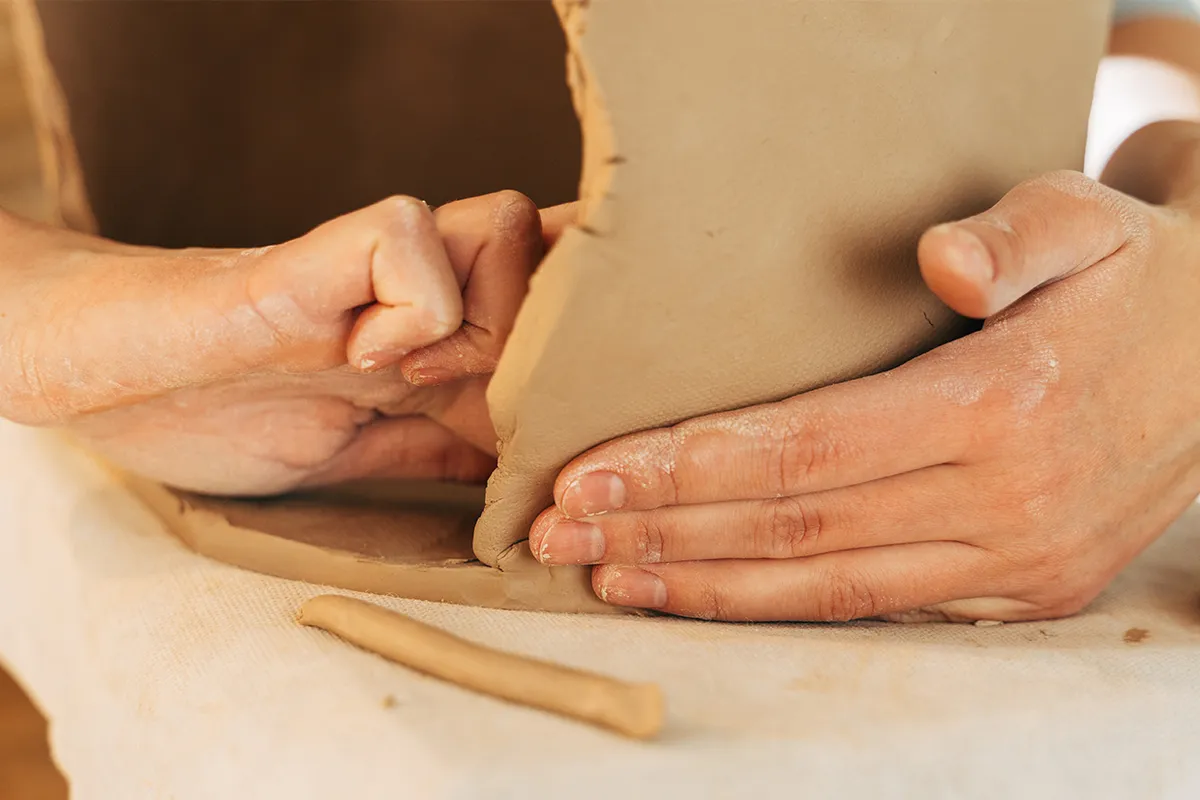
All you need to do is scrape the areas you wish to join to with a modelling tool (or even something as simple as a fork). You’re looking to create a scratched texture which will help your two pieces grip together. Paint a bit of slip on top of the scoring and press your pieces together – hard enough to join them but not so hard that you squash the clay.

applying slip

You may want to add a support to help your two pieces stay in the same position when joining, especially when they’re standing vertically. It’s worth keeping in mind that joins are often the likeliest areas to break in the kiln firing process, so it’s worth taking the time to ensure you get a really good connection and quality join.

joining slab pottery

Step 5

Dry and kiln fire

Once you’ve achieved your desired shape and done any required joins, you can smooth down any edges or seams and leave until bone dry. Then your piece is ready for firing in the kiln.

Smoothing off slab pottery

Ideas for slab building pottery projects

Now that you know the basics of how to make slab pottery, here’s some inspiring projects to show you the capabilities of this brilliant technique.

Sip from a slab teacup

[oembed source="https://www.youtube.com/watch?v=gl4KGPPUEPw" ][/oembed]

You can make vessels of different kinds with many different pottery techniques, including slab building too! This fab slab teacup tutorial by Pottery to the People shows off the smooth angular style you can achieve with slab building. It only requires a few simple shapes to be cut out, so it’s much more time effective if you fancy making a whole set.


Use flowing shapes to make a stylish vase decoration

folded vases

One of our favourite things about slab pottery is that you don’t need to make it complicated – even just a simple slab with minimal joins (or even none at all) can be used to create amazing flowing shapes. Remember that even if your shape is super simple, it’ll stand out even more when given an eye-catching glaze.


Create your own pyramid plant hangers

pyramid plant hangers

Slab building is not only a useful technique, but it also gives you design possibilities that you couldn’t make with other methods. While spinning on a potter’s wheel or pottery coiling are great for making rounded or circular forms, flat geometric shapes like triangles can only be made by slab building. We love the use of slab triangles to make these cute pyramid plant hangers – they look fantastic and at the same time are remarkably simple.


Forget circles – we love square plates

square plates

Impress your dinner party guests with your new super-stylish plates, all handmade by you of course! Rather than traditional circular plates, serve up your haute cuisine on sleek and modern square designs.


Get creative with a wavy drape bowl

wavy drape bowl

For a stand-out display piece of pottery, you can’t beat a wavy drape bowl. They’re super simple to make, as you just make a circular clay slab and drape it over a raised bowl or mould to create your base. Then you can fold and curve the clay that is draping down, creating a beautiful undulating design. They make a stunning fruit bowl!


Make a slab built pottery house

slab house

You might have seen some ceramic houses in stylish shops, but once you’re familiar with slab building you can easily make them yourself. They look fabulous when used as tealight holders, where the light can shine through the windows you’ve cut out of your leather hard slabs. You can also leave the roof off like on this fab utensil holder design too – so simple yet so effective!


Keep track of time with a ceramic clock

ceramic clock

While you’re waiting for your clay slabs to dry, you’ll need to keep an eye on the time. So why not make your own custom ceramic clock – all you need is a clock mechanism that is big enough to fit through a hole in your slab. You could make a carriage clock box-style design, or even go bigger with a grandfather clock-inspired design. However, our favourite ceramic clock design has got to be this elegantly curved clock.


Keep it safe in a keepsake box

ceramic box

Of course the classic slab built ceramic project has got to be a box! They’re not only handy to have around the home, but are also a great project for perfecting your slab building skills. Just because it’s a basic cube or cuboid doesn’t mean you can’t get creative though, you can experiment with different glazes, make interesting lids, or try clay piercing or stamps to add intricate details and textures.

Add a bit of colour to your clay creations

If you’re looking for a bit of inspiration for how to finish off your clay creation, check out our pick of pottery painting ideas.

Add your own style to your slab pottery

Now that you know all about slab pottery, it’s time to add that personal touch. The smooth and geometrical nature of slab building may seem a bit plainer than other pottery techniques. Though it may seem simpler in design, slab building does allow your finishing touches such as glazes and textures to stand out as the main focal point.

Make your own pottery stamps

As well as experimenting with different colours and glazes, adding texture and designs with stamps works particularly well on slab builds too. So get creative and make your own custom designs by learning how to make rubber stamps with Gathered.