How to make cork planters

Have fun with this fridge-magnet project celebrating the trend for succulents – how you decorate them is up to you!

Try our magazines – get 6 issues from just £9.99!

Published: September 22, 2021 at 6:00 am

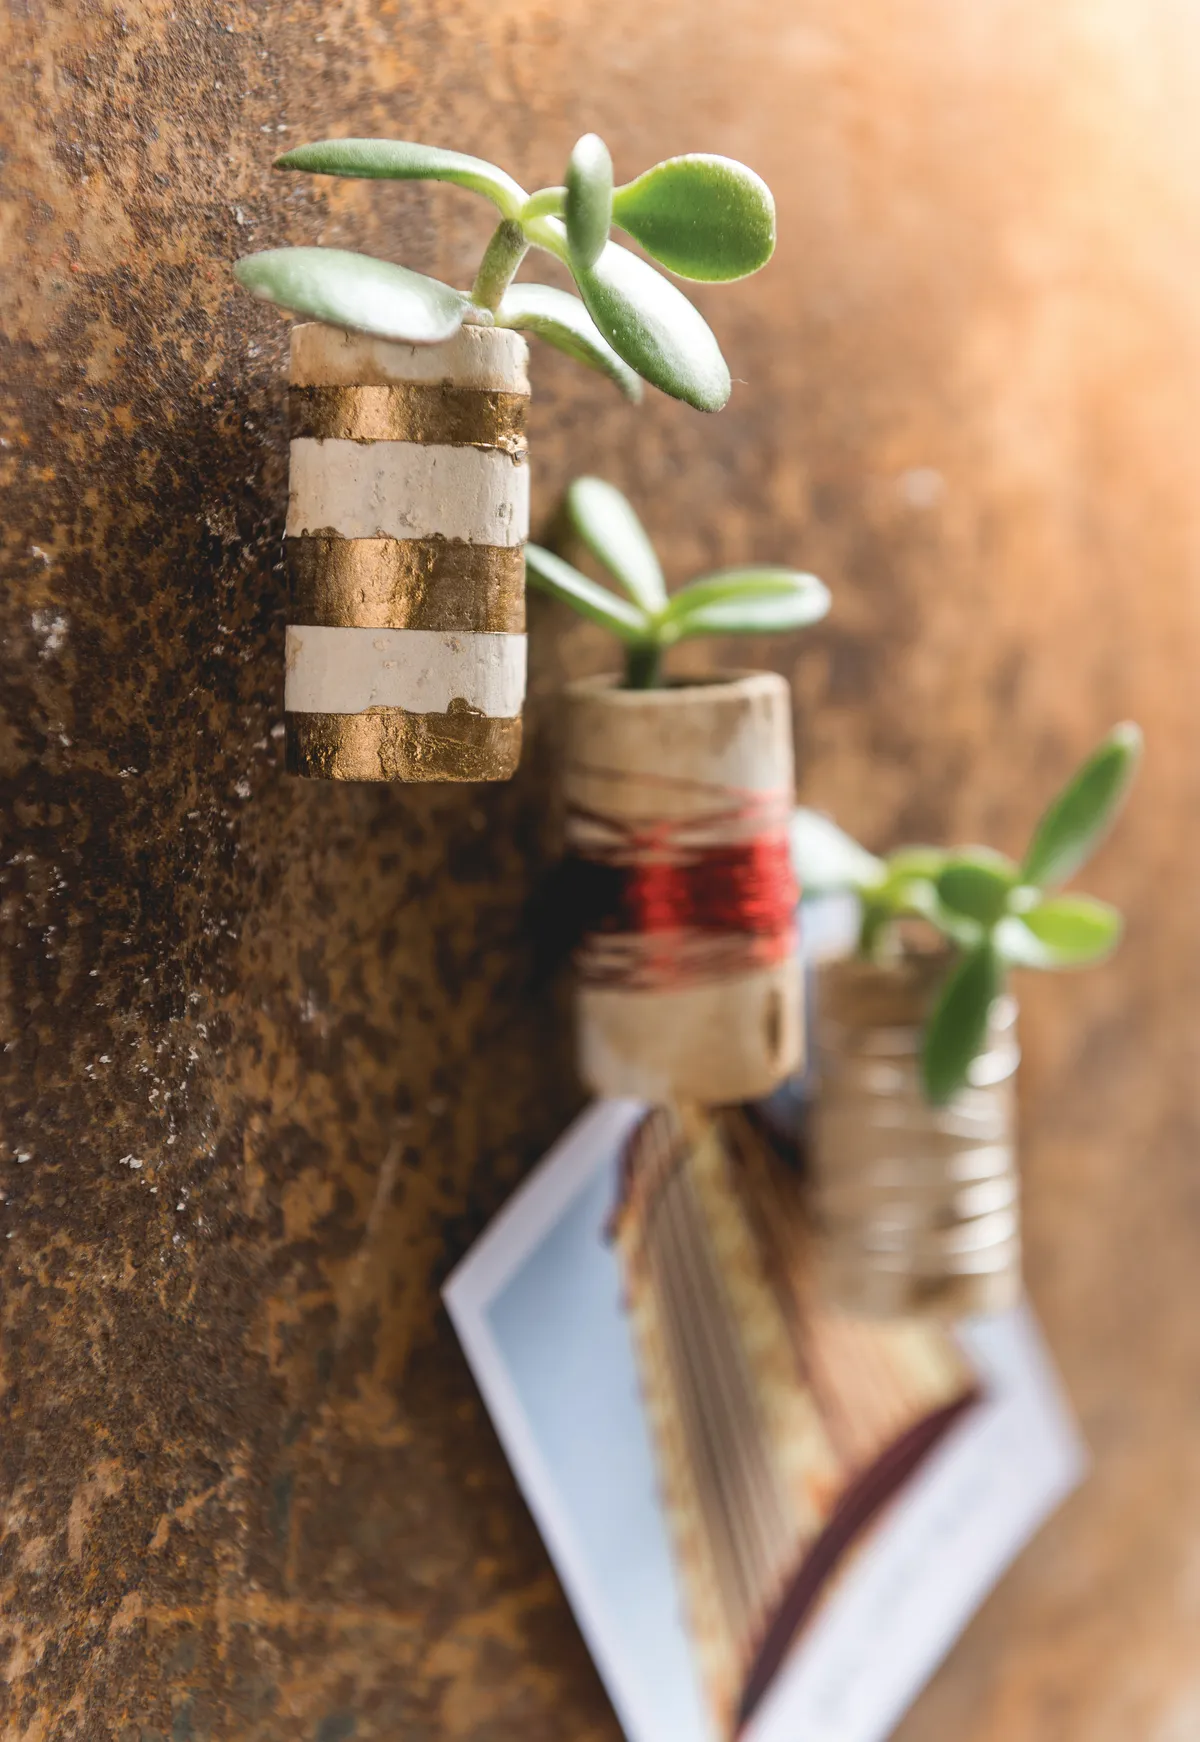
Everyone loves a quirky fridge magnet, and we’re huge fans of cork upcycling! As succulent plants survive on very little soil they’re perfect for our make because they’re pretty hardy, but you could also experiment with air plants or fake flowers. We’ve decorated with metallic paint, thread and wire, but you could try something unique.

If you like this project, have a look at our other easy floristry articles – we love this DIY terrarium – or how about this gorgeous planter box made from an upcycled toolbox! If you’re planning a get-together, this floral centerpiece could be just the ticket - or why not organise your herbs with these super easy herb pots.

We love seeing what you make, so don’t forget to share your craft projects with us on Instagram, Facebook, or Twitter, too!

You will need:

  • Wine corks
  • 10mm x 2mm strong magnets
  • Craft knife
  • Cuttings Soil
  • Succulent plant cuttings
  • Metallic thread, thick gauge silver florist wire or paint to decorate
  • Paint brush
  • Strong glue
How to make cork planters

How to make cork planters

Step 1

Use a sharp pen knife to cut away at one end of the cork to create the well for the soil. You’ll need to cut away until you’re halfway down the cork. This can take some time but it’s worth making sure you cut deep enough so that the plant sits securely inside the cork once planted.

Step 2

Once the cork wells are done you can start to decorate it. We’ve done three different versions, but the decorating options are only limited by your imagination.

Step 3

Once decorated add a little soil, then your succulent plant and then a little more soil. Press down firmly to secure in place.

How to make cork planters – portrait

How to make the wire cork

Step 1

Cut a 40mm length of wire. Starting at the back and the bottom of the pot push the wire into the cork. Wind the wire around the cork a few times leaving a 5mm between each round.

Step 2

When you reach the top of the cork, trim off the remaining wire leaving enough to push back into the cork. Put a small dab of extra-strong glue at the two places the wire is pushed into the cork to hold it in place.

Step 3

Make a space between the wire at the back. Apply a blob of strong glue to add the magnet and hold it in place until secure.

How to make the painted cork

Step 1

Cut strips of masking tape 10mm wide and wrap around the cork. Paint the cork in gold paint (we used Rust-oleum Painters Touch multi-purpose paint).

Step 2

Once dry, remove the masking tape and glue the magnet to the back of the pot.

How to make the metallic thread cork

Step 1

Use a blob of glue on the middle-back of the cork and place the end of the thread into it. Once set start to wind the thread around the cork quite a few times to create a central band. Make sure to pull the thread fairly tightly.

Step 2

When you’re happy with the amount of thread on the cork, cut and apply more glue to the thread end and stick in place, making sure the end is at the back of the cork. Once dry, stick the magnet to the back.

How to make cork planters – landscape


We hope you’ve found some inspiration for upcycling your old wine corks into planters! If you are looking for more upcycling projects, check out these easy wine bottle lights, or how about getting organised with these cute herb pots.