How to crochet in the front and back loops

Grab a hook and some yarn and we’ll show you how easy it is to master both front loop crochet stitches and back loop crochet stitches.

6 issues of Simply Crochet magazine for £14.99|Save 72%

Published: May 10, 2021 at 8:00 am

When you first learn to crochet, you’re told over and over again to insert your hook under both loops of the stitch on the row below. But did you know that you can break this rule and create some fun effects? Stitches worked into the front loop or back loop only can create interesting textures, or be used to leave a stitch loop available for another layer of stitches.

What effects can I create with front loop and back loop stitches?

You can crochet touchable texture or go three-dimensional!

You can work any stitch into the back loop or front loop only of the stitch on the previous row. We’ll show you how to use combinations of these stitches to create different textures in your crochet fabric.

How_to_crochet_loops_texture

By working a row of stitches into the front loop only, you’ll leave the back loop free for a new row of stitches, worked into the back loop only. The result is a layered three-dimensional effect.

How_to_crochet_loops_layers

What are the front and back loops in crochet?

Before you learn how to crochet in the front and back loops, you need to know which parts of the stitch you're looking for! Start here for all you need to know about front loop crochet and back loop crochet.

In most standard crochet patterns, the stitches are usually worked into both loops of the stitch on the row below. This means that you insert the hook under both loops of the stitch on the row below and then work your stitches.

How_to_crochet_both_loops

When you first learned to crochet, you may have accidentally inserted the hook under just one of these loops. Although you may have been told that this is wrong at the time, you can use this alternative method of working stitches to create textured effects.

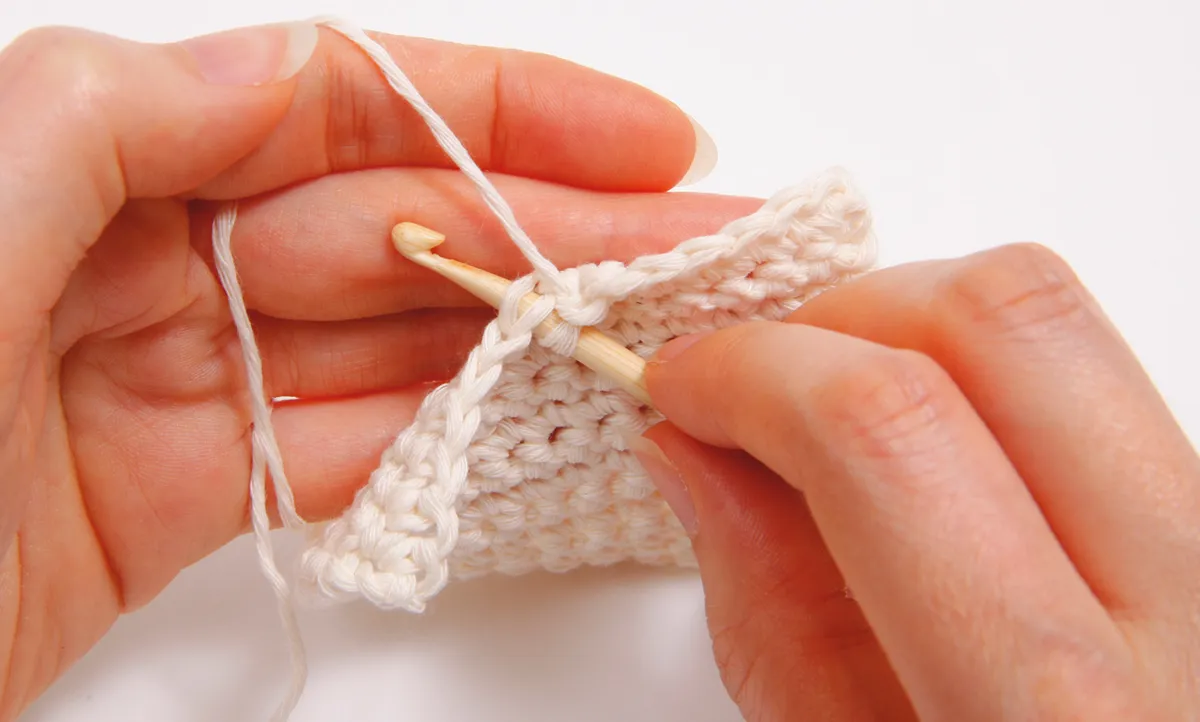
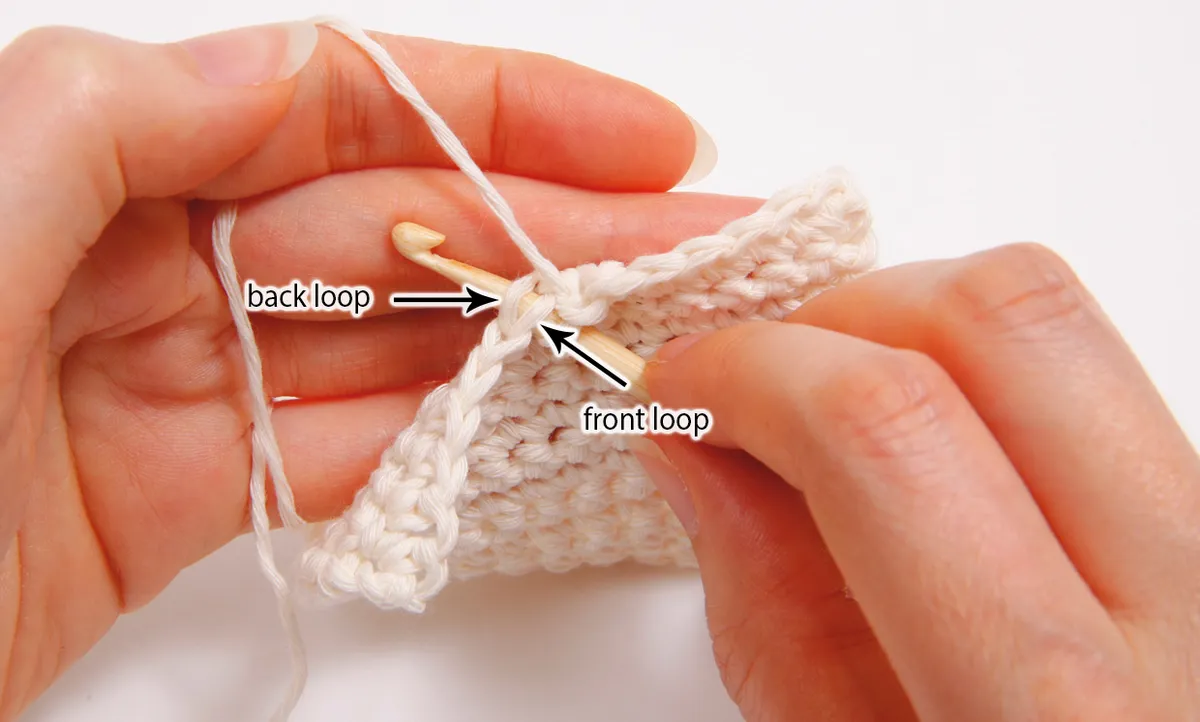
First things first, what are the front loops and back loops in crochet? Take any piece of crochet fabric that you might have in progress and take a look at the v-shaped loop at the top of one stitch. Make sure you have the fabric orientated so that the side you’re working on is facing you. The front loop in crochet will be the single strand of the v-shaped loop that is closest to you. The back loop will be the other strand that’s farthest away from you.

How_to_crochet_both_loops_instruction

If you worked a row into just the front loops, when you turn the fabric at the end of the row, what were the empty/unworked back loops will now be called the front loops.

This can be a little confusing, but just remember to have the side of the fabric you’re working on facing you before you label the front loops and back loops. You might find it helpful to insert a stitch marker onto one side of your crochet fabric to help remind you which is the front and back (or right and wrong sides as they're known in crochet).

If you’re asked to work stitches into the front loop, insert your hook from front to back, under just the front strand of the top of the stitch on the row below

How_to_crochet_front_loop

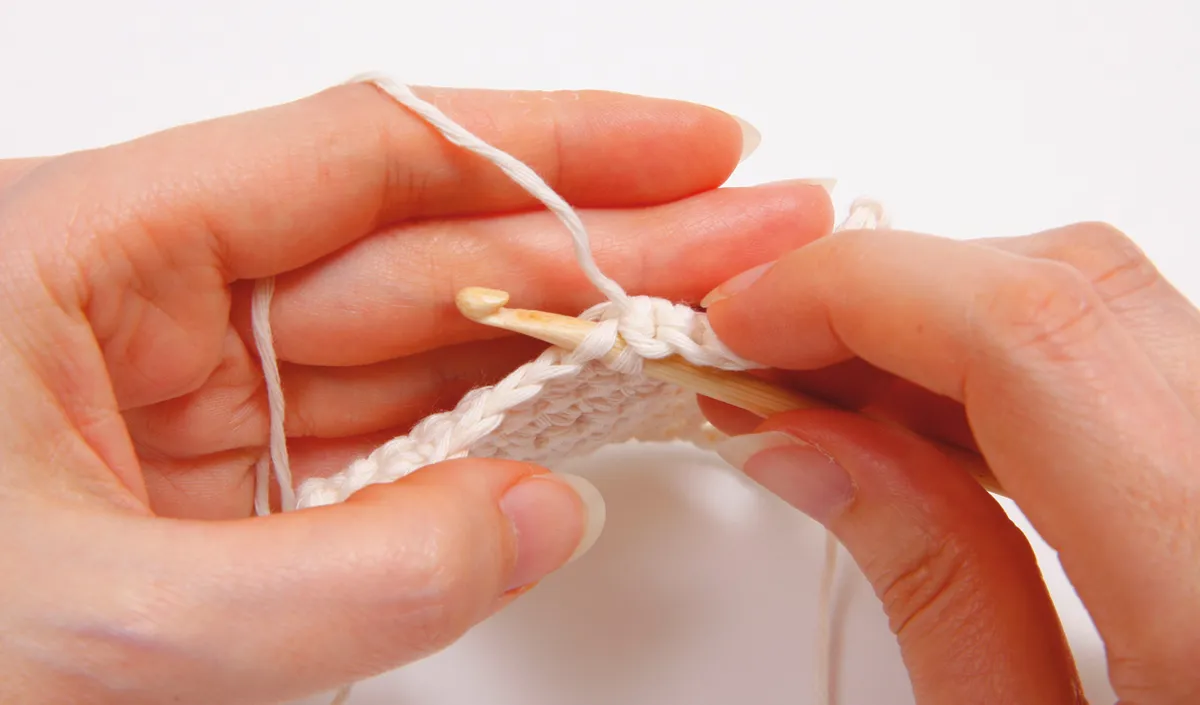
To work into the back loop of the stitch, insert your hook from front to back, under just the back strand of the stitch on the row below

How_to_crochet_back_loop

Then you can work stitches as usual. We’ll explain how next.

How do I crochet into the front loop?

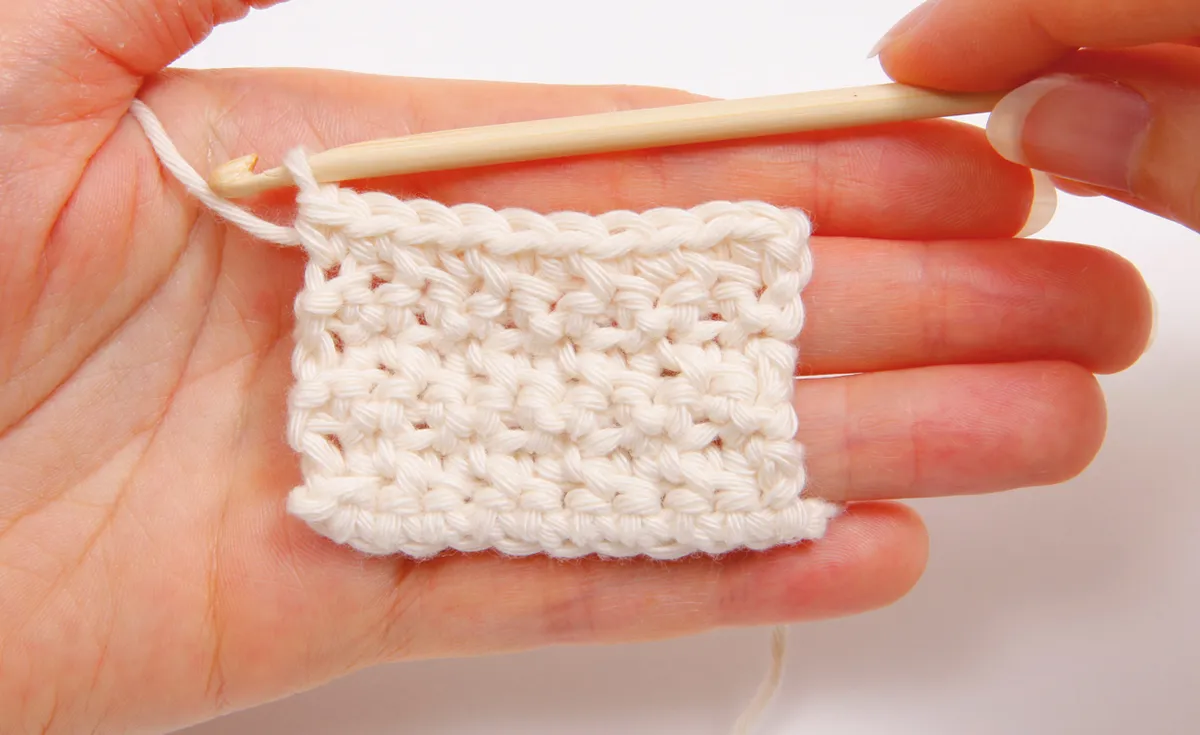
To practise working into the front loop in crochet, make a row of double crochet – try 10 stitches. So make a slipknot, place your yarn on your hook and ch11. Turn and work a dc into the second chain from the hook and each chain to the end.

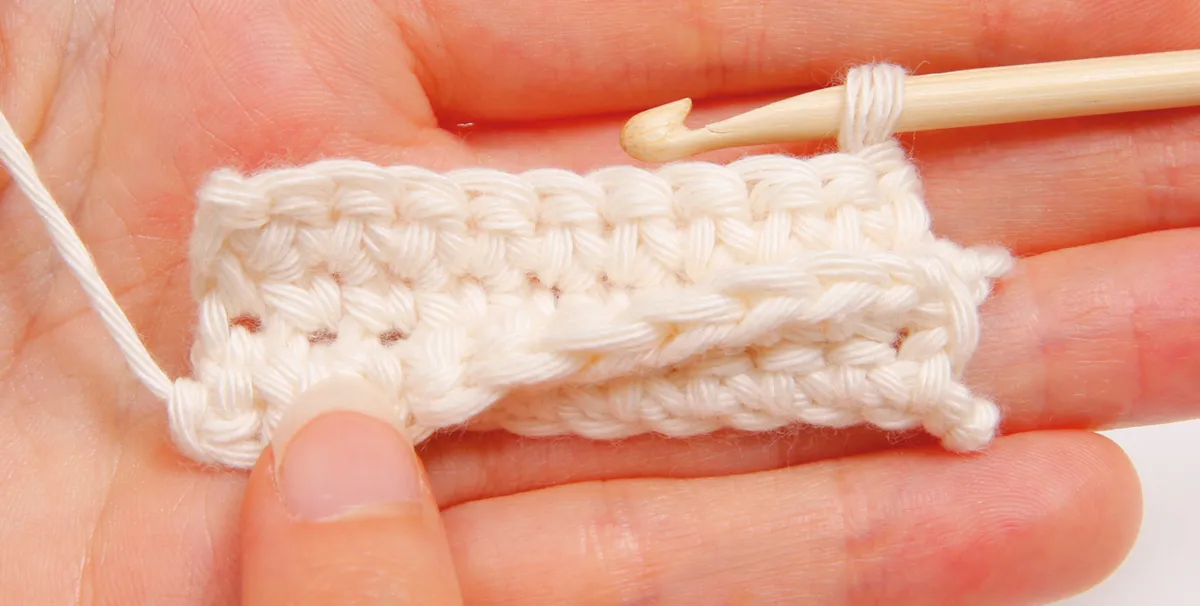
Turn and on the second row, work all the dc stitches into the front loop only by doing the following.

Step 1

Insert the hook under the front strand of the stitch on the row below.

How_to_crochet_front_loop_step_01

Step 2

Yrh and pull up a loop.
How_to_crochet_front_loop_step_02

Step 3

Yrh and pull through both loops on the hook to complete the dc stitch.

How_to_crochet_front_loop_step_03

Here’s what a row of front loop dc stitches will look like from the front – from this side your stitches will look similar to if you had worked into both loops…

How_to_crochet_front_loop_step_04

…however, from the back, you can see how the spare back loops create a ridge of texture.

How_to_crochet_front_loop_step_05

How do I crochet into the back loop?

To practise working stitches into the back loop in crochet, make another row of 10 double crochet stitches in the same way as before. On the second row, work all the dc stitches into the back loop only.

Step 1

Insert the hook under the back strand of the stitch on the row below.

How_to_crochet_back_loop_step_01

Step 2

Yrh and pull up a loop.

How_to_crochet_back_loop_step_02

Step 3

Yrh and pull through both loops on the hook to complete the dc stitch.

How_to_crochet_back_loop_step_03

Here’s what a row of back loop dc will look like from the front. The stitches will be slightly in relief and you’ll be able to see the front loops that haven’t been worked into.

How_to_crochet_back_loop_step_04

From the back, the new row of stitches will create quite a strong indent in the fabric.

How_to_crochet_back_loop_step_05

How do I create texture with loop stitches?

Now that you know how to crochet in the front and back loops, you can create all sorts of textured effects in your fabric! By using different combinations of front loop stitches and back loop stitches, there’s a near-infinite number of textures you can crochet.

To try just one, make a row of 10 double crochet stitches. On the second row, work a dc into the front loop, then a dc into the back loop – continue alternating one front loop dc stitch with one back loop dc stitch across the row. Work more rows in the same way as the second row. You’ll create a fabric that looks like this.

How_to_crochet_loops_texture

You don’t have to stick to just double crochet stitches though, you can work any stitch into the front loop or back loop, from treble stitches to triple treble stitches, and even slip stitches. You can also use these stitches to create raised effects and faux cable textures. Experiment with different stitches and see what stitch patterns you can invent.

How else can I use loop stitches?

One of the most exciting uses for front loop and back loop crochet stitches is in creating three-dimensional texture effects in your fabric – this could be ruffles, faux cables, layered flowers and much more.

This method works by placing one row of stitches in the front loops of the stitches below, and then another row of stitches into the remaining loops of the same stitches. You can also create more complex effects by working just a selection of stitches into the spare loops of a stitch on the row below, or even two or three rows below.

To start practising this method, go back to the firsts watch you made, of 10 double crochet stitches, where you worked the second row of stitches into the front loop of the stitches on the first row. Fasten off but do not turn. * With the right side of Row 2 facing you, rejoin the yarn in the back loop of the first stitch of the first row.

How_to_crochet_loop_layers_step_01

Chain one and work a double crochet stitch into the back loop of the first stitch and each stitch of the first row. To do this, insert the hook into the back loop of the stitch on the row below.

How_to_crochet_loop_layers_step_02

Work yrh and pull up a loop.

How_to_crochet_loop_layers_step_03

Yrh again…

How_to_crochet_loop_layers_step_04

…and pull through two loops to finish the stitch.

How_to_crochet_loop_layers_step_05

This can be a little fiddly, but keep going to the end of the row.

Turn and work a third row of dc stitches into both loops of the previous row. You will have created a ruffle that should look like this

How_to_crochet_loop_layers_step_06

To continue the effect, work the next row of dc stitches into the front loop only, fasten off and repeat from * at the start of this section.

If you found this tutorial on how to crochet in the front and back loops useful, check out some of our other how to crochet tutorials!