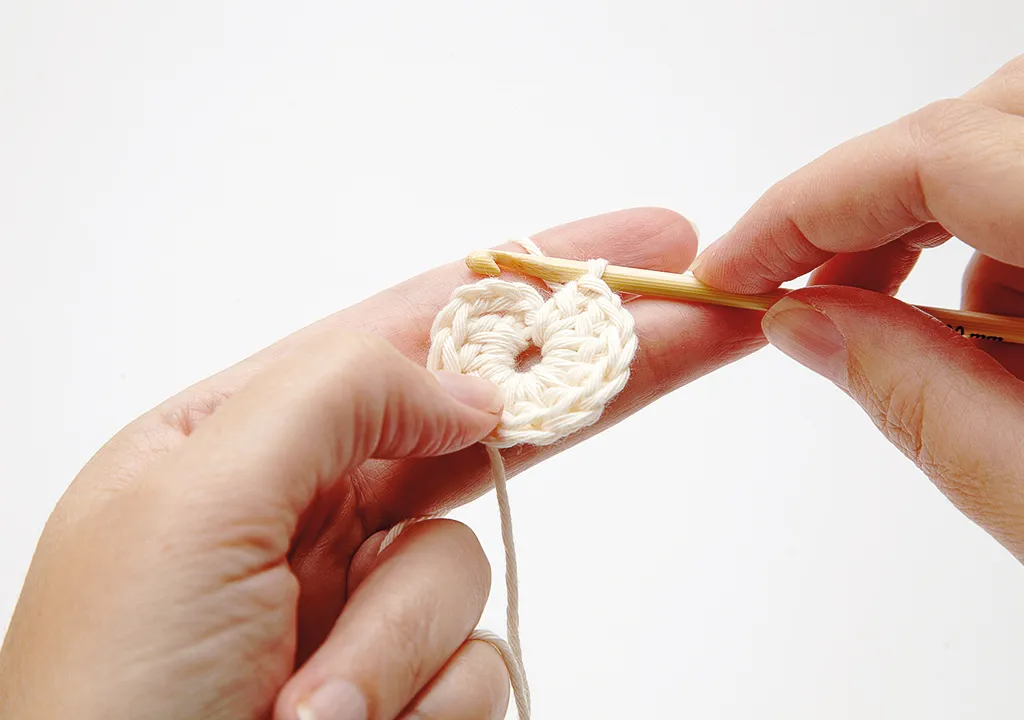
There's nothing wrong with a good old-fashioned slip stitch join, but an invisible crochet join produces a much more polished and professional looking result - just take a look at the difference below!

With an 'invisible crochet join' the circle has a consistent look with no bump, which mimics your other stitches and make your join...well, invisible!
Most people will only use the invisible crochet join at the end of a project to get that final round looking perfect.
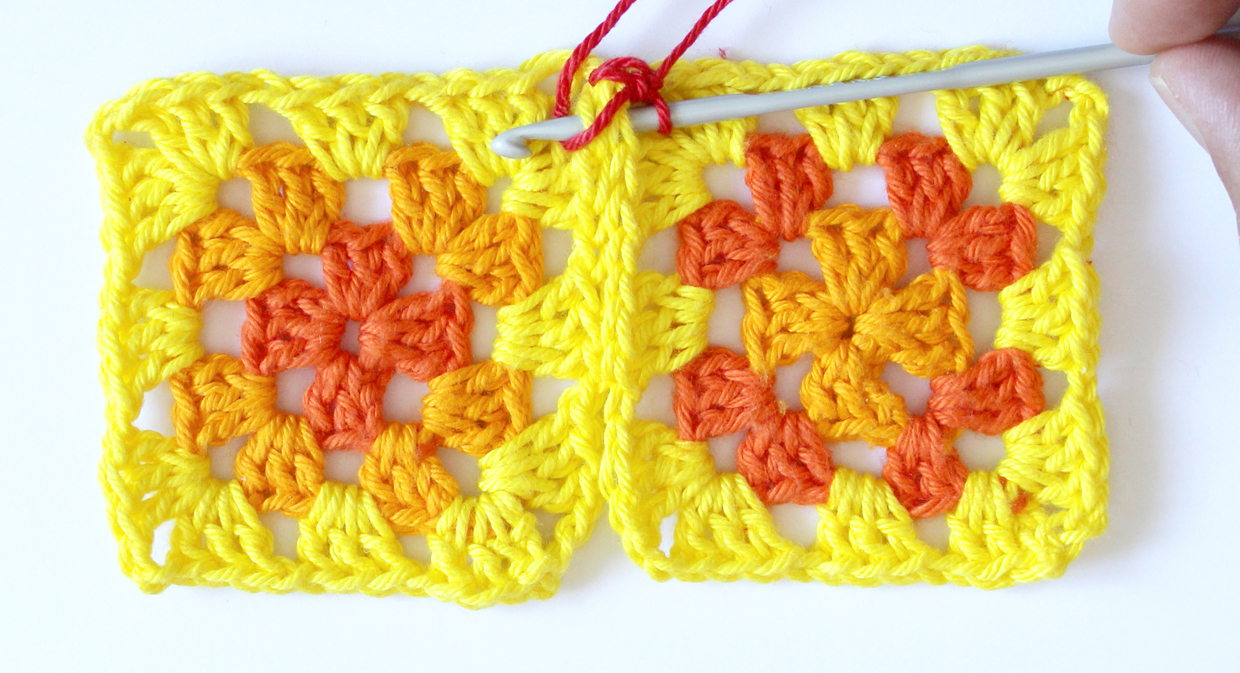
This crochet invisible join technique is also great for finishing off Granny Squares as well as circular motifs, or pretty much any project that requires you to join in the round, and once you've mastered it we think it'll be your favourite way to finish your stitches!
A perfect circle
If you've came across this invisible crochet join tutorial but are still quite new to crochet circles, you might find our how to crochet in the round tutorial helpful.
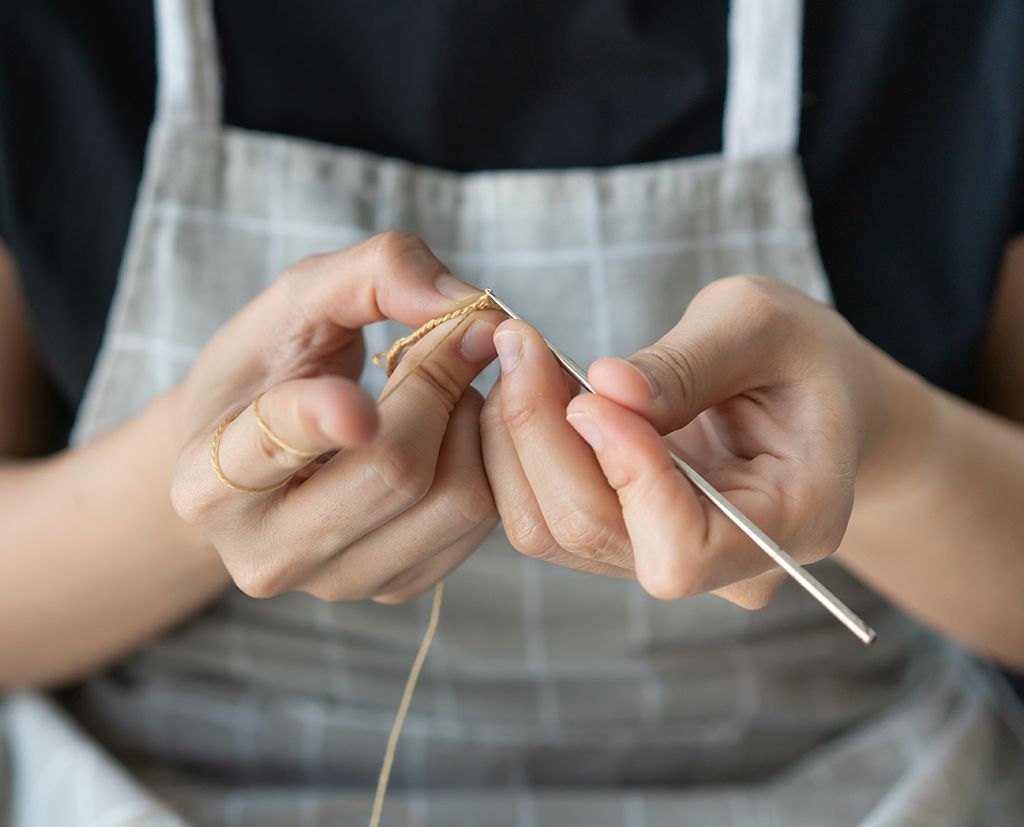
How to make a crochet invisible join
To try a crochet invisible join in the round, just grab any yarn (you’ll find that a smooth yarn will be easier to practise with), a suitably sized hook for the yarn weight and a tapestry needle.
If you’re not familiar with any of the abbreviations used in the tutorial, you can find everything you need to know in our Crochet Abbreviations and UK/US conversion guide
Start by making a round of trebles, but don’t join them. We used a DK yarn and a 4mm hook to work a magic loop (check out our guide on how to make a crochet magic loop), ch3, 11tr into the loop.