Don't throw away that moth-eaten baby cardigan or holey pair of socks – mend them! Whether you're a beginner knitter or an expert, basic repair skills are incredibly useful to have, and learning how to darn a hole is easier than you might think.
Find out how to look after your precious hand-knits and make sure they stay looking as good as new with the help of Tom van Deijnen, aka Tom of Holland, who created this tutorial for The Knitter magazine.
Tom is an expert in making and re-making knitted fabrics using traditional techniques. He was the creator of the Visible Mending Programme, which promoted the art of clothing repair and encouraged people to turn away from throwaway fashion and wear the clothes they already have for longer.
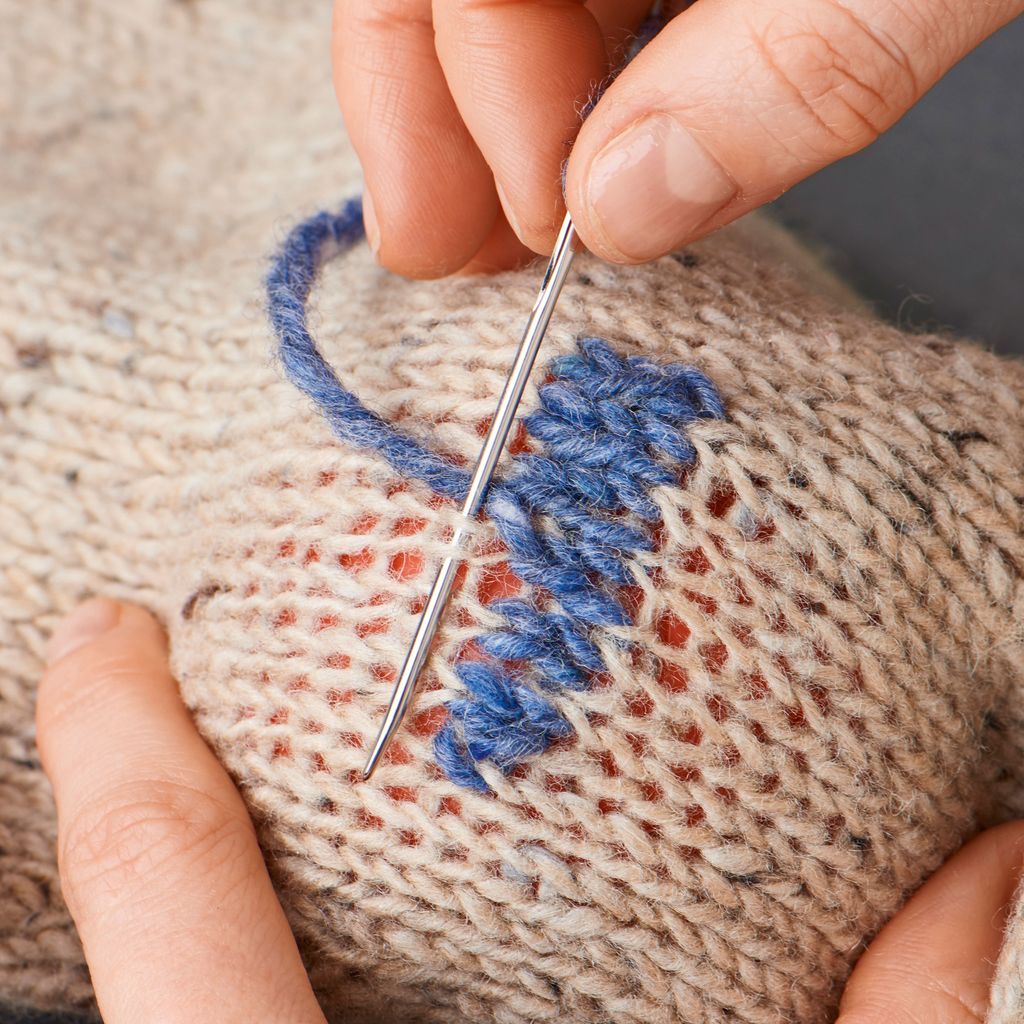
In this tutorial Tom shows you how to darn a hole using a traditional stocking darn, which is suitable for small holes and thinning areas around them.
Learn how to darn a hole
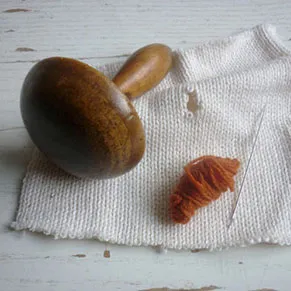
To darn a hole you will need a darning mushroom, although you can easily substitute this with an old light bulb, a boiled egg, or a ladle.
You also need a darning needle. These are very long compared to regular sewing needles (around 8cm/3in) and they have a large eye and a sharp point.
Make sure that the darning yarn you use is of a similar weight or slightly lighter than the yarn in which the item to be darned was knitted.