Update your look with our free knitted tank top pattern
A knitted tank top is a great project to add to any knitter's wardrobe, and as there's no complicated shaping involved they're brilliant for relative beginners.
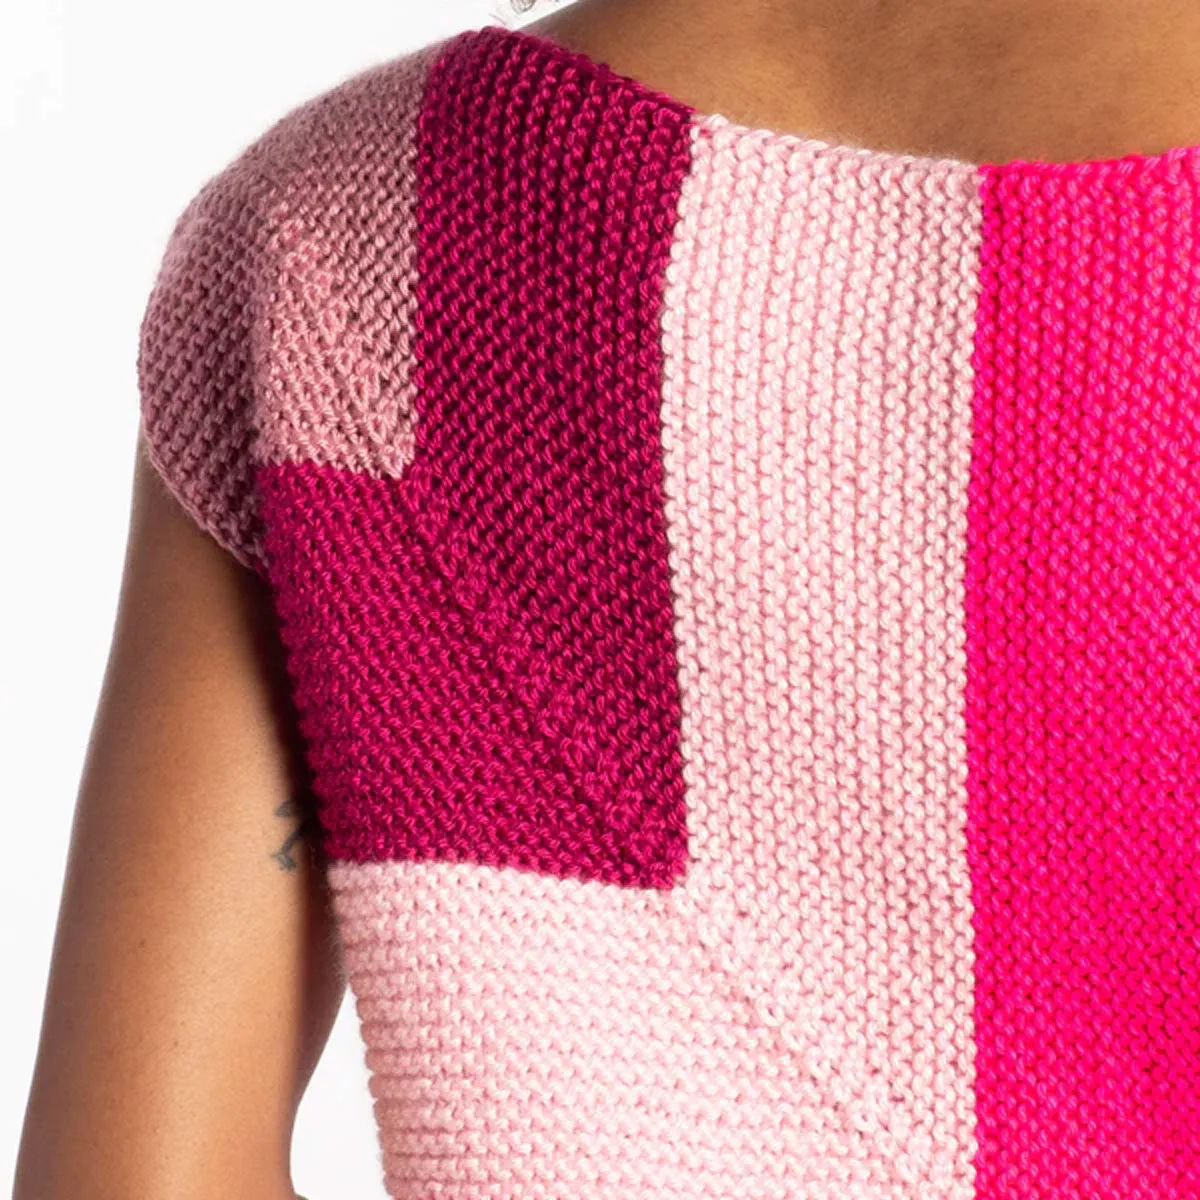
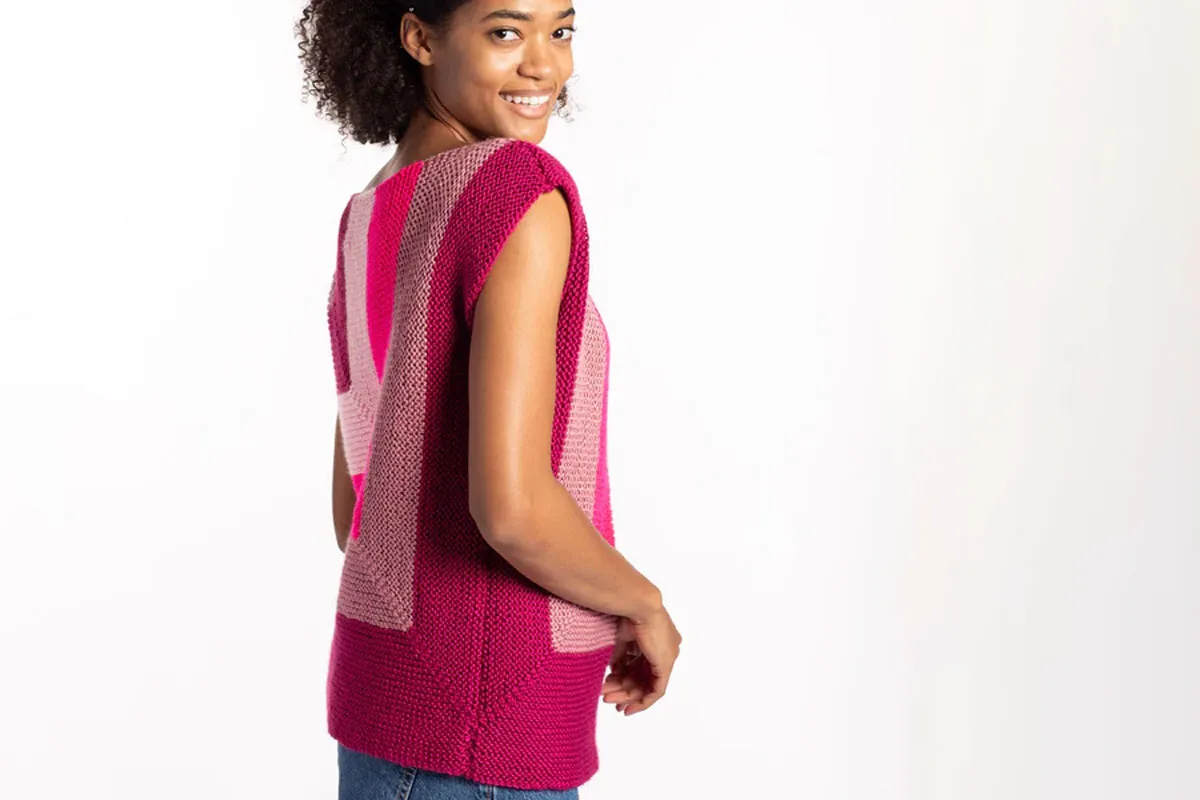
This free knit tank top pattern from Caron may look fancy, but it's actually made from some really simple stitches. If the Mitred effect looks a bit daunting to you, don't worry, it's just a simple case of marking your stitches and keeping count.
This sleeveless knit top can be made in sizes from XS to 5XL, and with a wide range of colours in the Caron Simply Soft range you can easily create your own favourite colour palette. We've even included the total lengths needed for each shade of yarn, so it's easy to work out how much of each colour you need or even to switch for an alternative Aran yarn.
You will need
- Caron® Simply Soft® (100% Acrylic, 170g/6oz; 288m/315yds) or alternative Aran weight yarn - in following amounts:
| Size | Yarn A - Fuschia (39764) | Yarn B - Plum Wine (39722) | Yarn C - Neon Pink (39775) | Yarn D - Soft Pink (39719) |
| XS/S | 2 (390m/427yds) | 1 (186m/204yds) | 1 (137m/150yds) | 1 (145m/159yds) |
| M | 2 (449m/491yds) | 1 (213m/234yds) | 1 (158m/173yds) | 1 (167m/182yds) |
| L | 2 (507m/555yds) | 1 (241m/264yds) | 1 (179m/196yds) | 1 (188m/206yds) |
| XL | 2 (567m/619yds) | 1 (270m/295yds) | 1 (200m/218yds) | 1 (210m/230yds) |
| 2/3XL | 3 (625m/683yds) | 2 (298m/325yds) | 1 (220m/240yds) | 1 (232m/253yds) |
| 4/5XL | 3 (683m/747yds) | 2 (325m/356yds) | 2 (240m/263yds) | 2 (253m/277yds) |
- 5mm [US size 8 ] Susan Bates® circular knitting needle 29" [73.5cm] long (or size needed to obtain tension)
- Stitch markers
- Yarn needle
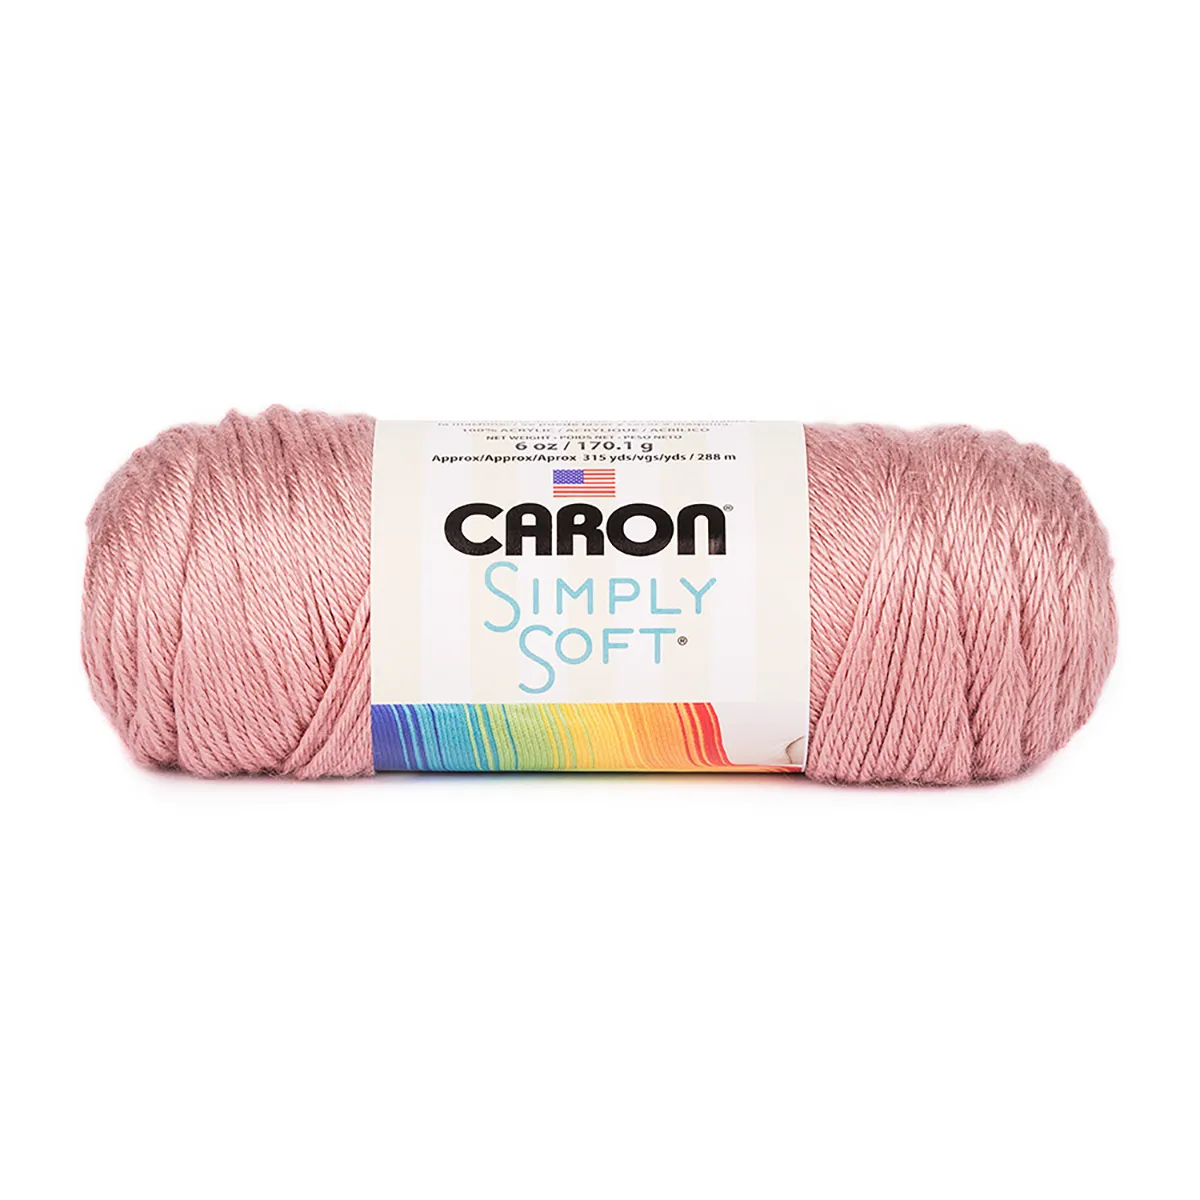
Stock up on Simply Soft
Caron Simply Soft is available to order direct from Readicut, or from retailers such as Wool Warehouse or LoveCrafts.
Tension
17 sts and 34 rows = 4" [10cm] in garter stitch
Measurements
| Size | To fit bust measurement | Finished bust measurement |
| XS/S | 28-34" [71-86.5cm] | 40.5" [103cm] |
| M | 36-38" [91.5-96.5cm] | 44" [112cm] |
| L | 40-42" [101.5-106.5cm] | 48" [122cm] |
| XL | 44-46" [112-117cm] | 48" [133.5cm] |
| 2/3XL | 48-54" [122-137cm] | 56.5" [143.5cm] |
| 4/5XL | 56-62" [142-157.5cm] | 64" [162.5cm] |
Notes
The instructions are written for smallest size. If changes are necessary for different sizes, the instructions will be written in the corresponding colour for each size - XS/S, M, L, XL, 2/3XL, 4/5XL.
When only one number is given, it applies to all sizes.
Abbreviations
This knitted tank top pattern uses our standard set of knitting abbreviations.
Free knitted tank top pattern for beginners from Caron

Section one
With Yarn A, cast on 86 (94-102-224-112-124) sts. Do not join. Working back and forth across needle in rows, proceed as follows:
Sizes XS/S, M, L, 2/3XL and 4/5XL only: Work in garter stitch, noting that first row is Wrong Side (WS) for 2 (2-1-2-3)" [5 (5-2½-5-7½) cm], ending on a WS row.
Do not turn work. Place Marker (PM) at end of row. Cast on 86 (94-102-112-124) sts. 172 (188-204-224-248) sts.
Size XL only: Next row: (WS). K112. PM. K112. 224 sts.
All sizes: Knit 2 (2-2-0-2-2) rows.
**1st row: (RS). Knit to 2 sts before marker. K2tog. Slip Marker (SM). ssk. Knit to end of row. 170 (186-202-222-222-246) sts.
2nd row: Knit.
These 2 rows form Mitred Pattern.
Repeat last 2 rows until work from initial cast on measures 5 (5-4½-4¼-5½-7)" [12½ (12½-11½-11-14-18) cm], ending on a WS row.
Break A. Join Yarn B. Continue in Mitred Pattern with Yarn B until work from initial cast on measures 8 (8½-8-8-9-11)" [20½ (21½-20½-20½-23-28) cm], ending on a WS row.
Break B. Join Yarn C. Continue in Mitred Pattern with Yarn C until work from initial cast-on measures 11 (11½-11½-11¾-12½-15)" [28 (29-29-30-32-38) cm], ending on a WS row.
Break C. Join Yarn D. Continue in Mitred Pattern with Yarn D until work from initial cast-on measures 14 (14½-15-15-19½-23)" [35.6 (37-38-38-49½-58½) cm], ending on a WS row.
Break D. Join Yarn A. Continue in Mitred Pattern with Yarn E until work from initial cast-on measures 17 (17½-18½-18¾-21½-26)" [43 (44½-47½-49-54½-66) cm], ending on a WS row.
Break A. Join Yarn B. Continue in Mitred Pattern with Yarn F until 2 sts remain.
Next row: K2tog. Fasten off.**
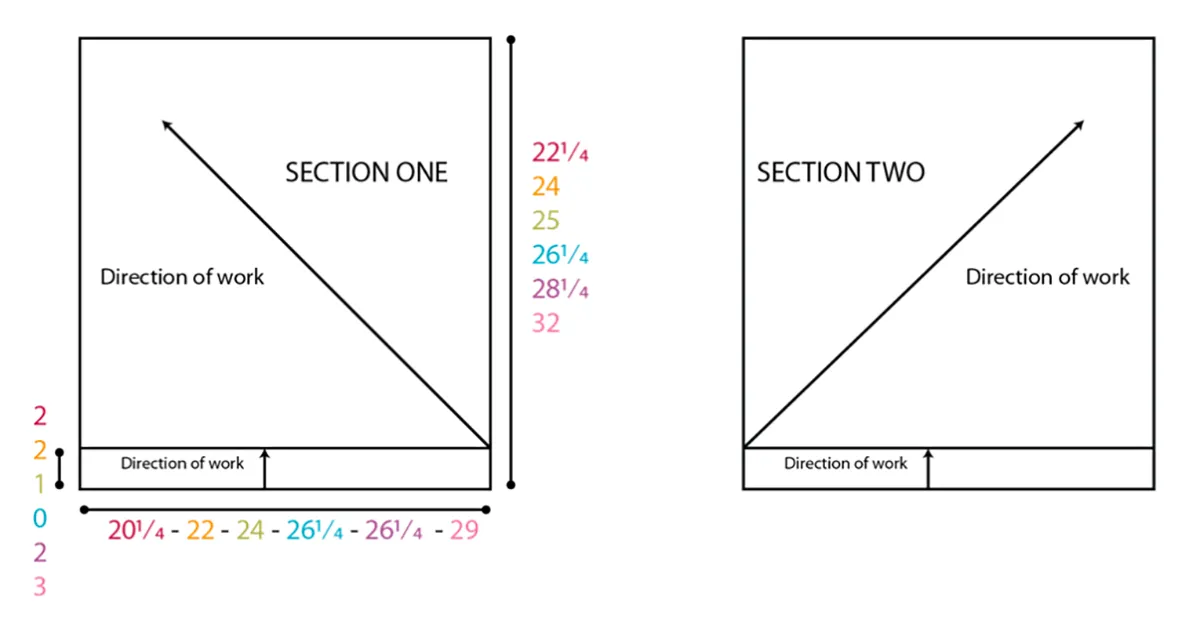
Section two
With Yarn A, cast on 86 (94-102-224-112-124) sts. Do not join.
Working back and forth across needle in rows, proceed as follows:
Sizes XS/S, M, L, 2/3XL and 4/5XL only: Work in garter st, noting that first row is WS for 2 (2-1-2-3)" [5 (5-2½-5-7½) cm], ending on a RS row.
Do not turn work. PM at end of row. Cast on 86 (94-102-112-124) sts. 172 (188-204-224-248) sts.
Size XL only: Next row: (WS). K112. PM. K112. 224 sts.
All sizes: Knit 1 (1-1-2-1-1) row(s).
Work from ** to ** as given for Section One.
Finishing
With RS of Section One and Section Two facing each other, sew shoulder seams, leaving 12¼ (12-12-12¼-12¼-14)" [31 (30½-30½-31-31-35½) cm] open at center for neck.
Sew side seams, leaving 7 (7½-8-8½-9-10)" [18 (19-20½-21½-23-25½) cm] open for armholes.

More free knit top patterns to try
Perhaps you're looking for a slightly more challenging knitted tank top pattern? Or maybe even one with more obvious sleeves, or no sleeves at all?
There's plenty to choose from online – here's just a few of our favourite knit top patterns.
Free basic summer knit top pattern

Show your friends and family that knitting isn't just about woolly jumpers and bobble hats with this awesome summer top from Caron! Perfect for hitting the beach, heading to the shops or even showing off in the office.
Get the free pattern from Readicut.
Free cable knit tank top pattern
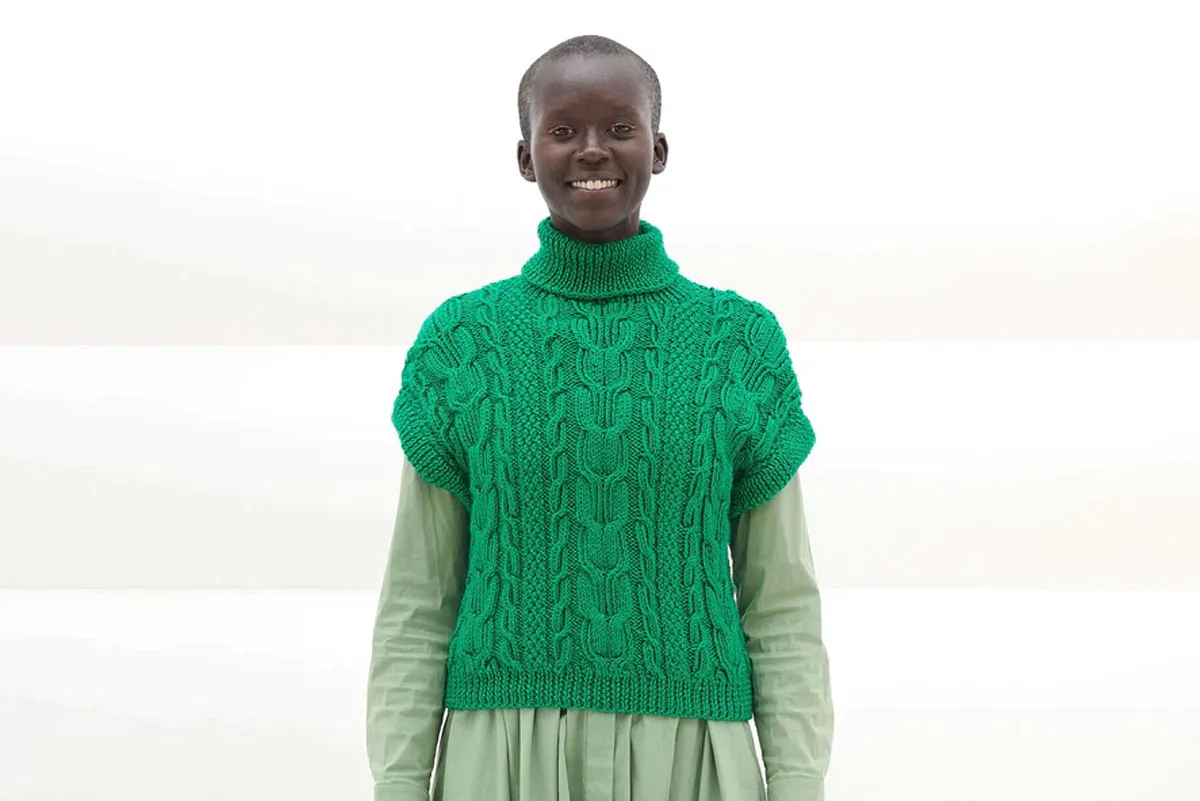
Ready to test out your skills? This fabulous tank top features a fantastic array of cables and ribbing that will really challenge you. It's also a knitted tank top that looks fabulous worn both by itself or layered over long sleeve tops.
Find this free pattern on the Readicut website.
Free contrast trim knitted top pattern
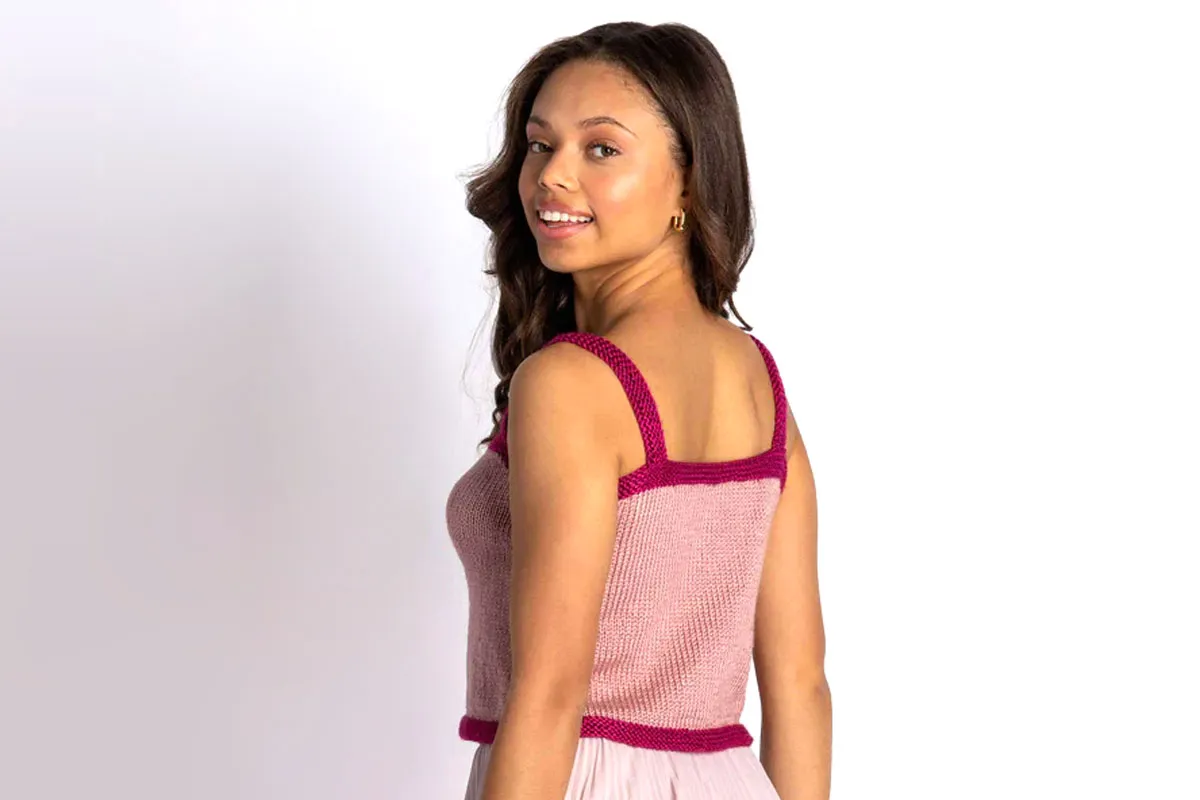
Show off your stitching skills even on the hottest summer days with this knit top from Caron. We love the simplicity of the contrast trim, which also makes it really easy to customise in your own favourite colours.
Download this free pattern from Readicut.co.uk.
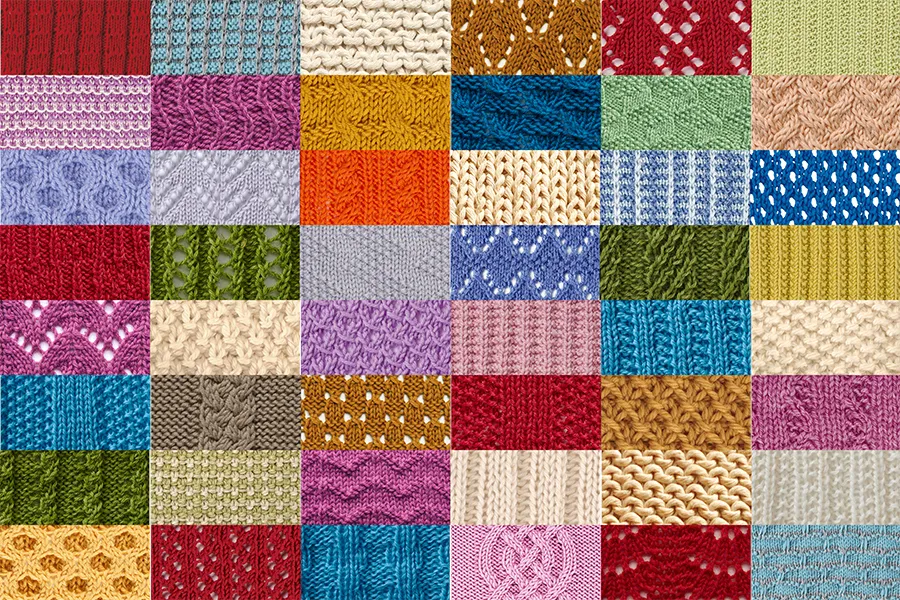
Expand your skills
If you're looking to add more stitches to your repertoire, check out our library of 130 knitting stitches for beginners and beyond.
Take your time with this knitted tank top pattern
We think this knit tank pattern is the perfect project for your first garment. While the Mitered effect may seem a bit daunting, it's simple once you get started and is actually really good practice for counting your stitches and using stitch markers.
Just take your time with it and before you know it you'll be making marvellous Miters with your eyes closed!
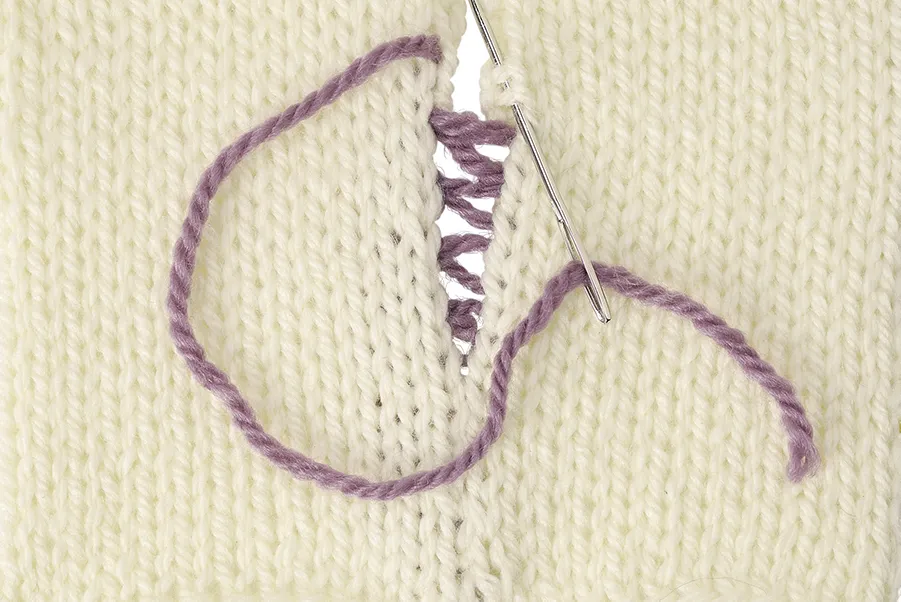
Get those finishing touches right!
There's no better feeling than finishing a knitted garment, but don't rush those final details. Check out our guide on mattress stitch and get your makes looking tip top.