Embroidery Hoop Craft Ideas
Shake up boring bamboo and make plain plastic disappear when you follow Sarah Burnett-Moore’s top 10 tips for spicing up your hoops – whether bling is your thing, or you love a vintage vibe!
Here are Sarah’s top 10 Embroidery Hoop Craft Ideas
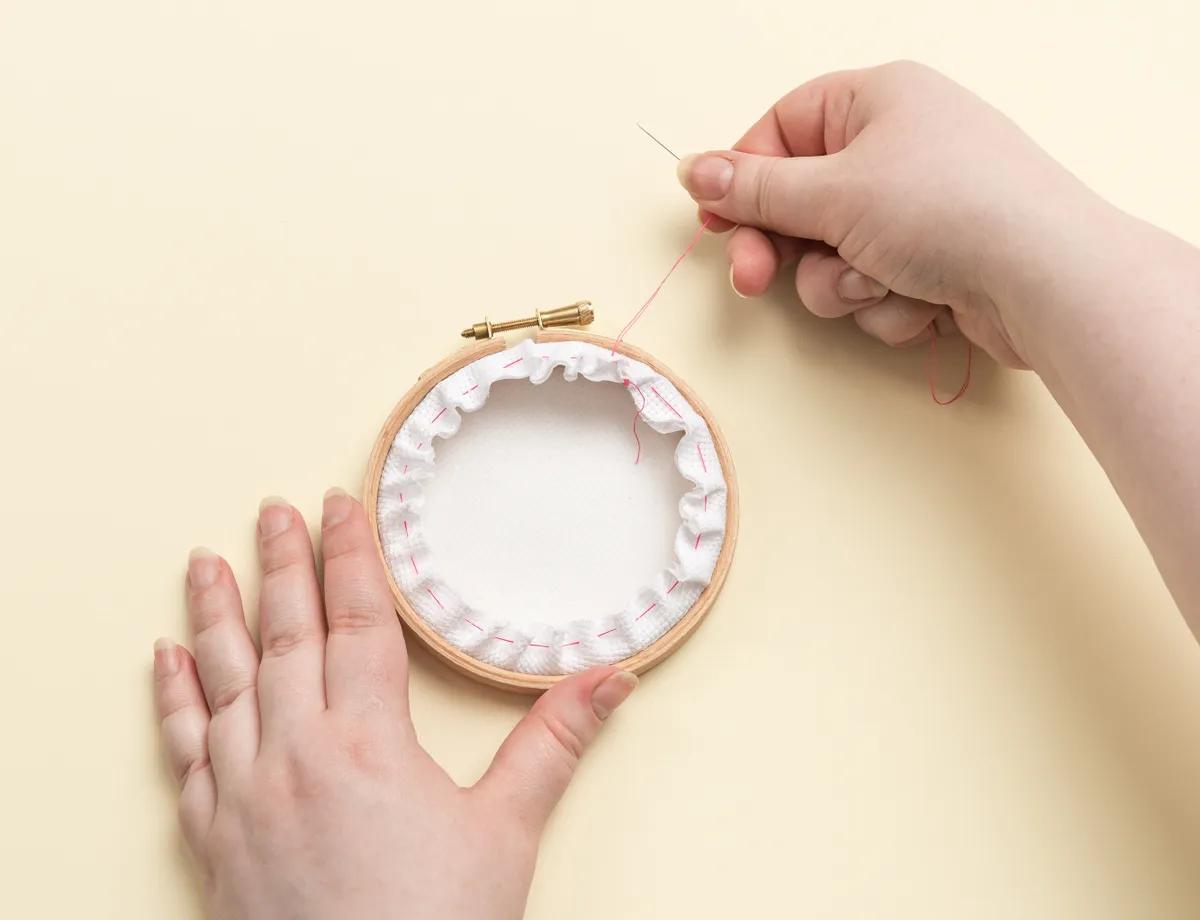
1. Wait! Finish your stitching first
If you’re sprucing up your working hoop, complete the embroidery first and then remove it from the hoop. Don't try to stitch on a decorated hoop as it will scuff the decoration.
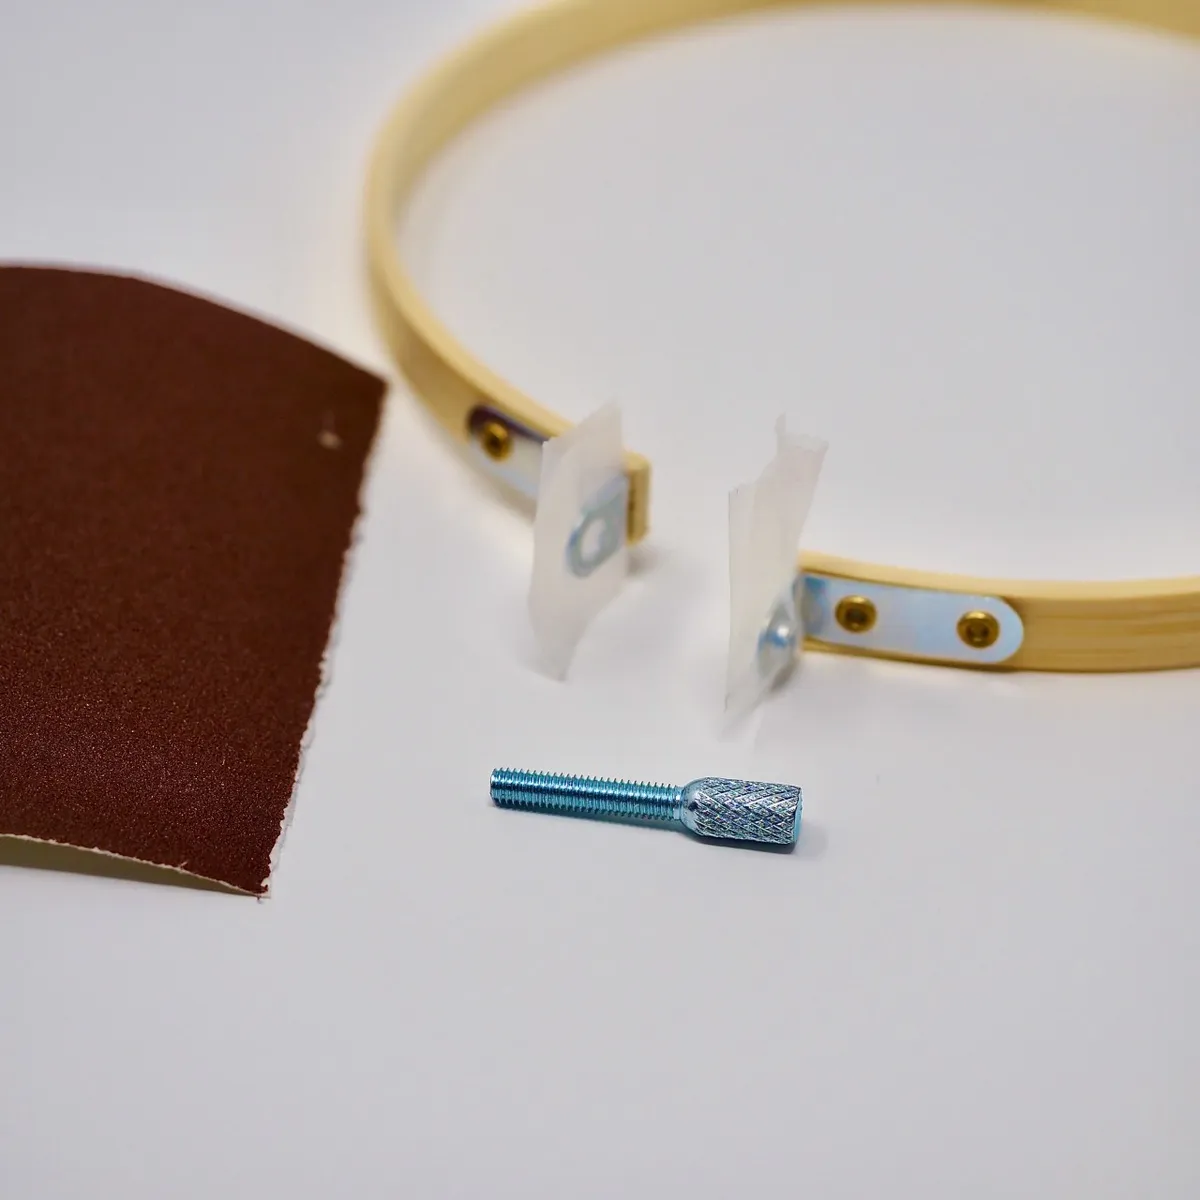
2. Make sure you still have a working hoop!
Before you begin, remove the hoop's screw and protect the holes with masking tape. This stops the screw holes and thread getting gunked up with paint and not working properly when you come to reassemble.
3. Prepare your surface area
Lightly sand the front and sides of the hoop, using about 200 grit paper. You don’t want to see the sanding marks – just enough to key up the surface for the paint, which allows it to stick better without going flaky.
4. Paint the front and sides of the hoop
I use graffiti spray paint but furniture paints work just as well and you can get sample pots from most DIY stores. If you’re spraying then use a cardboard box as a spray booth, and make sure there’s lots of ventilation.
5. Discover new effects with découpage
If you want to découpage the hoop then the base layer needs to be white. A decorative tissue will split into three layers with the top layer being the decorative one. Tear small pieces of the top layer and apply Mod Podge (water-soluble adhesive and sealant) to the whole hoop using a paintbrush. Apply the torn pieces pressing down lightly with your fingers and paint another layer of Mod Podge on top. Leave until completely dry.

6. Discover metallic effects
You can get beautiful metallic effects with gilding. If you want to gild an area, paint on a suitable size (the adhesive for metal leaf) and leave it for at least 30 minutes. Using leaf that comes on a paper backing cut suitable sized strips and apply leaf side down. If you’re not gilding the whole hoop then a darker background has more impact. Leave for 10 minutes and brush off the excess with a soft brush - blusher brushes work well.

7. Finish up to make your work last longer
At this point I usually use spray varnish to protect the finish – glossy works best. This needs to be done before any additional surface work is done. Again, use your makeshift spray booth. Leave until completely dry.
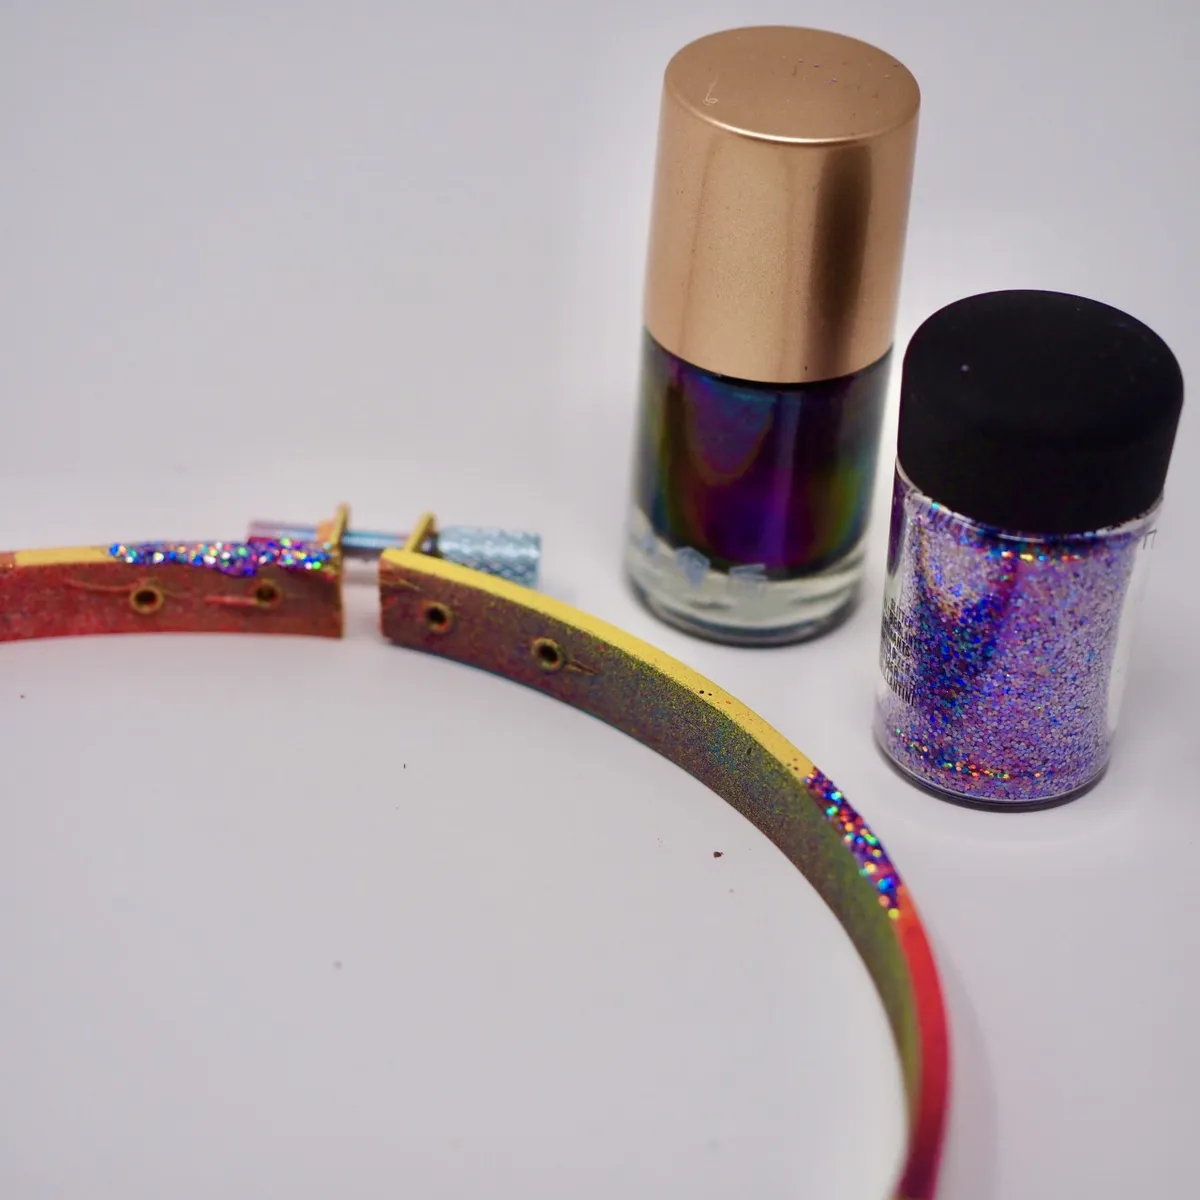
8. Get your sparkle on
You can add glitter and I find the most effective way to do this is to use a generous amount nail varnish and cosmetic glitter - the smaller particle size makes it much better than craft glitter and the range of colours is much better. Blob on the nail varnish and scatter the glitter, do this over a piece of paper which you have folded and reopened to catch the excess glitter. Leave it for at least 30 minutes before handling.
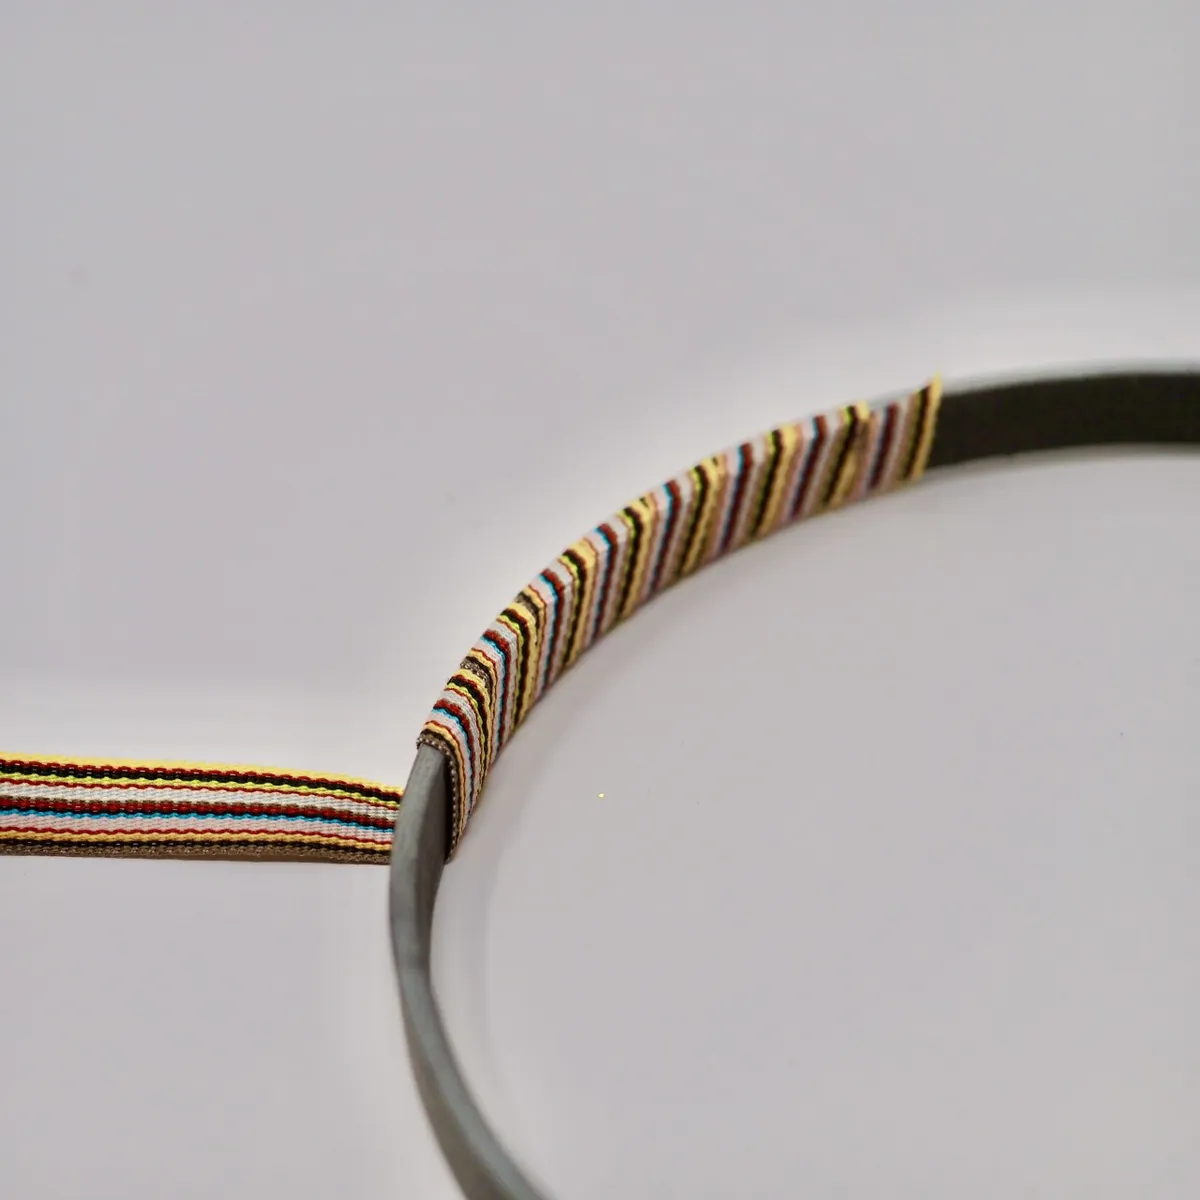
9. Wrap it up
To wrap ribbon around the hoop I put a strip of double sided sticky tape on the inside, and starting at the back of the hoop wrap ribbon so that it just overlaps or twine so that the loops sit next to each other. Again finish at the back of the hoop and trim the ends flush.
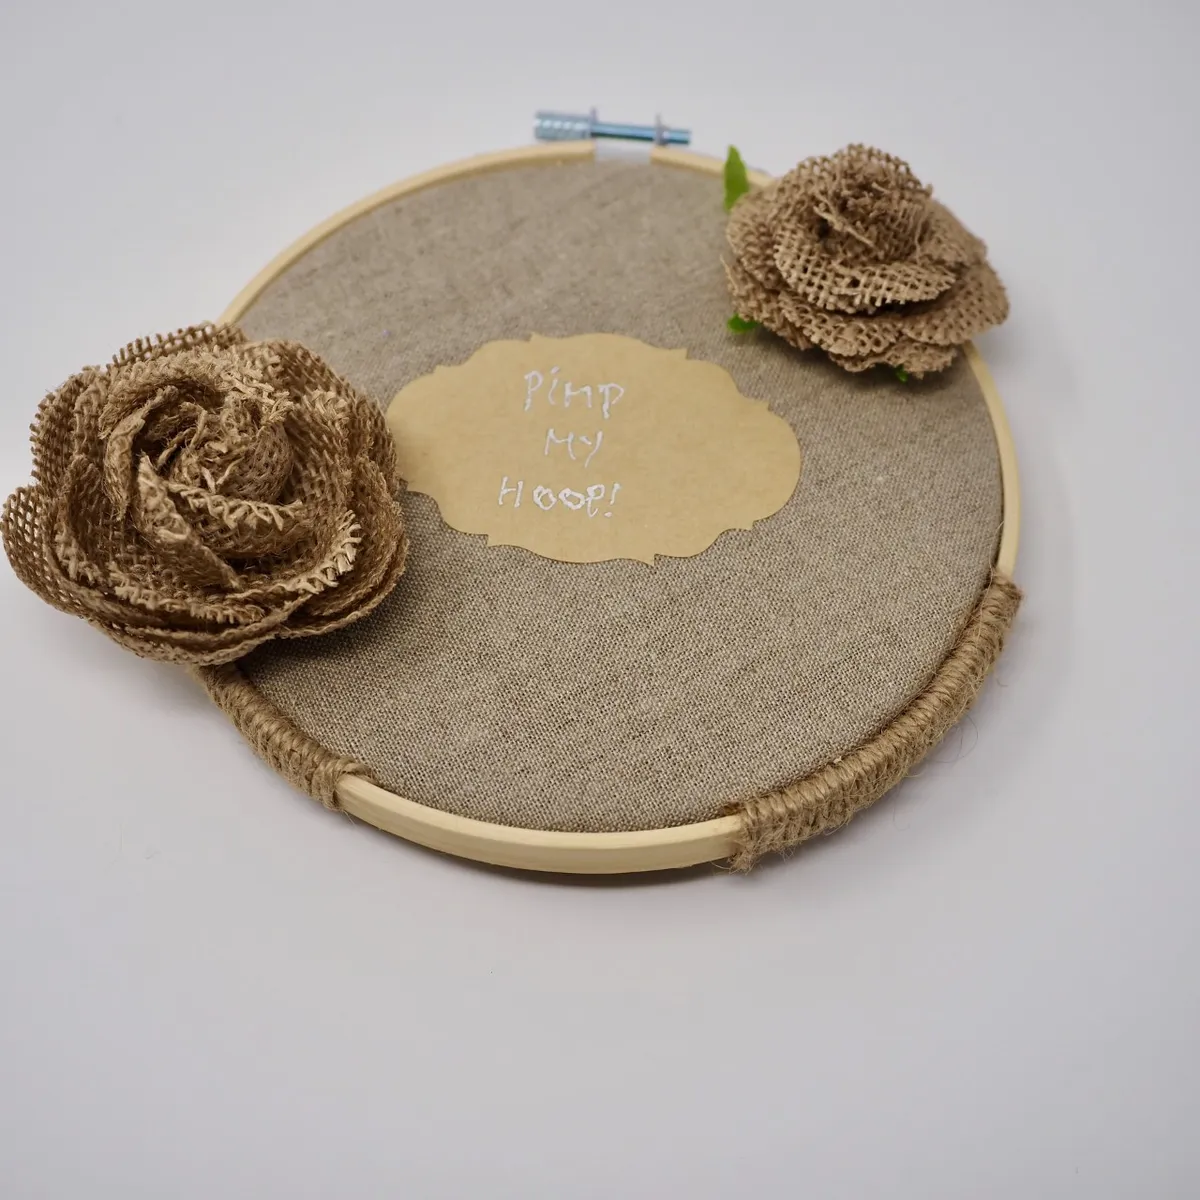
10. Go bold and make a statement
If you want to add further embellishments like paper crafting flowers and bows then put your finished work into the hoop and tighten everything up. Then apply the decorations using a glue gun. If you’ve not used one before be careful as the working tip gets extremely hot.
Hang your hoop and enjoy!
Mount your cross stitch in a hoop
Not sure how to frame your finished stitching in a hoop? No problem! Follow our step-by-step guide for doing just that.