How to make an embroidered notebook

Learn how to make an embroidered notebook and turn plain old notepads into something beautiful with this beautiful tutorial by Meredith Crawford.

Try 6 issues of Love Embroidery magazine for just £9.99| SAVE 77%

Published: June 28, 2022 at 9:00 am

Who needs boring old notebooks! With these guides, you'll find plenty of ways to spruce up old notepads and give them a new lease of life with this amazing embroidered notebook tutorial.

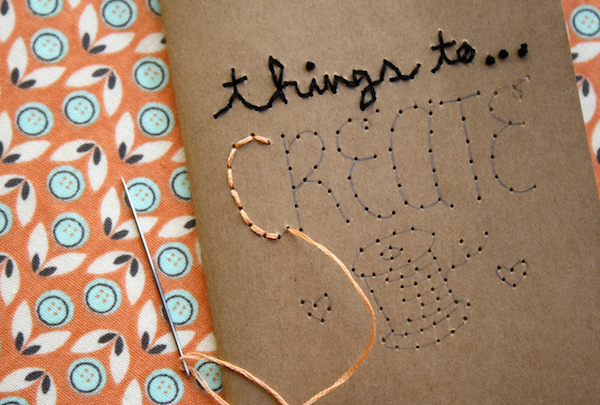
The tutorial is this lovely paper embroidered notebook tutorial by Meredith Crawford, where she'll take you step-by-step through how to decorate your paper notebooks with cute embroidered patterns, there are three to choose from but we are showing you the 'things to create' design. This notebook would make a lovely gift for someone who loves books! It's simple, pretty and certainly would make us want to write inside it more often! You could even personalise it with initials or a name to make it extra special.

If you are new to embroidery and would like some guidance, head over to our guide for embroidery for beginners, and a useful library of embroidery stitches.
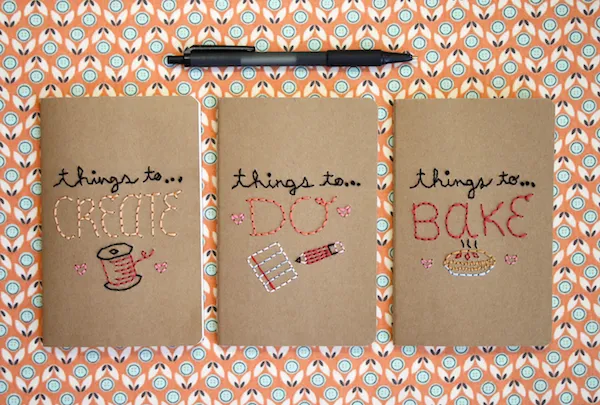
For the paper embroidered notebook:

You will need:

• A plain card/paper notebook

• Embroidery thread in a variety of colours

• Embroidery needle

• Scissors

• A pencil

• Drawing paper
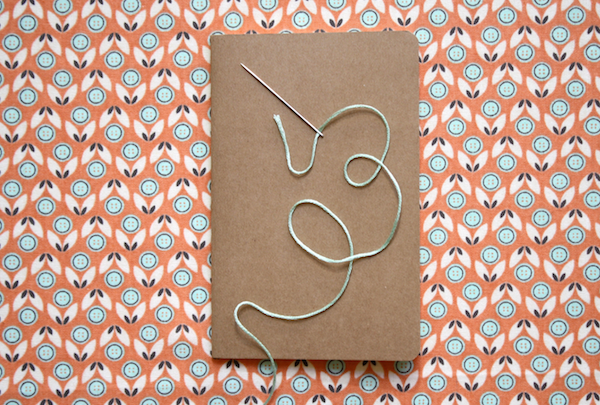
You will need:

  • A plain card/paper notebook
  • Embroidery needle
  • Embroidery thread in a variety of colours
  • Scissors
  • A pencil
  • Drawing paper
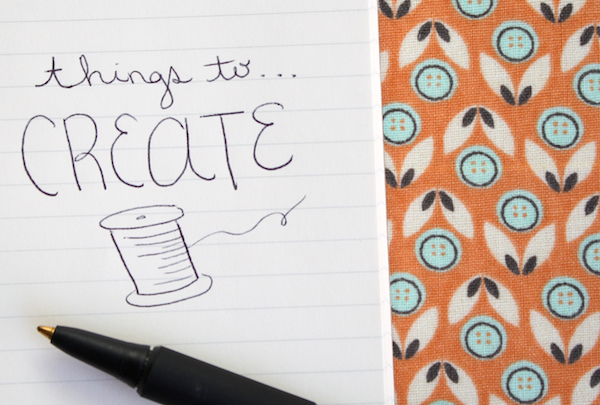
Step 1

Pick a notebook with a sturdy cover that’s strong enough to support a needle and thread. The cover should be blank so you can add your own design.

How to make embroidered notebooks step 1

Step 2

Practice doodling your cover design on a separate piece of paper until you’re ready to draw it on the cover. Experiment with different sizes of type, and doodles with basic shapes so you can embroider along the outline with ease.

How to make embroidered notebooks step 2


Step 3

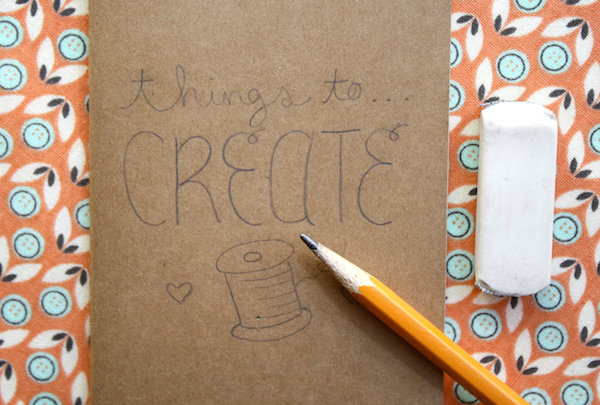
Using a pencil, draw your design on the notebook cover. Cleanly erase any smudges before you begin embroidering.

How to make embroidered notebooks step 3

Step 4

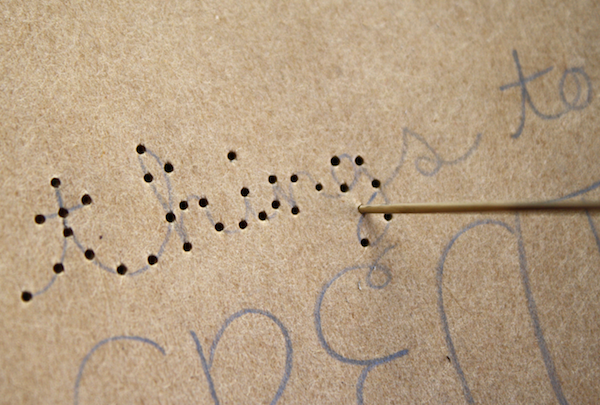
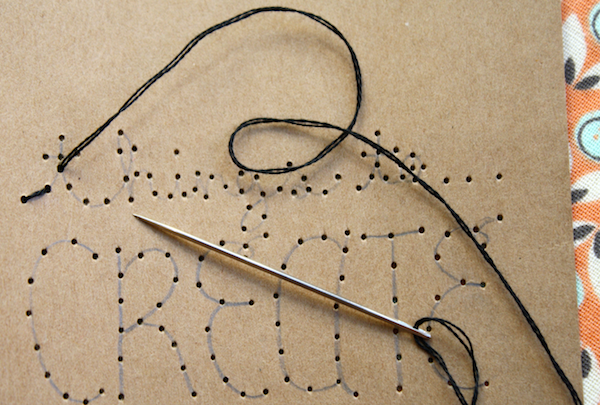
Take the needle and poke holes through the cover that are evenly spaced around the outline of your design.

How to make embroidered notebooks step 4

Step 5

Step 5

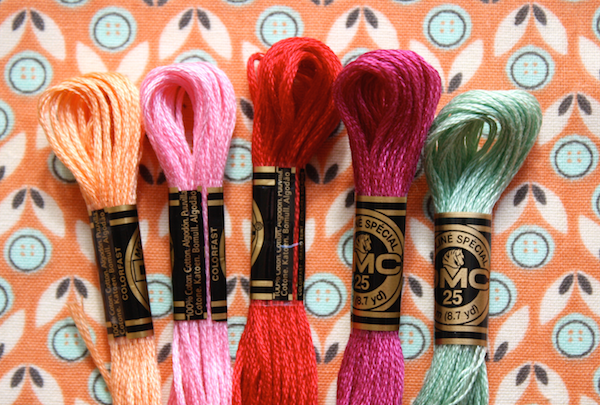
Select your embroidery thread colours for the design.

How to make embroidered notebooks step 5


Step 6

Get a length of embroidery thread and tie a knot at the end. I typically use two or three strands of the standard six-strand embroidery thread. Change the thickness to suit your design.

How to make embroidered notebooks step 6

Step 7

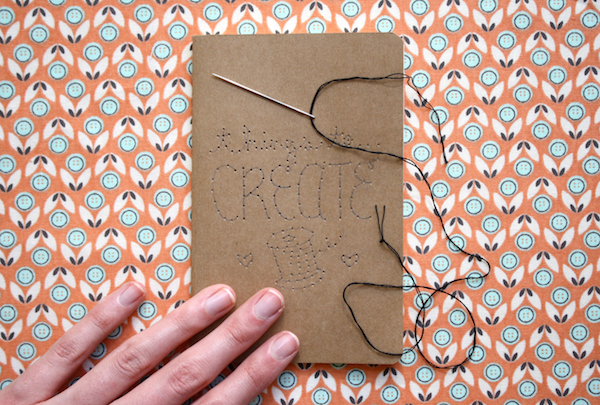
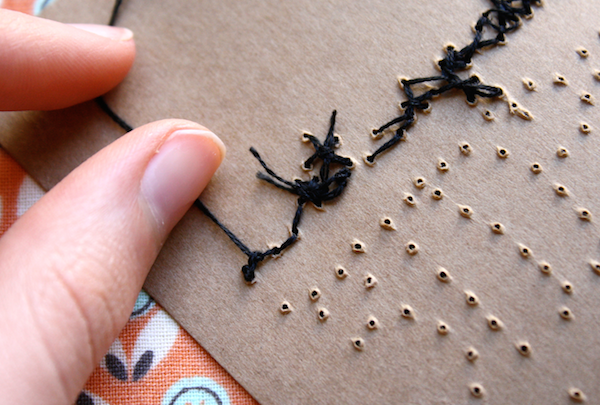
Embroider your design using a backstitch. Bring the needle up through the first hole and down through the second. Bring the needle up through the third and back down through the second. Repeat this process all the way around.

How to make embroidered notebooks step 7


Step 8

When you change colours, weave in the ends by running the needle and thread under a few stitches. Tie a little knot for extra security. Use the scissors to cut the excess thread.

How to make embroidered notebooks step 8

Step 9

Continue embroidering your design being careful not to rip the cover.

How to make embroidered notebooks step 9

That’s it! Now you’ve successfully spruced up your old notebooks or diaries with our embroidered notebook ideas, get inspired with lots of other free embroidery patterns right here on Gathered. Try our lovely flower embroidery pattern, perfect for upcycling old clothes. Or if you are looking for a way to make a special gift for someone and want to use your embroidery skills, check out this embroidered shoes article, we even have a tutorial on how to make placemats, which are also another great stocking filler. If you prefer not to hand stitch and want to learn more about machine embroidery, we also have a fab guide to the best embroidery machine on the market to get you started.