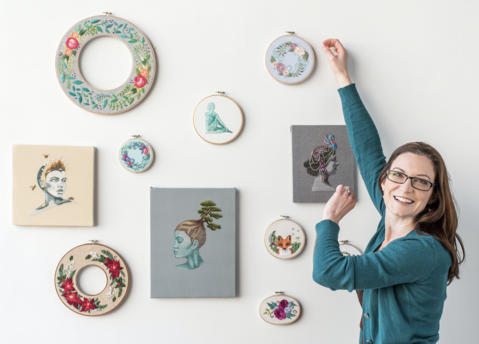
Protect your gadget in stitching style with this pretty and practical tablet cover. The embroidery design is by Jessica Long and part of the embroidery iron-on transfer set that comes with issue 9 of Love Embroidery. The instructions below are for once you have finished stitching the embroidery design on your chosen fabric.
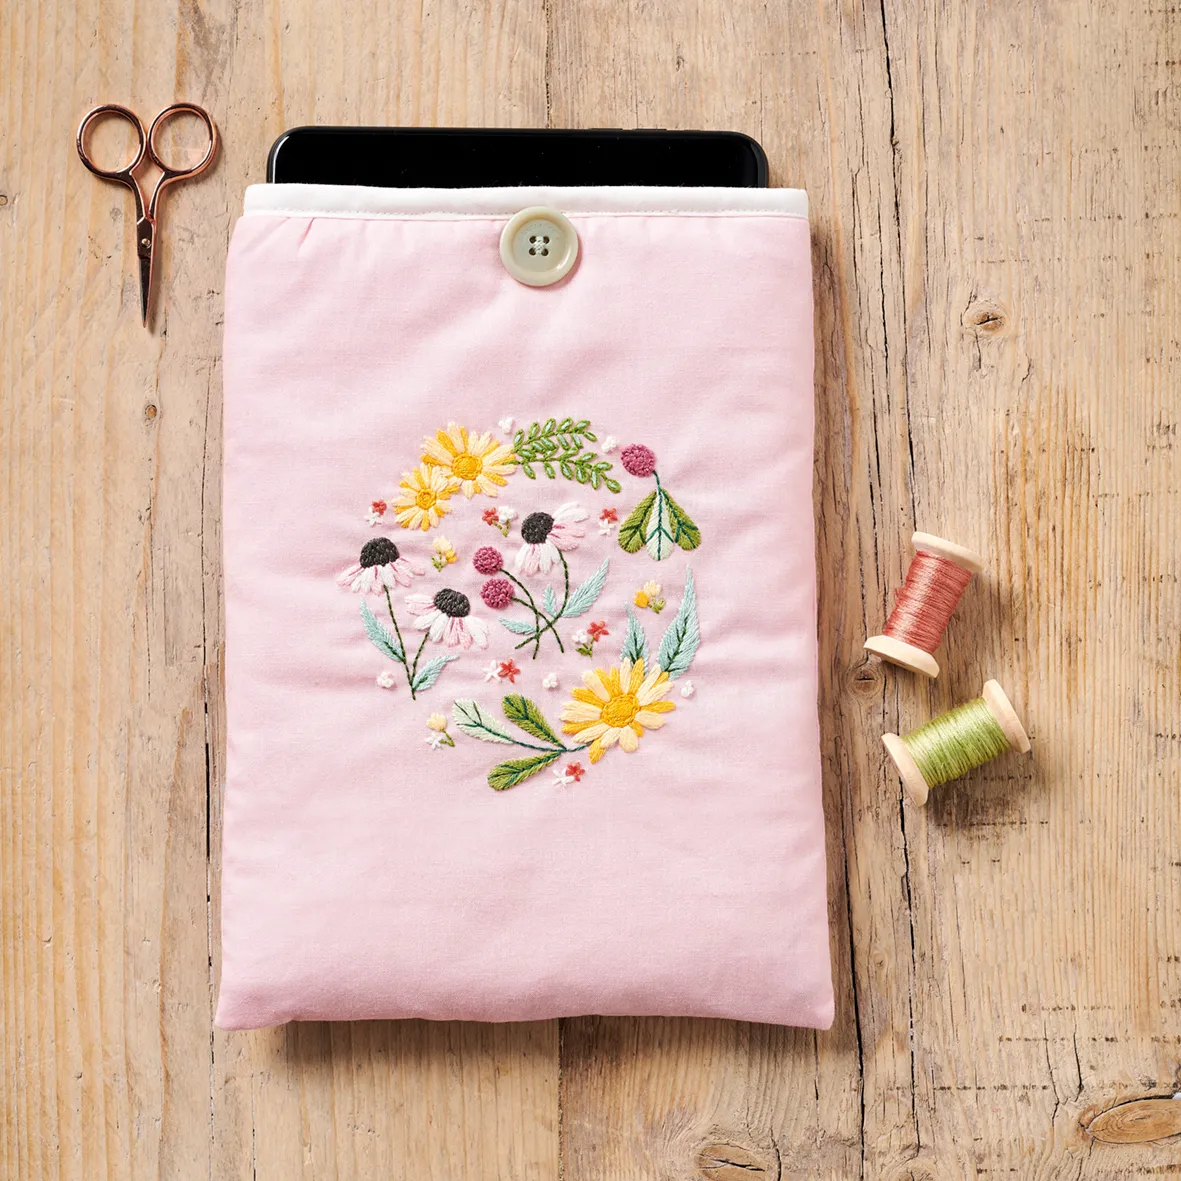
Once you’ve finished making your tablet cover, if you’re in the mood for more stitching and sewing how about trying out a botanical pouch design or a gorgeous floral pincushion. We’d love to see your finished projects on Facebook or Instagram!
To make this tablet cover, you will need:
- Outer fabric: 50x70cm, pink
- Lining fabric: 50x70cm, patterned
- Wadding: 80x40cm
- Bias binding: 50cm, cream or white
- Thin elastic: 12cm, cream or white
- Machine thread: cream
- Button x 1
Tablet cover step-by-step instructions
Step 1
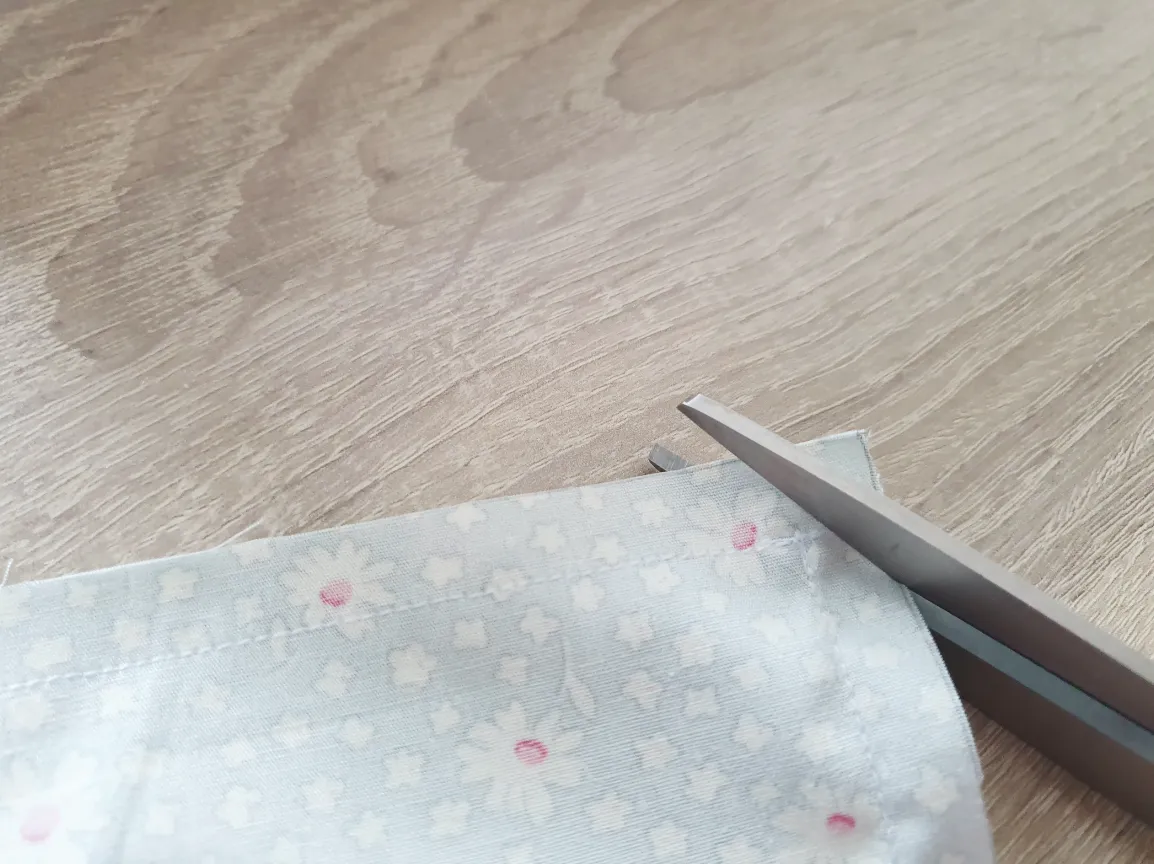
Once you have completed your stitching, cut the fabric to 26x20cm with the embroidery positioned centrally. Then cut out a matching panel of outer fabric measuring 26x20cm and two panels of lining fabric measuring 27x20cm. Your wadding piece needs to measure 50x20cm.

Step 2
Put your lining fabric RS together and stitch a 1cm seam around the two long sides and one short side. Trim the excess and clip the corners. Fold your wadding in half width-ways and stitch a seam along the two long sides at a distance of 1cm to create a pocket. Trim the excess.
Step 3
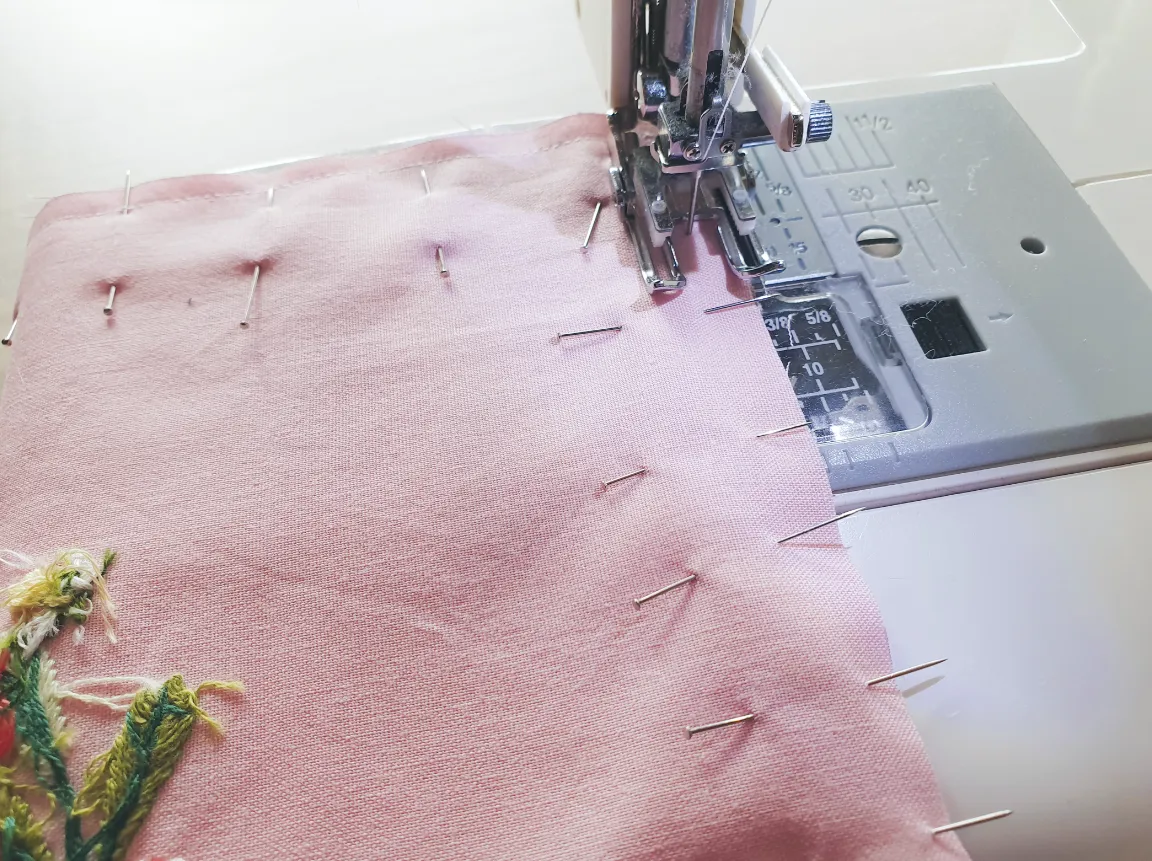
Pin the outer panels together with RS facing and stitch a 5mm seam along the two long sides and the bottom edge. Turn RS out.
Step 4
Insert your lining bag inside your wadding pocket and then insert them into your outer pocket. Pin the three layers together around the top edge, aligning the seams along the sides, and stitch in place with a 5mm seam. Trim so the top edge is even and no one layer sits taller than another.
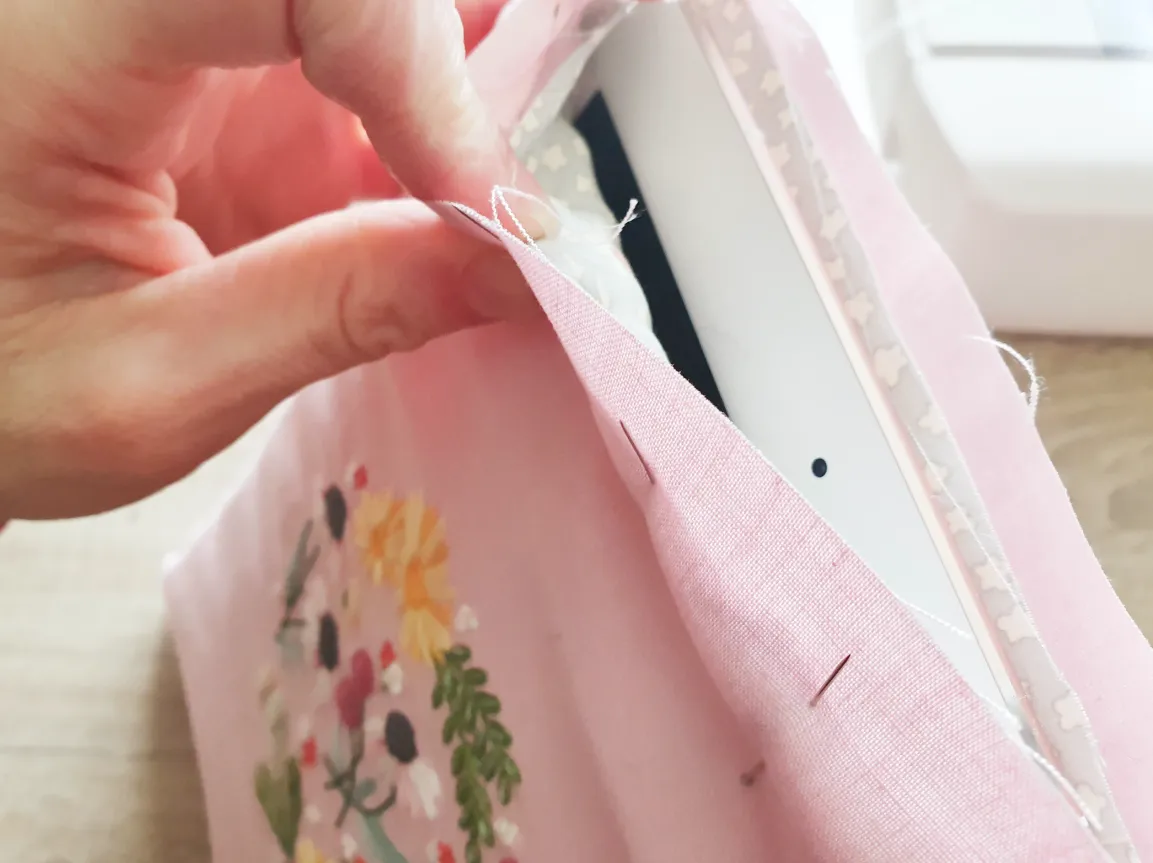
Step 5
Mark the halfway point on the back of your tablet case. Fold the elastic in half to make a loop and stitch with the loop pointing down towards the bottom of the case on this mark. Fold the bias binding over the top and stitch in place to conceal the raw edges.

Step 6
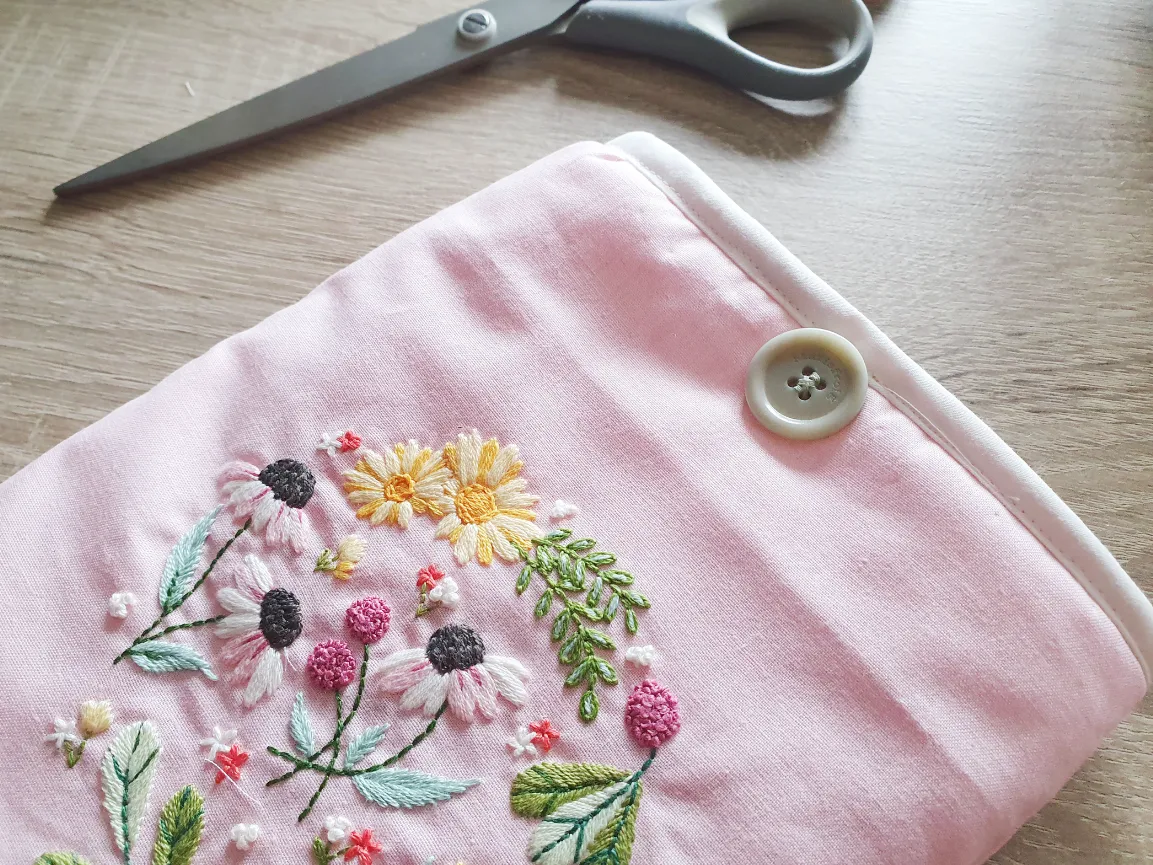
Place your tablet inside and pull your elastic over on to the front of your cover so it is lightly taut. Make a mark on the cover where the loop of your elastic lands. Remove the tablet from the cover and stitch your button in place on the mark.
Top tips
If you want to make the cover up for a tablet of different dimensions, measure your device and add 3cm to the width and height to get the size of the fabric pieces you need to cut out. For the wadding piece, add 3cm to the width, add 2cm the height and double it to get the dimensions.
For extra security, you could attach more than one button and loop at the top of your tablet cover.
If you don’t have any bias binding, you could cover the raw edges at the top of your cover with a folded ribbon instead.