How to make a cross stitch card – DIY aperture card tutorial

It's easy to make your own aperture cards with this simple technique. Follow our step-by-step DIY cross stitch card tutorial, or use this technique for all your card making creations!

Try 6 issues of The World of Cross Stitching magazine for £9.99

Published: February 15, 2020 at 10:57 am

Once you've made your own aperture card once, you'll never want to use a store-bought one again! I prefer this method as you can simply adjust the hole to precisely fit your designs, plus you can make it from card of any colour or pattern.

You will need

  • a metal ruler
  • craft knife
  • cutting mat

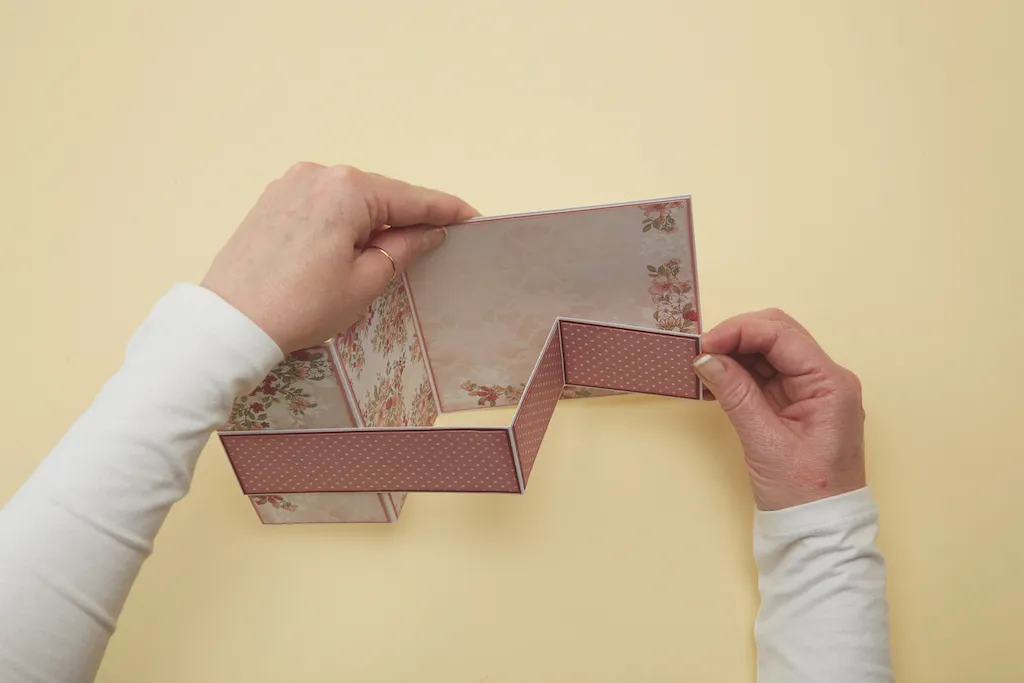
Fancy trying a different card fold?

Take a look at our step-by-step guide to cutting and scoring a stylish Z-fold card. Pefect for card making, cross stitchers can patch their stitching to the front panel to create a greeting with real wow factor. Click here to make your own Z-fold card.

Step 1

How to make a cross stitch aperture card step 1

Begin by measuring the height and width of your stitching. Trim your sheet of card so that it measures the height of your stitching plus 5cm (2in) and twice the width of your stitching plus 10cm (4in). To find the fold point of your card, measure half way along the long edge and gently score the fold line on the inside of your card, running the craft knife lightly along the edge of your metal ruler.

Step 2

How to make a cross stitch aperture card

Carefully fold along this line and then open out your card again so that it lies flat on your mat. Mark out a 2cm (¾in) border on the reverse side of the front of the card. Cut along this line using a craft knife and a metal ruler to create your aperture.

Step 3

How to make a cross stitch aperture card

Run lengths of double-sided tape around the edges of the aperture on the reverse side of the card. Cut out and attach your stitching, securing by pressing it down on to the double-sided tape. Finish by cutting a piece of matching card 0.5cm (¼in) smaller than the front of the card and sticking it onto the back of your aperture to conceal the back of your stitching

Ta da! Your stitching will be perfectly framed by your bespoke card.

Here are some we made earlier. You can download the Panda card from this set for free, too!

Click here for the download. or click to browse our selection of free animal cross stitch patterns or free modern cross stitch patterns – we have lots of great designs for you to try!

Free peekaboo animal cross stitch charts

[pullquote quote="If you want to add patterned paper to the front of your card, attach it with double sided tape before you cut the aperture." /]

We have gorgeous free patterned papers available – how about using these free stationery papers? Or how about these opulent free art nouveau patterned papers?