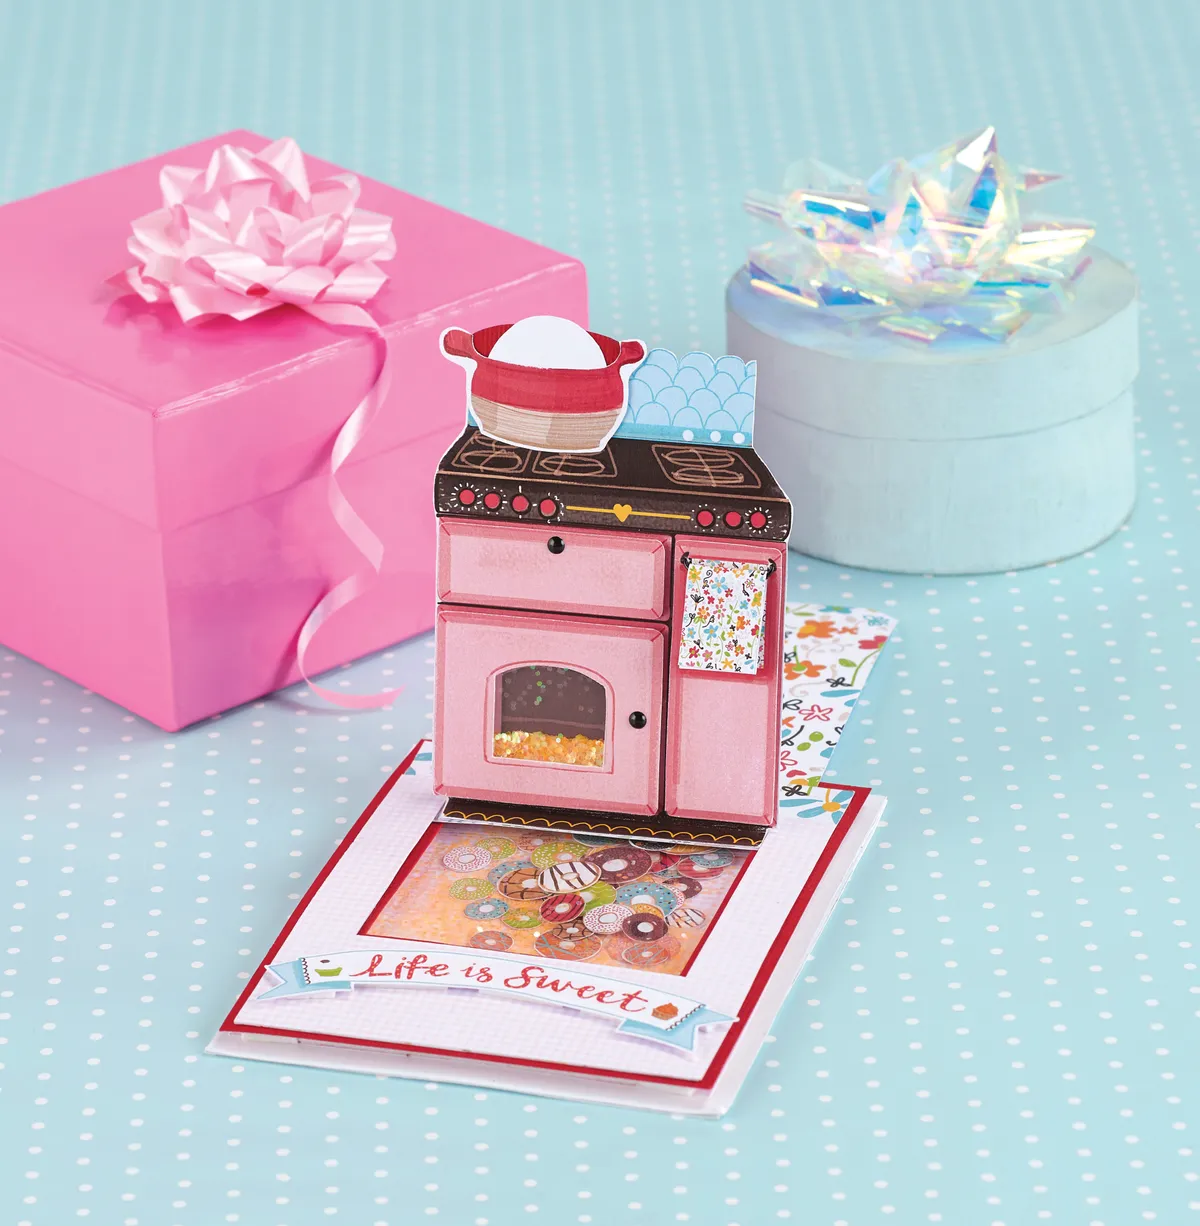
Are you looking for some cool new card folds that you can master to expand your card making repertoire? Do you want sparkles, cake sprinkles and cool 3D elements on your card? Or are you looking for ideas for our free kitchen printables? If you answered yes to any of these questions, then this clever DIY shaker card is for you!
Want more free patterned paper? Take a look at our ever-growing collection of free patterned papers, there are lots to choose from and there are lots of different themes. We love these vintage stationery papers! For more general card making, let us show you how to make cards. We love seeing what you make with our free printable papers, so don’t forget to share your cards and papercraft projects with us on Instagram, Facebook, or Twitter, too!
Watch our video tutorial
You will need
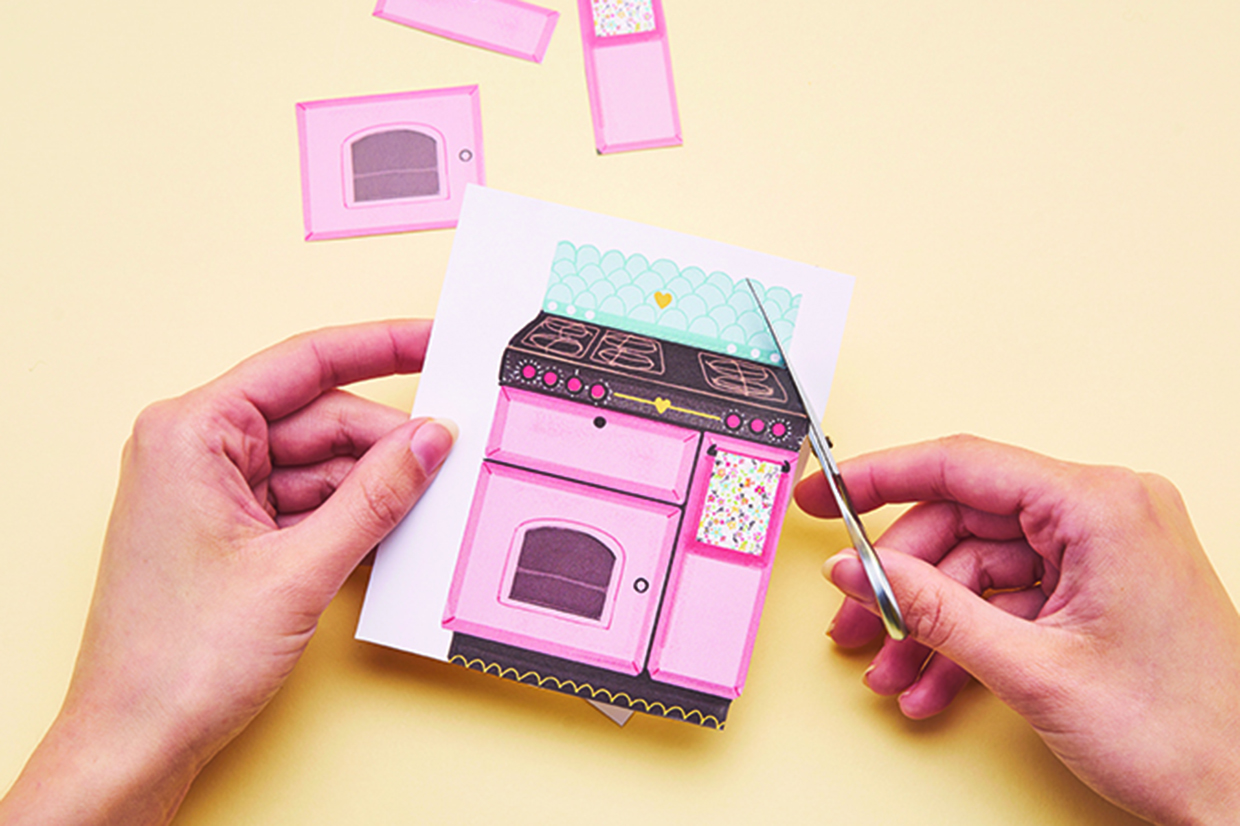
- Free kitchen printables
- Templates from Papercraft inspirations 195
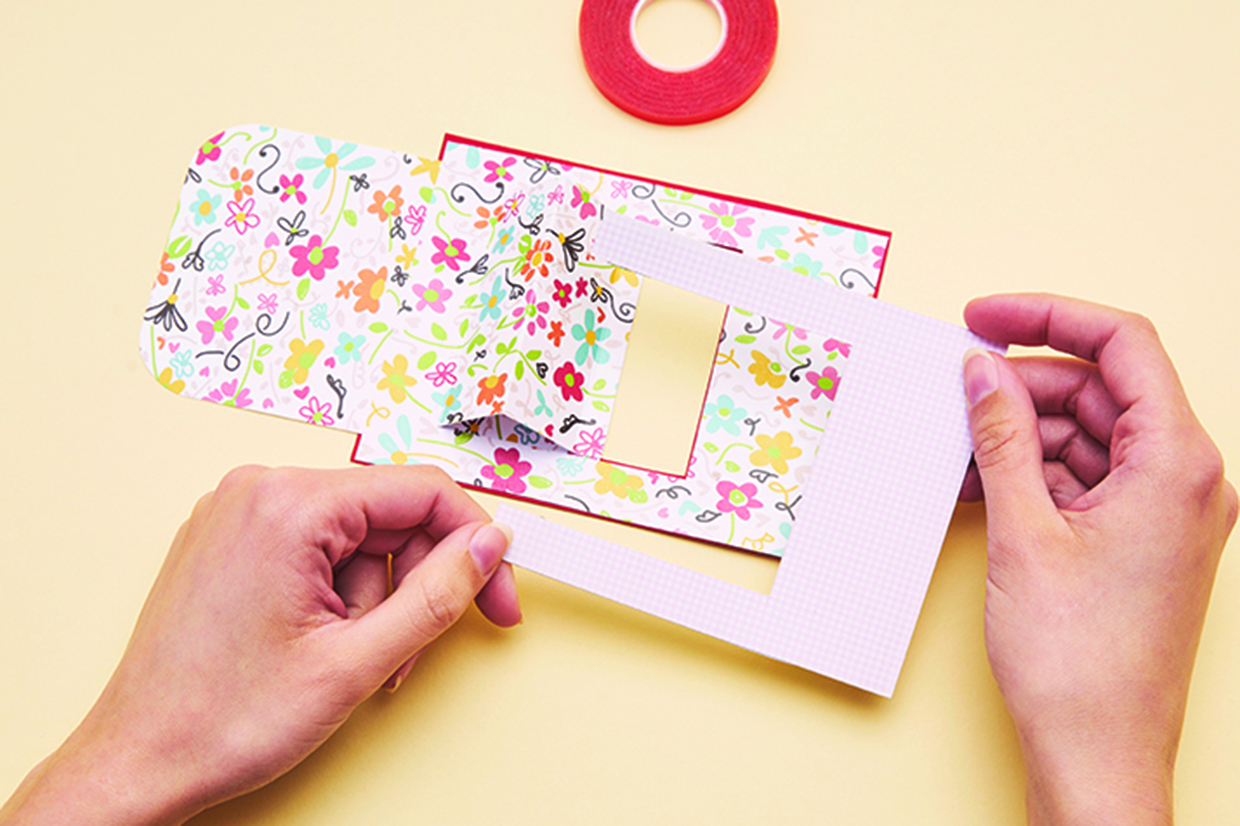
- Card
- Acetate
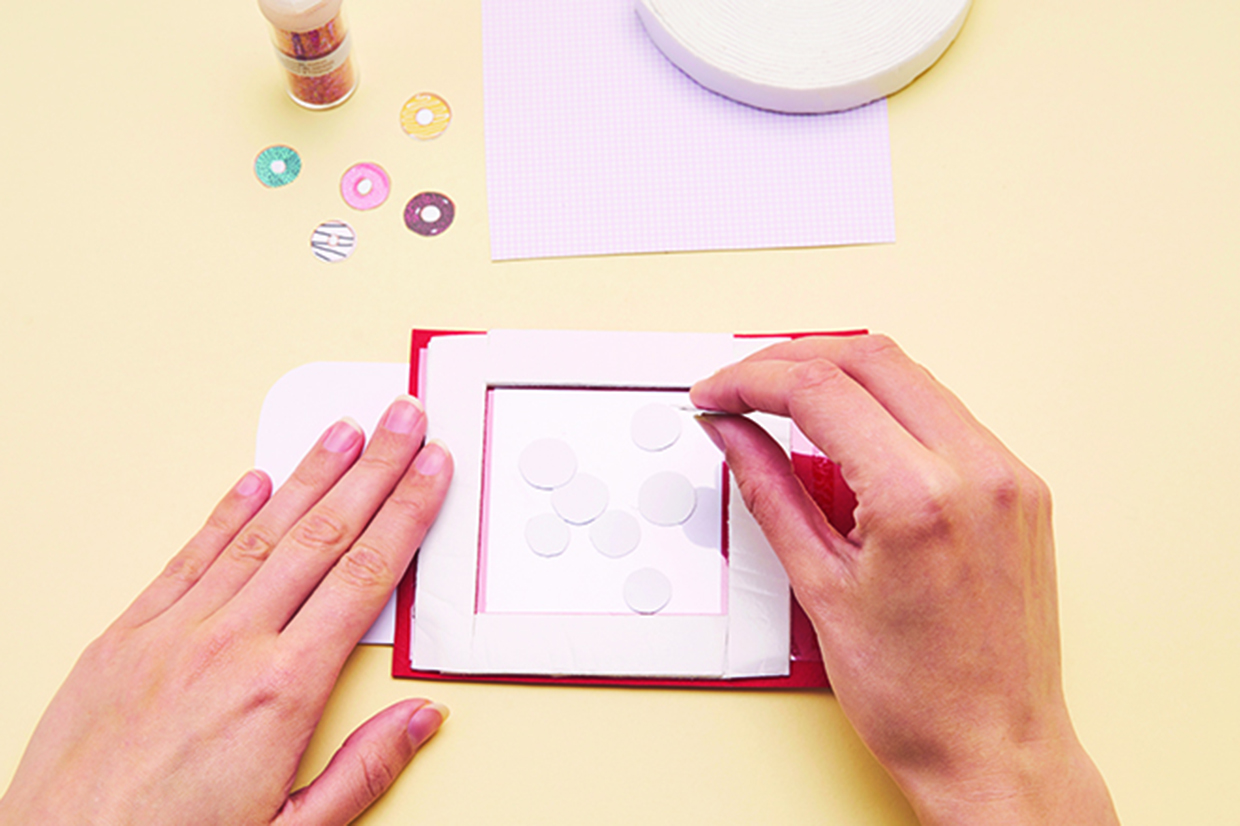
- Glitter
- Cake sprinkles
- Wire
- Adhesive gems or enamel dots
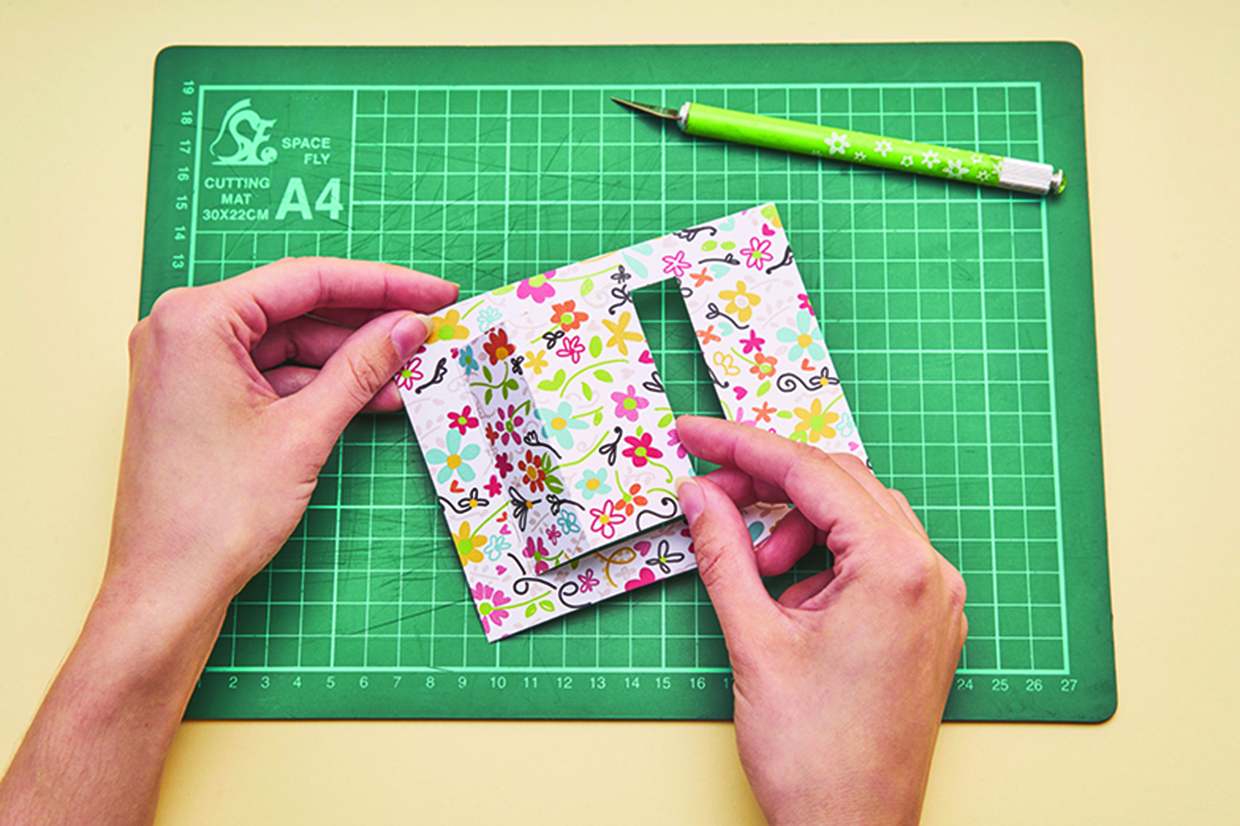
- Craft knife