How to make a double slider card

Impress your recipients and create a safari-style commute with this clever double-slider mechanism!

Try 6 issues of any craft magazine for just £9.99

Published: April 3, 2021 at 6:09 am

Learn how to make a double slider card with our easy step-by-step tutorial! Pull the tab and the animals travel past each other in opposite directions. A double-slider card is fun for children who like to watch the animals slide across the scene, but also a great card for adults to wonder - how did they do that? Read on for our full, step-by-step photographic tutorial and exclusive double slider card templates in the article below.

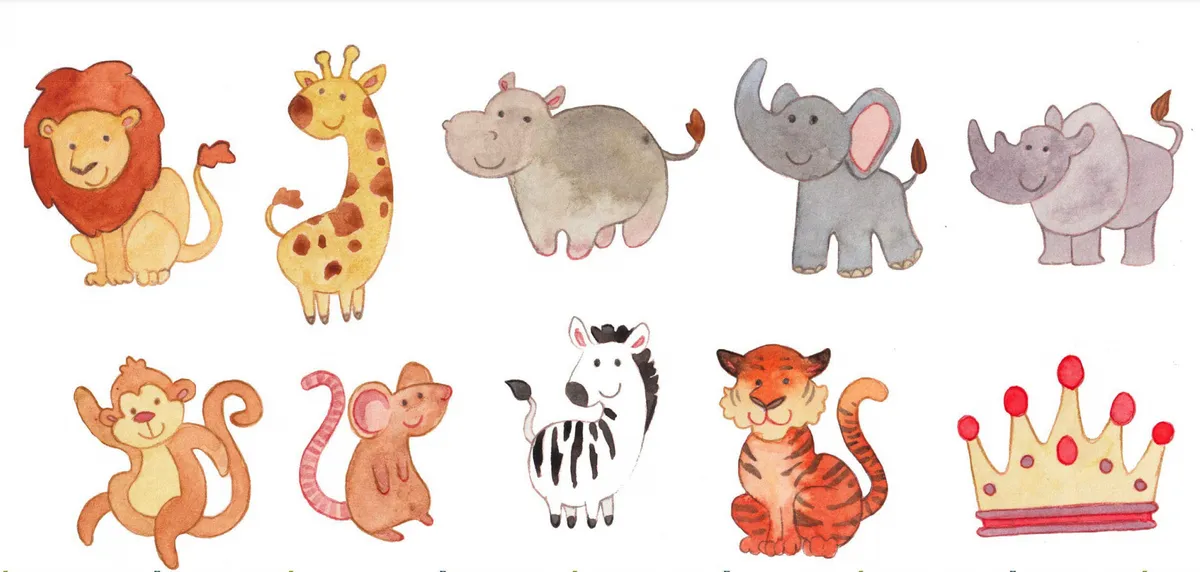
Download your free African safari printables to get started! After some more unusual card designs? Check out this fun rocking card tutorial!

We love seeing what you make with our free printable papers, so don’t forget to share your cards and papercraft projects with us on Facebook and Twitter, too!

African safari animals

You will need:

  • Greyboard (or sturdy card)
  • Card (plain, green and blue)
  • Kraft card
  • Safari printables
  • Polythene
  • Foam pads
  • Craft knife

Step 1

Using the free double slider card template, cut your ‘H’ mechanism out of sturdy card (greyboard or the thick card at the back of a sketchpad is ideal). Cut a 29 x 2.9cm strip of polythene and loop it loosely around the H mechanism, securing with double-sided tape.

Here’s a top tip: Recycle a plastic poly pocket for the polythene in your mechanism!

How to make a double slider card

Step 2

Using the template, cut out the ‘L’ tab. Attach to the front left-hand side of the polythene from step 1. Cut a 6.5 x 1.5cm strip of card and secure it vertically to the back right of the mechanism.

How to make a double slider card

Step 3

Using the free double slider card template, cut the large hill from some green card. Set the cut-out piece on a scoreboard and cut a slit where indicated with a craft knife.

How to make a double slider card

Step 4

Using the free double slider card template, cut the small hill from leaf paper and layer on top of the green hill from step 3. Secure together along the sides and bottom only, leaving the top open.

How to make a double slider card – step 4

Step 5

Add foam tape only in the top corners and along the bottom length of the front of your mechanism. Thread the ‘L’ tab through the slit in the hills and attach the hills to the front of your mechanism.

How to make a double slider card

Step 6

Matt and layer a 13 x 18cm card blank with green and blue paper. On the reverse of the mechanism, add double thickness foam tape along the bottom and top tabs only. Attach to the card.

How to make a double slider card – step 6

Step 7

Use triple thickness foam pads to attach a zebra to the back tab & double thickness foam pads to attach a giraffe to the front ‘L’ tab. Fussy cut and attach the sentiment, elephant and tree.

How to make a double slider card

Download your free double slider card templates:

To download the free double slider card templates, click on the link below and it will open in a new window. You can then save/download the templates!

Double slider card template

Free double slider card template


How to make a double slider card – hand1

How to make a double slider card – hand2

How to make a double slider card – hand3