How to make a paper fan
Find out how to make a paper fan with our easy-to-follow step-by-step guide.

Published:
Create beautiful decorative fans with our guide on how to make a paper fan. You can follow along with our video, which guides you through the process, or you can see below for a step-by-step guide (with images) on how to make your own fan.
These fans make amazing decorations and work well for a party display or table, you could create several in various colours to make a special display. In this tutorial we just use plain A4 white printer paper, which most of us have at home to hand, but if you are feeling creative try using colourful paper or even patterned paper. Right here on gathered we have lots of free printed paper downloadables try these free animal print papers to create a safari-themed birthday display with your papers. These confetti patterned papers would work well if you are making a birthday fan or display, if you want to browse the whole selection head over to our free printable papers to find the perfect design for your project.
In this how to make a paper fan tutorial you’ll find out how to make pretty decorative fans, you won’t need many materials to create this fan and you can probably find them around the house! You could also get the kids involved with these fans as they’re super easy and quick to make.
You Will Need
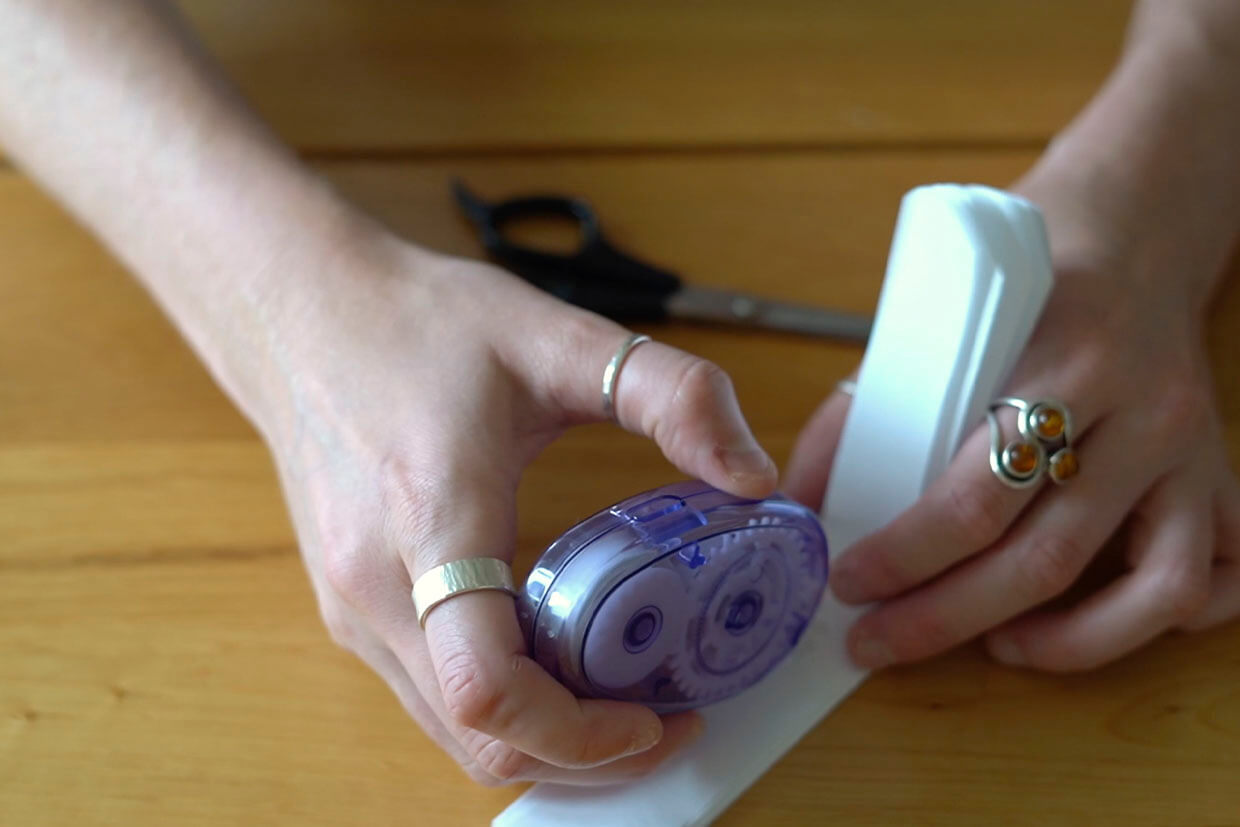
- A4 paper x 3
- Glue gun or glue stick
- Scissors
- Straws or lollipop sticks
- Sellotape
Step 1
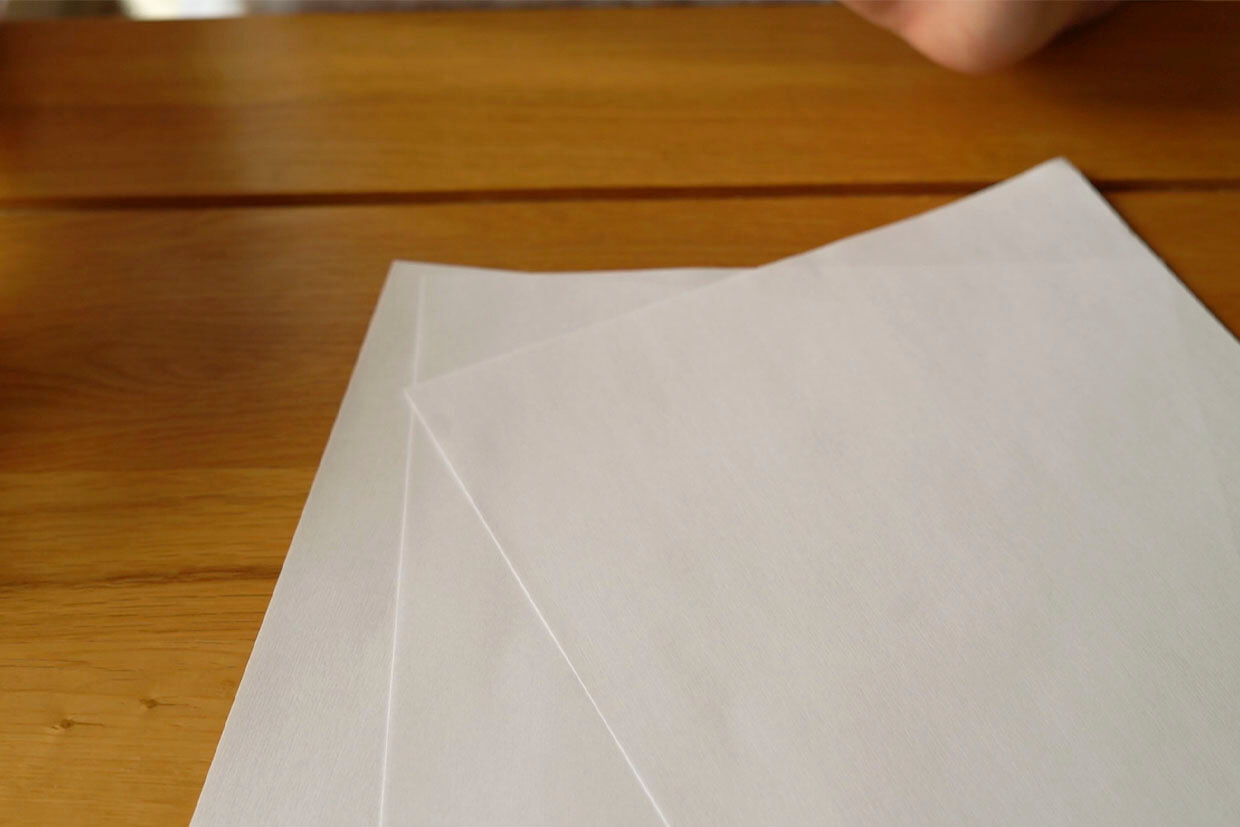
You’ll need three bits of A4 paper, you can use plain white or you can use any coloured or patterned paper. If you are making more than one fan it can be quite effective in a display to have different styles.

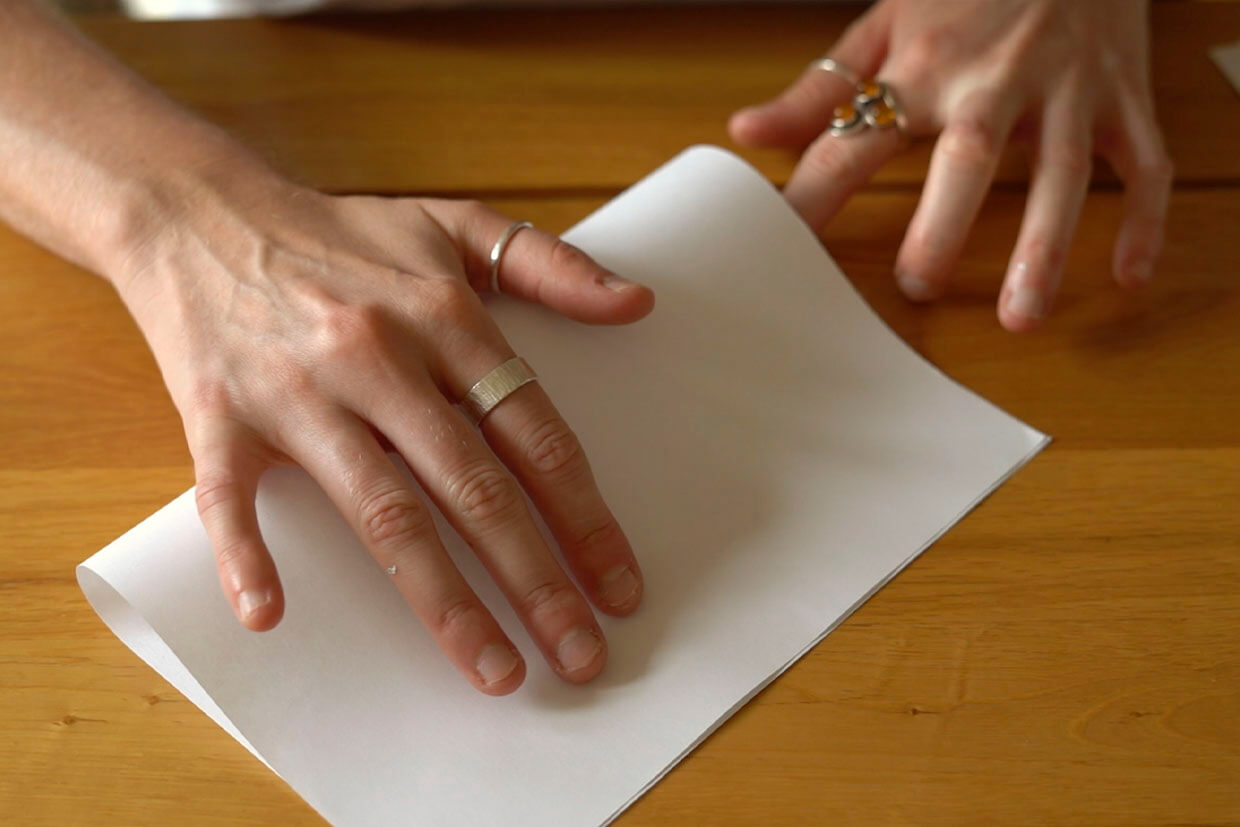
Start by folding the paper in half.

Step 2
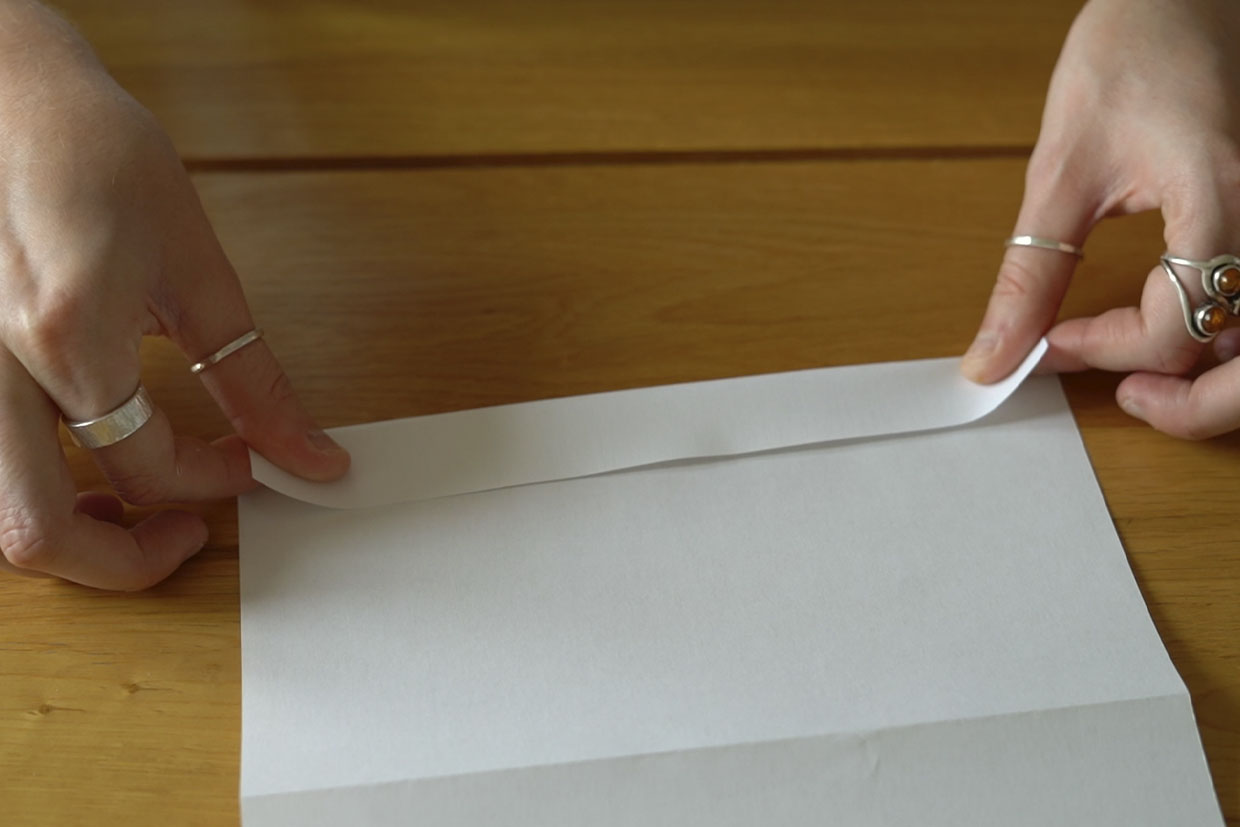
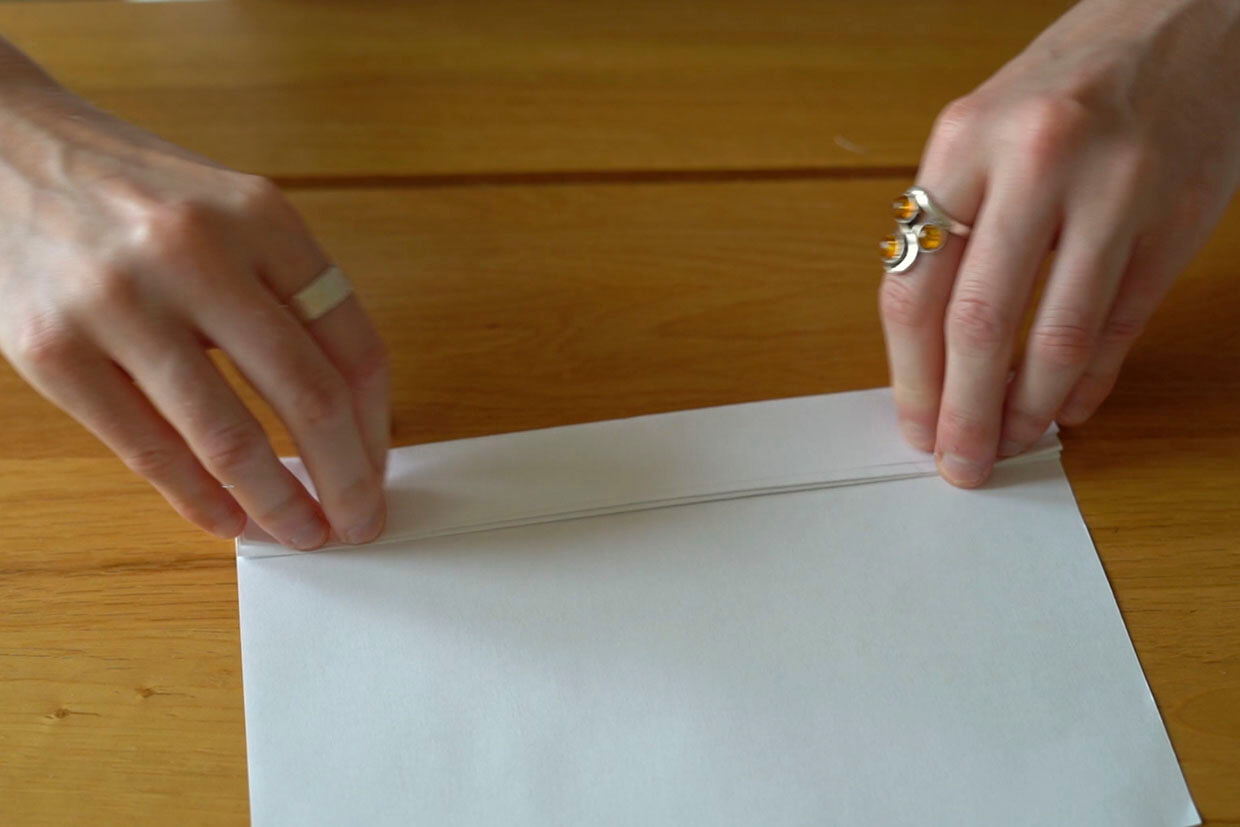
Fold the paper a couple of inches.

Continue doing this until all the paper is used, make sure you are flipping the paper in between each fold.

Step 3
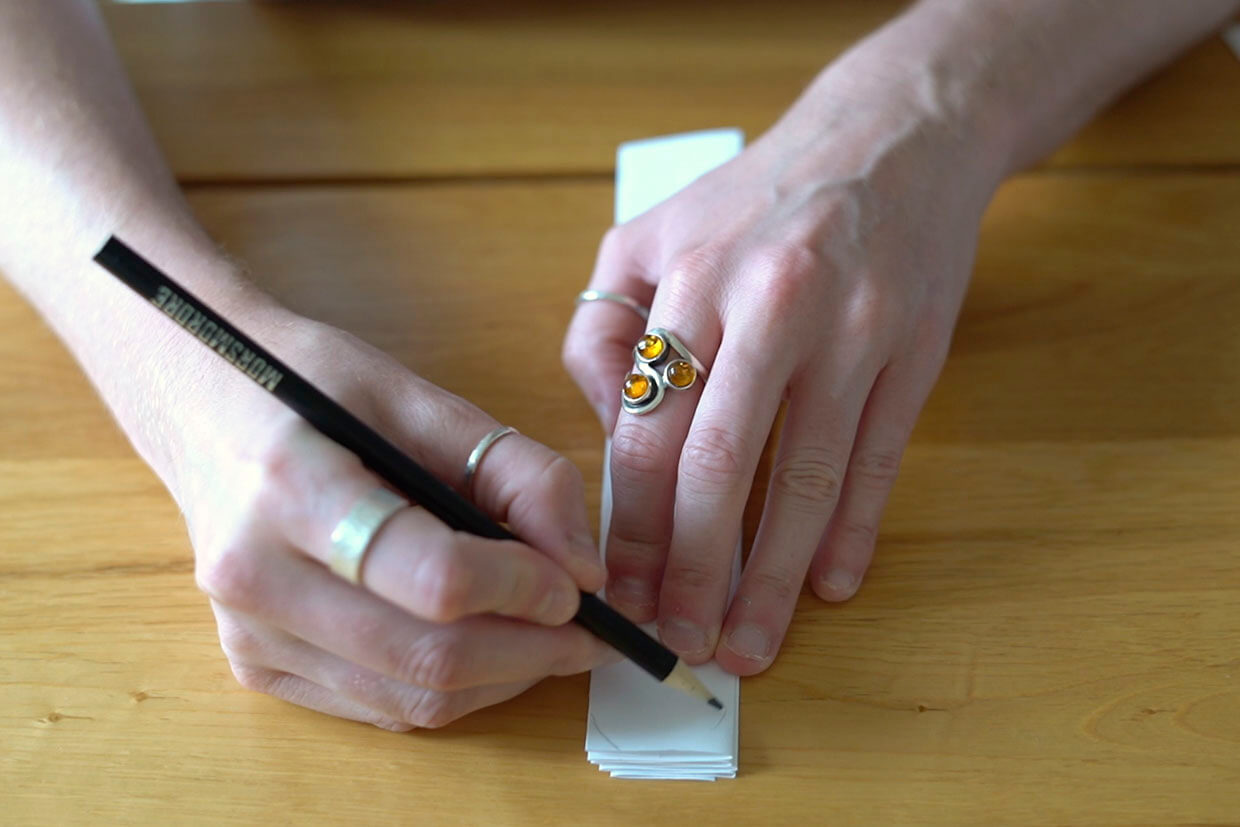
Once you have folded all the way to the end of the paper, draw a curved line at either end of the paper as a stencil for cutting. This will create the petals.

Step 4
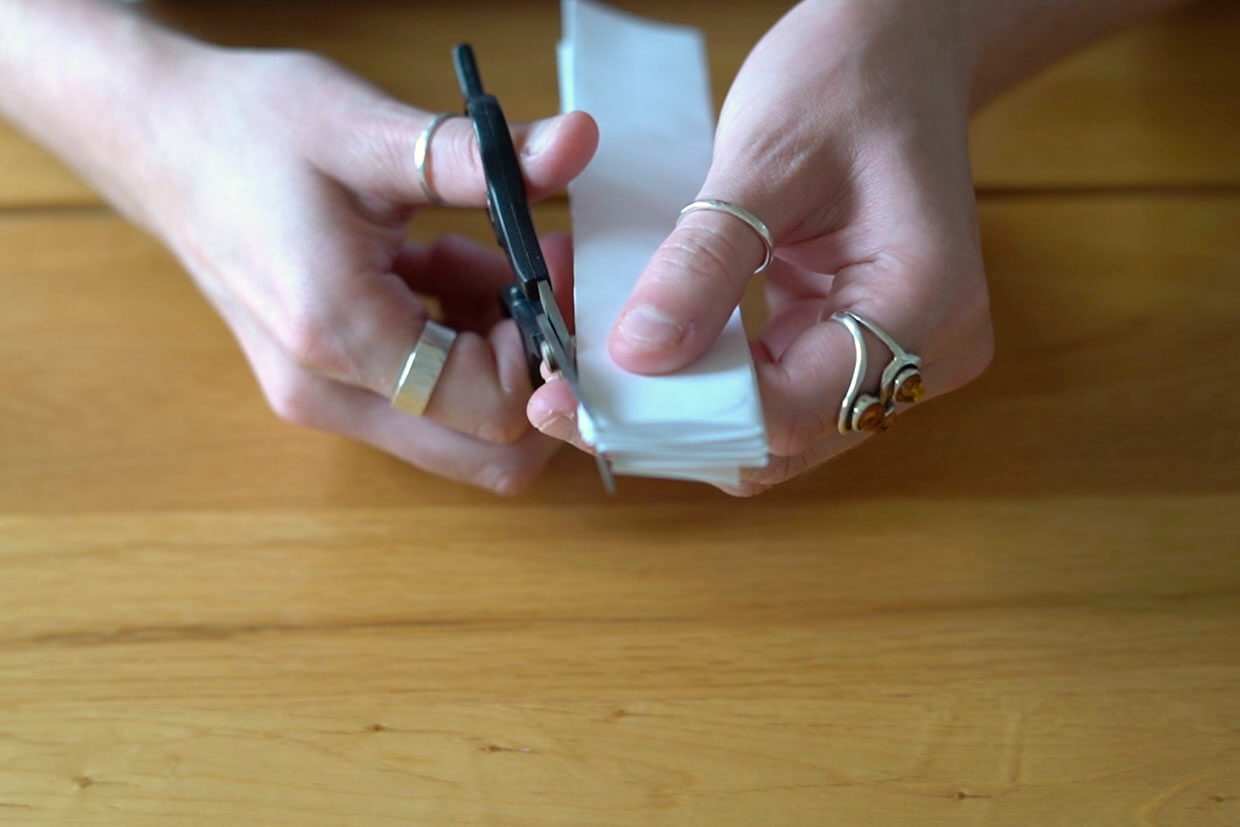
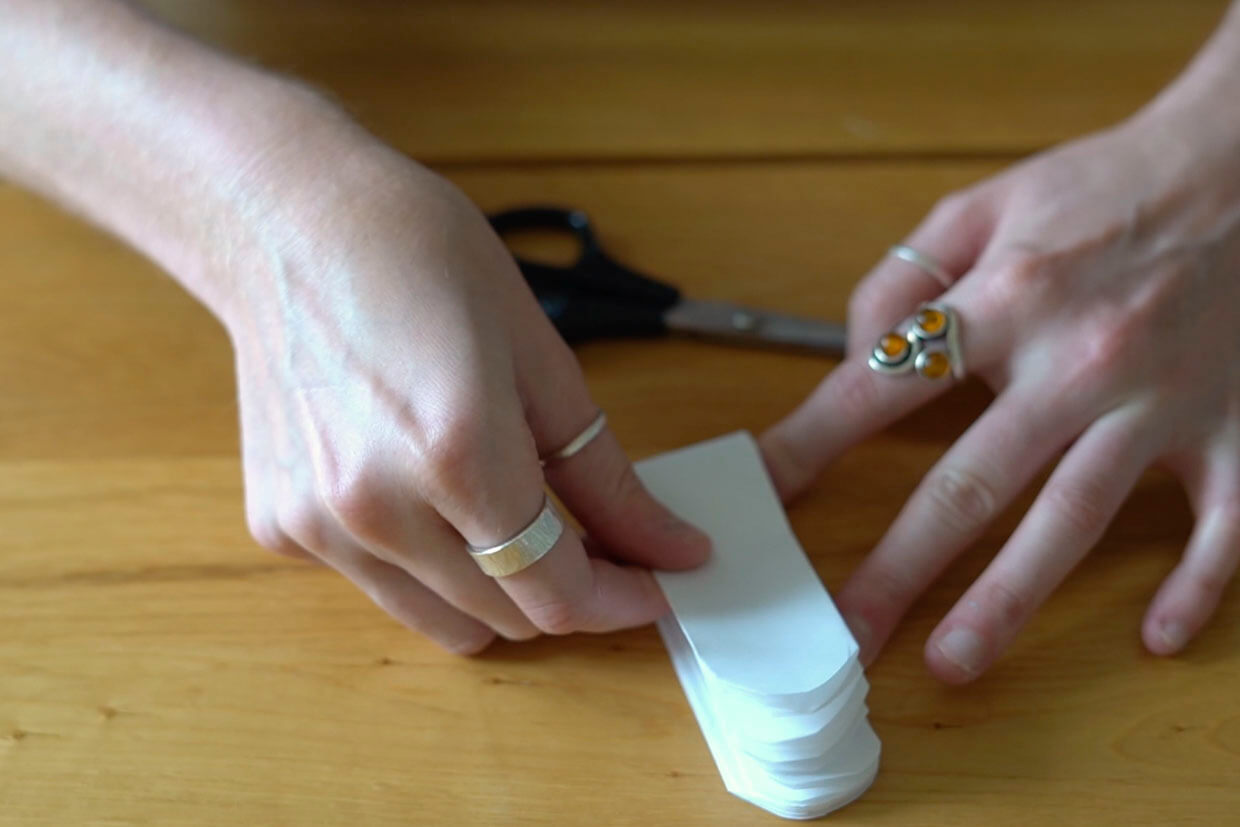
Cut the stencil you have just drawn to create rounded edges.

Step 5
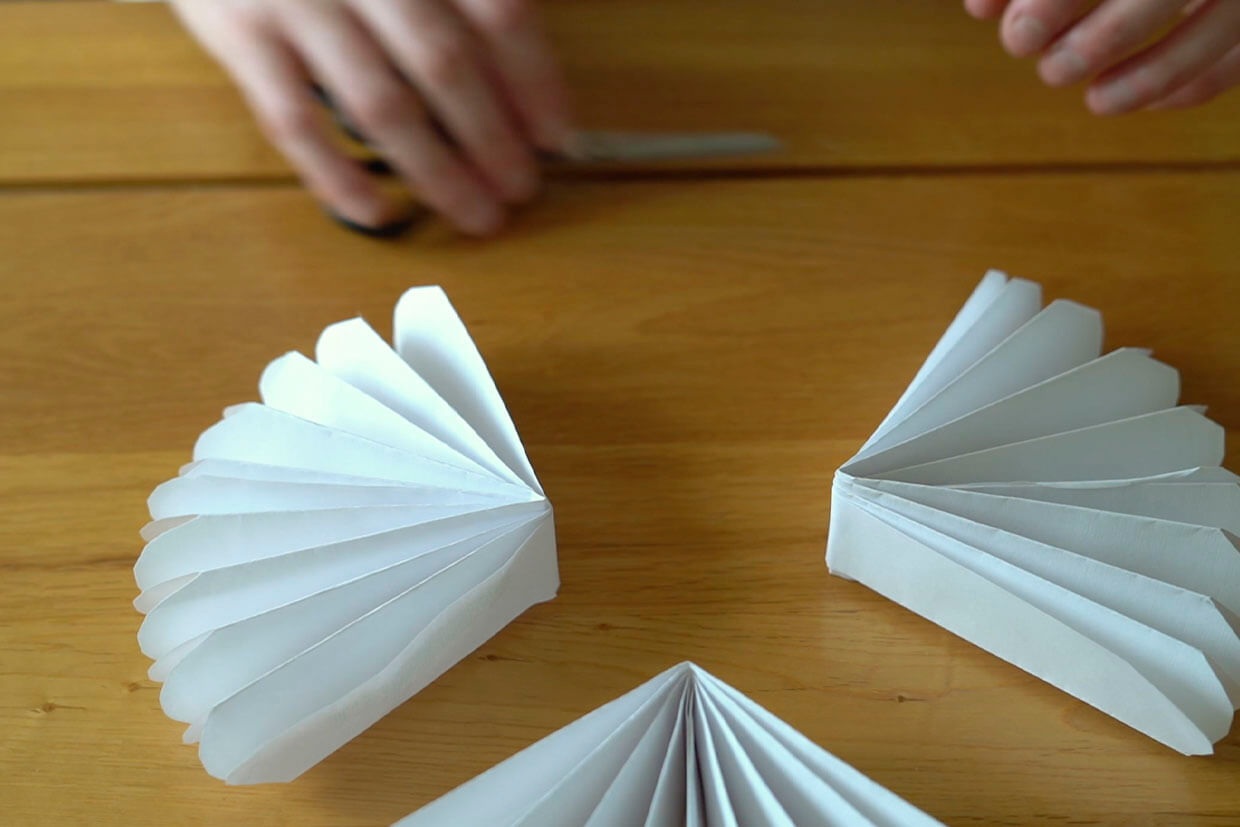
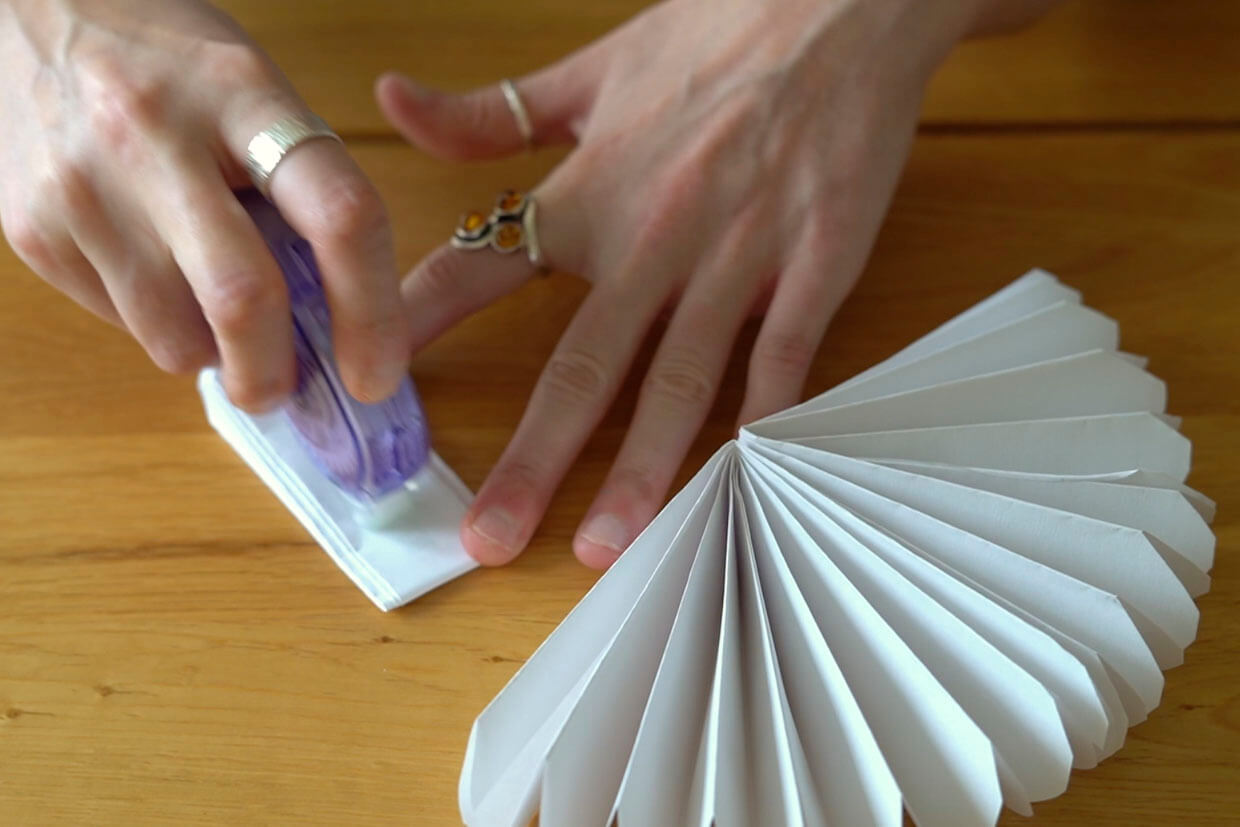
Fold the fan in half lengthways

and glue the two inner sides together using a glue stick.

Step 6
Create two more fans from your A4 paper using the same method.

Glue all three together leaving one side open.

Step 7
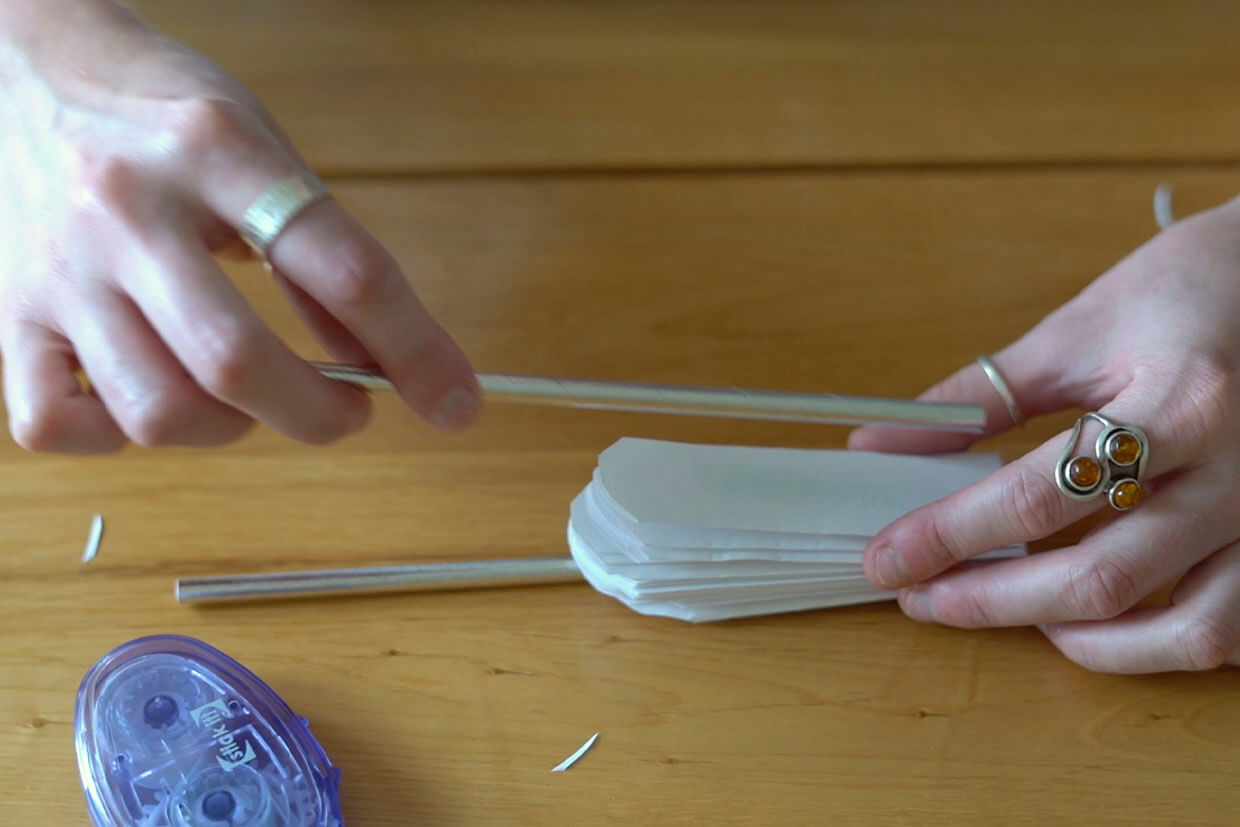
To create a handle, glue a paper straw or lollipop stick to either side of your fan.
Secure with a glue gun to ensure it doesn’t come apart.

Step 8
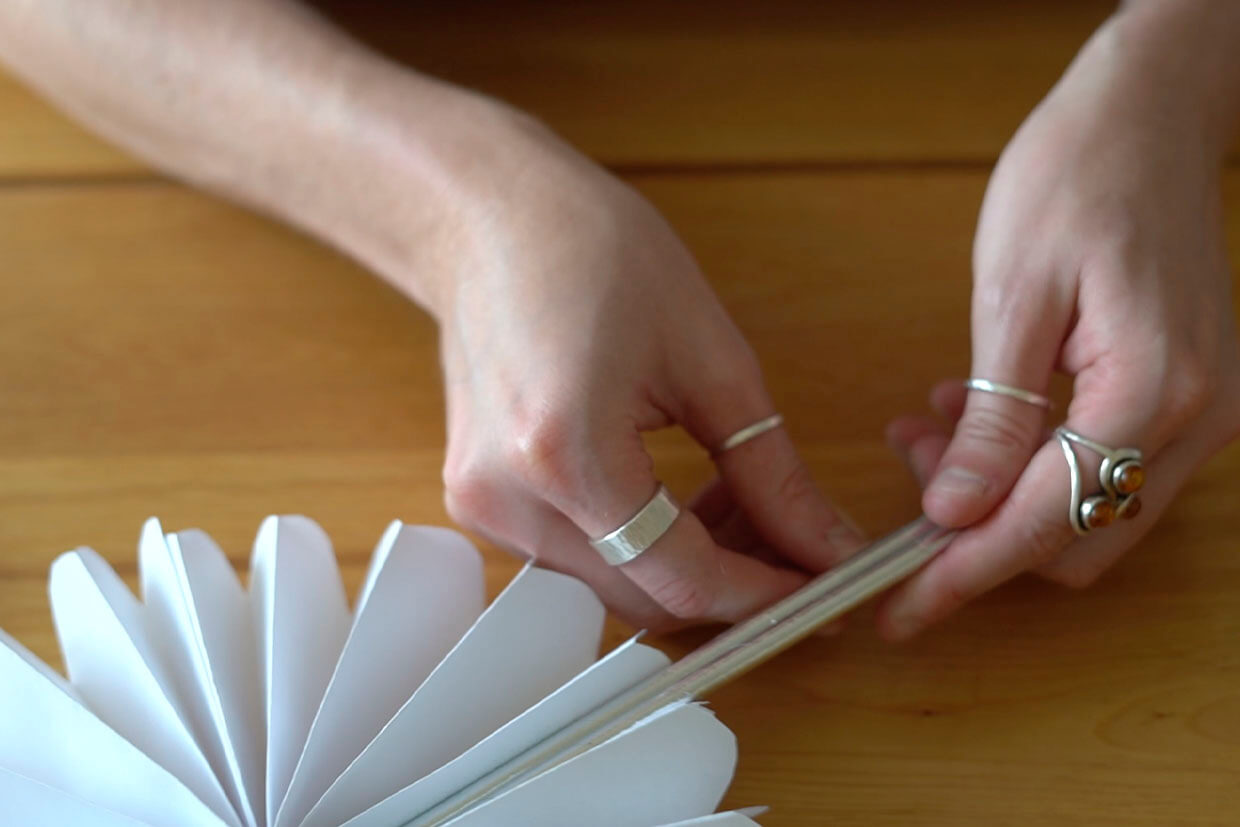
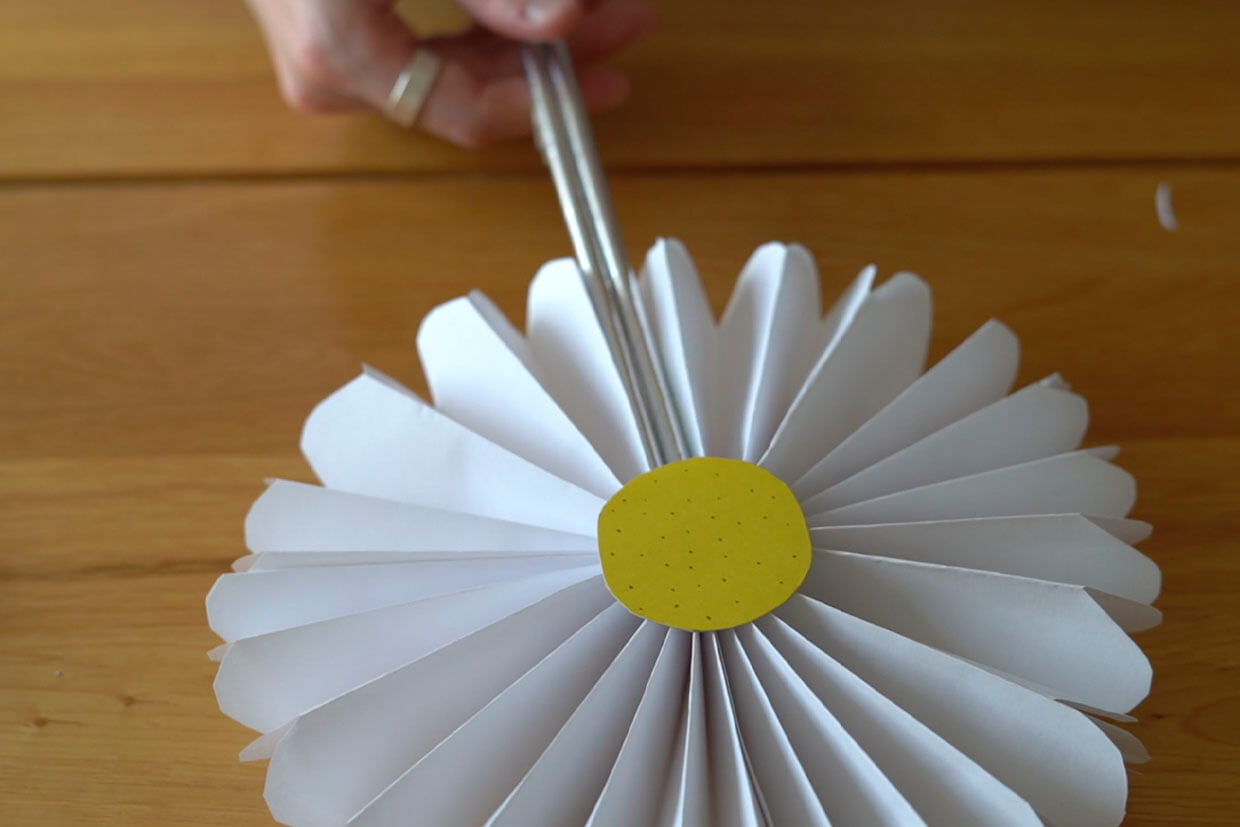
If you want to create a flower and do not need to open and close your fan then tape the two straws or handles you have made together.

Step 9
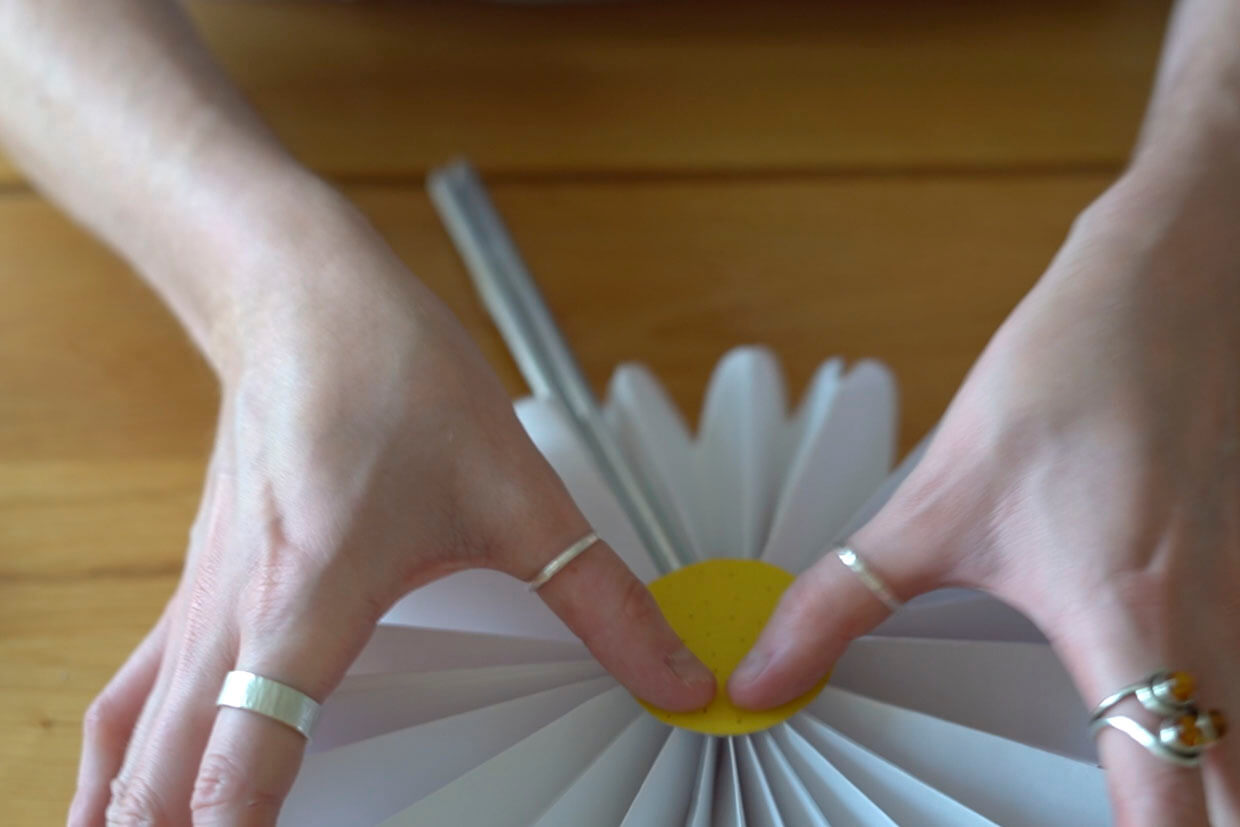
Create a yellow circle from card, a cereal box works well and dot with a pen to create the pollen look.
Glue it to the centre of your flower using a glue gun.

Step 10
That’s it! You have now completed this tutorial on how to create a paper fan. These fans make lovely decorations for parties like bridal showers, baby showers and birthdays. Make lots of different colours and styles and create your very own DIY display.

If you enjoyed following along with this tutorial on how to make a paper fan, then you’ll love our other papercraft ideas, try these paper cutting templates to create some special artwork. If you want to try paper folding you should check our tutorial on how to make an origami paper flower wreath, which would brighten up any room of your home. We also have plenty of tutorials and free downloadables for cardmaking, try these free sunflower printables or Hawaiian printables to make your cards and decorations stand out. If you love cardmaking, and want to print amazing patterns and cards at home, take a look at our best printer for card making, plus we also have a great guide to the best glue gun, which is great for this project but also many other craft projects you take on.Â