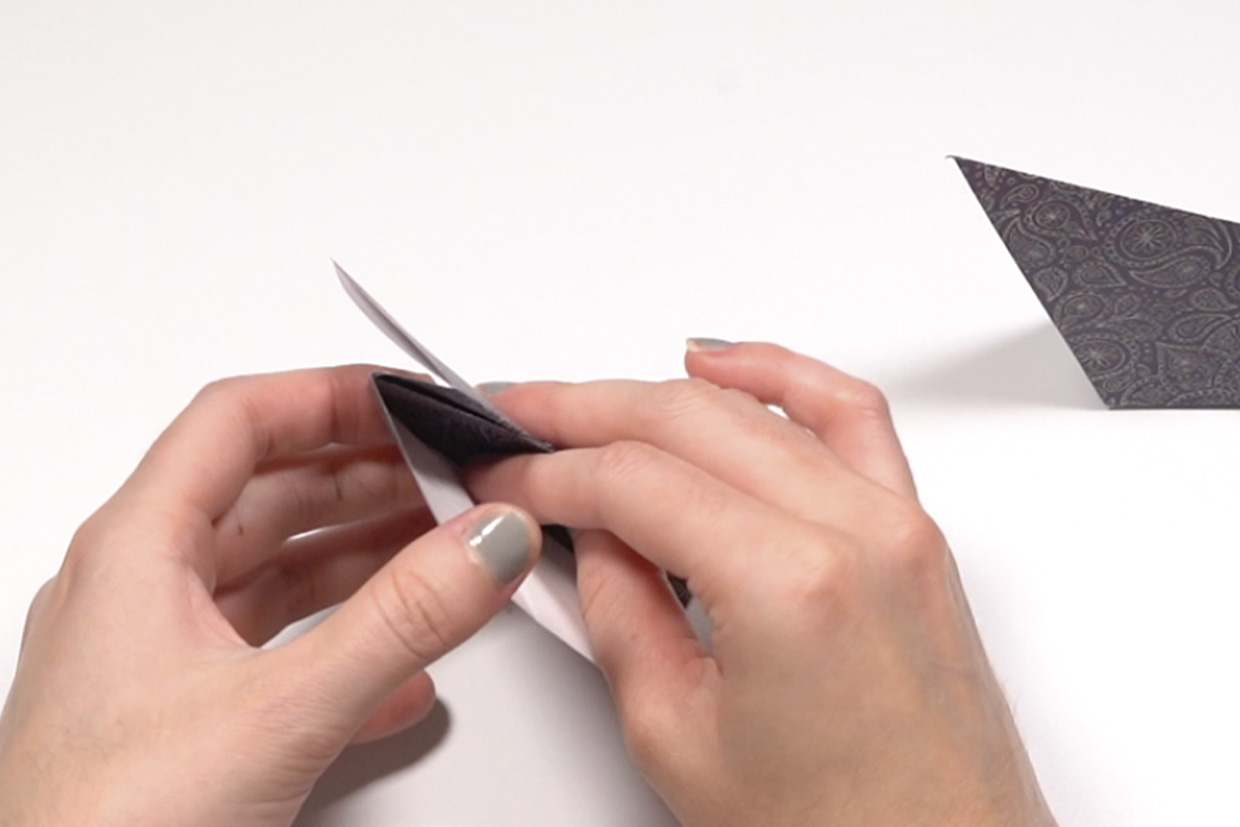
Step 1
To make the cats head
Fold the paper in half to make a triangle.
Top tip: When you’re folding make sure your folds are nice and defined, you can use your fingernail.
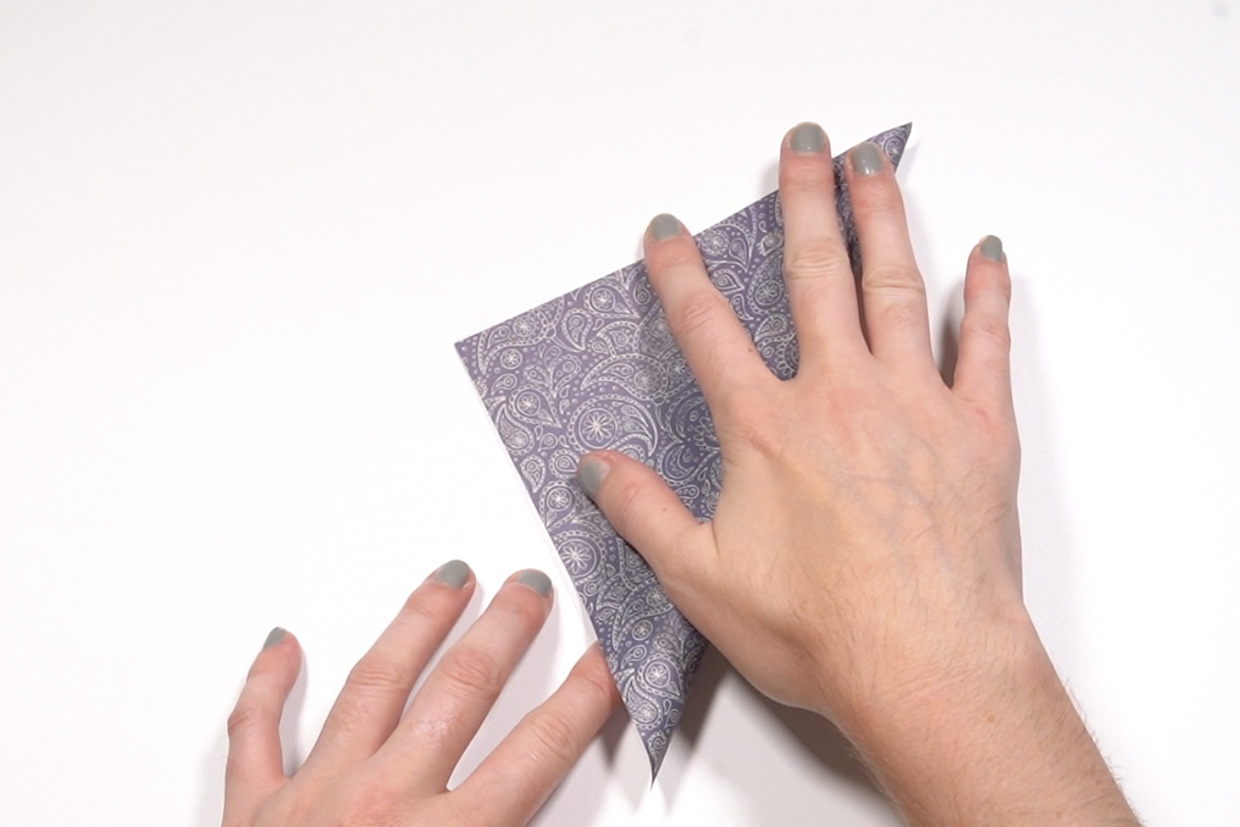
Step 2
Fold the paper in half again.
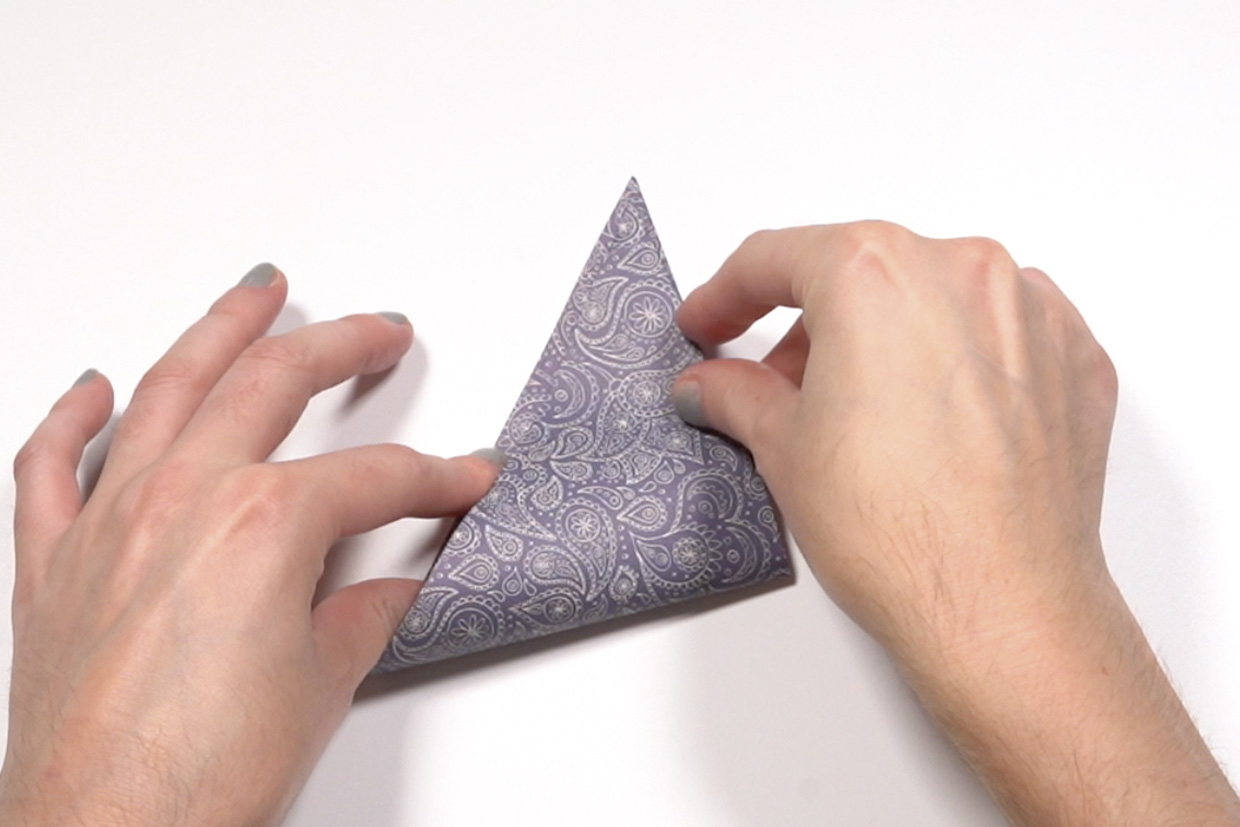
Step 3
Unfold your paper so you’re back to the original square that you started with. Take the top corner and fold it down to the middle crease.
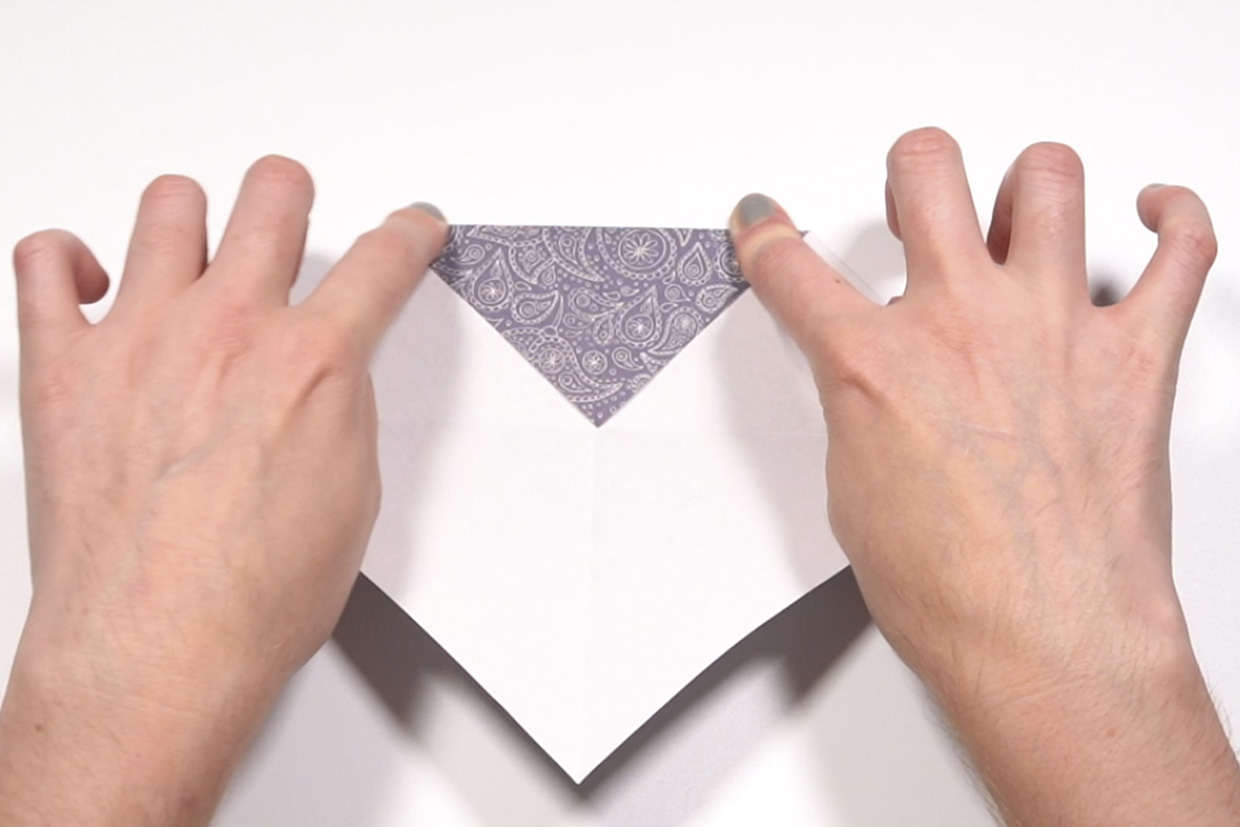
Step 4
Once you’ve done that fold that top part down to the middle fold so you’ll find it folds quite easily in the middle.
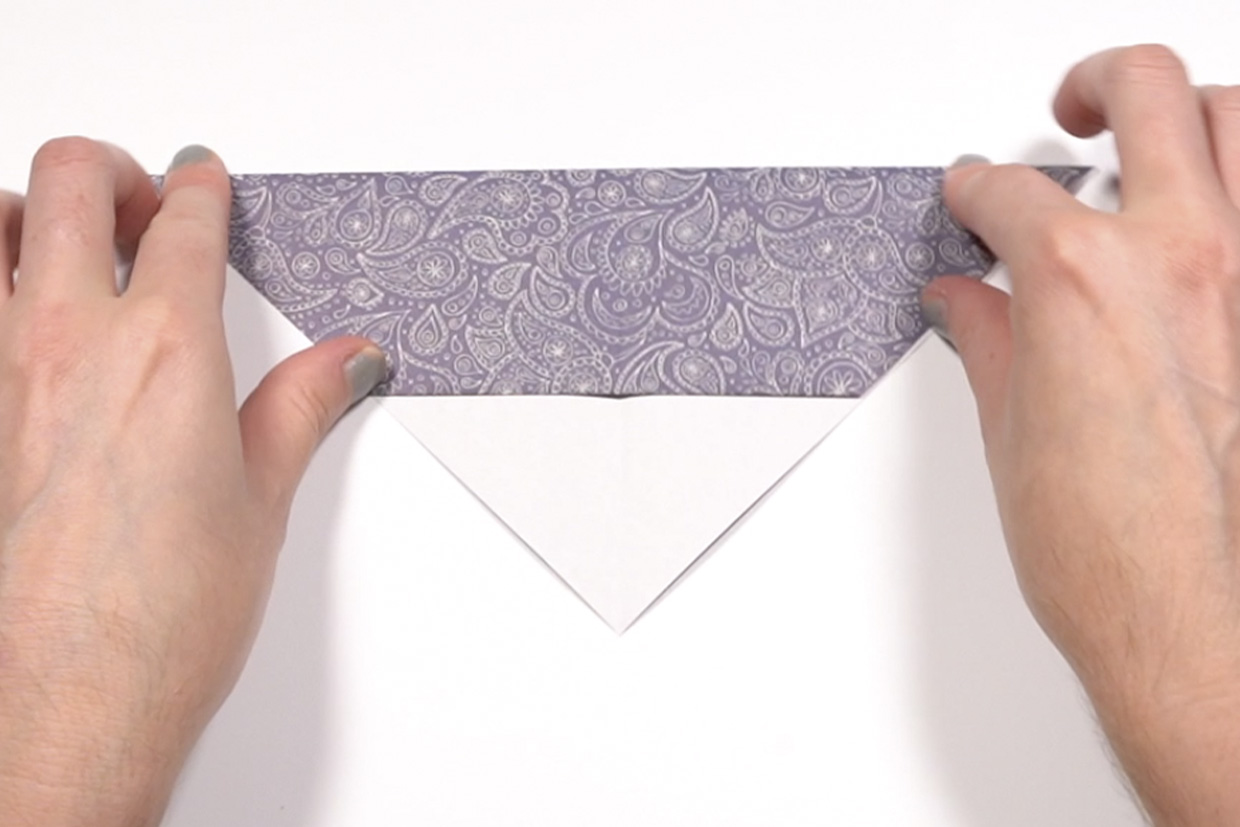
Step 5
Once you’ve done that you can fold each corner into the middle section. As you’re folding this you’ll see that it’s making a square.
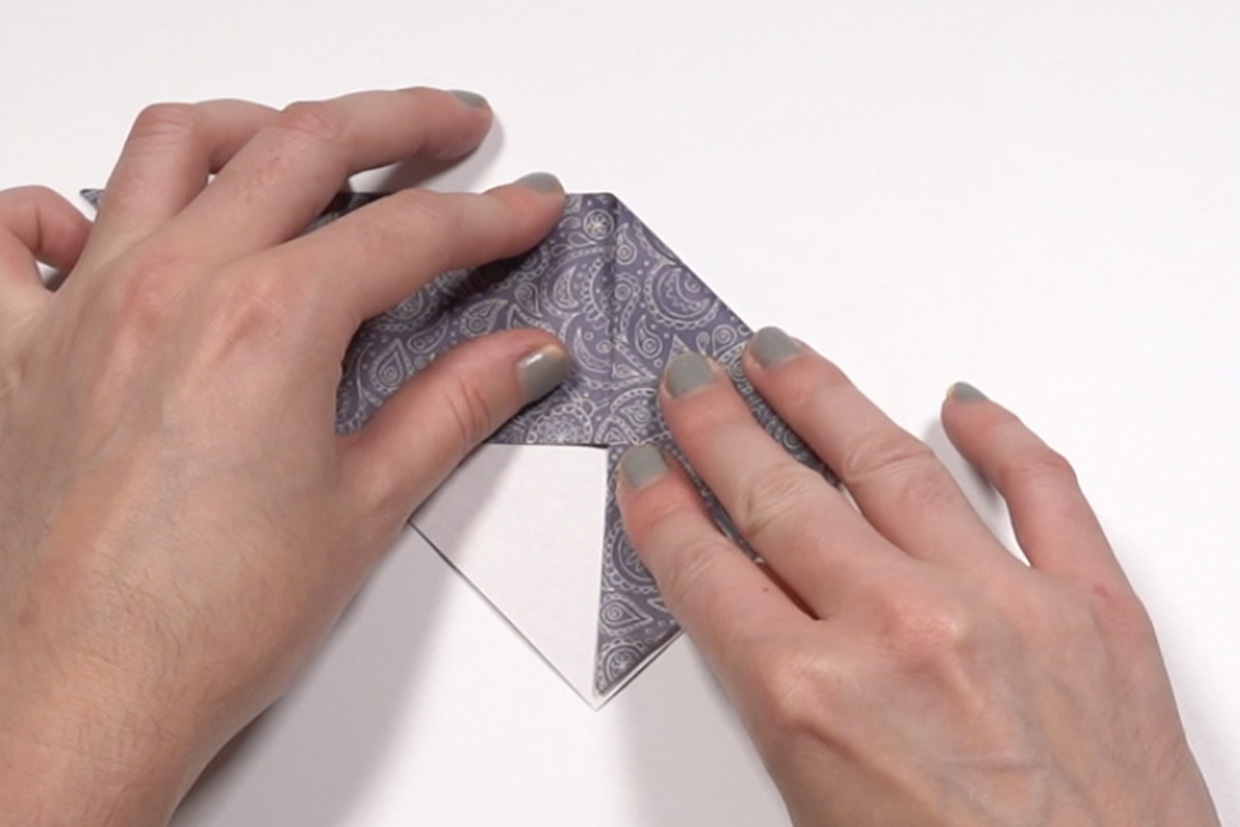
Step 6
Now you’ll need to fold each corner outwards so it’s pointing out above the side of the square, for context this will make the points of your ears.
Do the same with the other side so it’s symmetrical.
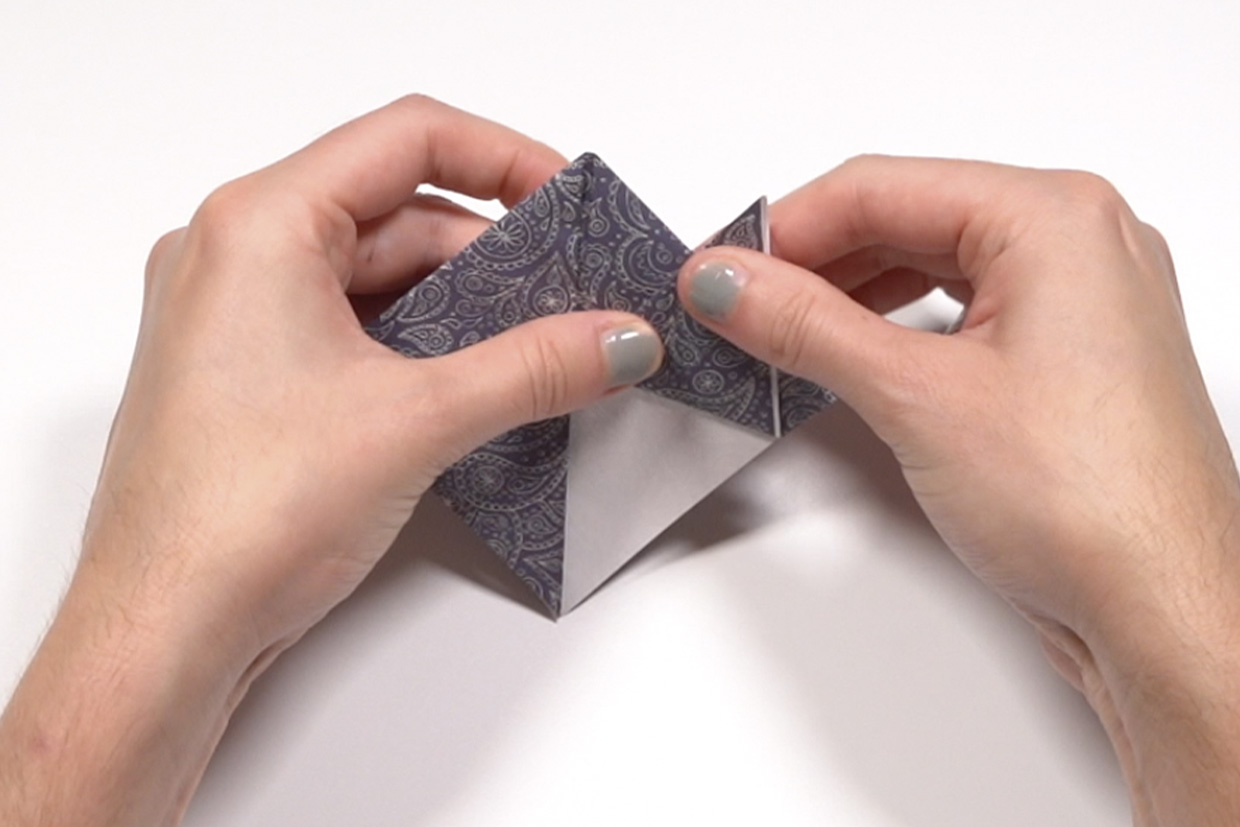
Step 7
Take the topmost point between the ears and fold it down to the centre of the square this will create the top of the head of your cat.
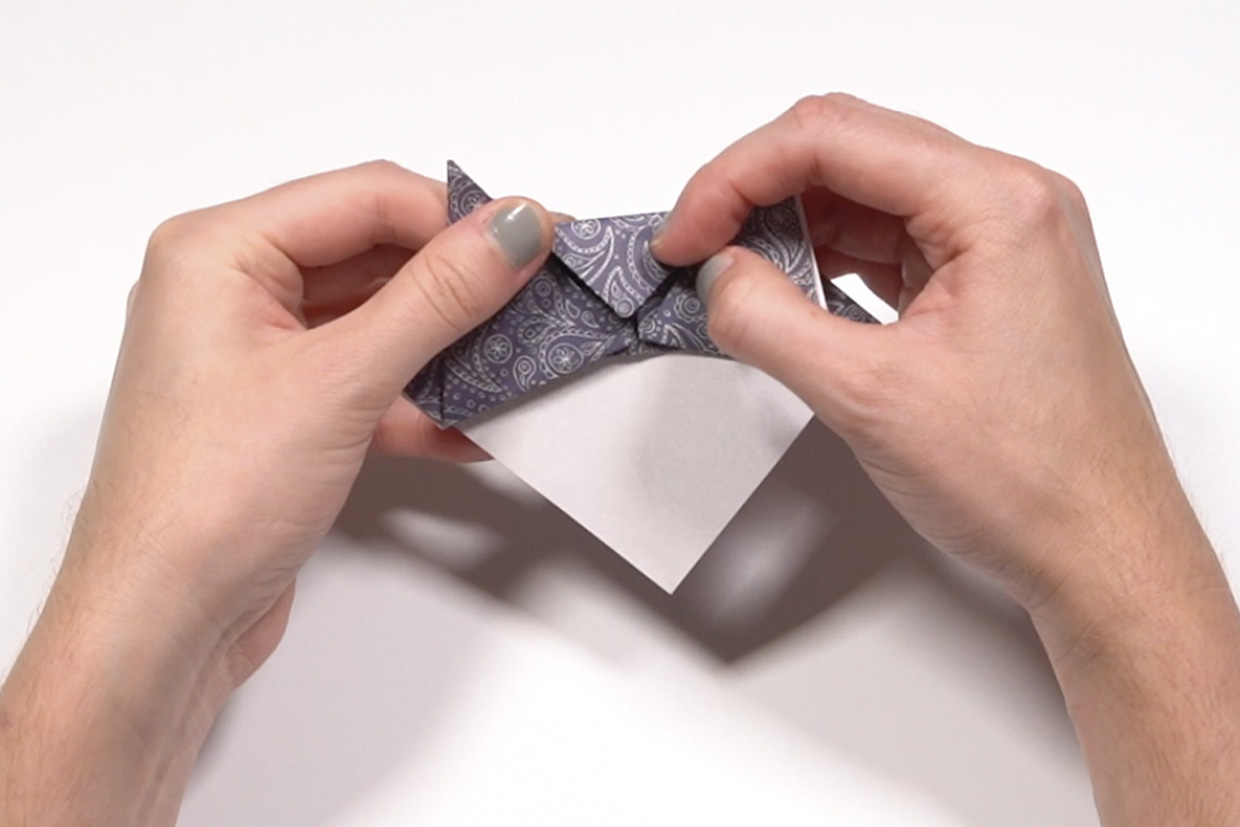
Step 8
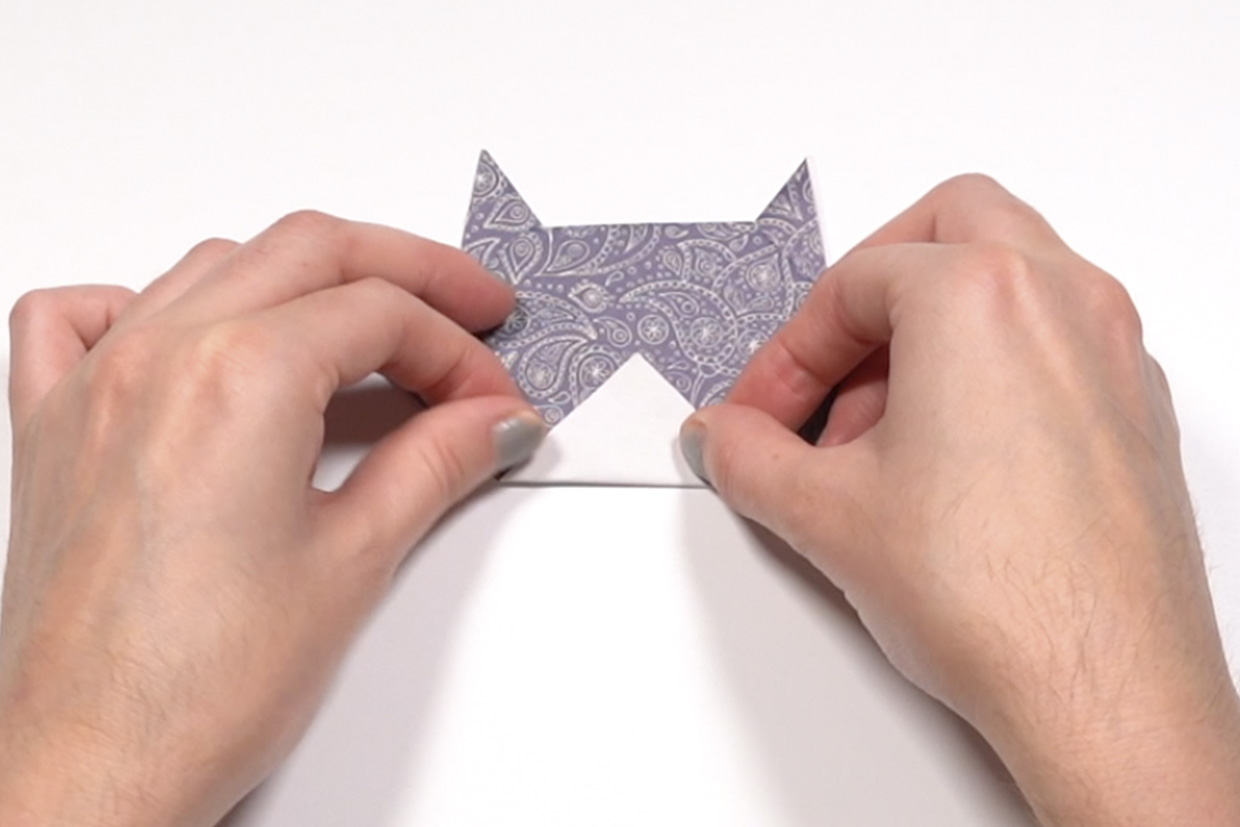
Flip the cat’s head over and take the bottom point and fold upwards about halfway.
Step 9
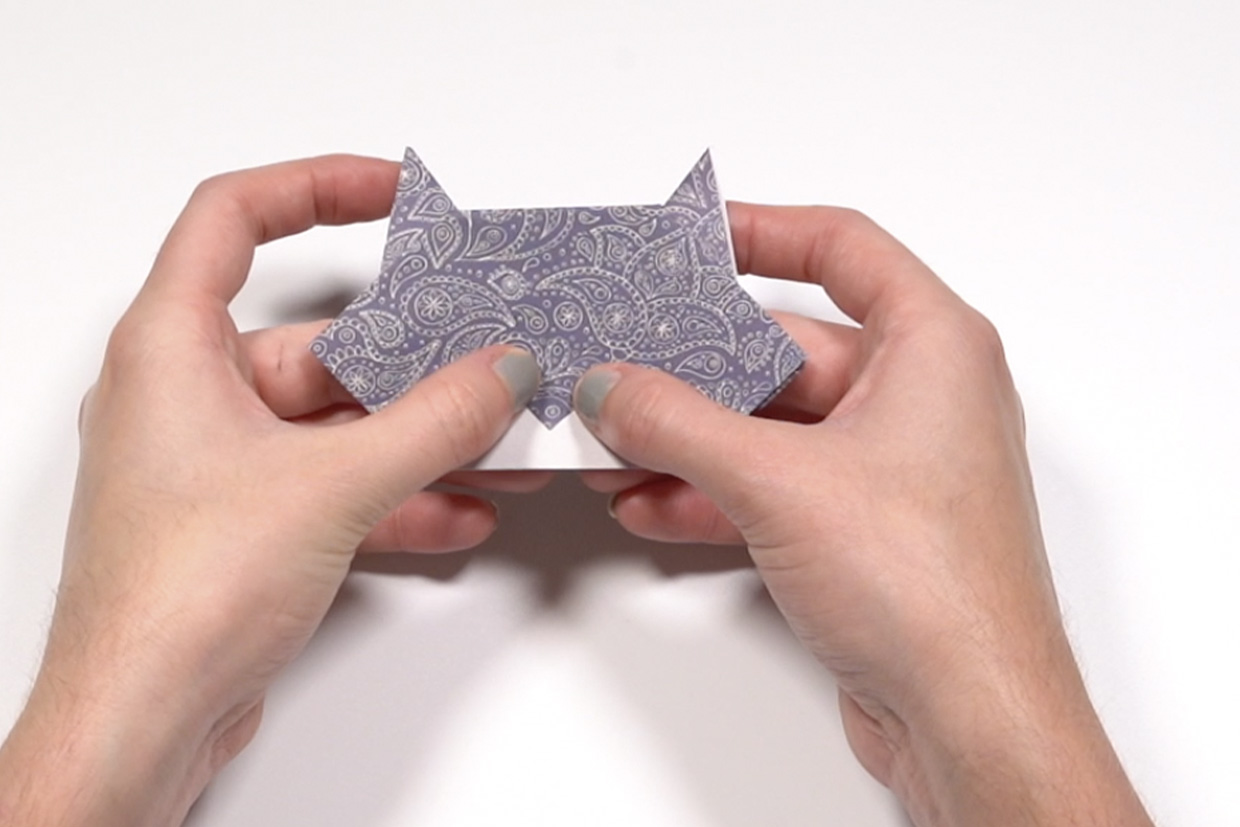
To create the nose pull down a small triangle from the fold you just created.
Step 10
To create the body
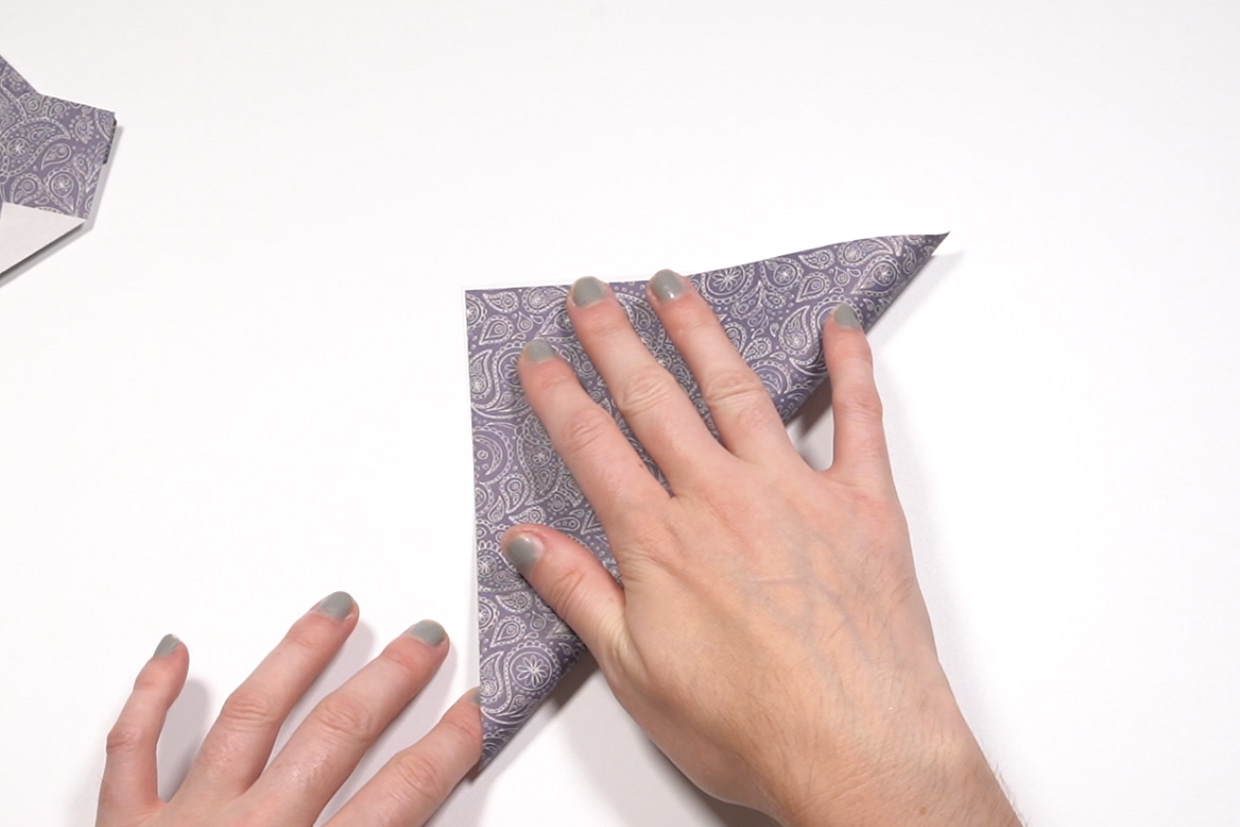
Take your other sheet of origami paper and fold it into a triangle exactly what we did on the last one.
Step 11
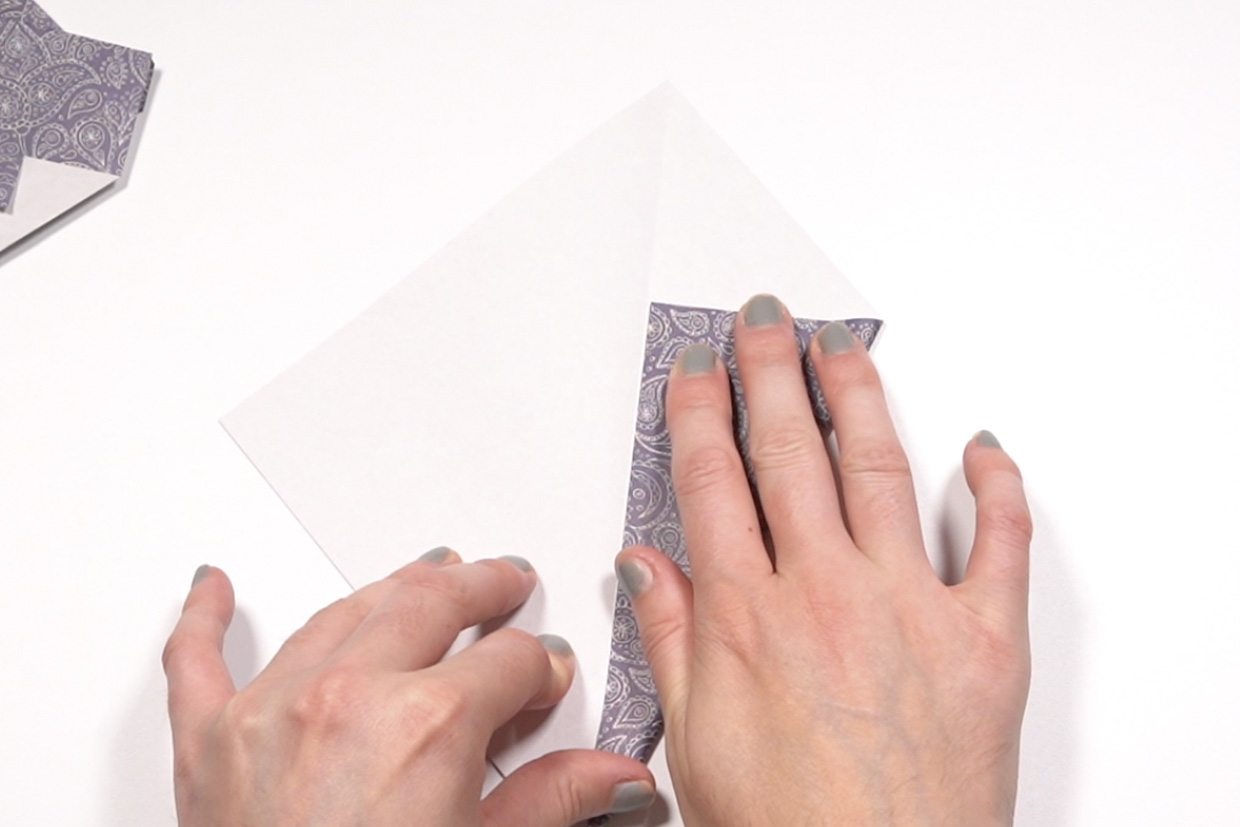
Unfold your triangle and fold in the outer corners to the middle and line it up with the middle line on one side, and then do exactly the same on the opposite side so you've got a nice symmetrical fold.
Step 12
Then fold your paper in half down that middle line. Place your paper on the table facing downwards so the open gap is at the bottom.
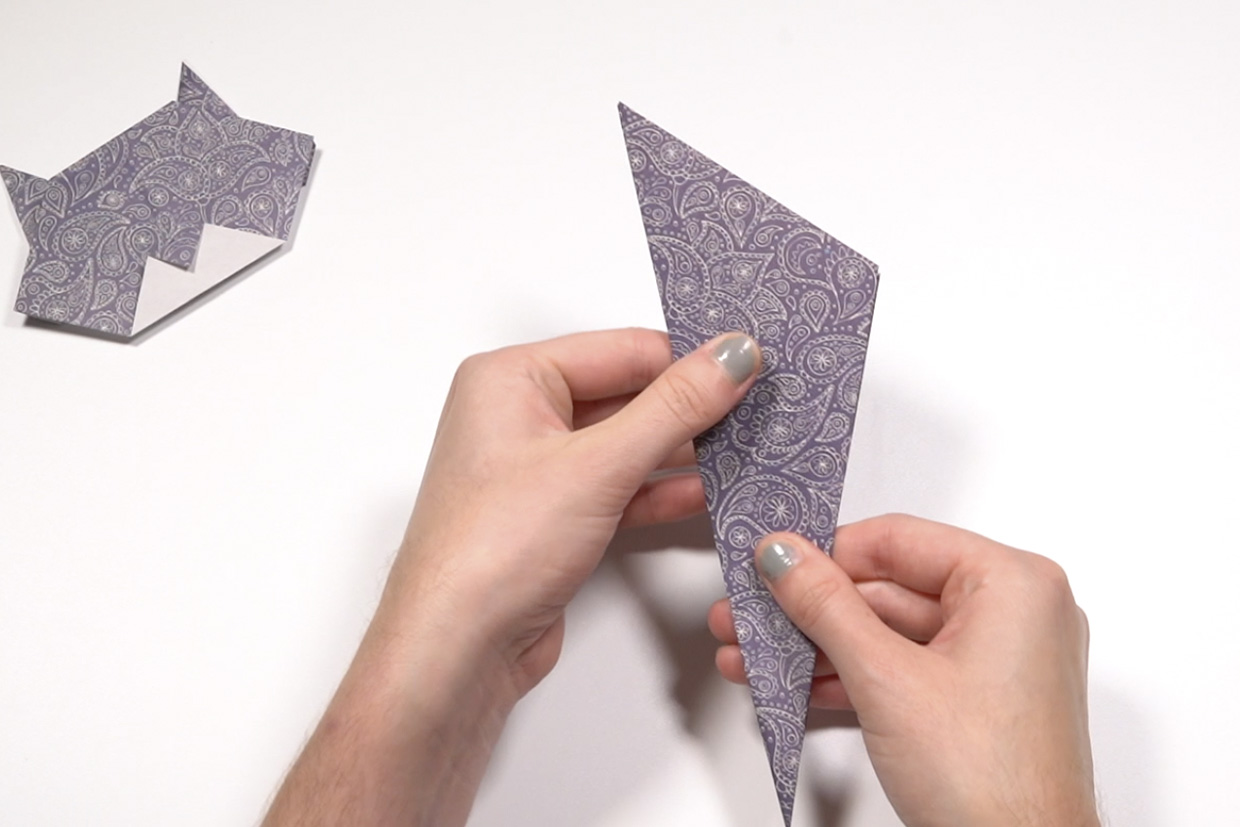
Step 13
Then fold a triangle inwards towards the body and then fold the body back over the triangle you've just folded to create some defined folds.
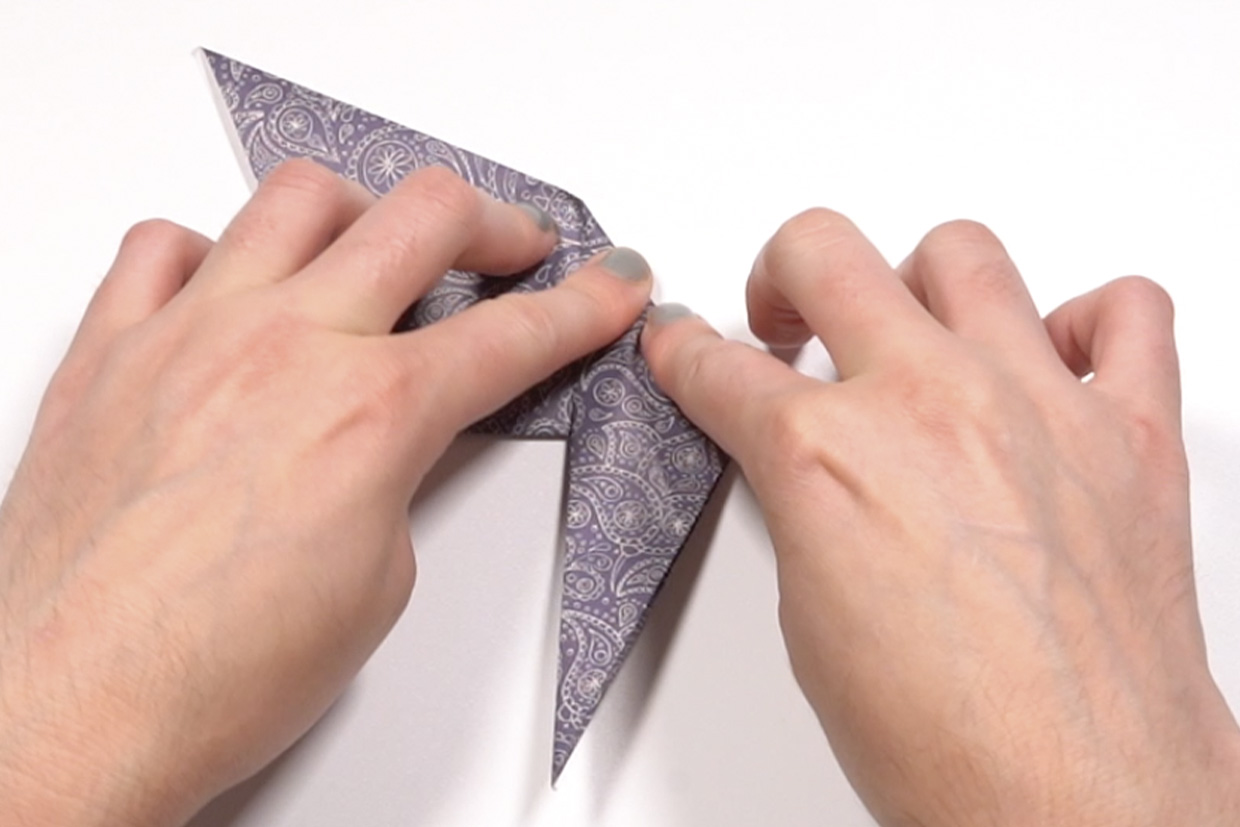
Step 14
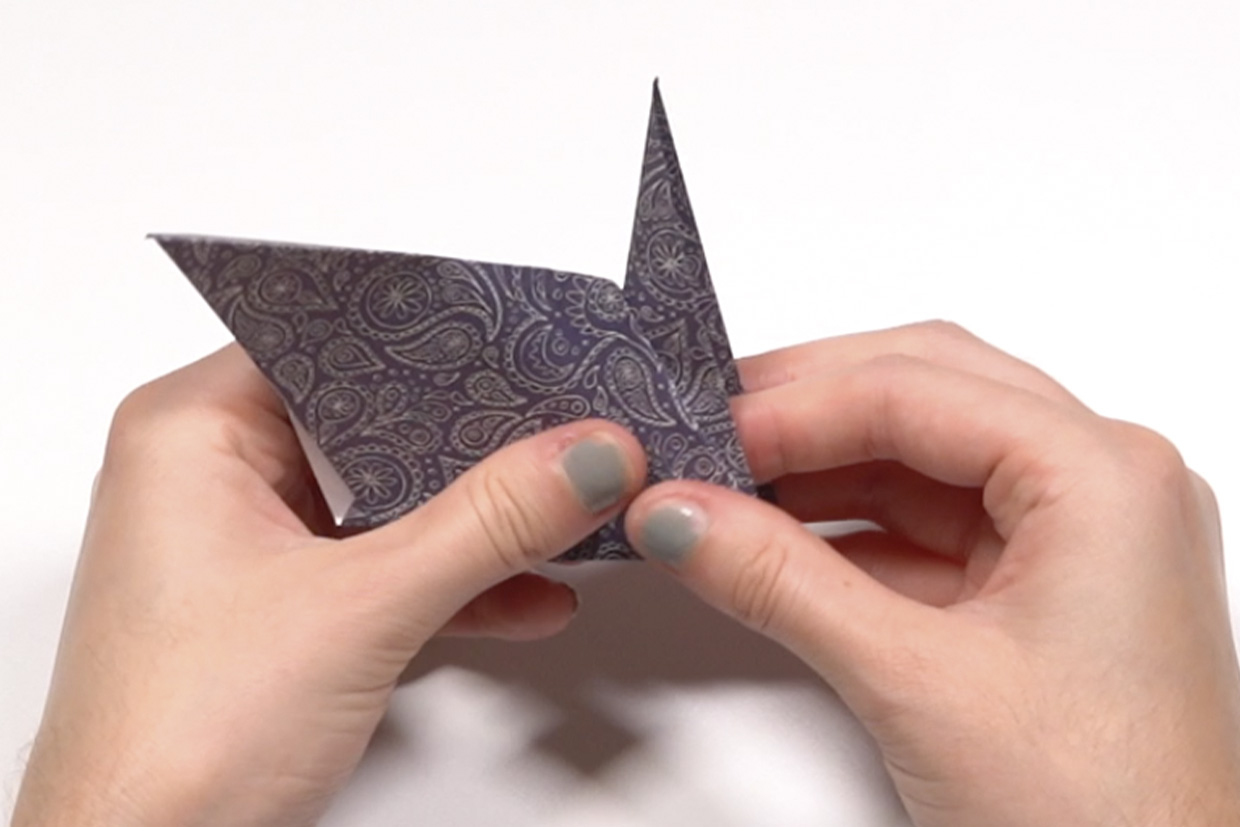
Unfold it to your original triangle shape. Then slide your fingers between the folds and lift out the fold of the tail pushing it flat against the body.
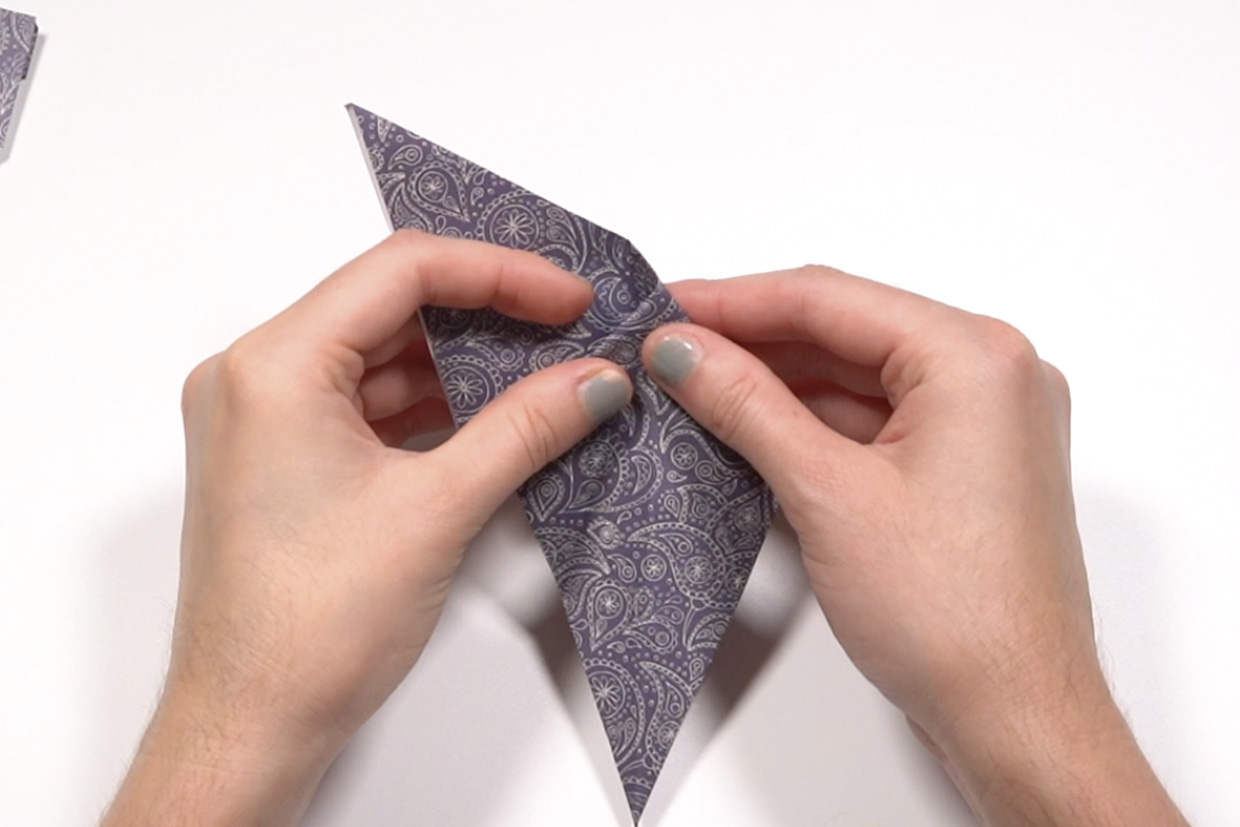
Step 15
Fold the tail up towards the body.
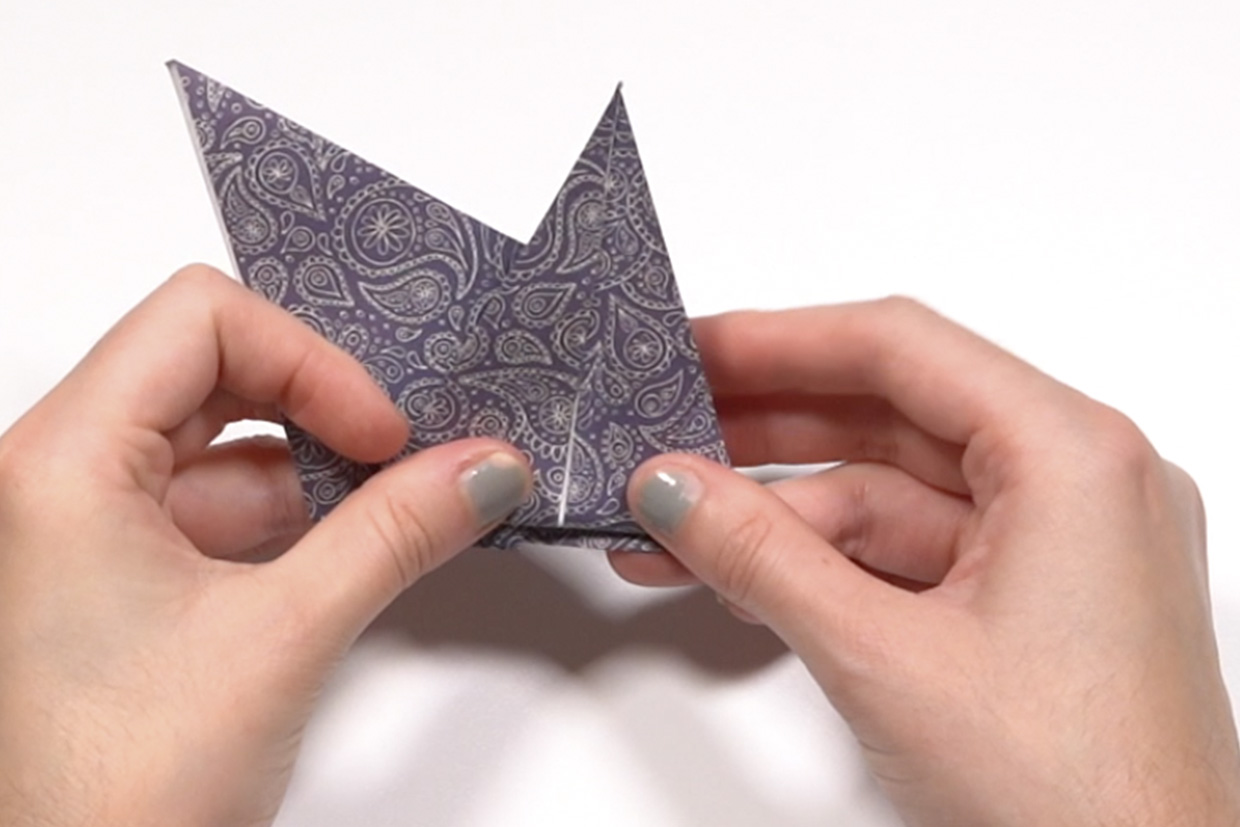
Step 16
Fold the tail outwards to the right-hand side and this will create your body.
Step 17
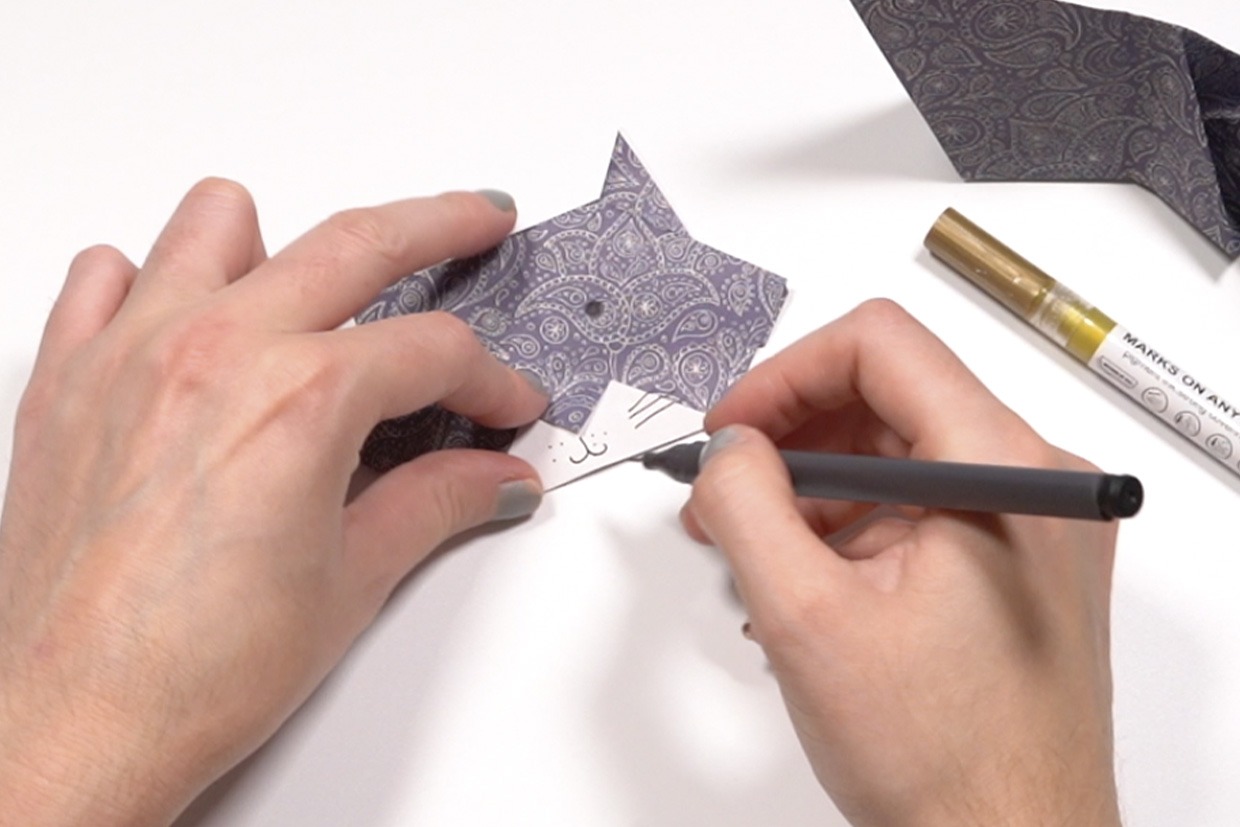
Add detailing if you wish!
Step 18
To assemble
Lift up the fold you've made behind the head and you just push the body up into the head and that should secure itself without the need for any glue.
