Step 1
Fold a piece of square paper diagonally in half, with the patterned/coloured side on the outside.

Step 2
Folding the origami owl’s wings
Fold one of the corners down, with the tip of the corner meeting a point approximately two thirds along the opposite side. The bottom part of the corner you just folded over should be perpendicular to the top of the model.

Step 3
Repeat with the other side to create an elongated pentagram (five-sided shape).

Step 4
Fold one of the wings back, so that the closed edge lines up with the edge of the shape.

Step 5
Repeat on the other side and fold the other wing backwards, lining up the closed edge of the wing with the exact side of the shape.

Get help with your origami
If you’re new to the world of origami never fear! We have lots of guides to help you. Check out our best origami papers and best origami books to buy articles.
Step 6
Give the wings some shape by adding a small pleat in one of the wings. You’re aiming to raise the wings up.

Step 7
Repeat with the other wing.

Step 8
So far we’ve been working on the reverse of the origami owl, so turn your model over and it should look like this.

Step 9
Time to make your origami owl’s head
Next – let’s make the head! Fold the top section down, approximately 1cm worth.

Step 10
Time to give your origami owl some ears
Find the centre point of the head you’ve just folded down, then fold over a triangle from one side, opening up the paper as you do – these are the ears!

Step 11
Now let's make the beak
Repeat on the other side to create the other ear and the beak.

Step 12
To finish the beak, add a small pleat at the bottom of the triangle. If you're struggling to get your fingers in to manipulate the small beak, I find a cocktail stick works well as an aide.

Step 13
Let's make your origami owl stand up!
Fold both sides of the bottom of your origami owl inwards - this enables your owl to stand up!

Step 14
Shape your origami owl by folding the sides inwards.

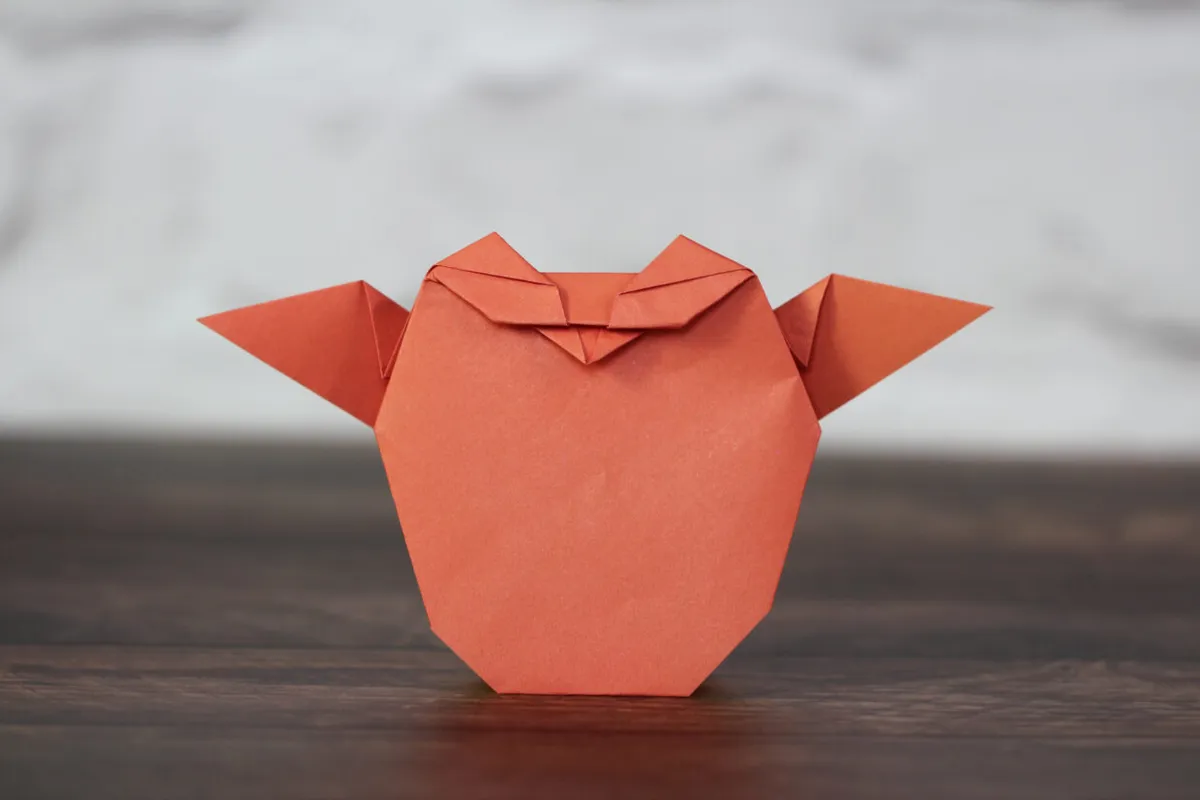
Step 15
Repeat on the other side to finish your origami owl!