Piece together simple curves to make a cushion that will add instant style to your home! This cute patchwork cushion sewing pattern is a bonus project from the team behind Love Patchwork & Quilting magazine to accompany the Spots and Stripes throw quilt by Donna McLeod in issue 92. It's the perfect way to ease into curved piecing or indulge in some afternoon sewing! If you're new to quilting, check out our quilting for beginners guide and tutorial for how to bind a quilt. Scroll down to find Donna's step by step guide to how to make a simple curved patchwork cushion cover below.
Did you know this project is also compatible with's Love Patchwork & Quilting's new Circle Cutting Tool from issue 91? Just use the 7½in slots to cut the Quarter Circles and the 6½in slots to cut the Arcs. Check out issue 92 for Donna's full quilt and plenty more patchwork inspiration! You can see more of Donna's work at xoxsew.com or follow her on Instagram @xoxsew!
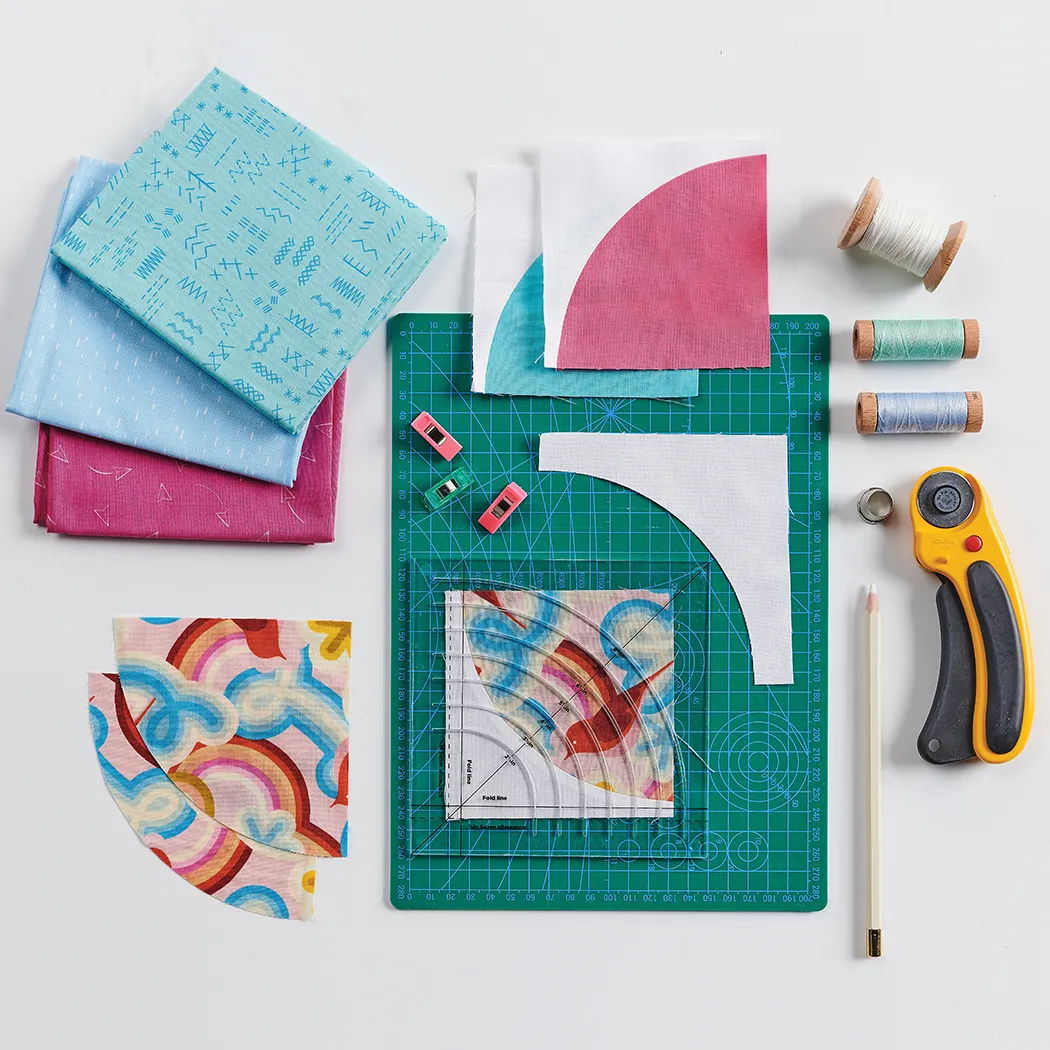
How to make a simple curved patchwork cushion
Fabric requirements
- Fabric A (white): 3/8yd
- Fabric B (polka dot): ¼yd
- Fabric C (red): one (1) fat sixteenth
- Fabric D (light pink): one (1) fat sixteenth
- Binding fabric: ¼yd
- Backing fabric: ½yd
- Batting: 24in square
Finished size
20in square
Notes
- Seam allowances are ¼in, unless otherwise noted.
- Press seams open, unless otherwise instructed.
- Templates include seam allowances, where necessary.
- RST = right sides together.
- WOF = width of fabric.
- Download four Free Curved Patchwork Cushion Templates (PDF) to get started