How to sew orange peel quilts: free templates and step by step guide
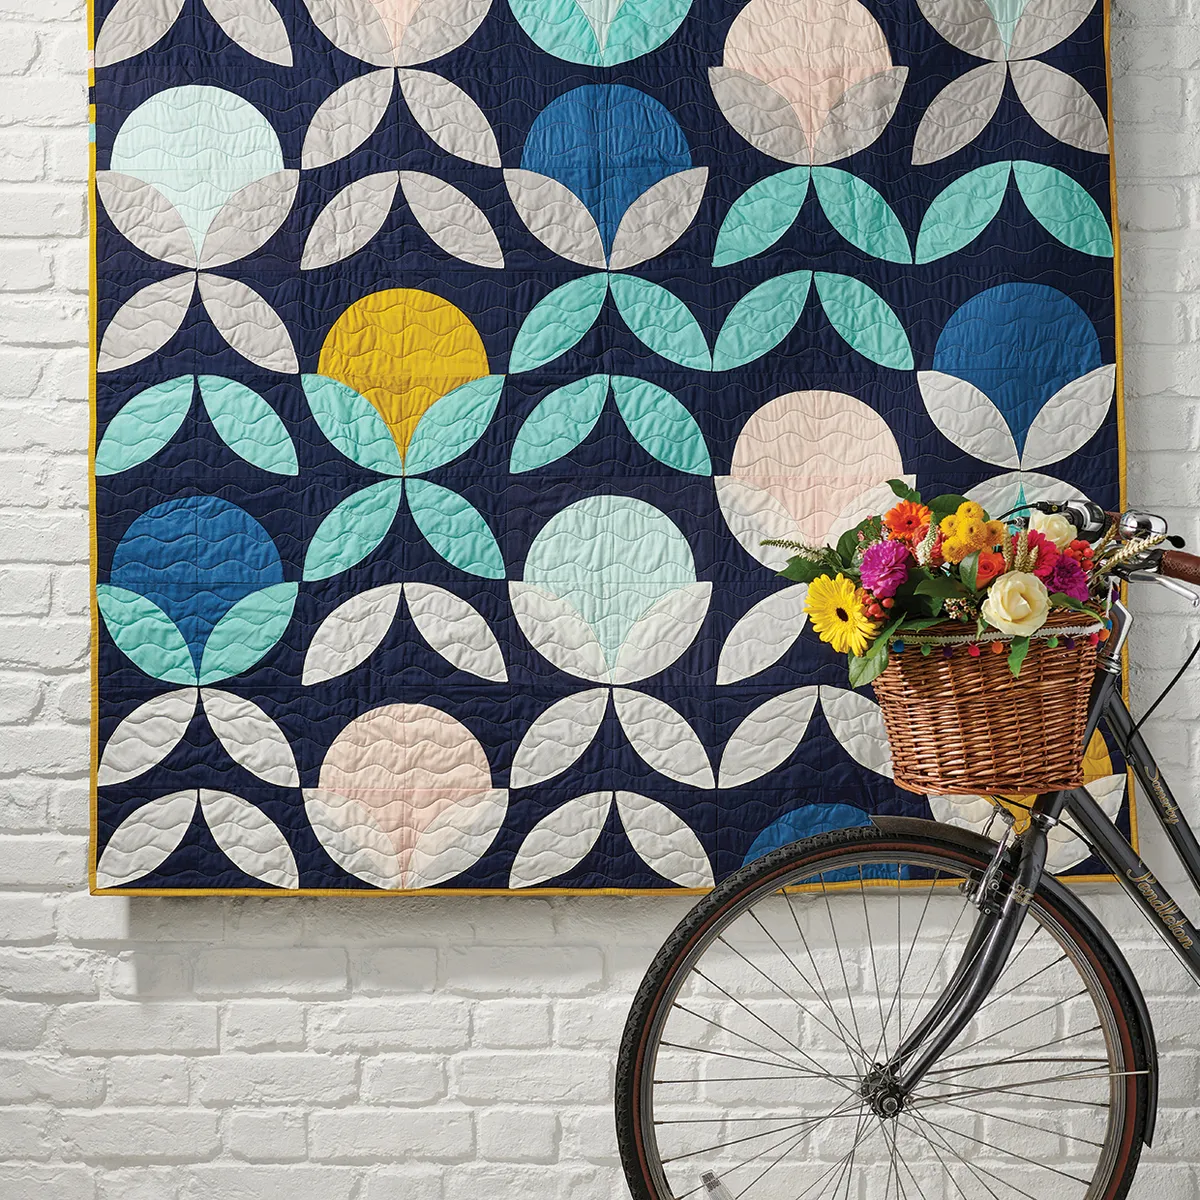
Orange Peel quilts quilts feature a pattern of repeating petal shapes which, when pieced into rows of quilt blocks, builds up to create the effect of interlocking circles. Here's how to make orange peel quilt blocks and turn them into a quilt!

Published:
Discover the joy of curved patchwork piecing with our guide to how to sew Orange Peel quilts! These classic quilt patterns have been around for quite some time and they’ve seen a surge in interest in recent years as curved piecing has grown in popularity with modern quilters.These clever quilts feature a pattern of repeating petal shapes which, when pieced into rows of quilt blocks, builds up to create the effect of interlocking circles.
What is an Orange Peel Quilt?
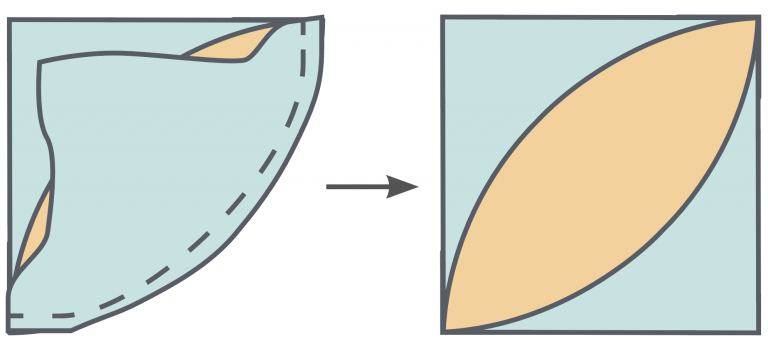
An Orange Peel Quilt is basically a quilt that’s made up of quilt blocks that resemble an orange peel! Orange Peel Quilt blocks have a leaf shape in the centre, sandwiched between with two curved corners on either side to make the finished quilt block into a square shape. They first appeared in published material in the 1800s and are also referred to as Lemon Peel, Melon Peel and Lafayette Orange Peel. Whatever you call them, you’ll fall in love with this charming design. Find out how to use them to make Orange Peel Quilt blocks in this free tutorial. Simply follow our steps below and watch our video guide to begin. We’ve used acrylic Orange Peel Templates but have included a free orange peel template for you to download too if you don’t have physical templates to hand.

Before you begin
If you’re new to curved piecing, you’ll need to cut 3 pieces of fabric to make an Orange Peel quilt block – a central petal shape and two outer corners which will sit either side of the curves to form a square block.
Luckily you can buy handy templates to help you cut these units of fabric, ready for piecing!
- Buy the templates here: Oh Sew Sweet Orange Peel Template set (£18.99, Amazon)
- Or if you want to try this method before you buy, download our Free Orange Peel Template (PDF)
You Will Need
- Fabric (For the quilt blocks, quilt binding and backing)
- Orange Peel Templates
- Sewing machine
- Thread
- Basic sewing kit
- Batting
Total time:
Step 1
Cut two (2) of the outer corner shapes and one central petal shape using our Free Orange Peel Template or shop-brought templates as your guide. Finger press the centre points on both units. With right sides together and the A background piece on top, place a pin where those centre crease marks line up.
Step 2
Place pins along the curve, easing the concave curve in line with the edge of the piece below. Use plenty of pins.
Step 3
Stitch the two (2) pieces together, slowly, with a scant 3⁄4in seam, keeping your needle in the down position and pivoting regularly.
Step 4
Clip into the seams at regular intervals to help the seam lie flat. Press the seam to one side.
Step 5
Repeat with the second background piece on the opposite side to finish the unit. Four (4) units make a block. Place under a heavy book to help keep it flat.
Once you’ve finished your batch of quilt blocks, sew the blocks together to make your quilt top, then make a quilt sandwich, quilt as desired and bind the edges. If you’re new to quilting and not sure how to do this, head to our guide to Quilting for Beginners!
How to use orange peel templates
Step 1
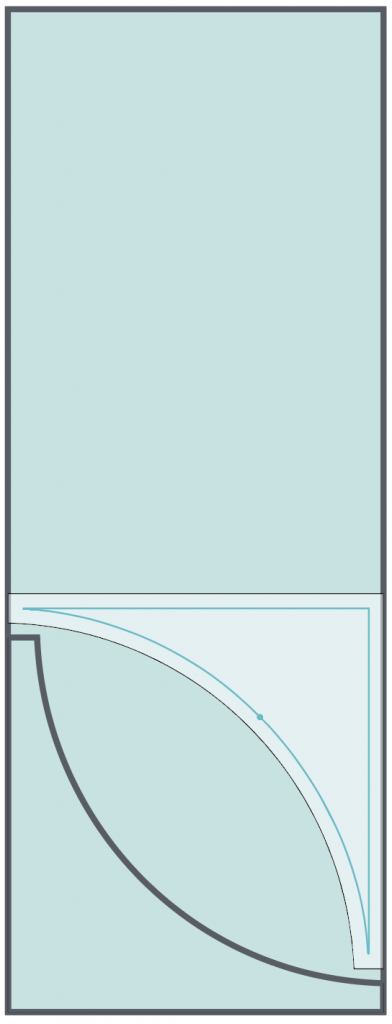
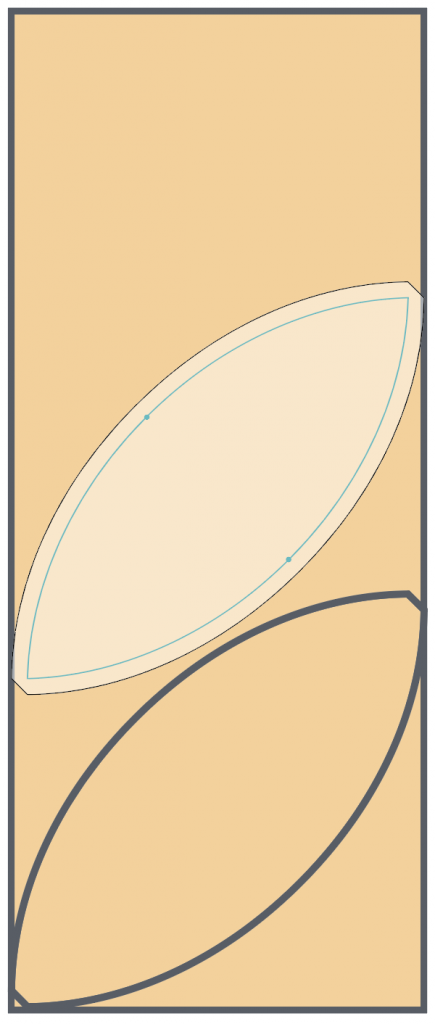
Cut two shapes from Template A, and one shape from Template B. If making many blocks, it’s easiest to cut 61⁄2in wide strips first, and then subcut your template pieces, fitting them together to avoid fabric wastage (Figs 1 and 2). If you struggle with curves you may want to cut the Template A pieces from 7in squares, so there’s an extra 1⁄2in beyond the straight edges. You can trim these down after sewing.


Step 2
Use the templates as a guide to mark the dots on your fabric pieces. Take one piece each from Templates A and B and with right sides together and the A background piece on top, pin together at the dot (Fig 3).

Step 3
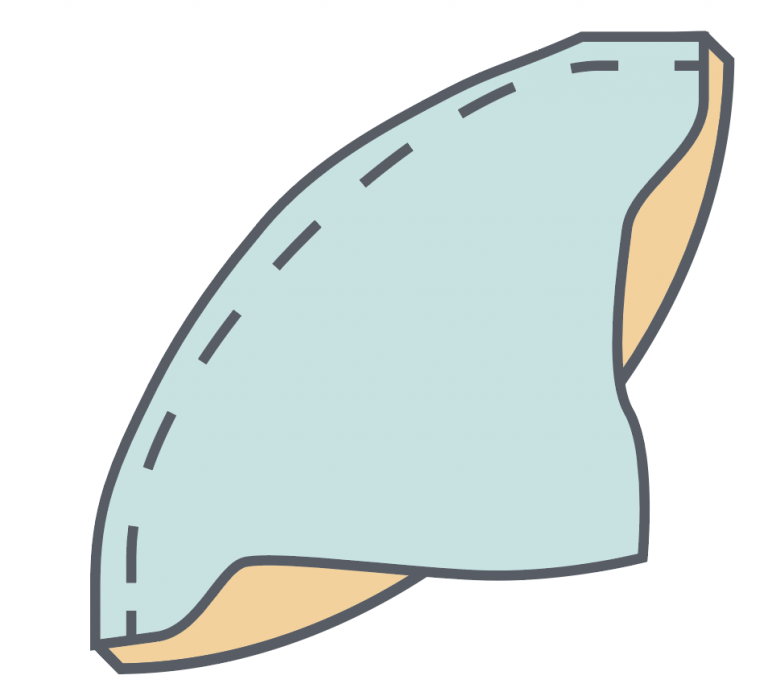
Pin at either end, then ease along the curve and pin together between these points. Sew the two pieces together slowly to avoid stretching, removing the pins as you go (Fig 4).

Step 4
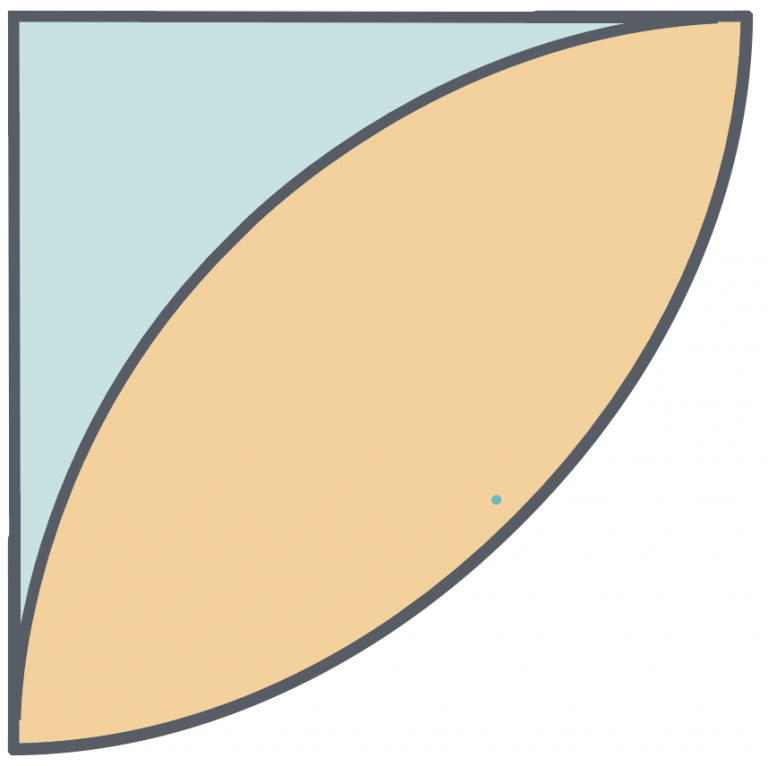
Carefully clip into the seams at regular intervals, or trim the seam allowance with pinking shears. Open the block up and gently press the seam to one side (Fig 5).

Step 5
Repeat with the second background Template A piece on the opposite side of the block (Fig 6). Your block should measure 61⁄2in square. If you cut your Template A pieces larger in step 1, then trim the block to size.