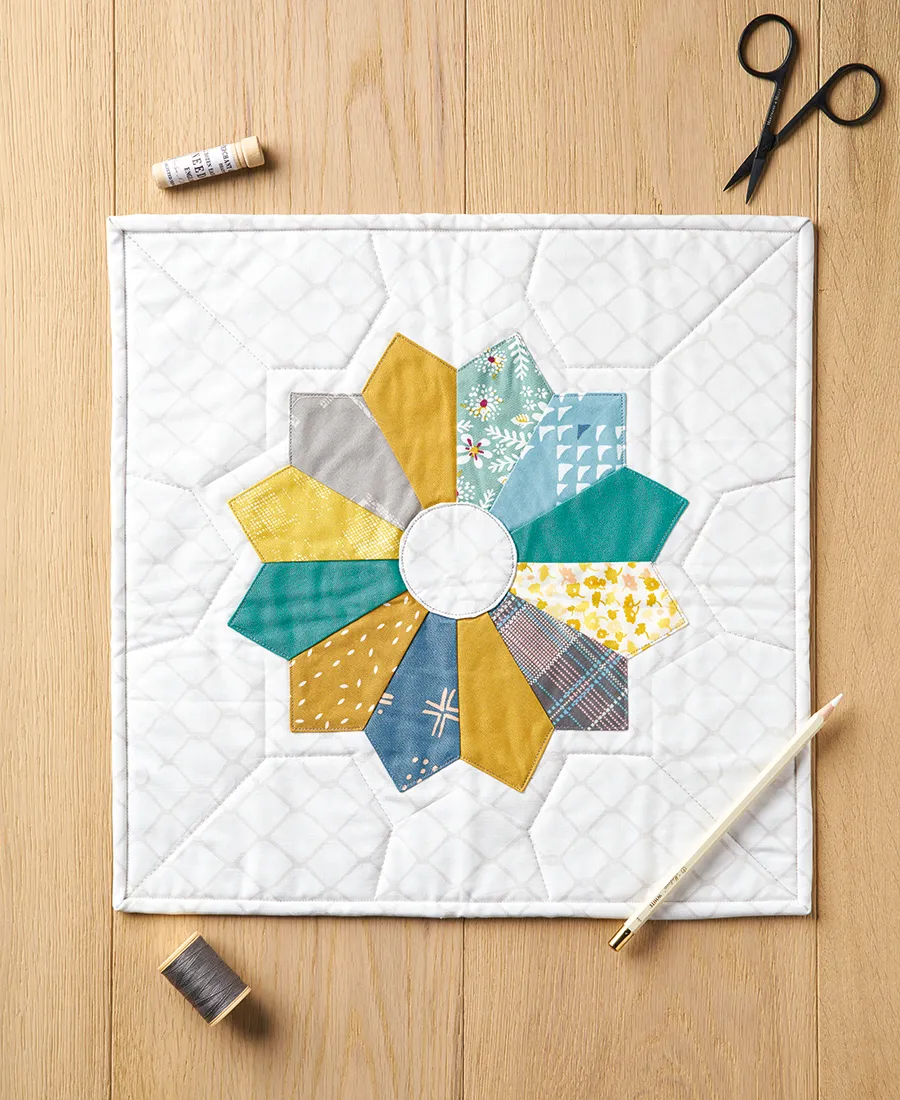
Step 1
Cut several strips of print fabric to your chosen measurement from the Dresden Plate template. This will be the unfinished height of each segment.
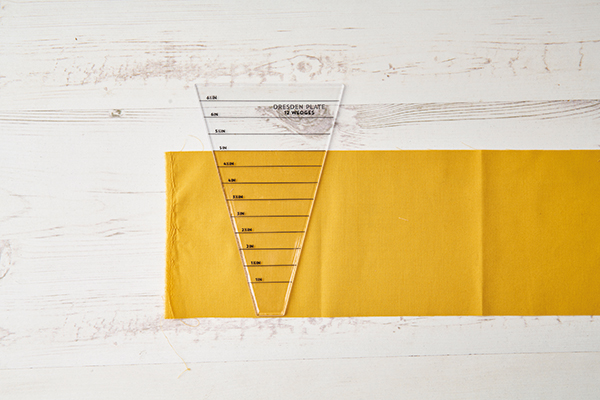
Step 2
Step two: Align the template on your fabric strip with the chosen measurement at the top of the strip. Use a rotary cutter to trim the strip along both sides of the template. Turn the template around and line up against the angled cut and trim along the other side of the template.
Continue cutting until you have cut twelve blades from different fabrics.
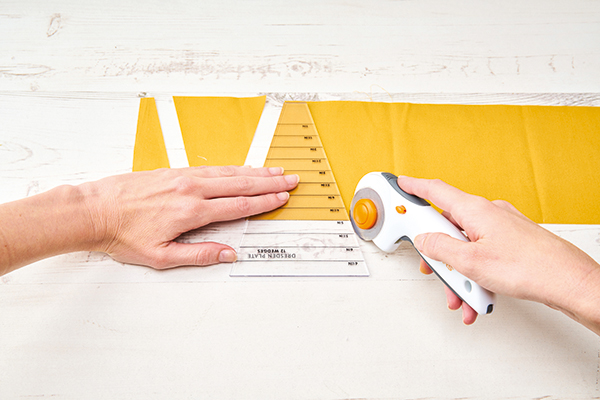
Step 3
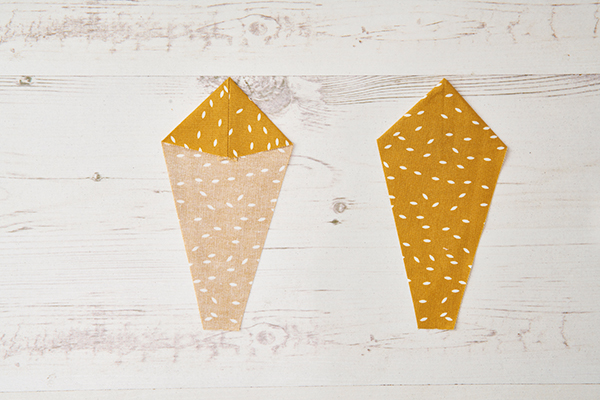
To make a pointed blade, fold one blade in half lengthwise, right sides together. Sew along the outer straight edge, using a 1⁄4in seam, making sure to backstitch at both ends. Trim away a corner at the folded edge, being careful not to clip your stitches. Press your stitches with a hot, dry iron.
For straight blades, before stitching together, turn under 1⁄4in along the top of each blade to the reverse.
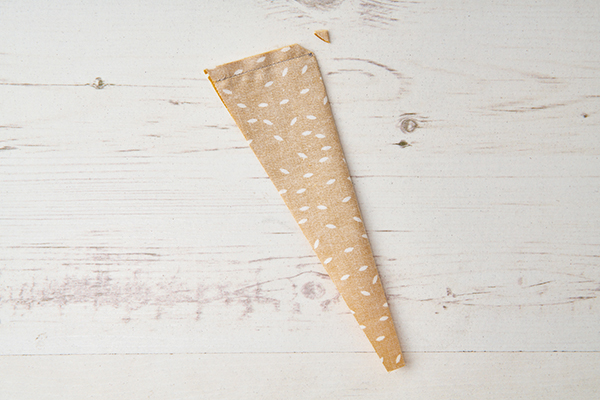
Step 4
Unfold the blade, turning the stitched end to the reverse. Use a point turner to push the top of the seam into a point. Finger press the seam open and press the blade flat to finish the point.
Step 5
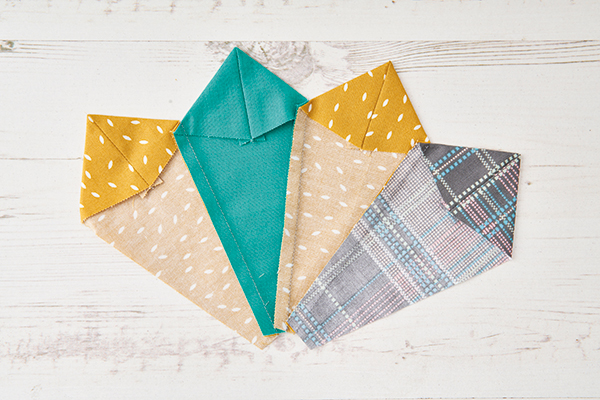
Begin stitching your blades together. Start with two blades right sides together, stitching along one long straight edge and pressing the seam to one side. Repeat with the rest of the blades to sew together in pairs. Sew these pairs together, pressing all the seams in the same direction. Keep joining sections until you have completed your ring.
Step 6
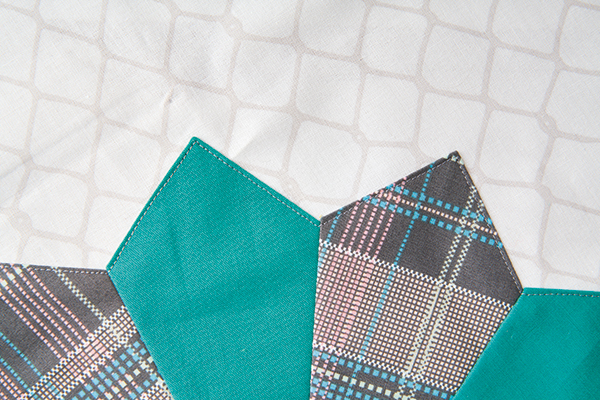
Give your ring a final press from the front and back. Fold your background fabric into quarters and lightly press. Use the folds to help you centre the Dresden Plate and pin in place. Carefully appliqué the ring to the background fabric. We machine topstitched carefully around the outer edge. For a more discreet finish, you can appliqué in place by hand using small slip stitches.
Step 7
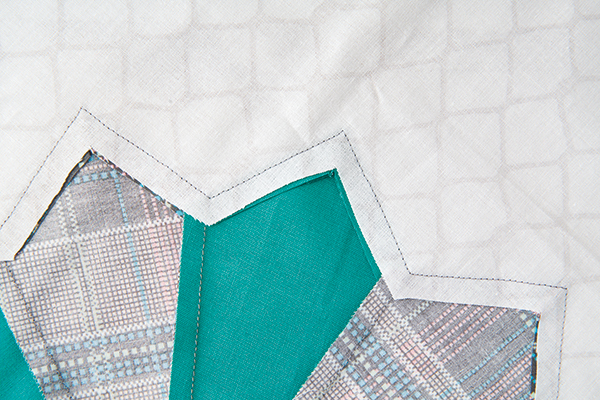
Turn your block over and carefully trim away the excess backing fabric, leaving a ¼in seam allowance around the sewn edge. Try to start close to the outer edge so you have a large whole piece from the centre, which you can use to make a matching centre circle in the next step.
Step 8
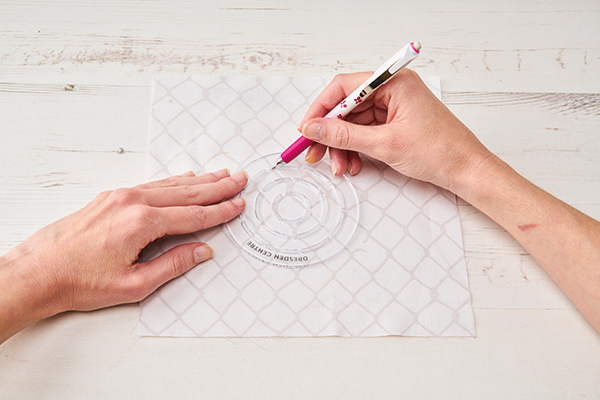
Trace a circle using the template, onto the centre fabric and cut out. Repeat with a piece of fusible interfacing to make a circle of the same size.
Step 9
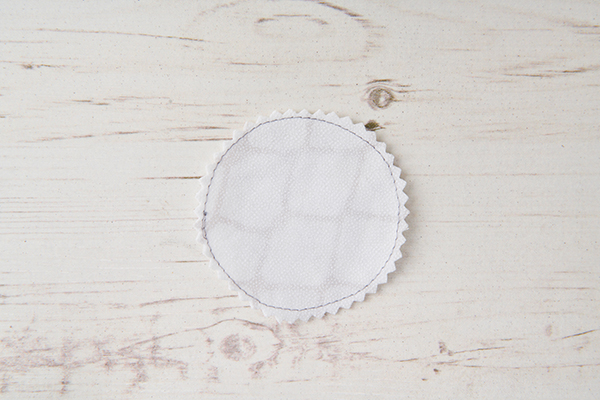
Place the two circles right sides together. The fusible side of the interfacing should be facing away from the fabric. Stitch around the outer edge of the circle using a 1⁄4in seam. Cut notches along the outer edge, or use pinking shears to grade the seam.
Step 10
Cut a slit in the centre of the interfacing and turn your circle right side out. Use a hera marker to get a smooth line along the edge of the circle. Press from the front to fuse in place and finish the outer edges.
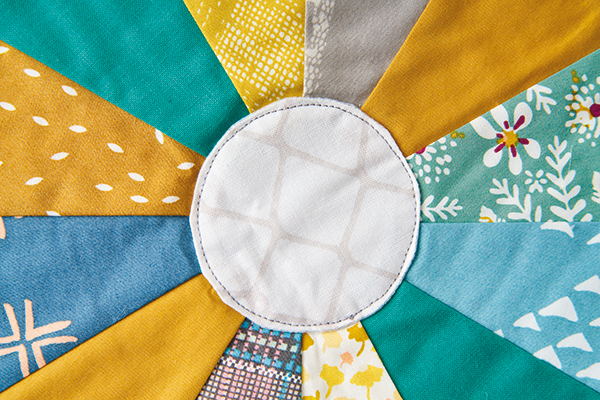
Pin the circle to the centre of your Dresden Plate and appliqué in place.
Step 11
Make a quilt sandwich by placing the backing fabric right side down, the batting on top, then the quilt top centrally and right side up. The backing and batting are slightly larger than the quilt top. Baste the layers together using your preferred method.
Step 12
Quilt as desired. We quilted echoing lines around the Dresden. Trim the excess batting and backing level with the quilt top edges and square up the quilt.
Step 13
Cut two 21⁄4in x WOF strips from your binding fabric. Sew the binding strips together end-to-end using diagonal seams. Press the seams open and trim away the dog ears. Fold in half lengthwise, WST, and press.
Step 14
Sew the binding to the right side of the quilt, folding a mitre at each corner. Fold the binding over to the back of the quilt and hand stitch in place to finish.
