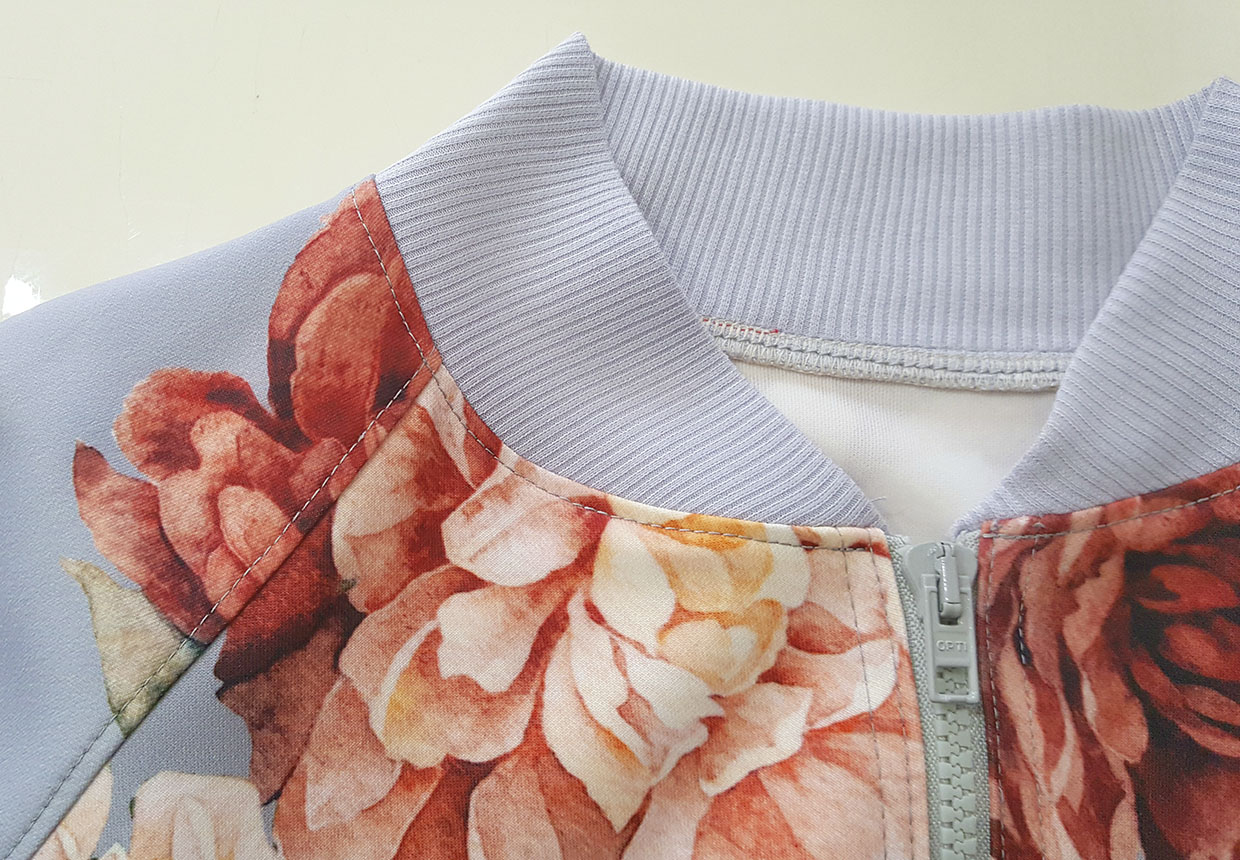
Adapting the pattern
Step 1
Select a sweatshirt pattern that has a relaxed, loose fit or is a size or two larger than your actual size.
Step 2
We started by making a few pattern alterations to the basic pattern:
- We added 1.5cm (5⁄8in) to the centre front (CF) line to accommodate the zip.
- We raised the front and back necklines, and the top of the raglan sleeve by 2.5cm (1in) as the jacket requires a closer-fitting neckline.
- The front pieces were cut individually, as opposed to on the fold.
Making the basic jacket
Step 1
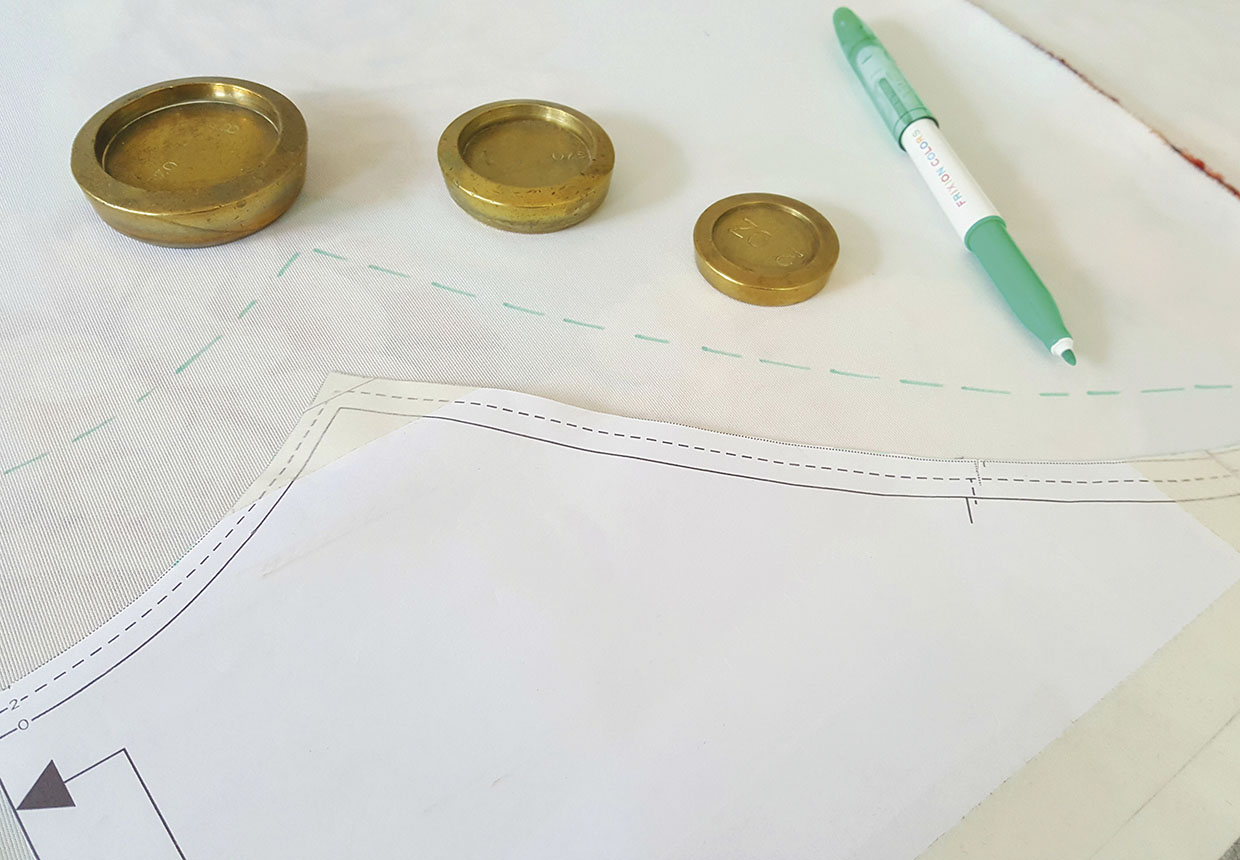
Once you have completed your pattern alterations, cut your pieces from your fabric and proceed with construction following the pattern instructions until you reach the stage pictured.

Step 2
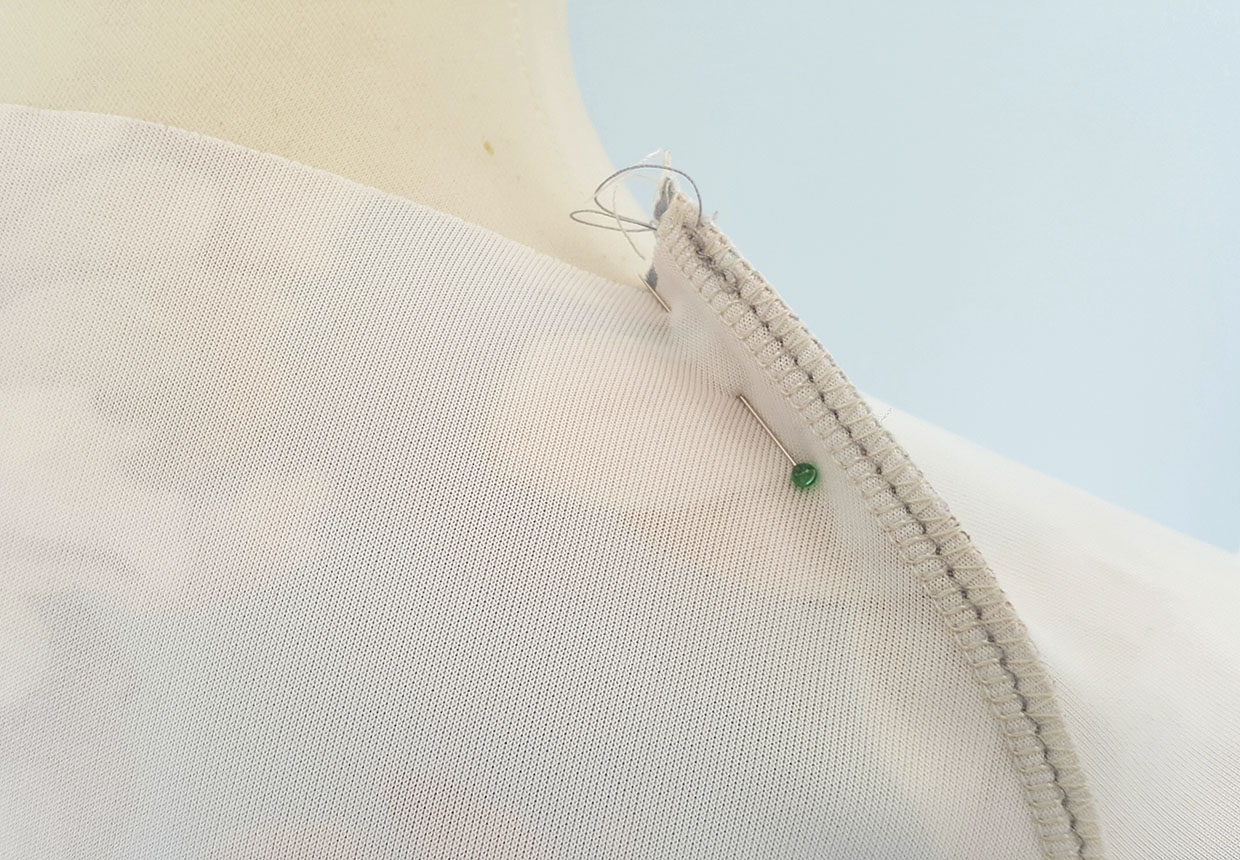
Check the fit around the neckline. It needs to be flat and sit snugly. Pin any excess out of the raglan seams and adjust the stitching line until you achieve the desired fit.
Step 3
You can also pin darts in the back neckline and on top of the shoulder to achieve a closer fit if needs be.
Step 4
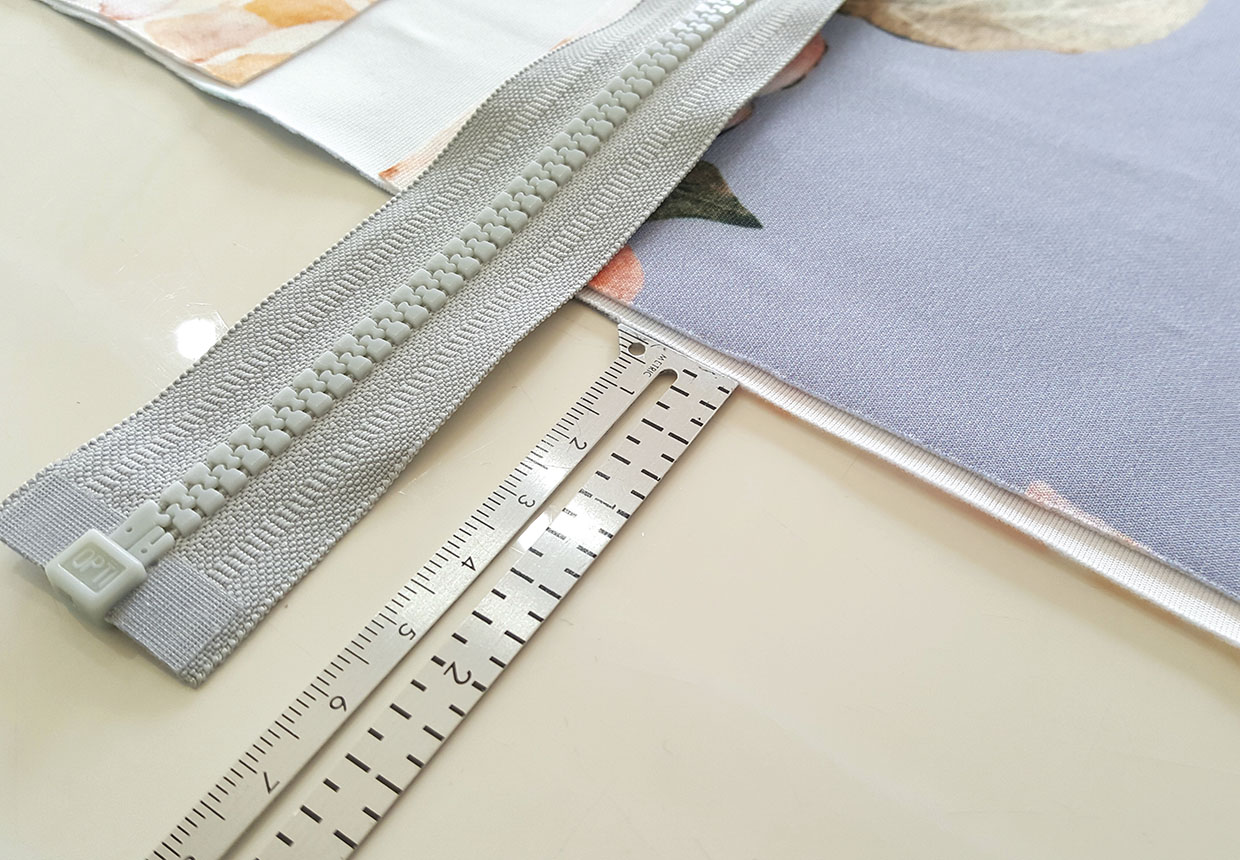
Lay the zip along the opening of the jacket. The zip should be closed and the zip slider positioned 1.5cm (5⁄8in) down from the neckline edge.
Step 5
At the bottom of the jacket, the zip needs to be 7.5cm (3in) longer than the jacket hem. Trim away any excess from the hem of your jacket to this measurement.
Making the bottom band
Step 1
To add extra stability to the ribbing, press stretch interfacing onto the wrong side (WS) of the ribbing pieces when you cut them. This is optional depending on the weight of ribbing you use.
Step 2
Cut a 15cm (6in) wide strip from the ribbing. The length needs to be 2.5-5cm (1-2in) shorter than around the jacket hem, depending on how snug or loose you want it.
Step 3
Fold the band in half lengthways with right sides (RS) together then stitch down both short sides using a 5mm (¼in) seam allowance to hem each edge.
Step 4
Turn the band RS out and fold in half lengthways with WS together and press so the side hem seams sit right at the edges.
Step 5
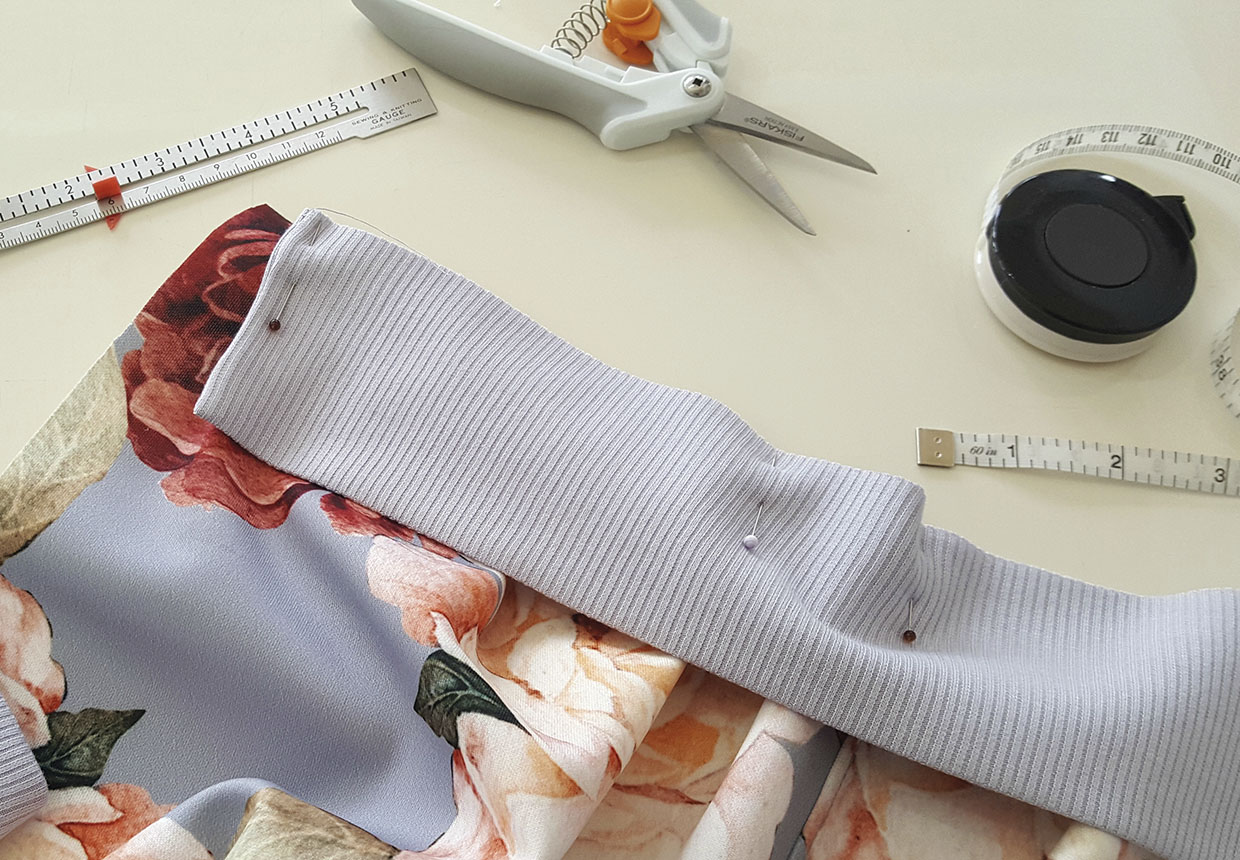
Pin the band RS together with the bottom raw edges of the jacket. Each end of the sides of the ribbing band should be positioned 1.5cm (5⁄8in) from the jacket opening.
Step 6
Stitch together along the hem using a 1.5cm (5⁄8in) seam allowance. You’ll need to stretch the ribbing slightly as you go to ease it onto the jacket hem.
Step 7
Finish the raw edges by overlocking or using a machine zigzag stitch.
Step 8
Press the ribbing towards jacket.
Making the cuffs
Step 1
Measure around the sleeve hems.
Step 2
Cut a 15cm (6in) wide strip from the ribbing. The length needs to be 2.5-5cm (1-2in) shorter than around the sleeve hem.
Step 3
Fold this in half widthways with RS together and stitch together using a 5mm (¼in) seam allowance to form a loop.
Step 4
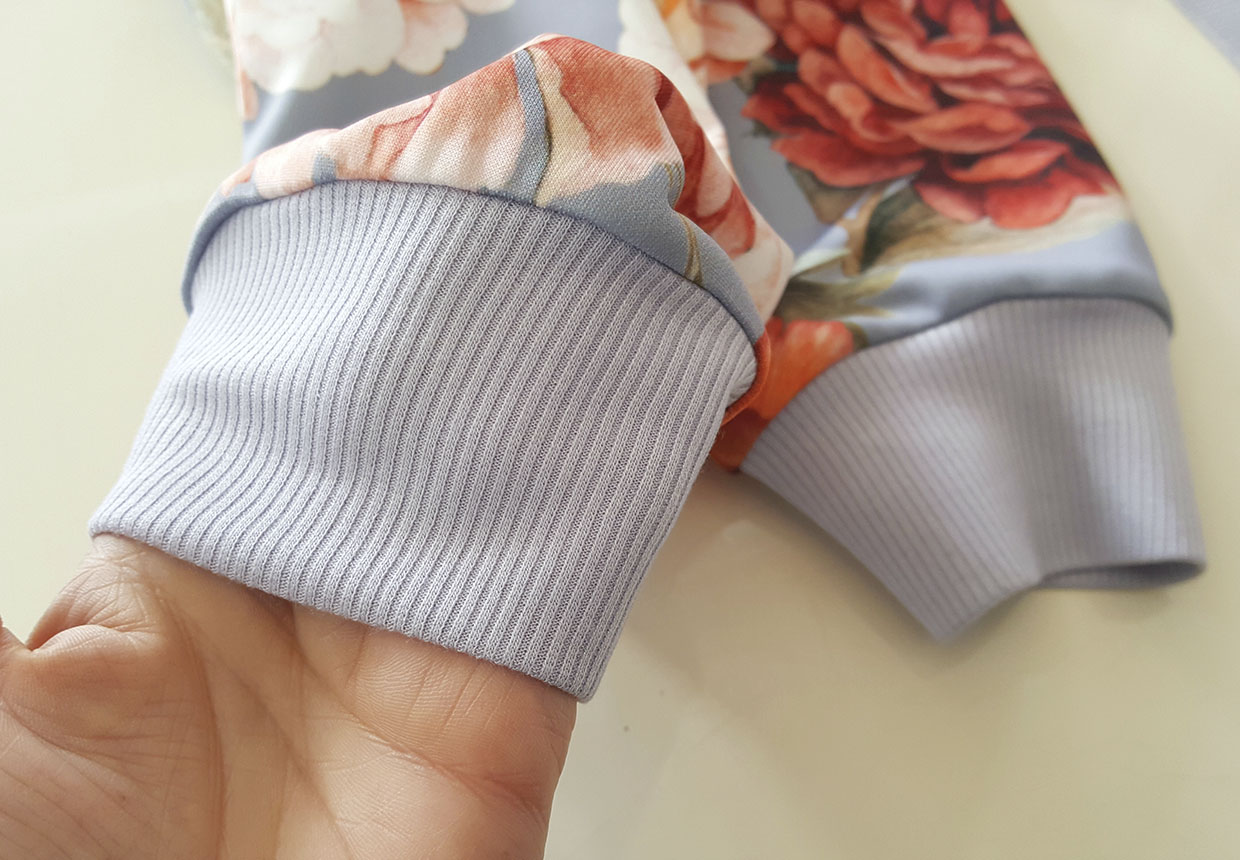
Turn RS out then fold in half lengthways and press.
Step 5
Pin the band RS together with the bottom raw edge of the sleeve.
Step 6
Stitch in the same way as for the sleeve hem then finish the raw edges and press towards the jacket.
Step 7
Repeat to make the other cuff.
Inserting the zip
Step 1
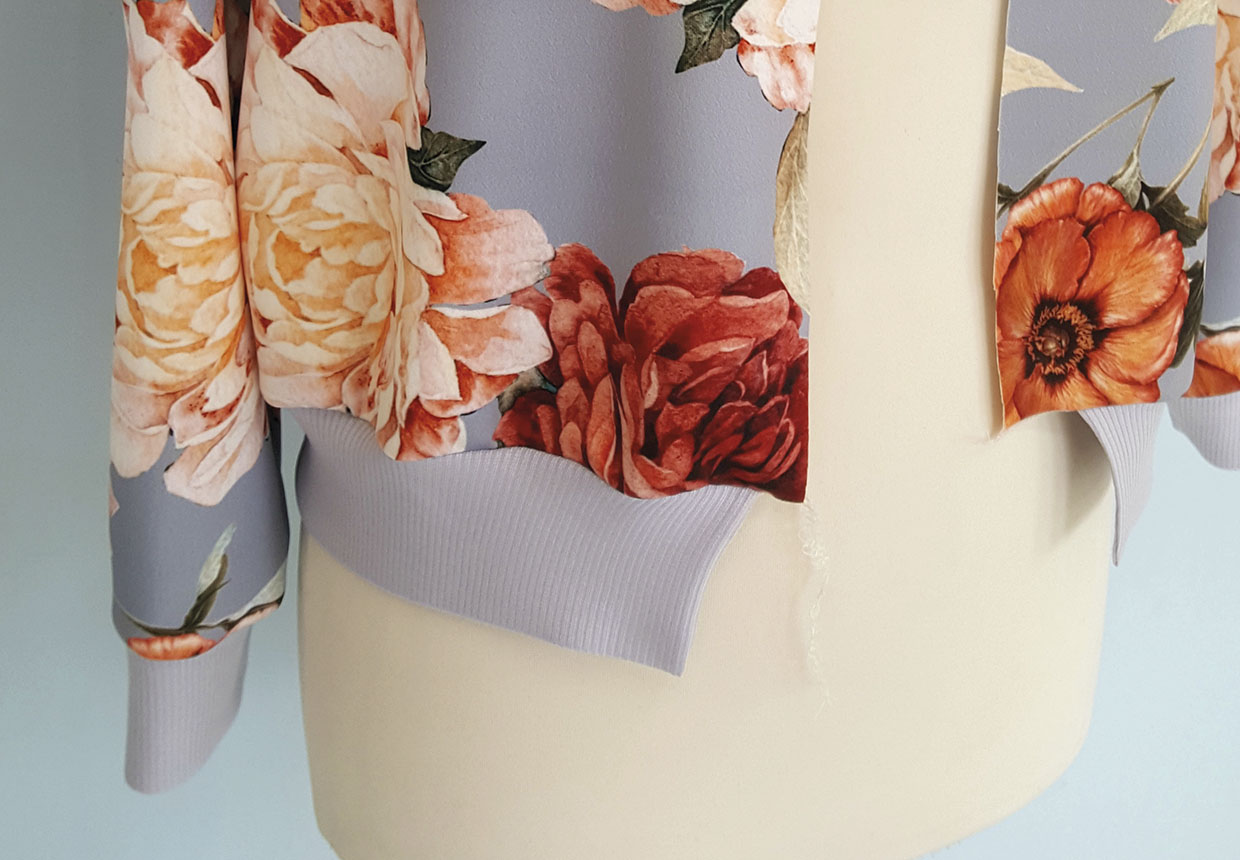
You will now have a jacket with a ribbed hem and cuffs and a 1.5cm (5⁄8in) overhang on the jacket opening, as pictured.
Step 2
Press the raw front edges of the jacket opening under by 1.5cm (5⁄8in) to the WS so that the folded edge is in line with the end of the ribbing. Tack that fold in place.
Step 3
Tack the zip into the jacket opening, tacking it to the ribbing and the folded edge of the jacket opening. The zip stop should sit 1.5cm (5⁄8in) below the neckline edge.
Step 4
Try the jacket on and check that everything lines up and the zip opens and closes smoothly, repositioning if necessary.
Step 5
Once you’re happy, stitch the zip in place 3mm (1⁄8in) away from the folded edge, close to the zip teeth.
Step 6
Sew another line of stitching 1cm (3⁄8in) away from that, catching the outer edge of the zip tape underneath.
Step 7
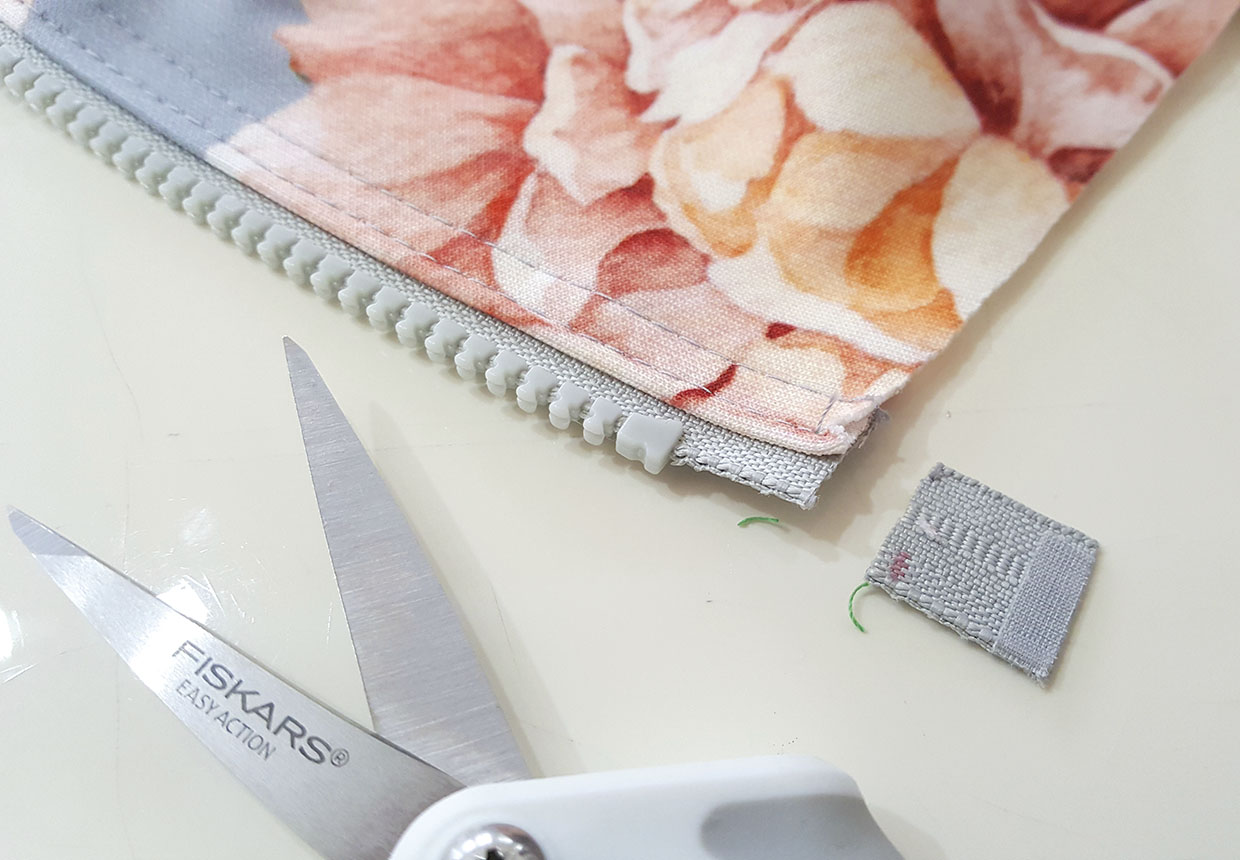
Remove the tacking stitches then trim the excess zip tape at the neckline.
Step 8
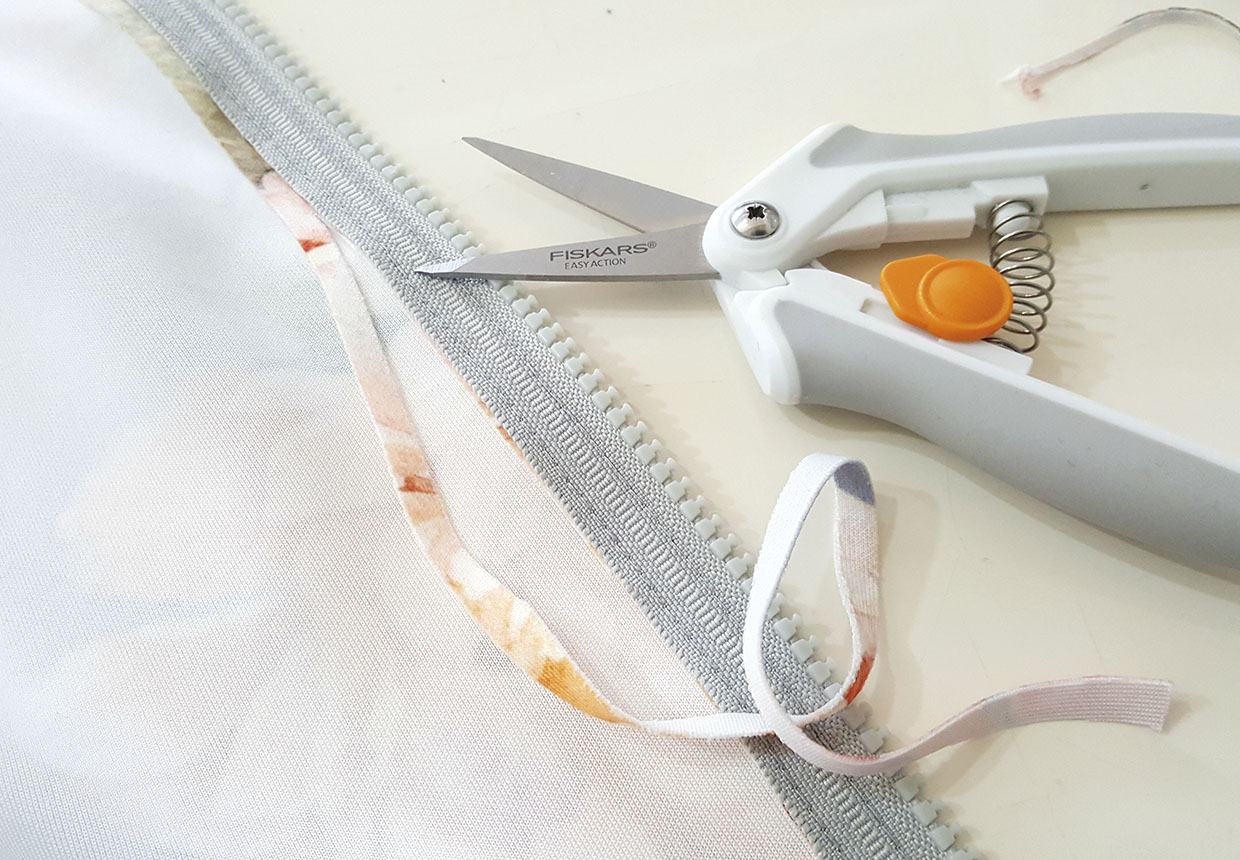
Flip the jacket over then carefully trim away the excess seam allowance close to the edge of the zipper tape, being careful not to cut through the main body of the fabric. This step is optional but does provide a neater finish on the inside.
Adding the neckband
Step 1
Cut a 15cm (6in) width band of ribbing which is 10cm (4in) longer than the curved edge of the neckline to give you enough excess to trim it to shape.
Step 2
Fold the band in half with WS together, matching the raw edges.
Step 3
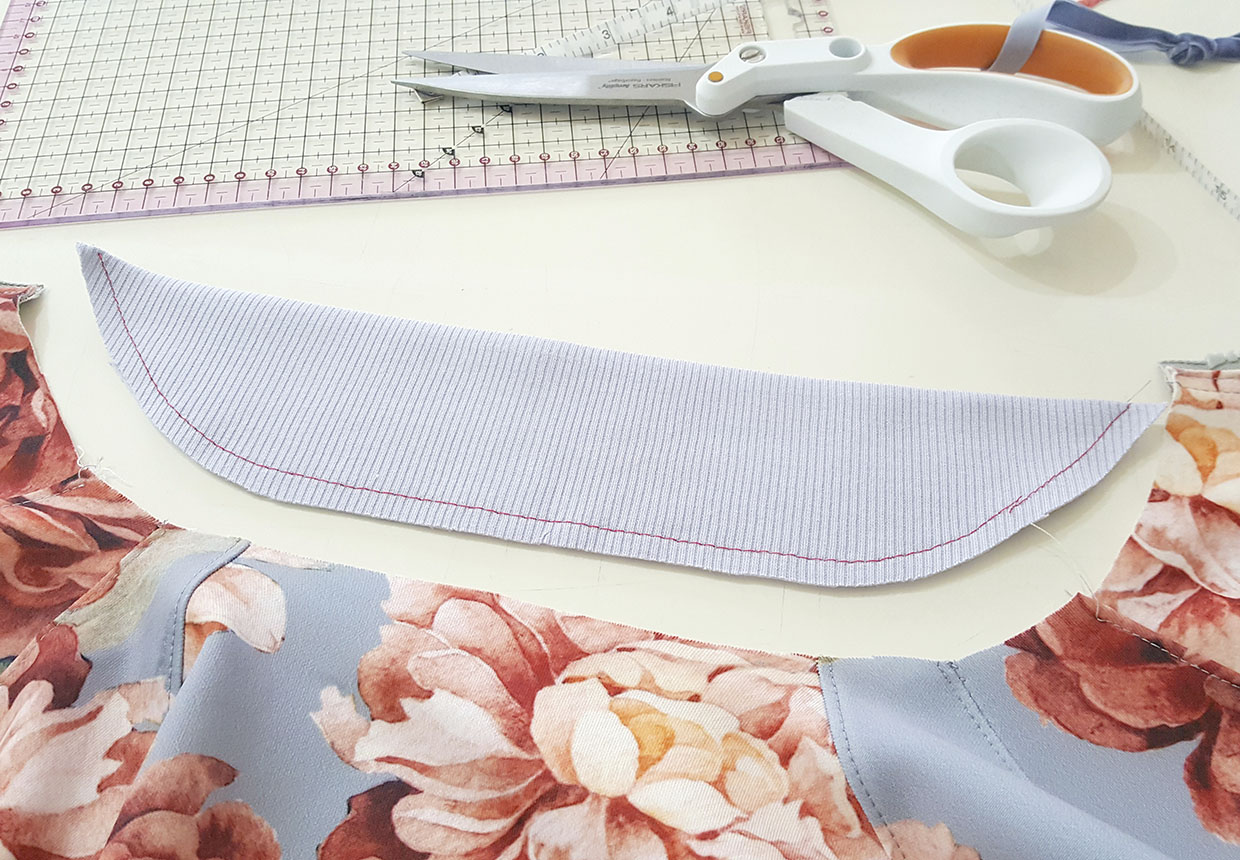
Cut the raw edge into a slight curve as pictured. The curved edge needs to be 2.5cm (1in) shorter than the neckline. It’s easier if you experiment by drawing this on paper first to get the correct shape.
Step 4
When you’ve cut the band to the correct shape, machine-tack together 1cm (3⁄8in) from the raw edges.
Step 5
With RS together and raw edges aligned, stitch the ribbing to the neckline using a 1.5cm (5⁄8in) seam allowance.
Step 6
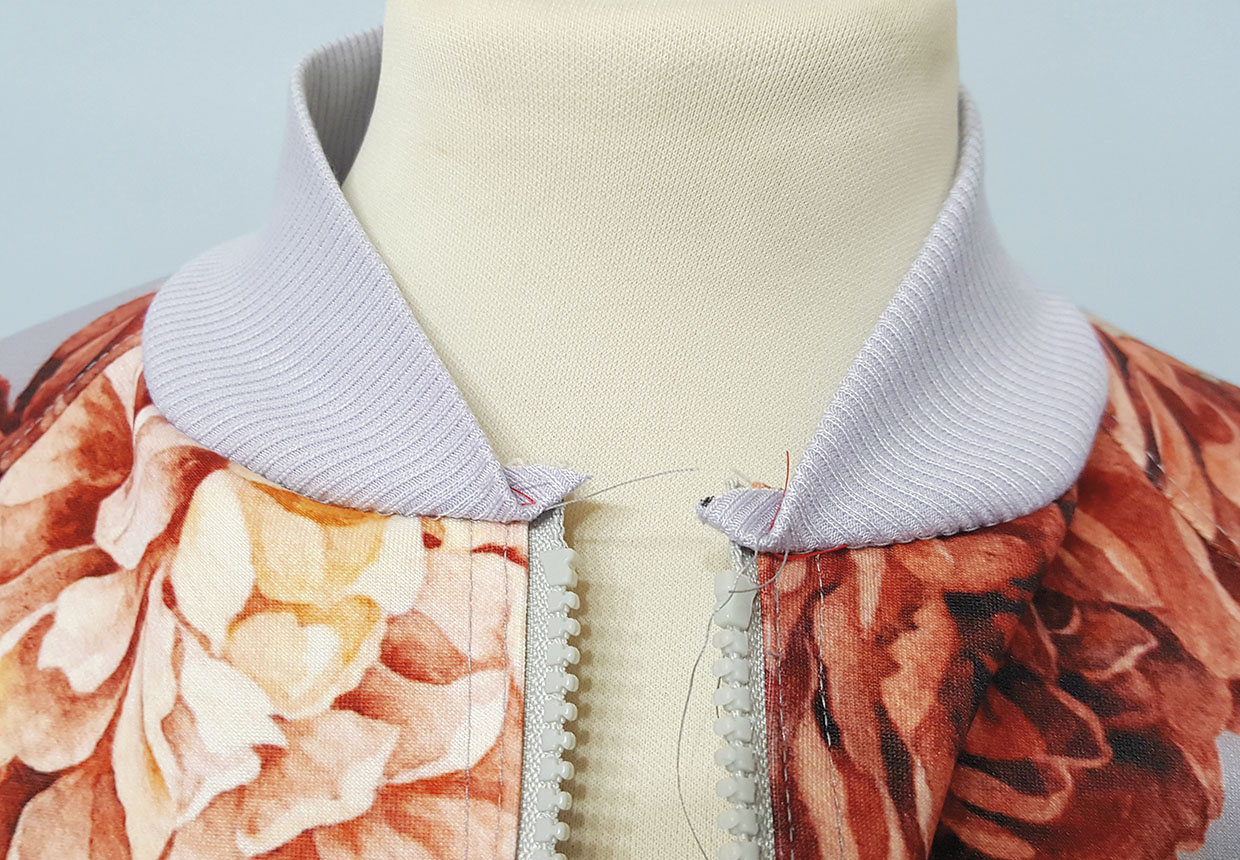
Gently stretch the ribbing to fit the neckline as you go. Start and finish your stitching just shy of the zip stop.
Step 7
Press the seam allowance down towards the jacket then topstitch in place from the outside to finish.
