DIY knitting project bags

Ami Lowden shows you how to whip up the knitting project bag of dreams with her tutorial.

Try 6 issues of your choice of craft magazine from just £9.99

Published: July 30, 2020 at 9:01 am

Farewell, tired totes groaning with tangled WIPs, there’s a new knitting project bag in town and it's made by the lovely Ami Lowden. This project was created by Ami for Mollie Makes magazine – for more easy-make craft projects and creative inspiration, subscribe to Mollie or click here to find out more.

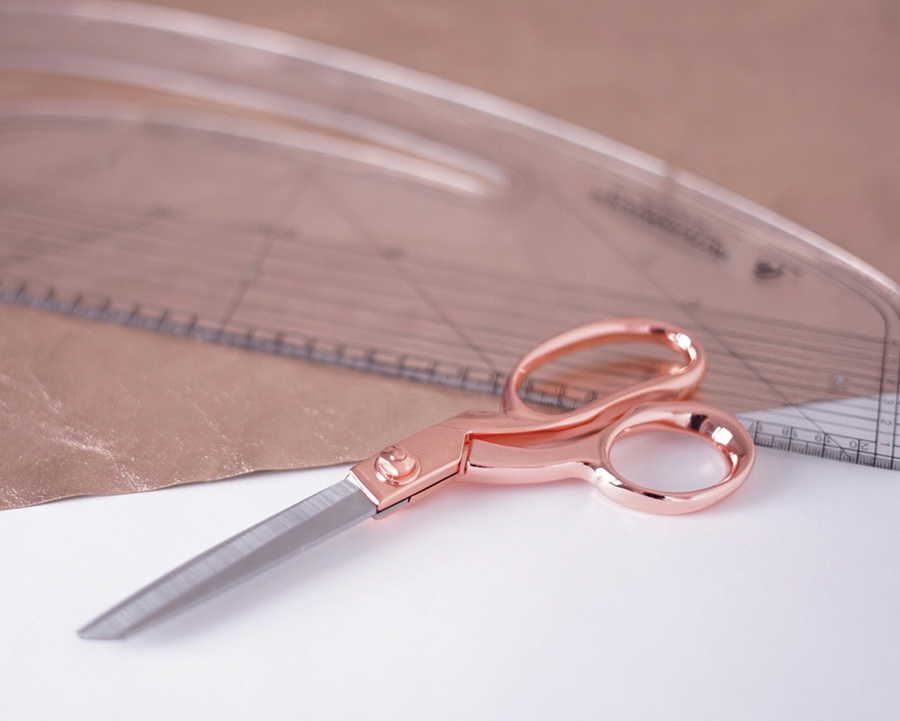
Tip for making your knitting project bags - pins will leave holes on the washable paper, so use fabric clips instead. Use a pressing cloth when pressing any seams, and when using metallic thread make sure you switch to a metallic thread needle. Oh, and don’t use metallic thread in your sewing machine’s bobbin.

You will need

  • One roll of washable paper in Rose Gold (Fabric 1)
  • 50cm (19¾") duck canvas in natural, approx. 8oz weight (Fabric 2)
  • 50cm (19¾") unbleached cotton lining fabric (Fabric 3)
  • 2m (78¾") cotton cord, 0.5cm (¼") thick
  • Sewing thread in cream
  • Metallic thread
  • Fabric clips
  • Tailor’s chalk
  • Jump ring, 1cm (3/8") diameter
  • Pressing cloth
  • Safety pin

DIY knitting project bags

You will need:

  • Cotton fabric
  • Thread
  • Fabric clips

Step 1

Step 1 knitting project bags
Pre-wash Fabric 1 according to the manufacturer’s instructions, then cut two 23 x 40cm (9 1/8 x 15¾") pieces and one 8mm x 5cm (3/8 x 2")strip from it. From Fabric 2, cut a 17 x 40cm (6¾ x 15¾") piece, a 38 x 40cm (15 x 15¾") piece and two 38 x 8cm (15 x 3 1/8") pieces. From Fabric 3 cut a 23 x 40cm (9 1/8 x 15¾") piece and two 38 x 40cm (15 x 15¾") pieces. Cut two 90cm (35½") lengths of cord.

Step 2

Step 2 knitting project bags
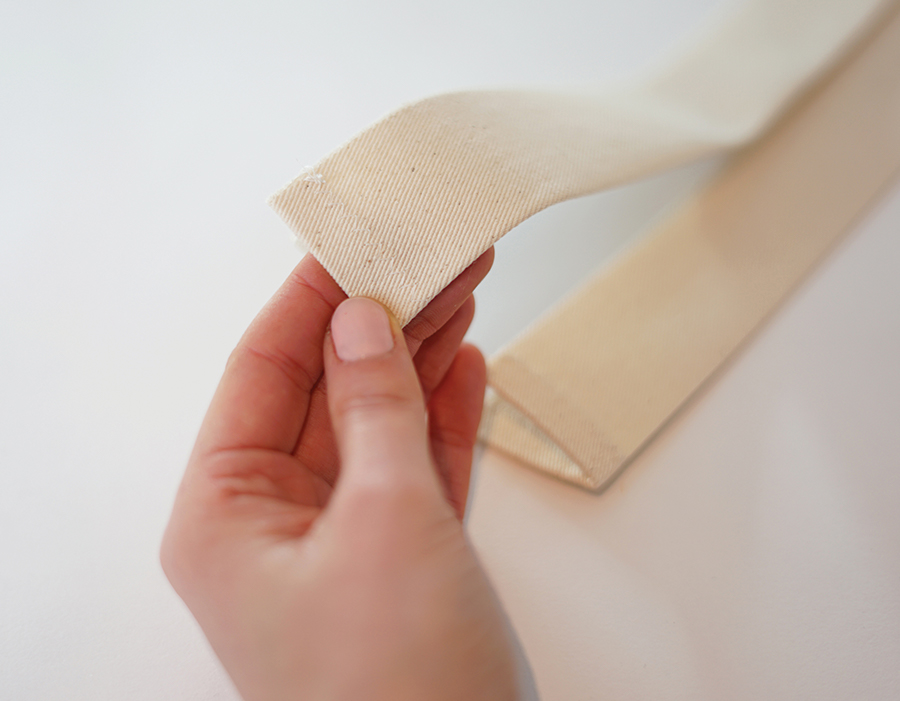
To make the drawstring channel, press each short end of the Fabric 2 strips to the wrong side (WS) by 1cm (3/8") and zigzag stitch in place close to the short raw edge. Fold one of the strips in half along the length with WS together. Press. Repeat this step with the second Fabric 2 strip.

Step 3

step 3 knitting project bags
Sew a 23 x 40cm (9 1/8 x 15¾") Fabric 1 piece to the 17 x 40cm (6¾ x 15¾") Fabric 2 piece along one long raw edge with right sides (RS) together, using a 1cm (3/8") seam allowance. Press the seam open, being sure to use a pressing cloth. Use fabric clips instead of pins to protect Fabric 1.

Step 4

Step 4 knitting bag organisers
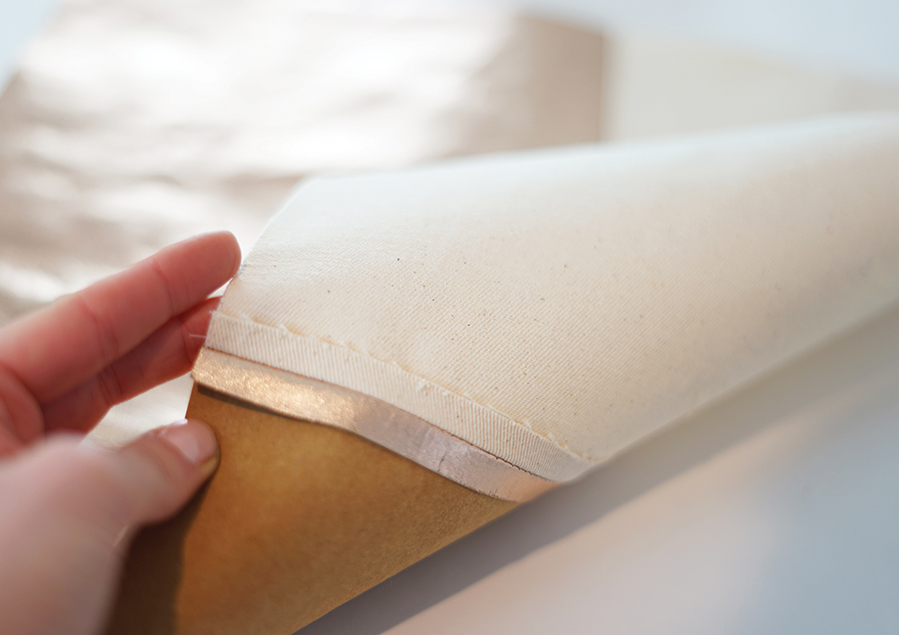
To make a front pocket of your knitting project bag, sew the other 23 x 40cm (9 1/8 x 15¾") Fabric 1 piece to the same sized Fabric 3 piece along one long raw edge with RS together, using a 1cm (3/8") seam allowance. Turn RS out, then press so the seam sits slightly below the top on the lining side. Topstitch in place 0.5cm (¼") down from the top pressed edge.

Step 5

step 5 knitting project bag
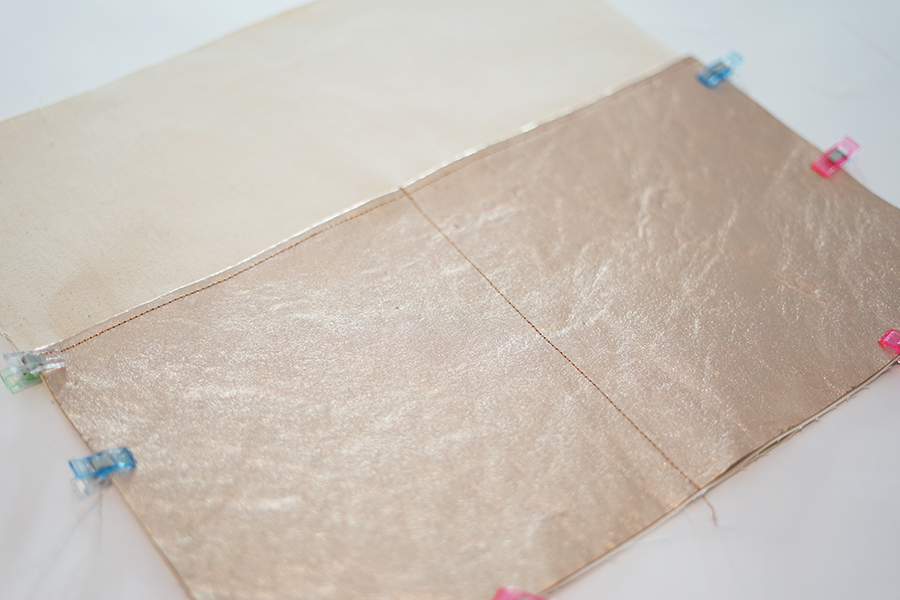
To attach the front pocket to your knitting project bag, draw a vertical line down the centre of the pocket panel using tailor’s chalk. Pin this panel directly on top of the 38 x 40cm (15 x 15¾") Fabric 2 bag panel so the long raw edges of the pocket panel and bottom long edge of the canvas panel align. Clip in place and sew down the chalk line through all layers using the metallic thread – this will create the pocket divider.

Step 6

step 6 knitting project bags
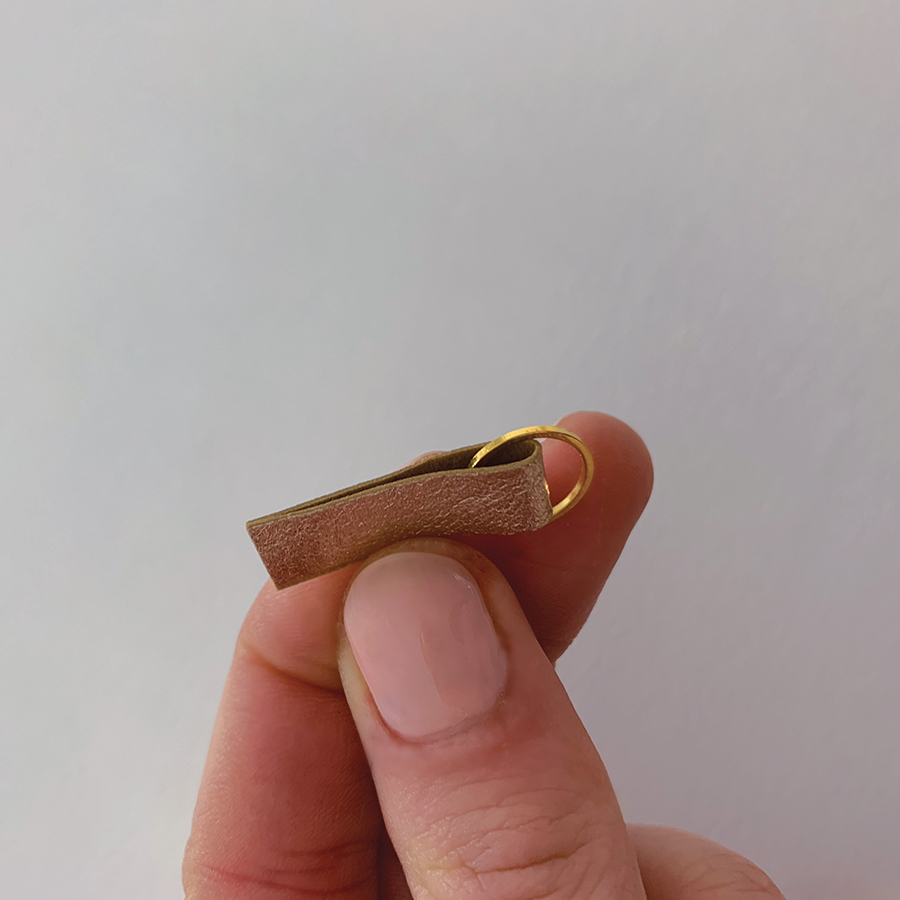
For the stitch marker loop, thread the jump ring onto the 8mm (3/8") Fabric 1 strip and fold in half along the width, WS together and aligning the short ends. Clip this about one third in from the left of the top edge of the knitting project bag panel with the pocket, so the raw edges align with the top raw canvas edge.

Step 7

step 7 knitting project bags
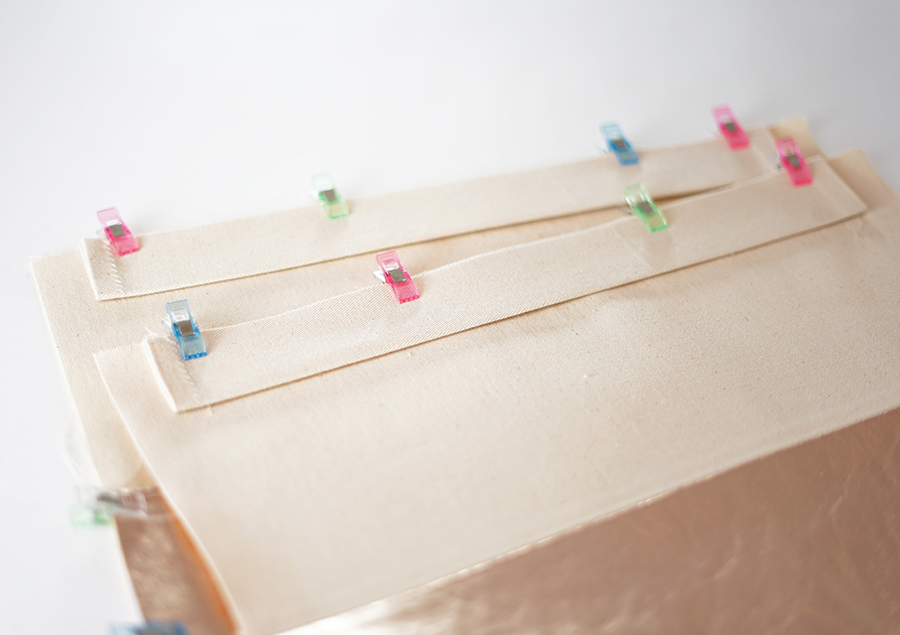
Clip the drawstring channel to the top edge of one bag panel centrally, aligning the long raw edges, so the gap at either end is the same. The marker loop will now be sandwiched between the canvas and the channel. Tack this seam with an 8mm (3/8") seam allowance. Repeat for the other side of the bag. Do not press open.

Step 8

Step 8 knitting project bags
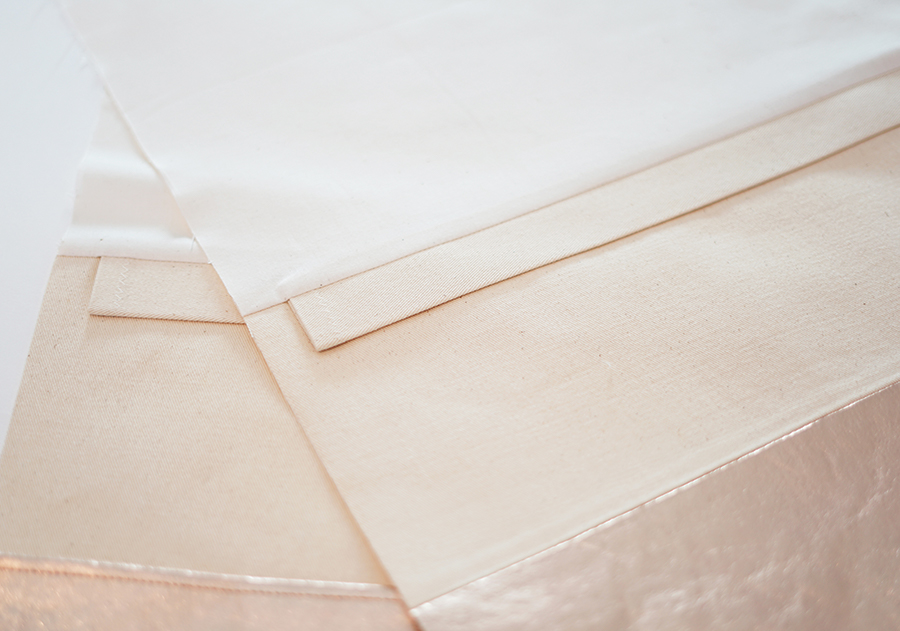
To attach the lining to your knitting project bag, lay one 38 x 40cm (15 x 15¾") Fabric 3 lining panel RS together with one bag panel and pin. This will sandwich the cord channel, and the marker loop on one side, between the lining and the main bag fabric. Sew along the top canvas edge using a 1cm (3/8") seam allowance. Press the seam so the seam allowance is pointing towards the lining but the cord channel is facing Fabric 2. Repeat to make the second side.

Step 9

step 9 knitting project bags
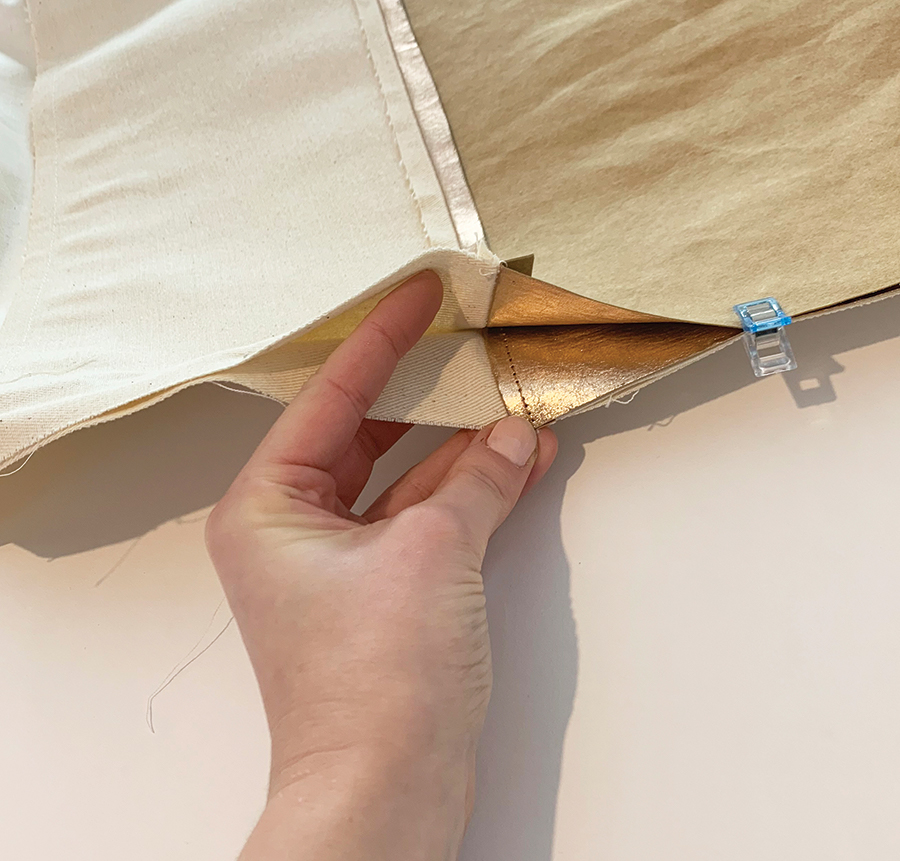
Next, lay the knitting project bag pieces RS together, being careful to line up both the drawstring channel seam lines and the colour block seam line with the top of the pocket. Clip in place. Sew around all four of the edges using a 1cm (3/8") seam allowance, leaving the central 18cm (7 1/8") of the lining’s long raw edge unstitched for turning through.

Step 10

Step 10 knitting project bags
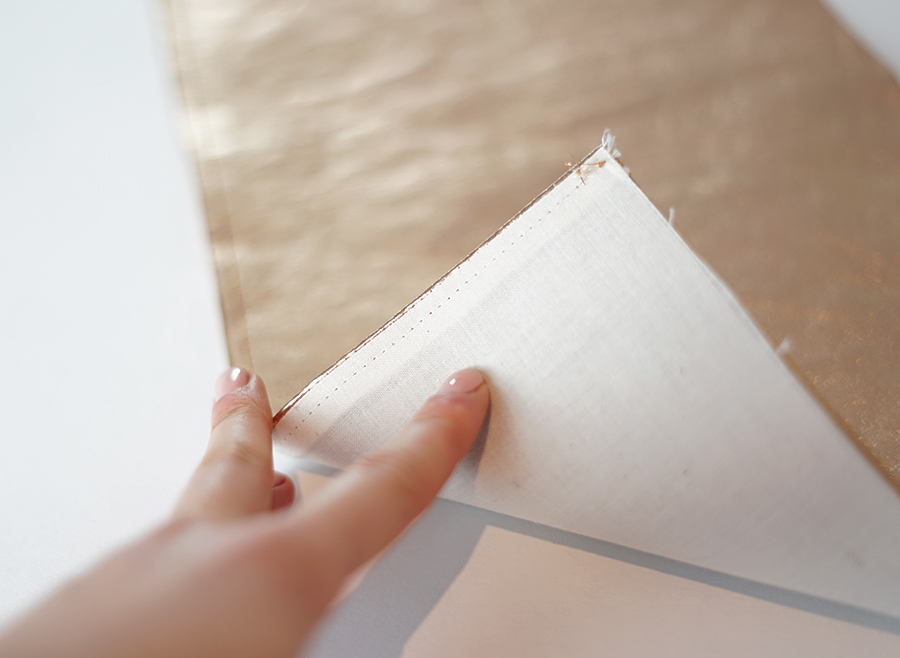
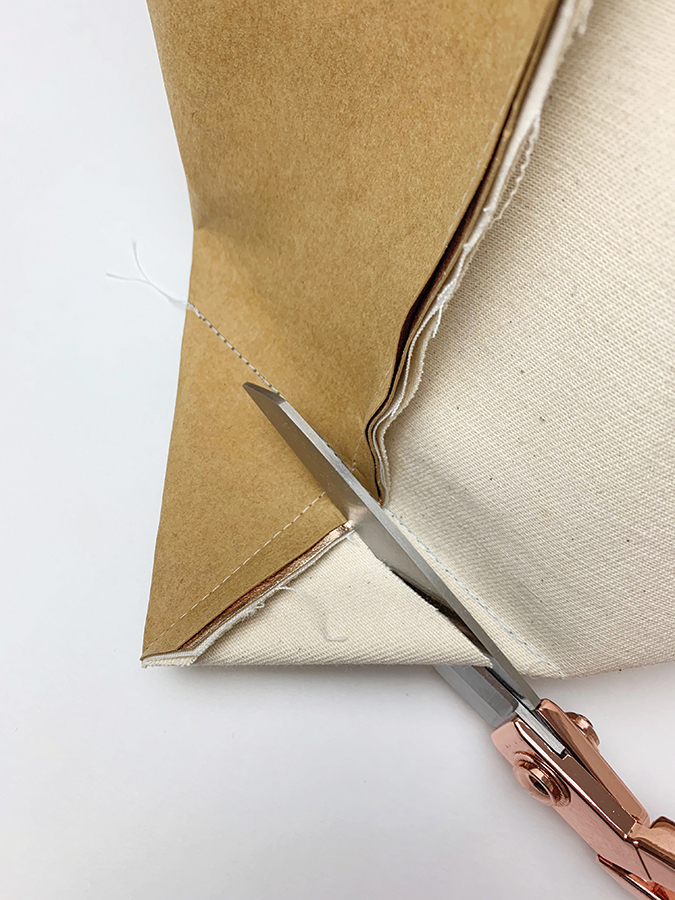
Clip off the seam allowances at the corners. Fold one of the four corners so the bottom seam allowance is sitting directly on top of the side seam, creating a triangle. Draw a line at a right angle to the seam lines, 6cm (2 3/8") up from the triangle corner. Sew along this line and trim away the excess, leaving a 1cm (3/8") seam allowance, as shown. Repeat this on all four of the bag corners.

Step 11

Step 11 knitting project bags
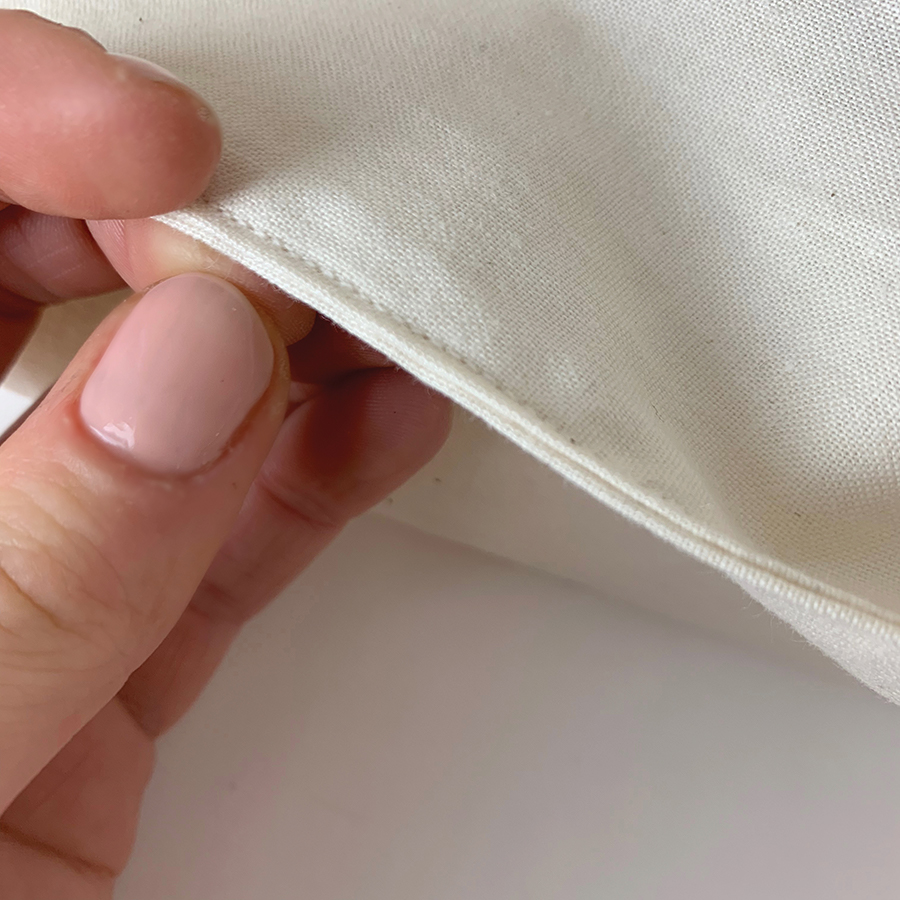
Turn the bag RS out through the gap left in the lower edge of the lining in Step 9. Gently poke out the boxed corners. Fold the raw edges at the gap to the WS and sew 0.25cm (1/8") in from the edge. Give the knitting project bag another press using the pressing cloth.

Step 12

Step 12 knitting project bags
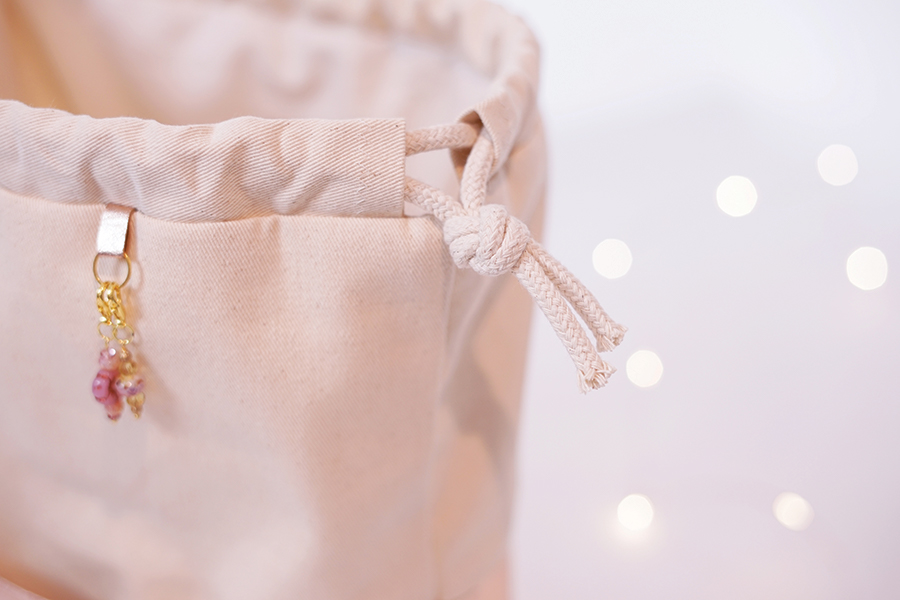
To add the drawstrings, attach a safety pin to one end of one of the cotton cord lengths. Pull the pin through one channel, across the gap and through the other channel. Repeat, starting at the other end so there are two cord ends poking out each side of the bag. Tie a knot in the drawstrings. Knitting project bag complete!

We hope you enjoyed making Ami’s project. For more home knitting projects head to our knitting section. Share a picture of your knitting project bags with us on Instagram using #molliemakers, and don’t forget to subscribe to Mollie Makes to get creative inspiration delivered to your door every month!