Easy DIY placemats to sew for your festive table
Homemade placemats are an easy way to style your dining table this Christmas! Learn how to make placemats with our simple step-by-step tutorial

Published:
DIY placemats are a great way to bring your own style to your festive dining table.
They’re a brilliant project for anyone new to sewing, as you’ll only need to master a few simple techniques to make your own elegant placemats. Once you’ve got the hang of this placemat pattern, you’ll be able to whip up a whole batch of them!
These DIY placemats are a quick project to make over a weekend. Perfect for making in the run-up to Christmas and for giving as a last-minute gift.
The great thing about sewing your own Christmas table decorations is that you can reuse them every year, making them a sustainable choice. And they’re much more personal than shop-bought ones.
You’ll soon be sewing everything for Christmas, from centrepieces to Christmas tree skirts.
Ready to learn how to make placemats? Let’s go!
Sew your own easy DIY placemats
Find out what you’ll need to make your own DIY placemats this Christmas.
Shopping list
- Find stockists of the Cozy & Magical range by Maureen Cracknell for Art Gallery Fabrics from Hantex
- Buy interfacing from Amazon
- Buy plain quilting cotton from Minerva
Notes for making DIY placemats
Seam allowance is 1cm unless otherwise stated.
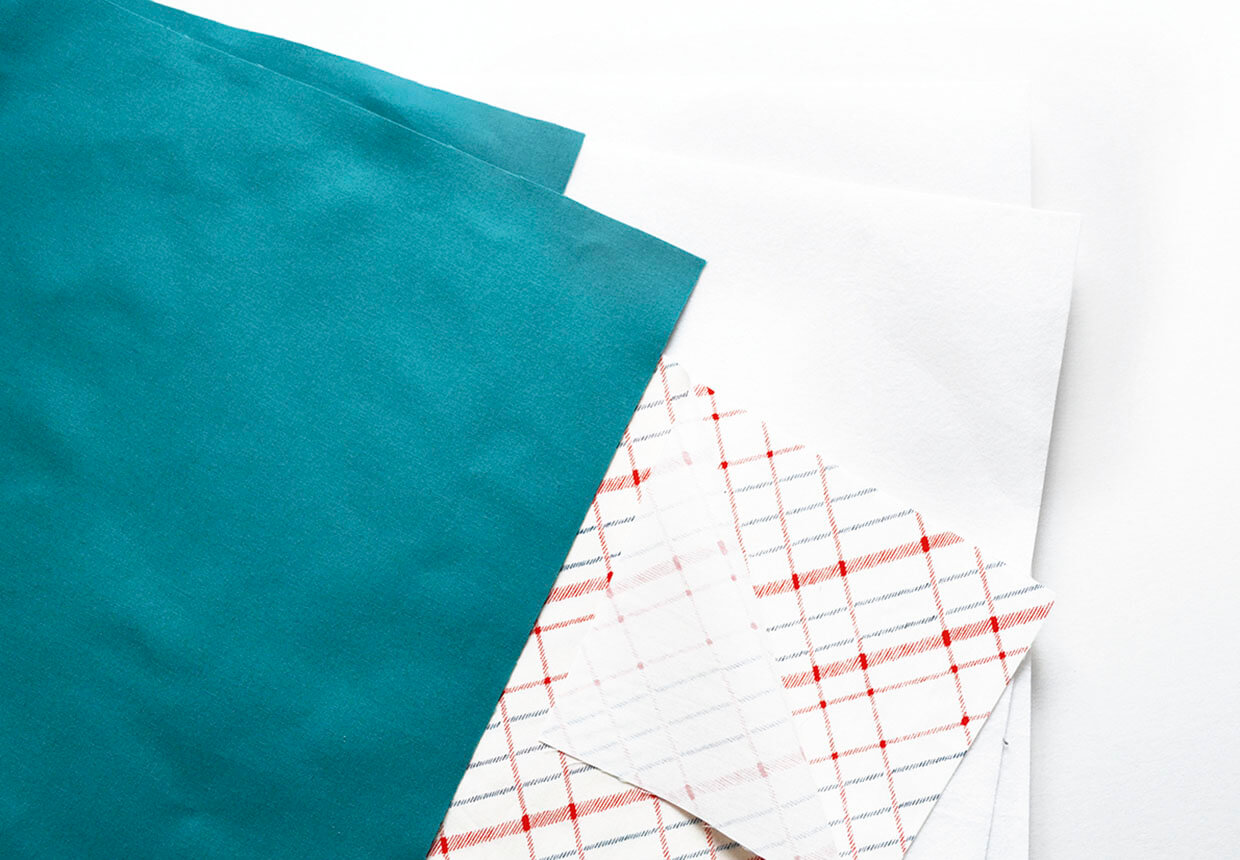
You Will Need
- Patterned quilting cotton (35x90cm)
- Stiff interfacing (35x90cm)
- Plain quilting cotton (100x60cm)
- Matching thread
- Basic sewing kit
Total time:
Cutting out your festive fabric
Step 1
From the patterned fabric cut:
- Place mat: two 31x44cm
Step 2
From the interfacing cut:
- Interfacing: two 31x44cm
Step 3
From the plain fabric cut:
- Backing: two 46x59cm

Decorate your tree with mini sweaters
These adorable tiny Christmas jumpers are a fantastic way to learn a few simple embroidery stitches.
Start sewing Christmas ornaments to dress up your tree this festive season!
How to sew your DIY festive placemat
Step 1
Lay out the plain fabric pieces right side (RS) down (if they have a right side). Fold each edge over by 3.5cm, pressing to crease. Now fold each edge again by 3.5cm, pressing to crease.
Step 2
Unfold the second fold along each edge.
Next, fold each corner in so that the first crease meets the crease of the second fold, pressing each corner to crease.
Step 3
Unfold the creased corners and turn over the fabric.
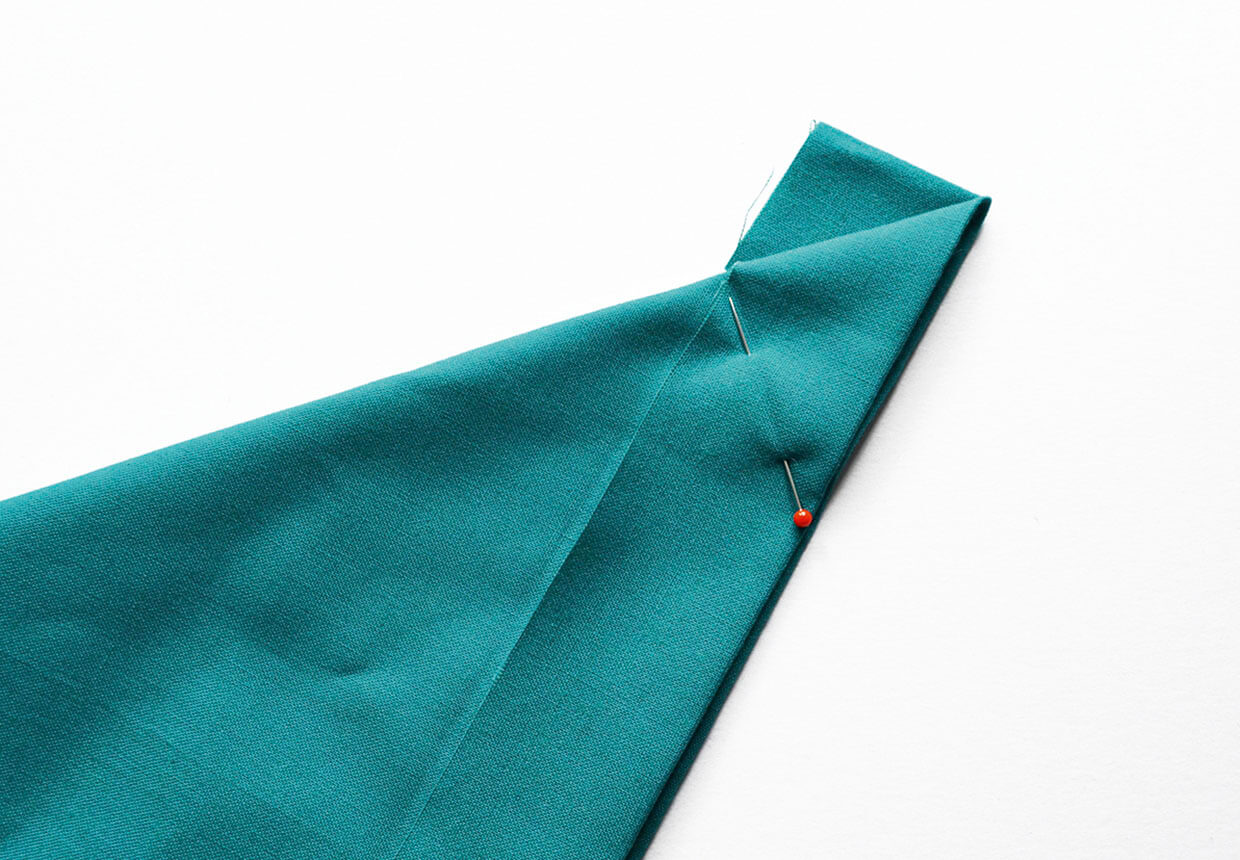
Now bring the edges of one of the corners together to create a 45-degree point.
Step 4
Pin across the crease you folded earlier in the corner, then sew along that crease.
Repeat for each corner.

Step 5
Trim away excess fabric at the corners.
Step 6
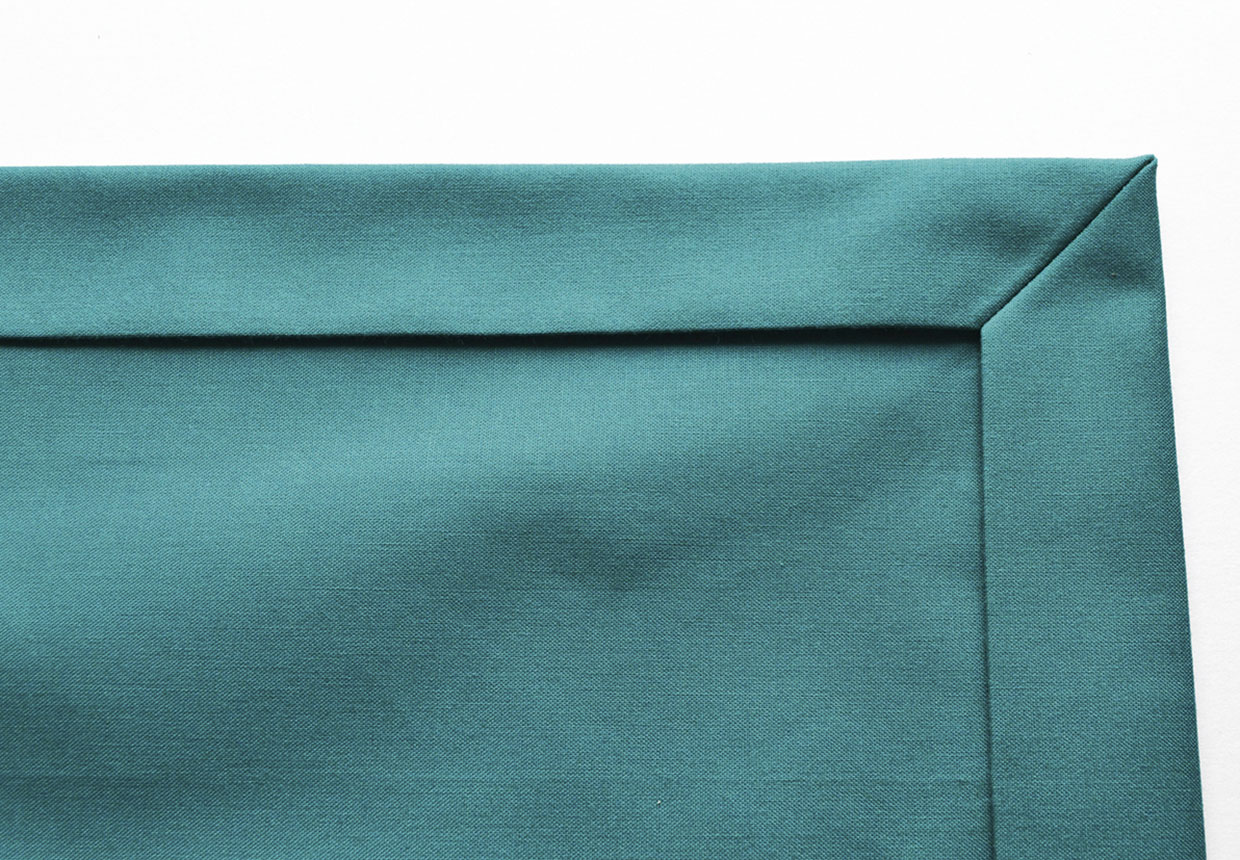
Refold the fabric along the second crease so you end up with mitred corners on the front, then press in place.
If you’ve never used this technique before, find out how to do it with our mitred corners guide.

Step 7
Finally, check the patterned placemat fabric and interfacing fit under the border you’ve created, and trim them slightly if necessary.
Step 8
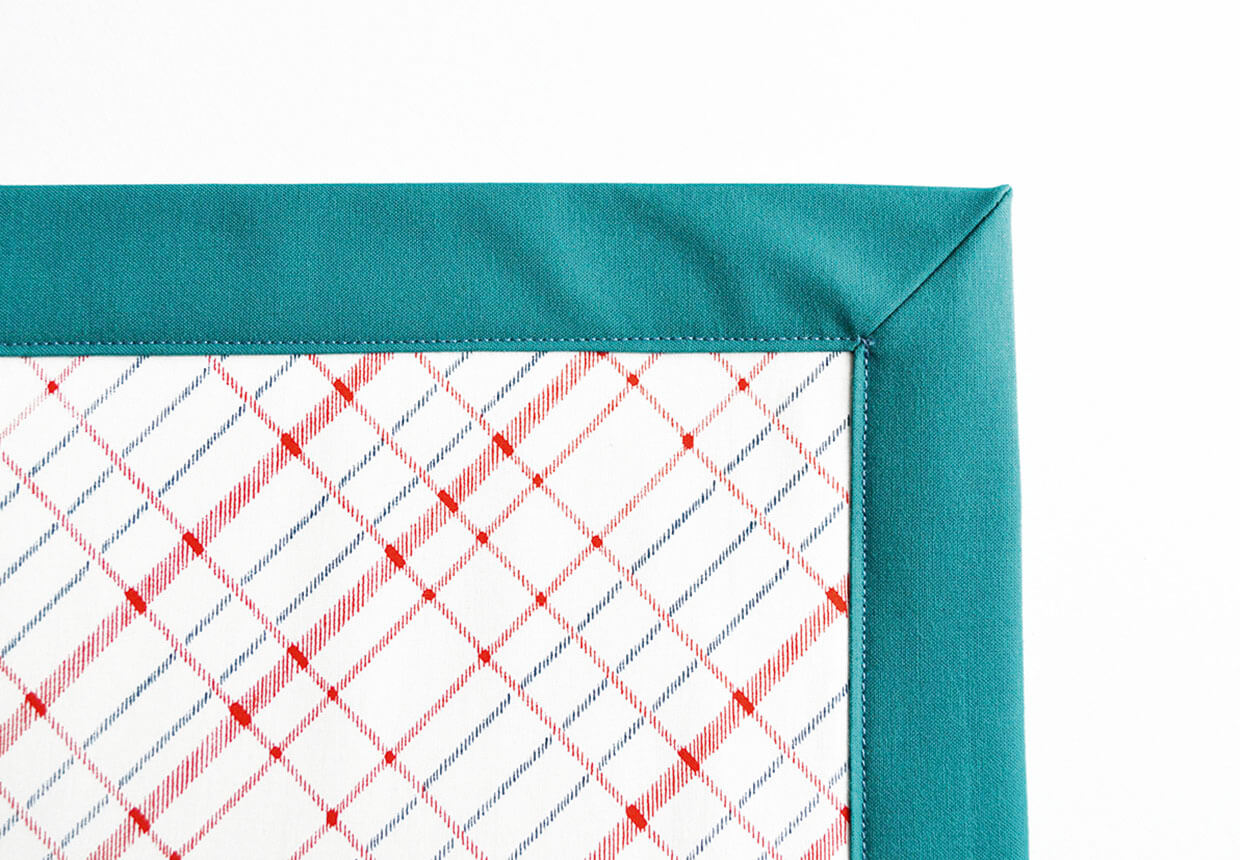
Tuck the interfacing in first, followed by the patterned fabric, making sure they are both completely flat and smooth.
Step 9
Clip or pin to hold in place then carefully sew around the inner edge of the plain border, 23mm in from the edge.

Sewing your own DIY placemats couldn’t be easier
This easy DIY placemats project is ideal for beginners to sew, as you’ll be able to learn a few simple sewing techniques.
You can make the placemats over a weekend and you can whip up a batch once you’ve got the hang of the pattern.
Your beautiful placemats are guaranteed to be treasured and can be used to decorate your Christmas table every year!
Make a stellar Christmas table runner to complete the look
Take your decorations to the next level with this starry Christmas table runner pattern by Jessica Entwistle!