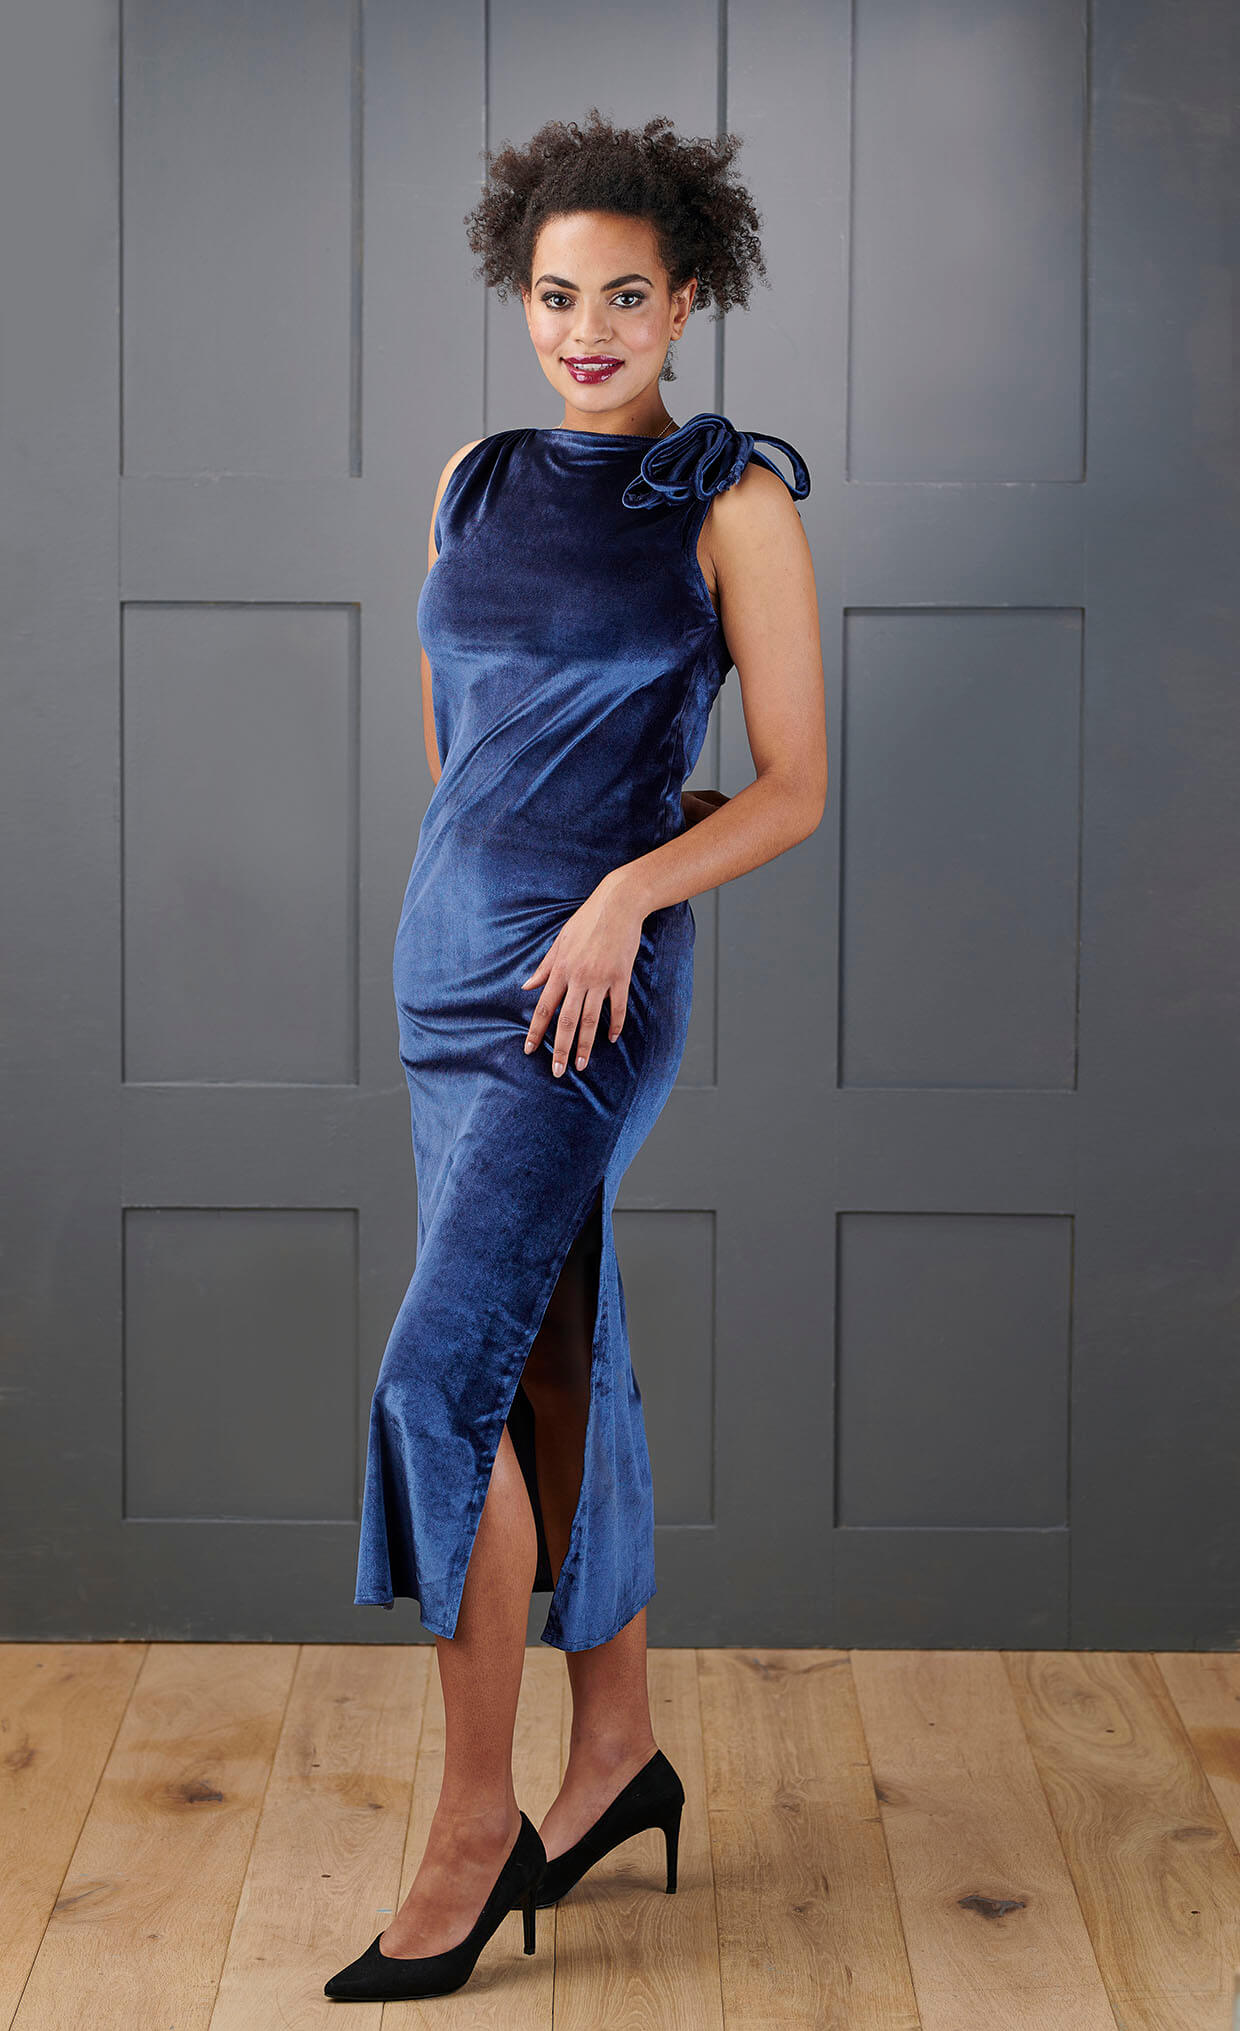
Cutting out
Step 1
Cut two rectangles where the length is equivalent to D and the width is roughly 1.5xC.
Step 2
Lay the rectangles right side (RS) together. Pin together or weigh down. We will turn these rectangles into a trapeze shape using the measurements you’ve taken.
Step 3
Mark a line down the centre. Along the top edge and centred on this line, mark your shoulder points (A). 25cm below this, draw a horizontal line equivalent to B. 20cm below this line, draw another horizontal line equivalent to C.
Step 4
Join shoulder points to the bottom edge of the rectangle with a diagonal line that falls just outside these bust and hip lines to create a trapeze shape. Cut out through all layers.
Assembling the dress
Step 1
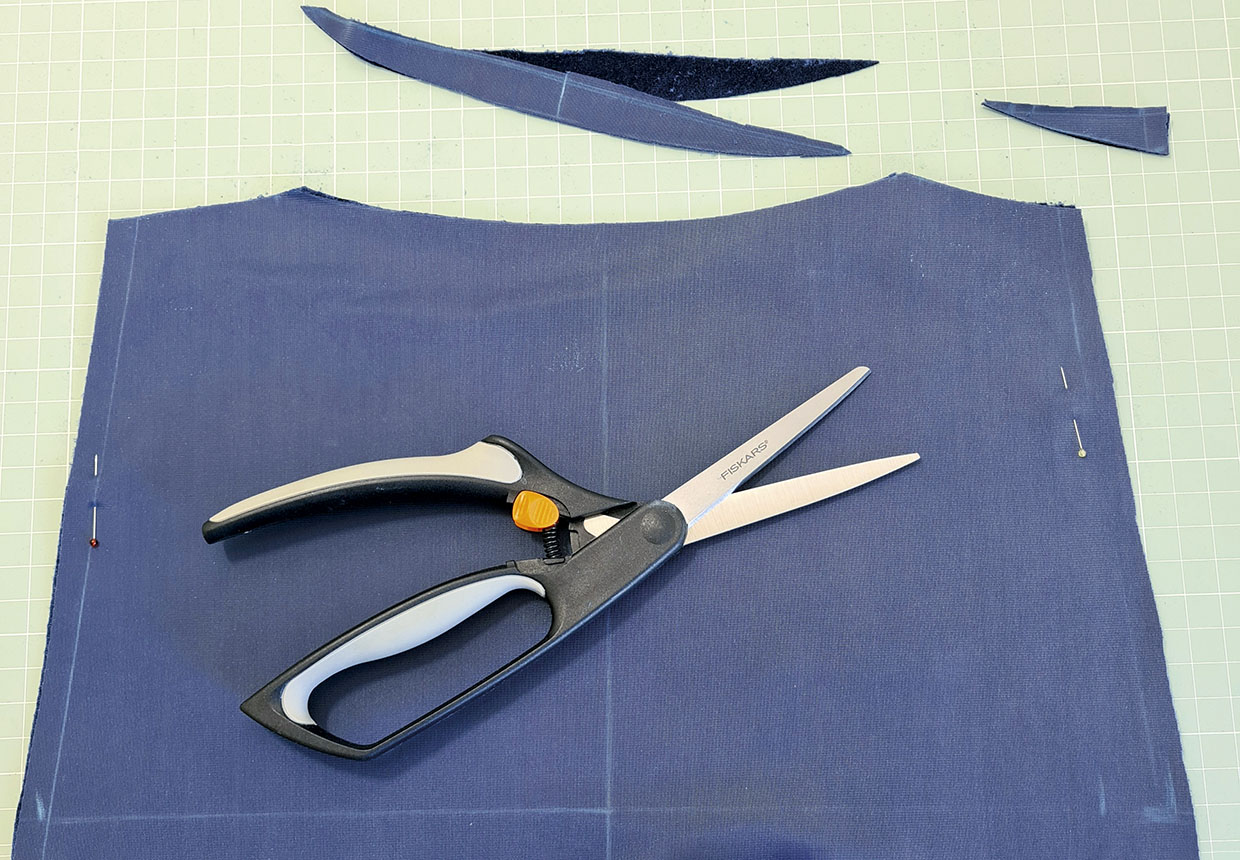
Cutting through both layers, from the top edge cut out a shallow neckline shape approximately 25cm wide. Slope the outer corners of the rectangle as pictured to create your neck and shoulder lines.
Step 2
With RS still together, pin and sew the shoulders with a 1cm seam allowance. Press seams open and flat.
Step 3
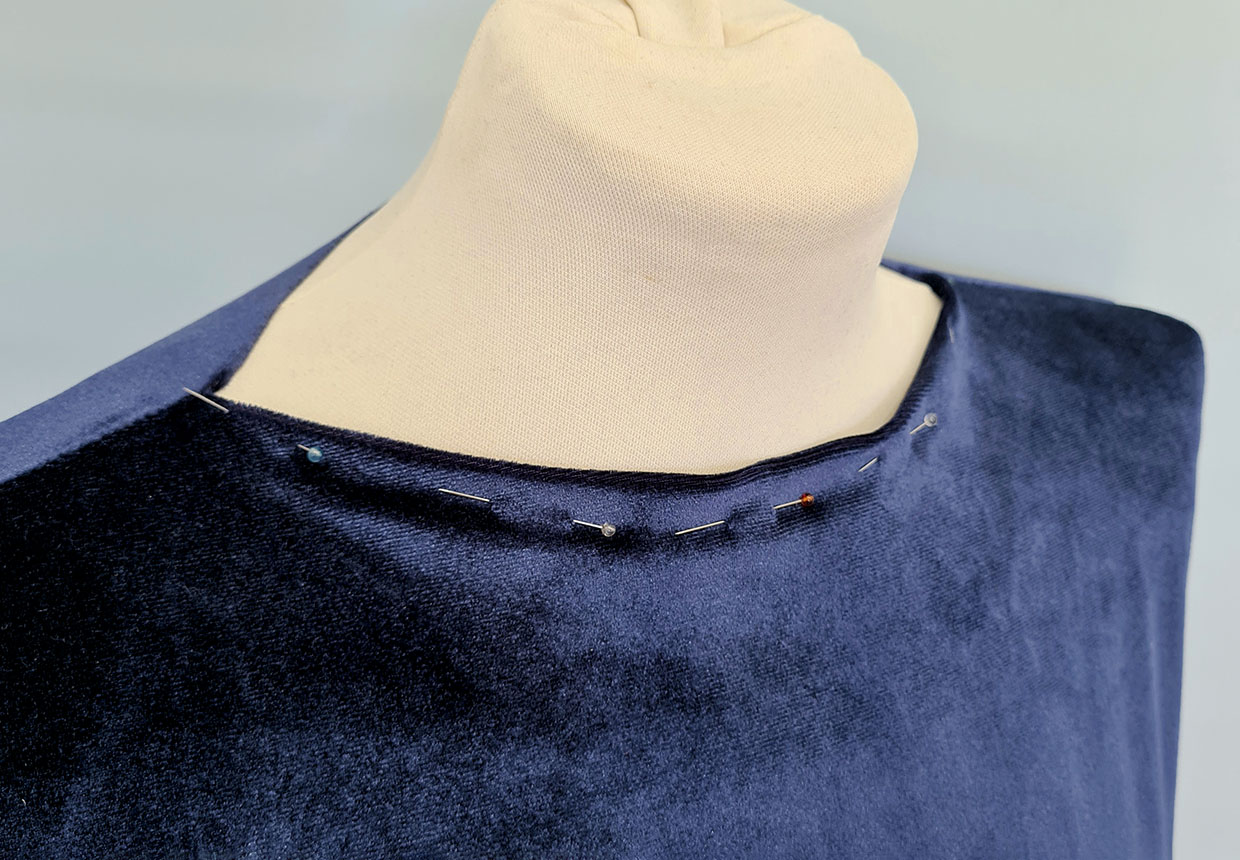
Try the garment on and tuck the raw edge of the neckline (front and back) to the inside of the garment, so the neckline sits in a smooth curve and in a position that’s comfortable for you. Pin in place.
Step 4
From the RS, stitch the neckline hem in place roughly 5mm from the folded edge (NB you may need to taper/reduce this distance as you reach the shoulder seams). On the inside trim away excess fabric close to the stitching line. Press.
Step 5
Along the side seams, mark the armhole opening roughly 22cm below the shoulder, then mark the top of the side splits; these will begin approximately at your knee height.
Step 6
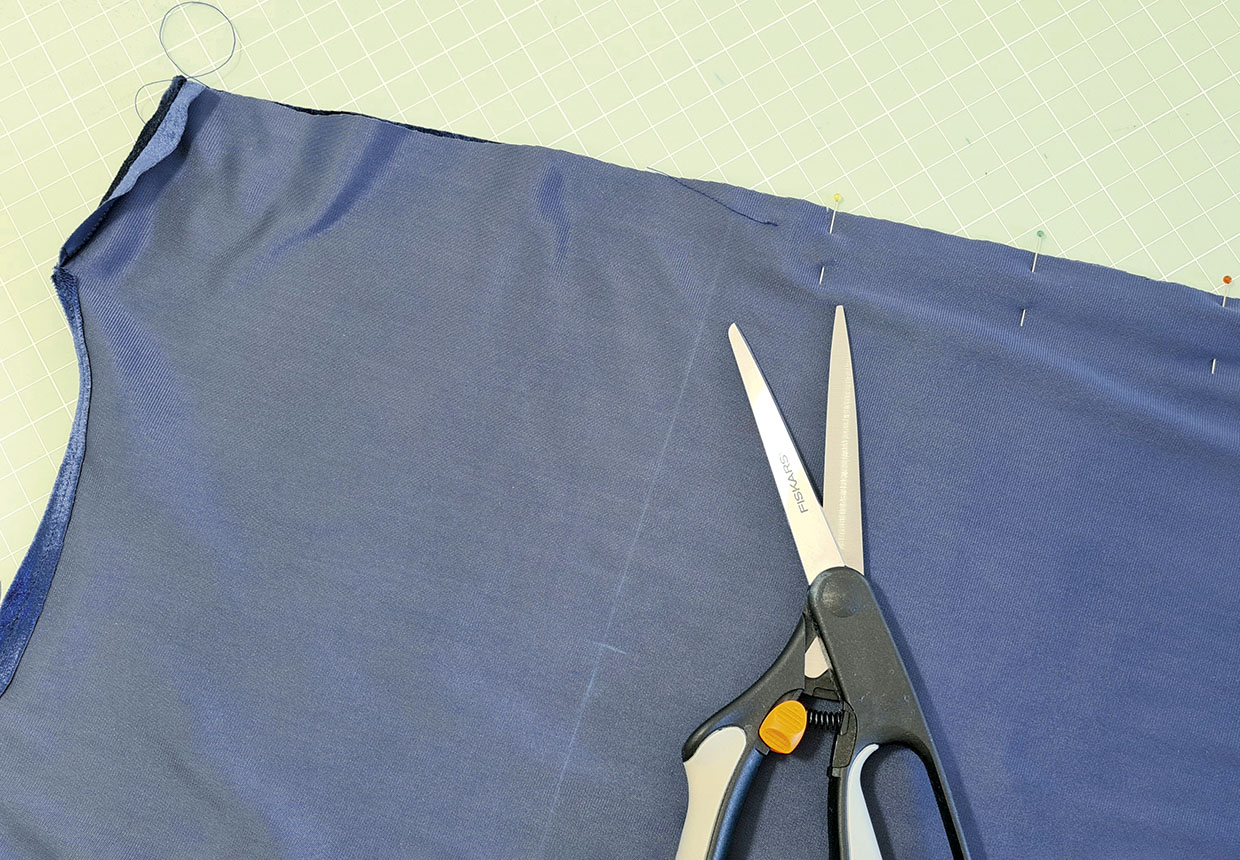
Sew the side seams between these two points, backstitching at the start and the finish. When you reach the top of your side splits, lengthen your stitch and continue sewing to the hem (this section of stitching is temporary and helps with pressing the seam allowance around the opening).
Step 7
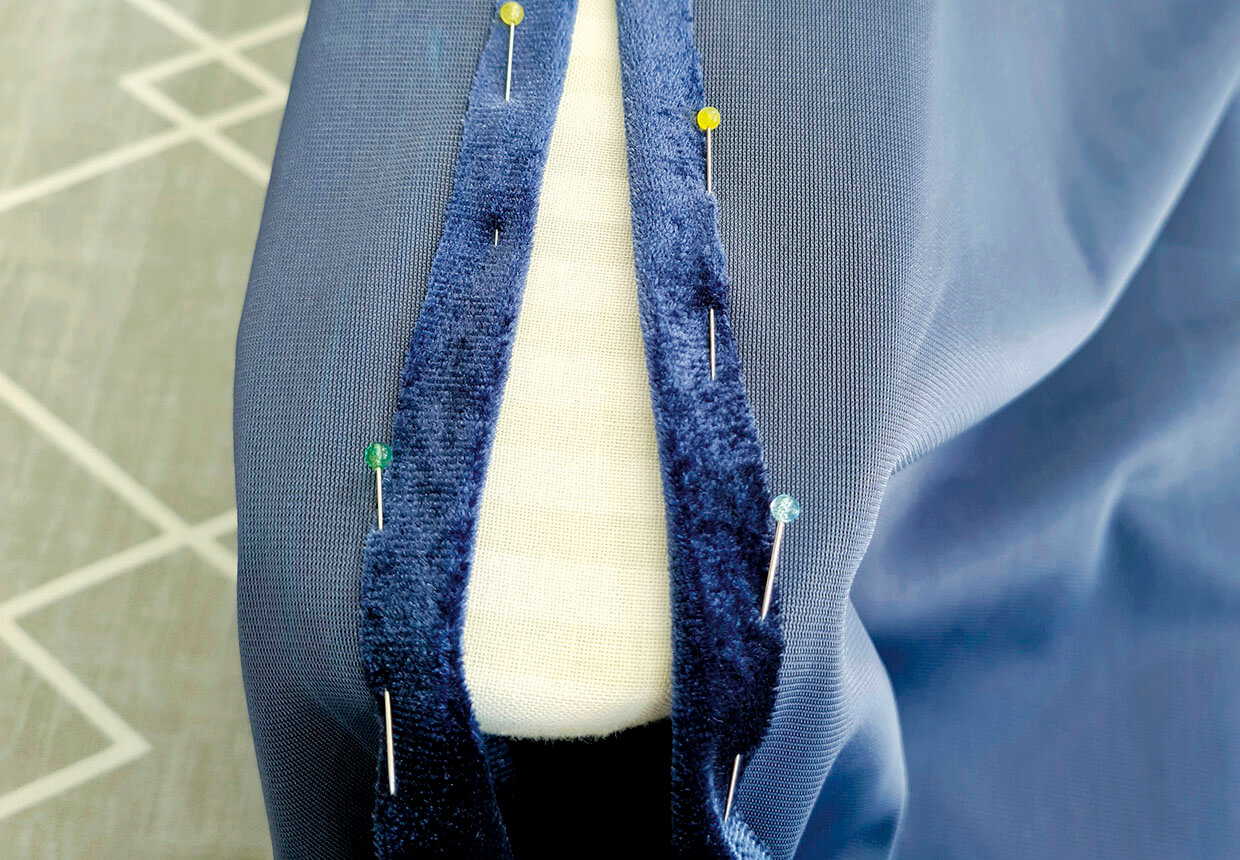
Press side seams open and flat from the hem to the underarm. When you reach the armhole opening, continue pressing the seam allowance to the inside of the garment all the way round the armhole.
Step 8
Pin then stitch the armhole seam allowance in place from the outside with a 5mm seam allowance, pivoting and stitching across, then up at the underarm. Press.
Step 9
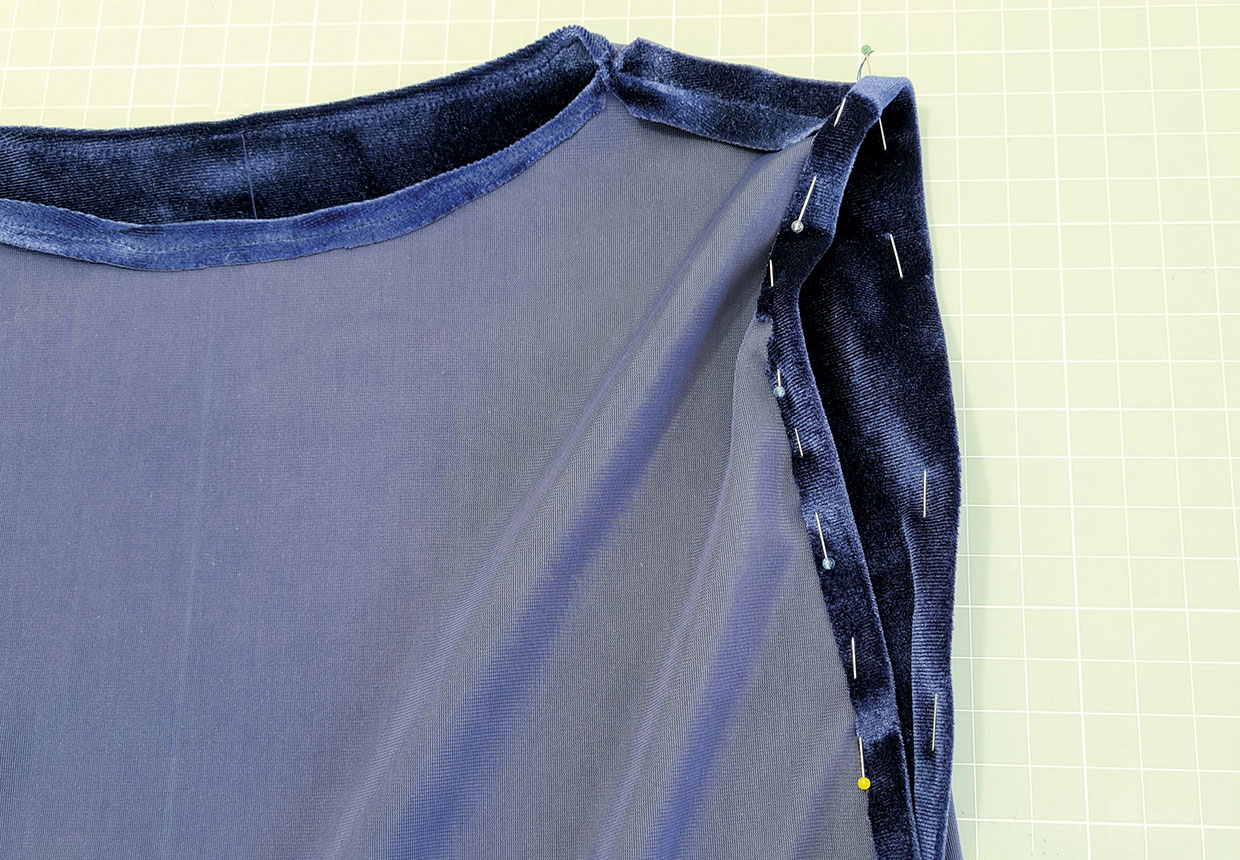
Turning to the side splits, (currently tacked closed) mark the top of your split on the RS of the garment with a pin. Then, with a 5mm seam allowance and stitching from the RS of the garment, stitch around the split opening (either side of the split and across the top) to hold the seam allowance in place. Then carefully seam rip the tacking stitches to remove them and open up the split. Press.
Step 10
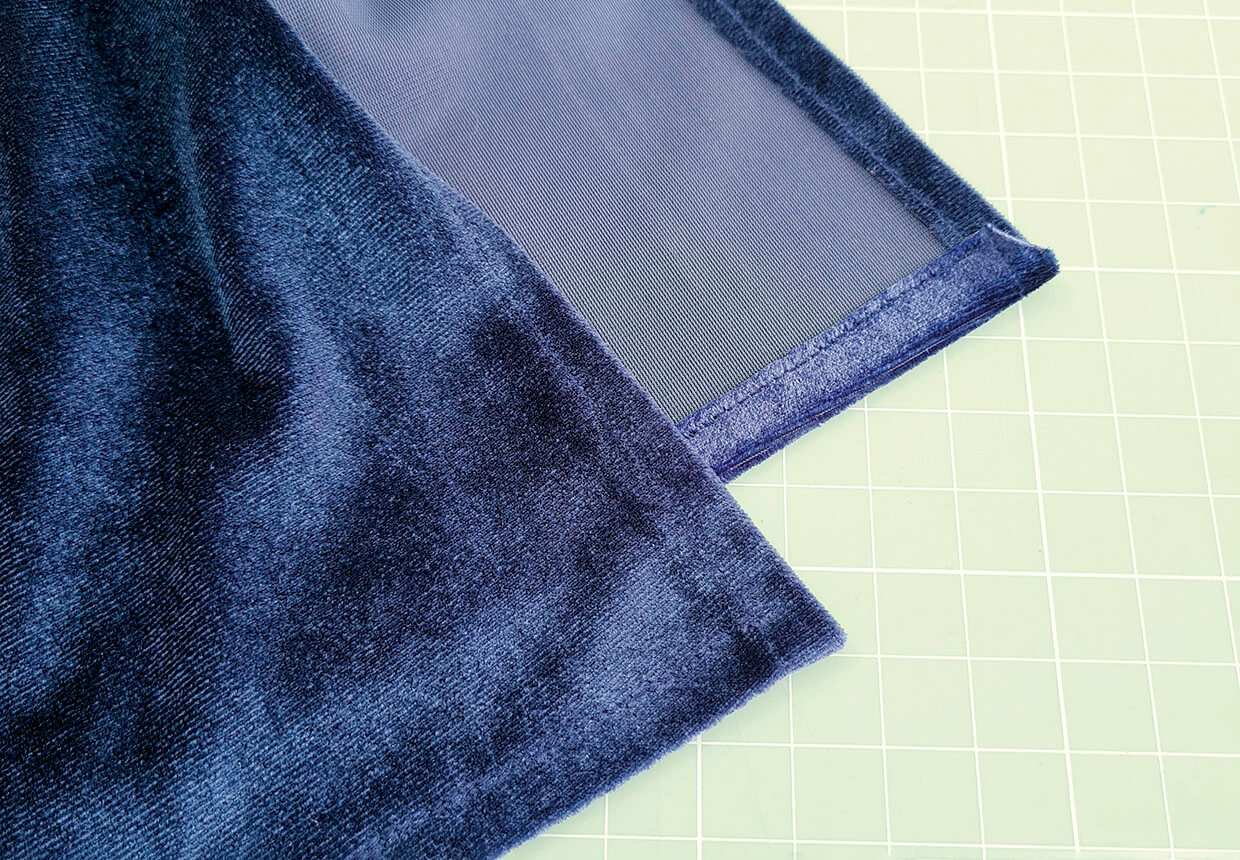
Press over the hems at the front and back with a 1cm allowance. Clip the corners.
Step 11
Stitch hems in place.
Creating the shoulder detail
Step 1
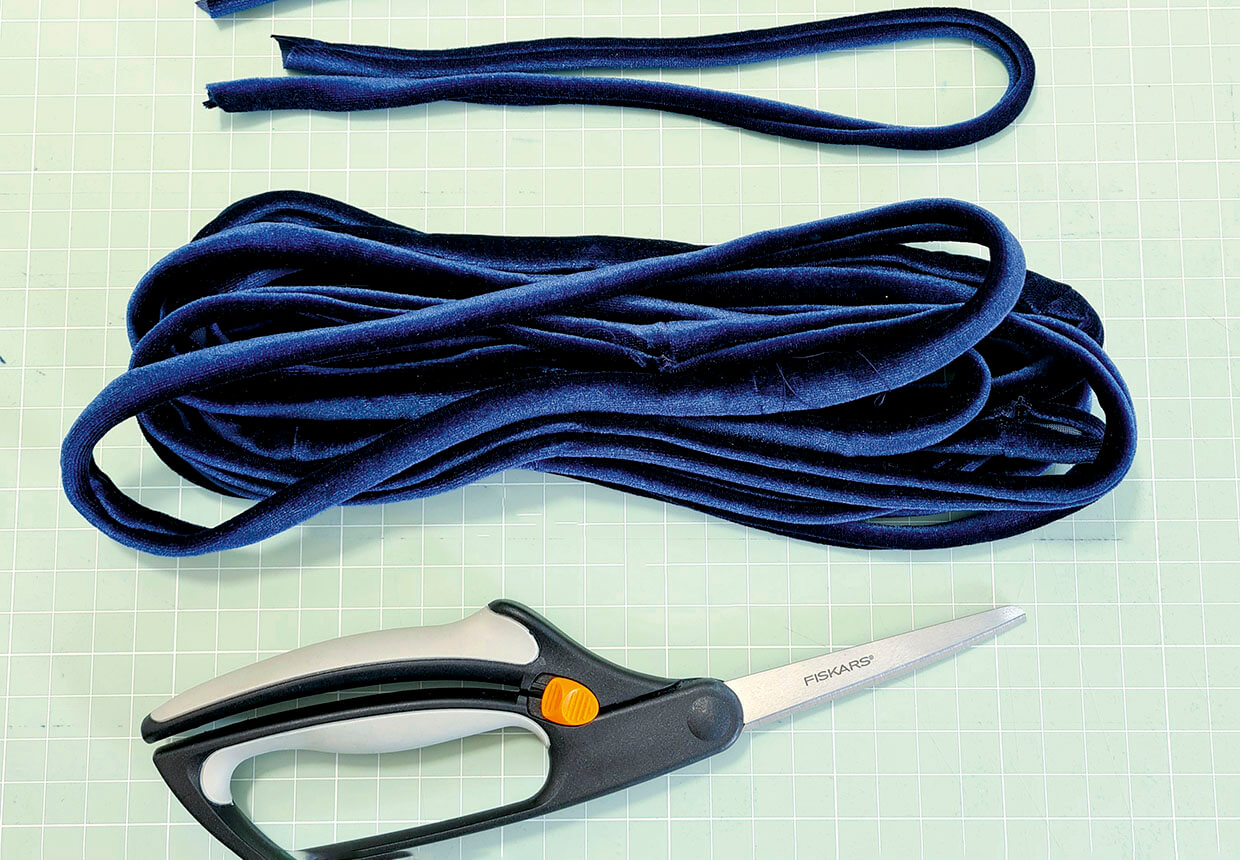
Cut multiple strips across the width of the fabric (these strips should stretch across the horizontal in order to curl and achieve the desired effect). Our strips are approximately 8cm wide and 50cm long, test your length and width on a few scraps first to find the best measurements for your particular fabric.
Step 2
Sew all but two of these strips into loops by sewing the short ends RS together. Then trim the seam allowance down to around 2–3mm, clip corners, turn RS out and then stretch them so that the fabric curls inwards on itself to form tubes. Do the same to the two open-ended strips.
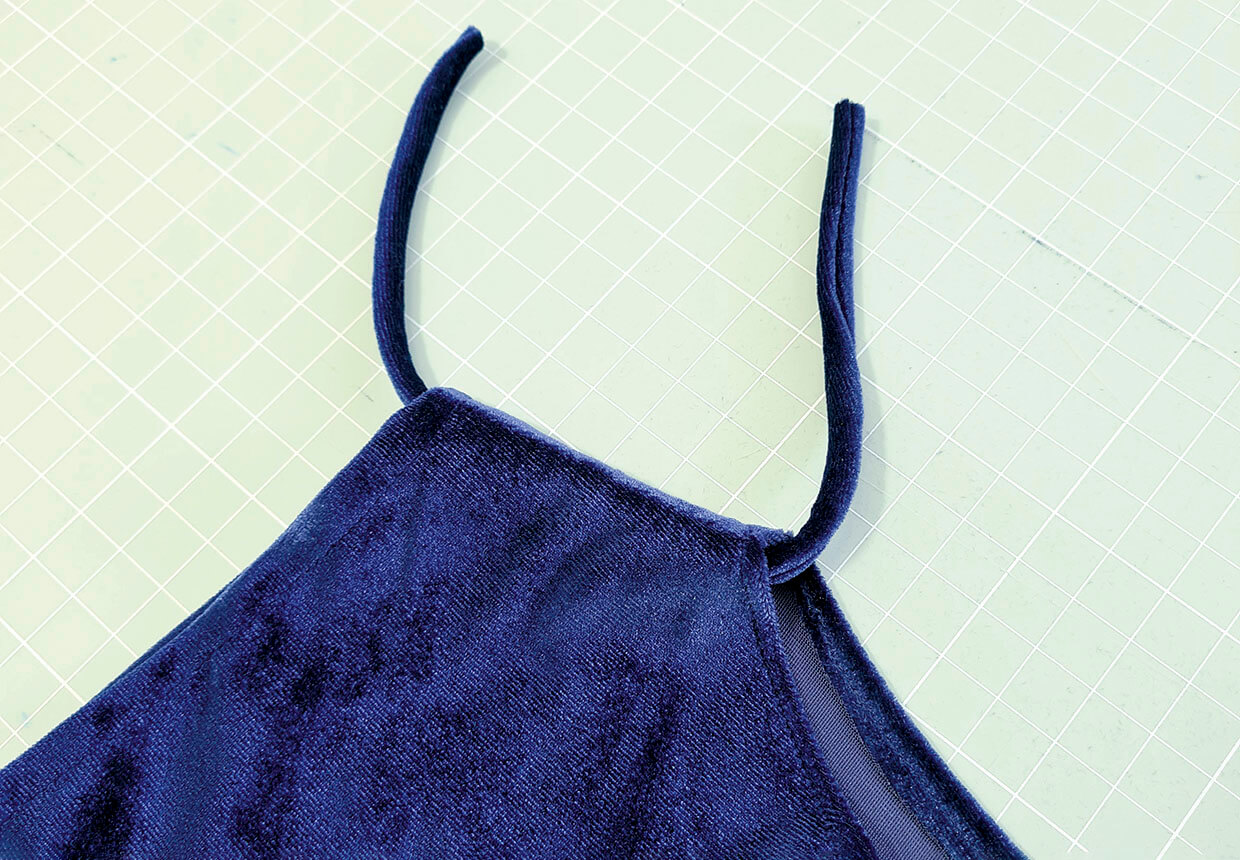
Step 3
On one shoulder pass a tie through the neckline and out the armhole as pictured.
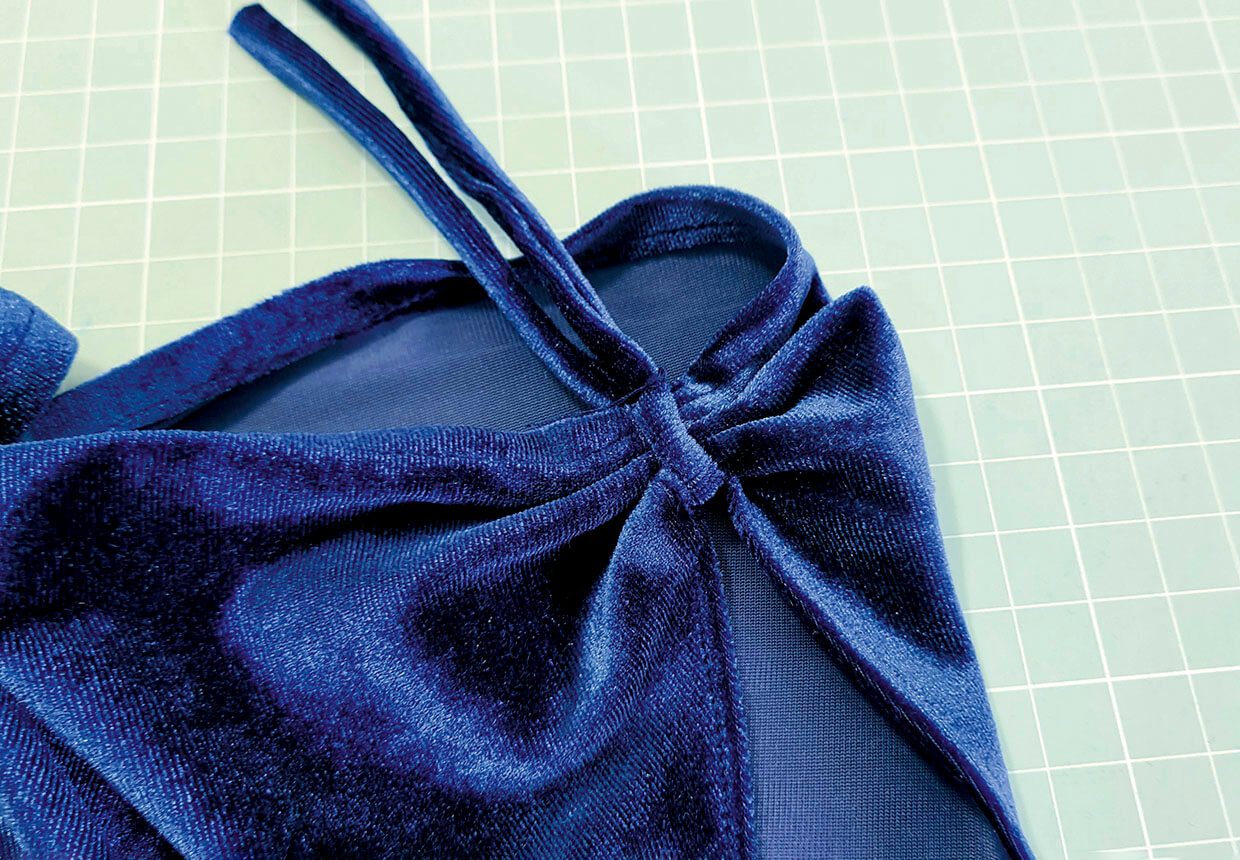
Step 4
Knot the tie around the shoulder seam to create a cinched-in gathered effect.
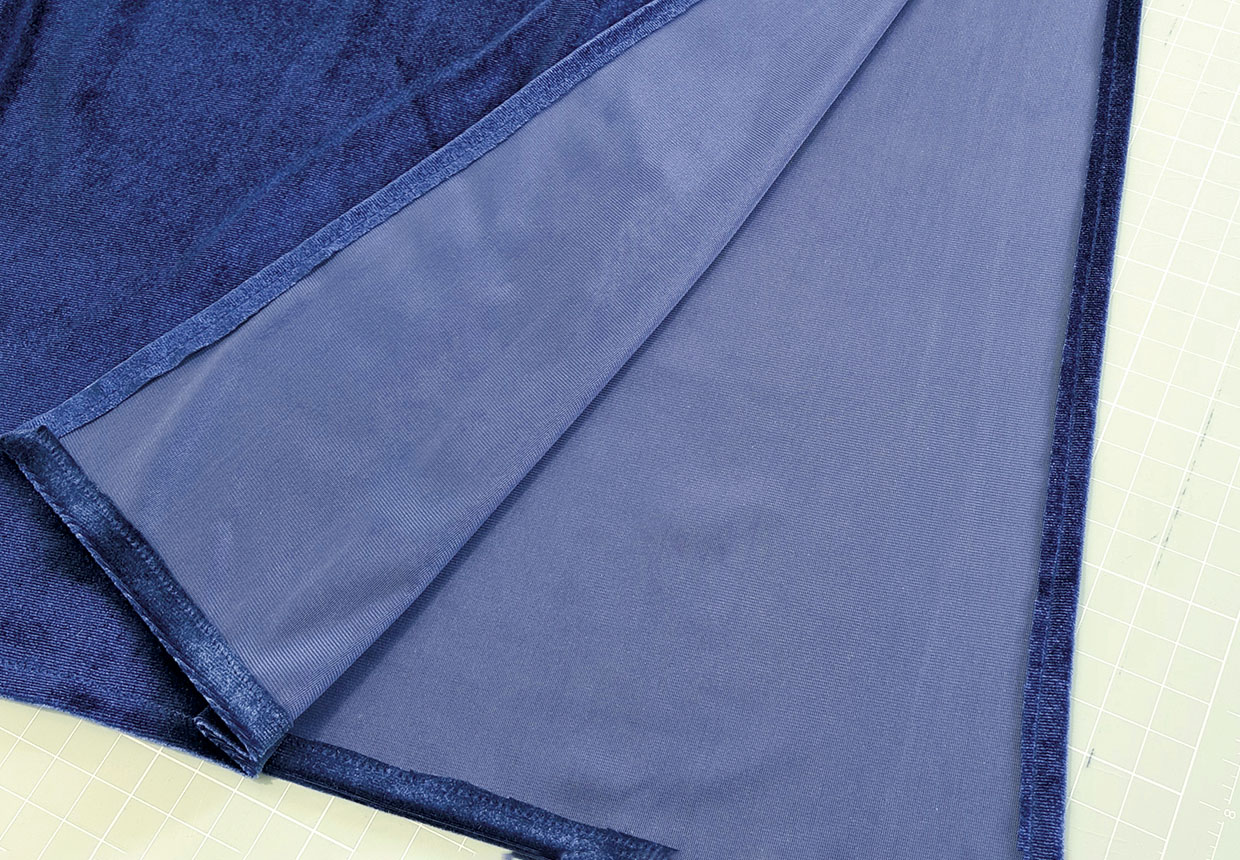
Step 5
Trim away excess tie and rotate the knot to the wrong side (WS) of the shoulder. Secure the loop in place with a few discreet hand stitches.
Step 6
On the opposite shoulder, pass a tie piece through the neckline and out the armhole as before.
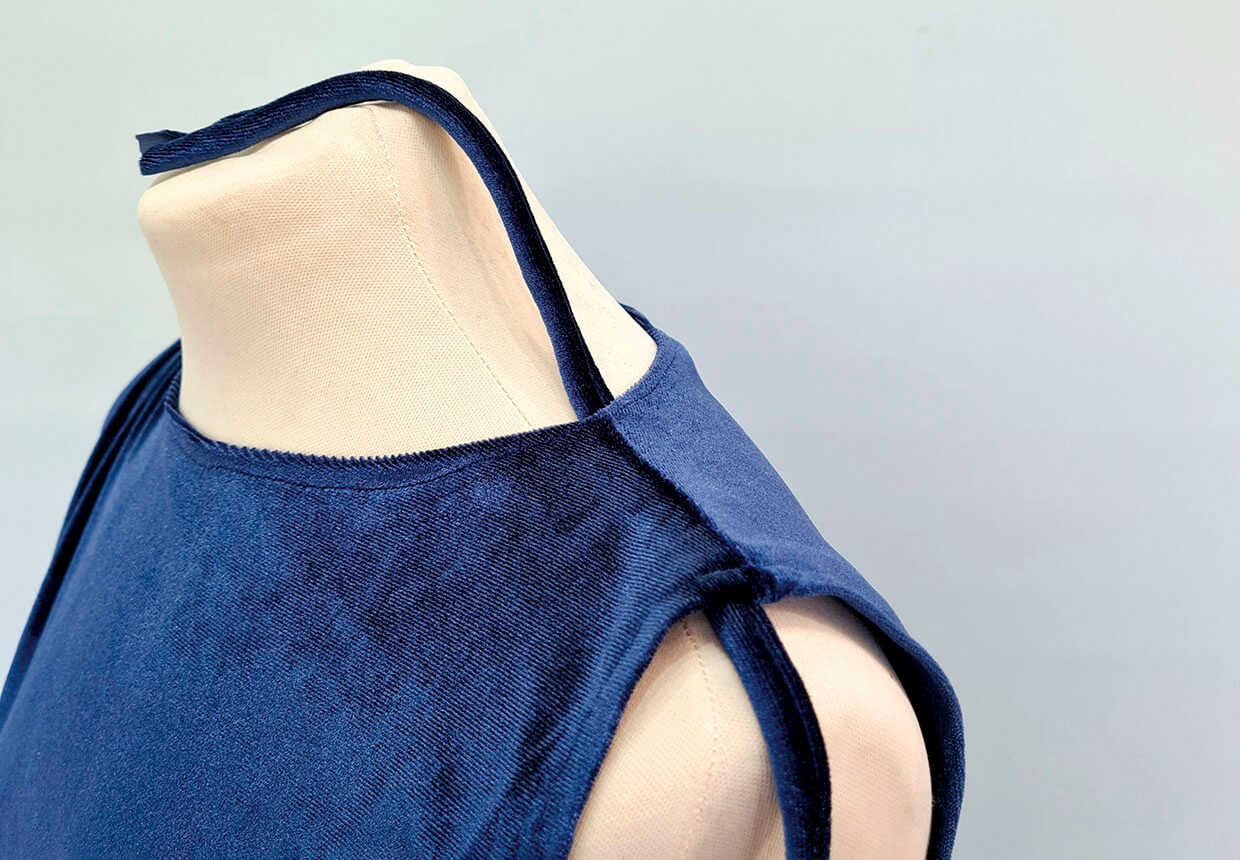
Step 7
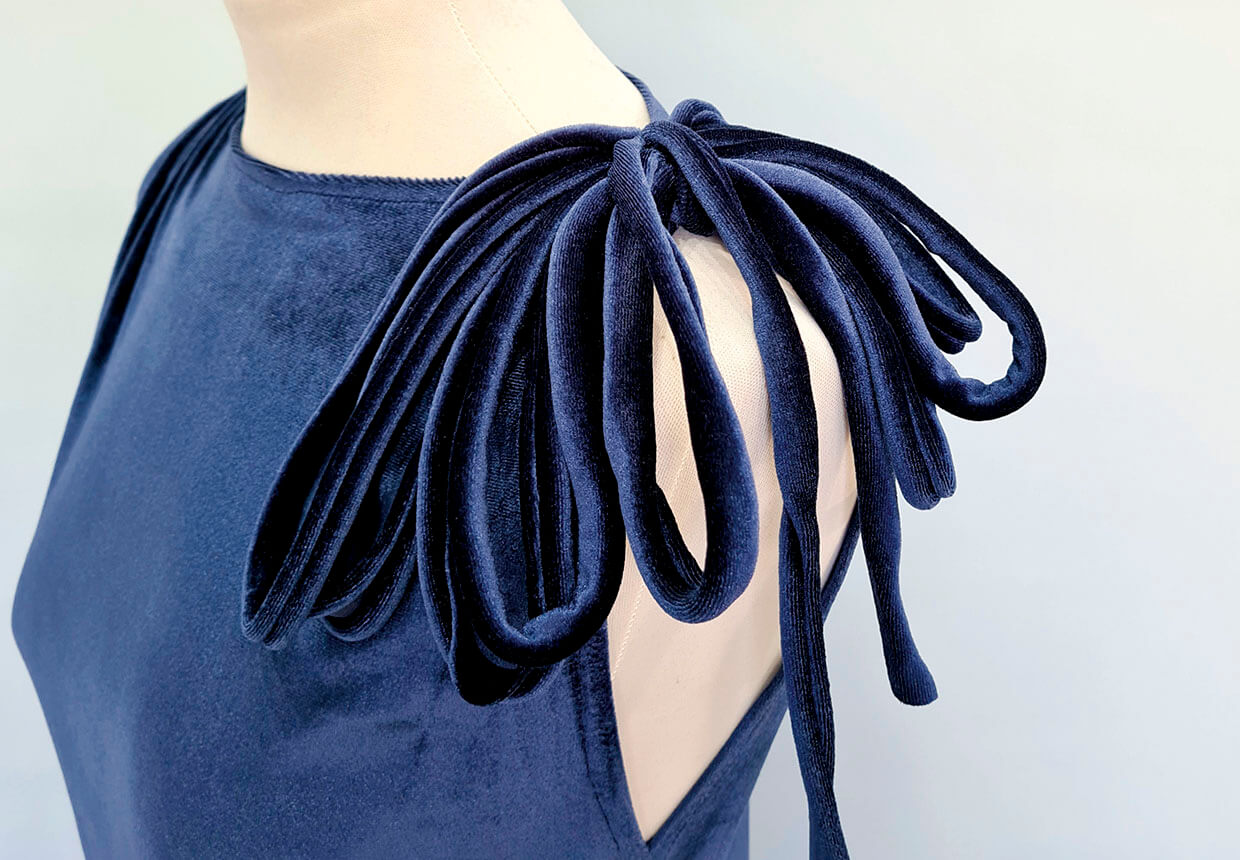
Lay multiple loops across the shoulder as pictured, ensuring the seams are centred over the shoulder seam. We will hide the seams in the next step.
Step 8
Tie the shoulder to create a cinched-in gathered effect and to secure the loops. Depending on your fabric this may be sufficient; for more slippery fabrics you may need to use a few hand stitches to secure the shoulder detail.
Step 9
Knot the ends of the tie to finish.


