How to make a tshirt without a sewing pattern

New to making your own clothes? Ditch traditional paper patterns and make life simple with our guide to how to make a tshirt using your favourite top as a template! Make this drapey sewing project with Karoline Dahrling-Hughes.

6 issues of Simply Sewing magazine for £14.99|Save 78%!

Published: April 21, 2021 at 7:56 am

With a new series of The Great British Sewing Bee lighting up our TV screens this month, we've launched a new series of Sewing for Beginners videos over on our Youtube channel Gathered Makes. So if you've caught the dressmaking bug, but don't know your darts from your interfacing yet, never fear! Let's start simple eh? in this post, we'll show you how to make a tshirt without needing to use a traditional paper pattern. Read on for our step by step instructions and video guide.

This free tshirt sewing pattern isn't technically a pattern as instead of needing to cut out lots of fiddly bits of fabric to assemble, you'll simply use a top that already fits you from your wardrobe to draft your very own two piece top pattern from a new piece of fabric. It's really simple we promise! If you're new to sewing, you might find our how to sew jersey fabric guide handy, and you can find more fun creative alteration projects on our free sewing patterns page. You might also find it useful to check out our how to use a sewing machine guide, beginners guide to sewing and sewing patterns for beginners.

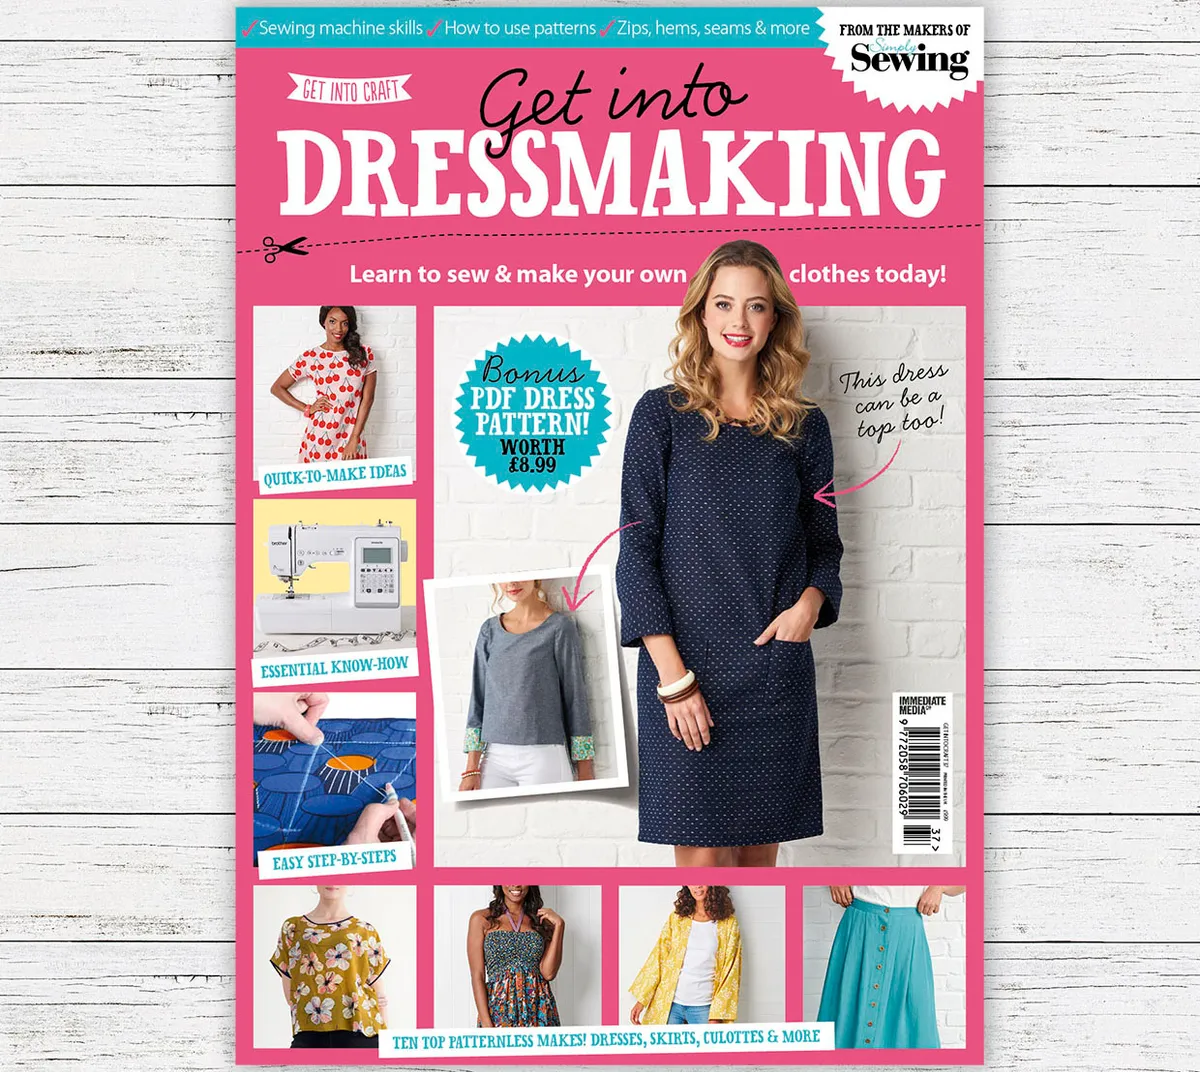
Get into Dressmaking!

Learn how to make your own clothes with Get into Dressmaking – an essential new collection of dressmaking advice from Simply Sewing. It's packed with step-by-step guides and handy advice from fitting to fabrics, zips, seams and projects. Order our copy today

This project was designed by Karoline Dahrling for Simply Sewing magazine – we've joined forces with them to make the video below to talk you through how it's done. See more of Karoline’s work on her website skandimama.com or head to her YouTube channel Skandimama DIY. Photo: Sarah L.Andersen, Model: Amalie K. Gade.

Which fabric should you choose?

A soft fabric that drapes well, such as a crepe viscose, cotton voile or sandwashed silk. We've used this from Stoff and Stil.

Notes

  • Use a 1cm (38in) seam allowance unless otherwise stated.
  • The instructions given are to make a top that fits up to a UK size 16. You will need more fabric if you would like to make a longer or larger top.
  • You may find it more economical to draft the pattern for the top onto paper first and then purchase fabric, depending on the width and length of your pieces.

You will need:

  • Loose-fitting top (To use as a template)
  • Fabric (65x140cm (26x55in))
  • Bias binding (Narrow satin or cotton bias binding) (1.5m (1¾yd))
  • Thread
  • Sewing machine
  • Basic sewing kit

Cutting out

Step 1

Fold the fabric in half, bringing the selvedges together. Then fold the top you are using as a template in half vertically, aligning the side seams. Place the folded top on the fabric, with the folds aligned.

Step 2

You can choose to make a paper pattern or to trace directly on the fabric. If you choose to make a paper pattern, remember you will need to mark a seam allowance around all edges. To mark directly onto the fabric, mark the seam allowance with tailor’s chalk or an erasable fabric marker around the template top. The hem allowance on our template top is longer to allow for a deeper hem, so we traced extra allowance along this edge for our new top.

How to make a tshirt step 1

Step 3

For the back piece, trace around the back neckline edge. If there are any changes you would like to make to the new top, make these at the marking/pattern-making stage. For example, we made our top a little longer than our original top and the grown-on sleeves slightly shorter.

Step 4

When you are happy with your markings, remove the pattern or template top and cut out around the marked line. This will be the back top piece.

Step 5

Repeat the above steps following the lower, front neckline curve to create the front piece. Before cutting out the front piece, lay the back on top to ensure that the pieces are the same except for the neckline depth. Remember to add seam allowance and to make the same length/sleeve adjustments on the front and back.

How to make a tshirt step 2

Step 6

Place the front and back top pieces together with right sides (RS) facing. Pin then stitch all the way down the sides from underneath the arm at the bottom of the sleeve opening to the hem. Finish the raw edges using a zigzag stitch or an overlocker.

Step 7

Pin then stitch both shoulder seams together. Finish the raw edges using a zigzag stitch or an overlocker.

Step 8

Finish the raw edges of the hem all the way around. Fold the hem to the wrong side (WS) by 1cm (38in) and press. Pin in place to secure.

How to make a tshirt step 3

Step 9

Stitch close to the edge, following the curve of the hem as you sew.

How to make a tshirt step 4

Binding the top

Step 1

Pin the bias binding to the neckline edge with RS facing and raw edges aligned.

How to make a tshirt step 5

Step 2

Stitch the binding in place all the way around, staying close to the inner edge. Overlap the ends of the bias tape by approx 1.5cm (5/8in) folding the end of the upper piece back to create a neat edge. Finish stitching this last part down.

Step 3

Fold the binding over the edge of the fabric to the WS. Pin in place all the way around, using lots of pins if you're using a slippery fabric. Stitch close to the inner edge, being sure to catch the tape on the other side for a neat finish.

How to make a tshirt step 6

Step 4

Repeat to bind the sleeve hems.

Free tshirt sewing pattern

This website is owned and published by Our Media Ltd. www.ourmedia.co.uk
© Our Media 2023