How to make chair cushions

Making your own DIY chair cushions can give your home a fresh new look. Read on to learn how to make your own with our step-by-step guide…

6 issues of Simply Sewing magazine for £14.99|Save 78%!

Published: December 23, 2021 at 7:05 am

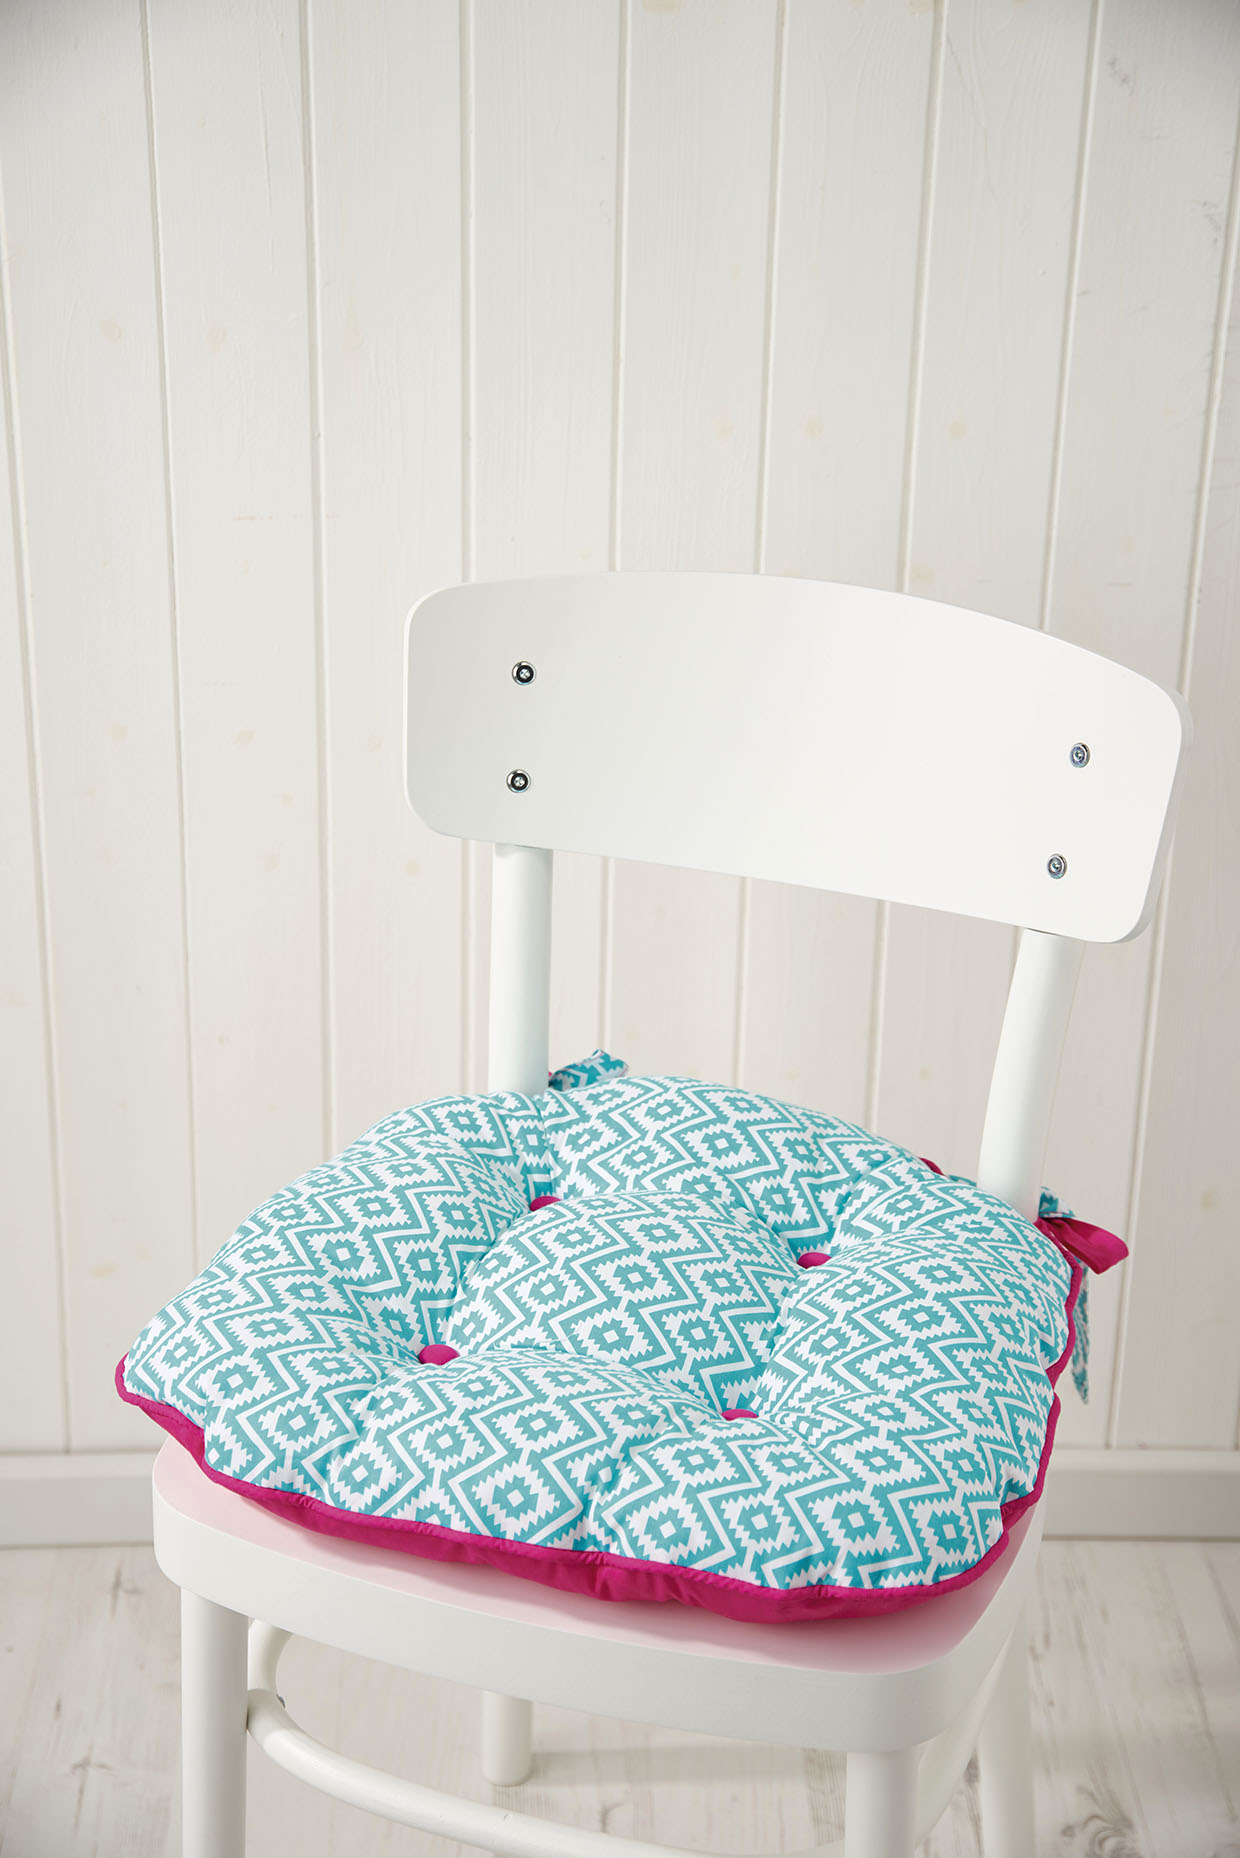
A chair cushion is a really speedy make, with the power to transform the look of a whole room! Our DIY chair cushion workshop and step-by-step guides covers all you need to know to create your own pattern and make the perfect pads to suit any room in your home. By drawing your own pattern with a sheet of newspaper you can always be sure of a perfect fit − and the reversible aspect of this design means it's easy to create two bespoke looks, too.

We're thinking: dark stain-resistant fabric on one side (for when the kids are around) and a pretty print on the other (to show off our style to the grown-ups). Genius! This is definitely a skill you'll be glad you learned.

Making your own chair cushions is a really simple and quick way to freshen up a room or introduce a new colour. You can buy ready-made seat pads but these are only a standard size and rarely fit a chair exactly. For a perfect fit, follow our guide to drawing your own pattern and making bespoke pads for your chairs.

A curtain weight fabric is best for making seat pads as it’s strong and will withstand wear. However, you can use dress weight or quilting weight cotton if you prefer – this is a good way of using up fabric as you can join strips or squares together for a handcrafted look. Use the same fabric on the front and back or choose coordinating prints or plains to make them reversible to change the look from time to time. Choose darker colours for seats used by children so spillages don’t show up as much.

This is a really good project to start with if you’ve never tried piping before. Piping your seat pads adds a professional finish – try using a contrast colour to make it really stand out. Piping cord comes in a variety of thicknesses but a No.3 is just about right for these seat pads as it isn’t too chunky so will just give a nice neat edge. Buy the same length of piping cord as your piping strip.

Make fabric ties to attach your seat pad to your chair in a matching or contrast fabric. These are sewn to the seat pad then you simply tie them round the chair back where it meets the seat to hold them in place. Or you can make shorter ties and sew some velcro to the ends of them for fixing. Ribbon or cotton tape can also be used – just make sure it’s strong enough to hold your seat pads in place.

Polyester fiberfill is the best thing to fill your seat pad with as it’s fairly cheap, easily available and full washable so you can pop your seat pads in the washing machine if they get dirty, then hang them on the line to dry.

This project was first featured in Simply Sewing Magazine. Simply Sewing is the UK's bestselling magazine for crafters who sew. It's packed with patterns and tips for sewers of all abilities.

If you're a sewing novice, you might find it helpful to read some of our sewing guides before you get started. Check out our sewing for beginners, how to use a sewing machine, sewing kits for beginners and best sewing machines for beginners guides.

Looking for more projects for your home? Learn how to make a pillowcase with a flap and how to make a duvet cover.

Read on to learn how to make chair cushions…
Chair cushion pattern

You will need:

  • Fabric (to fit your pattern)
  • Contrasting fabric
  • Piping
  • Polyester fibrefill
  • Buttons
  • Basic sewing kit

Making your own chair cushion pattern

Step 1

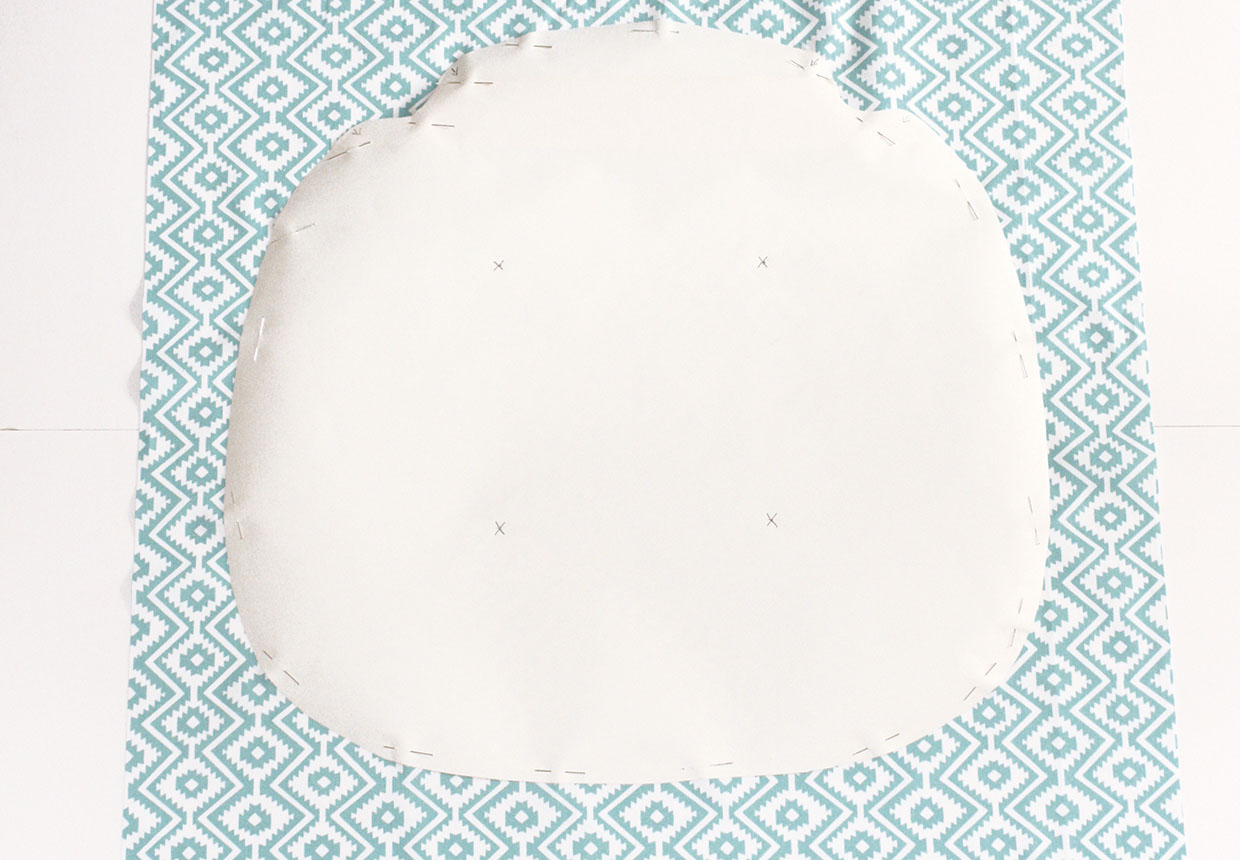
Take some newspaper or brown paper and lay it over your chair seat. Draw all the way round the edge of the chair in pencil and mark where the ties will go on either side of the back uprights of the chair.

Step 2

Your cushion needs to be bigger than the actual chair seat as once padded and with the buttons added, it pulls it in to make it smaller. Add 2cm (¾in) to the front and sides of the pattern but leave the back edge the same so it fits round the back uprights.

Step 3

Add a 1.5cm (58in) seam allowance all the way round your chair pattern then cut it out along this line.

Step 4

To mark on the pattern where the buttons will be placed, divide the pattern into three horizontally then into three vertically, marking where these lines meet with a cross.

Assembling the chair cushions

Step 1

Start by cutting out your fabric:

  • Front and back pieces: Place your pattern on the fabric right sides (RS) up and cut out one piece for the cushion front. Turn the pattern over and cut another piece for the cushion back. Mark the button positions from the pattern with a small tacking stitch on the fabric.
  • Piping strip: If you want to pipe the edge of your cushion, measure all the way your paper pattern and add 15cm (6in) to this for ease and joining. Cut a strip of fabric 4cm (1½in) wide to the length you just calculated. You may need to join strips of fabric to reach the required length.
  • Ties: Cut four strips of fabric 8x40cm (3x16in) each.

How to make chair cushions step 1

Step 2

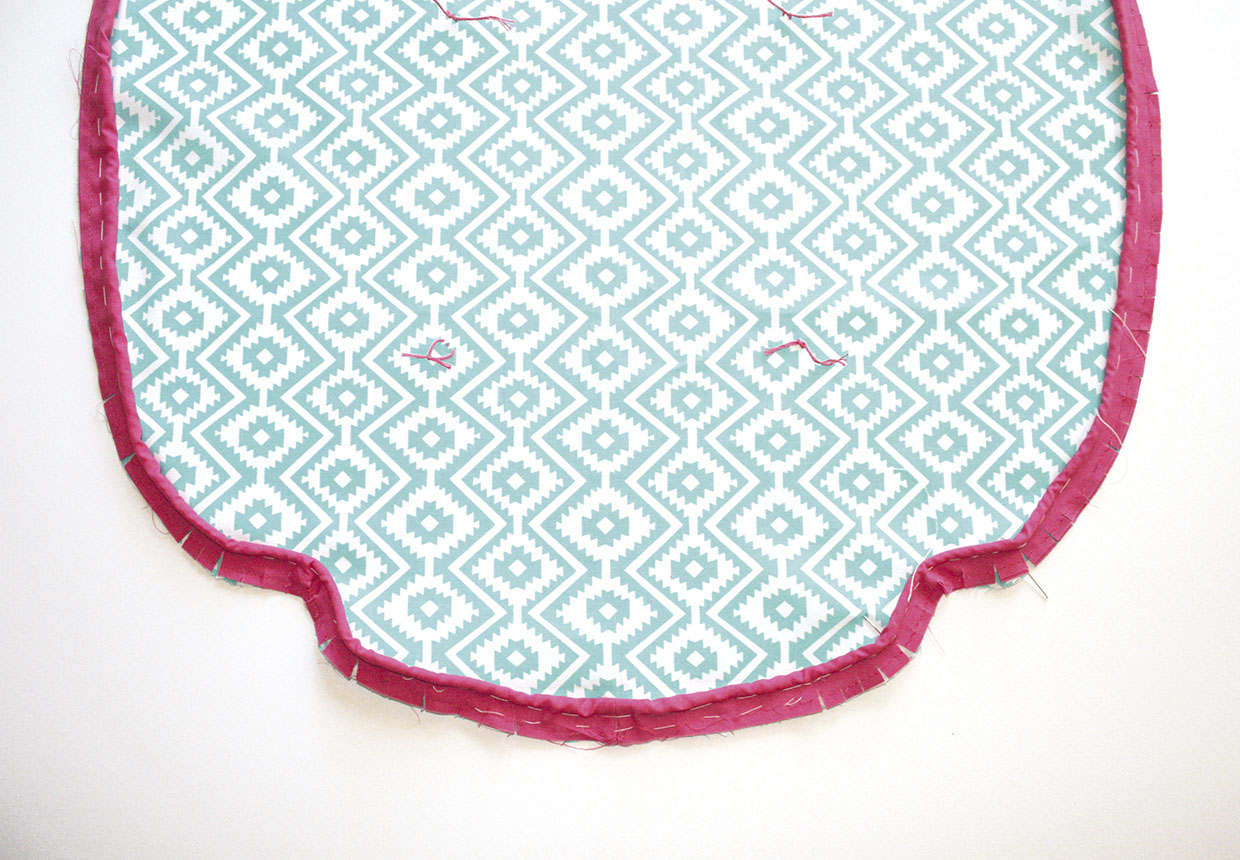
Fold the piping strip wrong sides (WS) together around the piping cord and stitch the raw edges just 1cm (38in) from the edge so that these stitches won’t show later. Take the top fabric piece and, starting centre back, tack the covered piping cord all the way round the edge. Make sure you line up the raw edges and clip the piping strip at the corners and curves. Trim the end so it overlaps the start by 5cm (2in). Trim and join the two short ends of the fabric to fit exactly together. Splice the cord by removing half the strands from each, then wind them together for a neat join. Stitch the joined piping strip round the cord and to the cushion top fabric.

How to make chair cushions step 2

Step 3

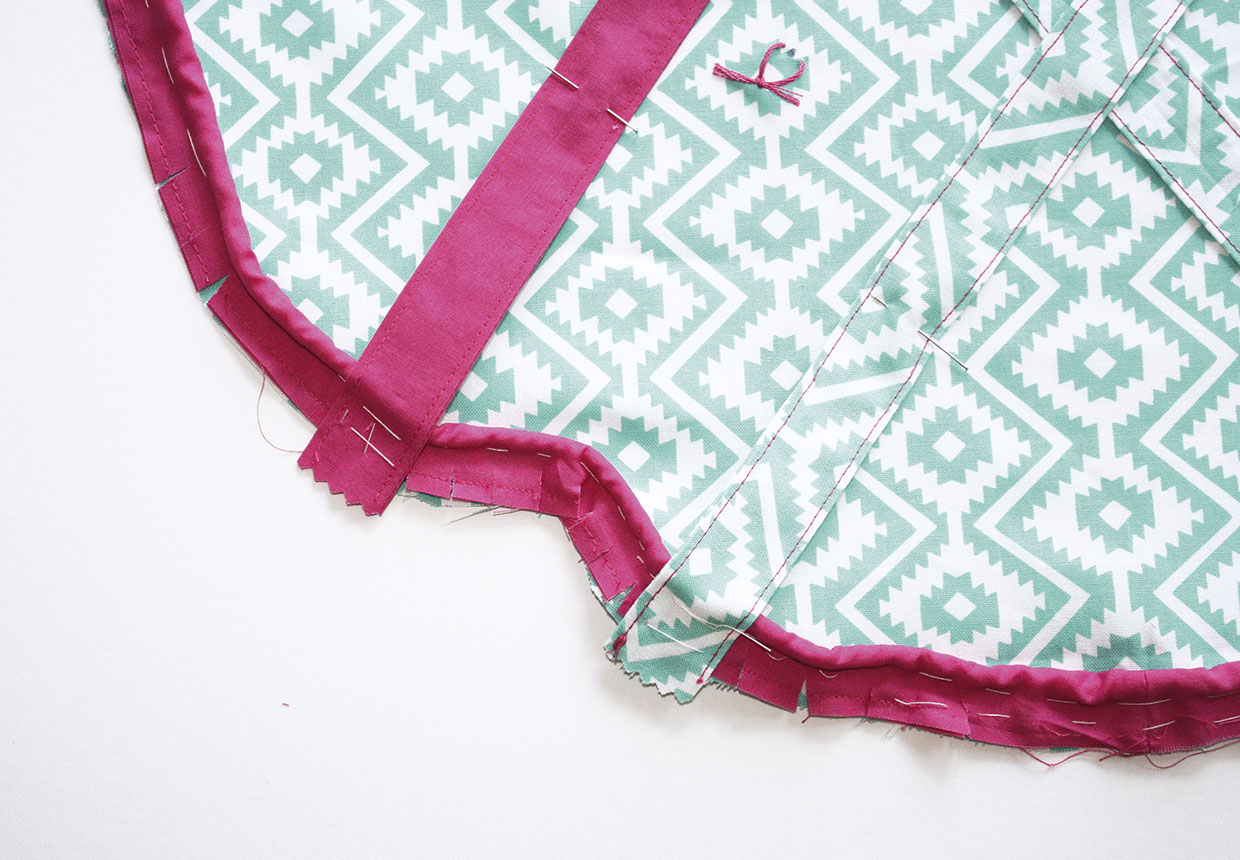
Take one tie strip of fabric and fold it in half lengthways RS together and stitch together down the length. Turn the strip RS out, turn one short end to the inside by 1.5cm (58in) and press. Topstitch along this turned under edge and down the length to neaten. Repeat with the other three strips to make four ties. Pin one tie on each of the chair upright positions that you marked from the pattern earlier. Match the short unhemmed ends to the back edge of your piped cushion front over the piping. Repeat with the other pair of ties on the other side of the cushion front. Tack into place.

How to make chair cushions step 3

Step 4

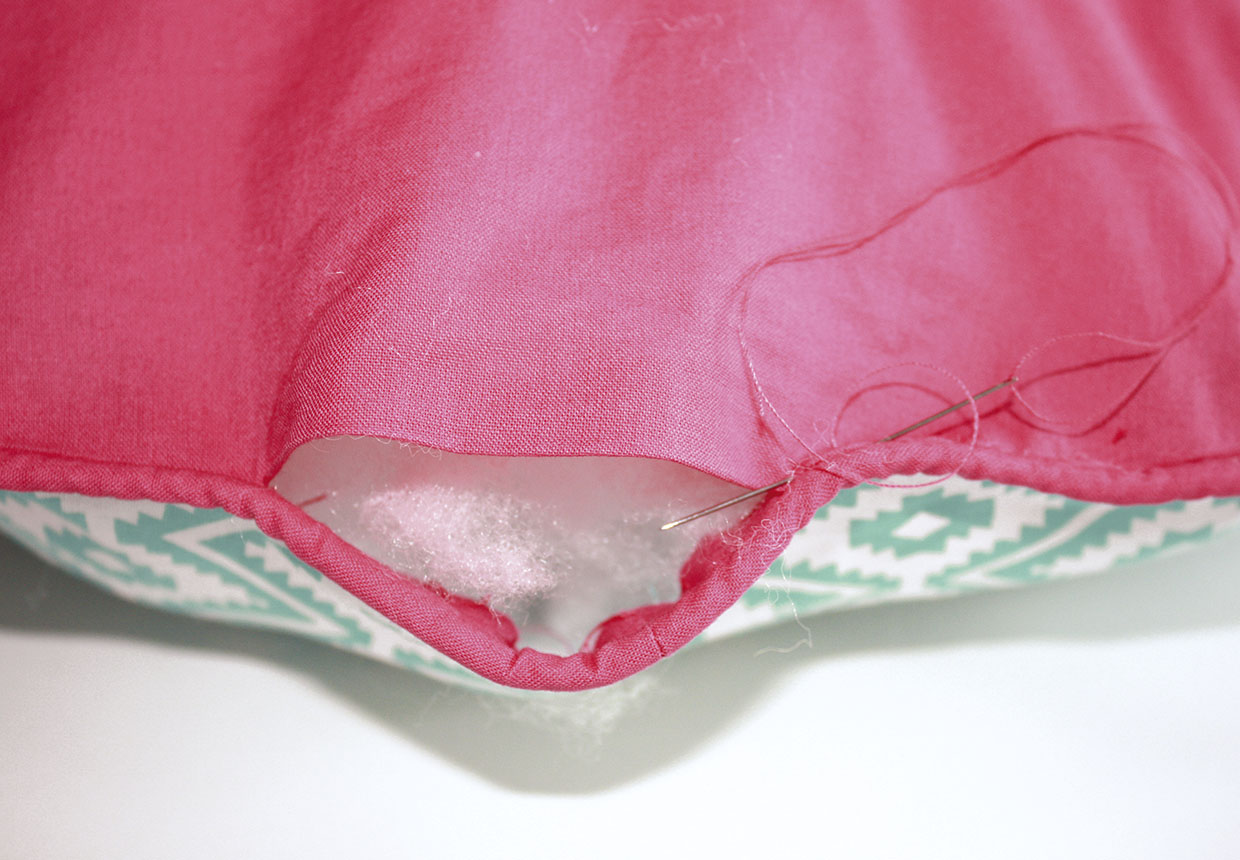
Place your piped front and the cushion back RS together and stitch together all the way round close to the piping leaving a 15cm (6in) gap in the centre of the back for stuffing. Press the seams open then turn your cushion RS out and press the edges of the gap under. Using the polyester fibrefill, stuff your cushion so it fills out all the curves and edges well but making it as stuffed or squishy as you like. Bear in mind that the pad will flatten out as you sit on it. Pin the gap closed then slip stitch together using small strong stitches.

How to make chair cushions step 4

Step 5

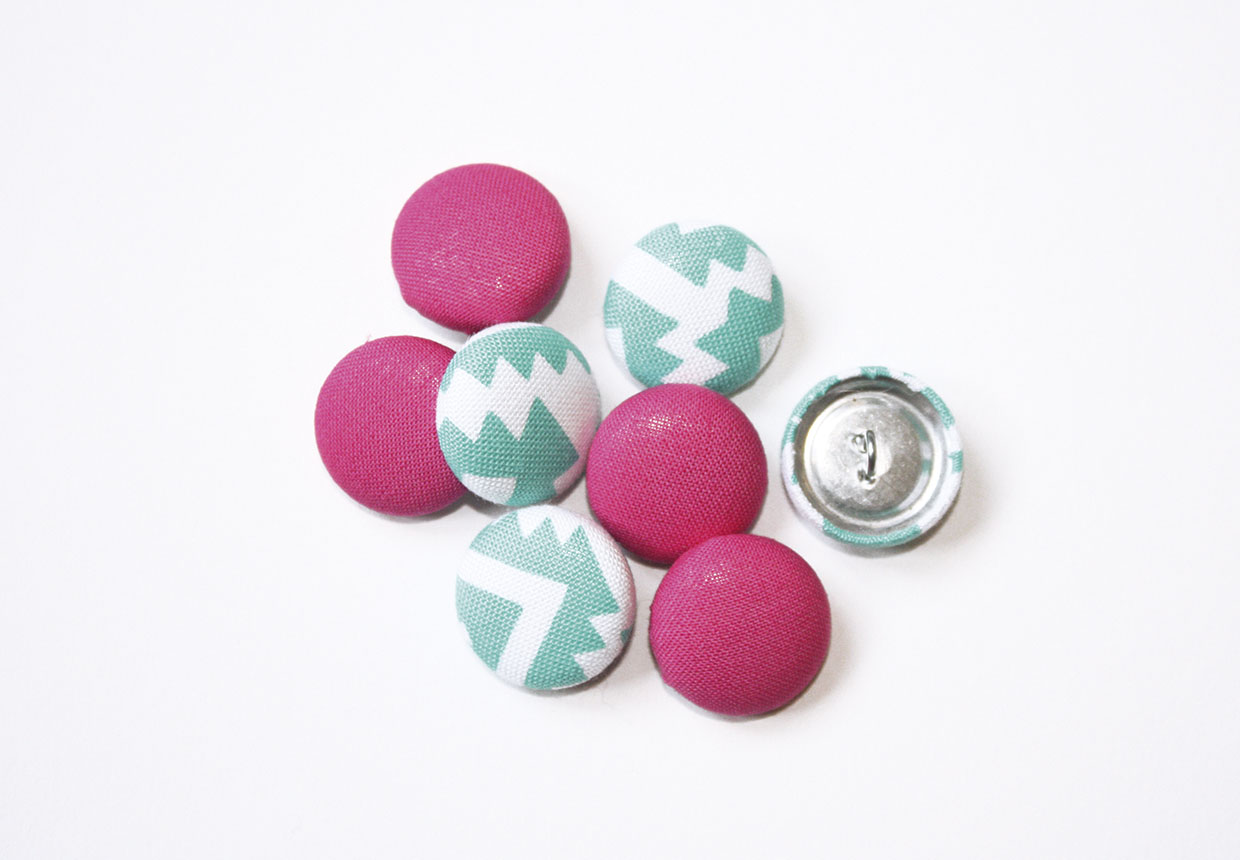
You can leave your seat pad as it is but for a more professional look and to hold the stuffing in place, add buttons. You can either buy buttons to the size and colour you like or cover buttons in the same or a contrast fabric to your seat pad. To cover buttons, first cut a circle of fabric with a diameter 5cm (2in) bigger than the diameter of your button. Work a running stitch round the edge of the fabric circle, place the button in the centre and pull the thread tightly round the button, snapping the back in place. Cover eight buttons in this way – we used different colours for each side of our seat pad.

How to make chair cushions step 5

Step 6

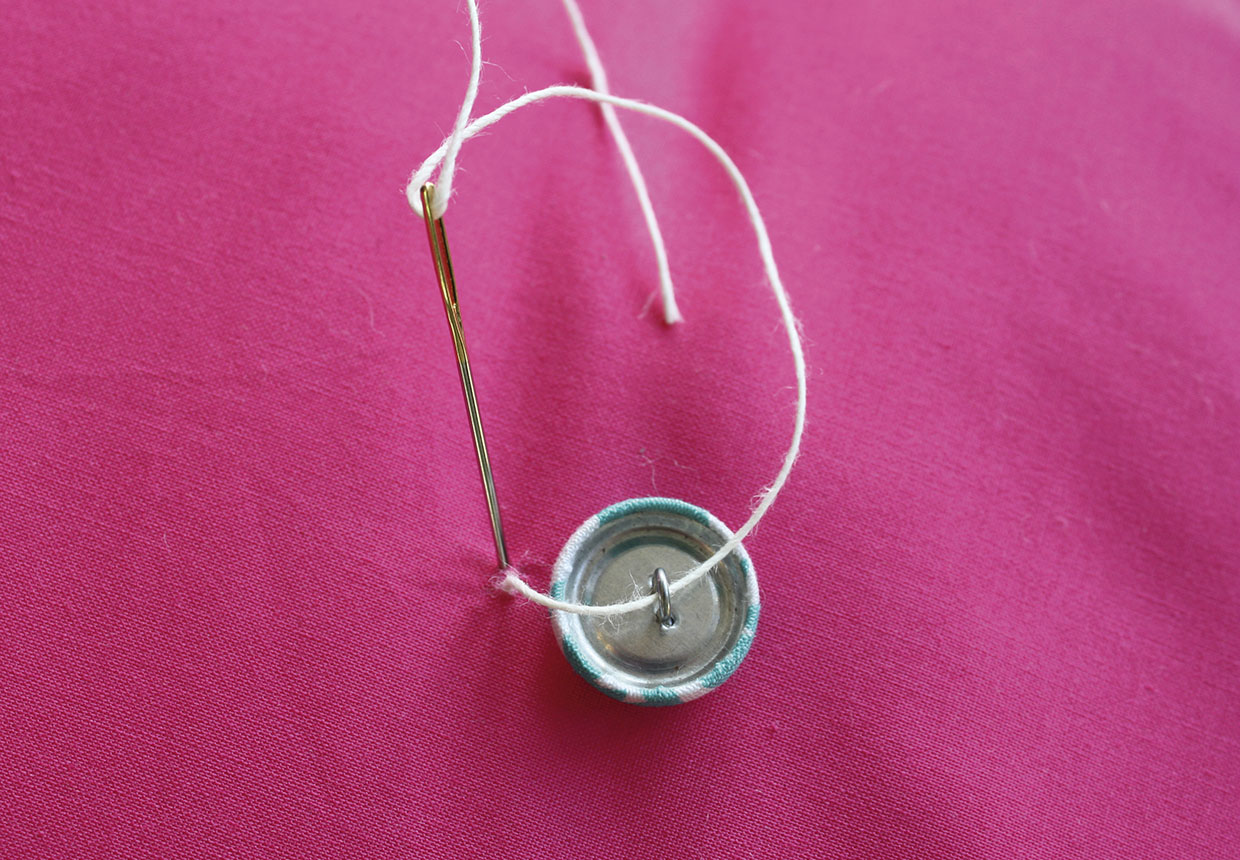
Use a strong thread or cord to secure the buttons – upholstery thread is ideal for this. Thread your needle through the button shank then down through one mark on the cushion front and out through the corresponding mark on the cushion back. Thread the needle through another button shank then back just beside where the thread emerged and out through the cushion front mark close to where the thread went in. Tie the two ends firmly together with a couple of knots, pulling the cord tightly to create a dip in the seat pad. Thread each of the ends into the cushion pad and out further away. Snip off the ends so that they lie inside the stuffing.

How to make chair cushions step 6


You’ve finished! You now know how to make chair cushions.

How to make chair cushions