How to make coasters
Let your coasters do the talking with some cheerful stitched-on slogans. A spot of simple embroidery is all you need for a party-table talking point. Chin chin!

Published:
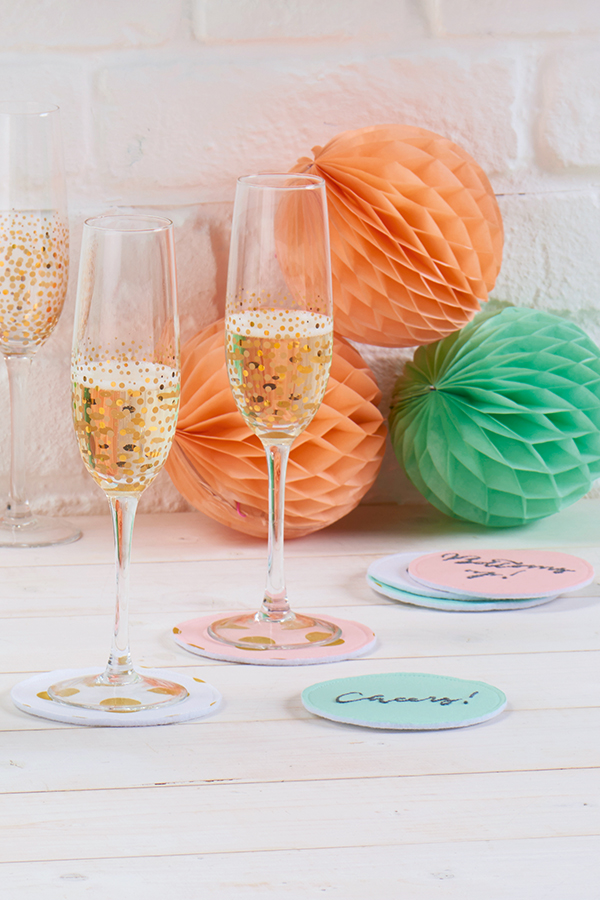
Set the mood for a party with these crafty coasters! These fun designs are a great way to accessorise your table for any celebration – whether it’s a birthday, a Christmas celebration or a New Year’s Eve party.
Read on for Rebecca Reid’s free tutorial for how to make your own embroidered party coasters.
Looking for more party projects? Check our our DIY New Year’s Eve party decorations, make your own DIY garden party decorations or sew some Happy Birthday bunting.
Measurements
The finished coaster measures 10cm (4in) in diameter.
Notes
Download our free Simply Sewing Templates from issue 11 to get the free embroidery patterns for this project
You Will Need
- Fabric: 20x20cm (8x8in)
- Bondaweb: 12x12cm (5x5in)
- Felt: 3mm acrylic, white 12x12cm (5x5in)
- Stranded cotton: charcoal grey
- Matching sewing thread
- Basic sewing kit
Total time:
How to make the coasters
Step 1
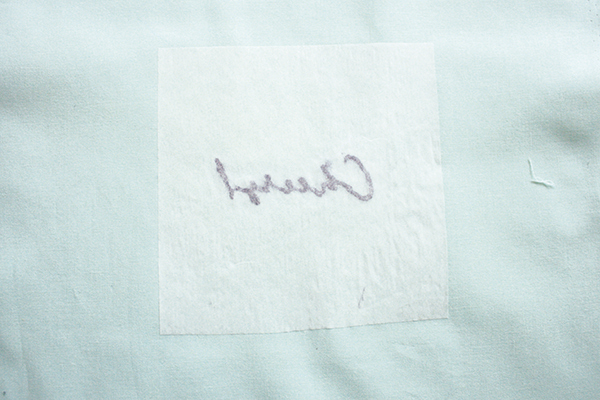
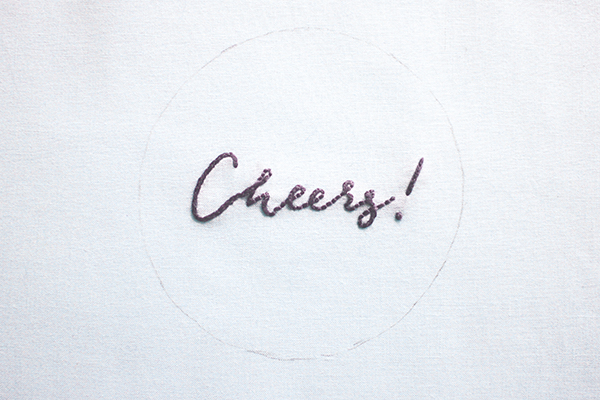
Trace one of the coaster templates from PDF download (link above). Place your fabric centrally right side (RS) up on top of it and trace over the words and the circular outline.
Step 2
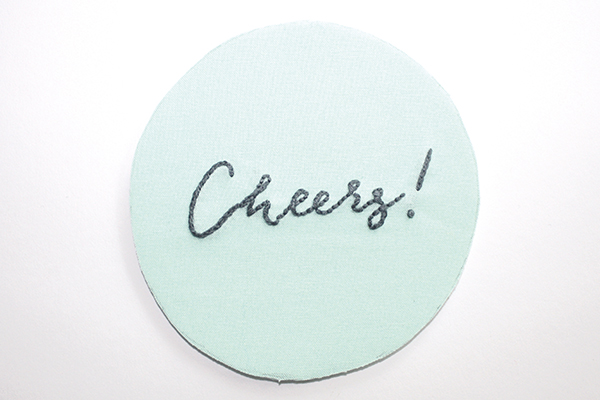
Stitch over the words with backstitch, using four strands of grey thread.

Step 3
Press the Bondaweb, paper side up, centrally over the wrong side (WS) of the stitched circle.

Step 4
Peel off the paper backing then press it RS up on top of the felt.
Step 5
Cut out along the drawn circle outline through both layers of fabric and felt.

Step 6
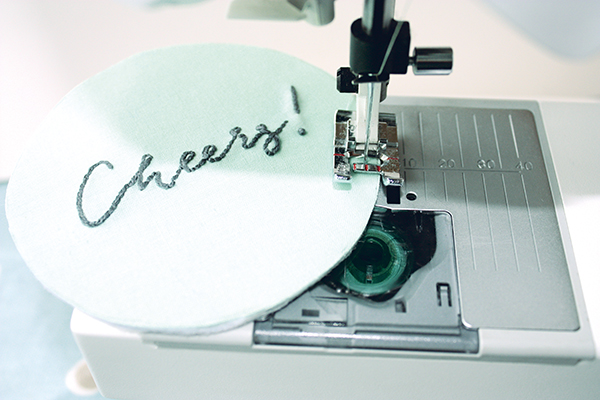
Topstitch around the edge of your coaster 3mm (1⁄16in) from the edge to secure the felt to the fabric. You can easily do this by hand if you’re not confident sewing in a circle.

That’s it! Your coasters are ready to party.