Cutting out
Step 1
From the main fabric cut out: Bunting top squares: 26 squares, measuring 12x12cm (4¾x4¾in) each.
Step 2
Step two From the contrast fabric cut out: Bunting bottom points: 26 rectangles, measuring 7x12cm (2¾x4¾in) each. Appliqué letters: 13 pieces, measuring 10x8cm (4×31⁄8in) each.
Joining the bunting fabrics
Step 1
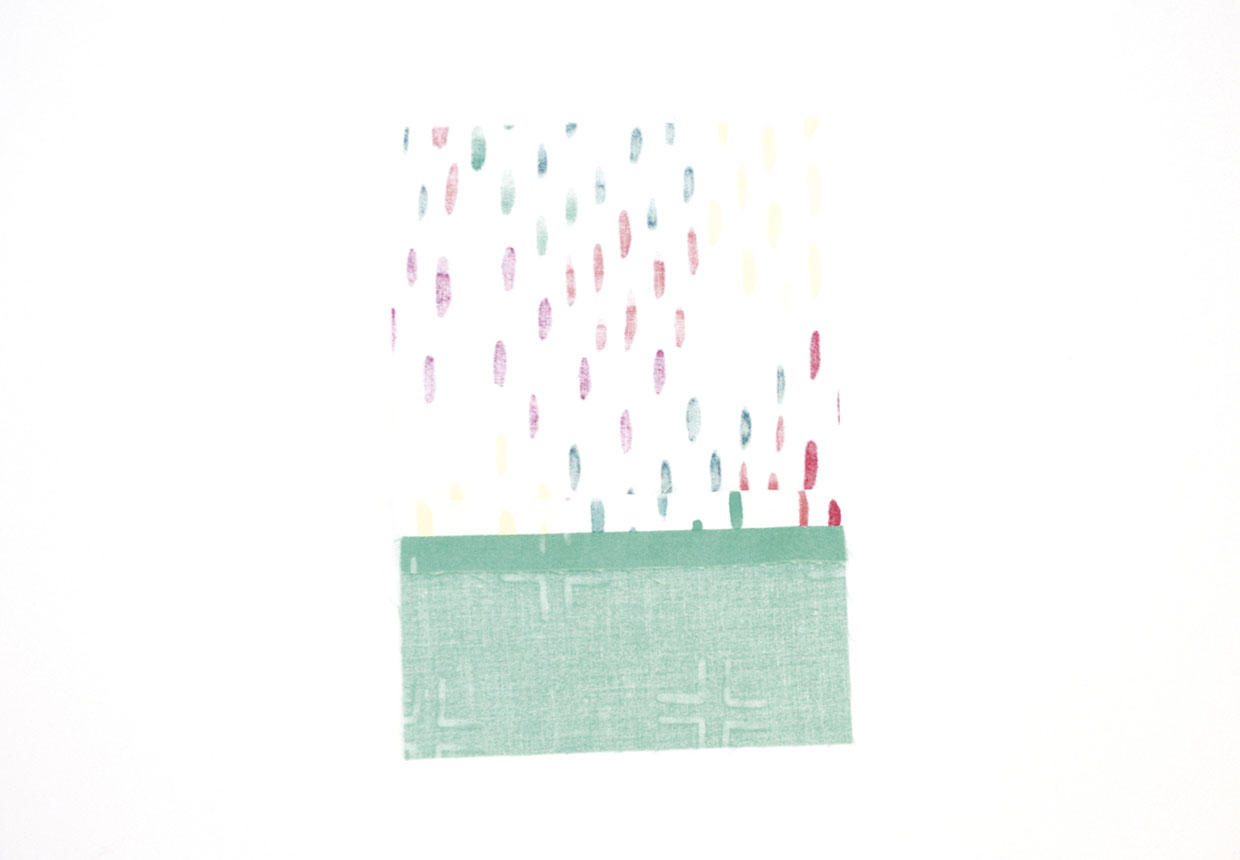
Place one bottom points rectangle right sides (RS) together along the bottom edge of one top square and stitch together then press the seams open.
Step 2
Repeat this to join the remainder of the squares and rectangles in the same way.
Marking the bottom points
Step 1
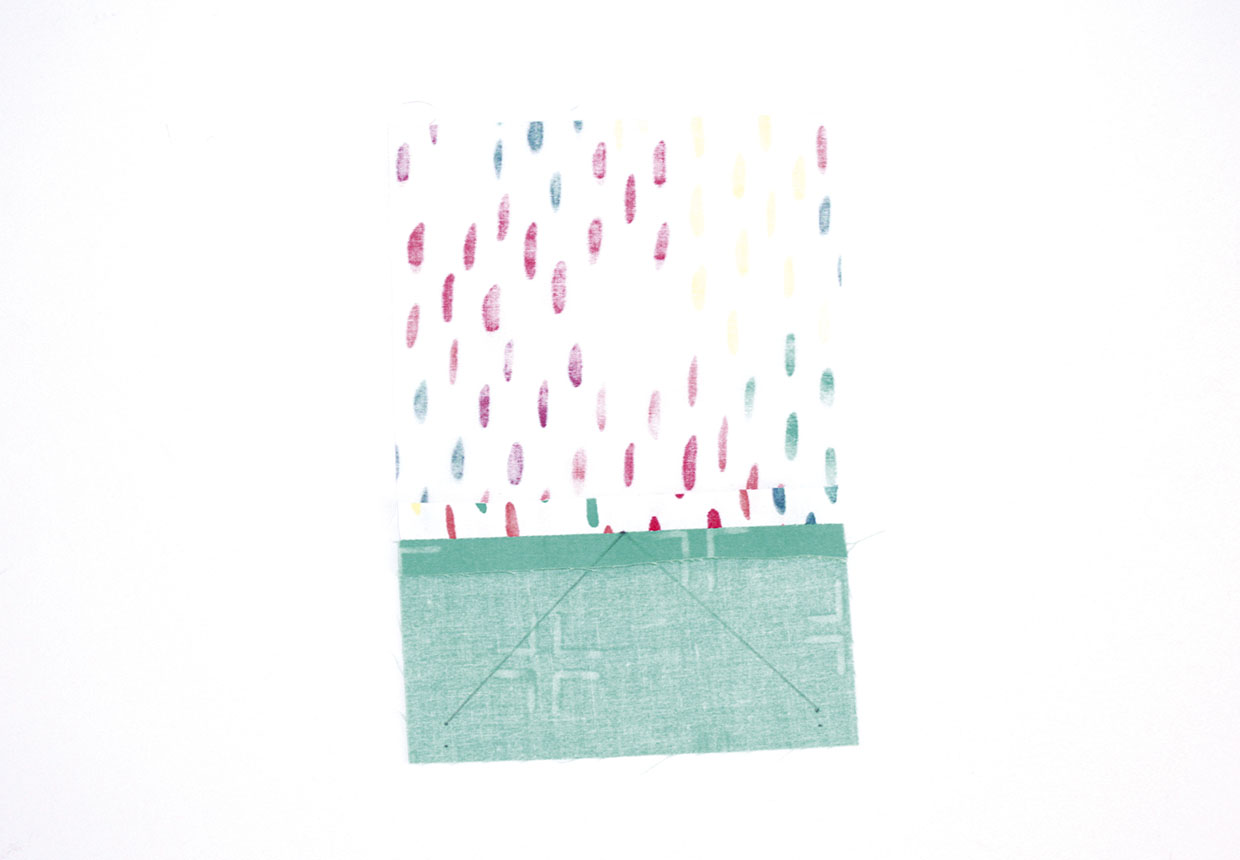
You now need to draw the bottom points onto the wrong side (WS) of one rectangle. Measure half way along the square and rectangle seam and mark with a small dot in pencil.
Step 2
In the bottom right hand corner measure 1cm (3⁄8in) up and 1cm (3⁄8in) across and mark with a dot. Repeat this to make a dot in the bottom left hand corner.
Step 3
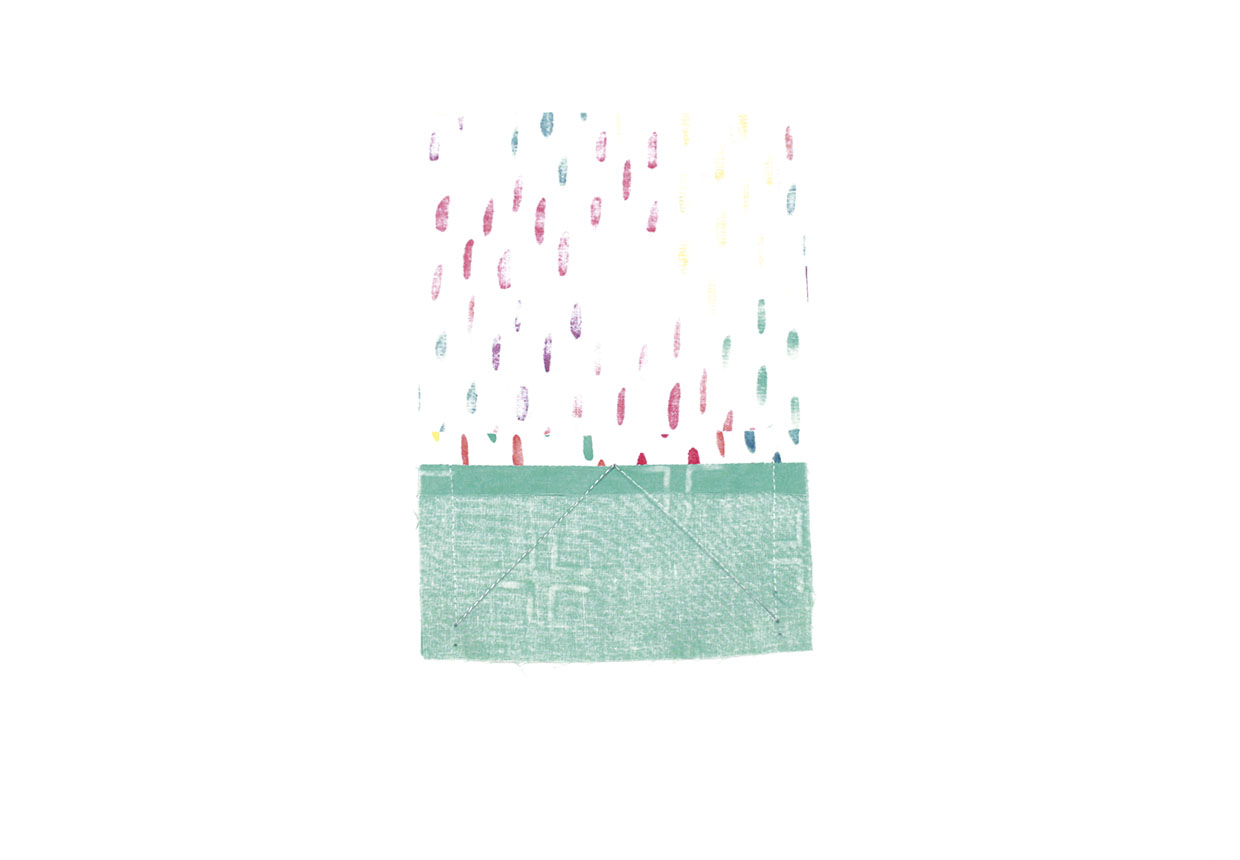
Join one corner dot to the centre dot and the other corner dot to the centre dot to form two diagonal lines.
Step 4
Mark half of the joined squares and rectangles in the same way.
Stitching the bunting flags
Step 1
Place one piece of marked fabric RS together with an unmarked piece and pin together, making sure the seams between the square and rectangle match exactly.
Step 2
Using a 1cm (3⁄8in) seam allowance, stitch the pieces together down one side, stopping at the marked corner dot.
Step 3
To pivot at the dot, keep the needle down in the fabric, lift the presser foot, turn the fabric so your fabric is facing up the diagonal line, lower the presser foot then stitch along the diagonal line to the centre dot on the seam.
Step 4
Pivot at the centre dot to stitch down the other diagonal line, stopping at the next corner dot.
Step 5
Pivot to stitch up the other side to the top of the rectangle.
Finishing the flag
Step 1
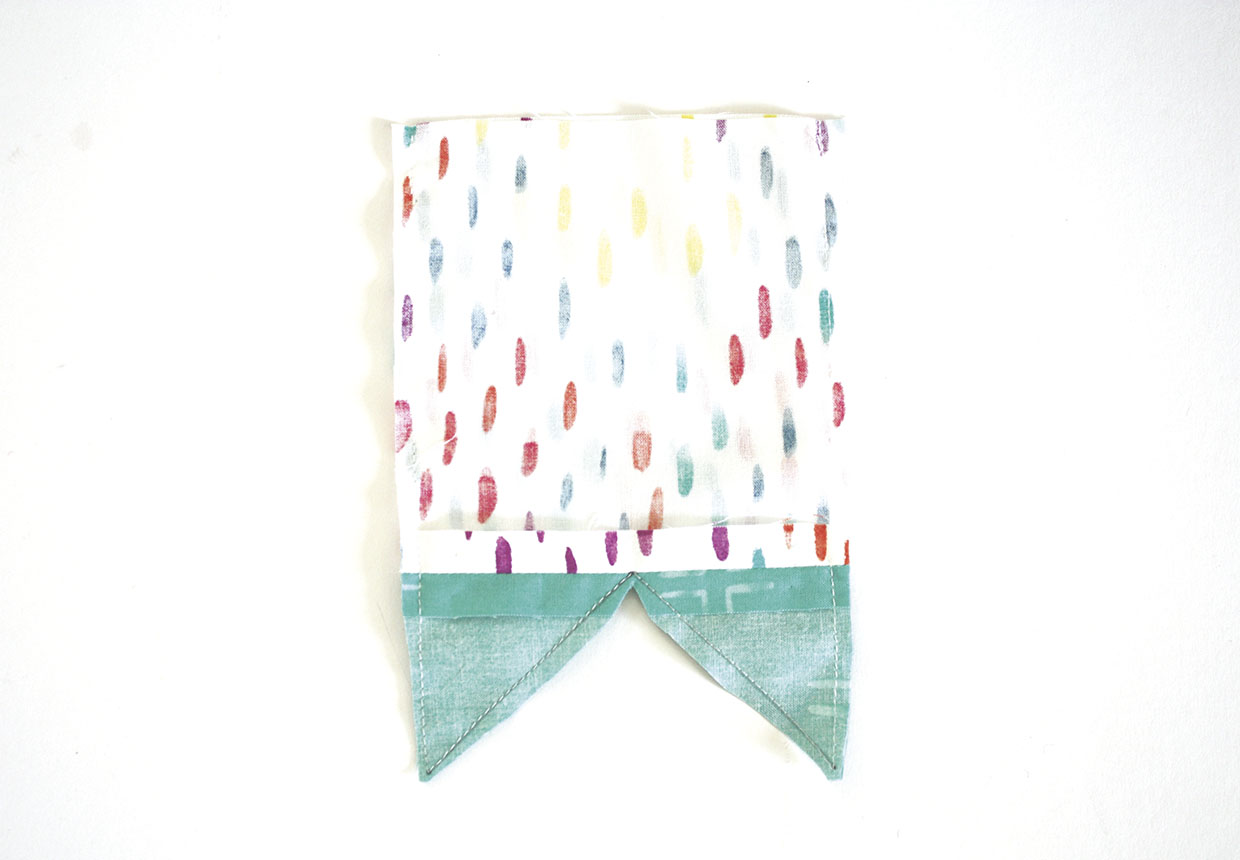
Trim the seams and snip off the fabric at the points and clip a notch at the centre dot, taking care not to snip the stitches. This is so the flag turns RS out neatly and reduces bulk at the points.
Step 2
Turn the flag RS out, pushing out the points carefully, taking care not to pierce the fabric. Using a point turner is best for this rather than a pair of scissors.
Step 3
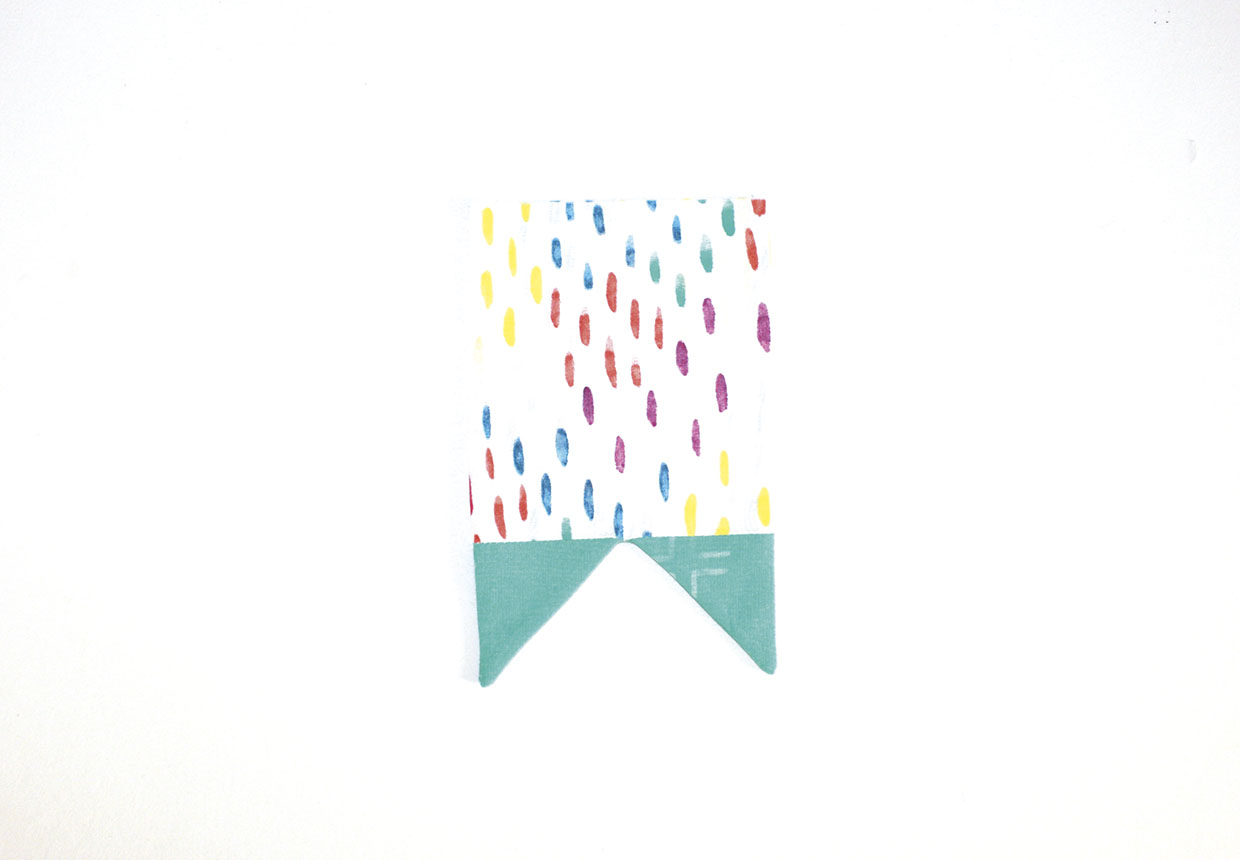
Press the flag flat so the seams are right at the edge.
Step 4
Make the remainder of the flags in the same way.
Making the appliqué letters
Step 1
Trace over the appliqué letters onto tracing paper then turn your paper over to the WS and place your Bondaweb paper side up on top. Trace over the letters so they are now in reverse.
Step 2
Cut out each letter roughly outside the traced lines then place them paper side up onto the WS of the chosen appliqué fabrics.
Step 3
Press gently into place until they are firmly stuck using a dry medium temperature iron (don’t use any steam).
Step 4
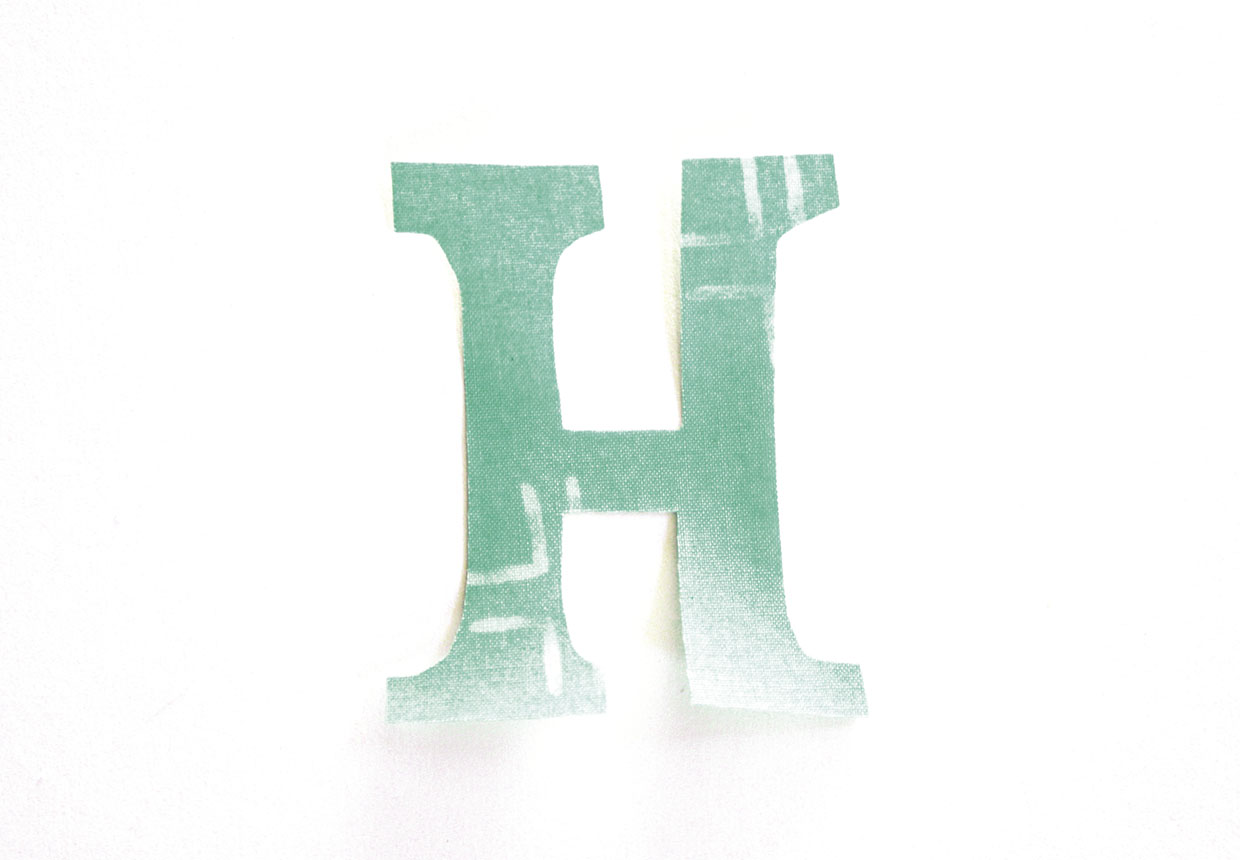
Carefully cut out all the words along your drawn pencil lines. Step five Remove the paper backing, then you are ready to stick them in place.
Appliquéing the flags
Step 1
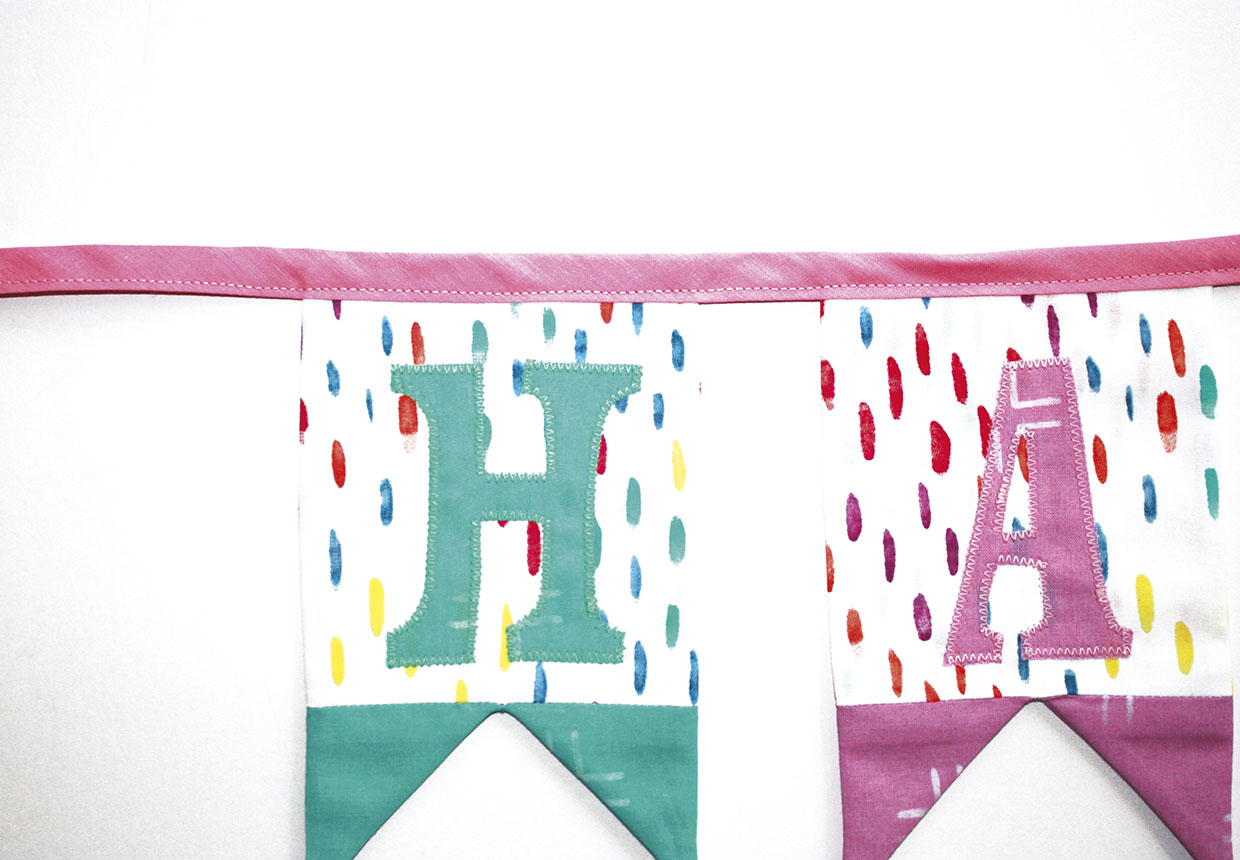
Place one bunting flag RS up then place one letter on the square. Position it centrally across and 1cm (3⁄8in) up from the bottom seam. Press gently into place.
Step 2
Work a machine zigzag stitch around the edge of the letter so one side of the stitch goes into the appliqué fabric and the other side into the bunting flag. This will hold the appliqué letter firmly in place and also gives a decorative effect. We have used a matching thread for this but you can use a contrast one for a more three-dimensional look.
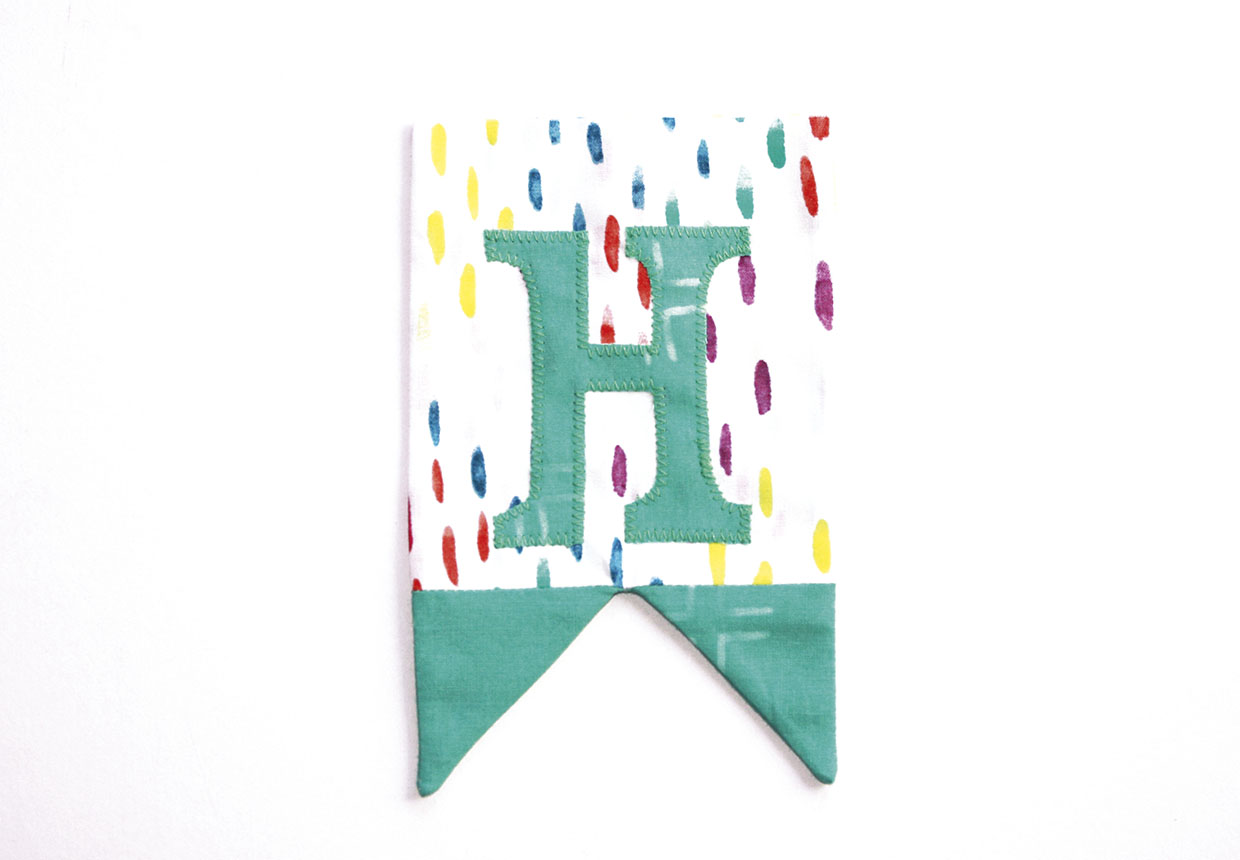
Step 3
Appliqué one letter to the front of each bunting flag in the same way.
Making the bunting
Step 1
Press the cotton tape or bias binding in half lengthways with WS together then fold it over the top of the flags to encase the top raw edges.
Step 2
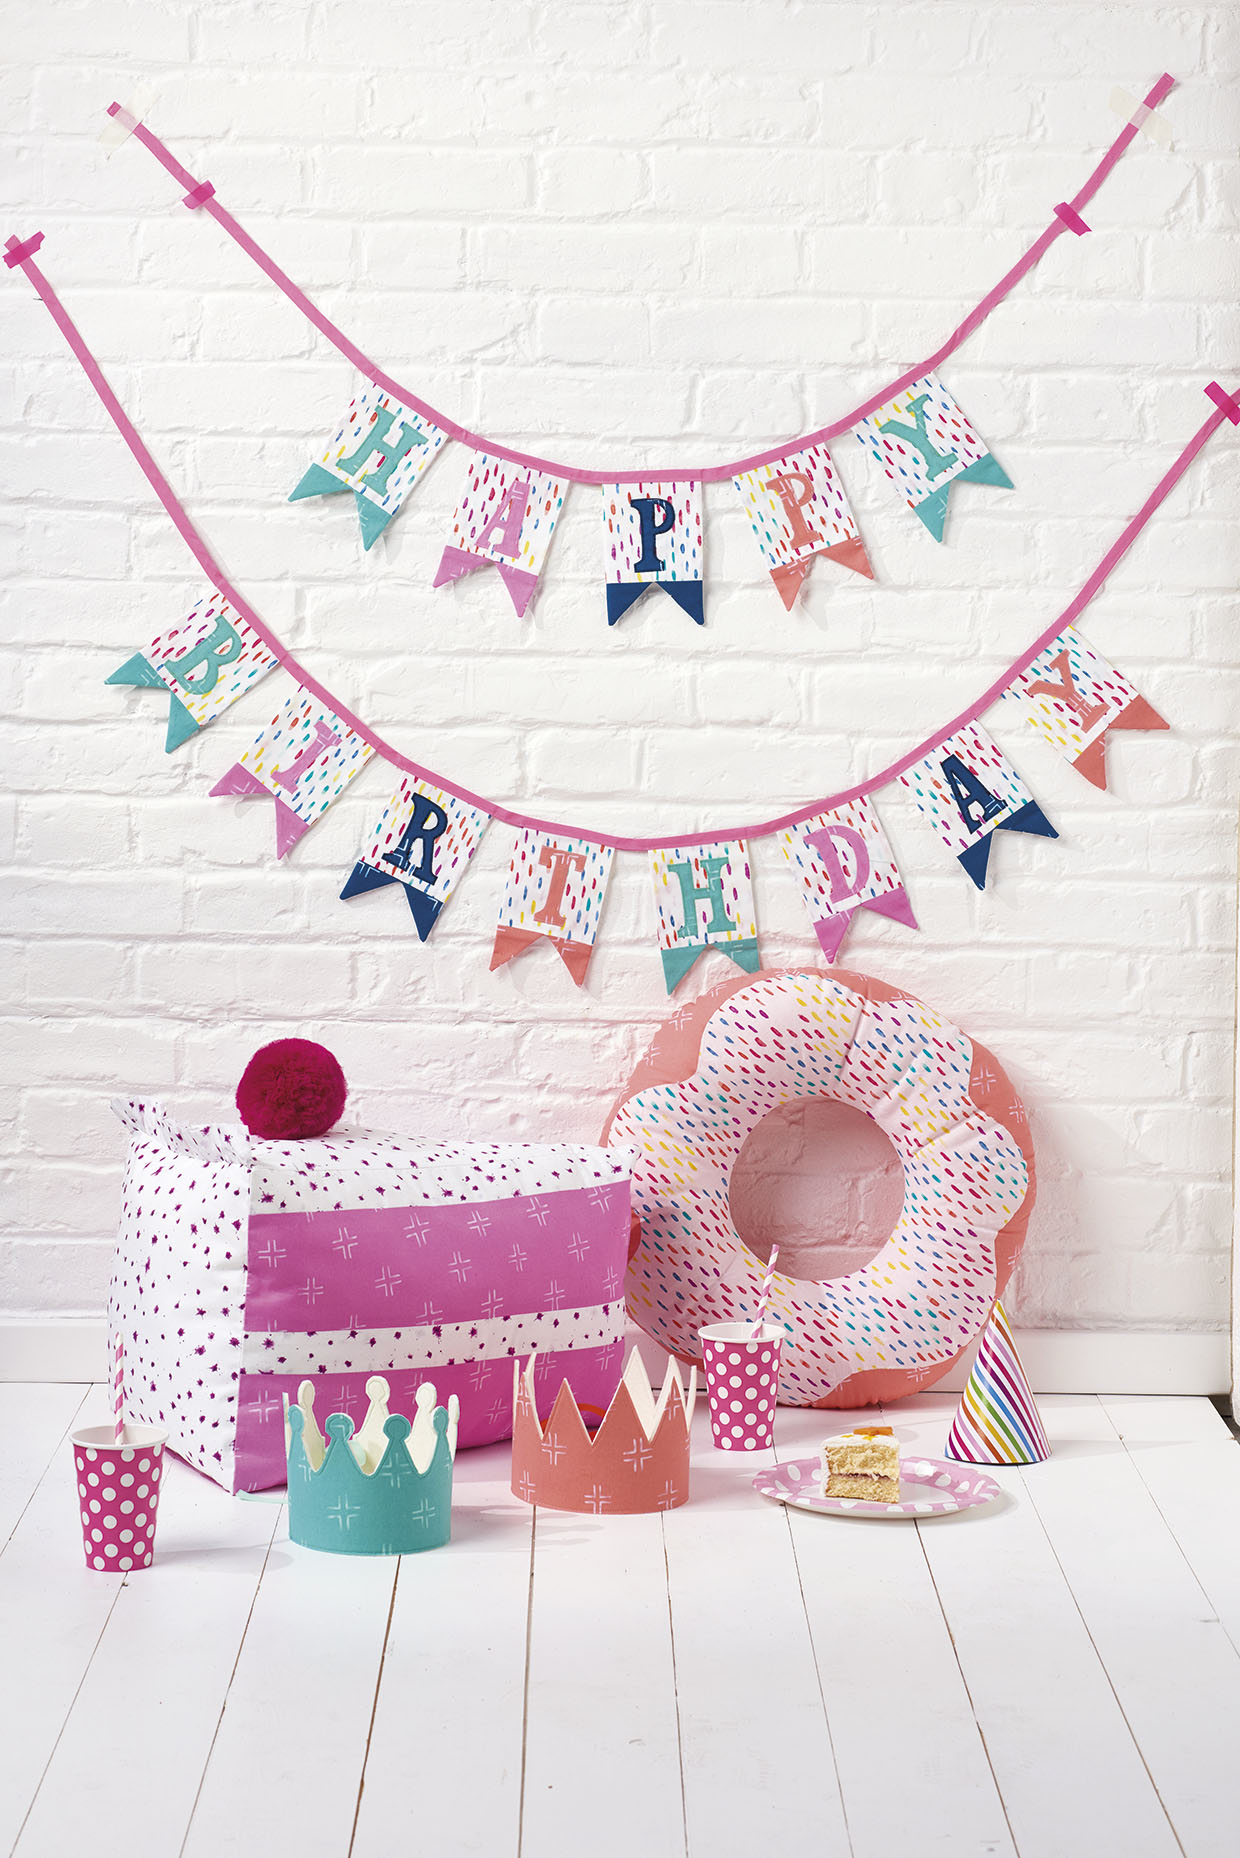
Decide how much gap you want between the flags; we have used 3cm (1¼in). Pin them into place, making sure you leave some spare at either end for hanging. We have strung our words separately but you can make them into one long piece if you prefer.
Step 3
Stitch the tape or binding into place close to the edge of the flags to complete.
