How to make luggage tags – quick DIY gift idea!

Sew a handmade stocking filler for all your loved ones with these quick-sew luggage tags for a friend or family member who loves to travel!

Try 6 issues of Love Patchwork & Quilting magazine for £9.99| SAVE 76%

Published: November 25, 2020 at 3:39 pm

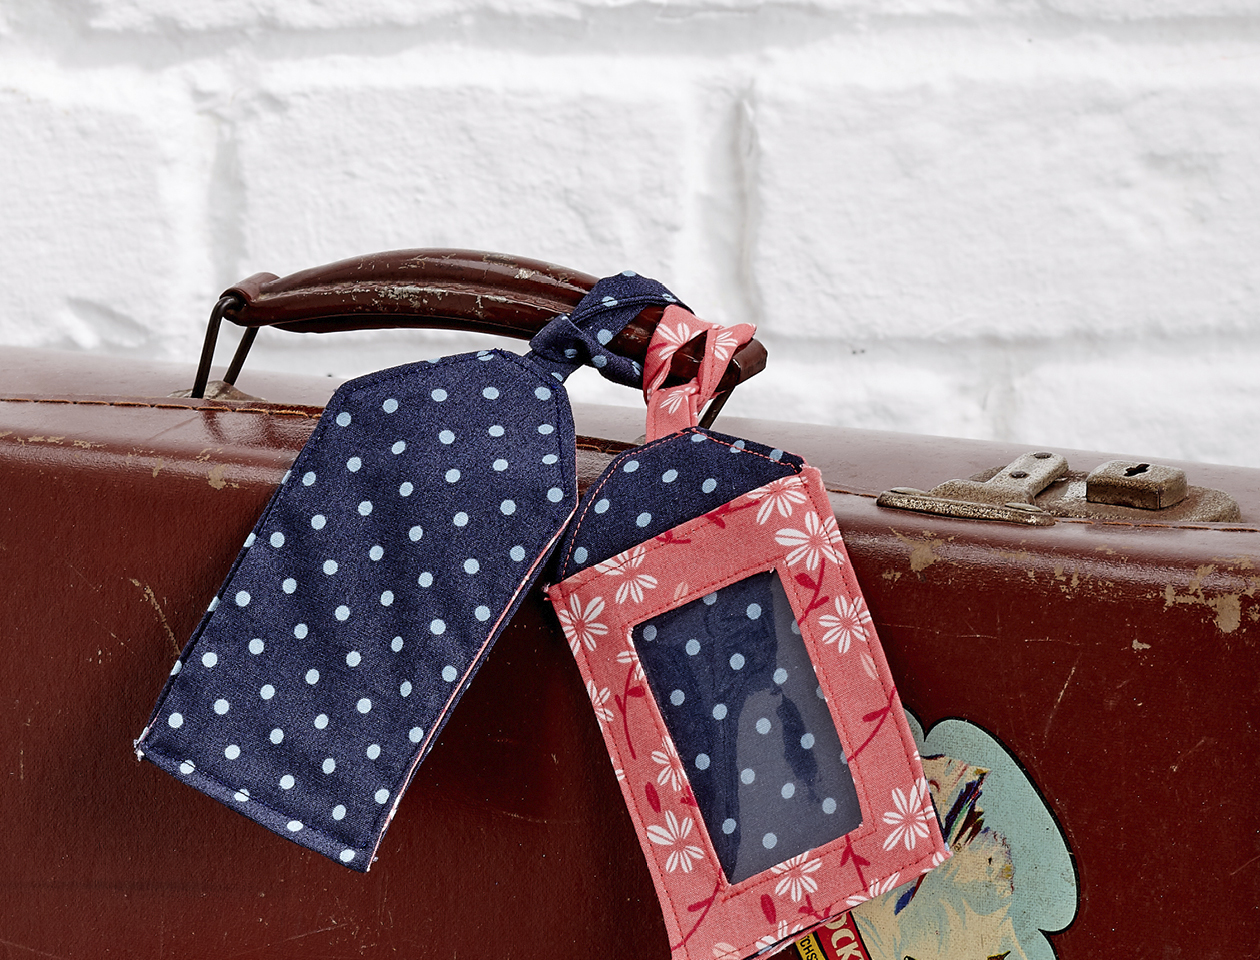
Have you started your Christmas gift sewing yet? We're bringing you homemade gift ideas every day in the run up to Christmas and today's speedy craft project is these new DIY luggage tags for a friend or family member who loves to travel. They'll be able to pop them on their favourite suitcases to travel in style in 2021!

Pick up a copy of issue 91 or 92 of Love Patchwork & Quilting magazine to discover our nifty gift guides for sewists and quilters – find six ideas in each issue for great gifts to whip up for loved ones. Check out issue 92 for the full gift guide patterns and plenty more patchwork inspiration!

If you like this How to make luggage tags tutorial, you might also like our five minute crafts ideas or head to our 100 free daily patterns for more ideas to craft yourself for quilting, sewing, knitting and more.

How to make luggage tags – step by step tutorial

Fabric requirements

  • Two (2) fat eighths of fabric
  • Clear vinyl: 35/8in x 3¼in
  • Medium weight interfacing: 35/8in x 3¼in

Finished size

  • 4½in x 25/8in (without the tab)

Notes

  • Seam allowances are 3/8in, unless otherwise noted.
  • Templates include seam allowances, where necessary.
  • Pattern by Jennie Jones.
  • RST = right sides together.
  • WOF = width of fabric.
  • Download the templates here.

You will need:

  • Fabric (See fabric requirements)
  • Sewing machine
  • Thread
  • Basic sewing kit

Cutting out

Step 1

From one (1) of the fat eighths cut:

  • One (1) 43/8in x 4in pocket.
  • One (1) Luggage Tag template.

Step 2

From the second fat eighth cut:

  • One (1) Luggage Tag template.
  • One (1) 4in x 2in.

Step 3

From the interfacing cut:

  • One (1) Aperture template.

Making the pocket

Step 1

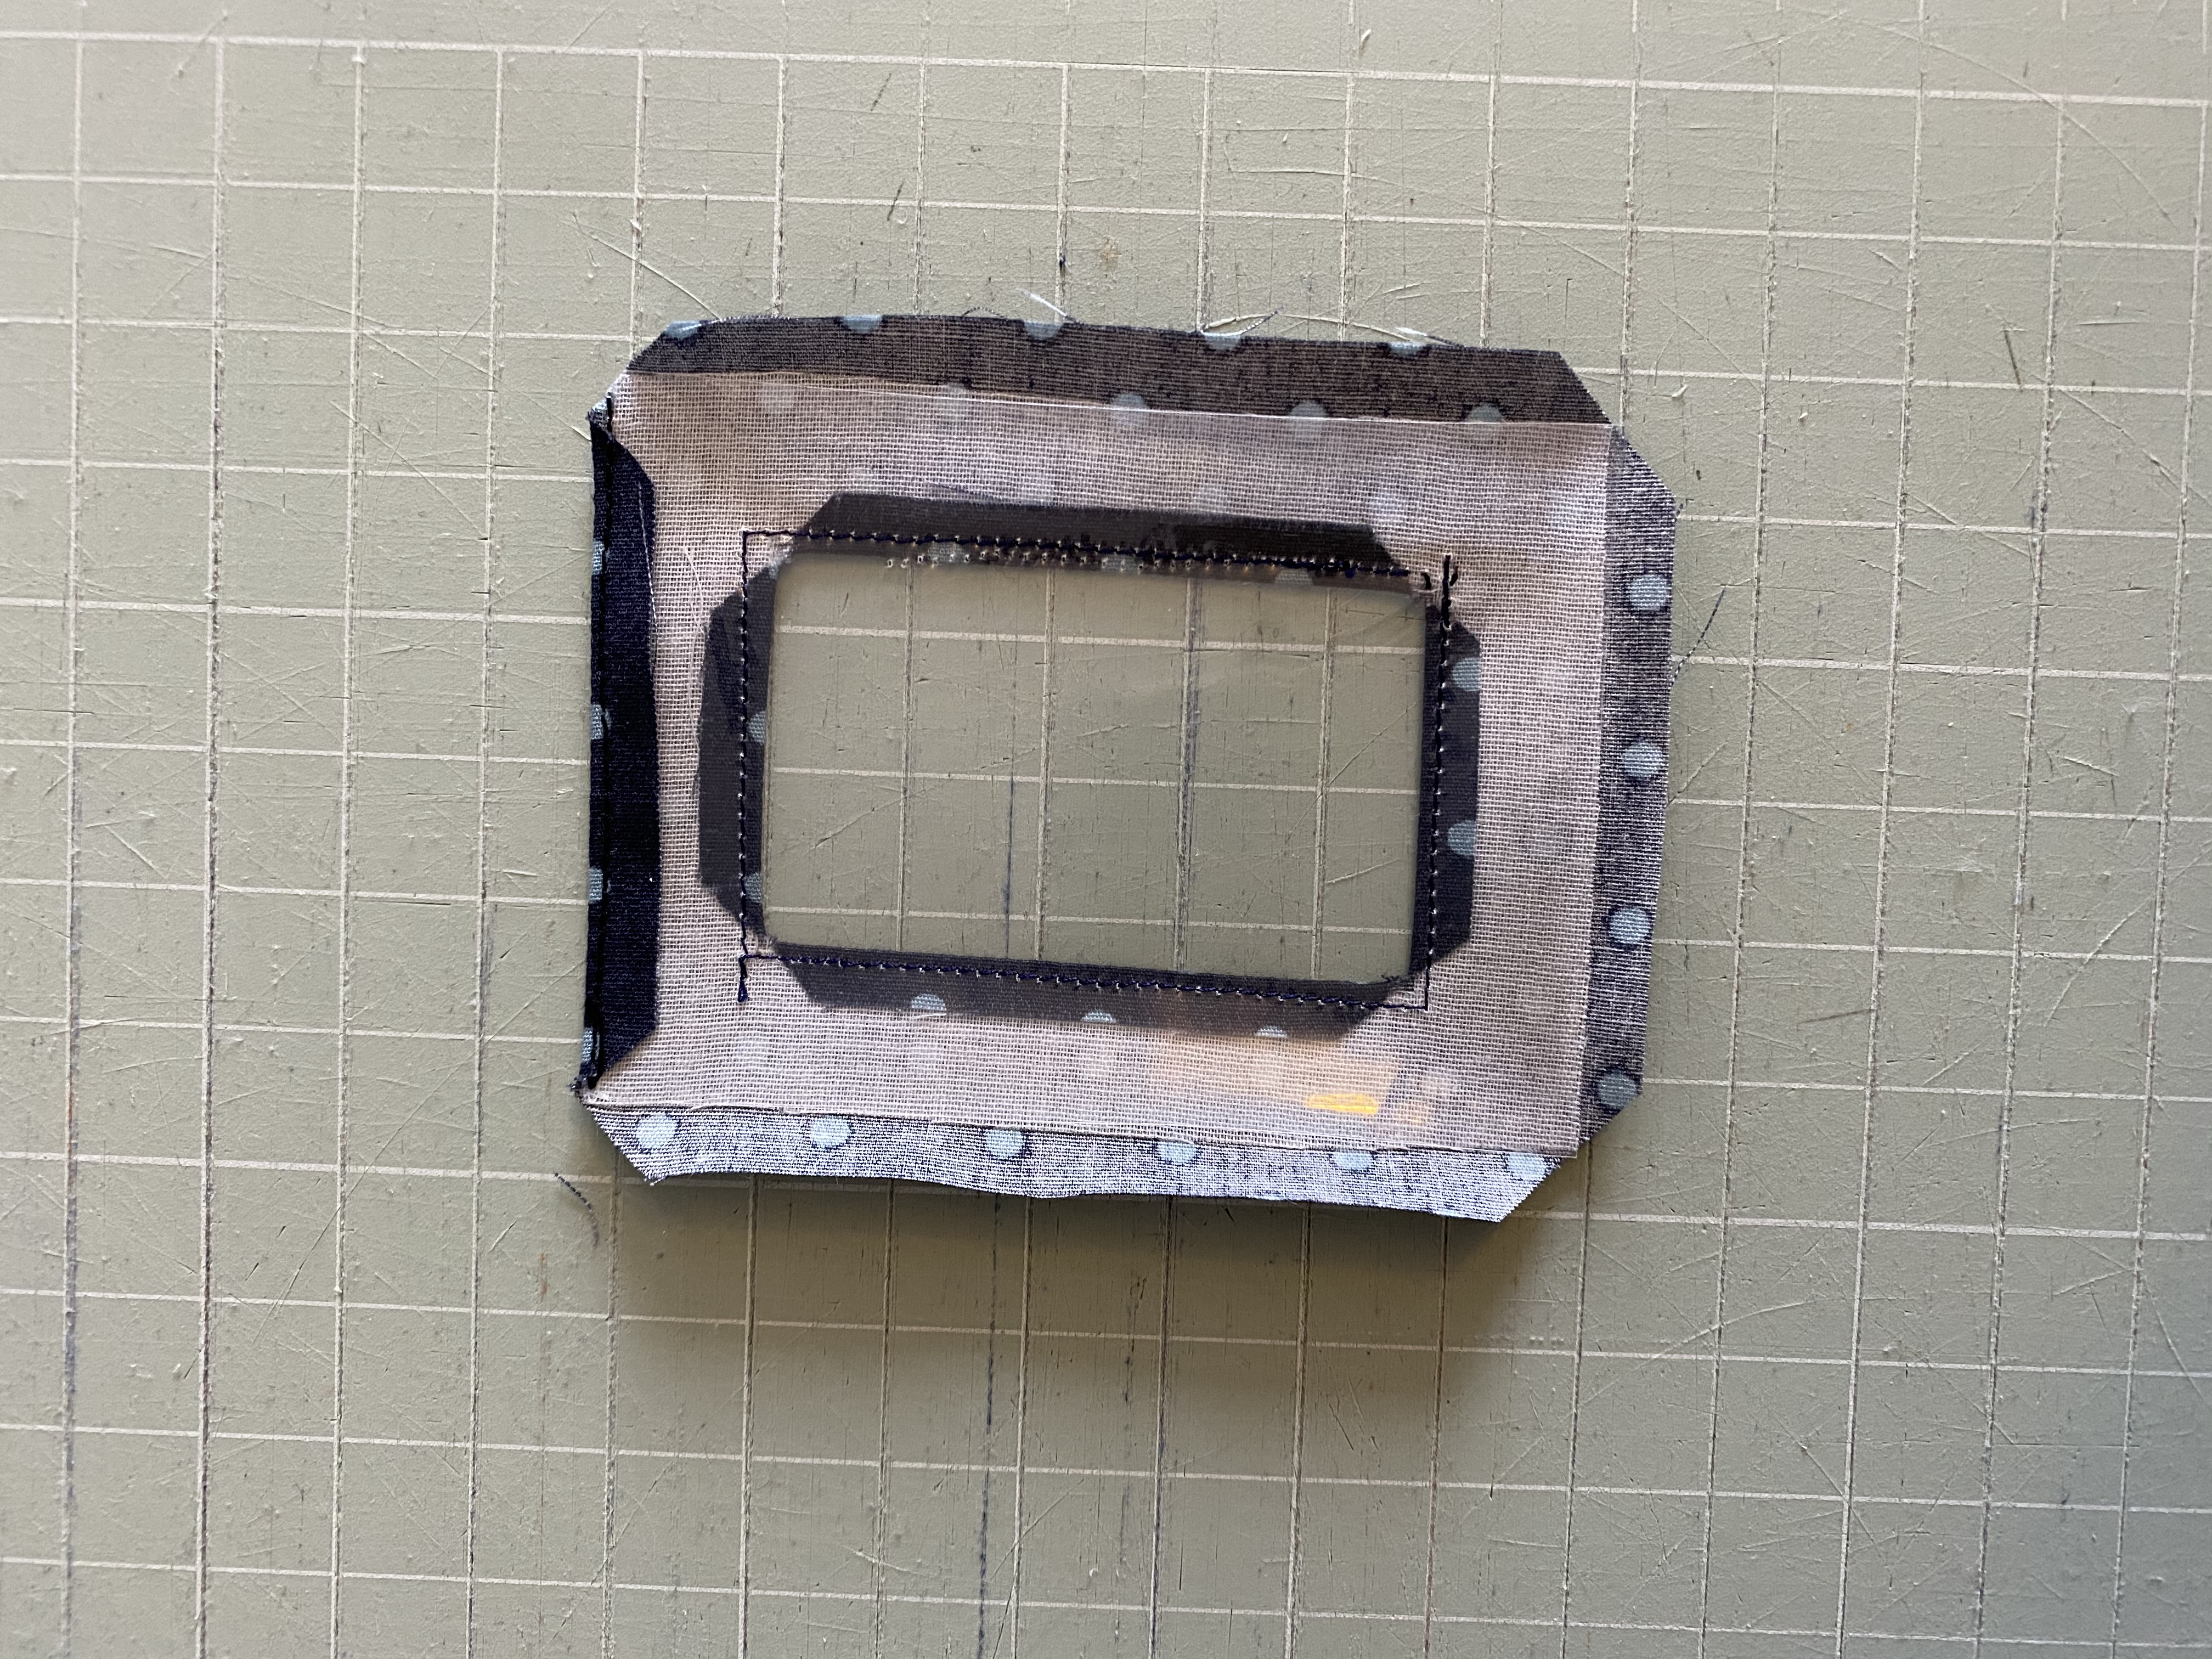
Take one 43/8in x 4in piece and apply the interfacing to the wrong side, centring the piece. Place the aperture template on the wrong side, and mark the inner and outer rectangles.

Step 2

Trim away the centre, leaving an approx 3/8in seam allowance along the inner edge. Trim the corners and press the seam allowance to the wrong side. Centre the clear vinyl on the wrong side and stitch around the outer edge. Clip the outer corners and press the seam allowance to the wrong side at the top edge only, topstitching in place.

Luggage Tag Fig A

Making the tag back

Step 1

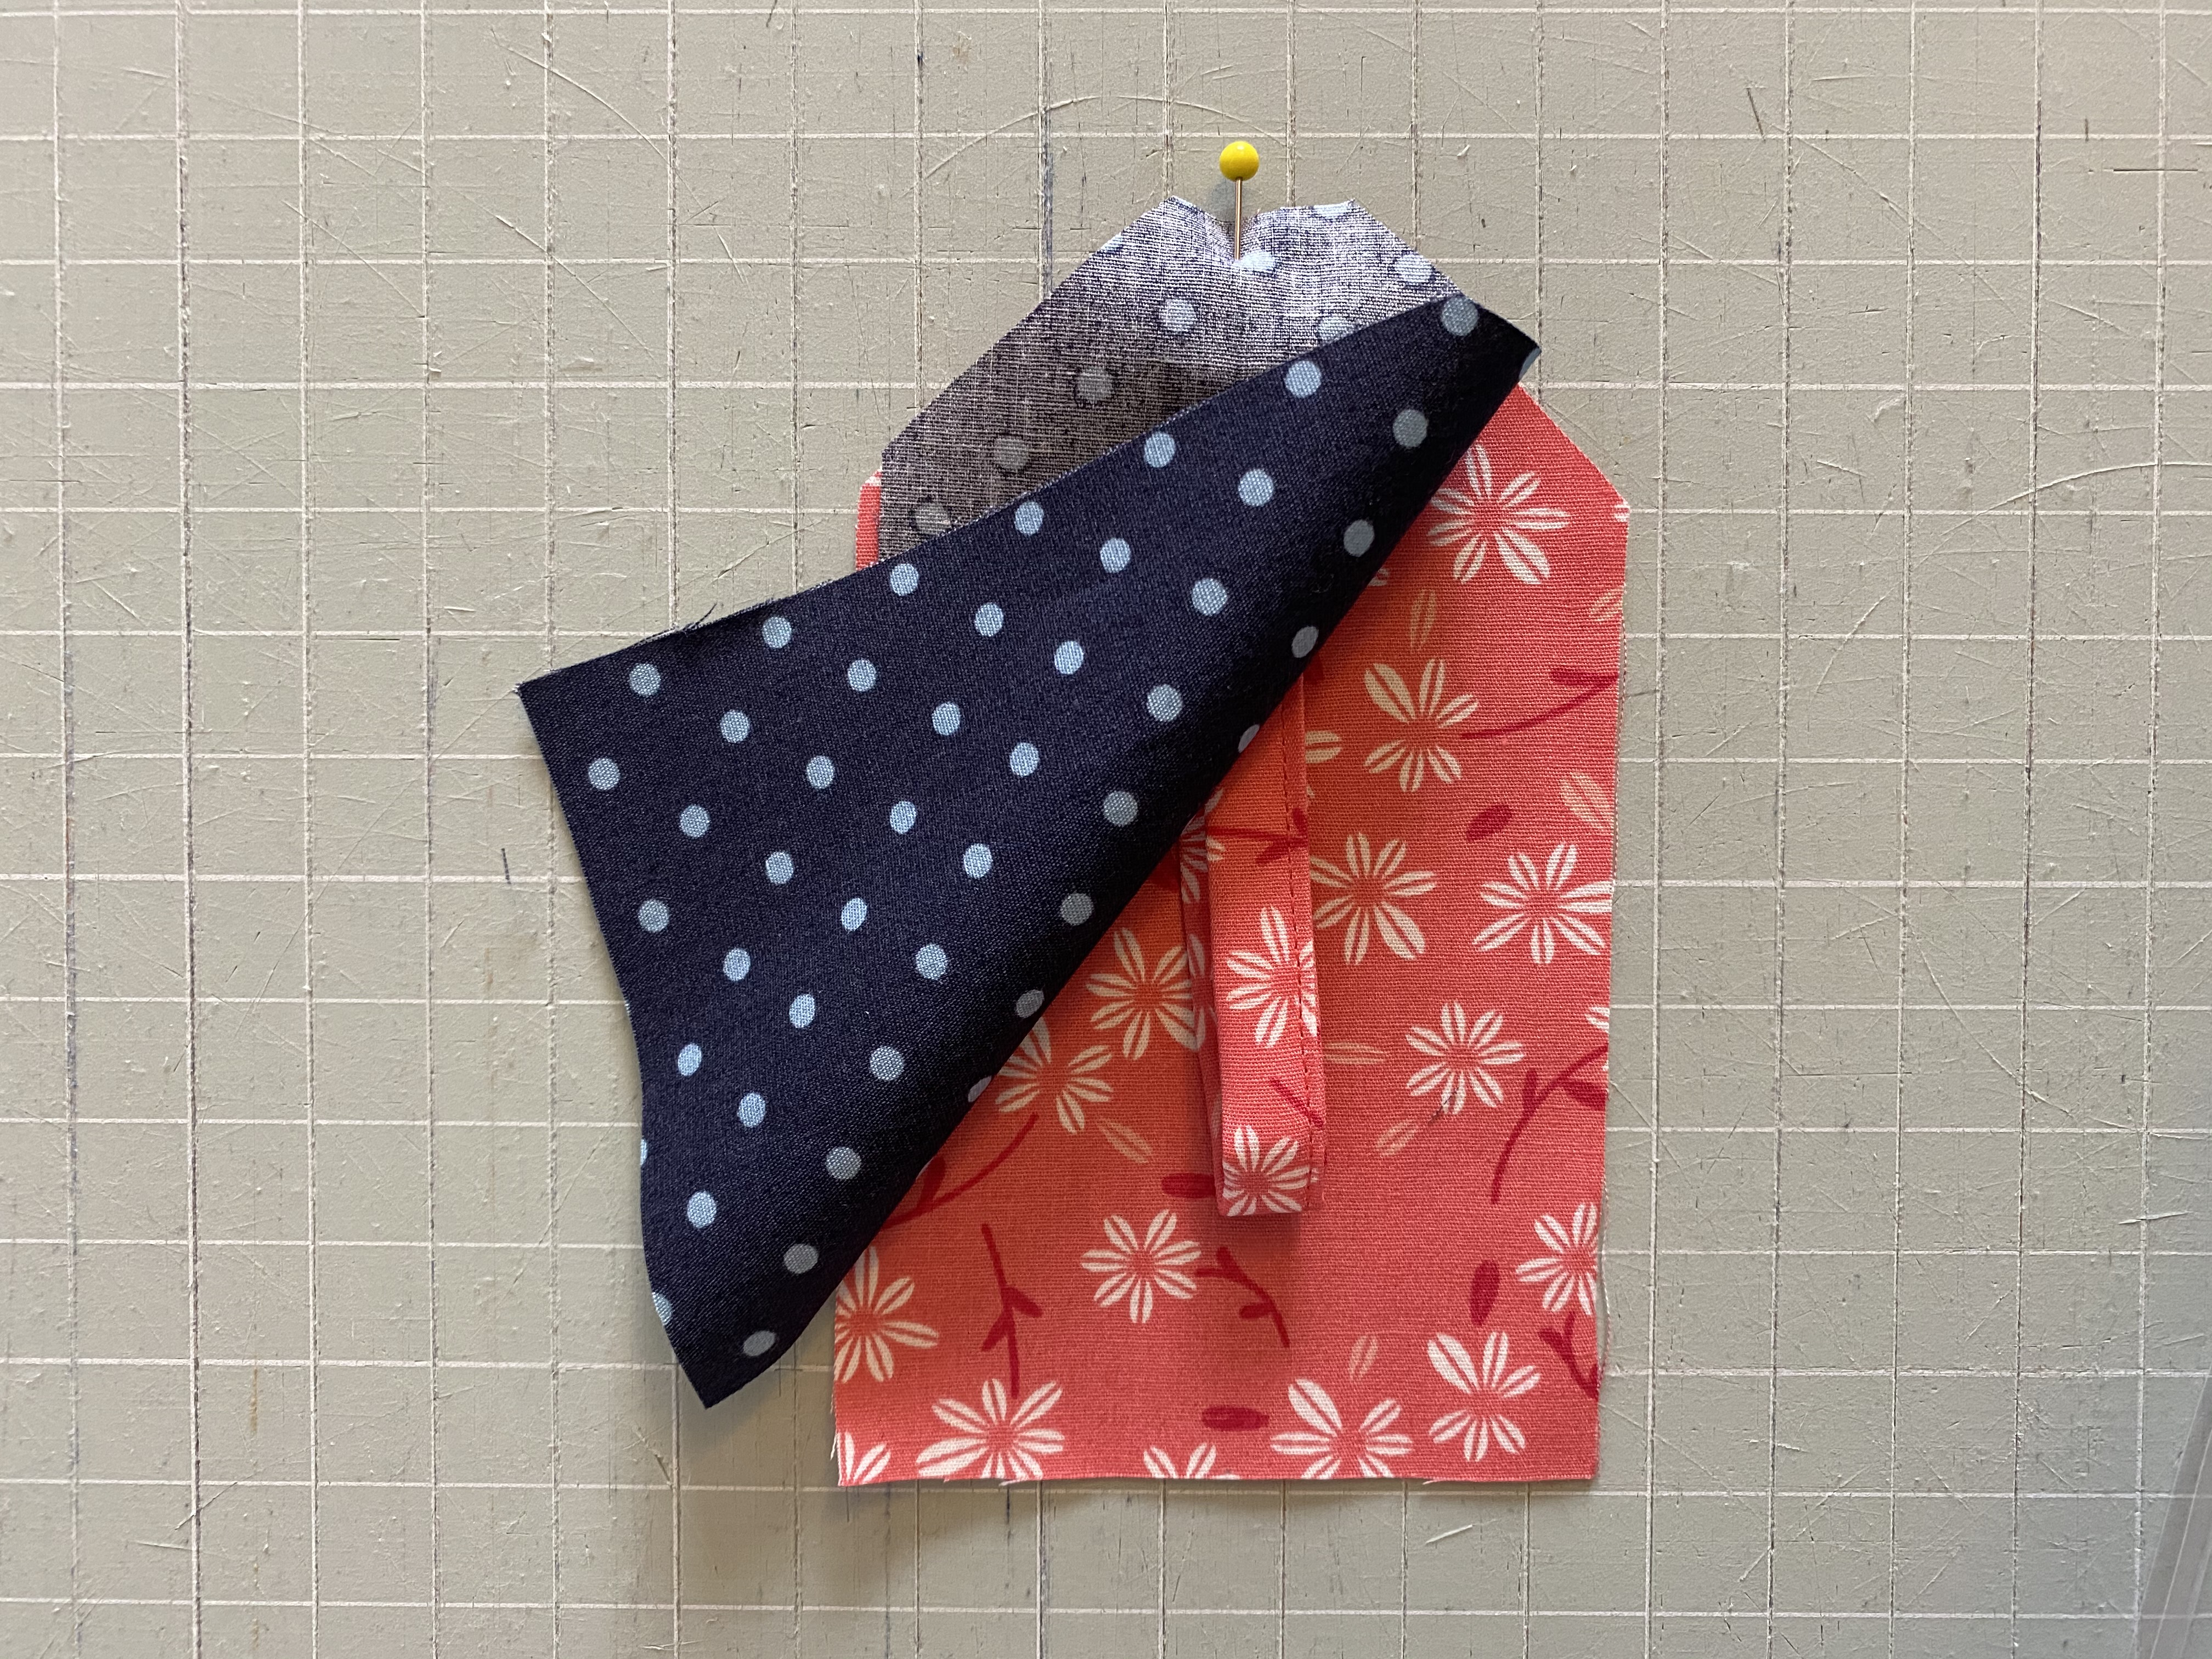
Take the 4in x 2in strip and fold in half along the long edge so it’s 1in wide. Press, then fold the edges into the centre and press again to make a ½in strip. Topstitch along the edge to secure. Fold in half, matching the raw edges, and press.

Step 2

Pin the two luggage tag pieces right sides RST, sandwiching the loop between them. The loop should be in the centre of the top with the raw edges aligned at the top. Also sandwich the pocket piece, between the layers, aligning edges at the bottom and sides.

Luggage tag Fig B

Step 3

Stitch the outside edges together all the way around but leaving the bottom open. Turn the tag right side out and press.

Step 4

Press the bottom edges inside the tag. Topstitch around the outer edges of the tag to finish.

Love Patchwork & Quilting luggage tag tutorial

Where can I see the rest of the Gift Guide?

Get your hands on a copy of issues 91 and 92 for eleven more speedy stocking filler, you can find it still available as digital issue.

Love Patchwork & Quilting 92 Handmade Gift Ideas