How to sew leather
Want to learn how to sew leather at home? It's a lot easier than you might think, and it can even be done on your sewing machine.
Just add the correct needle and presser foot for the job, and you'll be ready to get started! Practising on a leather offcut before you start on the real thing is a must, as stitching holes are permanent on leather, so you'll need to get it right the first time.
Once you feel confident, try a small project like this stylish passport wallet. In this tutorial, we will take you through the tools you'll need and how to master the technique for a neat finish, and show you how to make a topstitched leather passport wallet to take with you on your next adventure.
Read on to learn how to sew leather with our easy tutorial…
How to sew a passport wallet
You will need:
- 2oz (1mm) leather: dark tan (40x40cm (16x16in))
- Cream thread
- Sewing machine
- Fabric clips
- Basic sewing kit
- Templates
New to sewing? We've got lots of great beginner's guides to help you get started. Check out our sewing for beginners and how to use a sewing machine guides to learn the basics. Stock up on some craft supplies with our best sewing machines for beginners and sewing kits for beginners.
Leather
Leather, suede and nubuck are all sewn and worked with in the same way. Leather can be very stiff or more pliable and flexible, depending on its thickness. When you buy leather, its thickness is described in ounces or millimeters, so the lower the number, the thinner it is. You can find conversion charts online if you want to find out how thick in mm each ounce of leather is.
The leather that is generally used in garment making is 2oz, which is just over 1mm thick. You can stitch with a leather thinner than this or slightly thicker, but 2-3 oz is just about right for home sewing using domestic machines.
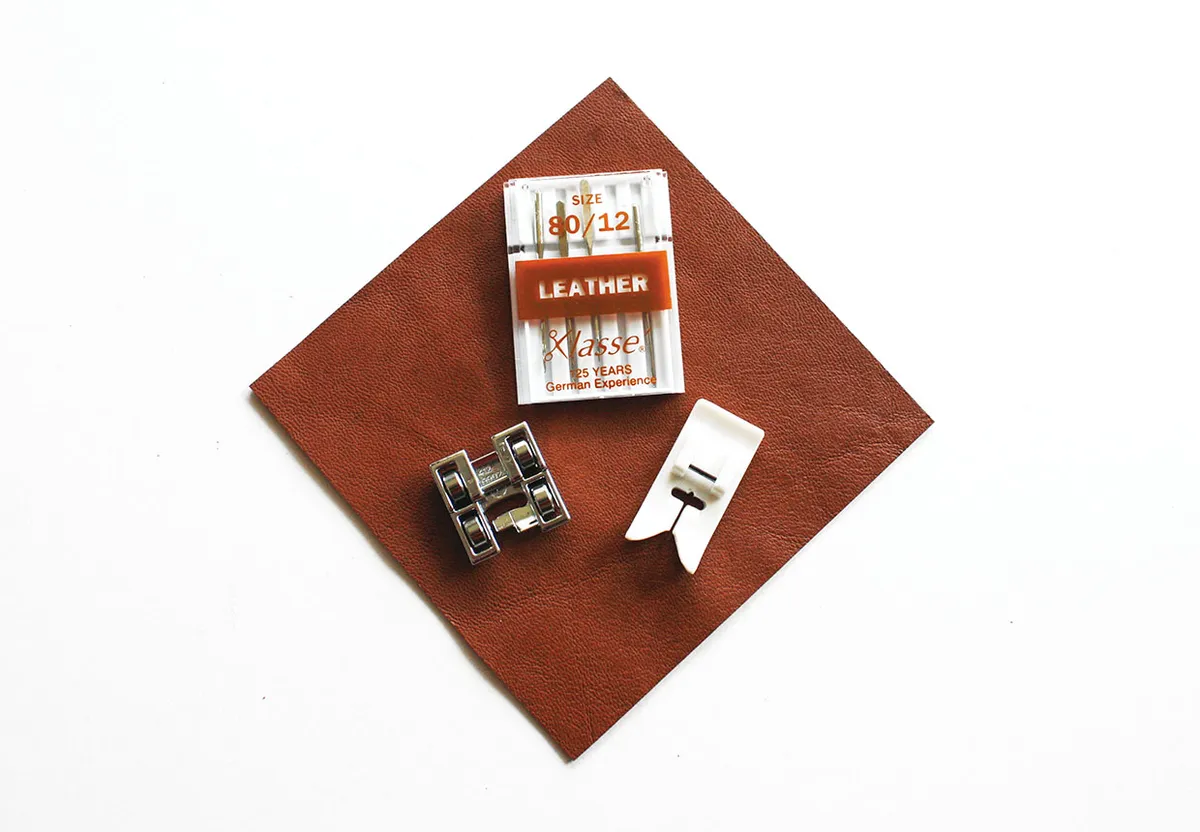
Sewing machine foot
Leather has a tendency to stick to the machine plate or foot, so it’s best to fit your machine with a Teflon foot, roller foot or walking foot to help ease it through as you're stitching. These can be bought from sewing machine shops or easily online.
Needle
Use a specialist leather sewing machine needle as it will make sewing much easier and give you better results. These needles have a strong shaft and a wedge-shaped cutting point so are specifically designed to cut through the leather and will withstand the extra thickness.
A size 90-110 (14-18) needle is best for stitching with the slightly thicker thread you’ll need. It's advisable to always use a new needle when you start a project so it’s nice and sharp.
Thread
Use a pure nylon or polyester upholstery weight thread; a 40 weight thread is ideal. Synthetic threads are stronger and more durable than cotton, so are better for stitching on leather.
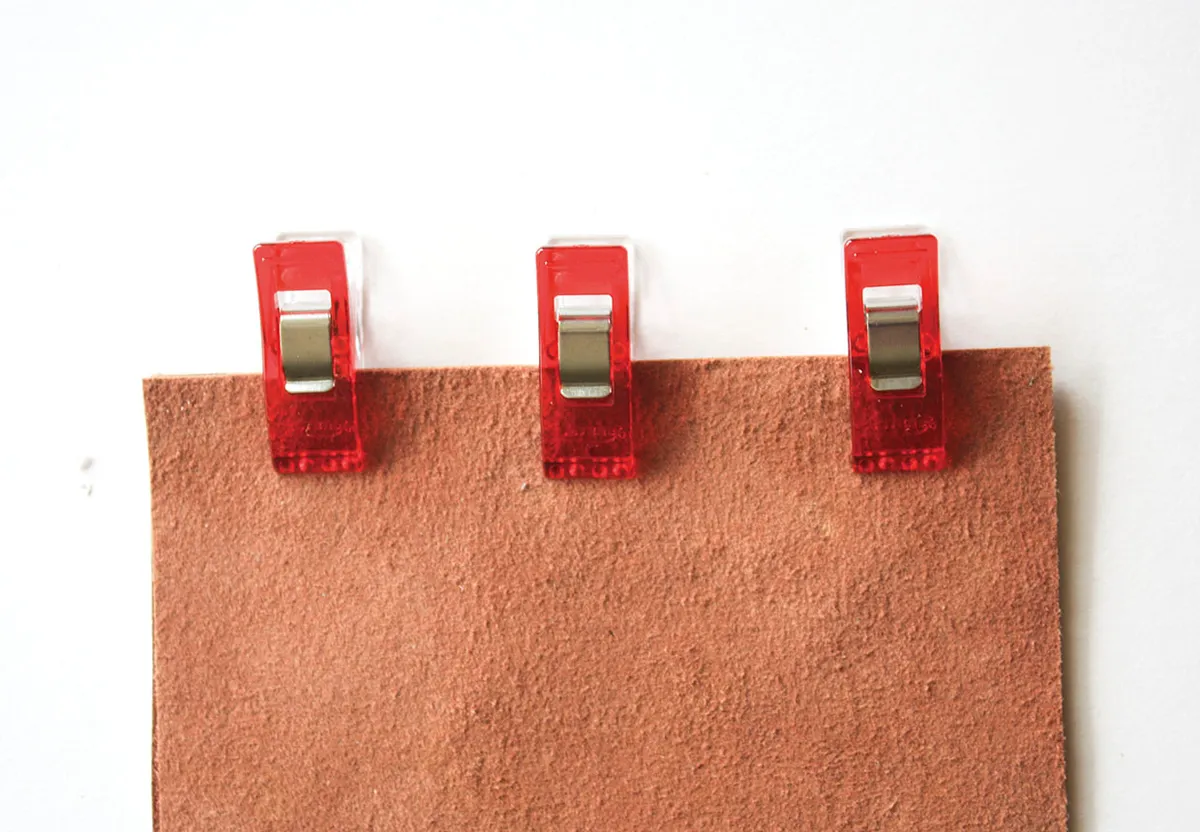
Fabric clips
Pins will leave permanent holes in leathers, so fabric clips are best to use to hold pieces together whilst stitching. These can be bought in packs in a variety of colours, or you can use small bull dog clips instead.
Working with leather
Cutting
Only cut a single layer at a time as leather moves and stretches whilst cutting. If you have pieces which need to be cut on the fold, draw around one part, flip it over and draw around the other for a more accurate cut.
As you can’t pin the pattern to the leather, weight it down on the wrong side and draw around it in pen or chalk then cut along the lines. You can use a rotary cutter for cutting straight lines, but for curves, dressmaking scissors will be fine.
Clipping
Clip the leather pieces together before you sew, or use leather tape to stick the leather together within the seam allowance.
Stitching
Before you start, remember that every stitch leaves a permanent hole, so do all your testing and fitting beforehand. Always, always work a test piece first to make sure you’ve got your stitch length and tension correct. Use a longer stitch length of about 3-3.5 to create a strong and secure seam.
Stitch slowly, as this will help with accuracy and also ease the leather through your machine. If your leather gets stuck in the machine, lift the foot and allow the leather to relax for a moment before continuing.
Working seams
As the raw edges of the leather won’t fray, you don’t need to finish any edges. There are several different sorts of seams you can use: lapped seams, faux flat-fell seams, single or double topstitched or just plain seams – it just depends on the finish you want. You can even glue seams using special leather adhesive if you prefer. Once you’ve finished a seam you can open it out flat and topstitch the seam allowances down either side of the seam. Trim the seam allowances down close to the topstitching to reduce bulk.
Finishing seams
You can’t iron leather as the heat can damage its surface, so, instead, open the seam out and press it flat using a rubber hammer or a small roller.
Cutting out the pieces

Step 1
First, download the passport wallet templates. Trace the two pocket templates from the pattern sheet and cut them out. You’ll also need to draw a template for the main cover: 15x22cm (6×8¾in), and for the cash pocket 15x10cm (6x4in).
Step 2
Place the leather right side (RS) down then place all four templates RS down on top.
Step 3
Draw around each of the templates using tailor’s chalk or a ballpoint pen. Make sure you trace all the curves and curved corners carefully so they are neat.
Step 4
Cut carefully along the drawn lines.

Making the card pockets
Step 1
Before you stitch anything, use a scrap piece of leather from your cuttings to test the stitch tension and length. The whole passport wallet is topstitched together and these lines need to be straight and accurate.
Step 2
Measure and draw a line across the centre of the card pocket piece using chalk or lightly in pencil.

Step 3
Place the cash pocket piece RS up then place the card pocket RS up on top, matching the left hand edges. Clip together all the way around.
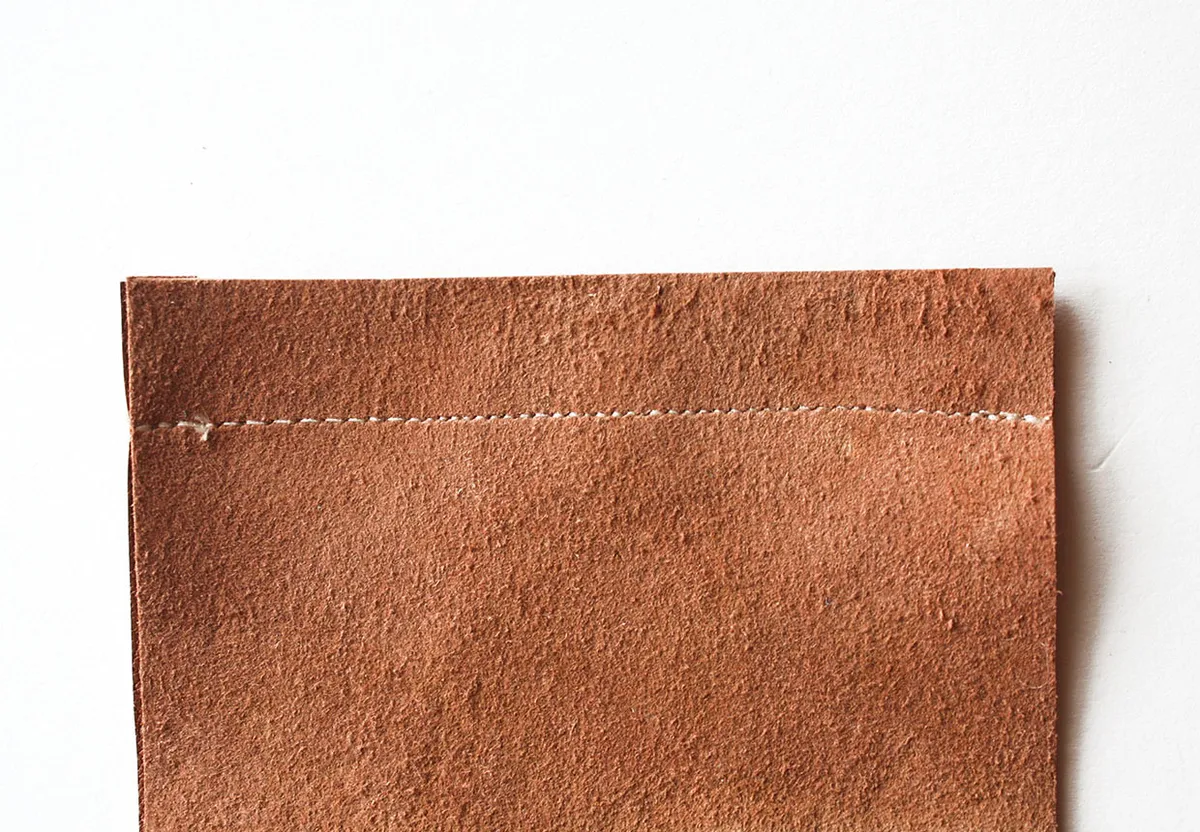
Step 4
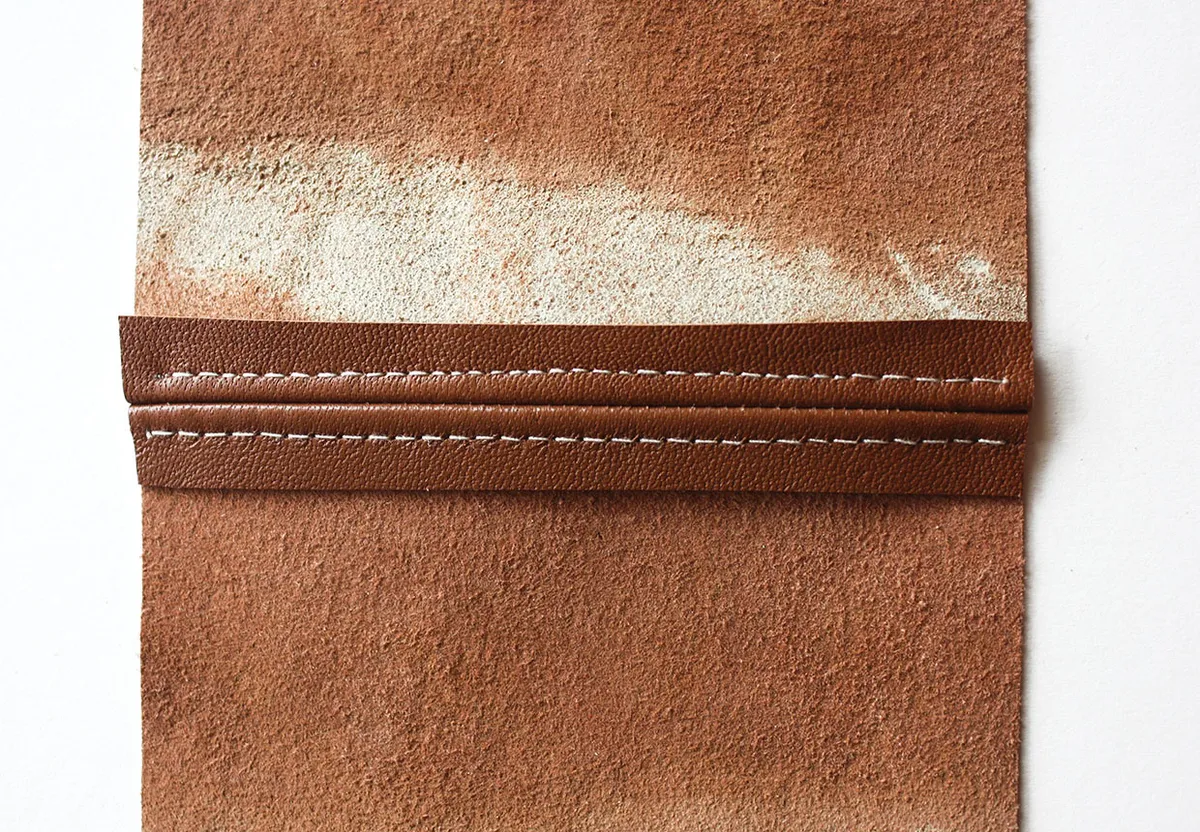
Stitch the two pieces together along your drawn line. This will divide the top pocket into two to put your credit cards in.

Joining the pockets to the cover
Step 1
Place the main cover piece RS down then place the passport pocket piece RS up on top and clip in place all the way around so the right-hand side, top and bottom match exactly.
Step 2
Place the joined left pocket RS up on top of the main cover, matching the left-hand edges and top and bottom. Clip together.
Step 3
Stitch the pieces together all the way around, working the line of stitching 3mm (1⁄8in) in from the edge. Stitch slowly and carefully, and use your machine foot or stitch plate markers to help you keep the line straight.
Step 4
Cut the corners into slight curves for a neat finishing touch.
Sew beautiful items that last with leather
Stitching with leather is simple to do – you'll just need to take your time, as there’s no room for mistakes because the stitches create a permanent hole in the leather. Leather can be stitched by hand, which requires a few tools and special thread and needles, but it can also be sewn with an ordinary sewing machine.
Looking for more projects for your holidays?
Try our wrap skirt pattern.