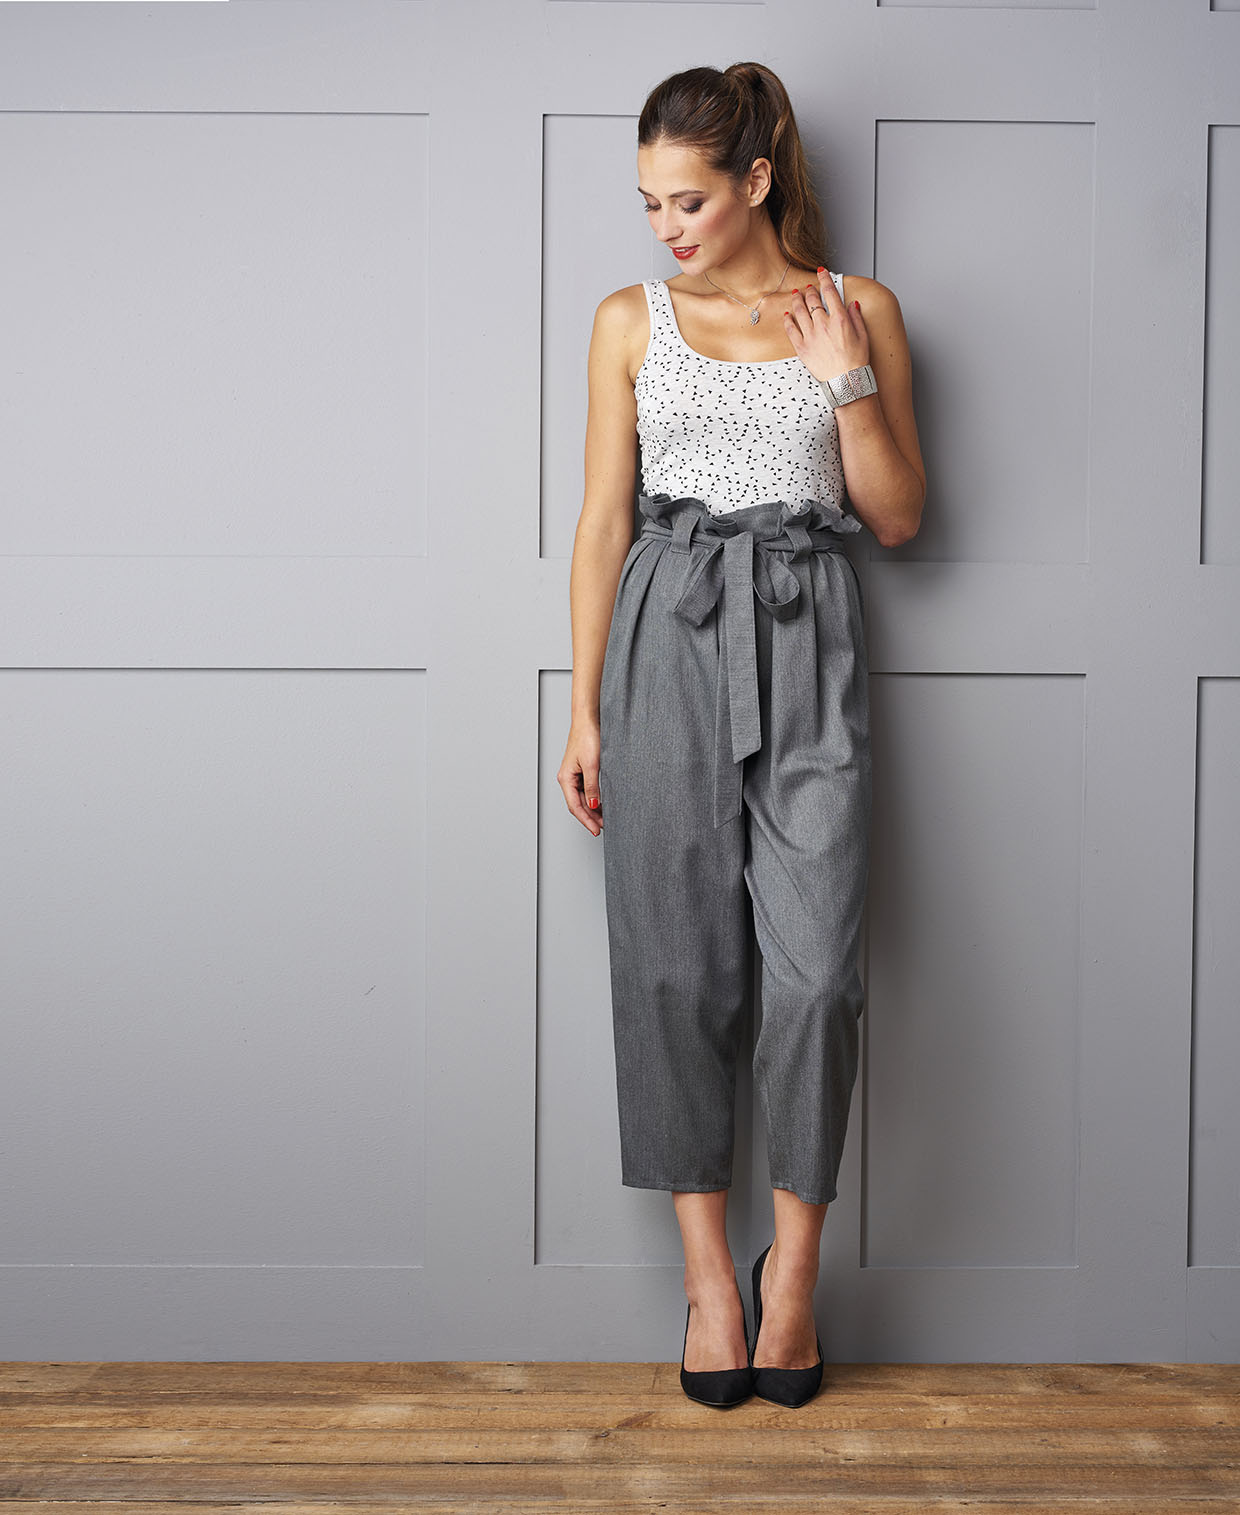
Choosing a pattern
Step 1
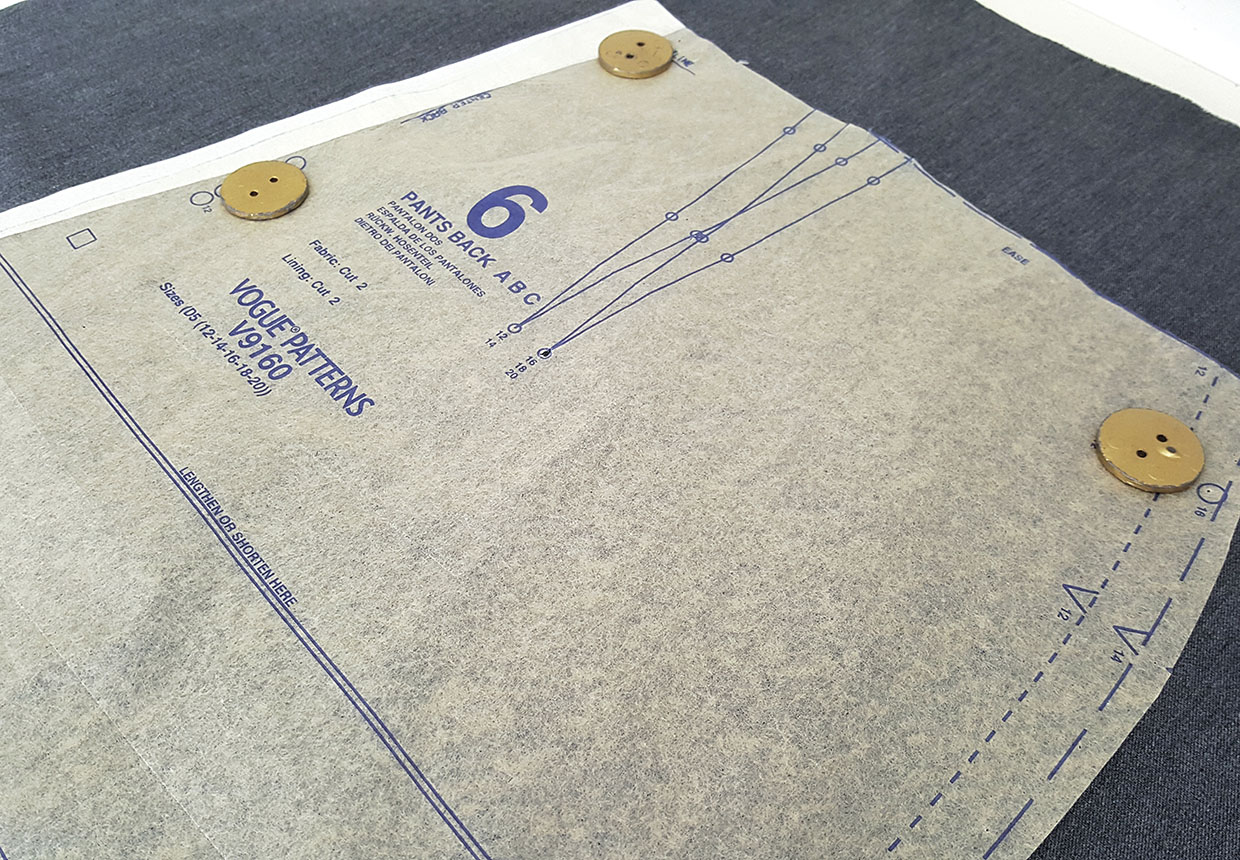
Start with a relaxed-fit trouser pattern as a template. We used the front and back leg pieces of the Vogue V9160 jumpsuit.
Step 2
Cut or trace a size or two bigger than you need. This is dependant on how oversized you want your trousers to be.
Step 3
Measure the pattern pieces to calculate how much fabric you need to buy, plus extra for the waistline, belt and belt loops, as detailed in the Cutting Out section.
Cutting out
Step 1
Fold your fabric right sides (RS) together. Pin your pattern pieces on top, positioning them so you have about 10cm (4in) space above the waistline.
Step 2
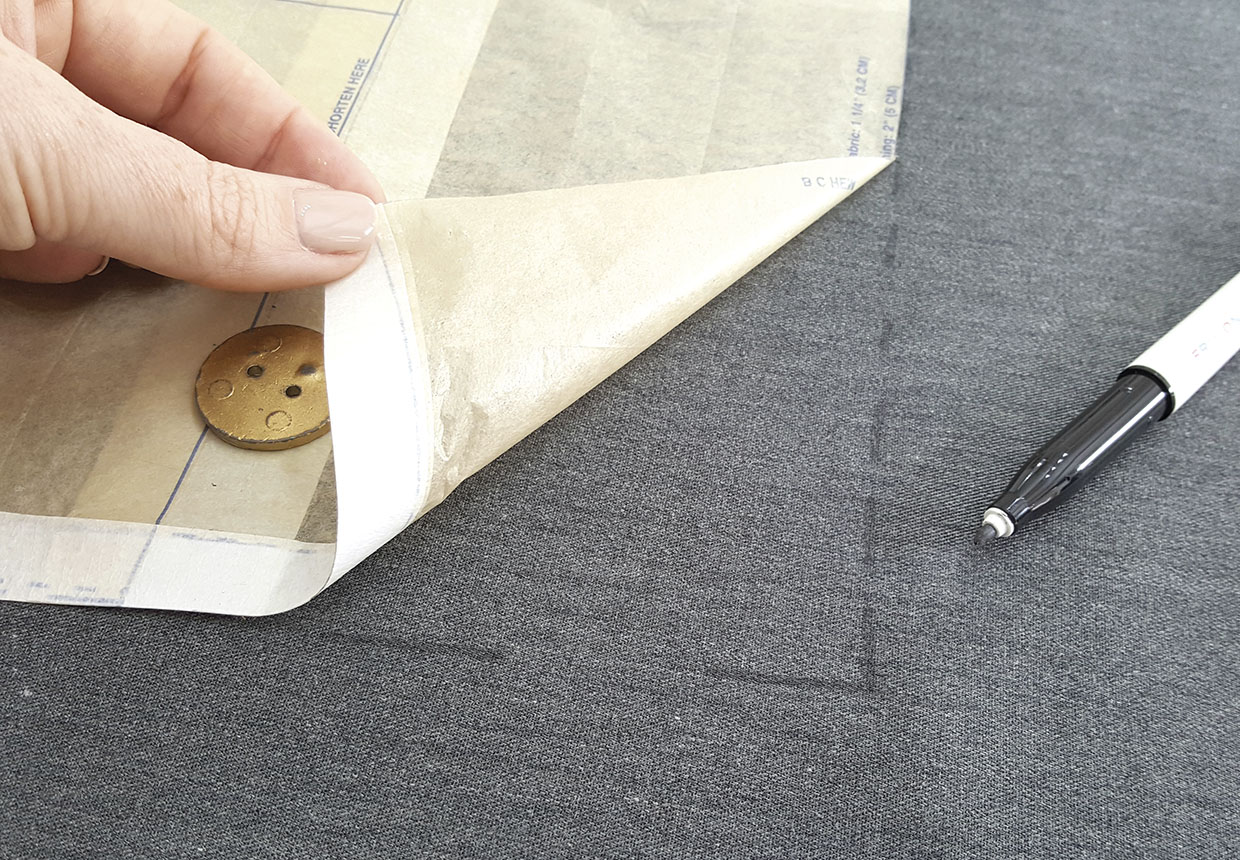
Trace around the pattern pieces using an erasable fabric marker or chalk.
Step 3
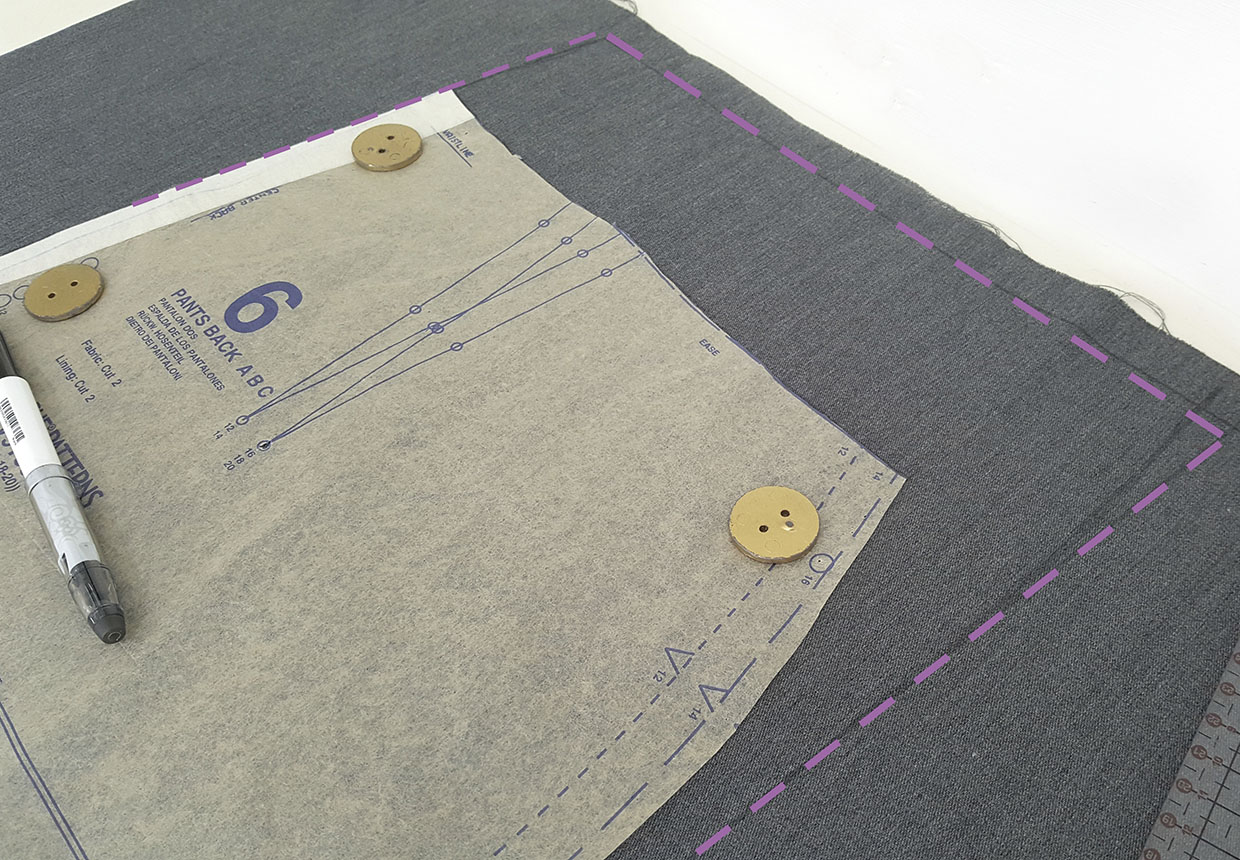
On both the front and back pieces, extend the waistline upwards by 7cm (2¾in) from the centre front (CF) and the same from the centre back (CB).
Step 4
Square across the top of the raised waist then square up from the hipline of the pattern to your new waistline. This is shown by the dotted line in the photo.
Step 5
Add a 1cm (3⁄8in) seam allowance all the way around your traced pattern.
Step 6
Transfer any notches.
Step 7
Cut out the pieces.
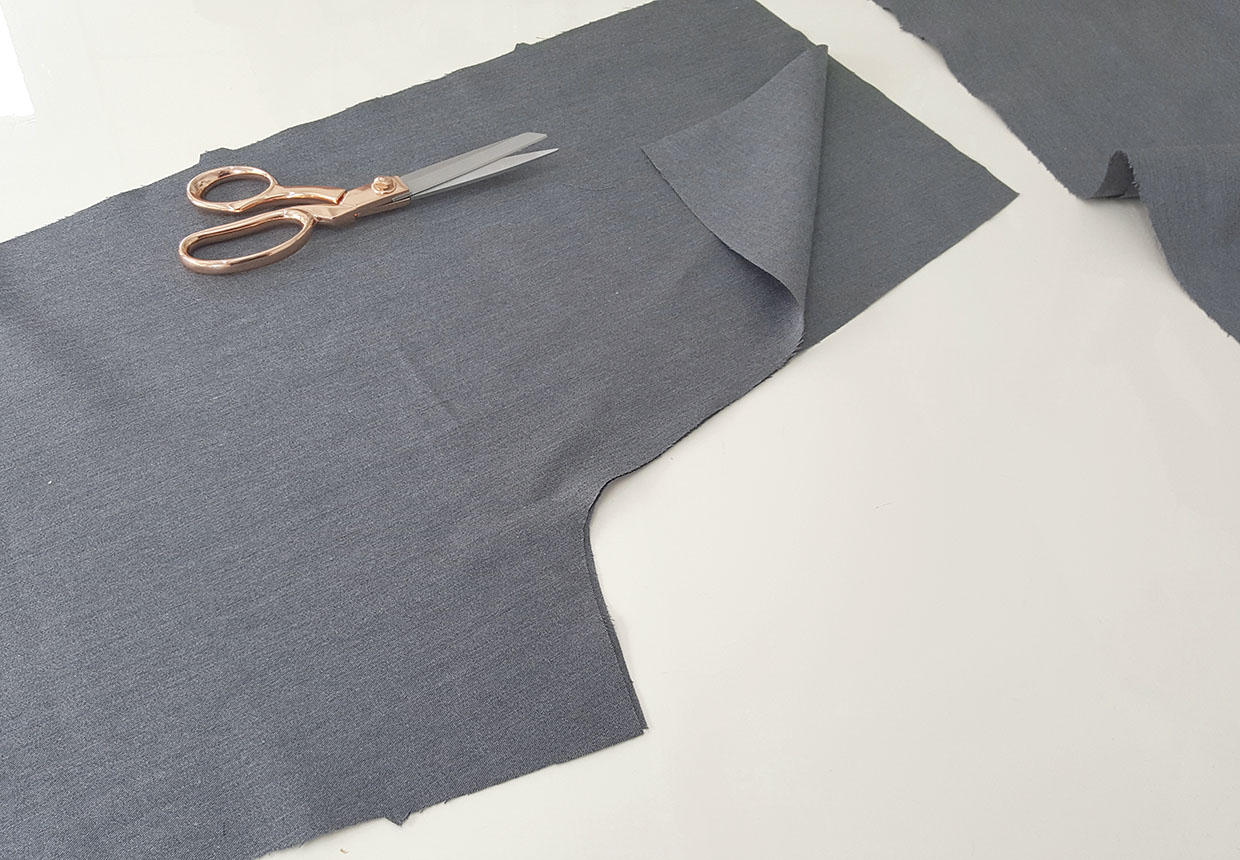
Step 8
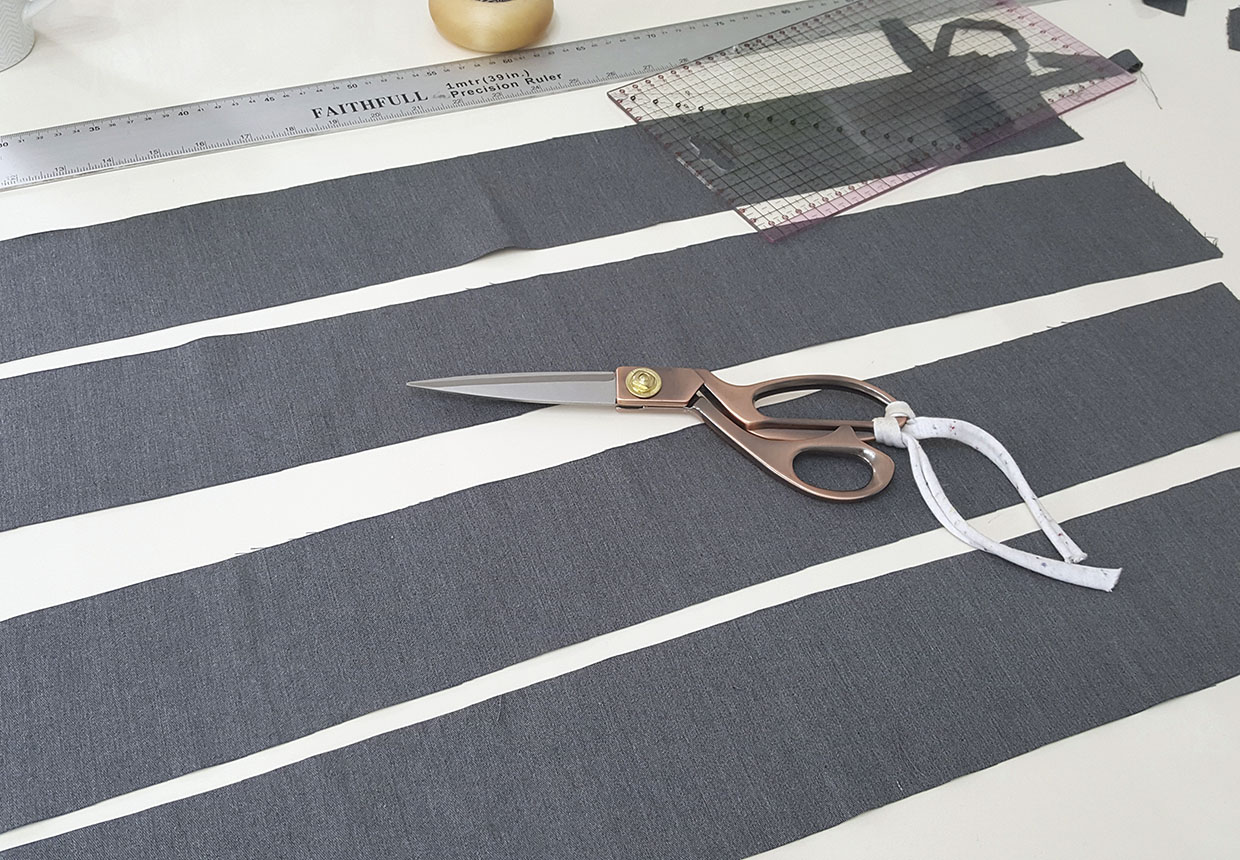
For the tie, cut strips from your fabric 9cm (35⁄8in) wide and join them RS together at the short ends to make a length of 2m (2¼yds).
Step 9
For the belt loops cut a strip 8x37.5cm (31⁄8 x 14¾in).
Stitching the crotch seam
Step 1
Finish the raw edges of the side seams, inside leg seams, hems and waist.
Step 2
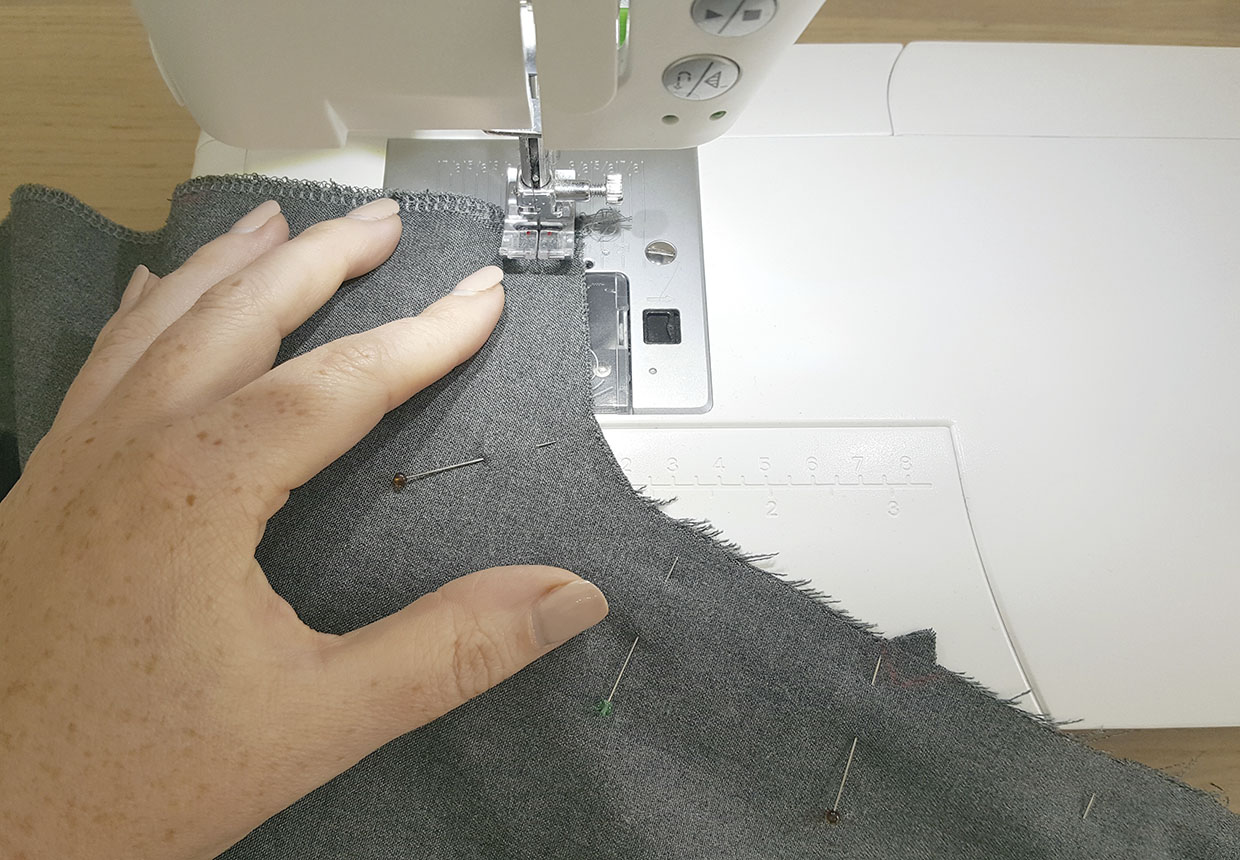
Pin and then sew the crotch seam RS together. Do this on both pairs of front and back pieces.
Step 3
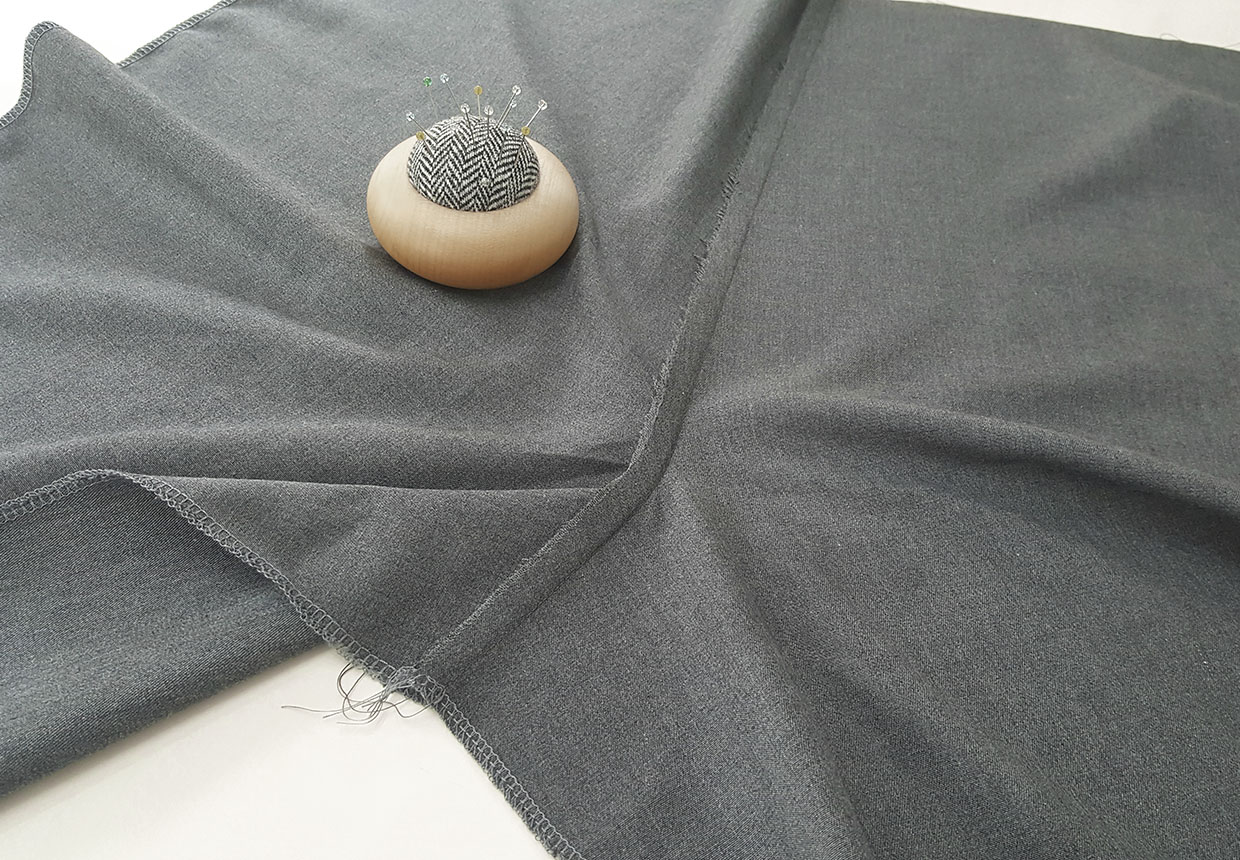
Press the seam allowance of the front crotch curve open and flat from the wrong side (WS) first then press from the RS.
Step 4
Flip back to the WS and press the seam allowance over to the left.
Step 5
Finish the raw edges of the seam allowance then topstitch them from the RS, close to the seamline.
Step 6
Repeat this on the back.
Stitching the leg seams
Step 1
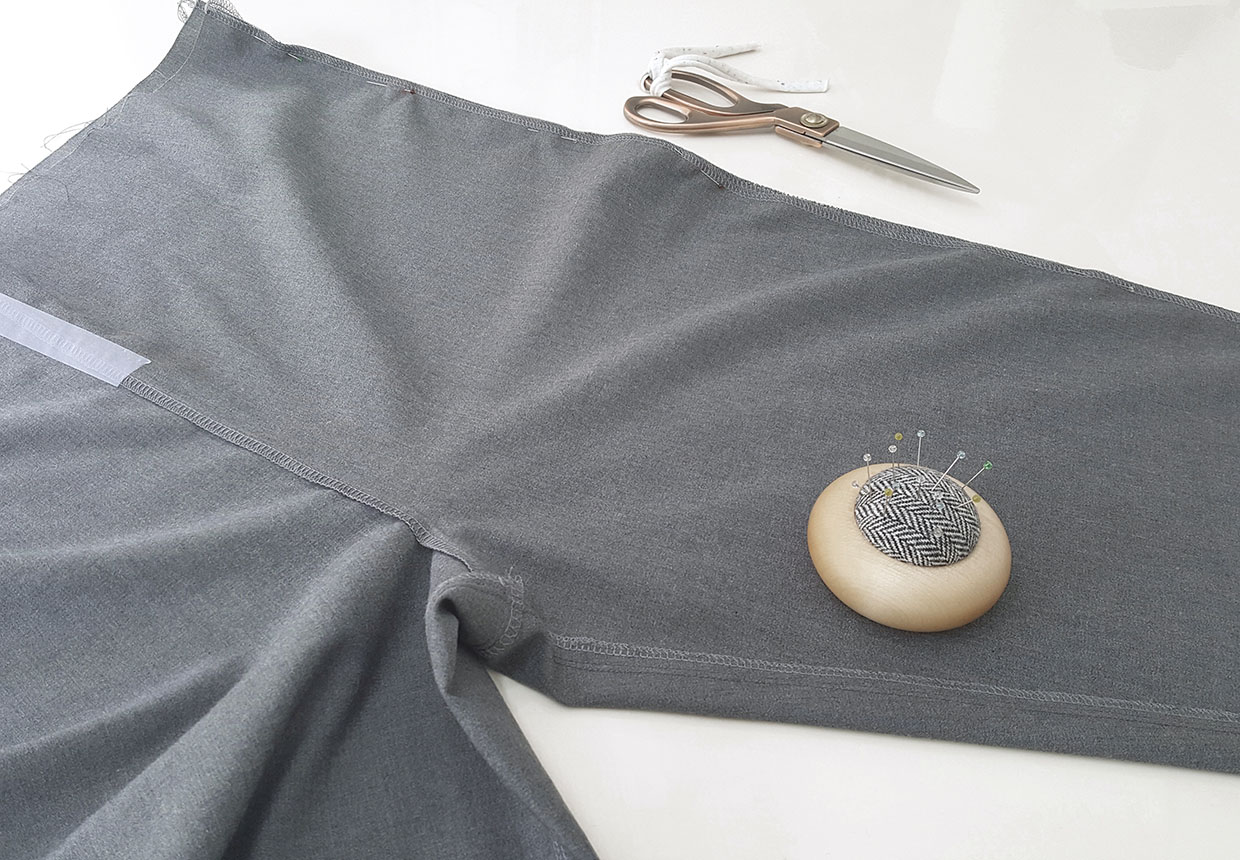
You’ll now have the front and back of your trousers assembled. Lay them on top of each other with RS together.
Step 2
Aligning notches and CF/CB seams, pin and sew the inside leg seams first, and then the side seams.
Making the belt
Step 1
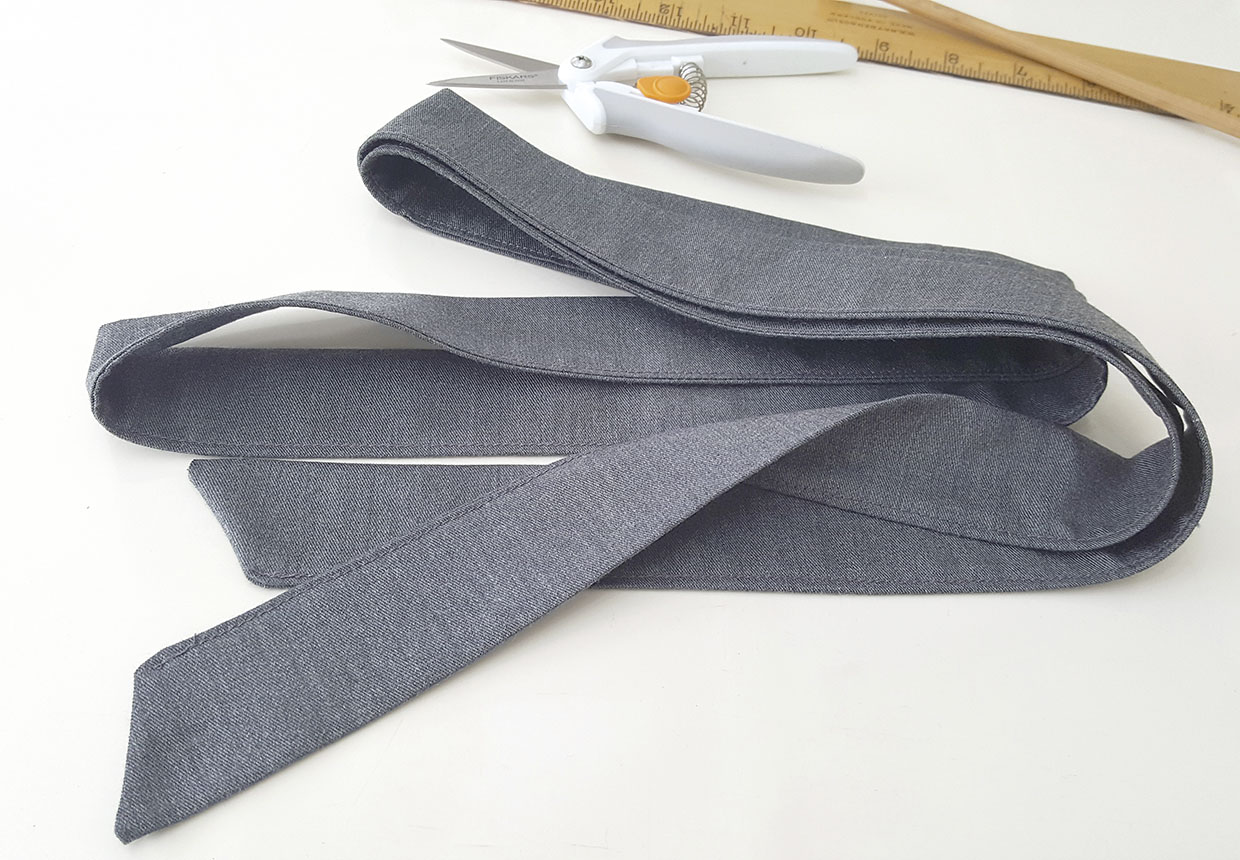
Fold the joined tie piece in half lengthways with RS together.
Step 2
Pin and sew both of the short ends at a 45-degree angle then sew the long edge all the way along, leaving a 10cm (4in) gap in the middle for turning.
Step 3
Turn RS out then poke out the corners on the short ends. Press well then stitch the opening closed.
Making the belt loops
Step 1
Fold the belt loop strip in half lengthways with RS facing and stitch together down the length.
Step 2
Turn RS out and press so that the seam is at the top.
Step 3
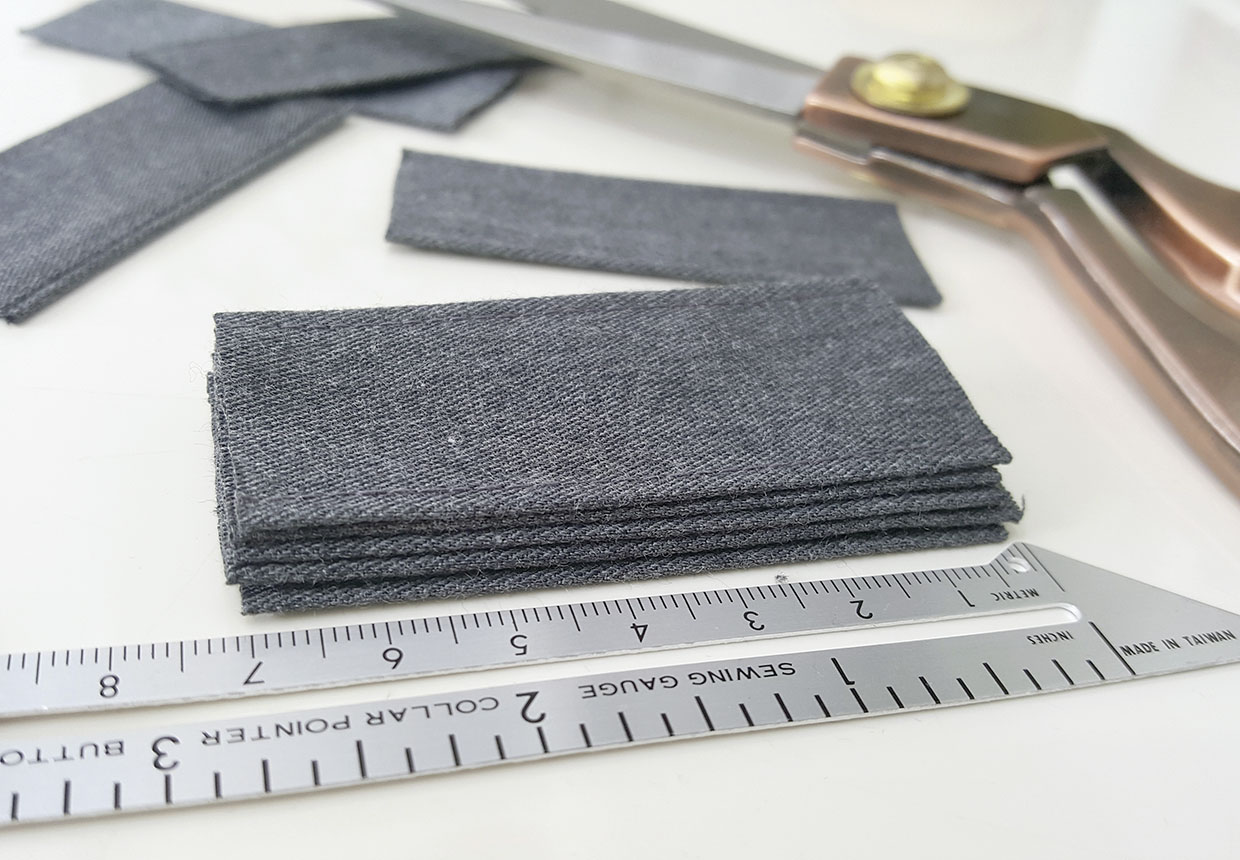
Cut the pressed belt loop strip into five pieces measuring 7.5cm (3in) long.
Step 4
Turn the short edges of each belt loop under by 1cm (3⁄8in) to the WS and press then pin to hold in place.
Attaching the belt loops
Step 1
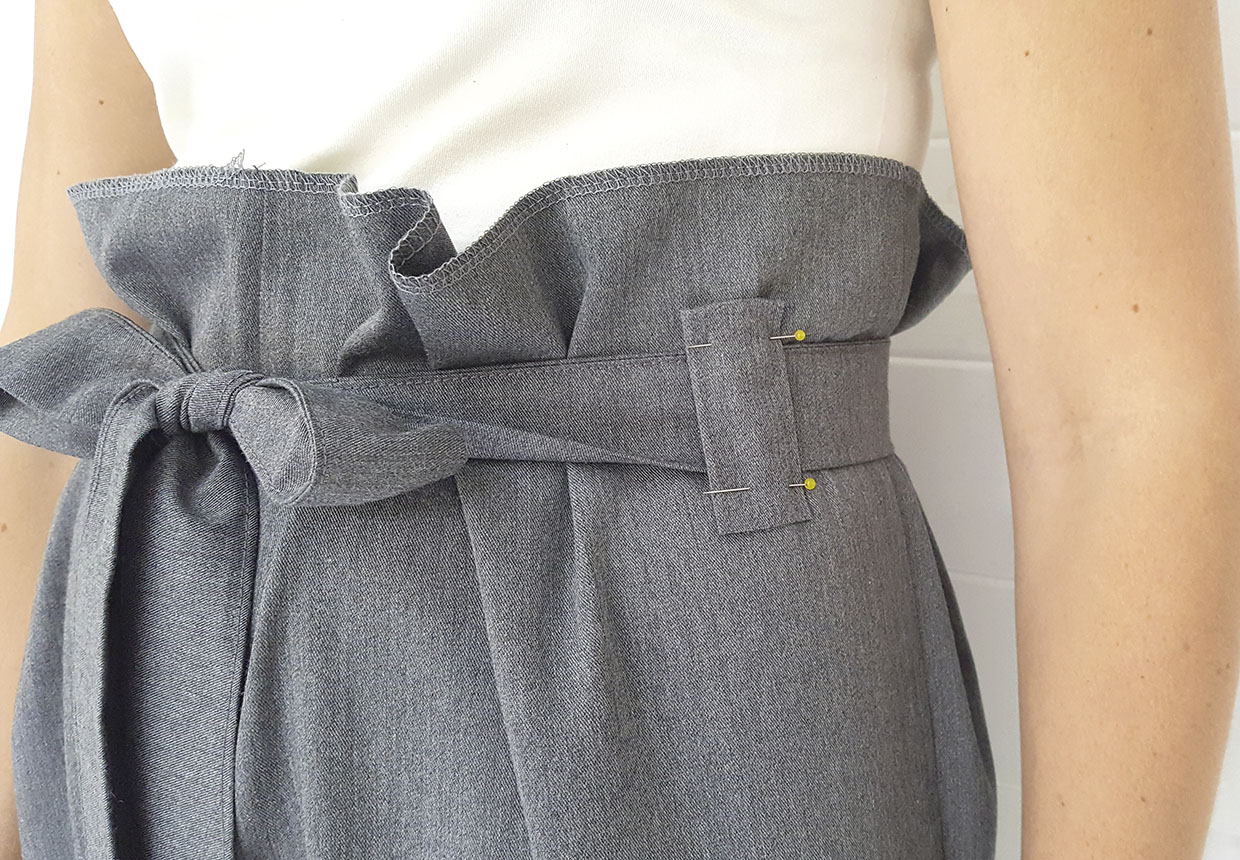
To establish the position of the belt loops, put your trousers on and then tie the belt at your waistline. Arrange the trousers on yourself until the crotch is positioned where you want it to sit during wear. Ignore how much extra fabric sits above the waistline at this stage – it’s the position of the crotch that’s key here.
Step 2
Pin one of your belt loops over the tie where its sits. Carefully untie and remove the trousers.
Step 3
Measure down from the waist line edge to the pinned belt loop, then use that as a guide for positioning the rest of your belt loops. Put three at the back and two at the front, evenly spaced.
Step 4
Topstitch the loops in place close to the top and bottom turned-under edges.
Finishing off
Step 1
Trim the waist edge down at this stage if you feel it’s necessary. We cut ours 4cm (15⁄8in) above the top of the belt loops then turned it under by 1.5cm (5⁄8in) to the WS and stitched this down to hem.
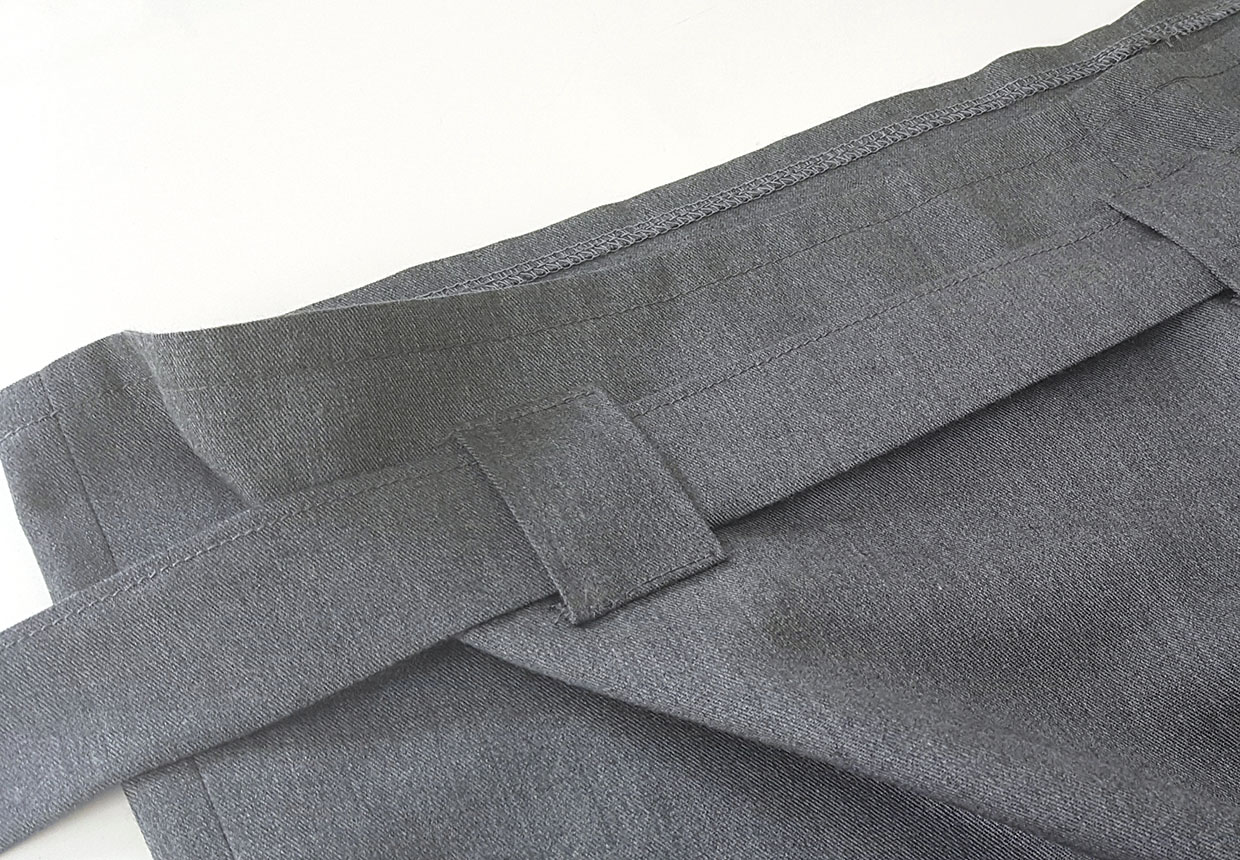
Step 2
Hem the trousers to the length you want in the same way, and you’re done!


