
Your guide to interfacing: what are the different types and why do you need them?
Strengthen and support your fabric or prevent it from stretching out of shape by adding an additional unseen layer called interfacing. If we've jumped in too soon here, and you're wondering "what is interfacing?" – ok let's start with the basics.
When you're sewing your own clothes, interfacing is used to stiffen different parts of your me-made garments but is also really handy in home and craft sewing. There are many different types and weights to choose between, each for a different use.
In this handy guide, we'll explain how use interfacing and when to use each type. Looking for more sewing guides? Take a look at our guide to sewing for beginners, explore our sewing glossary or learn how to use a sewing machine.
Using iron-on interfacing
Always test a small piece of interfacing on a scrap of fabric first to make sure it’s the right weight and doesn’t add more stiffness than you need.
Iron-on interfacing has a matt side and a shiny side which has the glue on it. Place your fabric wrong side up on your ironing board, then place the interfacing glue side down over it. If you’re using woven interfacing make sure you match the grain of the fabric and interfacing so they go in the same direction.
Place a damp cloth over the fabric and interfacing, then press your iron on top of it. The damp cloth protects the fabric and interfacing as well as providing steam. Hold the iron in place for 10 to 15 seconds. Don’t glide the iron as this will shift the interfacing but lift and press. Check to see if the interfacing is firmly glued in place. If not, keep pressing until it is.
The wool setting on your iron is about right for most fabrics but always start low and increase the heat rather than the other way round to avoid damage to your fabric.
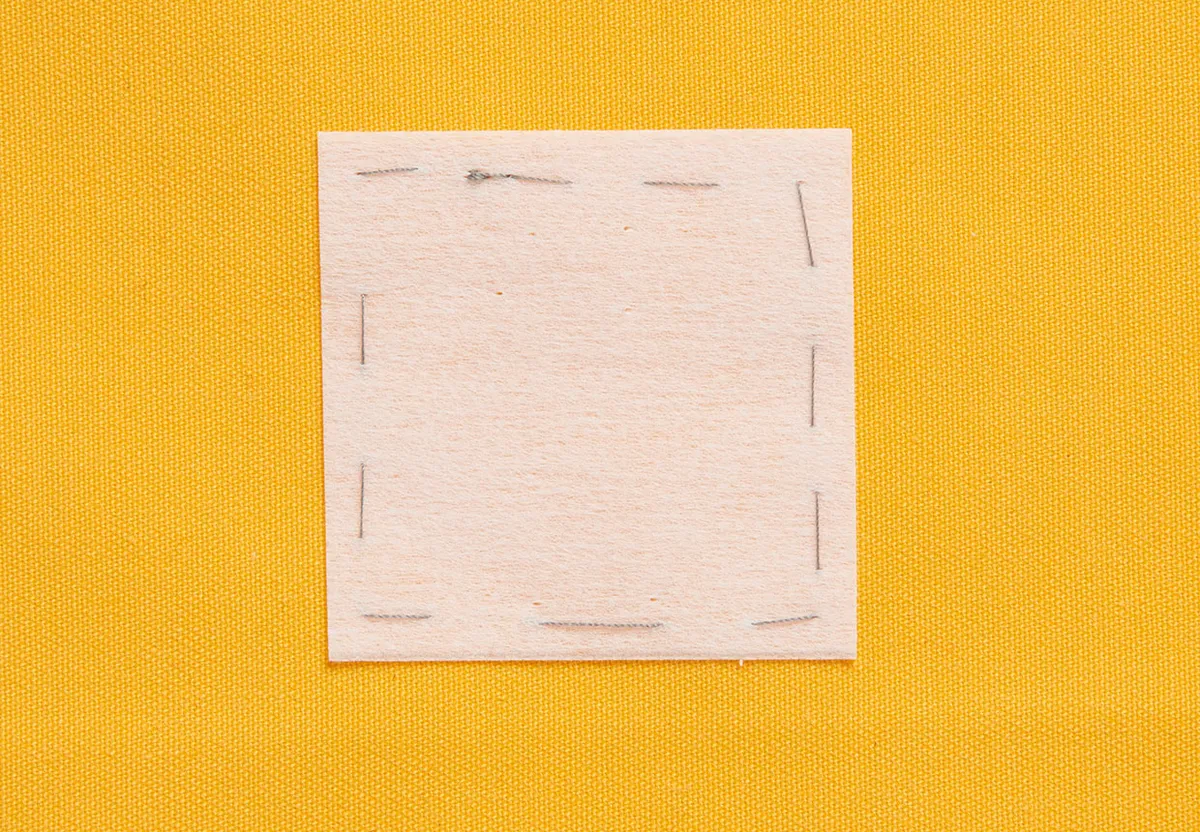
How to attach sew-in interfacing
Place the interfacing on the wrong side of your fabric then tack together all round the edge. It’s easier to cut the interfacing to the same shape as the fabric after it has been tacked on.
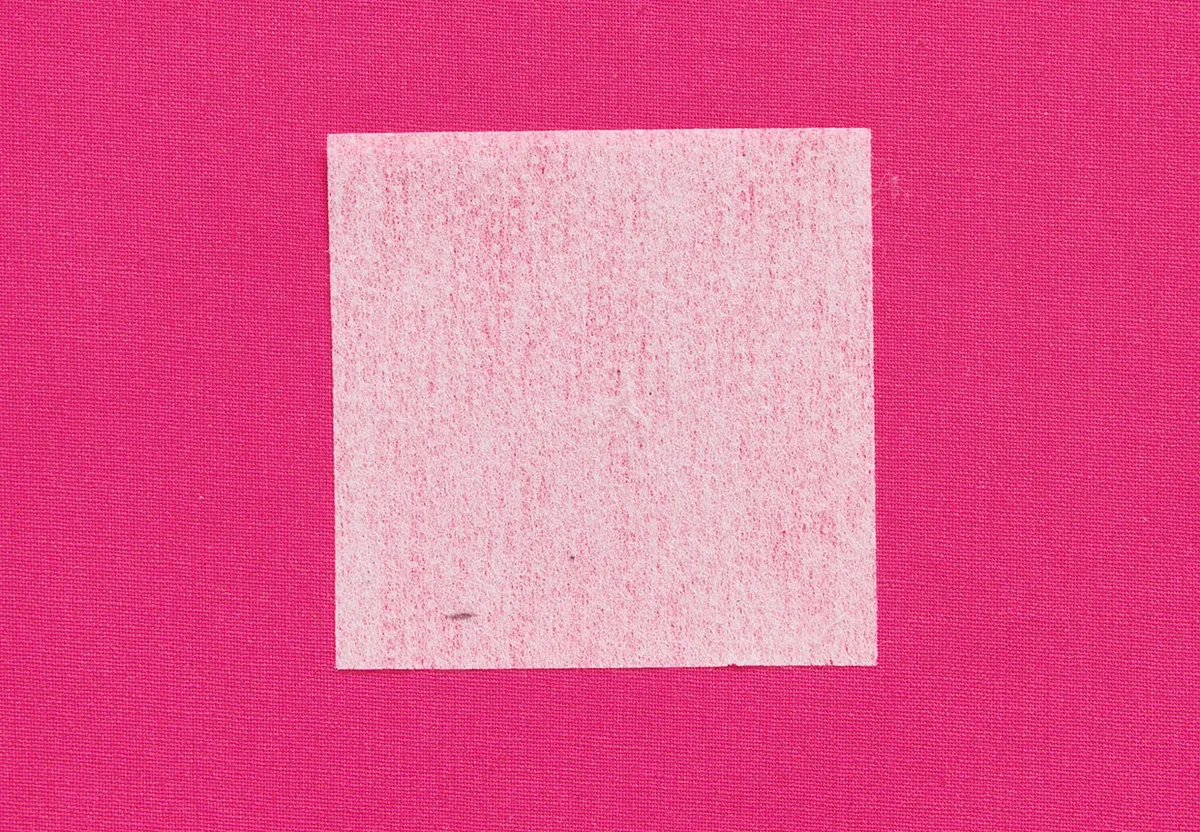
Coloured interfacing
Interfacing comes in two colours – either light (white) or dark (charcoal).
Different types of interfacing
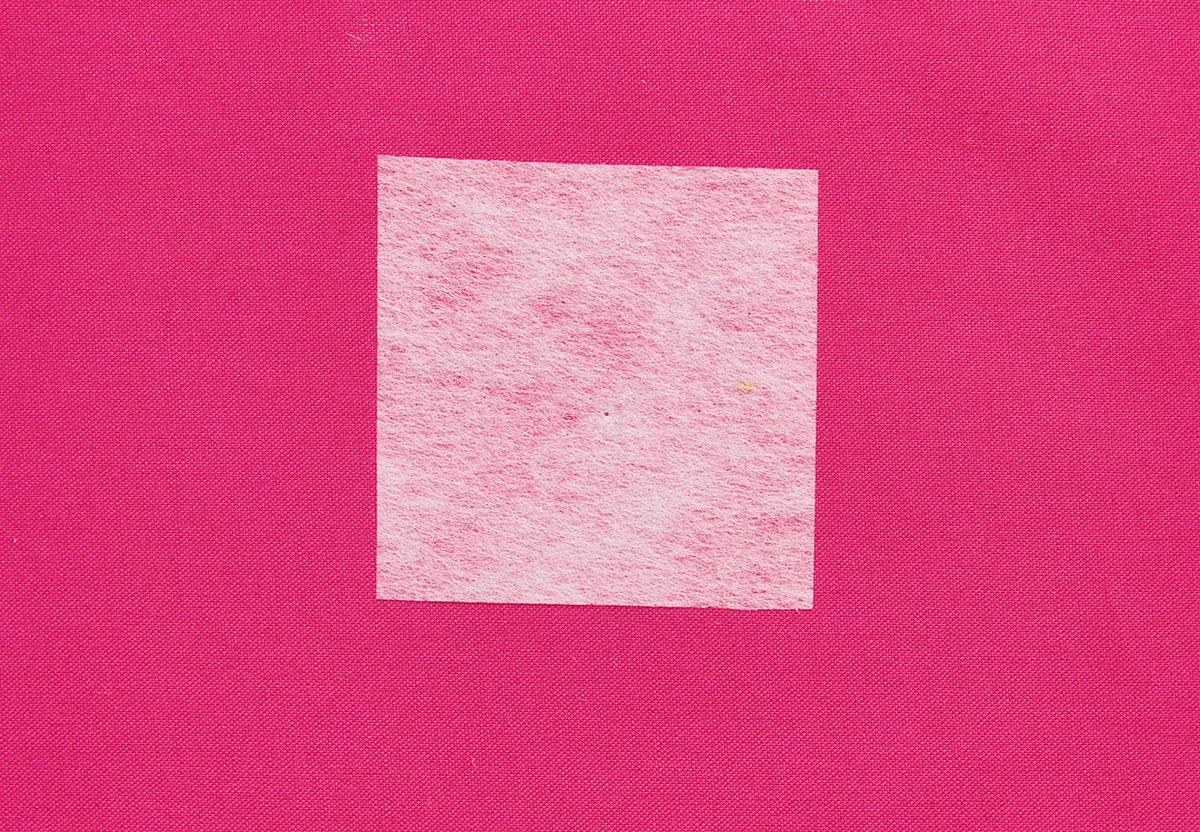
Iron-on interfacing
Iron-on or fusible interfacing is the easiest interfacing to use as it’s pressed to the wrong side of the fabric so will stay in place whilst you’re working with it. You can use it for most fabrics and finished items and it’s widely available in a choice of weights.
It can be bought in cut pieces or by the metre. Keep a supply of the different weights so you can add body to your sewing whenever you need to.
Sew-in interfacing
Sew-in or non-fusible interfacing has more specific uses. It’s ideal for really textured fabrics where the glue won’t stick. Fabrics like velvet and fur are best used with sew-in so you don’t flatten the nap.
The same applies to heat sensitive fabrics such as vinyls which could melt when ironed. It’s also ideal for very open weave fabrics like lace or net where the glue may come through to the right side.
Woven and non-woven interfacing
Non-woven interfacing is the most economical as it’s made by bonding fibres together so has no grain. This means you can cut it, stick it or sew it on in any direction without needing to check and match grains.
Woven interfacing has a grain so you need to cut it in the same direction as the fabric. It works well with really fine fabrics such as silk as it drapes well.
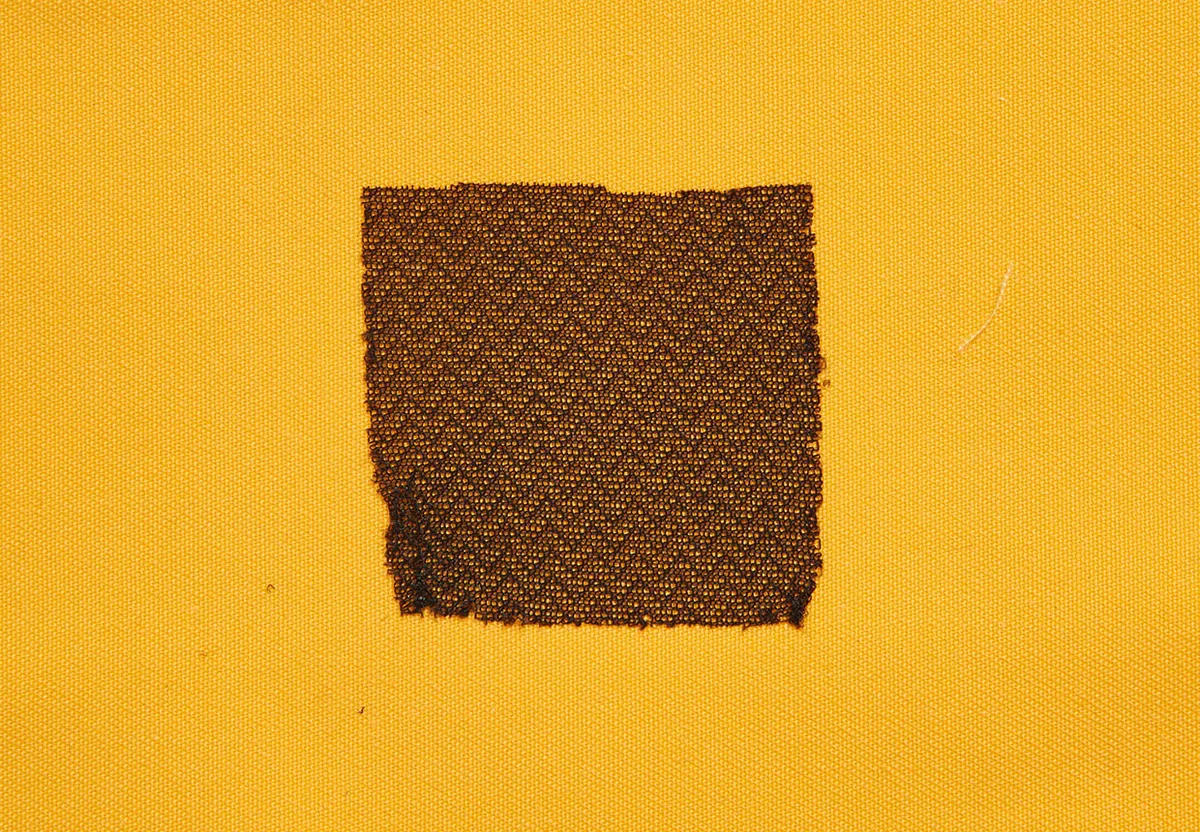
Knit interfacing
Knit interfacing is made by knitting the fibres together so it has a little bounce in it. It’s best for using with jersey and other stretch fabrics where a little support is needed but must stretch with the garment. It’s available in black or white so it doesn’t show up through the thinner jersey light or dark fabrics.
It’s an iron on interfacing but quite thin – remember you're pressing cloth so you don’t risk melting it.
Fusible web
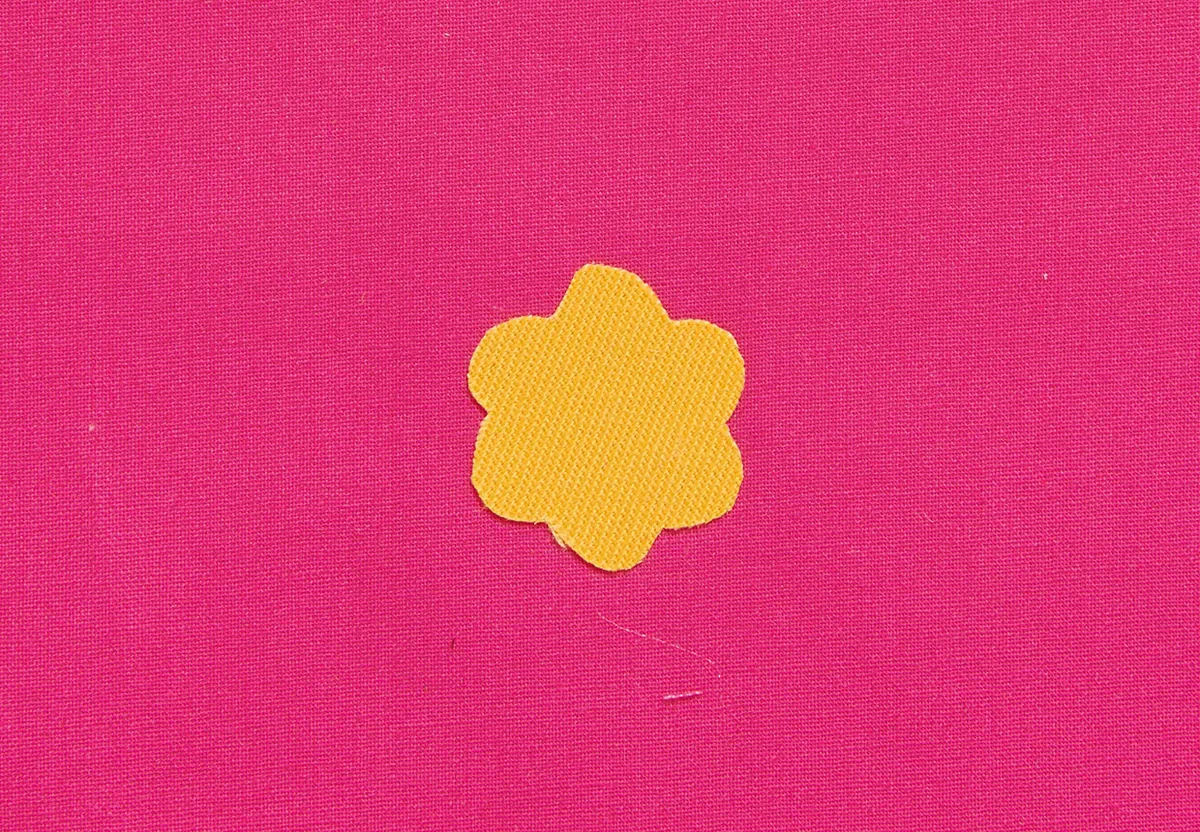
Commonly known as Bondaweb – one of its trade names – this is an interfacing which works like double sided tape and is perfect for hand or machine appliqué.
It has a paper backing which you can draw the shape on, then press to your appliqué fabric. You then remove the paper to press the shape onto your background fabric. For a more permanent fix you can stitch it on by hand or machine.
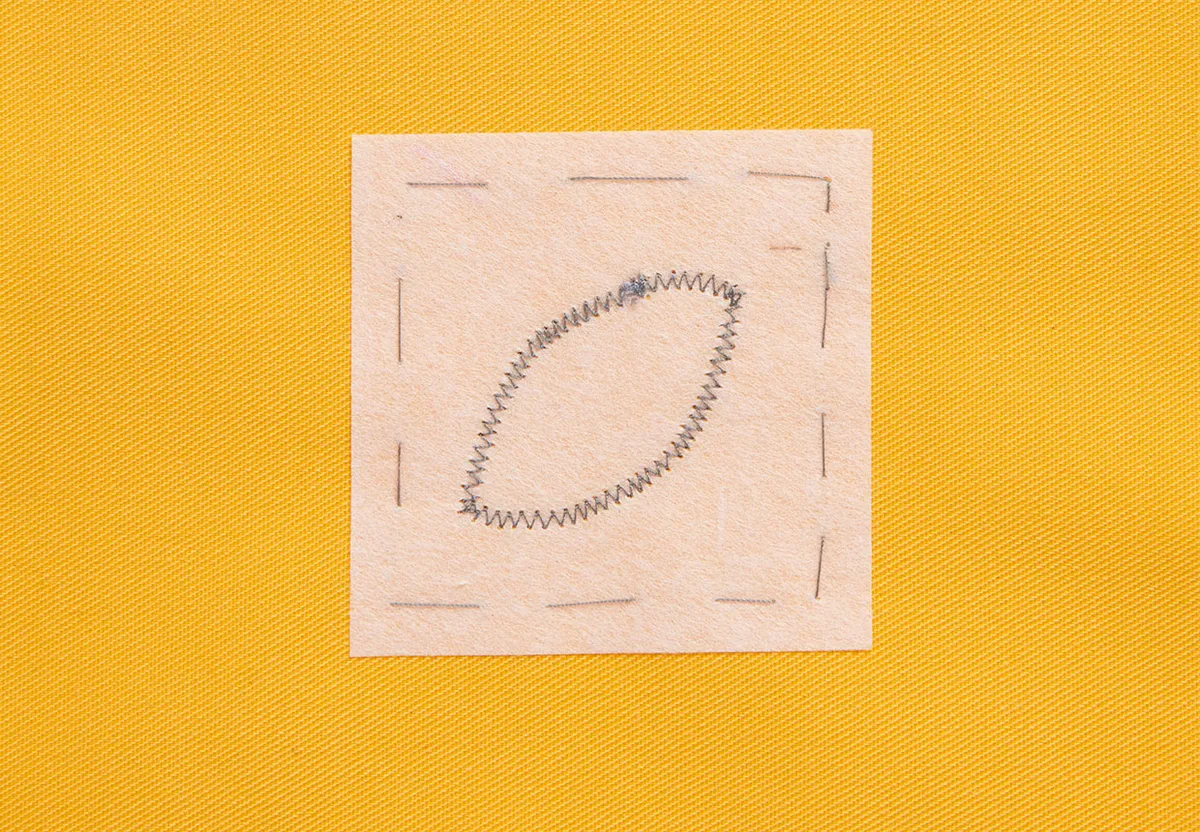
Stabilisers
Stabilisers are applied to the wrong side of your fabric to stabilise it whilst the stitching is worked through from the right side. They are particularly useful for machine embroidery and appliqué and are available in three different types: tear away, stitch and cut away or wash away.
Choose one which suits the method you are stitching – sometimes it’s better to leave the stabiliser and others to remove it.
What interfacing weight should I use?
Always buy an interfacing that feels the same weight as the fabric you will be attaching it to, or just a little bit lighter. Iron-on interfacing will become stiffer once pressed as the glue dries.
Light interfacing
Use for small areas of garments like collars, pockets and flaps. Light interfacing is best for delicate fabrics such as silk, voile, viscose and acetate.
Medium interfacing
Use medium interfacing for dresses, waistcoats, jackets, collars, pockets and flaps. Use medium interfacing for lightweight fabrics such as pure cotton, cotton blends, rayon challis and chambray.
Heavy interfacing
Use for coats, jackets and bag making. Use heavy interfacing with wools, tweed, heavy cotton and denim.
Ultra-heavy interfacing
Use for bag bases, pelmets and caps. Use ultra-heavy interfacing with thick felt fabrics or canvas.
Do you know your cotton from your crêpe?
Come across a new fabric or unsure what's best for a project? Check out our guide to different types of fabric.

Read more

