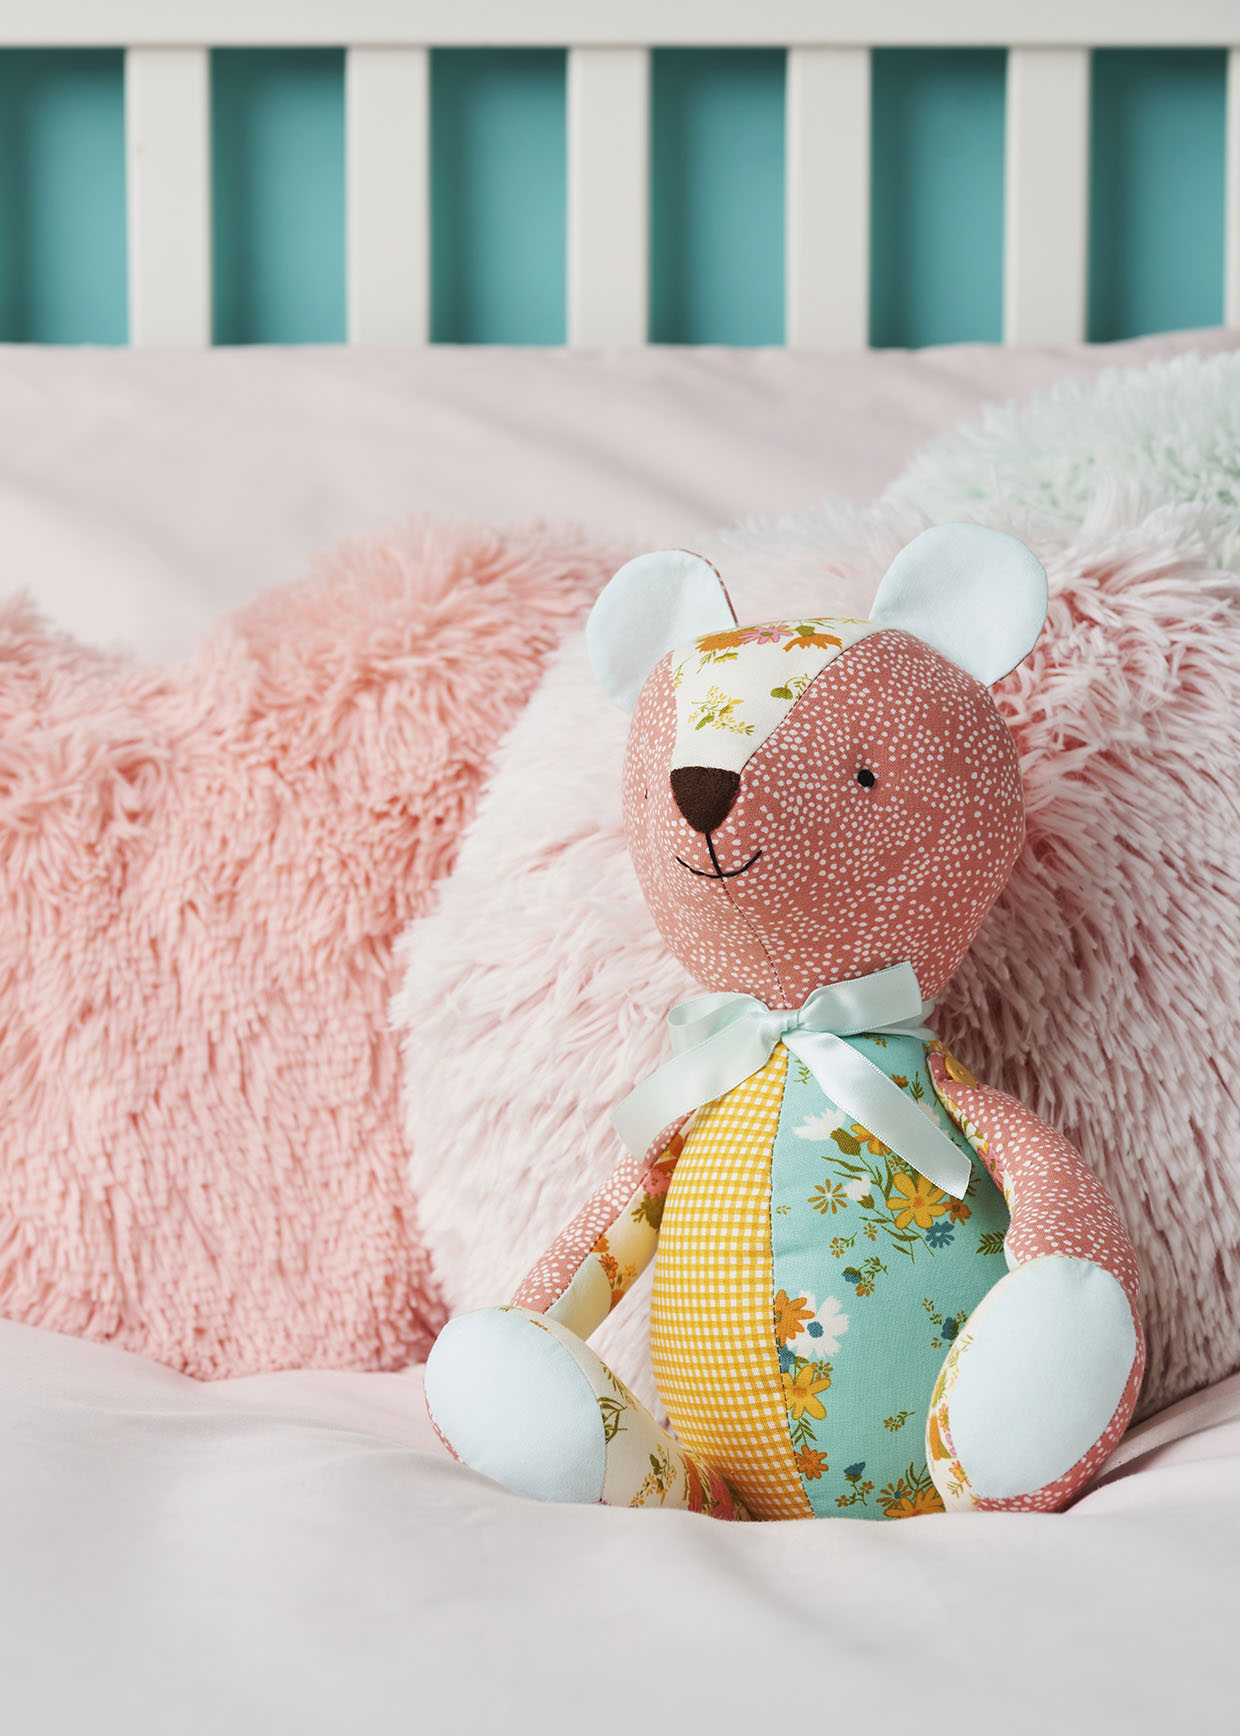
Cutting out your memory bear
Step 1
Download and print the memory bear sewing pattern templates.
Step 2
From fabric A, cut:
- Head Gusset: one
- Inner Arm: one pair
- Inner Leg: one pair
Step 3
From fabric B, cut:
- Outer Arm: one pair
- Outer Leg: one pair
- Outer Ear: one pair
- Head Side: one pair
- Head Back: one pair
Step 4
From fabric C, cut:
Step 5
From fabric D, cut:
Step 6
From fabric E, cut:
- Inner Ear: one pair
- Paw Pad: one pair
- Foot Pad: one pair
Step 7
From the dark brown felt, cut:
Looking for more cute toys to make?
If you enjoy making toys, you might also want to take a look at Lucy’s teddy bear pattern, lamb sewing pattern and reindeer pattern.
Making your memory bear's ears and head
Step 1
Pin a pair of Inner and Outer Ear pieces right sides (RS) together. Sew. Clip notches, trim the seams and turn RS out.
Repeat to make the second ear. Press both and set aside.
Step 2
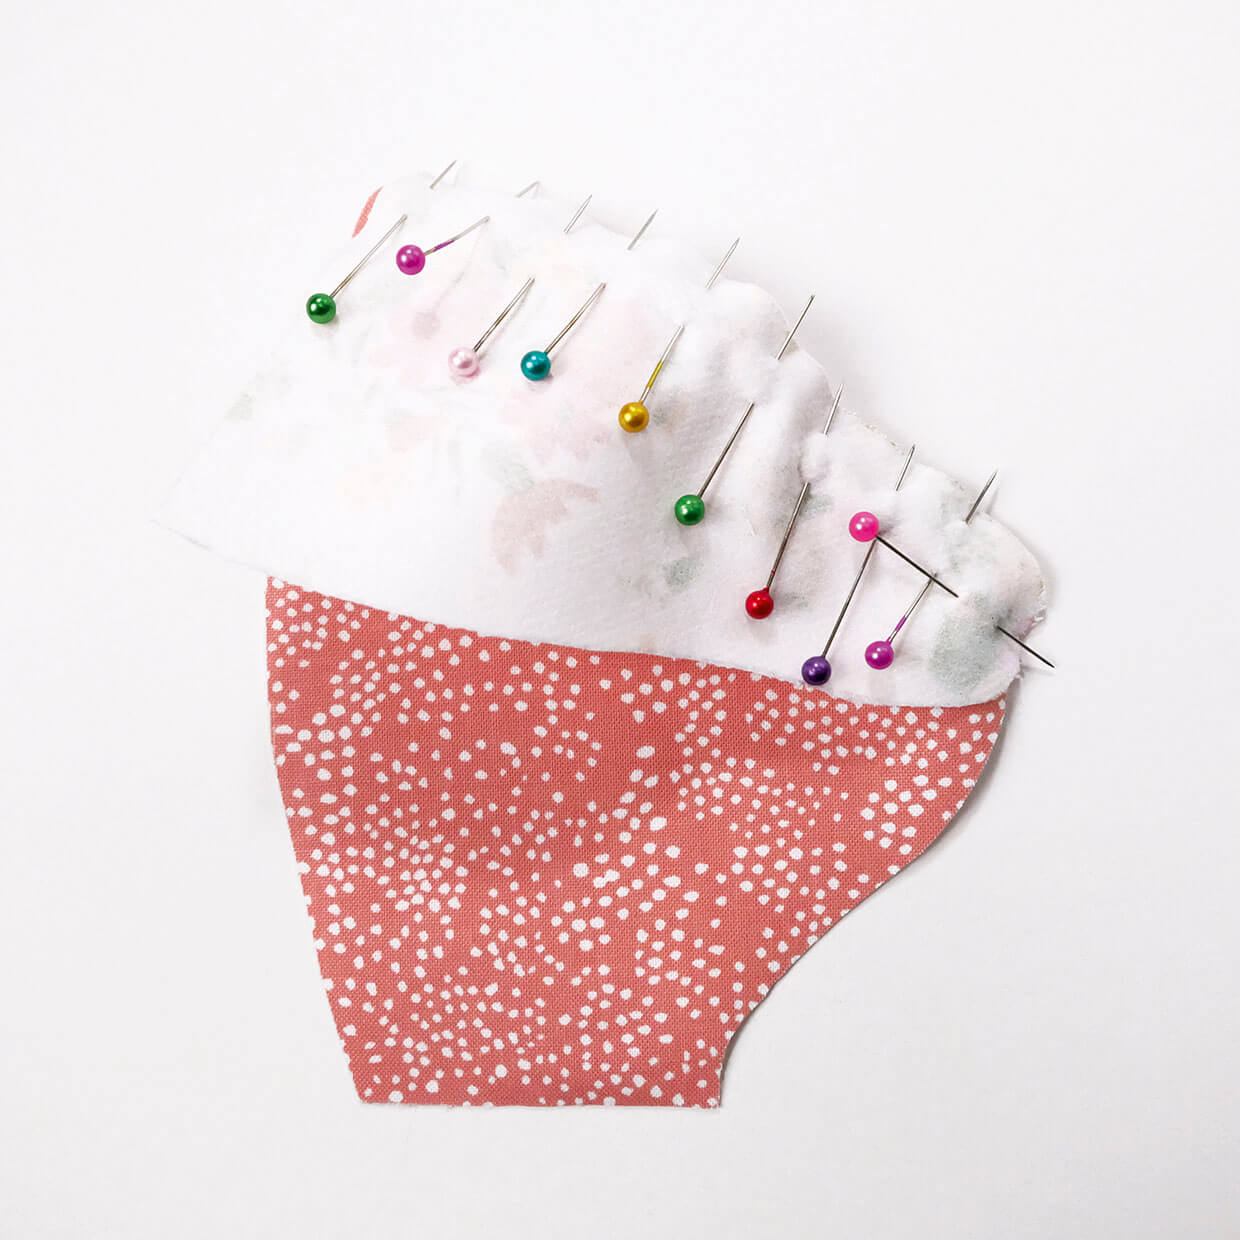
Pin the Head Gusset RS together with the Head Side. Match pieces at point A, and pin to point B at the front of the Head Gusset.
Step 3
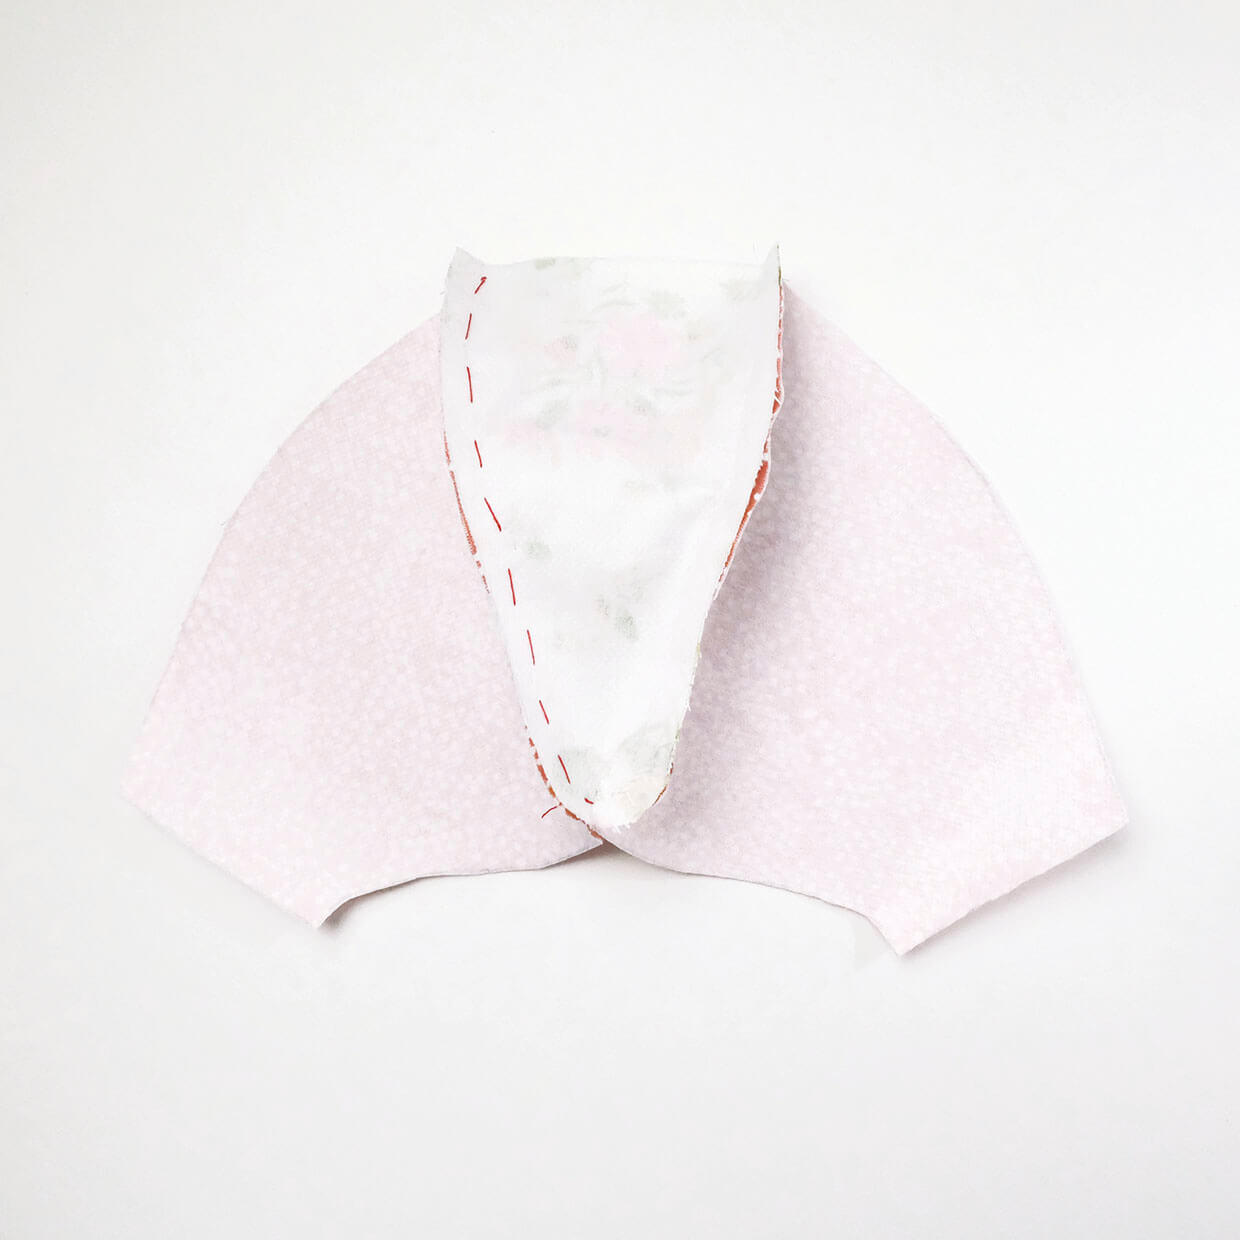
Take the opposite Head Side piece and sew it to the opposite side of the Head Gusset piece, from A to B, meeting the first seam on the other side. Clip the seams.
Step 4
Pin and sew down the front of the head, from point B to point C, RS together.
Step 5
Pin and sew the Head Back pieces down their centres, RS together, from A to D.
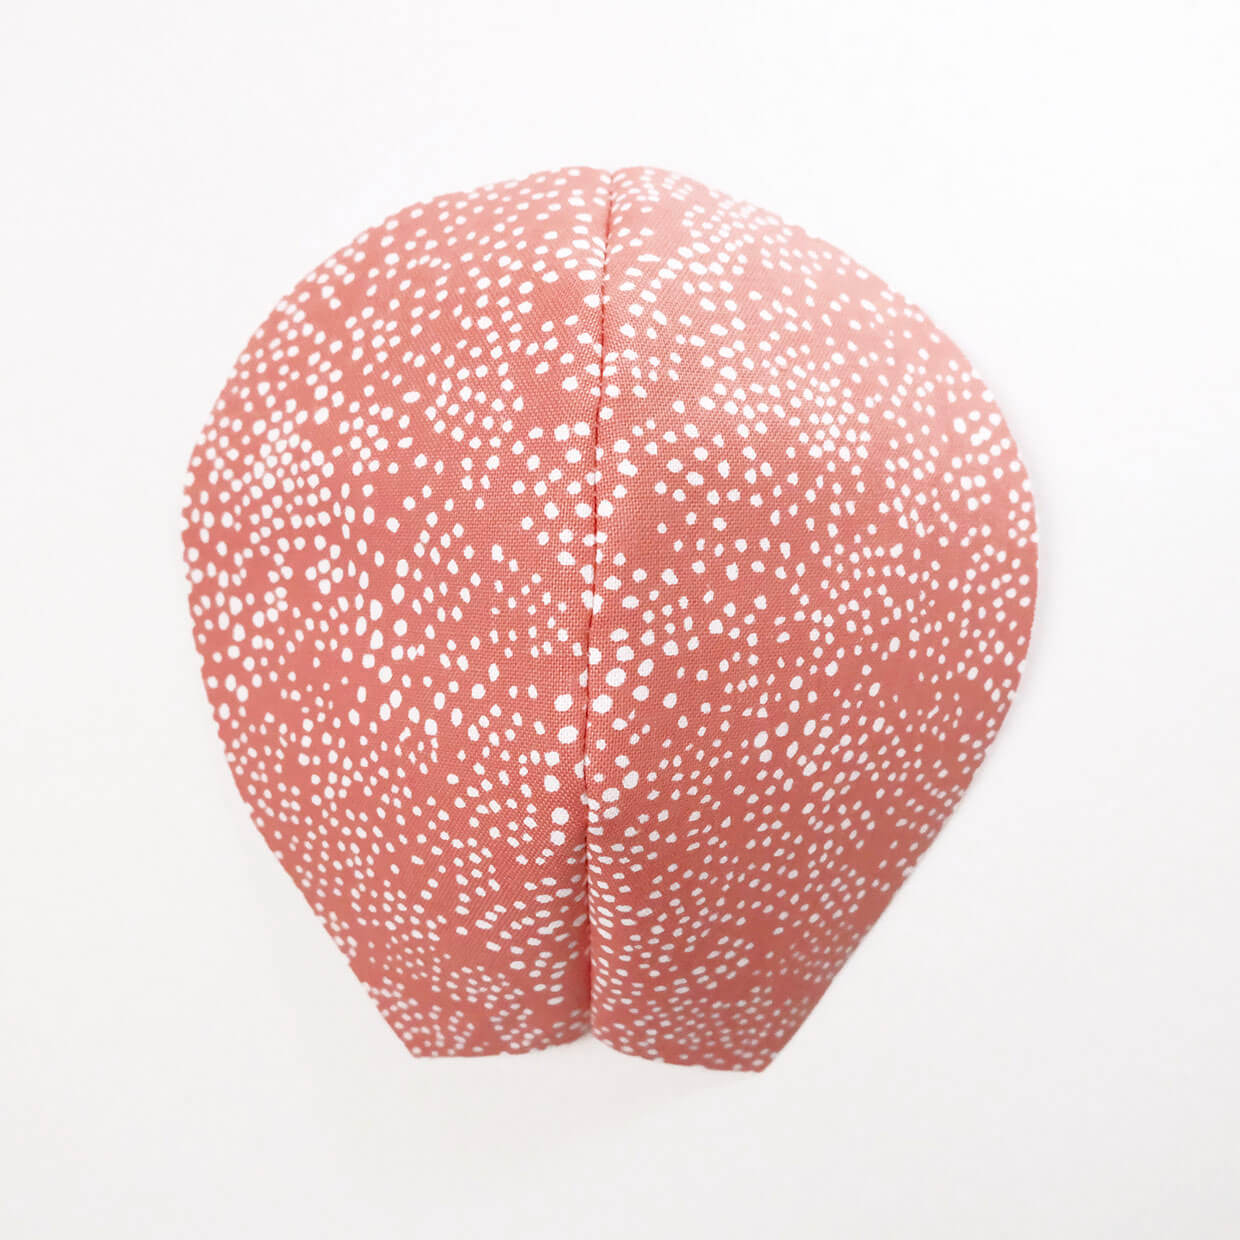
Step 6
Clip into the curve. Then pin this piece RS together to the front of the head, leaving the neck end open.
Match the centre seam of the back of the head with the middle point of the Head Gusset.
Insert an ear on each side of the head, sandwiched between the layers.
Position each one so about one third is above the head gusset seam and two thirds below it. Sew.
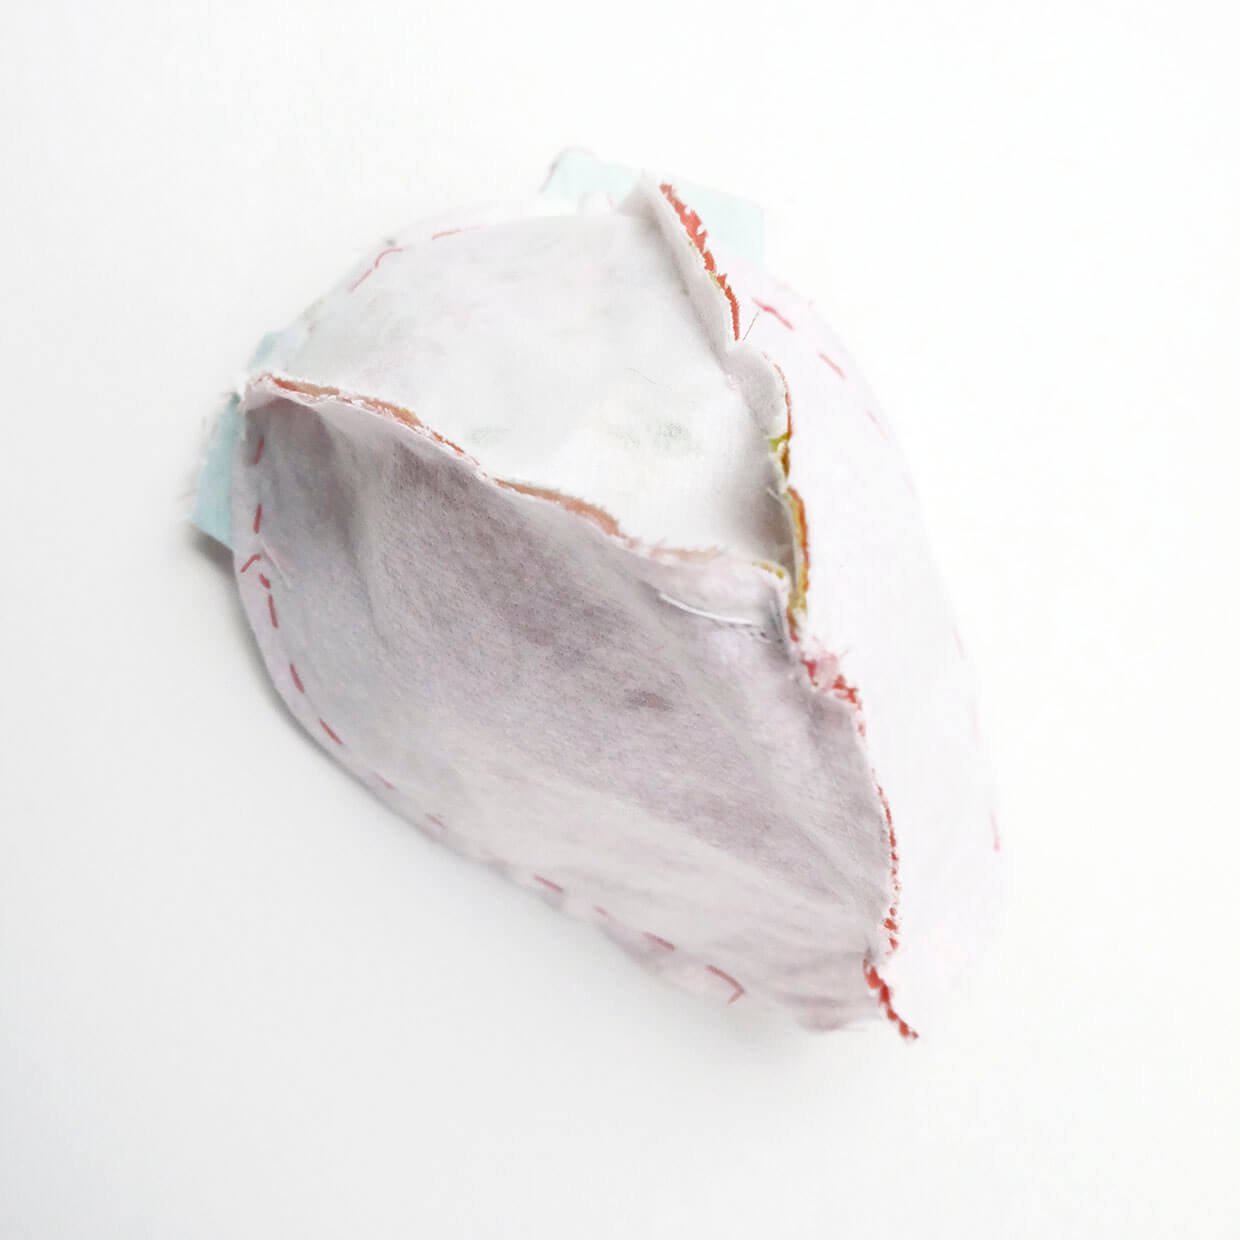
Step 7
Turn the head RS out and press.
Step 8
Pin and sew a pair of Body pieces down the centre seam, from point E to F, to form the front of the body.
Repeat to sew the second pair of Body pieces, this time leaving a turning gap, to form the back of the body.
Pin and sew these two new pieces RS together.
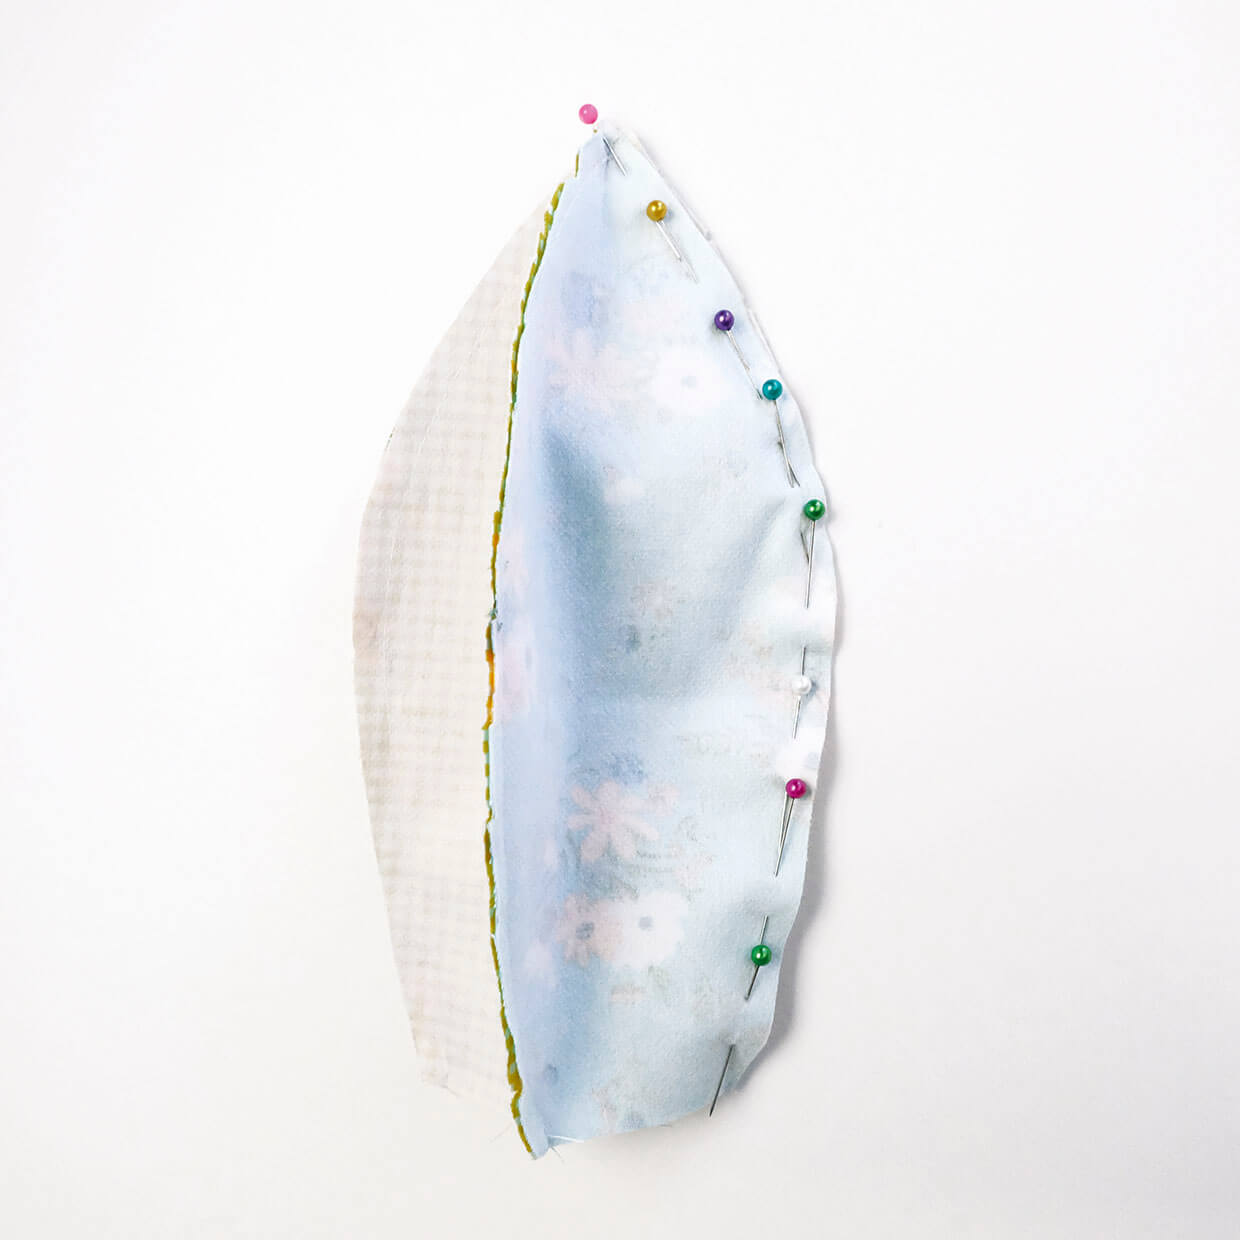
Step 9
Keeping the body turned wrong side (WS) out, push the turned out head top first into the body cavity, matching the seam at the front of the neck to the front centre seam of the body.
Pin all around and tack.
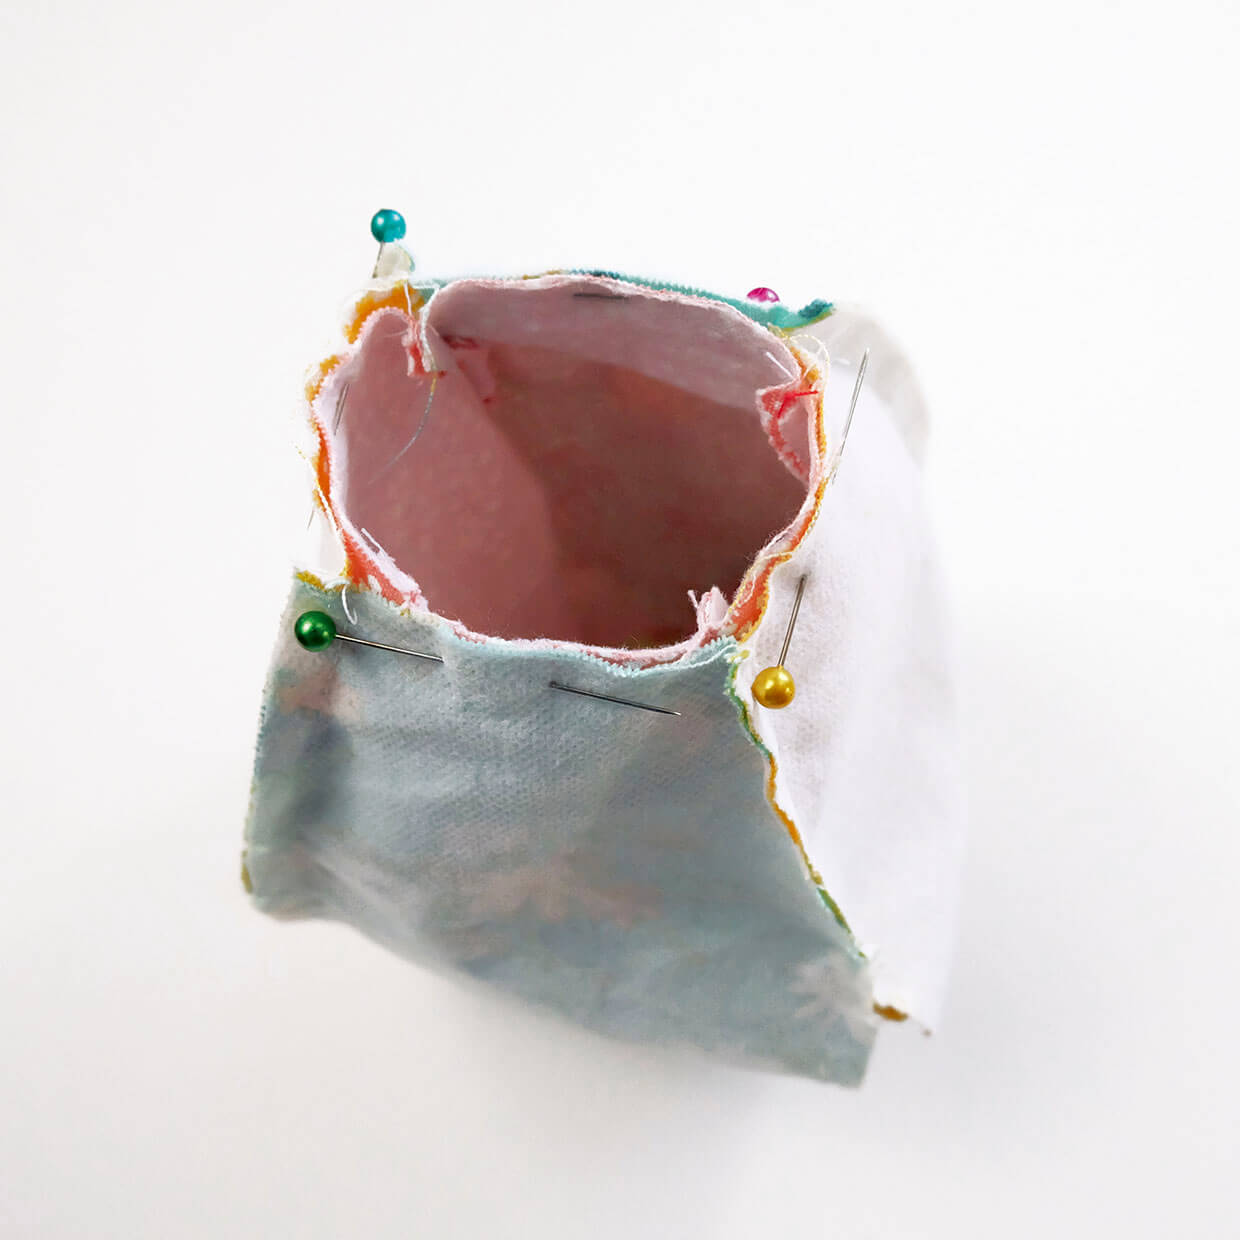
Step 10
If easier, sew by hand, using a very small backstitch. Sew around two or three times to make the head secure.
Turn the body RS out through the turning gap at the back of the body.
Press and stuff, starting at the nose and gradually filling the head, then down through the neck and body.
Stuff firmly, pushing out the seams.
Ladder stitch the opening closed.
Making the arms and legs
Step 1
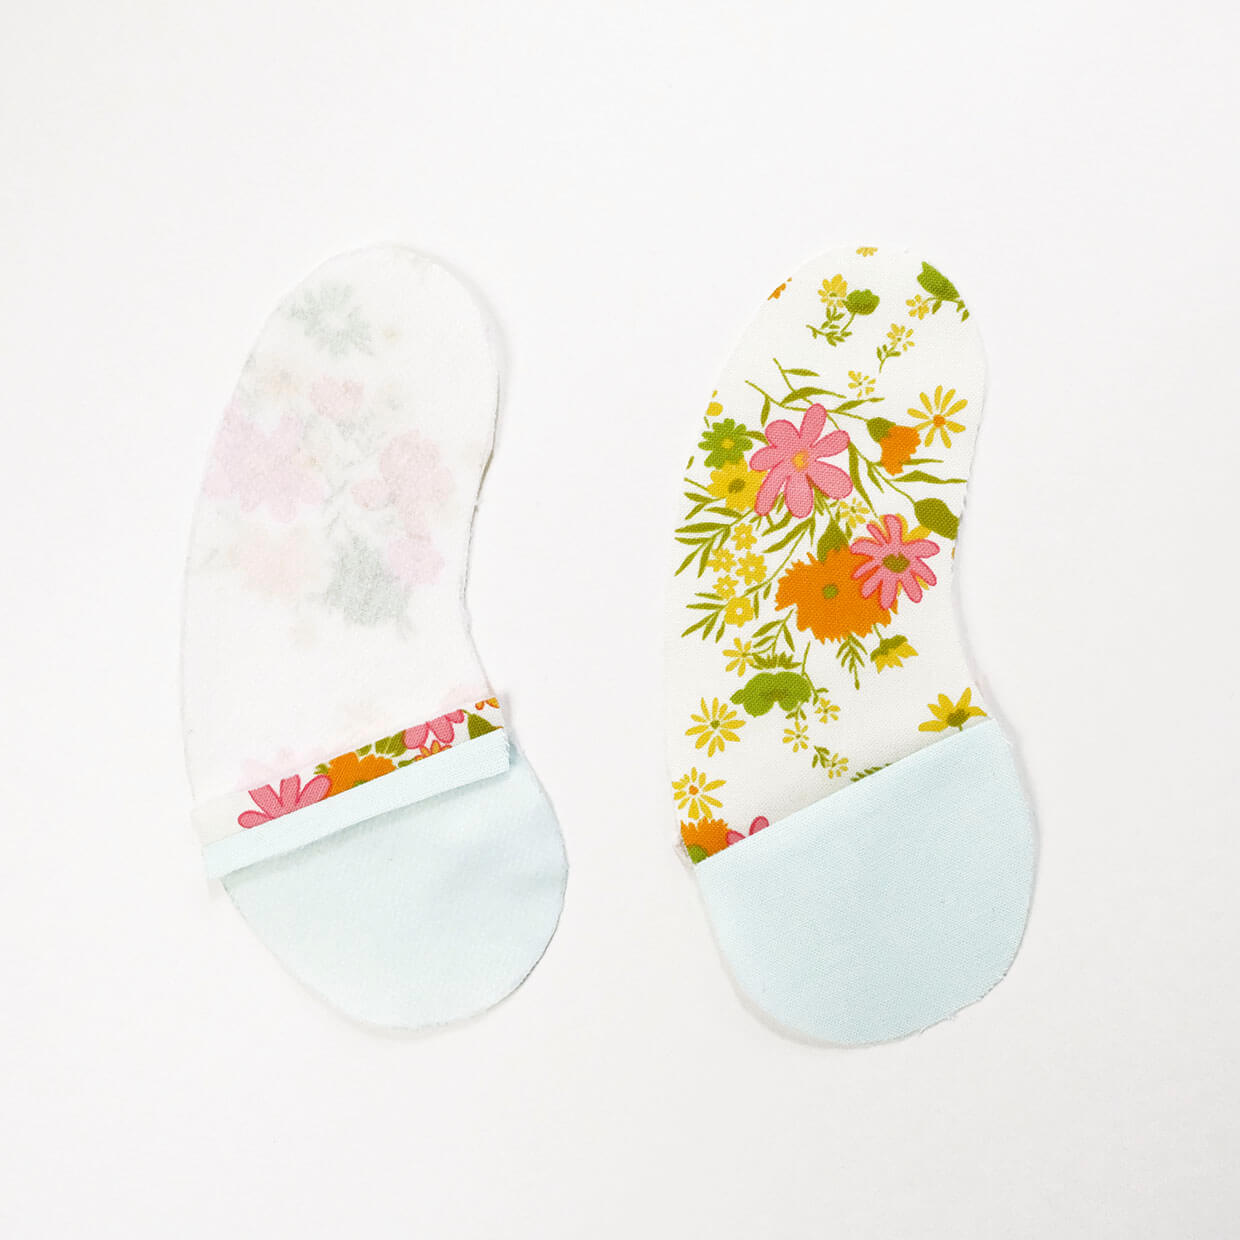
RS together, pin and sew a Paw Pad to an Inner Arm. Press seam open.
Step 2
Sew this piece RS together with an Outer Arm, leaving a gap in the side for turning. Turn RS out, press.
Stuff firmly into the paws and most of the arm, leaving slightly lighter stuffing towards the top.
Ladder stitch the opening closed. Repeat for the other arm.
Step 3
Pin a pair of Inner and Outer Leg pieces RS together.
Tack and sew down to the Foot Pad mark on each side. Leave a gap in the outer side for turning.
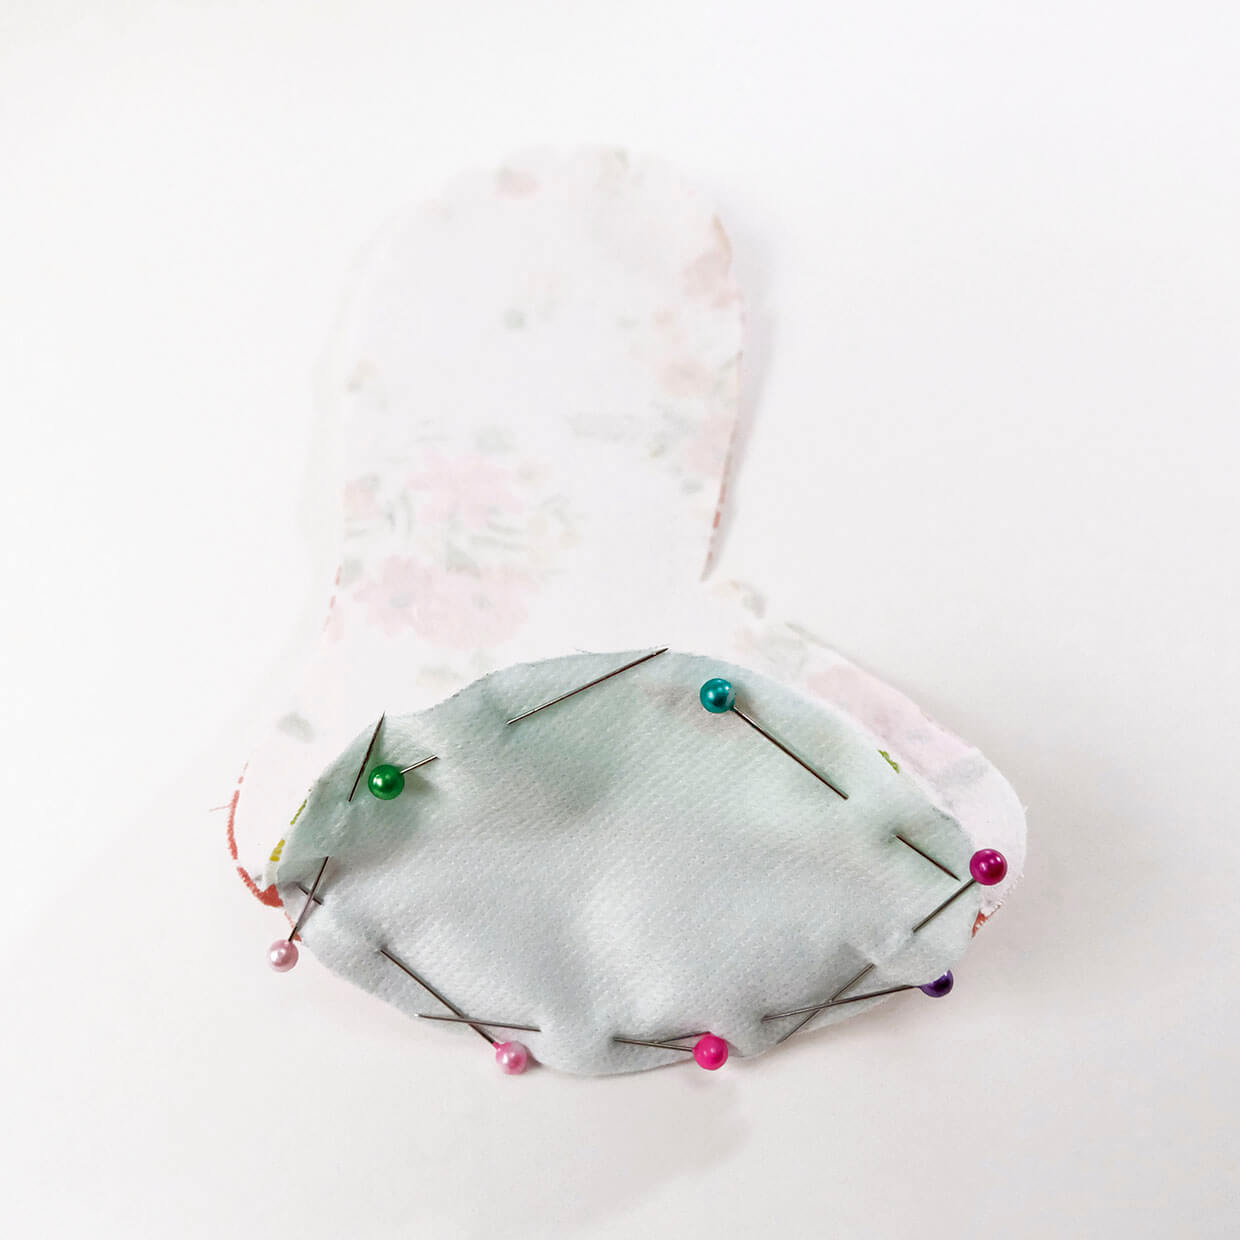
Place one Foot Pad piece at the bottom of the leg, with the RS facing in.
Line up the centre marks of the Foot Pad with the seams of the leg.
Pin at those two points first, then add more pins along the sides.
Step 4
Tack, then sew slowly, from the top side, using a small stitch length.
Sew one side up to the seam, then pivot and sew down the other side.
Repeat for the other Leg/Foot Pad.
Step 5
Turn the legs RS out, press and stuff. Stuff more lightly towards the top of the leg, where it will be attached to the body.
Ladder stitch the openings closed.
Attaching your memory bear's legs and arms
Step 1
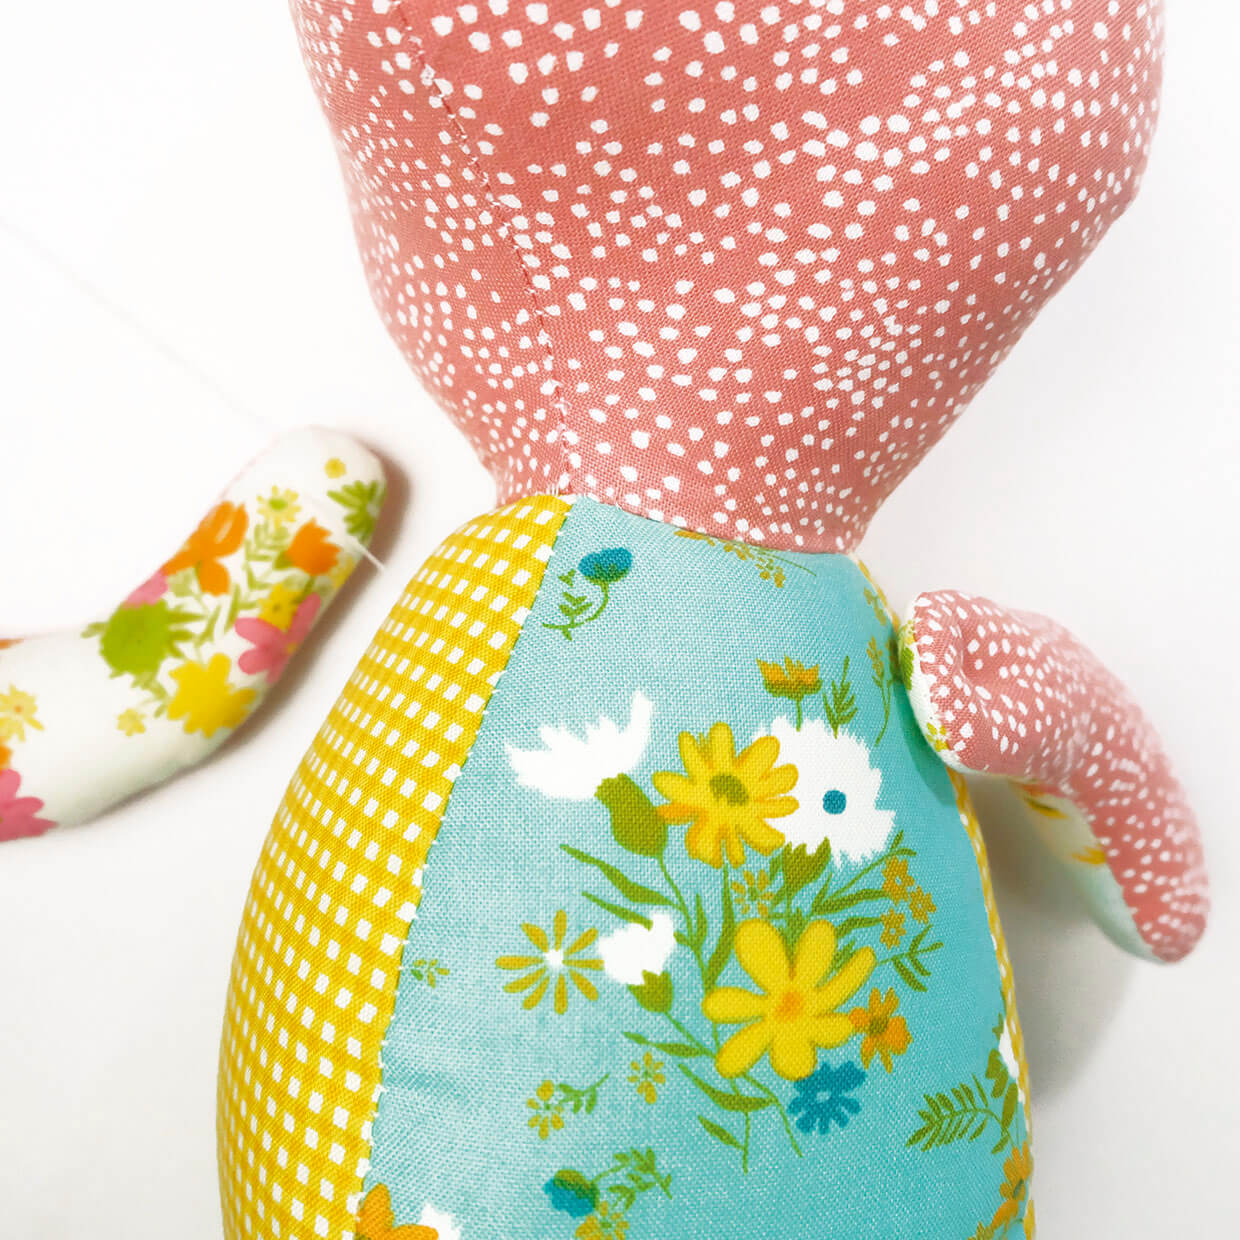
Pin the arms 10mm down from the neck seam and midway across the body side seam.
Take a very long piece of double or extra strong thread on a long doll needle and sew into the marked dot on one side, leaving a long tail that will be used to tie off the thread.
Insert the needle right through to the other side of the body, emerging at the opposite marked dot.
Return the needle back through the body and into one arm.
Sew from the inside to the outside of this arm and back through the body again, pulling the thread taut.
Step 2
Sew through the second arm, as before, and back through the body again.
Keep pulling the thread taut to ensure strength in the joint. Sew back and forth several times.
Step 3
Under the first arm, tie a couple of knots in the thread ends, then rethread the needle and take the threads a distance away before snipping off.
Step 4
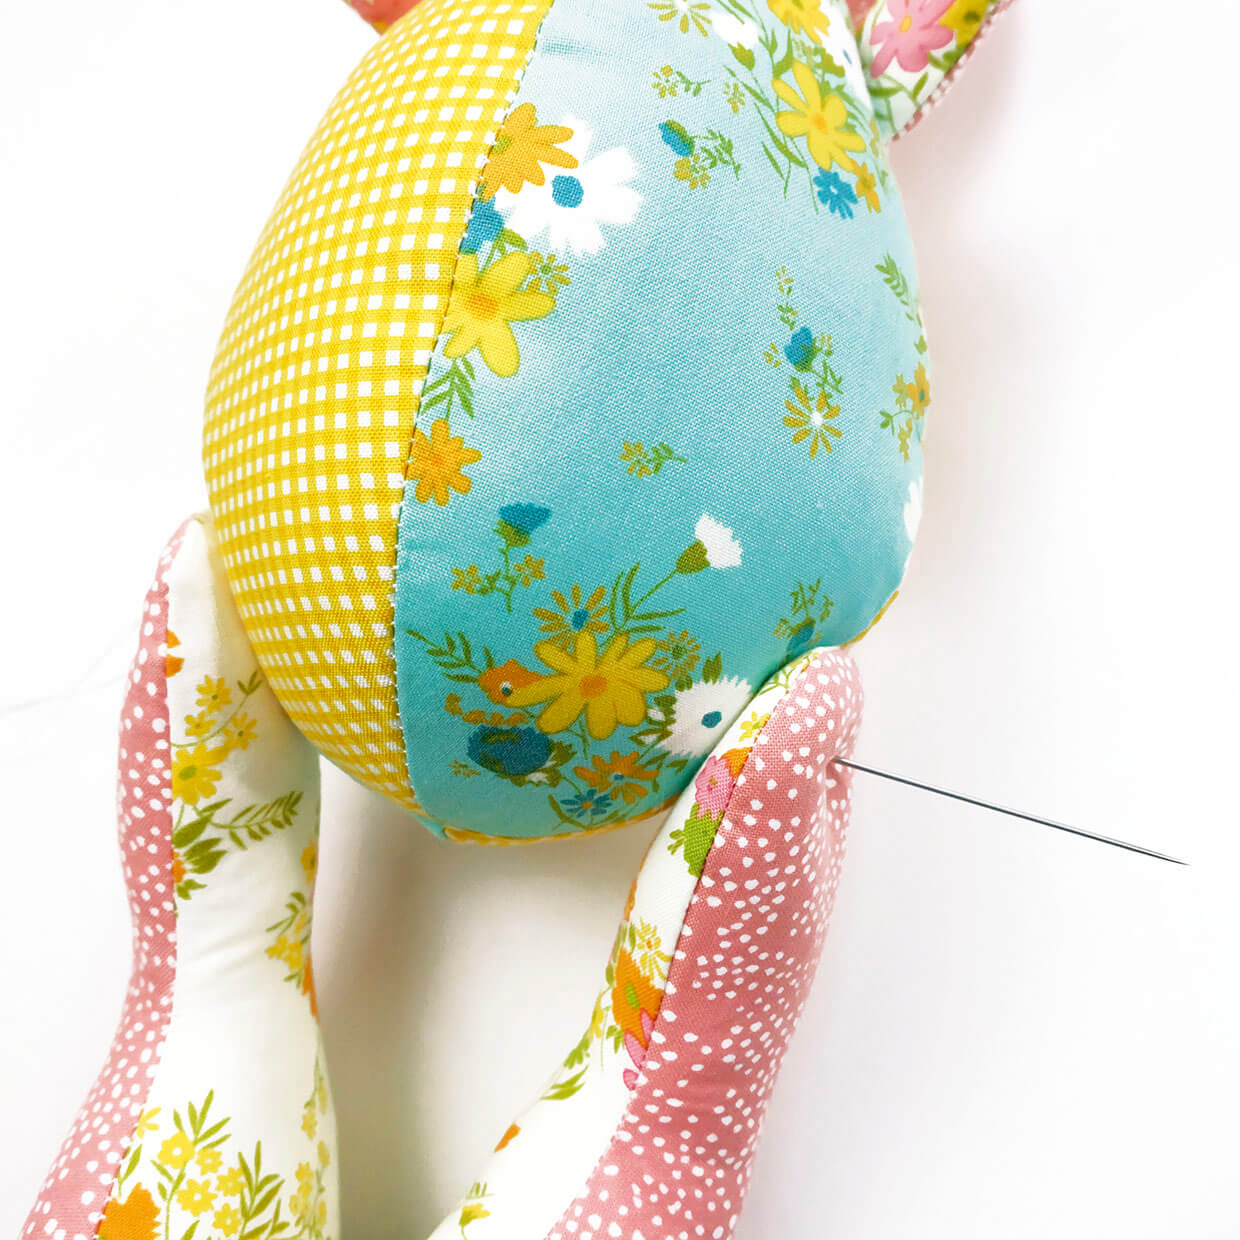
Repeat the process in steps one–three to attach both legs to the body.
Mark the dot around 55mm above the very bottom point of the body and on the side body seam.
Step 5
Using matching thread, sew a decorative button over the stitches on the outside of each arm and each leg.
Stitching your bear's eyes, nose and mouth
Step 1
Mark the position of the eyes using pins or an erasable marker. Make a knot in the end of four strands of black stranded cotton.
Insert your doll needle into the fabric behind the ear on the first side you are sewing.
Bring the needle out at the eye and satin stitch a small eye.
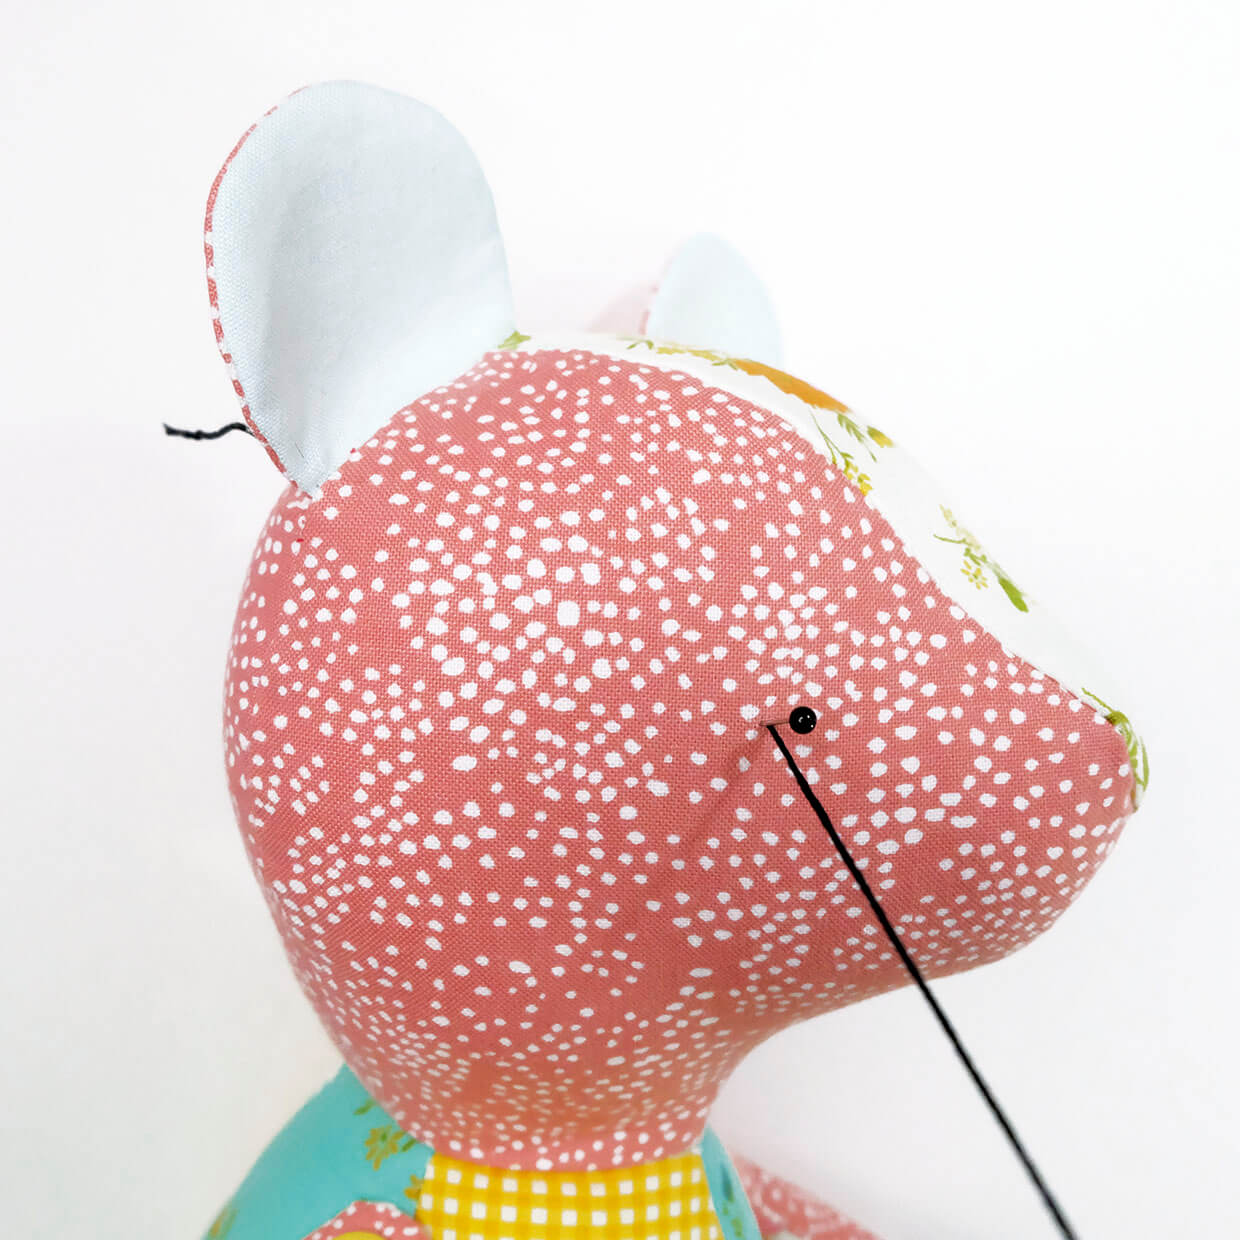
Step 2
Take the needle straight over to the second eye position and stitch the second eye.
Fasten off with a tiny stitch or two, then take the needle away and snip off the thread behind the second ear.
Step 3
Mark out the mouth using pins, or draw using an erasable marker.
Use four strands of black stranded cotton to make a single vertical long stitch down the centre seam of the head, then backstitch the shape of the curved mouth.
Fasten off back up near the nose.
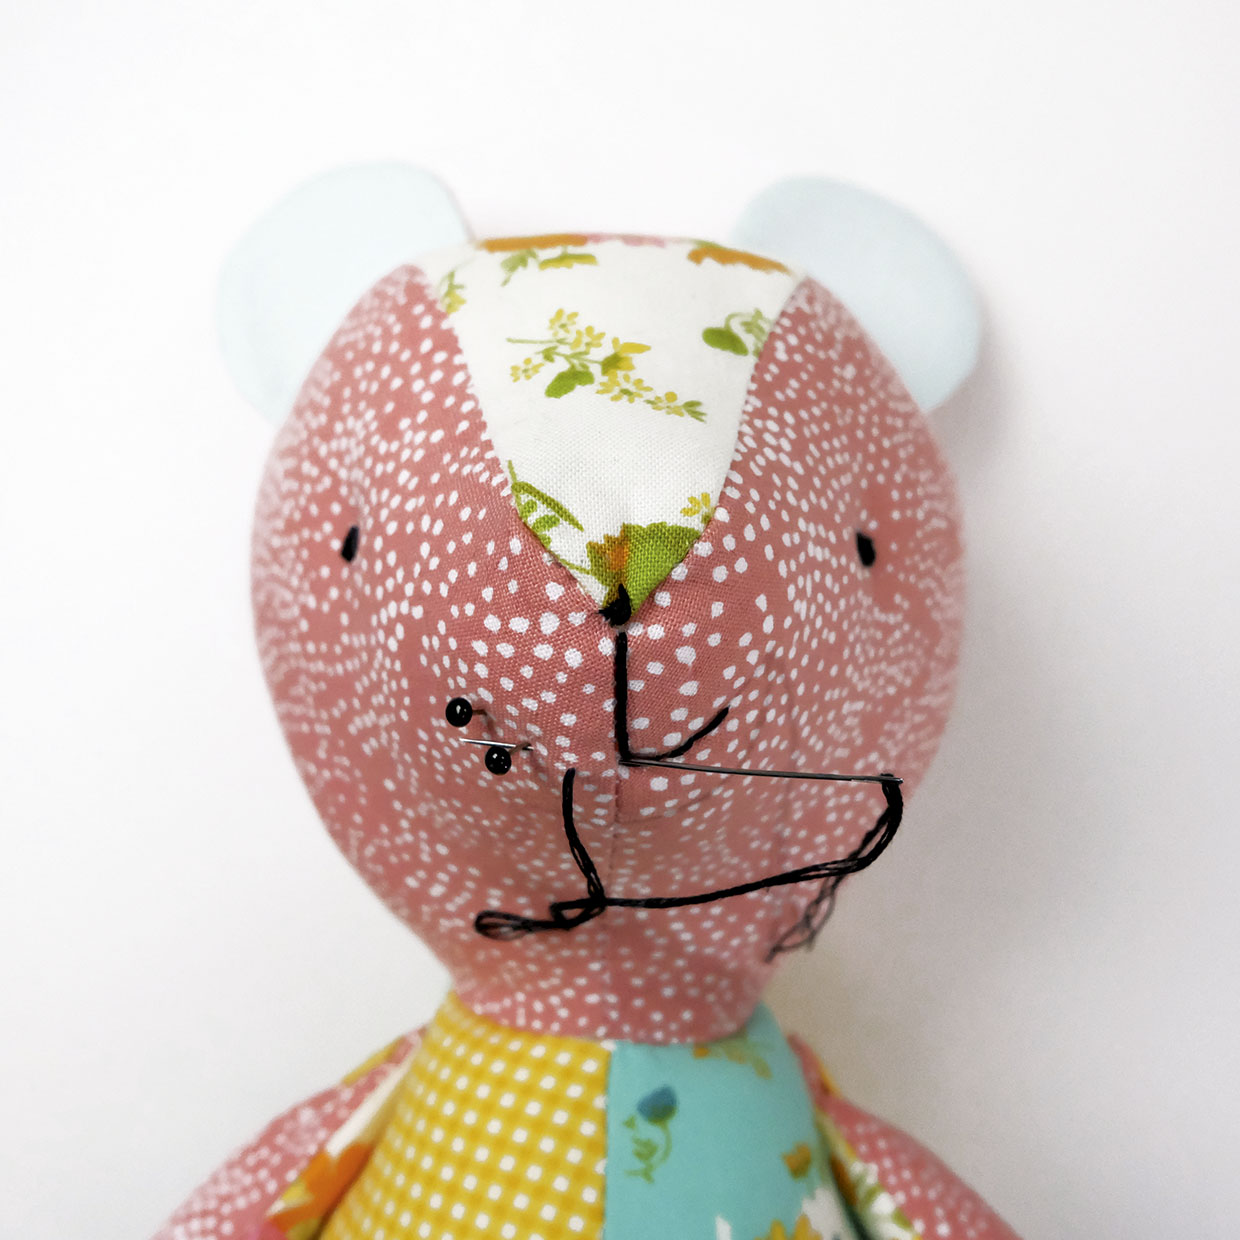
Step 4
Pin the Nose piece onto the triangle formed by the seams at the front of the face, covering the fastening on and off stitches of the mouth.
Use tiny overstitches to sew in place.
Step 5
Tie a favourite ribbon around the bear’s neck.


