All products were chosen independently by our editorial team. This review contains affiliate links and we may receive a commission for purchases made. Please read our affiliates FAQ page to find out more.

Set the scene with our easy acrylic landscape painting tutorial

Learn simple techniques that will allow you to paint beautiful acrylic landscapes at home

Try our magazines – get 6 issues from just £9.99!

Published: February 4, 2023 at 8:00 am

Landscapes are a satisfying subject for artists of all levels. They vary enormously from coastal scenes to mountains to deserts – and the same scene can look completely different depending on the time of day or the season. A landscape can look different every time you paint it.

You can paint a landscape en plein air (outdoors) or from a source photo. If you’re fortunate enough to have a great view, you can also paint what’s outside your window. However you prefer to paint, many of the basic techniques and skills remain the same.

Painting landscapes is a good way to hone your skills whether you’re a complete beginner or a seasoned artist. You can use it to improve your blending, gain a greater understanding of tone and colour, and even experiment with new painting styles such as palette knife painting.

Acrylic painting is incredibly versatile and can be used to produce a wide variety of effects. It can be applied thickly to resemble oil paints or thinned so that it behaves more like watercolour paint.

In this guide, we’ll share some landscape painting tips and show you how to create an acrylic landscape painting using a photo as a reference.

Acrylic landscape painting materials

For this landscape painting in acrylic, we’re going to keep things simple and not use too many supplies.

Winsor & Newton Galeria acrylic paint set

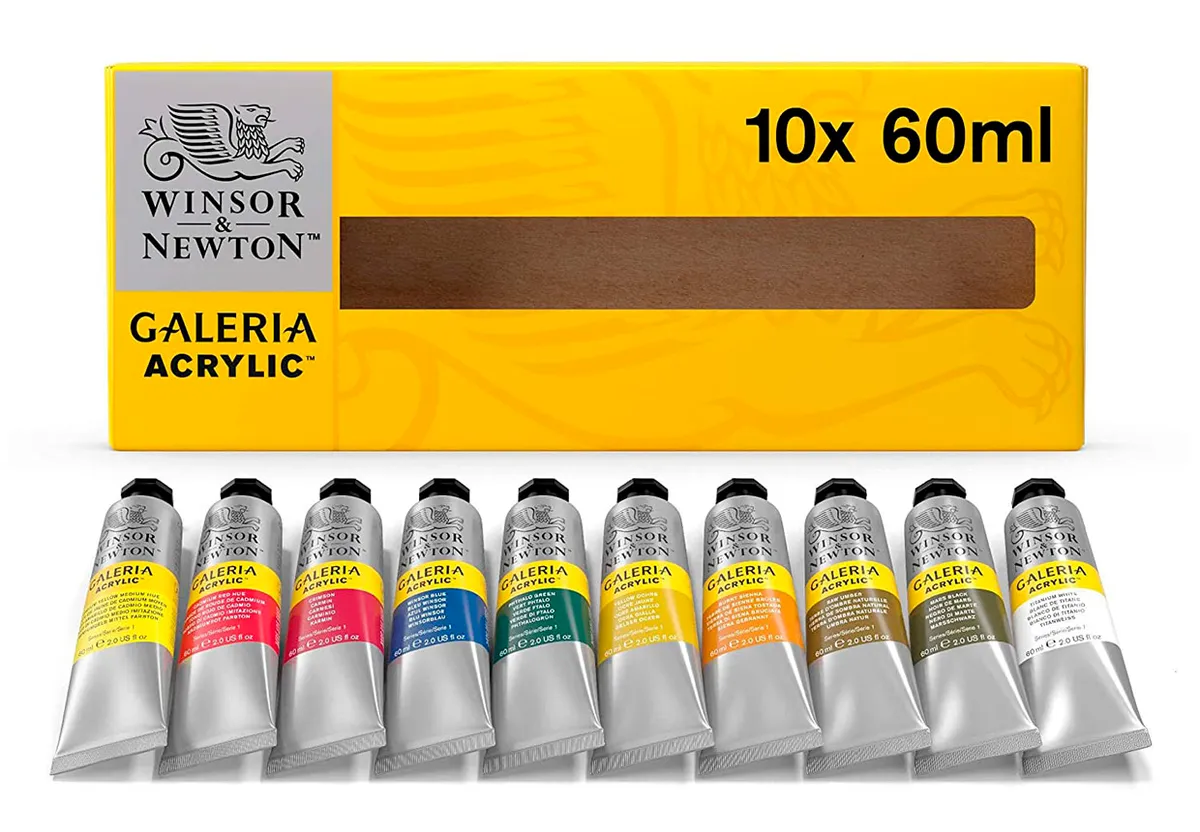
If you’re new to acrylic painting, it’s a good idea to buy a set of paints with a good range of colours. This Winsor & Newton set has all the shades you need to create beautiful landscape paintings.

Winsor & Newton is a brand with a great reputation for quality and its Galeria range provides excellent value for money. For experienced or professional artists, they also produce brilliant professional acrylic paints.

We have more recommendations in our pick of the best acrylic paint sets, so you can find the right ones for your needs.

If you’re not sure whether acrylics or oil paints are best for you, take a look at our acrylic vs oil paints guide to discover the pros and cons of both mediums.

Arteza canvas boards

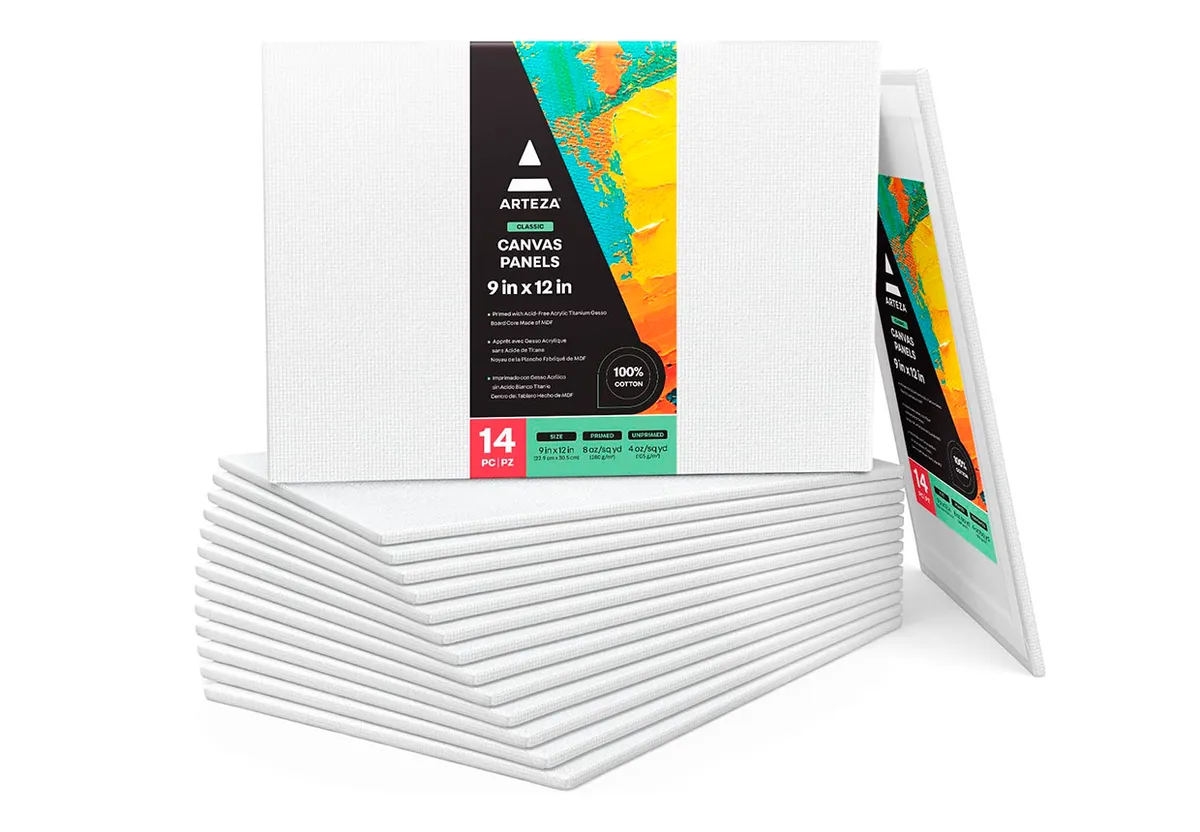
Before you start painting, you need a surface to work on! You can use a canvas for this project or canvas boards.

Canvas boards are a good option if you have limited storage space, as they’re flatter than traditional canvases and can often be bought in multi-packs.

Save time by choosing canvases that have already been primed (check the product description). This means that the canvases are ready to use straight away.

Daler Rowney Graduate paint brushes

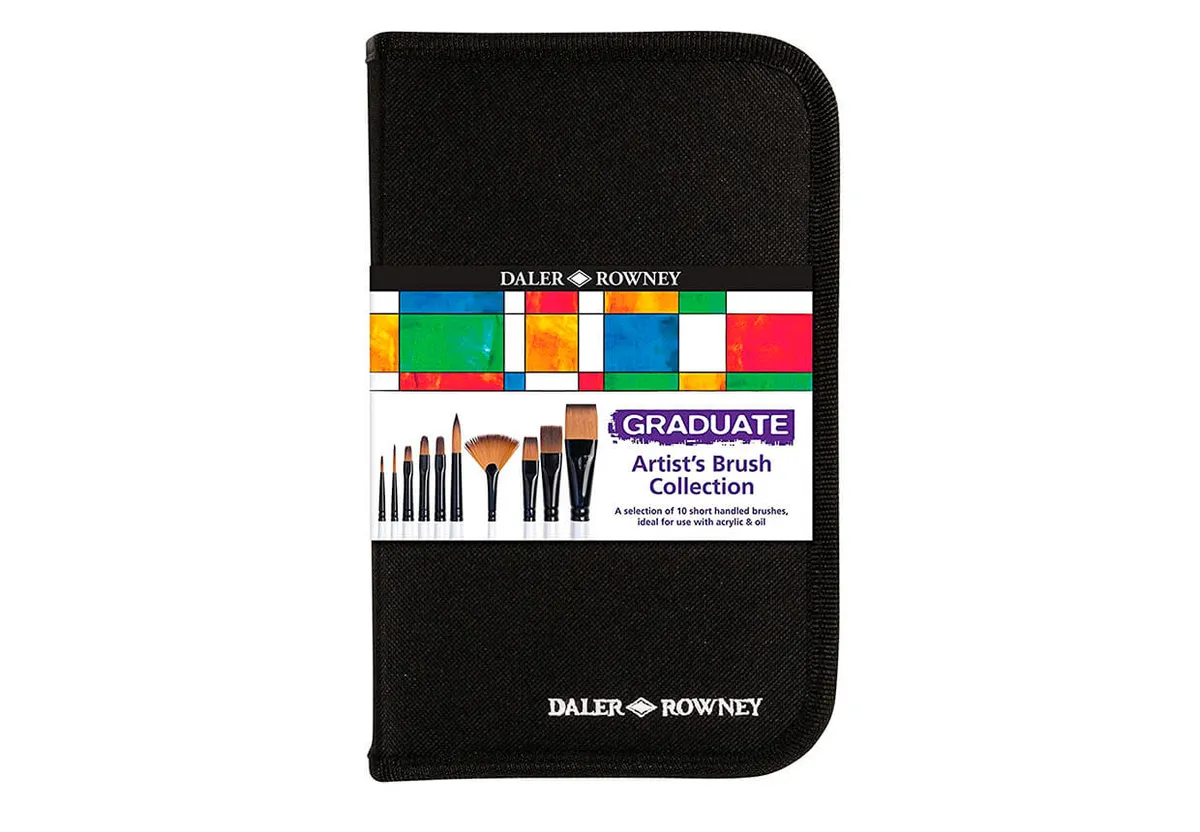
Synthetic brushes are perfect for acrylics because they’re both flexible and resilient. This set created by Daler Rowney contains a selection of different brush shapes, so you’ll be able to achieve a variety of textures in your work.

Keep wet palette (optional)

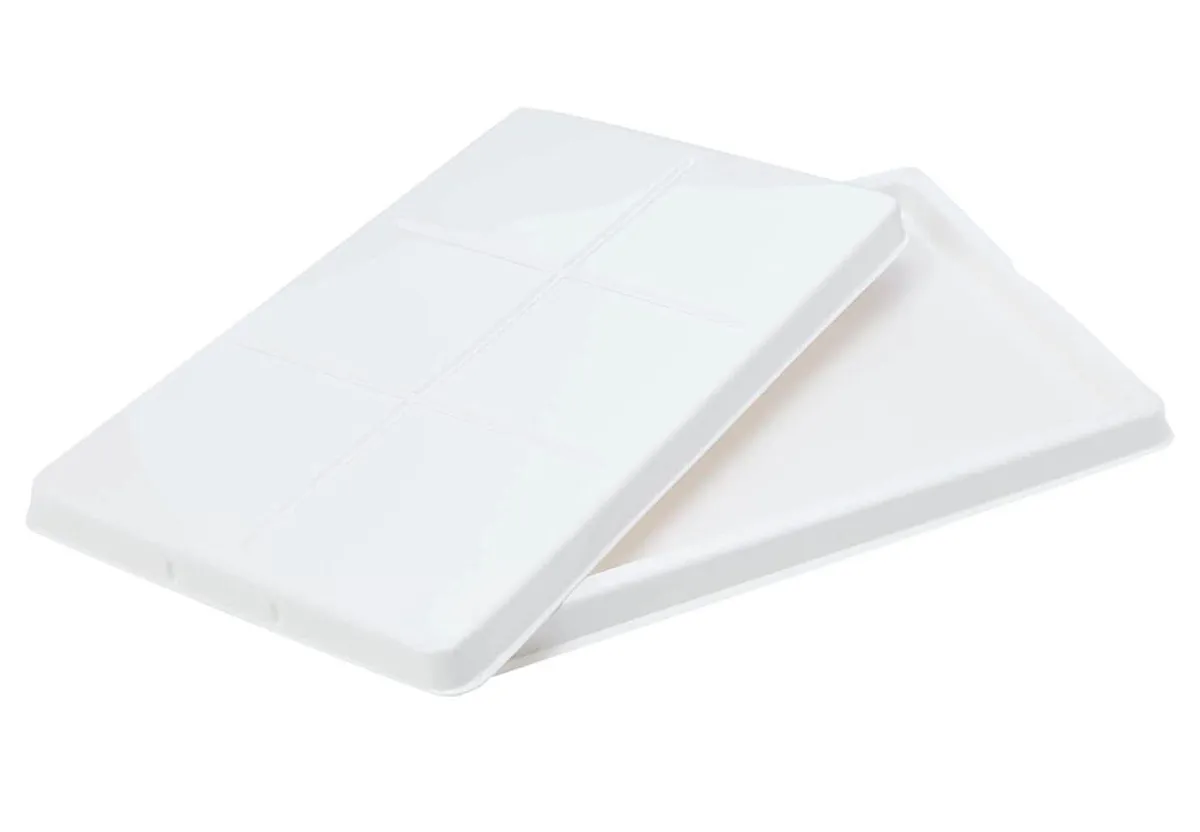
Acrylics are notoriously fast-drying, which is particularly frustrating when you want to work on a painting for a long period of time. Your carefully mixed colours will dry up before you’ve finished using them!

A keep wet (or stay wet) palette is a useful tool for any acrylic artist. It’ll help your paints to stay moist for longer, meaning you can even take a break in the middle of a painting session.

If you are a fast painter you can get away with using traditional paint palettes or even an old plate if you’re likely to complete your art session in a short period of time.

Pebeo Studio Acrylics gesso (optional)

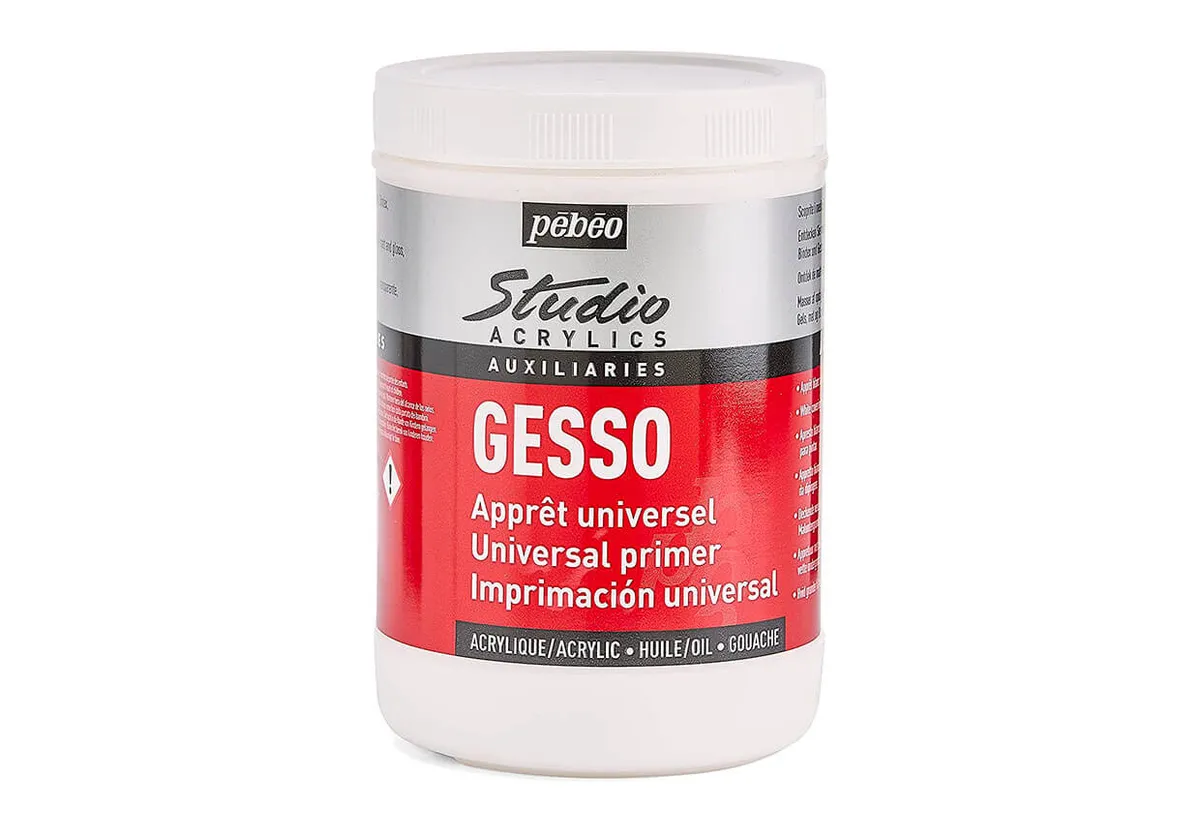
Gesso is used to prepare the surface of your canvas ready for painting, which is called priming. Many canvases can be bought already primed, but you may wish to apply another coat to smooth the surface.

You can even add a little acrylic paint to your gesso to create a tinted background. This is very useful if you’re the kind of painter who feels daunted by a blank white canvas!

Winsor & Newton satin varnish (optional)

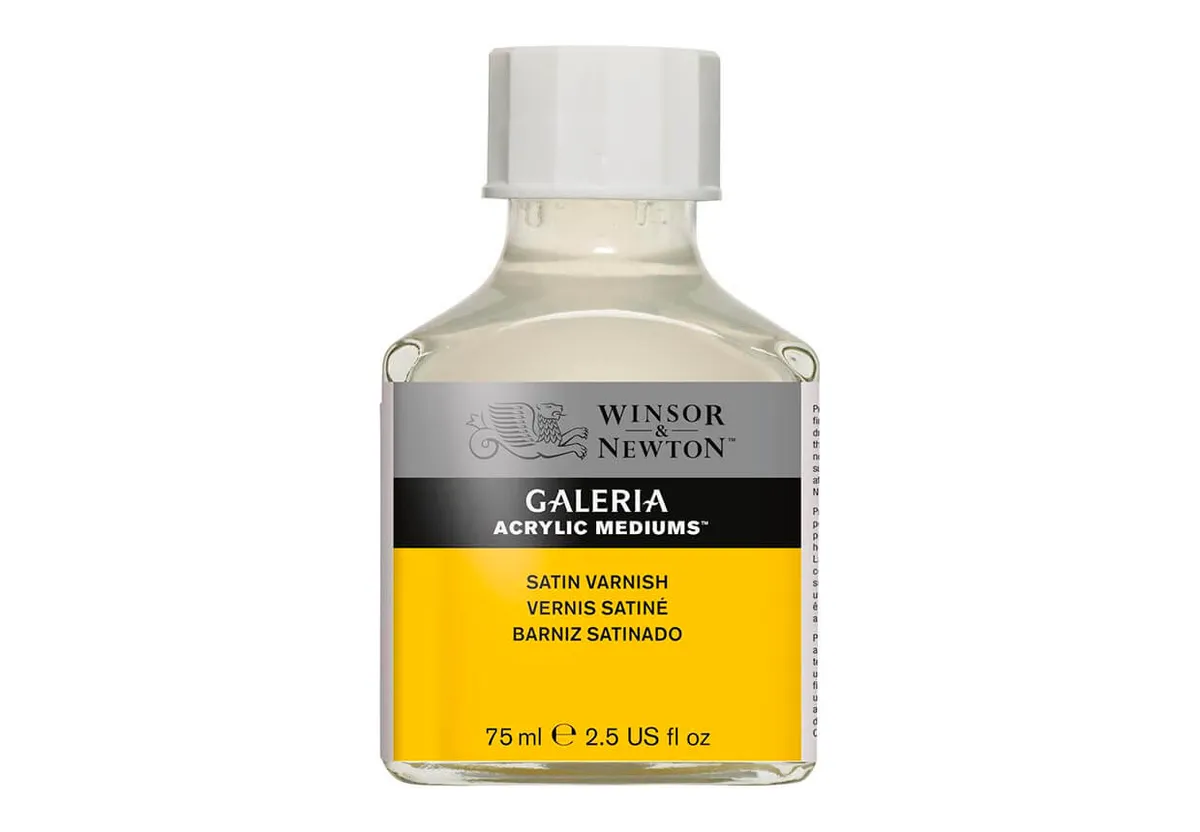
When you’ve finished your painting, consider adding a coat of varnish to protect your masterpiece. You’ll need to wait around six weeks to make sure that your painting has completely dried out before adding the varnish.

Varnishes come in many forms, but we like a satin varnish – it adds a subtle shine to your painting without being too glossy.

How to paint a landscape with acrylics

You will need:

  • Acrylic paints (We’ve used a range of colours including titanium white, cobalt blue, ultramarine blue, ultramarine violet, permanent rose, yellow ochre and sap green)
  • Canvas or canvas board
  • Acrylic paint brush set
  • Gesso (optional)
  • Paint palette (optional)
  • Varnish (optional)

Start with a strong foundation

Step 1

Choose a striking source photo

Not everyone has access to dramatic landscapes in their local area, but the good news is that you can find lots of beautiful stock images to inspire your artwork.

For this acrylic landscape painting tutorial, we’re going to be using a meadow scene with an atmospheric mountain backdrop by Sharissa Johnson as a guide. Download the image from Unsplash or save the photo below for reference.

Acrylic landscape painting step one – source image

Step 2

Set the mood with a base colour

Your base colour can set the tone for your whole painting, so it’s important to get it right. If your layers of paint aren’t too thick, your foundation colour will glow through.

You can even leave little gaps in your painting to reveal a little of the base colour peeking through.

If you choose a bright colour such as yellow, it will bring a warm vibe to your painting. On the other hand, a blue background will give your painting a cooler temperature.

Here, we’ve mixed white gesso with a tiny amount of cerulean blue and a dab of black paint to create a light background. Wait for it to dry before continuing to the next step.

Acrylic landscape painting step two – painting the gesso

Step 3

Sketch the scene

Once your background has dried, you can start lightly sketching the outline of your landscape using a pencil.

You don’t need to add much detail at this stage, as you’re just trying to work out roughly where everything needs to be.

Acrylic landscape painting step three – sketching the outline

Step 4

Be bold with blocking

Take a moment to have a look at your source photo. What’s the main colour in each section? Ignore the highlights and shadows at this stage, you’re just looking for the shade that you can see the most of.

Mix those main colours and block out large sections of your painting. It won’t look the best at this stage, but trust the process and keep going. If you make any errors, remember that you can easily correct them by simply painting over the top when the paint is dry.

Here, we’ve used titanium white with a little cerulean blue and a little black for the sky. We’ve used a rounded brush to get soft edges and dabbed the brush to start getting the effect of a cloudy sky.

For the mountains, we blended white with cobalt blue and ultramarine violet for the range that’s further away. The mountains that are closer to us are a mix of titanium white, cerulean blue, cobalt blue and black. The grass is a mix of titanium white, sap green and yellow ochre.

We’re going for a more abstract and impressionistic approach with this painting, so don’t worry too much about the colours being too bright. It’s all part of the look!

Acrylic landscape painting step four – blocking

Enrich your painting with colour

Step 1

Fill the sky with clouds

The source photo we’ve chosen has lots of billowing clouds. Painting clouds is a real skill, but it’s worth taking the time to learn.

For these clouds, we’ve started by mixing a few different colours. For example, we can see that there’s white, light grey and a stormy blue-grey.

Start by applying the darkest colours, then gradually work towards the lighter ones. Blend colours together while they are wet for a smooth gradient. If you want to add texture to your clouds, wait for the first layers to dry then drag thick paint over the canvas with a dry brush. The rough surface of the canvas will pick up the paint.

It’s okay to go back over the clouds a few times to get the effect you want. Here we’ve used both wet on wet (painting on top of wet paint) and wet on dry (painting over dry paint) to create the cloudy look.

You may want to return to the clouds later to refine the details or tidy up the skyline, so don’t worry if it doesn’t look perfect at this stage.

Top tip: you can add a tint to the clouds and even out their appearance by applying a very thin wash of colour over the whole sky. Washes are handy for making very subtle changes to your painting.

Acrylic landscape painting step five – adding the clouds

Step 2

Create misty mountains

Look at the source image and you’ll notice that there’s a real difference between the mountains that are close to the viewer and the ones that are further away. While all of the mountains have a bluish tone, the more distant range is definitely a deeper shade of blue.

Mix light and dark shades of blue and use a finer brush to add detail to the mountains. Next, add darker greens for the forests on the mountainside. You’ll also notice there’s a hint of blue-green on the slopes of the mountains. Add this using a light wash and repeat if you want to darken the colour.

Work using the wet on wet technique to mix paint colours together before they’ve had a chance to dry.

We’ve continued to use cobalt blue, black and titanium white paints for the mountains, but we’ve also introduced some ultramarine blue for the darker areas of the slopes. Again, we’re using loose brush strokes and a brush with a rounded tip.

For the forests, we’ve mixed sap green with ultramarine blue to make a rich dark green.

Acrylic landscape painting step six – painting the mountains

Step 3

Grow a blossoming meadow

The most stunning part of the source image is the meadow in the foreground, which is filled with white, purple and yellow flowers.

When you’re working on any landscape, you want to make your painting more detailed in the foreground with less detail in the background. This will give your painting a sense of depth.

With so many flowers to capture, it would be incredibly difficult to copy the meadow exactly, so we’re going to use some artistic licence to get the feel of the meadow without painting each individual bloom.

Begin by taking a dark green and adding some little brushstrokes to indicate clumps of grass and flowers on the canvas.

Next, mix some lighter shades of green and add blades of grass in the foreground until it looks textured. You can add a few dabs of different greens in the distance to hint at the plants there too.

To make our grass, we’ve used sap green, green gold and a little yellow ochre.

Acrylic landscape painting step 7a – painting the grass

It’s time to add the flowers! Mix some white purple and yellow and dot your painting with lots of flowers. Use a fine brush for this. You can also put some paint on a toothbrush and flick it to create splatters of flowers on your painting.

Experiment by mixing different tones of the same colours to add depth to your painting. Add a bit of permanent rose to ultramarine violet to add warmth or mix in a little cobalt blue to echo the colours we’ve used on the mountains. This will make the painting feel more balanced.

Use dots to create clusters of flowers – try to paint dots of similar colours together for a natural look.

To show distant flowers, take a dry brush with a little paint on the end and drag it across the painting. It’ll give the impression of swathes of flowers without requiring any fine details.

Acrylic landscape painting step 7b – painting the meadow


Step 4

Perfect your painting with finishing touches

When you get to the stage when your painting feels nearly finished, it’s time to move away from the canvas and assess your work. You can see whether you’ve got your contrasts correct, add any hints of colour where needed or neaten untidy edges.

For example, we thought the distant mountains were looking too bright, so we toned them down with a thin wash of white paint. A wash makes the colours more muted so that the flowers in the foreground can shine.

To complete the painting, we’re going to take a dry brush and add a haze of pale grey paint to look like mist.

Acrylic landscape painting step eight – finishing touches

Broaden your horizons with acrylic landscape painting

Acrylic landscape painting is a brilliant way to improve your artistic skills, whether you’re a complete novice or a more experienced painter.

Landscapes are endlessly fascinating to paint because you can paint any scene imaginable, from beaches to rugged moors. And a landscape can look completely different depending on the light or the time of year.

Whatever landscape you choose to paint, the same techniques apply, so once you’ve developed your own style you’ll be able to turn your hand to any scene.

Acrylic landscape painting final image

Boost your landscape painting skills

Art is a journey and there are always new things to learn along the way, no matter how experienced you are.

Discover tips to help you become a better painter with Gathered’s watercolor landscape painting tutorial.