All products were chosen independently by our editorial team. This review contains affiliate links and we may receive a commission for purchases made. Please read our affiliates FAQ page to find out more.

How to draw a snowman!

Stay warm as you build your very own snowman – no snow required! Kickstart the winter festivities and follow this easy step-by-step tutorial by learning how to draw a snowman.

Try our magazines – get 6 issues from just £9.99!

Published: March 4, 2024 at 9:00 am

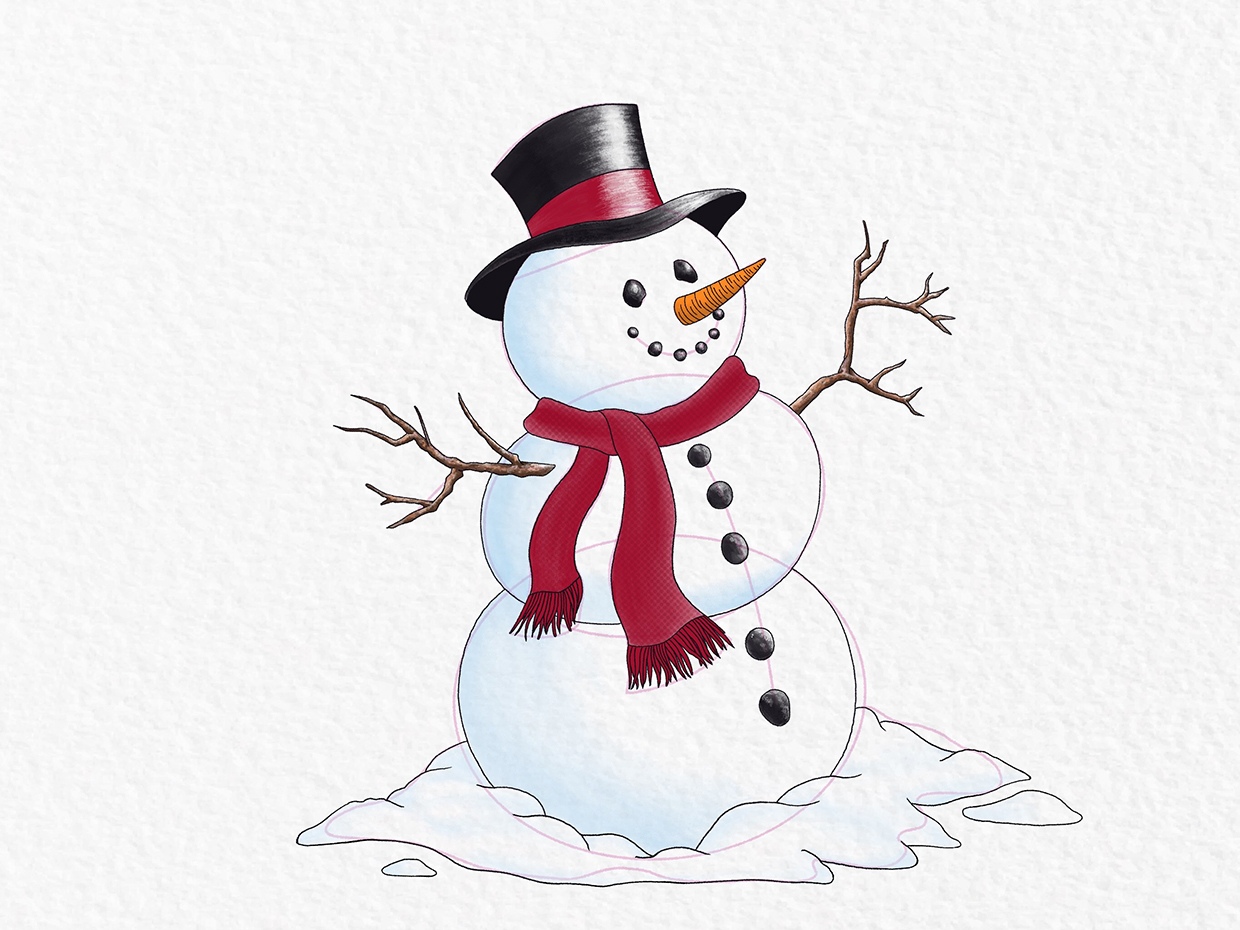
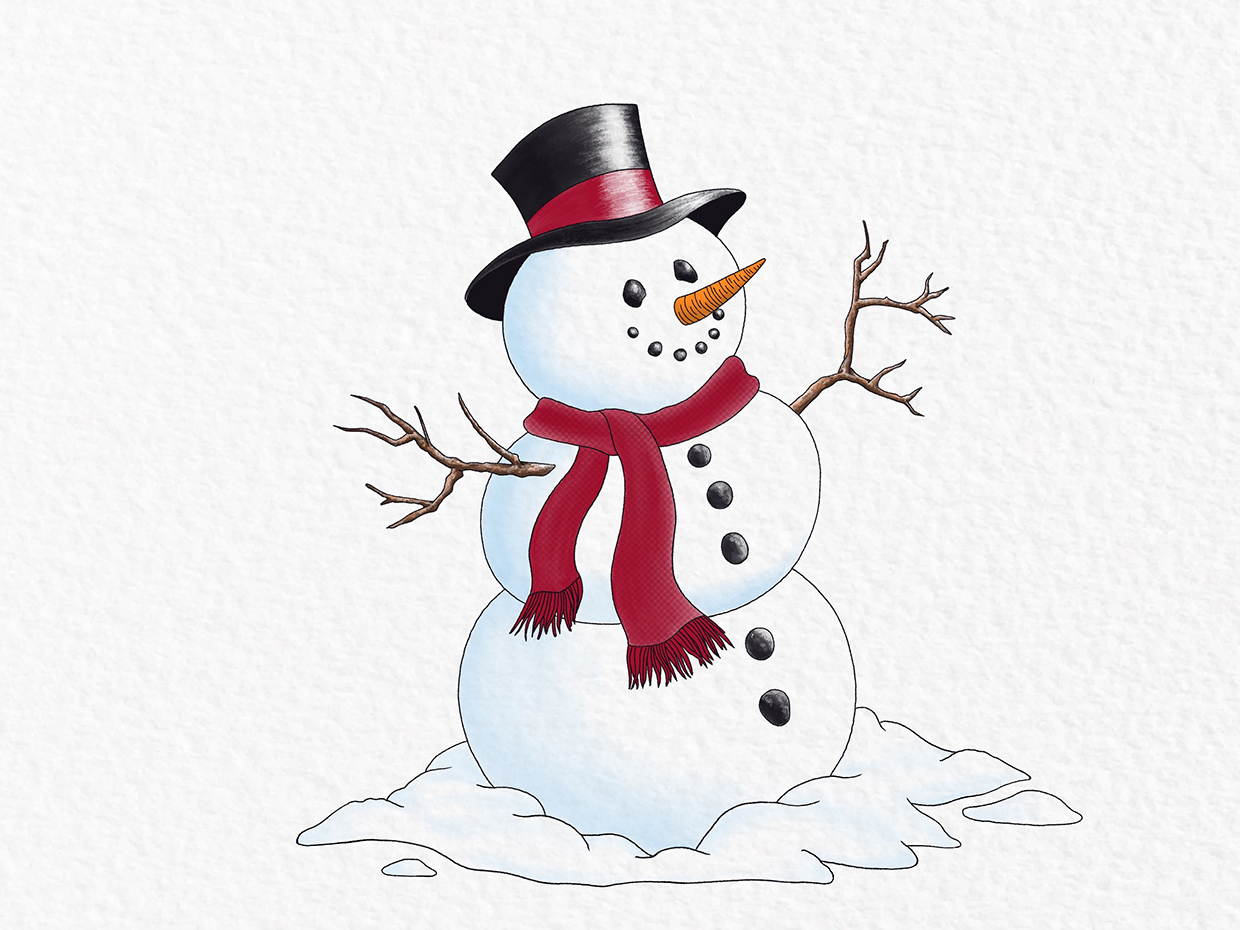
Whether it's leading up to Christmas or smack bang in the middle of summer, it's always a good time to learn how to draw a snowman! We’ve put together this easy snowman drawing tutorial for you to enjoy, whatever the weather.

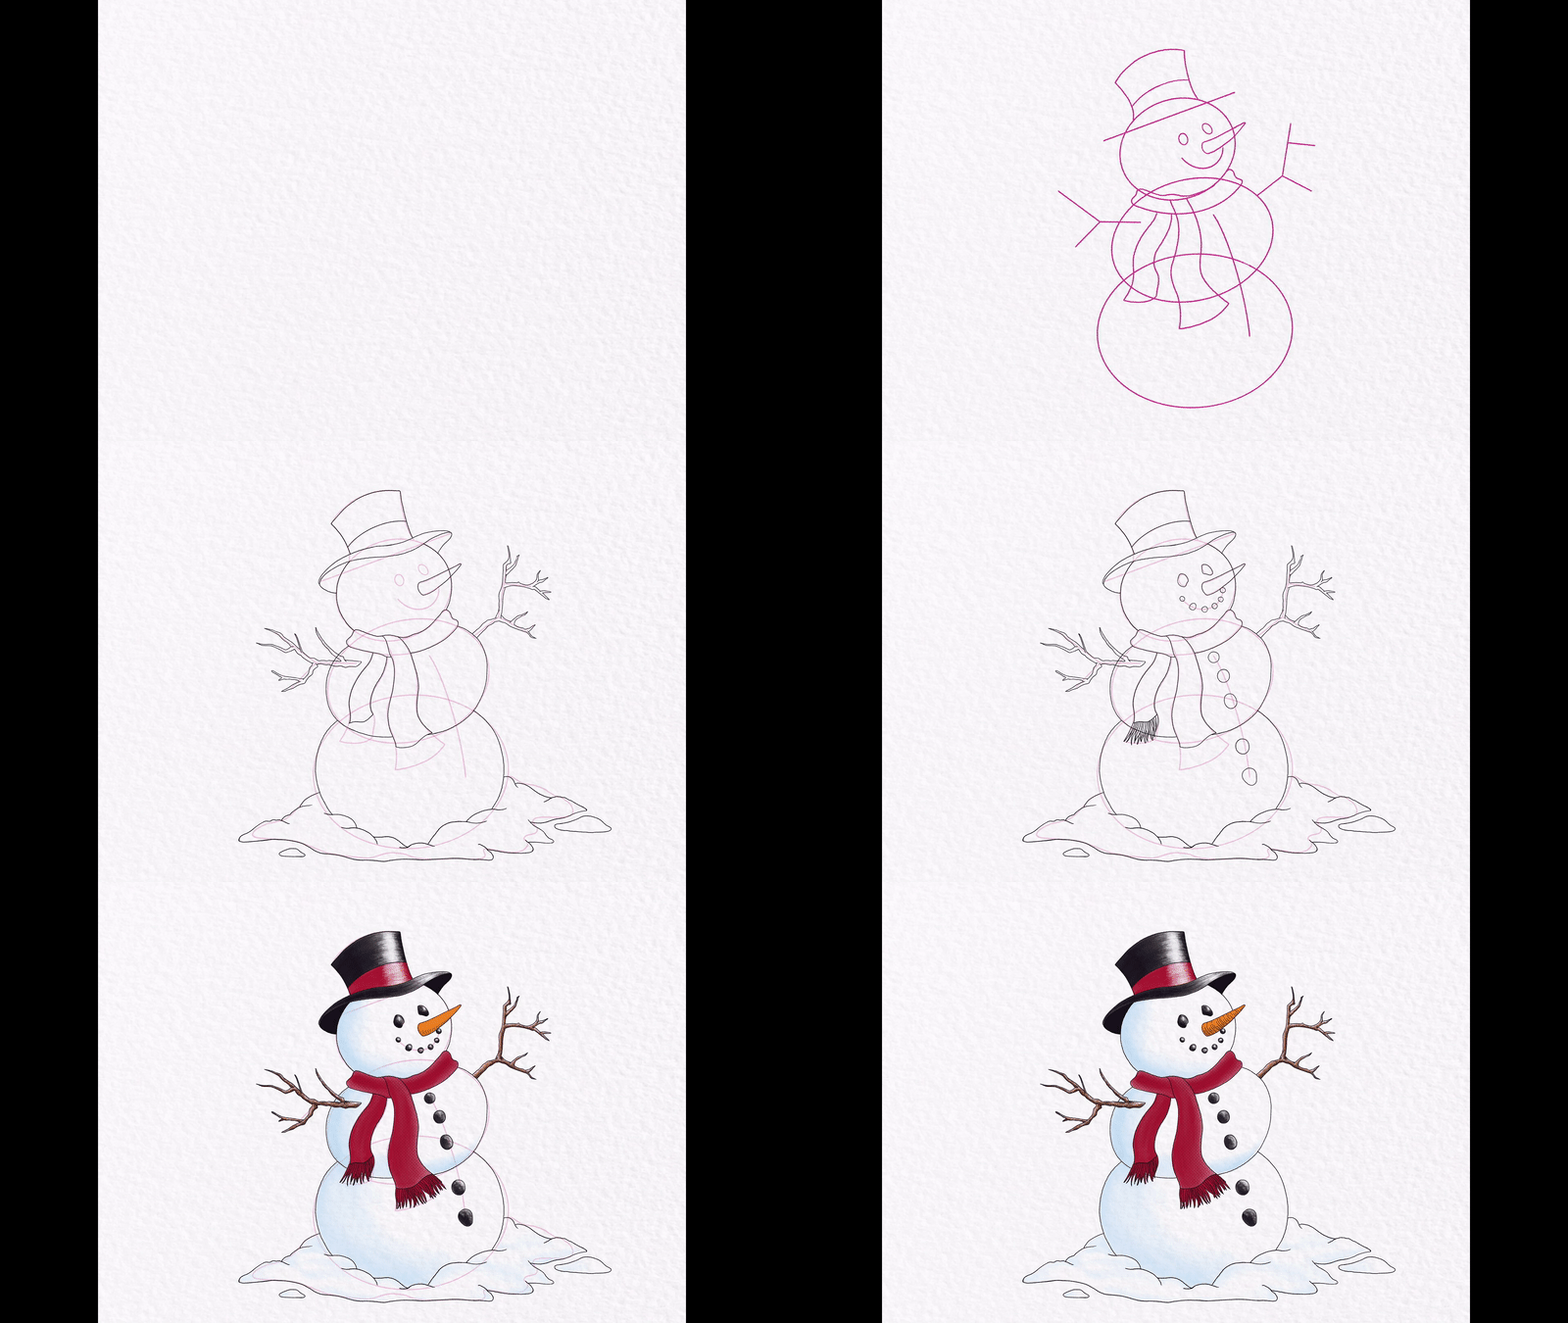
This snowman drawing starts life as a series of overlapping ovals. Once you’ve decided on size and proportions, it’s easy to build up with a series of simple shapes and lines.

Add character to your snowman by giving him a cheeky grin, then make sure he doesn’t catch a cold by giving him a scarf and hat.

A partially melted pile of snow helps ground the drawing, while subtle highlights to the hat and coal help add dimension to your artwork. Once finished, you can colour your snowman, or leave as a simple line drawing. This is a great project to try using pencils, but it also works well in pen and ink.

Read on for our top tips and supplies for your drawing, or click here to head straight to the tutorial.
Top tips for your own snowman drawing:

  • Plan the composition first: When sketching out the initial construction lines, keep the design as simple as possible. This helps you to achieve the right proportions, without having to erase big parts of your work. Once you’re happy with the proportions, you can then go in and add more details.
  • Think about paper: If you envisage a lot of mistakes, we recommend using thick paper with a high gsm, as this will better stand up to the rigmaroles of heavy erasing without compromising the integrity of the grain (i.e., you won’t rub a hole in the paper!).
  • Keep it real: When drawing the coal that makes up the snowman’s eyes, mouth, and buttons, don’t make them perfectly round. Instead, make the lumps of coal irregular in shape, drawing smaller pieces of coal for the mouth and larger pieces for the buttons.
  • Think about posture: Snowmen come in all shapes and sizes, but in terms of posture, we like to think they would be looking up at the world around them. Angle your carrot upwards in a diagonal and position the other facial features (and hat) to line up with this. Alternatively, start with the hat first (as we’ve done in this tutorial), and use this as the starting point to align the other facial features.
  • Add character: Play around with different expressions by changing the shape and position of the eyes and mouth
  • Light source: Think about which direction the light is coming from. Apply more shading in areas that face away from this light source, as this helps create dimension
  • Take inspiration from nature: If you’re finding it tricky to sketch the shape of the branches that make up your snowman’s arms, go outside and draw from life. You might even find the most perfectly shaped branch or twig to help bring your snowman to life!
  • Colour: Use a pale blue colour to shade your snowman. This helps to emphasise that the snowman is cold.
  • Take it to the next level: Take your snowman drawing one step further – why not perch a small garden bird on the end of one of his arms?
undefined

Chill out with these cool art materials

Here’s what we recommend you’ll need for this snowman drawing project…

Coloured pencils
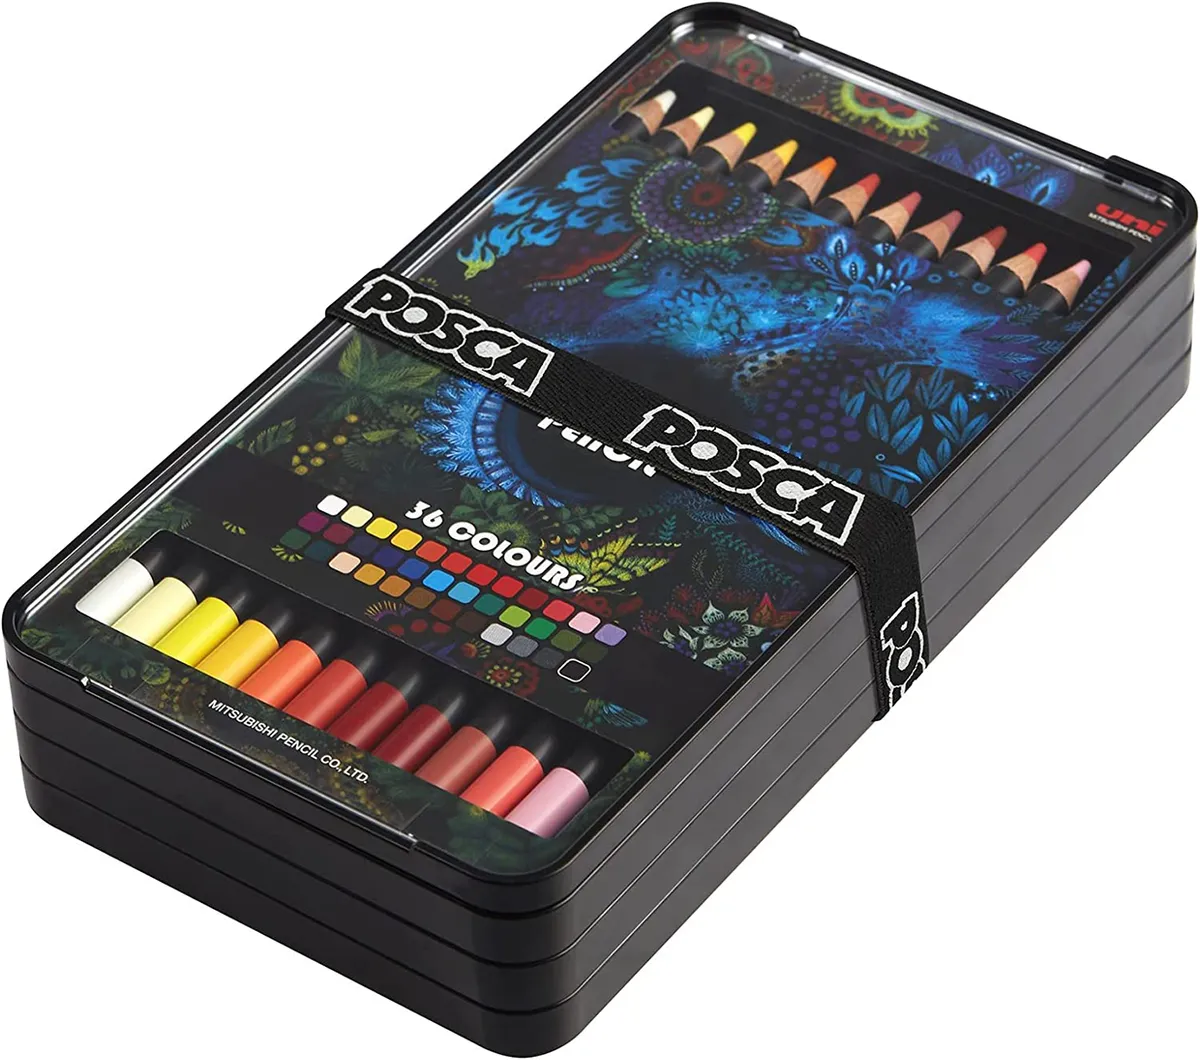
If you’d like to make a feature of your construction lines, why not try using coloured pencils to plan out your composition? You’ll have seen these pencils in a few of our videos, and while they may not be the cheapest colouring pencils out there – they are some of the best.

We all know the brand POSCA, and these colouring pencils are the result of several years’ worth of research. They’re made from a unique combination of wax and oil, which means they lay down a rich pigment with a highly concentrated, smooth finish. The soft ‘lead’ breaks much less easily than other colouring pencils, so wastage is minimal.

They blend easily too, so if you’re keen to experiment, the tones can be merged seamlessly to create satisfying gradients.

We think they’d make a fantastic Christmas present!


Sketching pencils

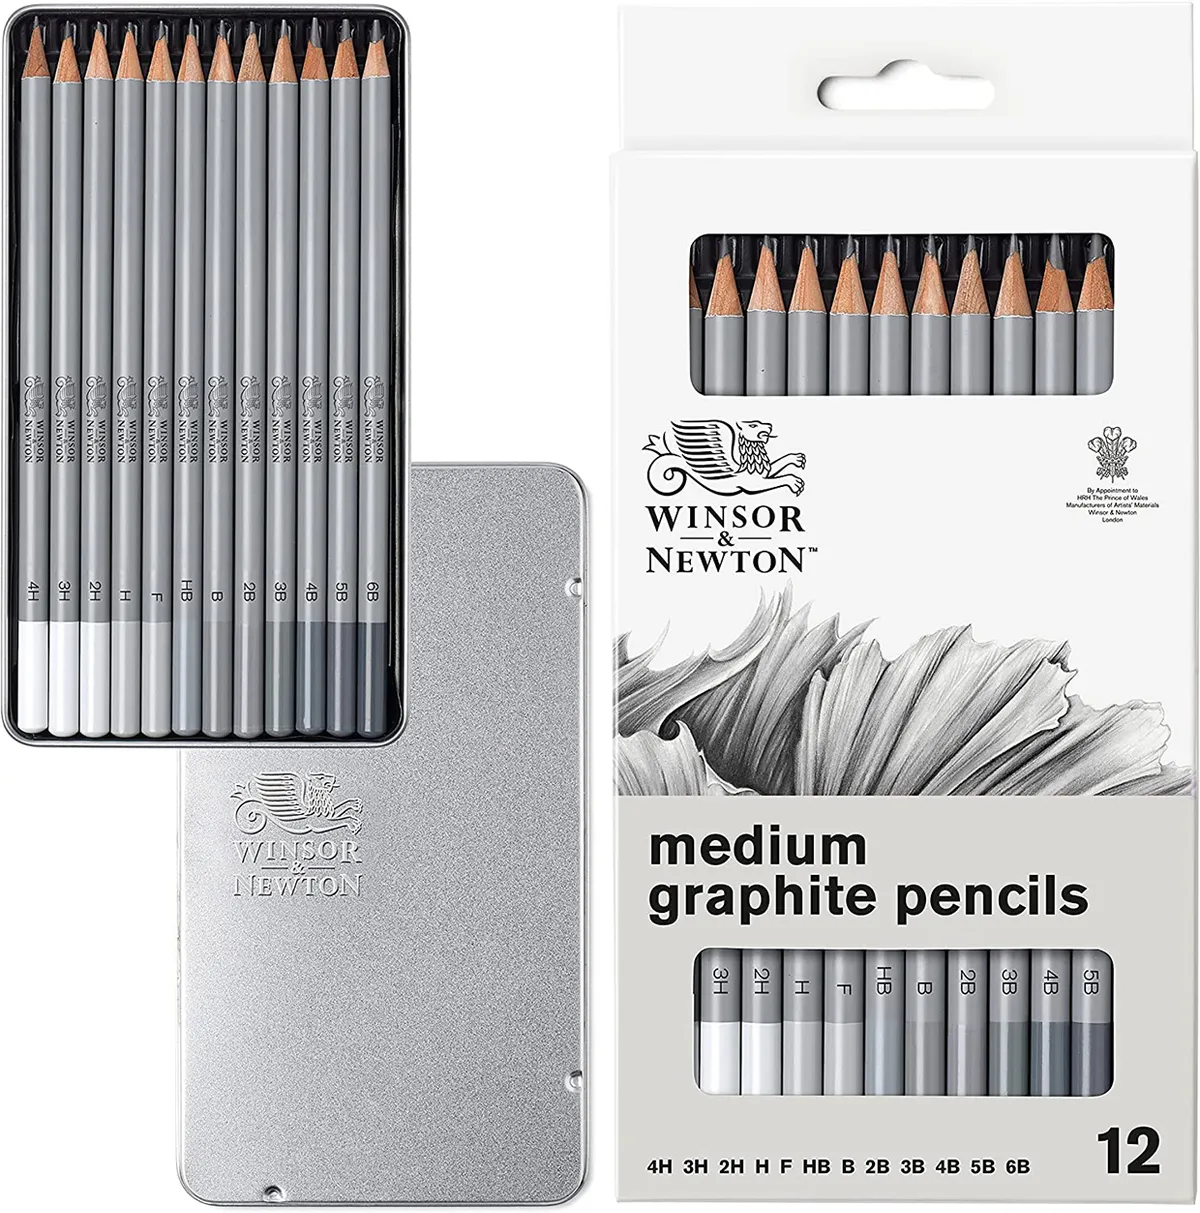
If you prefer to be more traditional, then a set of good sketching pencils will always steer you in the right direction. This set of 12 pencils goes from 4H, which produces a hard, fine line, up to 6B, which produces a soft, dark line.

They come in a metal tin, which helps protect them against knocks and bumps (and helps protect against lead breakage), as well as looking good, too. They’re made from sustainably grown, easy-to-sharpen, aromatic cedar wood, and have a lovely, soft texture that blends easily.


Fineliner pens
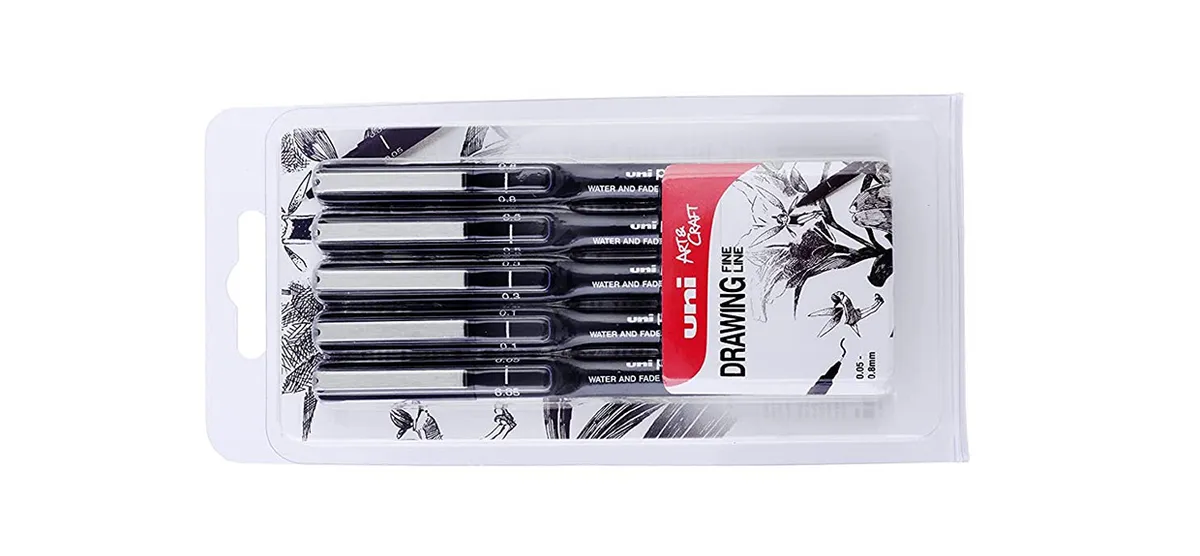
These black fine liner pens from uni-ball are ideal for technical drawing, and easily stand up to the demands of erasing underlying pencil lines. The ink is UV and fade-resistant, water-resistant and fast drying, so you can be confident that your artwork won’t smudge or fade over time.

They’re made using solid construction, and the nibs are supported by steel tips – but they don’t feel heavy or uncomfortable in your hand. If you’ve watched our pumpkin or rose drawing video tutorial – these are the pens that we used to add detail (the 0.5mm width, to be precise).

They come in at a very reasonable price point, so you don’t need to spend a fortune to bag yourself some quality instruments and boost your drawing arsenal.


Pencil case
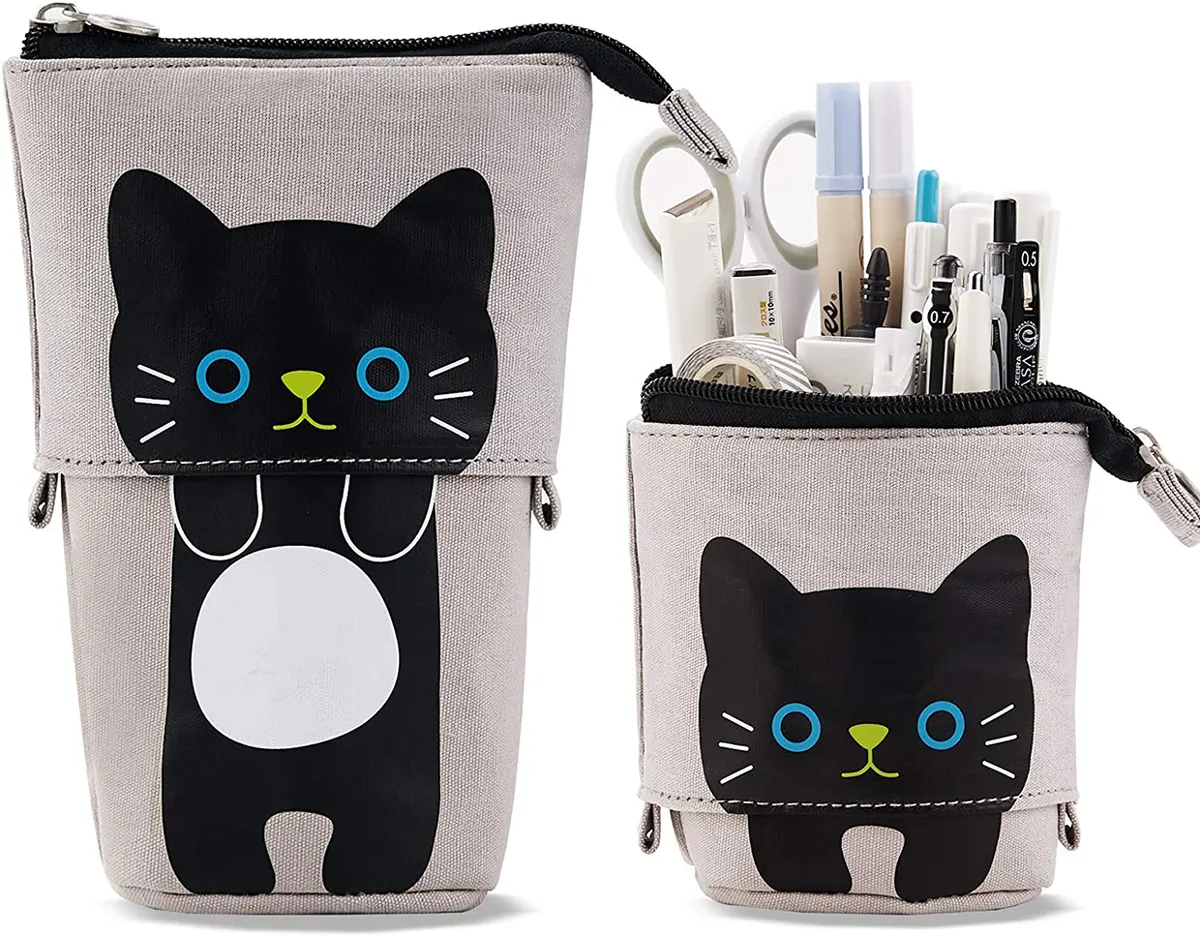
Keep your coloured pencils and fine liner pens organised with this fantastic pop-up cat pencil case! This type of pencil case is known as a ‘telescopic’ pencil case, meaning that it folds down to provide easy access to your implements, without the need for rummaging or emptying them all over the table.

This durable pencil case is made from canvas and comes in a variety of different designs, including a unicorn, pink cat, bubble tea and white checks.


Sketchbook
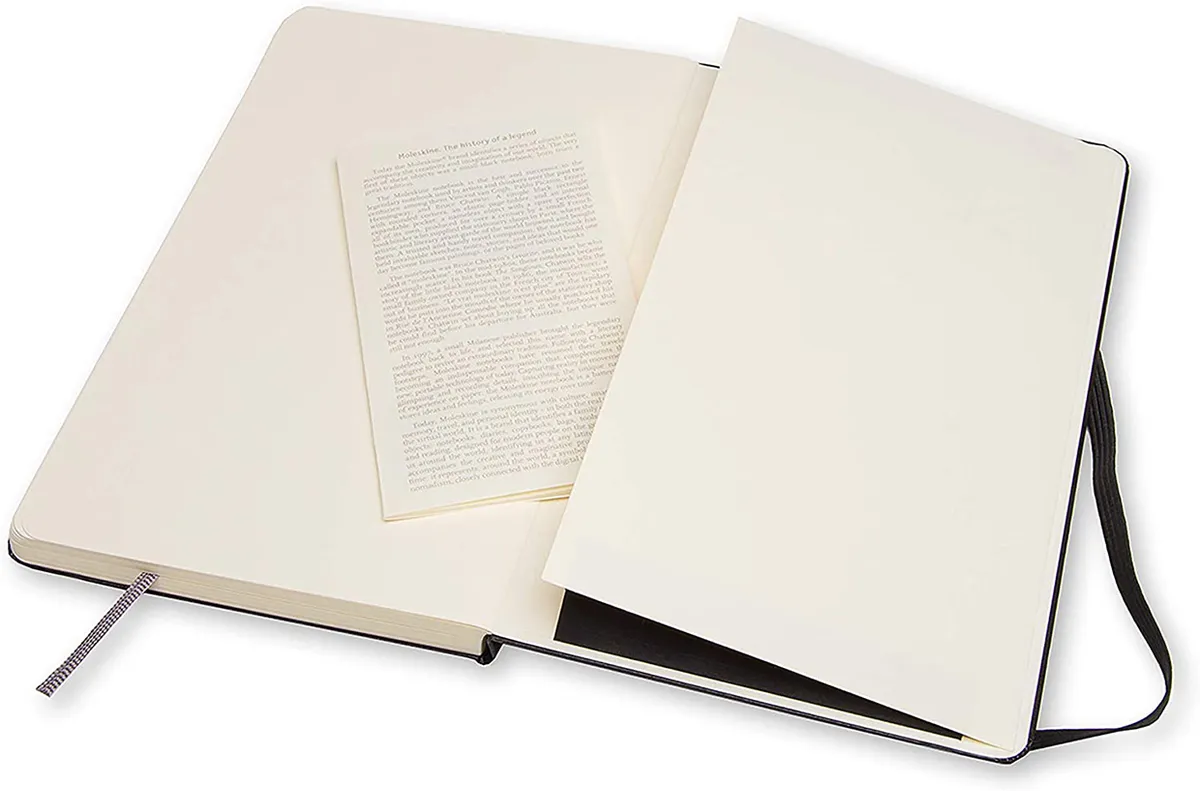
Keep all your doodles together by using a sketchbook. Not only does this enable you to produce a collection of art, but for the beginner artist it also helps you to chart your progress as you learn new techniques, try out different media and keep a record of what works (and what doesn’t!).

This hardback Moleskine sketchbook is the go-to for many artists; it’s durable and can withstand being transported from bag to bag, as you get out and about with your art. The colour of the pages is an off-white, slightly creamy colour, which is easy on the eyes if you’re working with high-contrast black ink.
How to draw a snowman

You will need:

  • Sketching pencils (to plan composition)
  • Fineliner (to add detail)
  • Sketchbook or paper (to draw onto)
  • Eraser (to erase construction lines)
  • Pencil sharpener (to keep your pencils in tip top condition)

Step 1

Plan the composition of your snowman drawing

Plan out the body

Snowman drawing – step 1

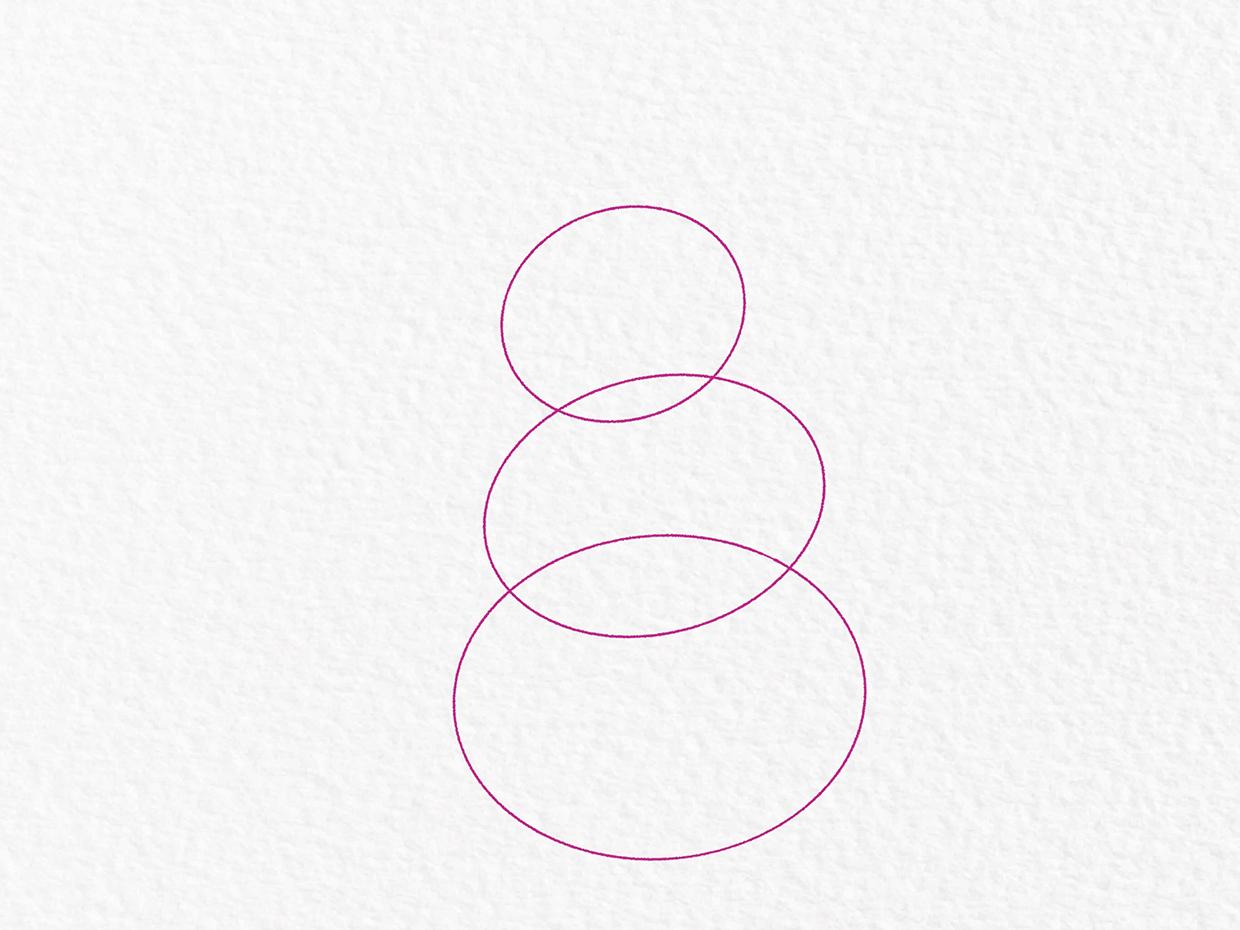
Start with three simple ovals stacked on top of each other, overlapping them slightly. This will form the basis of your snowman drawing and determine how big your snowman will be.

Make sure you leave enough space at the top of the page for a hat.

Draw your outlines very lightly using a pencil. This will make it easier to erase the lines if you make any mistakes, or if you want to get rid of them at a later stage.


Step 2

Add a hat

Snowman drawing – step 2

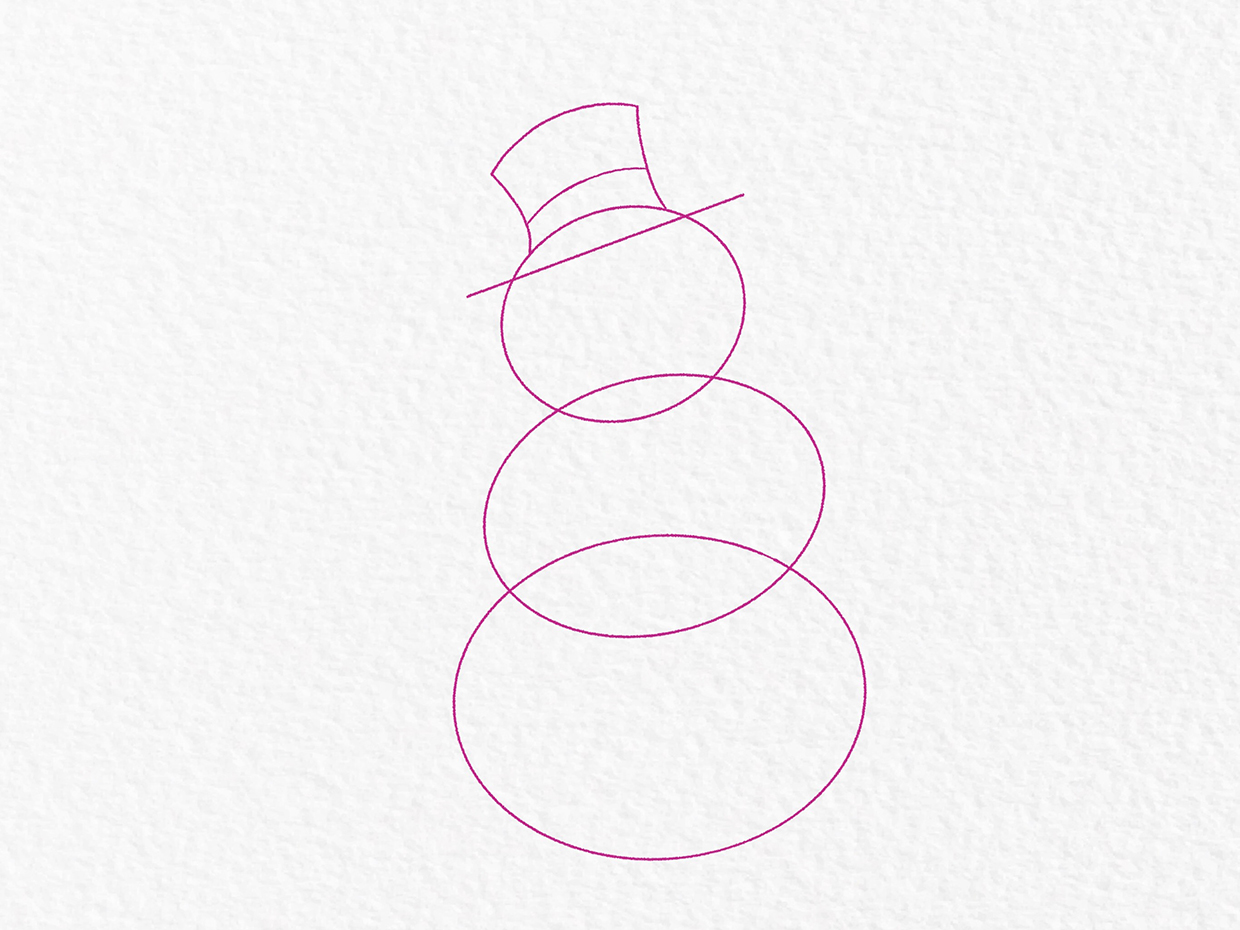
Draw a diagonal line across the top of the top-most oval (the head). Sketch out a rough hat shape, positioned at 90 degrees from that diagonal line. Add a band around the hat, by roughly following the shape of the head. As this is just the planning stage, we’ll come back and tidy this up later.


Step 3

Position key features

Snowman drawing – step 3

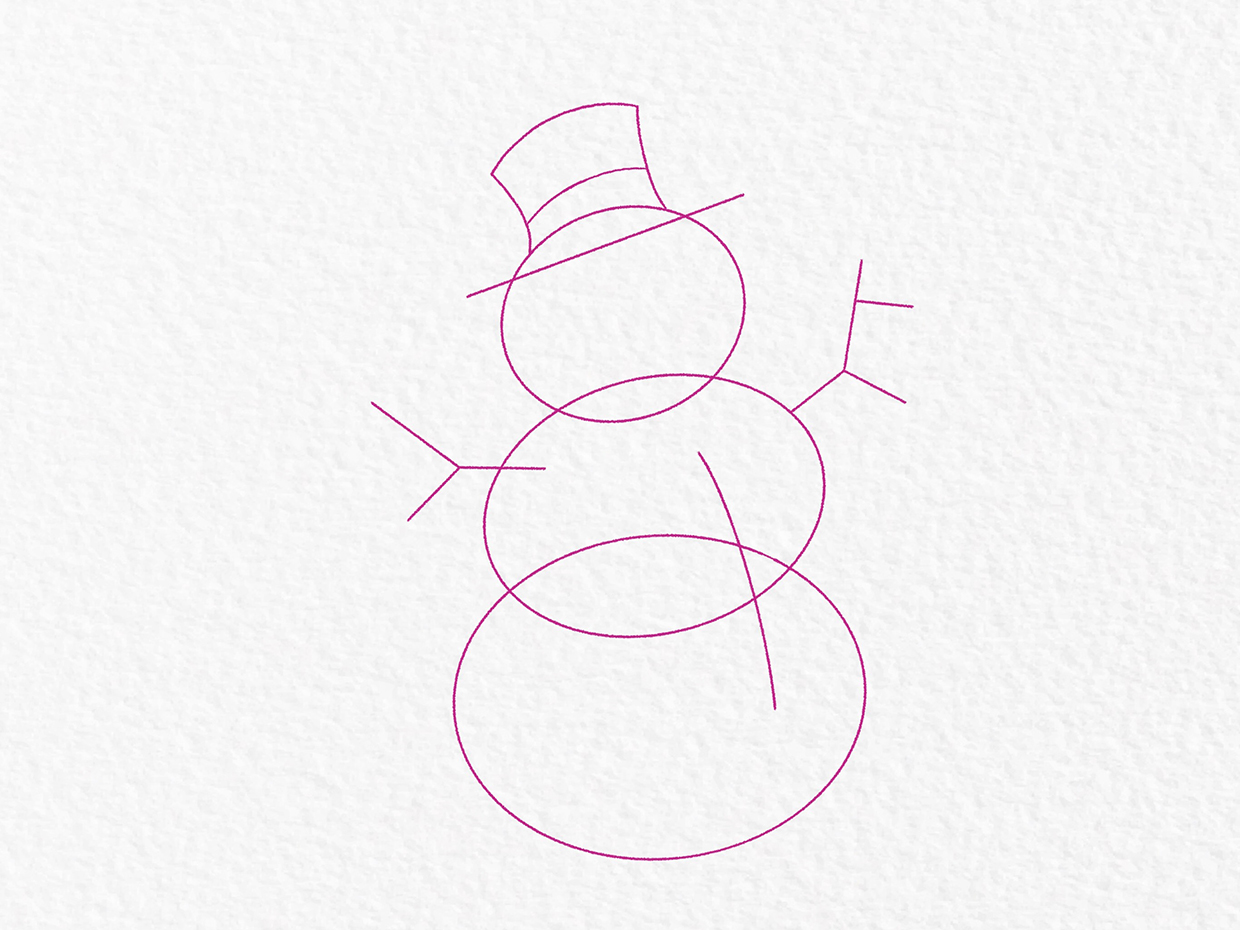
Our snowman drawing will have sticks for arms, and coal for buttons. With this in mind, draw some angular branches extending from either side and a slightly curved line down the middle of his body.

Position the curved line slightly to the right-hand side of the centre. Positioning it on the opposite side to the direction in which the hat is facing, helps to balance the drawing and will also help to add dimension later on.


Step 4

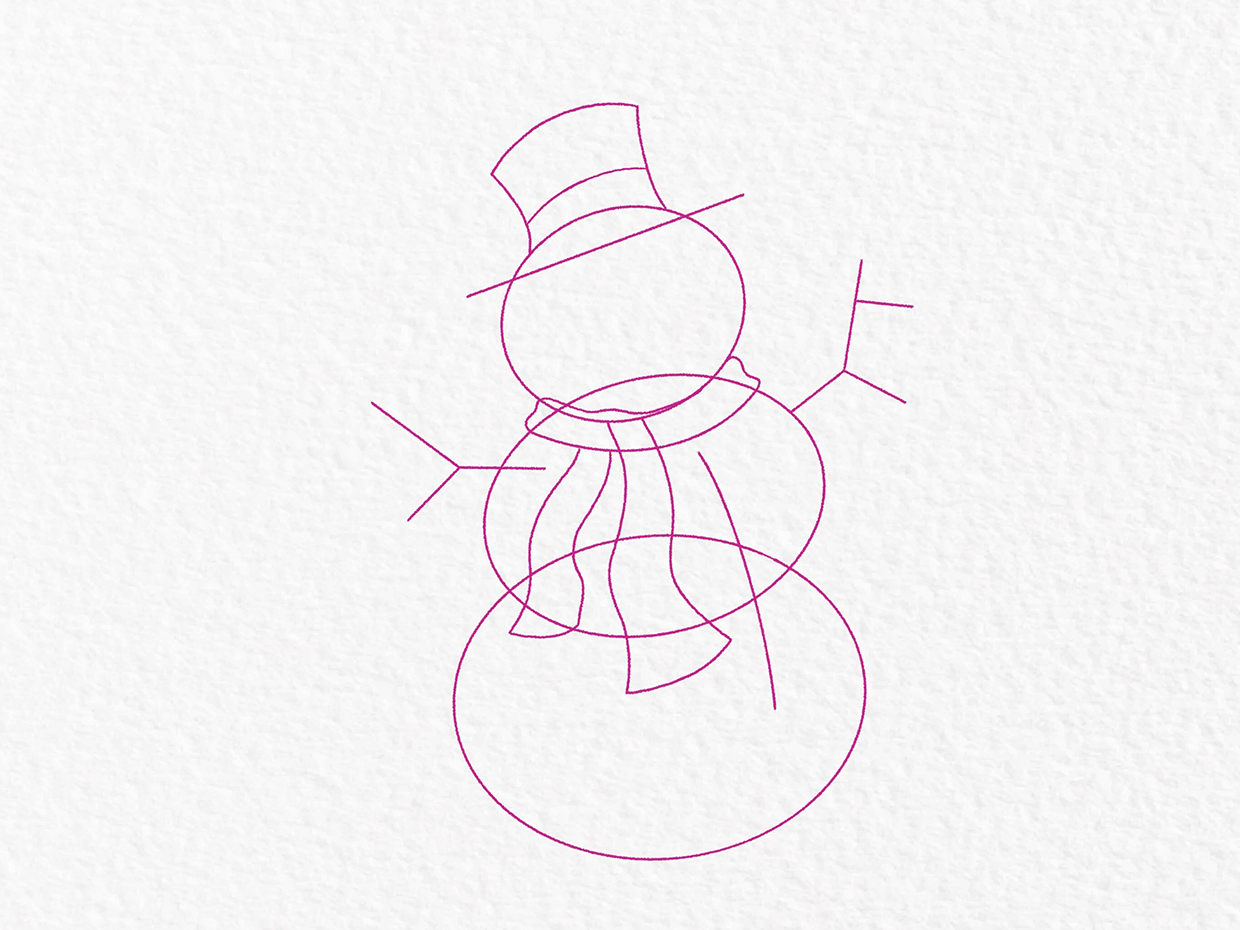
Sketch a rough scarf

Snowman drawing – step 4

No snowman would be complete without a scarf, so lightly sketch out the rough shape. For the top of the scarf (the part that goes around the snowman’s neck), follow the curve of the bottom of the head, extending the ends slightly out to the side, to emphasize bulky fabric.

For the tails, make them slightly wavy, with one shorter than the other.


Step 5

Add character with a smiley face

Snowman drawing – step 5

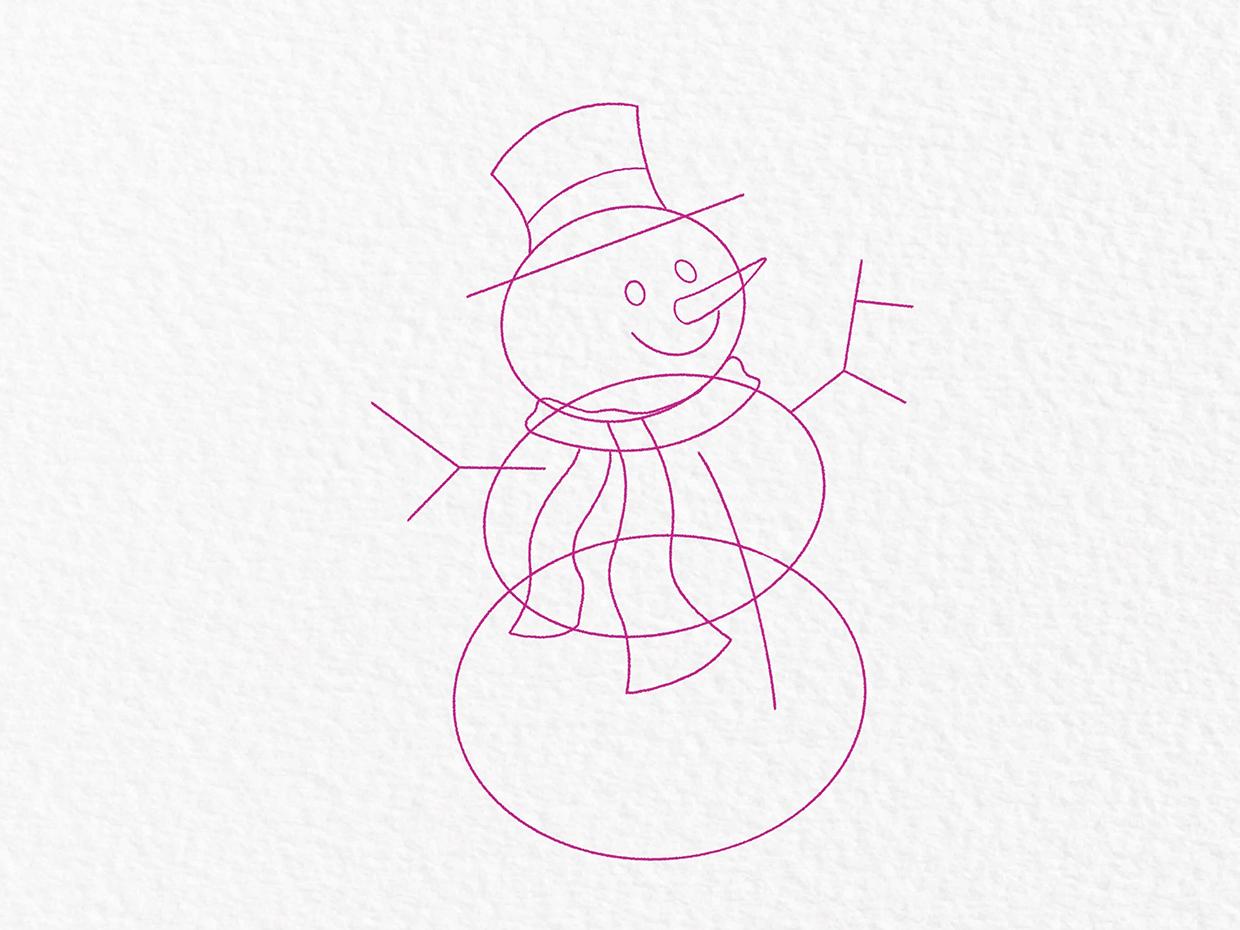
Our snowman will have traditional coal eyes and mouth, with a carrot for his nose.

Draw the nose first, making it parallel with the brow of the hat. Add two circles for the eyes and a curve for the mouth.


Step 6

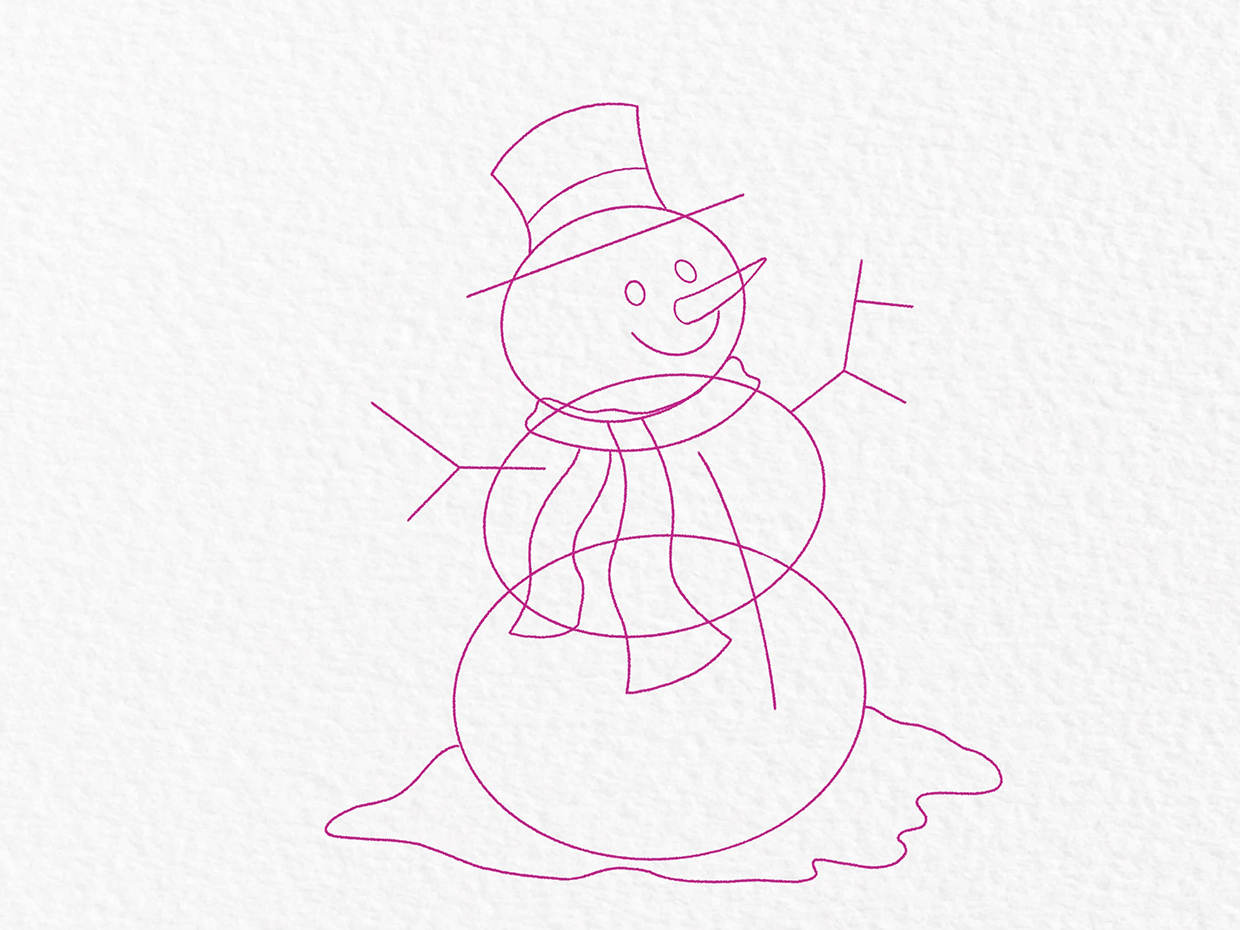
Ground your snowman

Snowman drawing – step 6

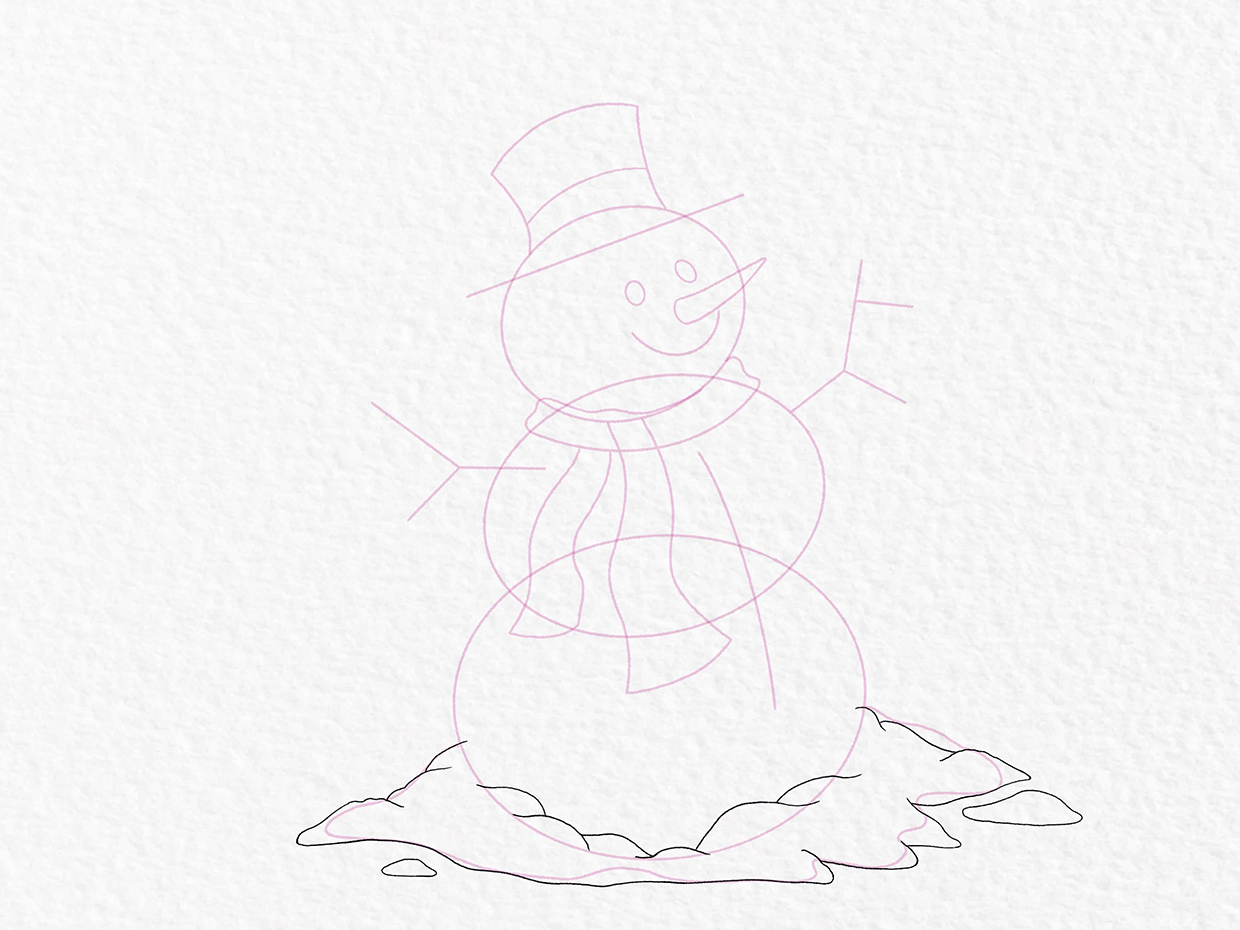
Ground your snowman onto the page by adding a squiggle at the bottom, to indicate a slightly melted area.


Step 7

Refine the details

Go over the construction lines

Snowman drawing – step 7

Once you’re happy with the composition of your snowman, it’s time to start going over the construction lines to finalise your masterpiece.

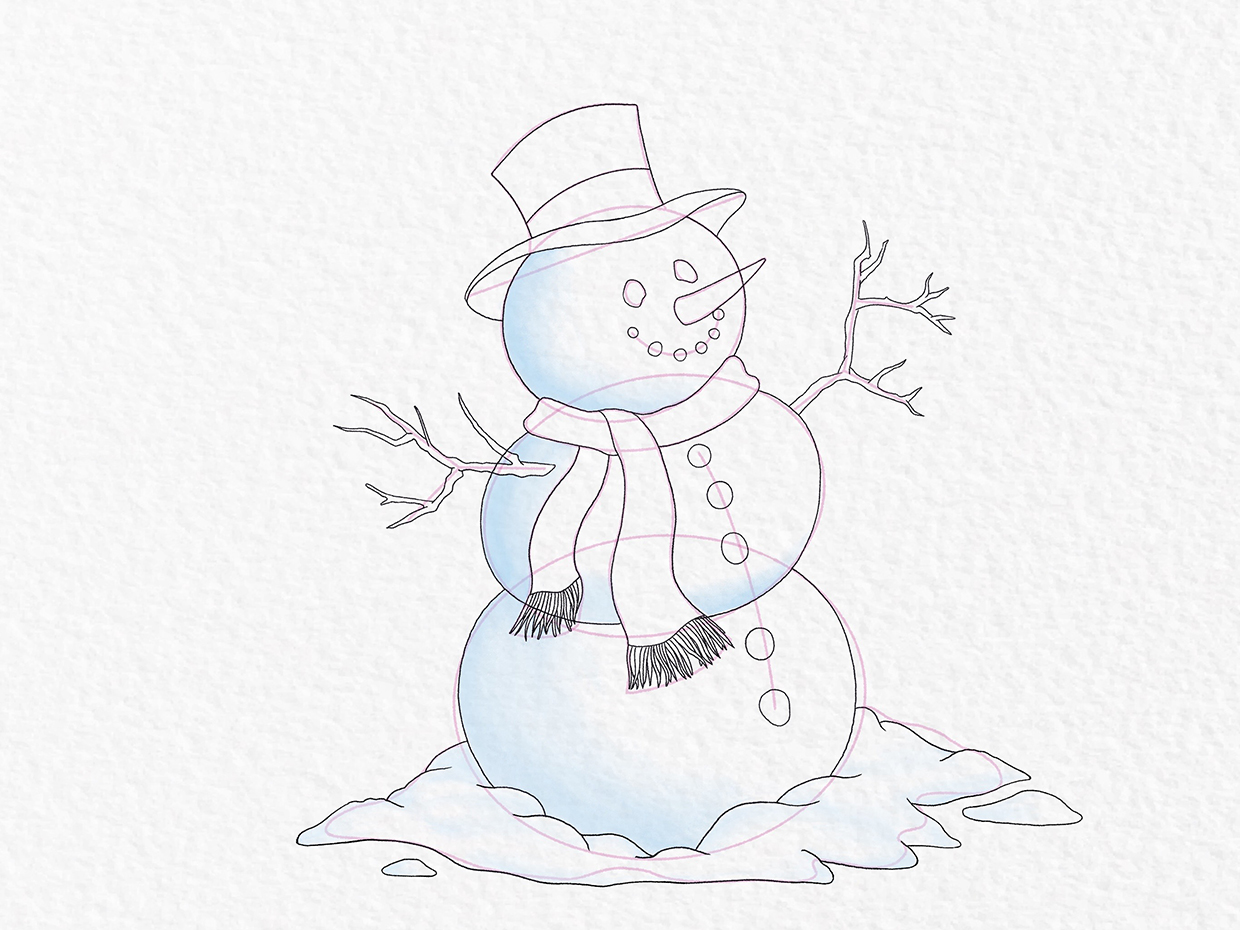
Start with the melted pile of snow at the bottom by using a series of curves and wiggly lines. Add in a couple of smaller ‘blobs’ of snow.


Step 8

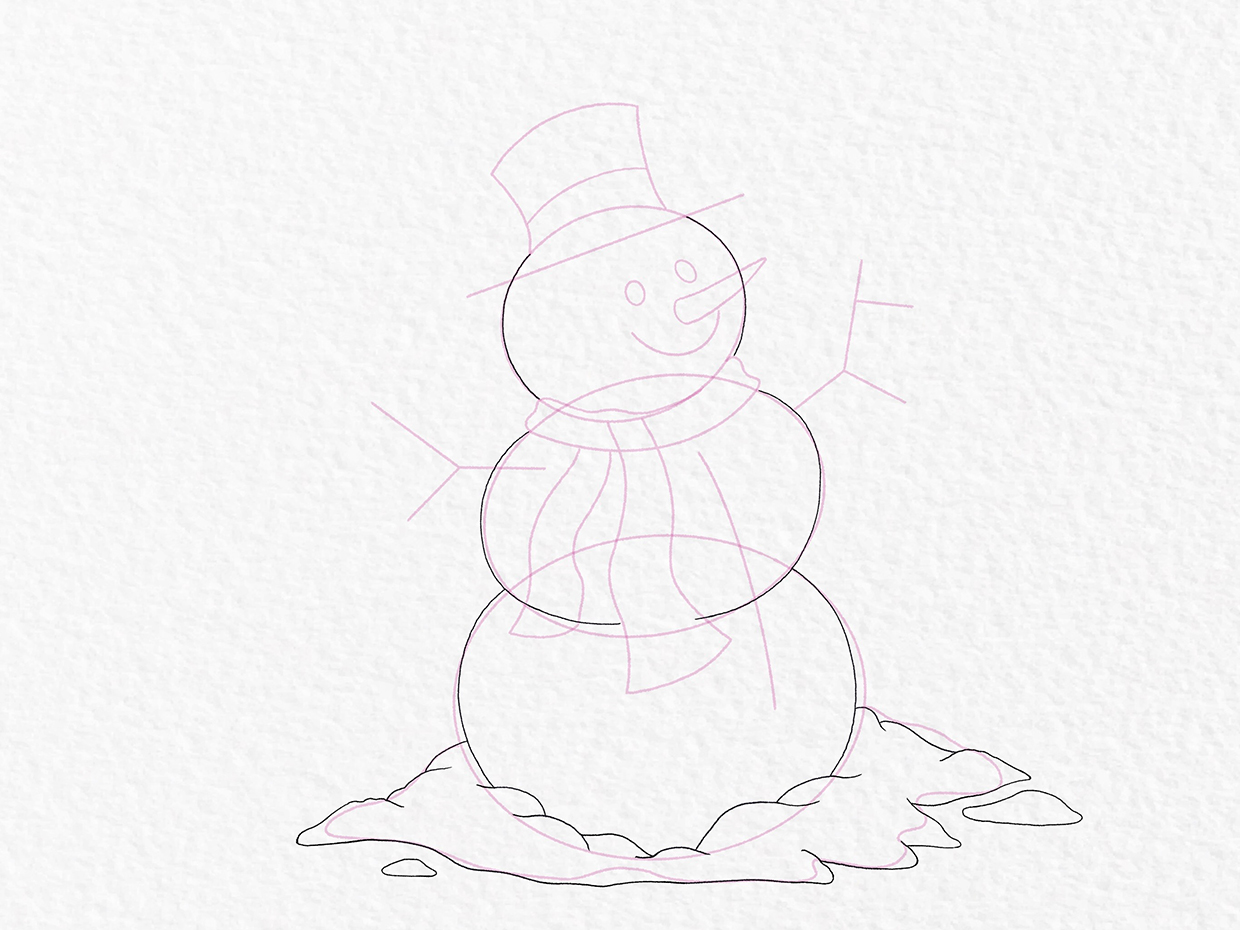
Finalise the body

Snowman drawing – step 8

Like with the snow at the bottom, go over the lines of the body to firm up the design of your snowman. Leave the lines open where the hat overlaps the head and at the edges of the scarf. Don’t worry if you forget to leave the lines open – we can erase them later.


Step 9

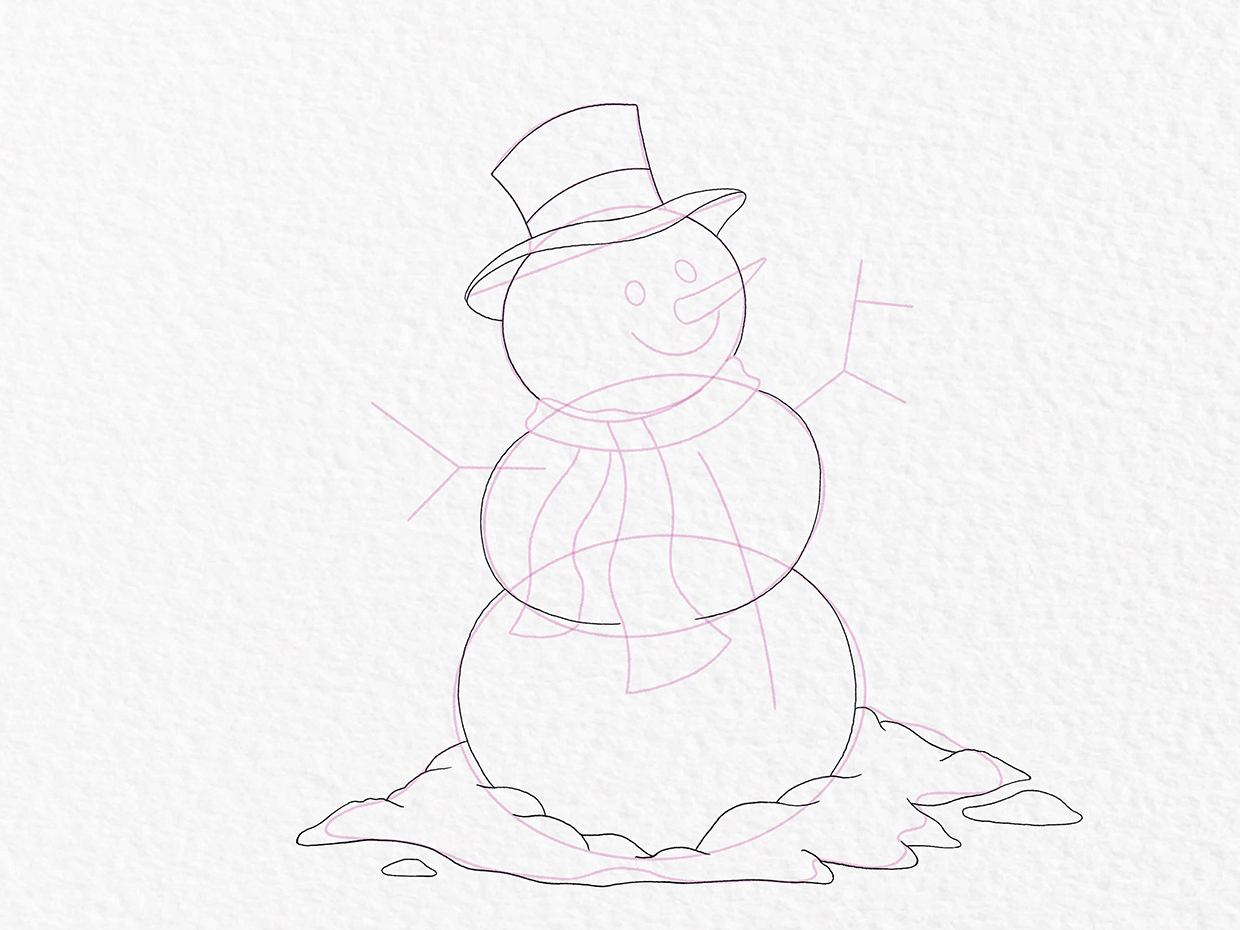
Add detail to the hat

Snowman drawing – step 9

Shape the top hat by curving the brim. Curve the brim downwards in the centre of the hat and wrap it around the back of the snowman’s head, tapering the brim at each side.


Step 10

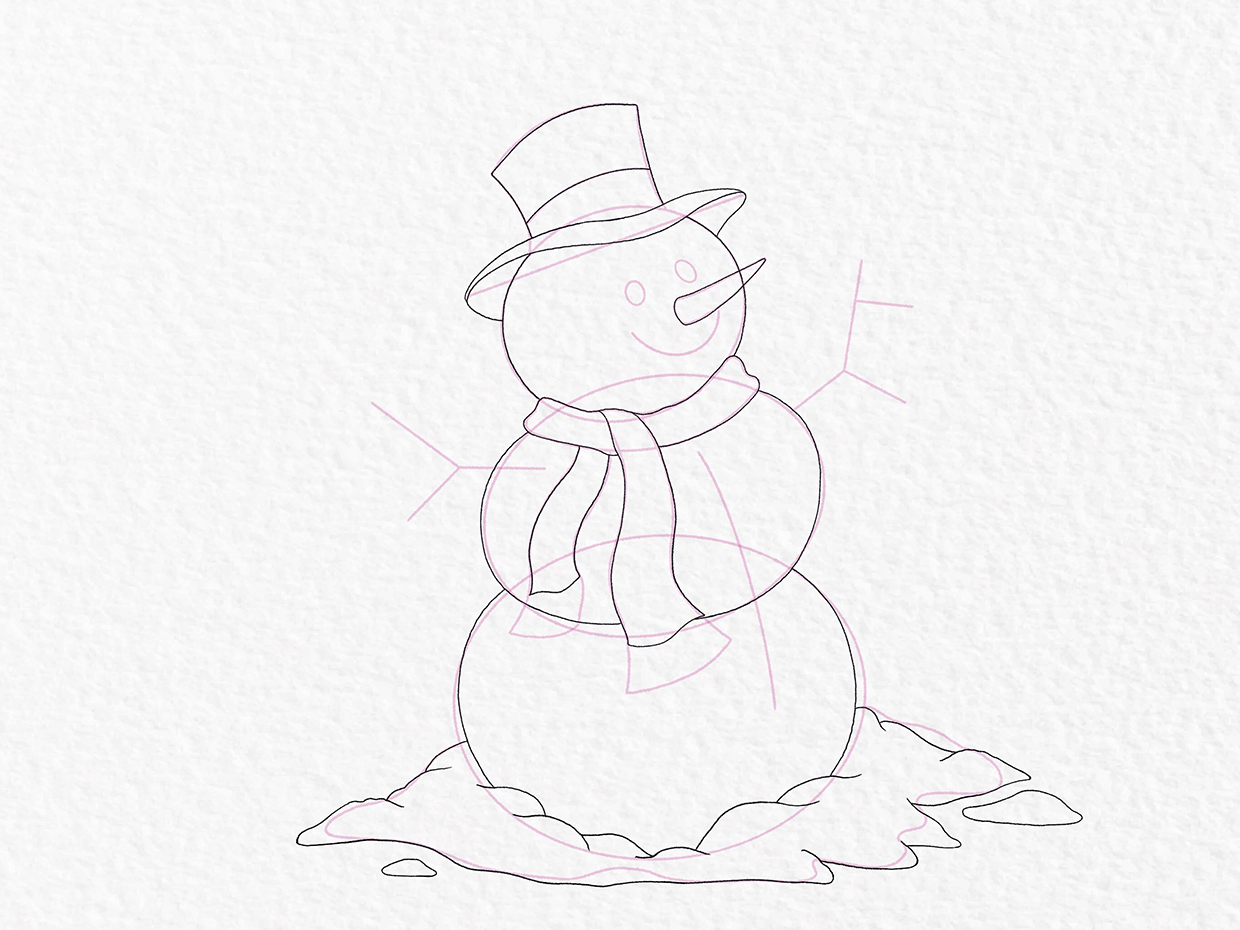
Go over the scarf and nose

Snowman drawing – step 10

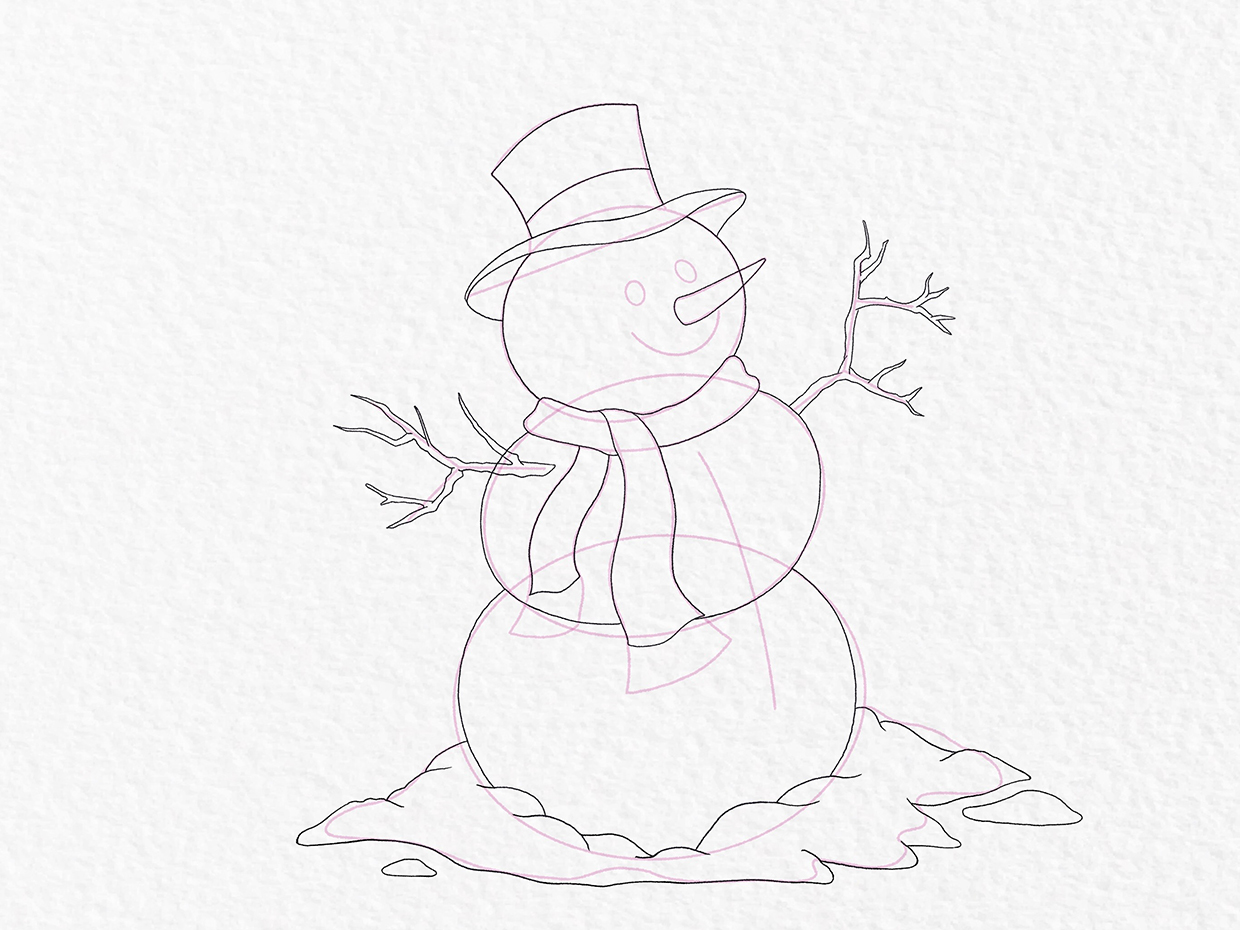
Go over the outline of the carrot to create the nose. If you drew the construction lines carefully, you won’t need to tweak the shape of the nose at this point.

Create the impression that the scarf is tied, by extending the line of the front ‘tail’ to the top of the horizontal section. To make the scarf look like it’s bunching up around the snowman’s neck, bring the sides inwards – at the point where the scarf sits between the head and body.


Step 11

Add detail to the arms

Snowman drawing - step 11

Extend the branches by adding new growths along the length. Use slightly wiggly lines to emphasise the natural element, and taper the side branches into a point at the ends.


Step 12

Add a cheeky grin

Snowman drawing - step 12

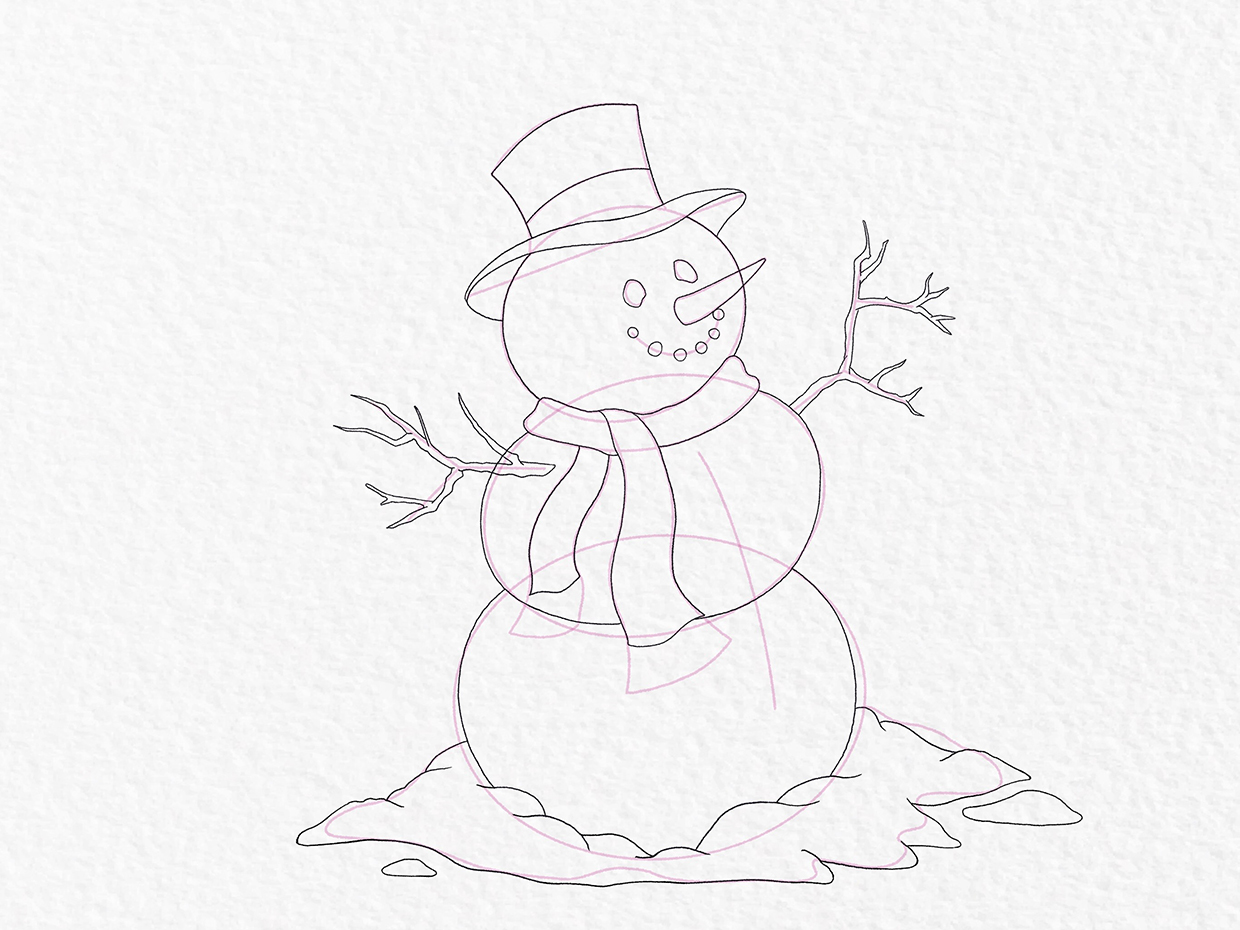
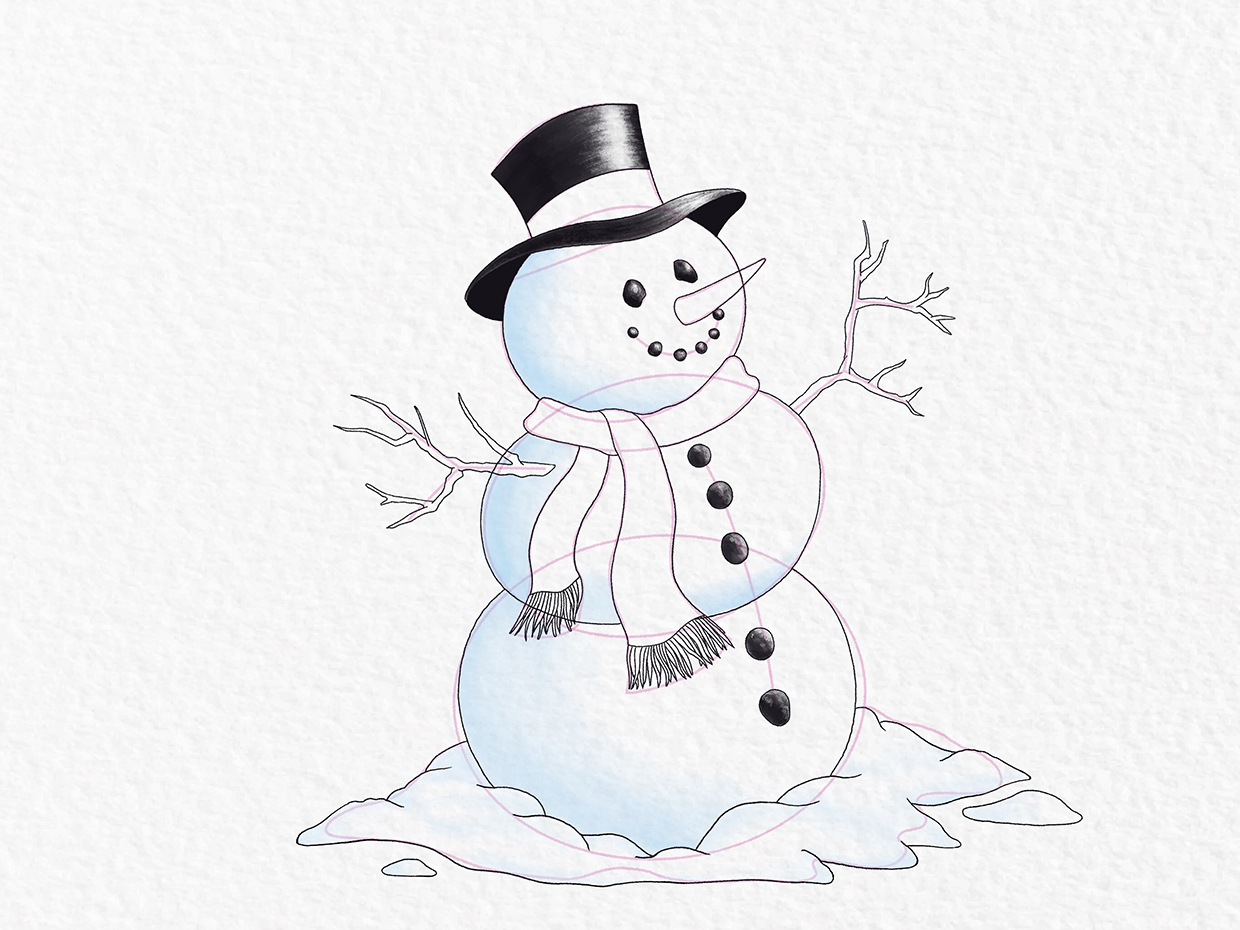
Go over the eyes with two wonky circles (coal is very rarely perfectly round).

Along the length of the smile, add six more irregular-shaped circles. Space them ever-so-slightly closer together on the right-hand side, as this helps to emphasise the roundness of his head, and that he’s slightly facing away from us.


Step 13

Sketch out some buttons

Snowman drawing - step 13

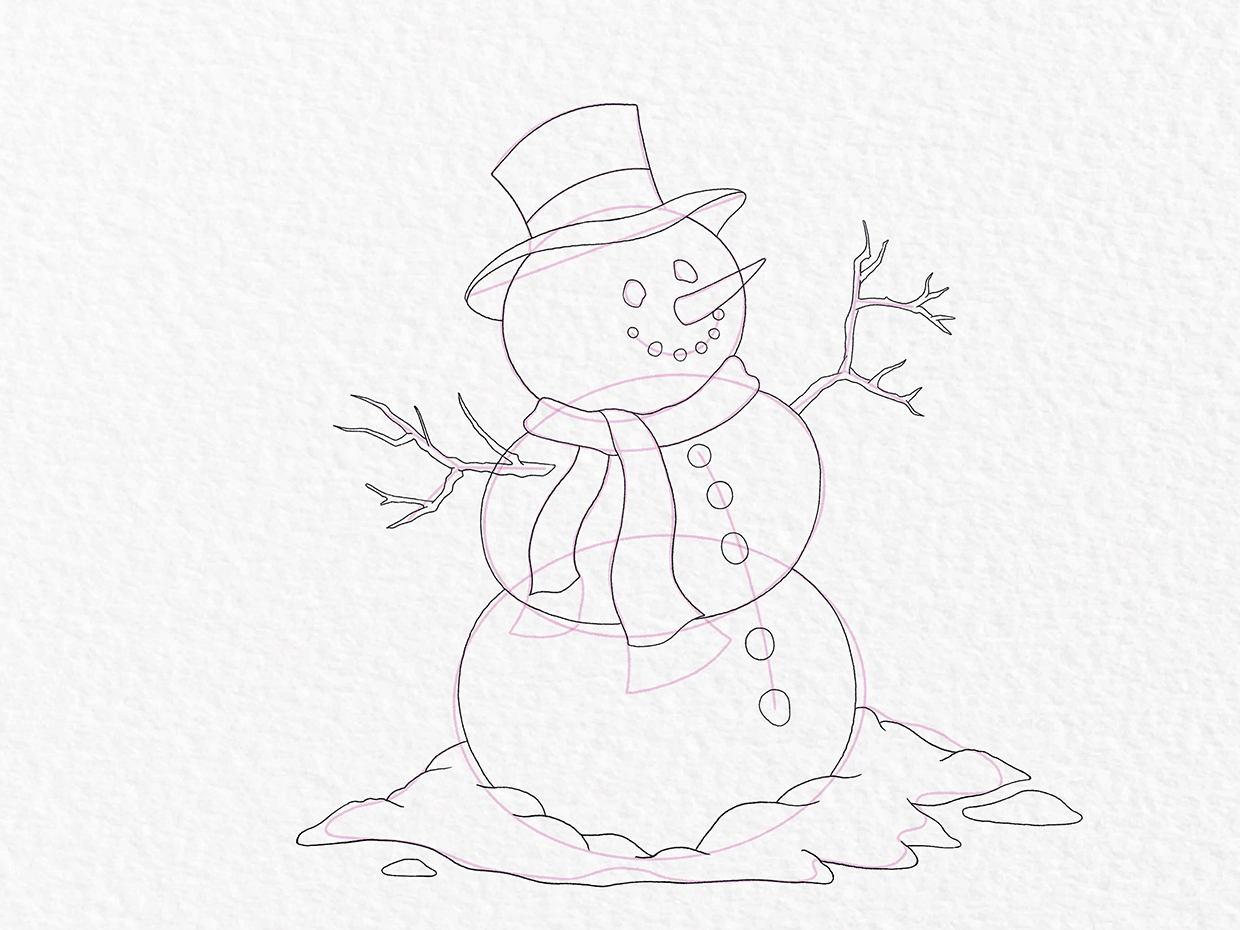
Add five buttons: three at the top and two at the bottom. Position them along the line, and like the eyes and mouth – make them slightly irregular in shape.


Step 14

Add some tassels

Snowman drawing - step 14

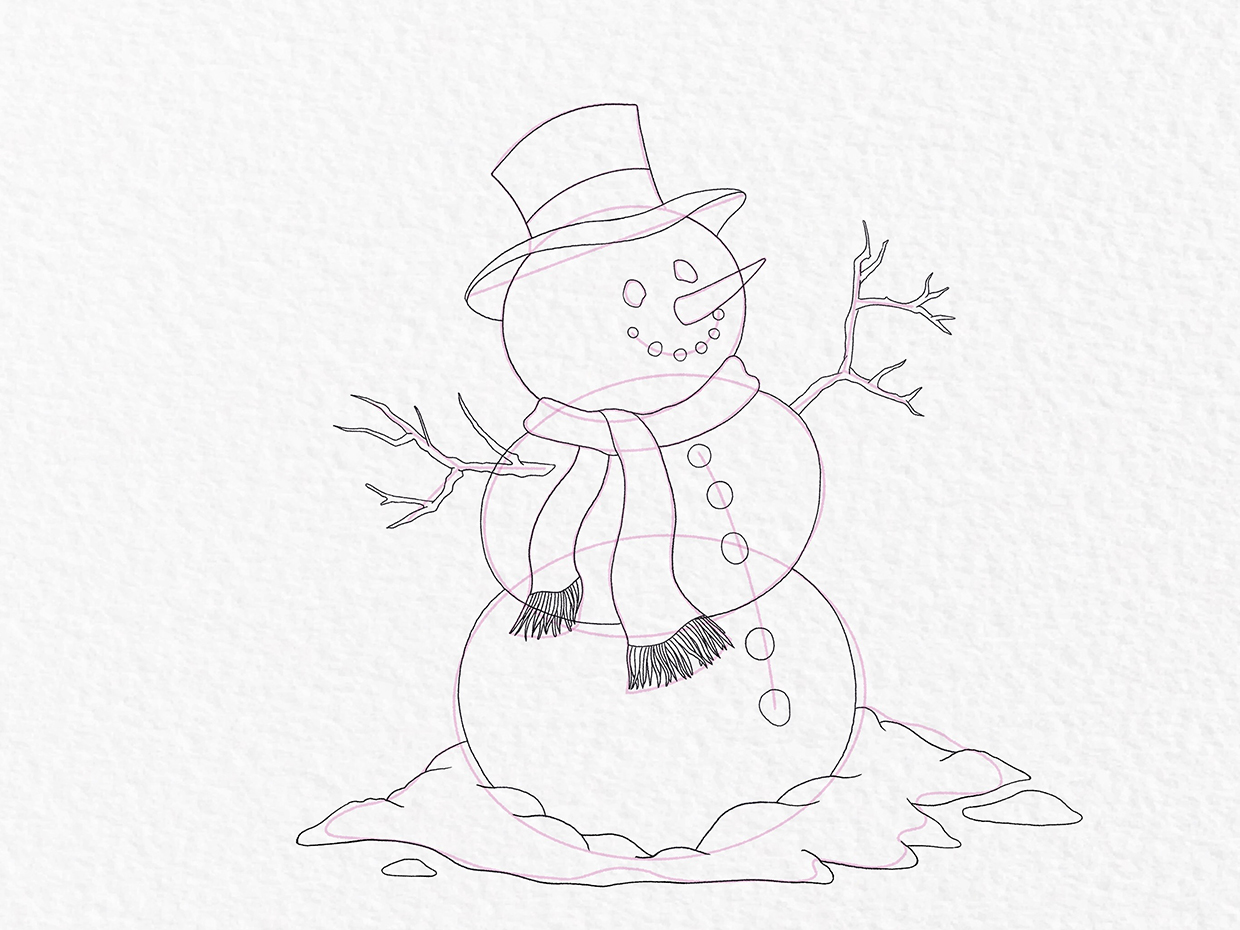
Add some flourish to the scarf by drawing in some tassels, tapering each into a point at the end. Make them look more natural by bunching some up, and overlapping others.

How to draw a bird

Looking for more easy drawing tutorials? Why not learn how to draw a bird to perch on the end of your snowman's arms?


Step 15

Render your snowman

Add a light source to create depth

Snowman drawing - step 15

Now that all the details are drawn, it’s time to colour in (render) your snowman.

Start by deciding on a position for the light source. For most outdoor drawings, this would naturally be the Sun. For this snowman drawing, we have positioned our imaginary Sun to the top-right of the snowman. This means that every part of the snowman that faces the Sun will be lighter, while the parts that face away from the Sun will be in shadow.

With this in mind, go ahead and add some shading along the left-hand side of your snowman. Extend the shading at the bottom of each of the three main sections, to accentuate the roundness of Frosty.


Step 16

Go bold

Snowman drawing - step 16

Colour in the coal and hat. When you’re colouring in the coal buttons, make your shading slightly dappled and uneven, adding a highlight in the top-right of each piece of coal.

Likewise, for the top hat, add a highlight on the side facing the Sun, curving it round to follow the shape of the hat and brim.


Step 17

Add some festive cheer

Snowman drawing - step 17

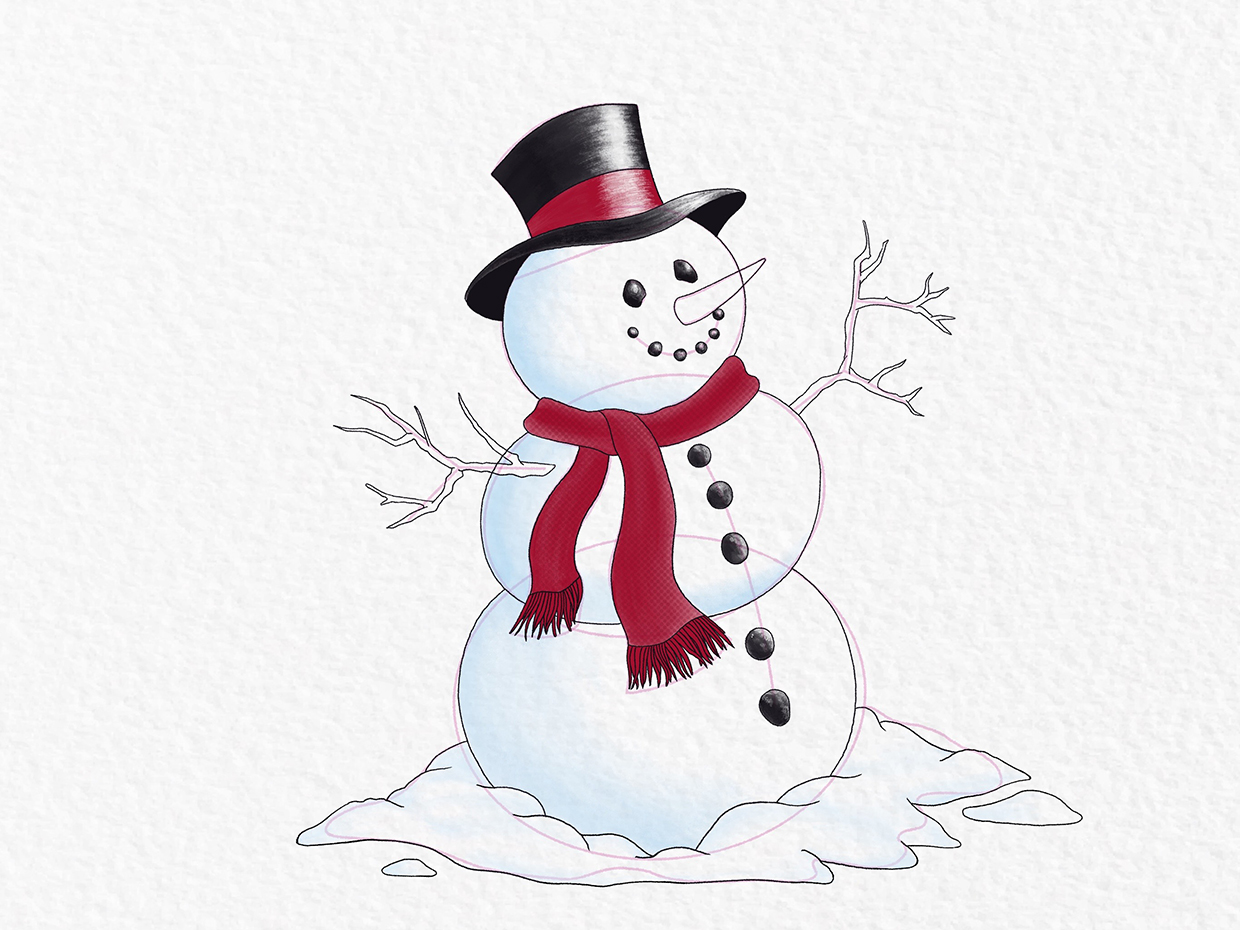
Colour in the scarf and band on the top hat. Use coordinating colours to bring balance to your artwork, or simply use whichever colours you fancy!


Step 18

Colour in the branches

Snowman drawing - step 18

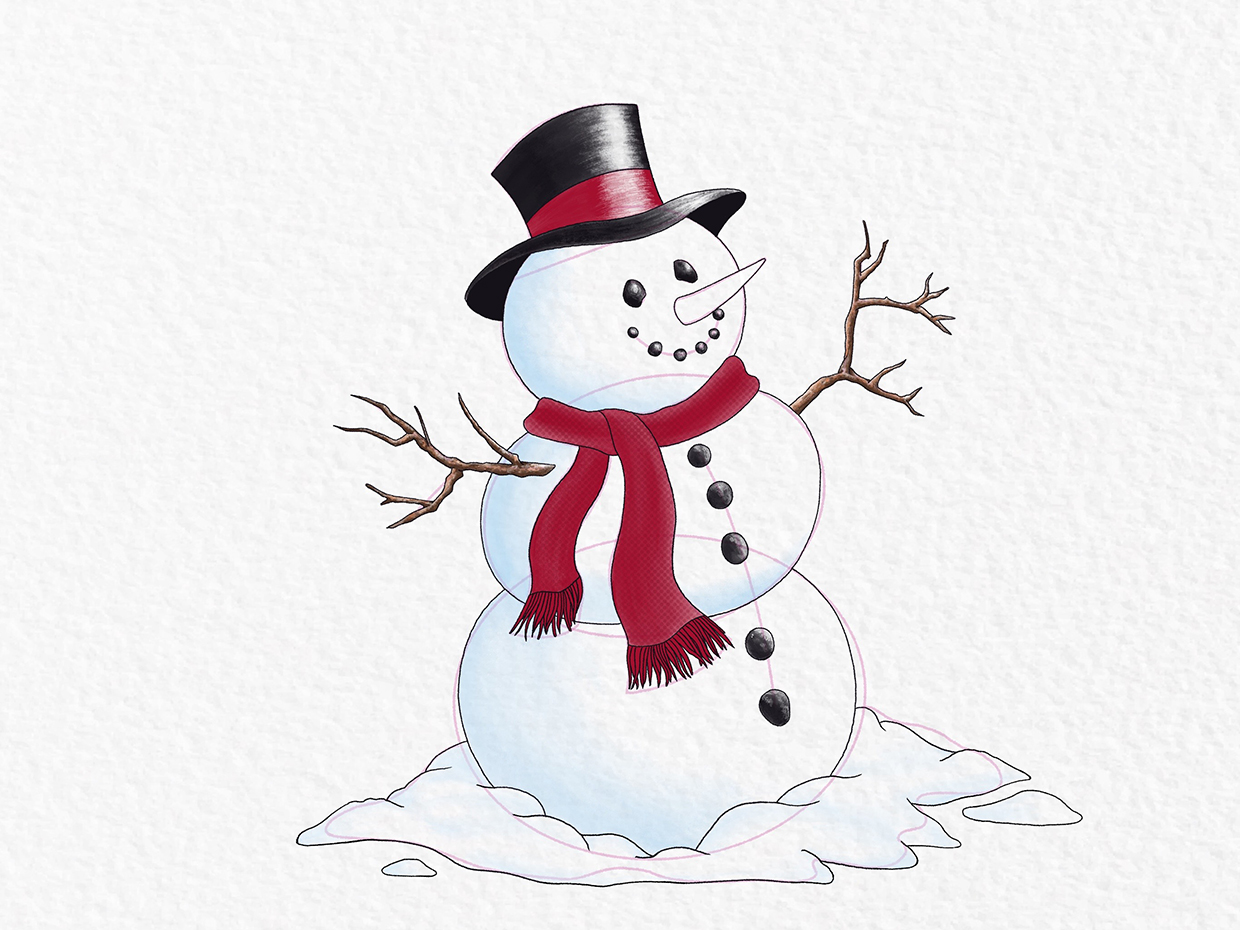
Use natural shades of brown to shade in the snowman’s arms, with darker tones on the underside and lighter tones on top. Mix the colours together to create a mottled, patchy effect. This helps create the texture of the bark without too much effort.


Step 19

Finalise the snowman’s nose

Snowman drawing - step 19

Add some final detail to the piece by colouring in the nose and drawing some striations over the top. Use short, curved lines (angling the curves towards the widest part of the carrot) to emphasise its round shape.


Step 20

Clean up your snowman drawing

Snowman drawing - step 20

Finally, erase the construction lines (if you’ve not done so already) and enjoy your completed snowman drawing!


How to draw a snowman the easy way

Drawing a snowman is easy once you know how to construct the basic form. Start by sketching out three ovals, gradually build up your snowman by deciding where to position key elements, then add detail to your snowman drawing. Go over the construction lines by using the tool of your choice – a black 0.5mm fine liner pen works well – finalising the features as you go.

Decide on the direction of your light source (the Sun) and add some dimension by shading on the sides facing away from the light source, making your snowman pop from the page. Using a light blue (rather than other colours, like grey) to shade in the snow helps add to the frosty feel of the whole picture.

This easy snowman drawing would make fantastic card toppers for your DIY Christmas cards, but we think it also looks pretty great by itself. This is a brilliant project to hone your drawing skills, without having to tackle a big design.

Get into the spirit of Christmas with more drawing tutorials on Gathered

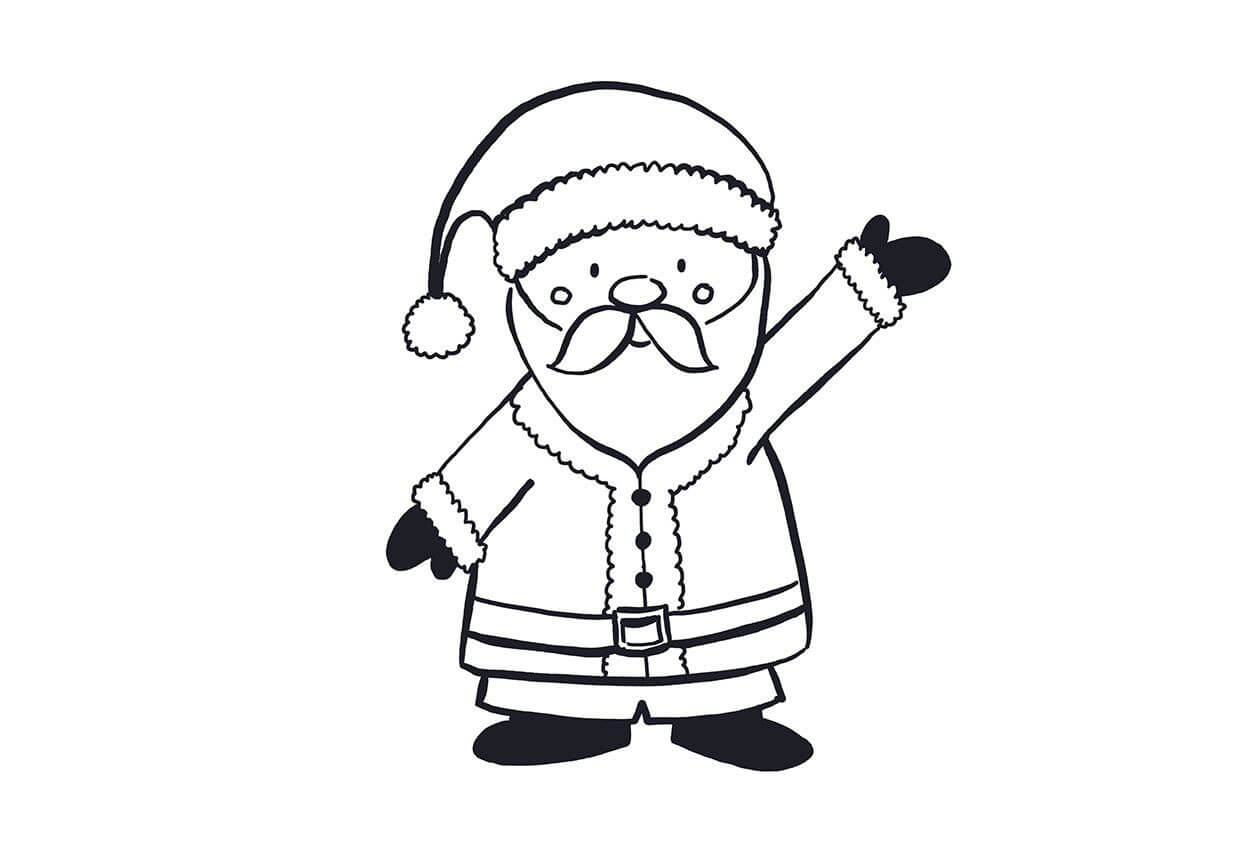
As the nights draw in, the winter months are the ideal time to slow down with some well-earned me-time. If you’ve enjoyed this snowman tutorial, how about creating a partner for Frosty, with this adorable Santa drawing tutorial?

How to draw Santa