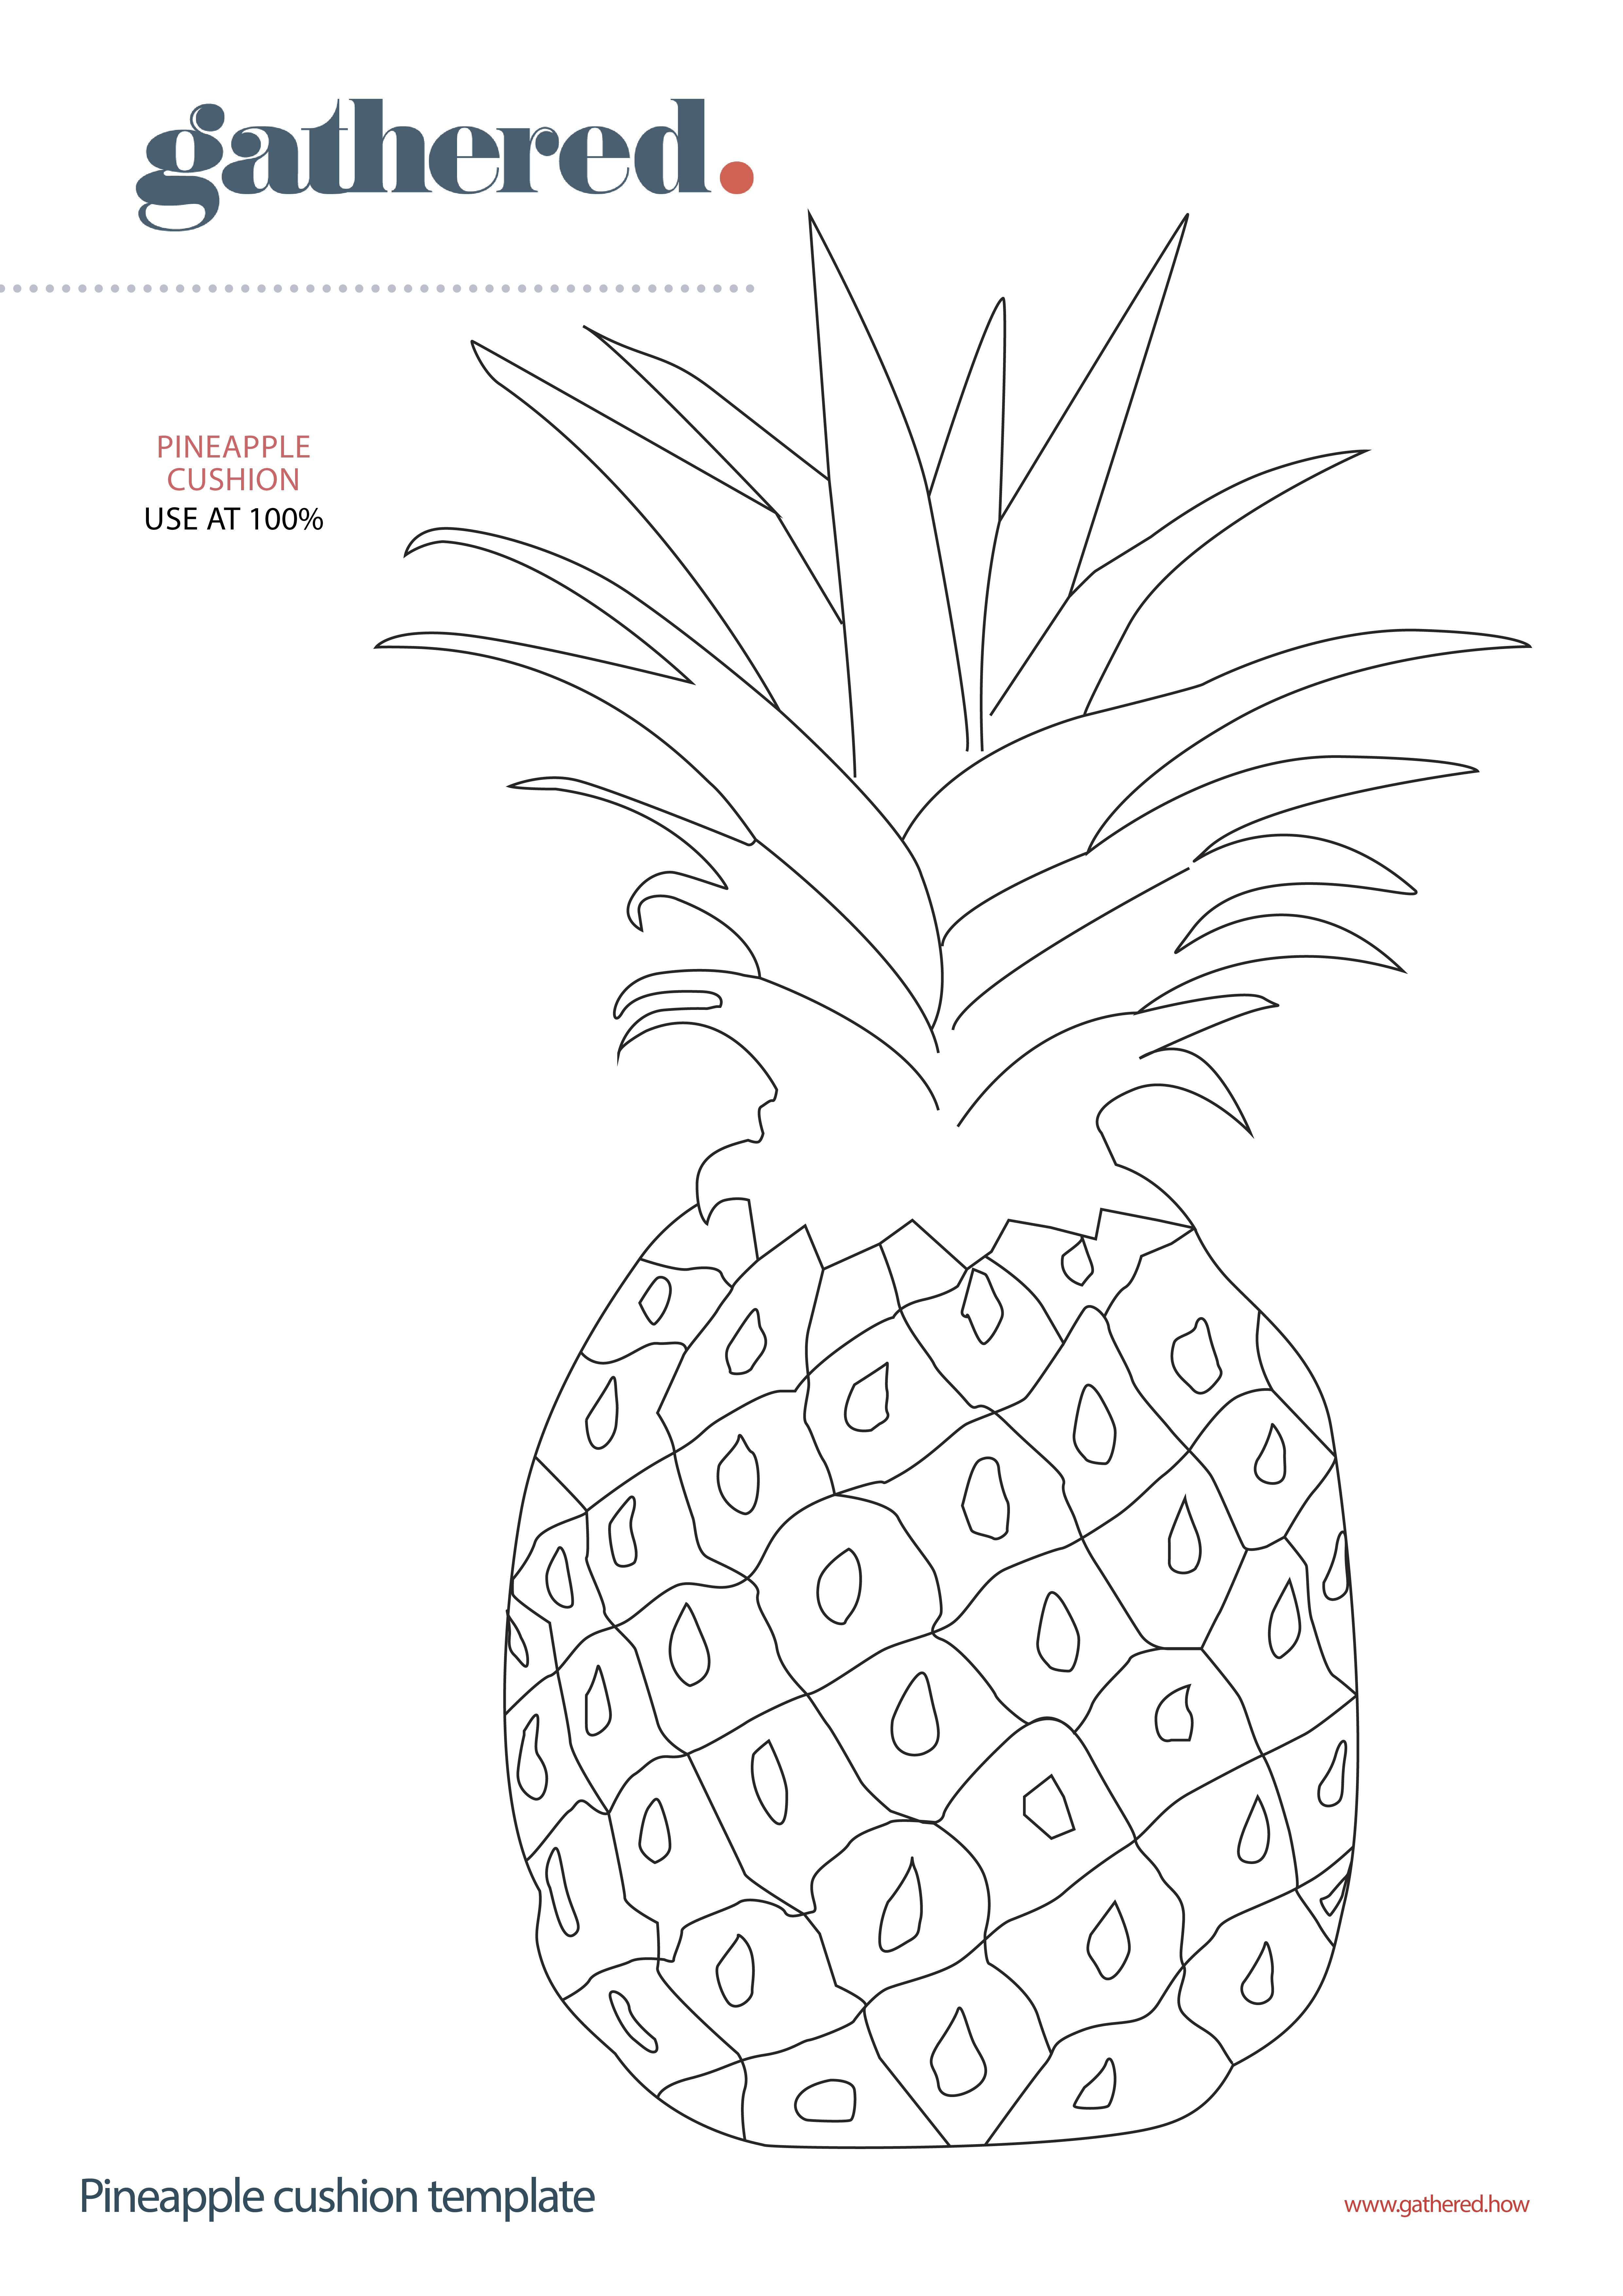
Step 1
Copy the pineapple cushion template using a black marker pen. On the reverse side draw over the black lines with a soft pencil. Place the design, marker side up, onto the soft cut lino block and draw over the black lines. This is to transfer the design to the block. Go back over any lines that are faint so you can see them when cutting.
Step 2
Cut away all the black line areas using the cutting tools. It’s best to start with a thin cutter to work around the outline first to create an edge, then cut into the lines on the design. Use a thicker cutter to cut away larger areas on the outside. Take your time as slipping could mean ruining your design.
Step 3
Trim around the stamp with scissors leaving 3cm (1¼in) of board to enable you to hold and position it when stamping.
Step 4
Cut a piece of fabric 3cm (1¼in) larger than the cushion pad for the front of your cushion. To find the middle of the cushion, place the stamp onto the centre of the right side of the fabric and mark the top, bottom and sides with tailor’s chalk. This will help you position the stamp correctly when you’re ready to print.
Step 5
Cover your workspace in old newspapers and place the bench hook over the table edge. Squeeze out a length of ink about the width of the hook and use a brayer to roll over the ink. You’ll need to roll the ink quite a few times until it forms small peaks and the roller is well covered.
Step 6
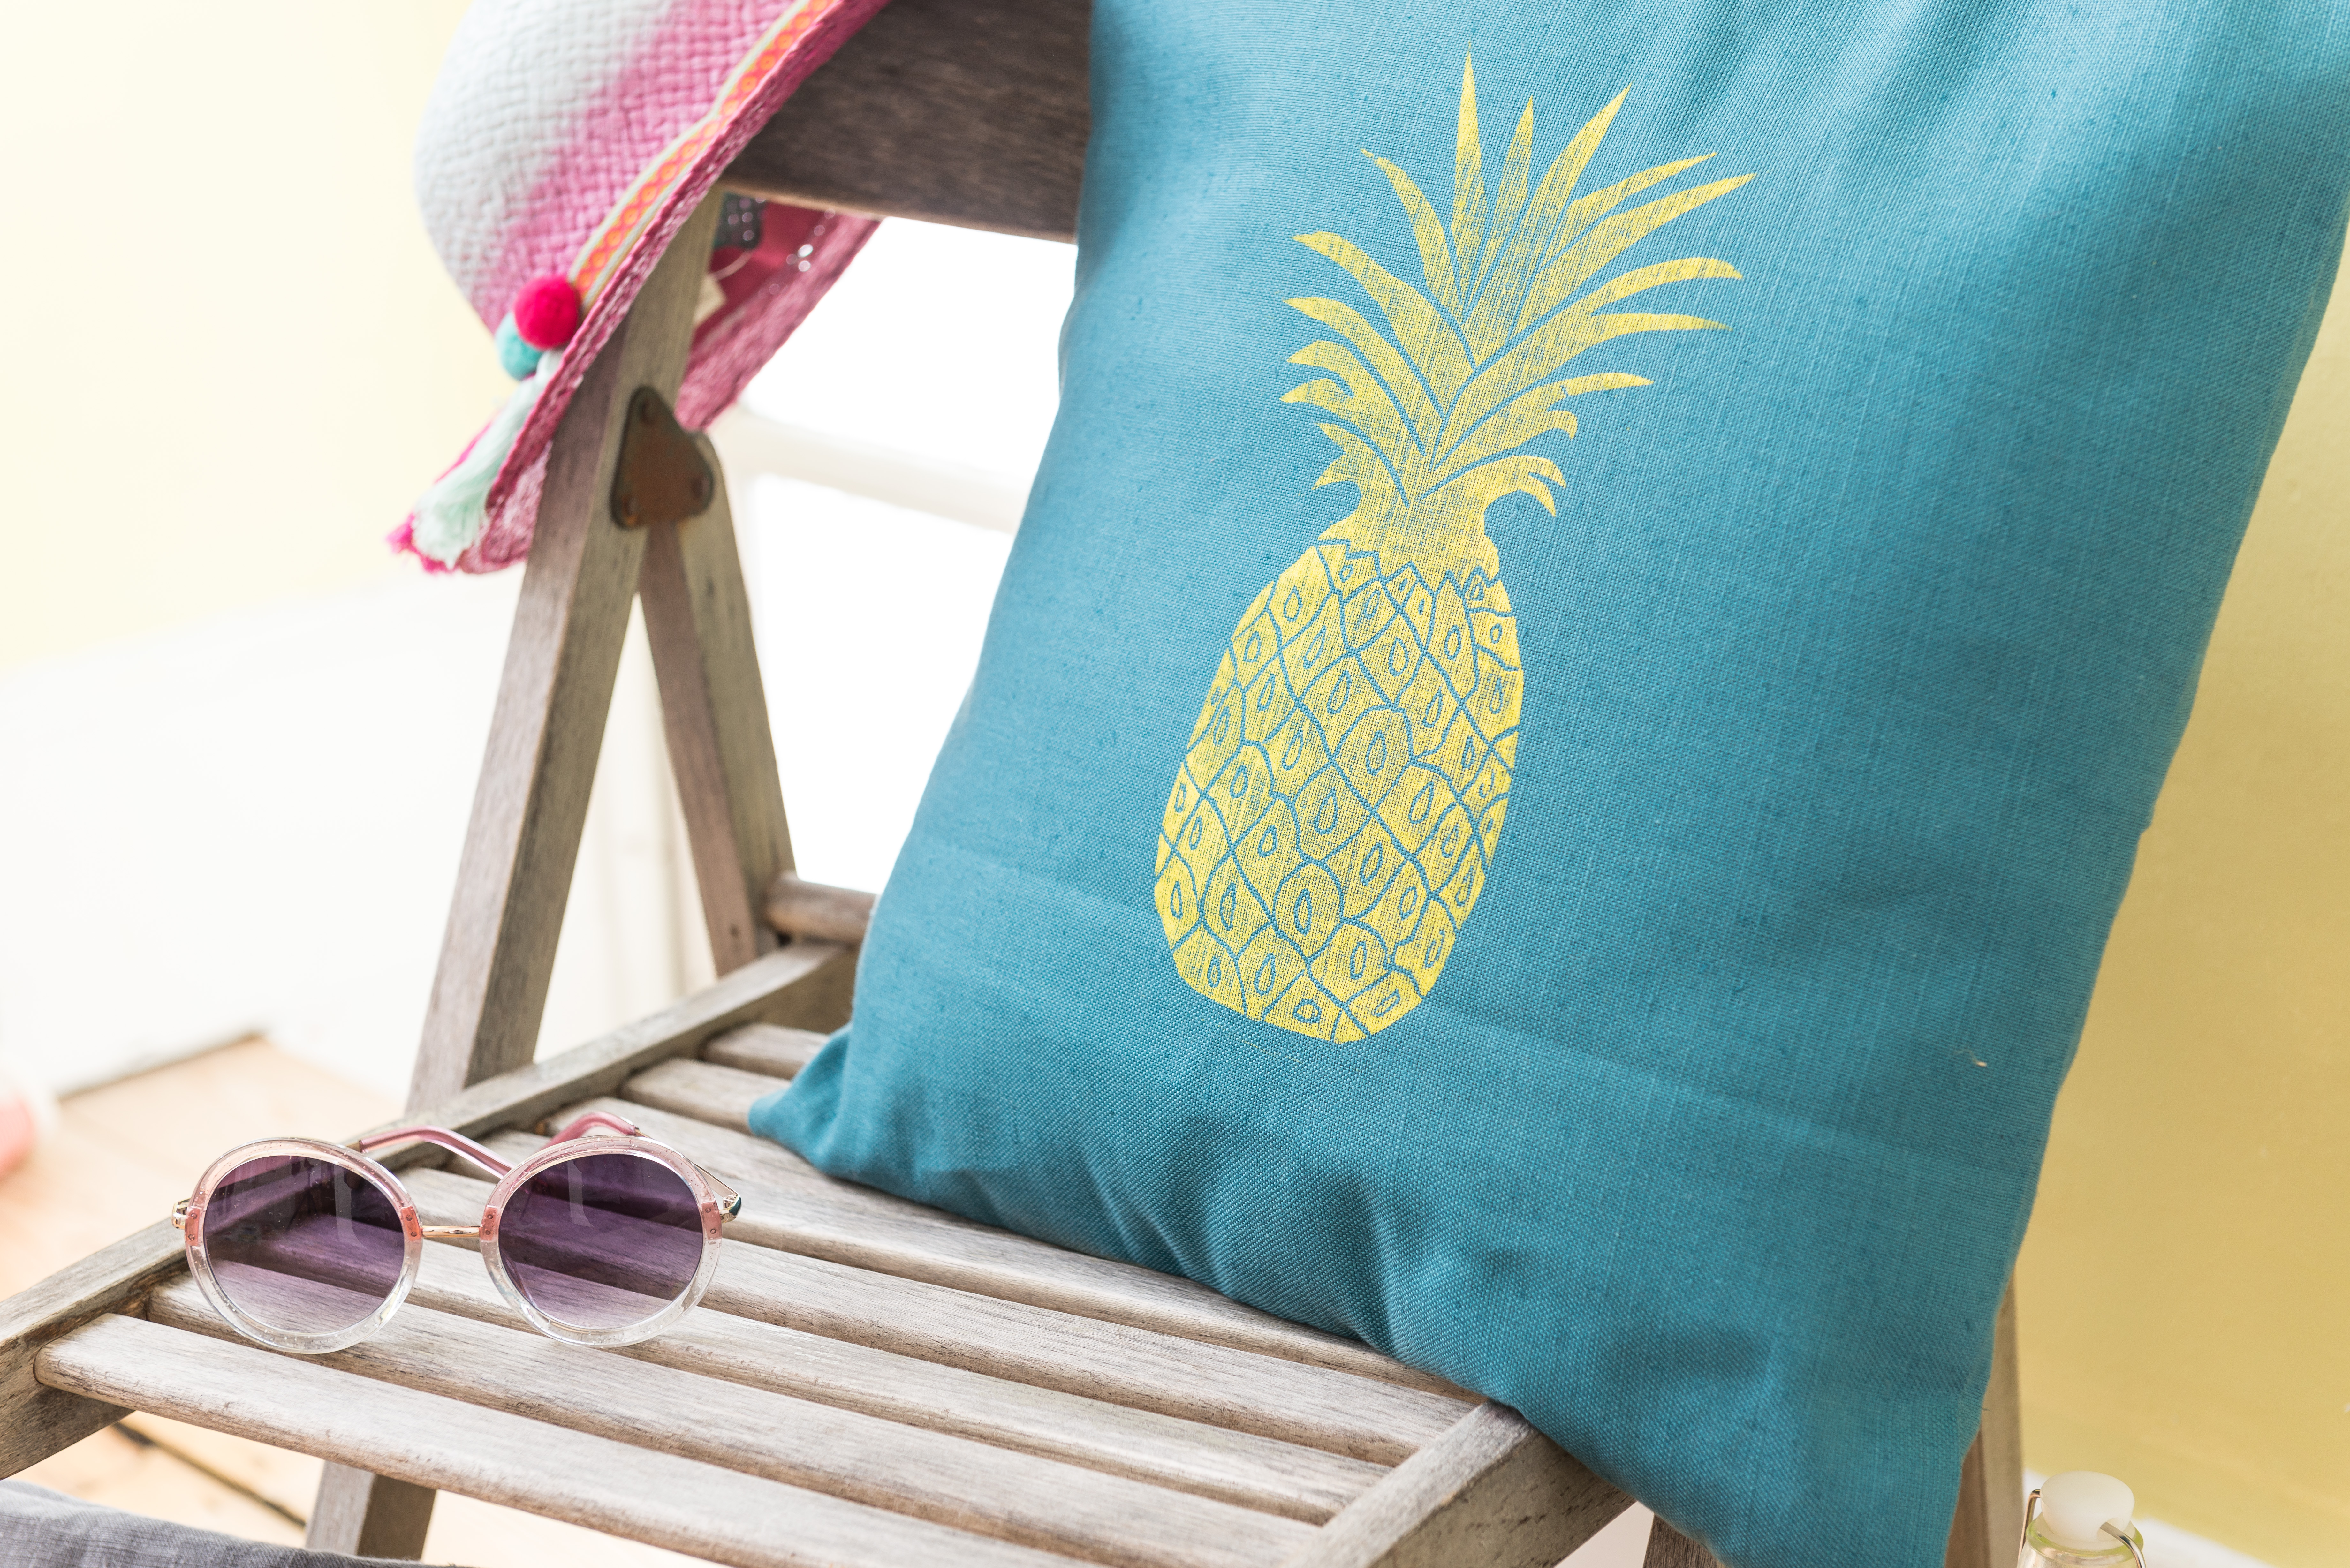
Roll the ink onto the pineapple stamp; you may need to go over this a few times to get good coverage, but try not to over ink or you’ll lose the finer detail. Stamp the image into the centre of the fabric, peel back the stamp and leave the paint to dry. It should be touch dry after 24 hours.
Step 7
Cut two pieces of fabric measuring 48 x 29cm (18¾ x 11½in). Fold the long edge over 1.5cm (½in) and sew to make a hem. Fold another 1.5cm (½in) and sew again. This makes an envelope opening edge. Repeat for the other long piece of fabric.
Step 8
Once the design is fully dry you can sew the cushion together. Place the front of the cushion design side up, then pin the two back envelope pieces onto it right sides down, making sure the ‘hole’ is horizontal to the design. Sew 3cm (1¼in) in around the edge of the cushion, press out the seams and clip the corners. Turn through, then insert the cushion pad, to finish.


