Snowflake drawing guide: how to draw a snowflake
Today, we’ll be walking you through how to draw a snowflake – from the very basic framework, up to something more detailed if you have the confidence to go a bit further.
This snowflake drawing tutorial covers everything from super simple snowflakes for young children right through to more advanced drawings for teens and adults. We’ll be building up from those simpler steps as we go, so this is a great activity for you and the kids to enjoy side by side!
Snowflakes are generally six-sided and symmetrical in nature. The best way to think about your design is that the gap between each of your six arms of the snowflake represent a ‘slice’, and each slice should look identical to the others.
If you start to feel that some sections don’t look quite right, it’s always best to bring back your ruler and use that to check if your measurements are slightly off; it’s nothing an eraser can’t fix.
We recommend using pencils to start with so you can erase any mistakes, but you can create your snowflake drawing using just about anything – once their designs are finished, why not let the kids add to their snowflake using glitter glue, pastels or paint?
To start with, we recommend using a lighter colour for your snowflake drawing – we’re using a sky blue colouring pencil – as this will make it easier to correct your work as you go and build up any shadows and details later on.
We think these snowflake drawings look great on Christmas cards and your family will absolutely love something hand-made from the kids, so clear the dining table, get out the art supplies and get ready to try out our easy snowflake drawing tutorial!
Ready to get started?
Use these links to jump to the section you want:
- Easy snowflake drawing
- Intermediate snowflake drawing
- Advanced snowflake drawing (extra steps for intermediate drawing)
Snowflake drawing materials
You will need
- A4 paper
- A clear ruler - so younger artists can see what they're doing
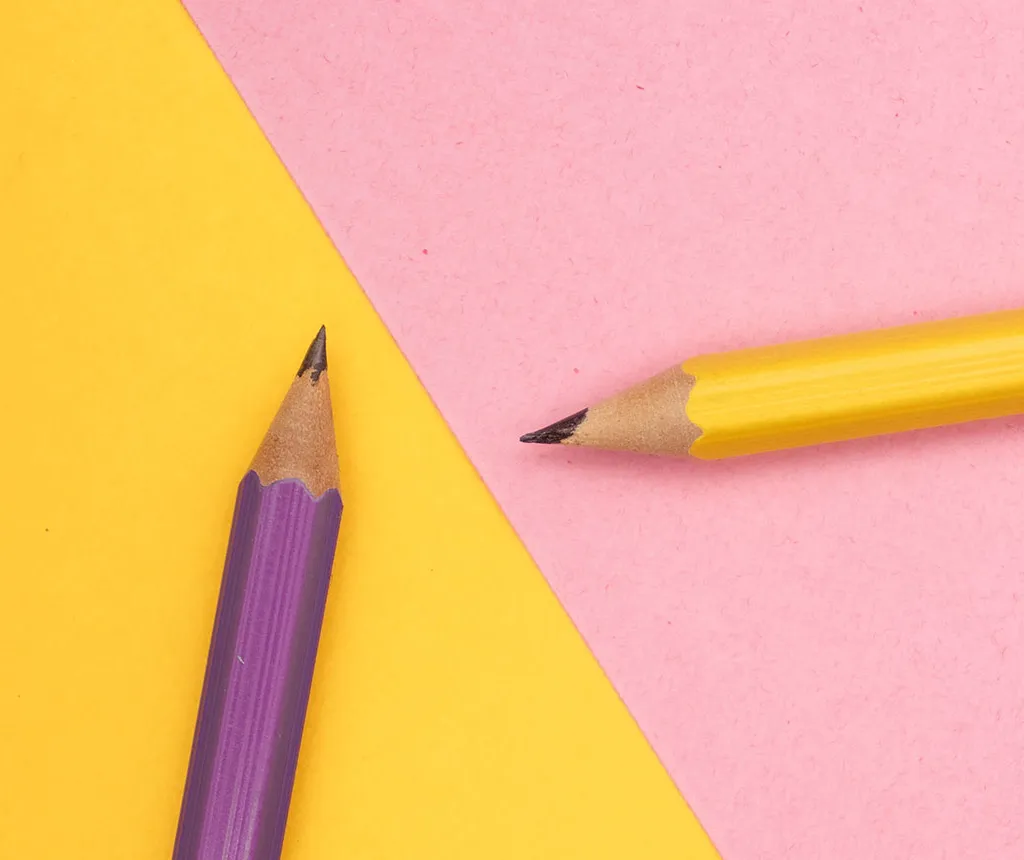
- Graphite or coloring pencils - we’ll be using a few shades of blue, as well as a purple and a light pink
- Eraser or putty ruber
- White charcoal pencil (optional) - to blend colours and add shine
Here's some of our favourite drawing products if you need to stock up on supplies.
SQUIRREL_PLAYLIST_10166736
If you're looking for more recommendations, check out our guides to the best drawing pencils and best colouring pencils.
How to draw a snowflake
Easy snowflake drawing
If you're looking to just doodle a quick snowflake without rulers, follow this simple snowflake drawing tutorial – it only takes just 3 steps!
Step 1
Draw a vertical line.

Step 2
Draw two lines forming a cross in the centre of your vertical line. You want the distance between the 6 points to be even, so aim for a slightly squashed X shape.

Step 3
Draw two V shapes at the end of each line. Each side of the V shape should be roughly at a 45º angle from the vertical line that it's attached to.


Delightful drawings
Celebrate the festive season with sketches! Find loads of inspiration in our list of easy Christmas drawing ideas.
Intermediate snowflake drawing
Step 1
We’ll now start on our intermediate snowflake drawing. Be aware that if you're going to do our advanced snowflake drawing you’ll be following these very same steps, just with a few extras at the end!
First, we’ll be drawing a small circle in the centre of our page. If you have a protractor, you can use this, or any household object you can trace around will work just fine – we’ve used the plastic cap of a spray bottle.
Add a small dot in the middle of your circle. Our first line will be going vertically from top to bottom, use the dot in the centre of your circle to plot where this line should be. Our line will be 14cm in length, with the 7cm mark on the ruler aligning with our dot.
When you draw this line, try to avoid drawing through the circle if you can – if younger artists find this tricky, you can always erase the mistake after.
Next, we’re adding two more angled lines on either side of our central line, the same length with the same technique.
If you want these lines to be perfectly aligned with one another, draw one line and measure the distance between one of its points to our first middle line, and use this to plot where your second line will go on the opposite side of the page.

Step 2
From the circle to their end, each of your six lines should be approximately 6cm in length.
Align the 0cm point on your ruler where the circle meets any line, then add some small markings at the 4cm and 5cm points, repeating this step for each of your six sides.
Where we’ve added the marking at the 4cm point, draw a line 1.5cm in length coming out from the line and pointing out, mirroring this on the other side – this should resemble a ‘V’ shape.
If you want these lines to be exactly mirrored, after adding the first line you can measure the distance between the central branch to the end of your new branch like we have here – for us, the distance is 1.5cm across – then add a dot for the same distance on the other side to guide where you draw your line.

Repeat this step on all of the 4cm markings on each of the six branches. Younger kids may find this step a little fiddly, so you may need to give them a hand for this bit.

Step 3
Next, we’ll be applying the same technique at our 5cm points – but this time our lines will be 1cm in length on each side.
Again, use the ruler to plot out the angles of your lines so they look nice and symmetrical.
Once this is done, take a look at the basic structure of your snowflake – if any lines don’t look quite right, you can always erase them and try again until you’re happy with how it looks.

Step 4
Now we’re going to add a small marking between each of our ‘slices’ of snowflake – in the gap between two lines – as we’ll be adding some spiky triangle shapes to build out the centre of the snowflake design.
Using your ruler, mark a point 2cm in length from the circle going upwards, between two branches. If you want to find the middle point where your circle should sit, use your ruler to measure the gap between your slices and find where the middle point should be – if your slices of snowflake aren’t equal distance between one another, then this distance may change with every slice, so we recommend measuring this for each section.

Add an angled line going down on either side from the dot back to the point where the bottom of your big branch meets the circle, once you’ve done this on either side this should resemble a pointy triangle.
Do the same for each of your slices of snowflake, and eventually you’ll have a pointy star-like shape in the centre of your design.

Step 5
The core snowflake is done, so now it’s time to add some fun details!
We’ve added diamonds at the end of each of the six points, with circles at the end of our triangles, as well as a small additional branch on each of the six branches.
What you choose to add here is up to you, so get creative! Why not try using different colour pencils to add some of the extra details to make your snowflake more exciting?


Put your pens down and pick up some scissors instead for some Christmas crafting – learn how to make paper snowflakes with Gathered!
Advanced snowflake drawing
Step 6
The basic part of the tutorial is complete, so now it’s time to add a little more to your snowflake if you want to build yours out and make it more detailed and realistic!
Make sure your pencils are freshly sharpened for this step as we’ll need a finer point to make our snowflake look it’s very best. While you’re doing this, the kids can get to work decorating and customising their snowflake as much as they like.
First, we’ve added some extra details to the middle of our snowflake design, with lines inside the triangle and some diamonds in the circle, but what you choose to do here is up to you!
We also want our snowflake to be a little thicker, so we’ve added some extra branches to make the snowflake shape fuller.

Step 7
Now, we’ll be adding an outline to our existing snowflake shape to build up its structure – the thickness of the outline is up to you, we’ve opted for a thinner, sharper snowflake, but if you want something a little chunkier in shape you can do this too.
It’s also a good opportunity to add any further details to the outline of your snowflake if you want to – we want the points of our snowflake to look really sharp, so we’ve added more of a triangle shape to the branch points, resembling the tip of a sword.

Step 8
Next, we’ll be using our colouring pencils to add both colour and depth to our design.
We’re using a few different shades of blue, as well as a purple and pink to show a change in colour as the edges of the snowflake catch the light.
Use small brush-like strokes and gentle shading here – we like to start with the lighter shades and build up gradually by then adding darker shades for shadow.
We’ve kept the basic lines in the centre of our snowflake but have made them darker with a deep blue to give a three-dimensional, embossed quality to each branch, adding purple and pink to some of the edges.
We’ve also added a lace-like pattern to the outside of our middle star shape.

Step 9
Our final step involves the optional white charcoal pencil if you’ve chosen to use it – go over the areas of your snowflake you’d like to be lighter, as well as the areas where light and dark look most pronounced; this will help soften the lines and give a light sheen to your snowflake, creating a frosty look.
If you’ve chosen to draw a bigger snowflake with thicker edges, you can achieve a similar effect by using an eraser to rub out sections and create highlights.

Finally, use a freshly sharpened pencil in a light shade to return to any of the edges that don’t look as crisp as you’d like, working in gently with your pencil – this will help the design look much tidier at the edges.

And there you have it – you now know how to draw a snowflake!
Now that you know the basic structure and rules around drawing a snowflake, you can adapt both your technique and design to whatever you like.
The circle in the centre of your design could instead become a hexagon, or maybe you’d like to add more off-shoot branches. You could even change the design of the pointed star shape to something more detailed and complicated if you’re up for the challenge!


Will it be a white Christmas this year? Even if it doesn't snow, keep the kids entertained by learning how to make fake snow – we've got three different ways to try!
Make snowflake drawings that are as unique as you are
The beautiful thing about snowflakes is that no two are alike! We recommend looking up snowflake macro photos to get some ideas for different designs – but remember, there are endless possibilities, so the most important thing is to play around and have fun!
Get technical with our Christmas tree drawing
Ready for your next Christmas drawing tutorial? Learn how to draw a Christmas tree with Gathered.