How to make a Christmas stocking
Want to know how to make a Christmas stocking with a cuff? We're here to help! Our series of Christmas sewing patterns and projects continues with this quick and easy DIY Christmas stocking sewing pattern tutorial by Rebecca Reid.
A Christmas stocking sewing pattern is a wonderful thing to make – you can make one for a young child and know that it will be brought out year after year. They might even pass it on to their own child!
Read on to learn how to make a Christmas stocking with our free Christmas stocking template...
How to sew a Christmas stocking – video tutorial
The good news is that this fantastic Christmas stocking sewing pattern is easy enough for beginners to sew, and we've created a video tutorial to guide you through the process step-by-step.
This will come in handy when you get to the trickier parts of the Christmas stocking sewing pattern.
By the end of this tutorial, you'll know how to sew a Christmas stocking and will probably make more than one!
How to make a Christmas stocking - top tips
We've used:
Unfortunately, the Jo Clark fabric we used is no longer available, but how about these other beautiful Christmas fabrics?
What you'll need:
- Main fabric: 45x60cm (18x24in)
- Cuff fabric: 25x66cm (10x26in)
- Lining fabric: 45x60cm (18x24in)
- Yarn (for the pom poms)
- Matching thread
- Sewing machine (You could hand sew these if you don't have a machine.)
- Basic sewing kit
Measurements
The finished stocking measures 47x24cm (18½x9½in)
Notes
- Use a 1.5cm (5⁄8in) seam allowance unless otherwise stated.
- Download your free Christmas stocking template PDF here.
If you're new to sewing, you might find it helpful to explore our collection of beginner's guides before you get started. Read our sewing for beginners, how to use a sewing machine, best sewing machines for beginners and sewing kits for beginners guides to get to grips with the basics.
How to make a Christmas stocking with a cuff – step-by-step instructions
Step 1
Cutting out your Christmas stocking pattern pieces
Trace around the stocking template from the pattern sheet and cut it out. This is just the main body of the stocking and includes a 1.5cm (5⁄8in) seam allowance.
Step 2
Cut the main fabric into two pieces, for the outer front and back of the stocking, 45x30cm (18x12in) each. Cut a strip 31x4cm (12¼x15⁄8in) for the hanging loop.
Step 3
Place the two outer pieces right sides (RS) together, then pin the stocking template centrally on top. Cut around it.
Step 4
Repeat steps 1-3 with the lining fabric.
Step 5
Now prepare the cuff fabric – cut it into two pieces, each 21x33cm (8¼x13in).
Step 6
Making the Christmas stocking body
With RS together, stitch the two outer stocking pieces together all round the edge, leaving the top open. Turn the RS out and press.
Step 7
Repeat this process with the two lining stocking pieces.
Step 8
How to make a hanging loop for your Christmas stocking pattern
Fold the loop fabric in half lengthwise and stitch together down the length using a 1cm (3⁄8in) seam allowance.
Step 9
Turn the strip RS out and press. Fold in half and pin the two raw ends together.
Step 10
Sewing your Christmas stocking’s cuff
Take one cuff piece of fabric and fold in half widthways with RS together and stitch down the 21cm (8¼in) side to make a tube. Repeat with the other piece of cuff fabric.
Step 11
Now take one cuff tube and slip it over the outer joined stocking RS together and matching the seam on the cuff with the left (heel) side seam of the stocking.

Step 12
Stitch together all the way round, press the seams open, then pull the cuff upwards so it extends above the top of the stocking outer.
Step 13
Repeat this with the other cuff tube and the stocking lining, but slip the raw ends of the hanging loop between the cuff and lining, centring it on the seams and matching raw edges so the loop hangs downwards.

Step 14
Assembling your Christmas stocking sewing pattern
Turn the lining and cuff wrong sides (WS) out and push the stocking outer and cuff inside it so that they are RS together and match the side seams. Stitch together almost all the way around the top of the cuffs, leaving an 8cm (31⁄8in) gap for turning.

Step 15
Take the stocking and turn it RS out through the gap, then push the lining side of the stocking into the outer.
Step 16
Turn the fabric edges of the gap under and press. Top stitch around the top edge to neaten and close the gap.
Step 17
Fold the cuff over to the RS of the stocking so that it overlaps the stocking and cuff seam a little.
Step 18
Fold the hanging loop upwards and slip stitch to the lining up to the cuff fold.

Step 19
How to add pom poms to your Christmas stocking sewing pattern
Make two pom poms 3cm (1¼in) in diameter using a pom-pom maker or two circles of cardboard. We have used acrylic wool to make ours as it fluffs up well, and tied them with three lengths of wool.
If you get stuck, take a look at our how to make a pompom tutorial, which will guide you through the process step by step.
Step 20
Plait the three lengths of wool together, then stitch down the cuff seam, making the pom poms hang at different lengths.
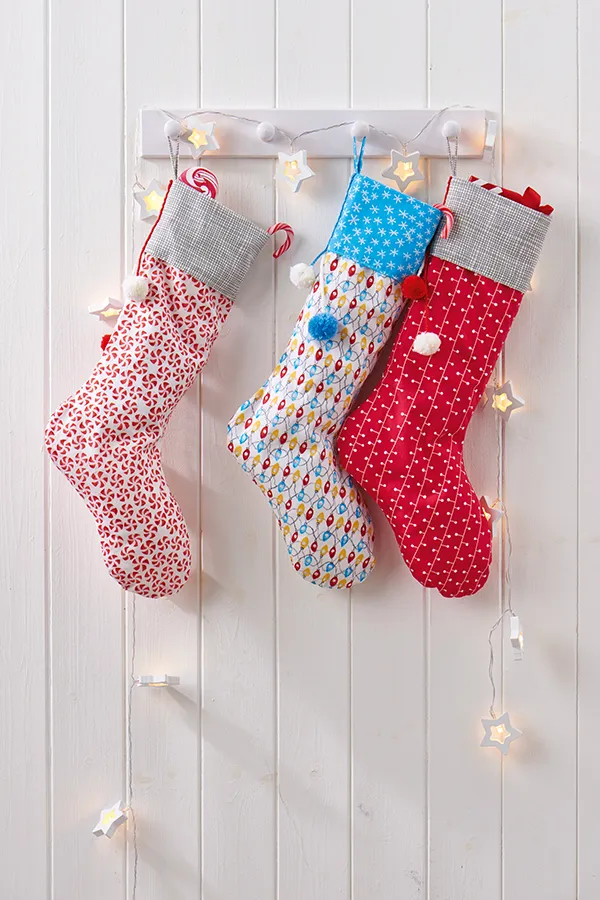
Congratulations! You now know how to make a Christmas stocking! We hope you enjoy whipping up a batch of these this festive season.
Make handmade festive decor with our Christmas stocking sewing pattern
Your Christmas decor isn’t complete until you have a handmade Christmas stocking hanging on the mantelpiece.
Our free Christmas stocking sewing pattern is easy to sew and can be personalised to suit your style and home.
Follow our tutorial and whip up your collection of stockings over the weekend with some mince pies on hand and Christmas music playing!
Time to fill your Christmas stocking pattern with gifts!
Looking for last-minute gift inspiration to fill your handmade stocking with?
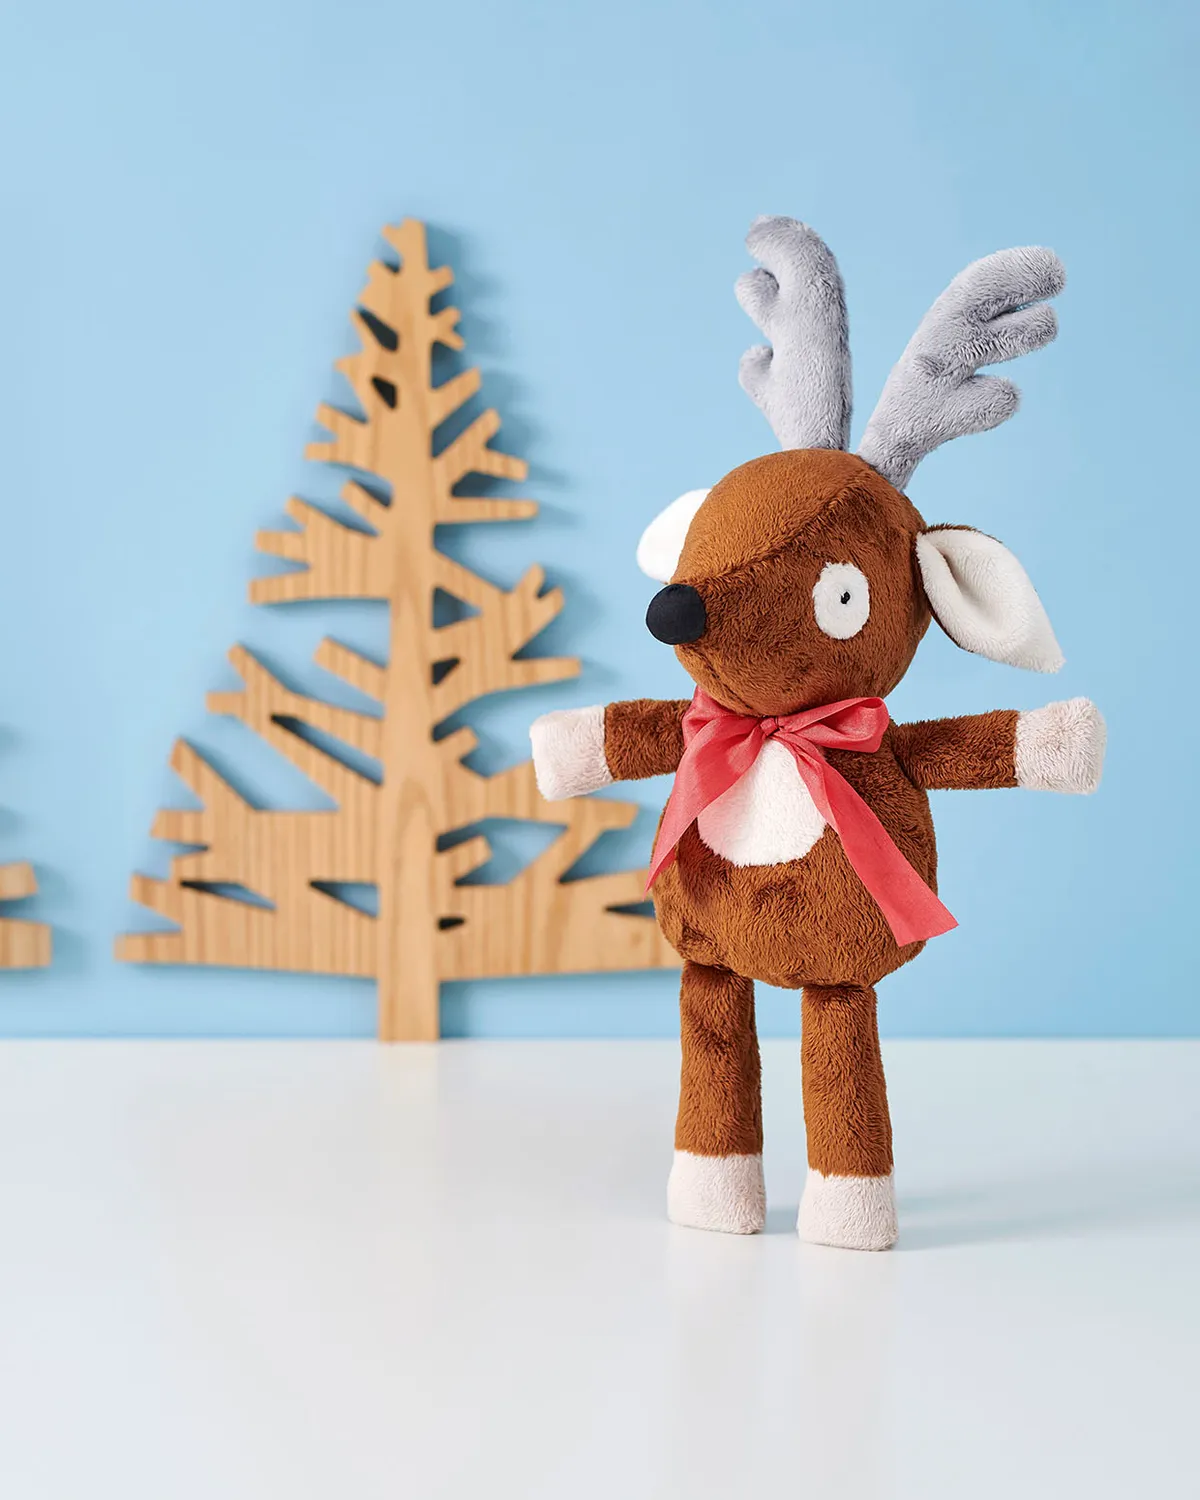
Take a look at our quick gifts to sew, which include our adorable reindeer pattern.