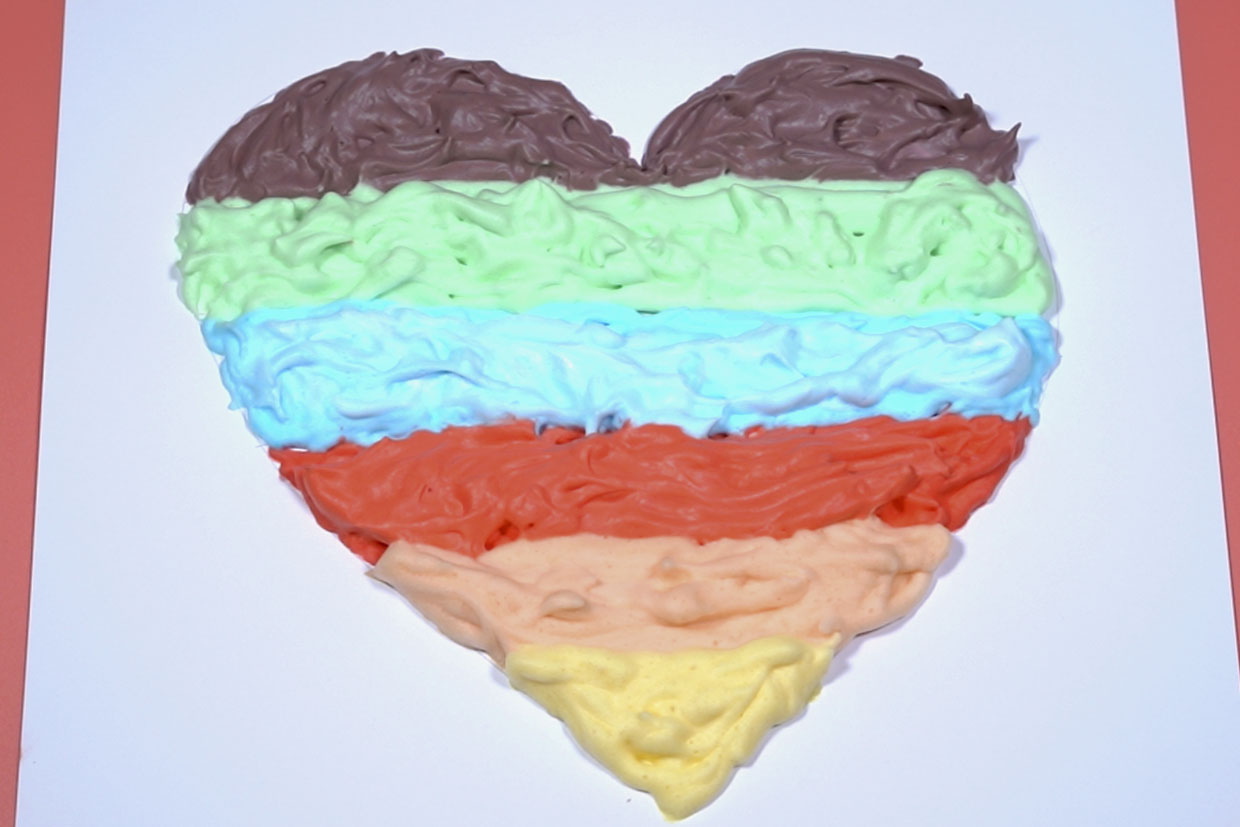
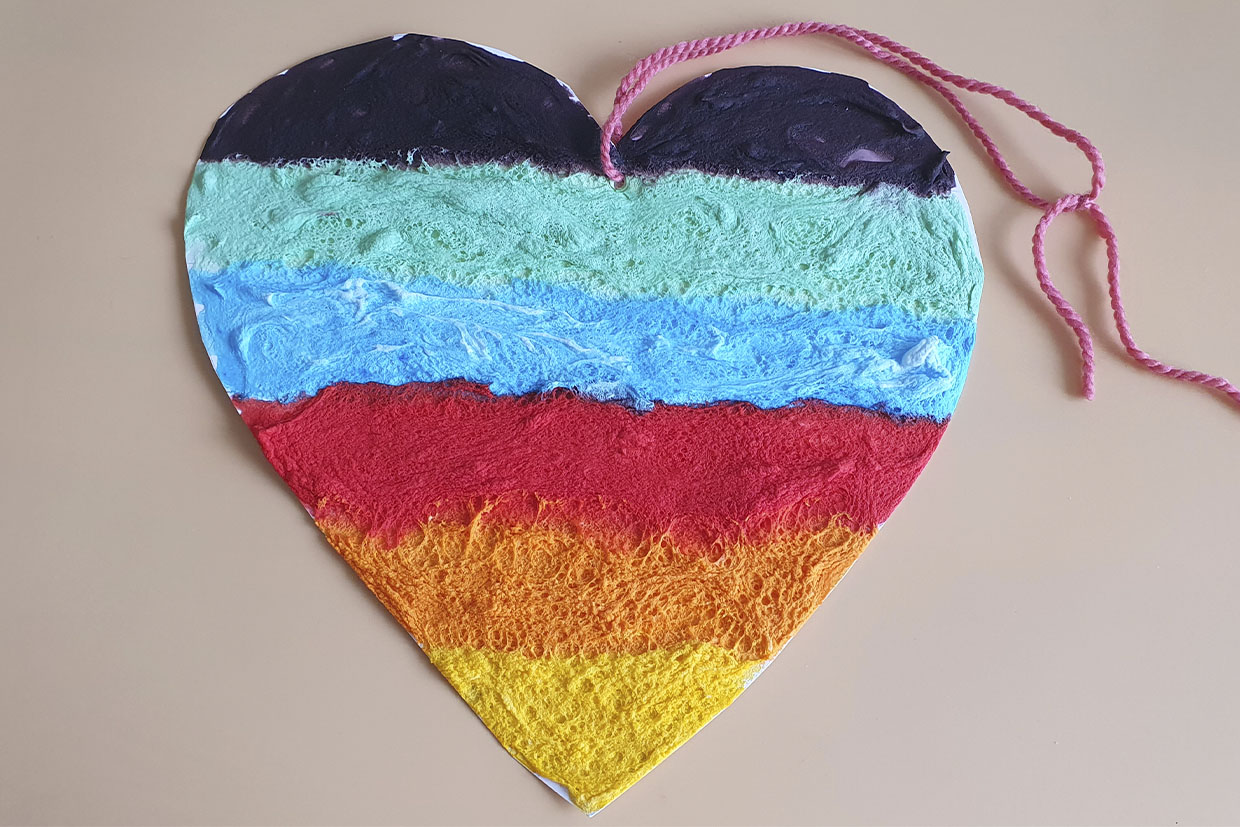
How to make puffy paint
Puffy paint is so much fun and the kids can create cool 3D paintings, find out how to make puffy paint with our easy tutorial.

Published:
Make puffy paint today with supplies you probably have lying around the house! Puffy paint is so much fun to make and paint with, it’s a great activity for kids of all ages if you’re looking for activities for 3 year olds, this make be just the article for you!
Puffy paint is really easy to create and once you’ve made it up you can either paint on it with a brush or put the paint into a sandwich bag and pipe the puffy paint onto the paper, both ways are so much fun. Once your little ones have created their masterpiece, just leave it to dry overnight and you’re left with a cool textured painting. The puffiness of the paint will reduce as it dries but still leaves a cool effect.
How to make puffy paint video tutorial
What is puffy paint?
Kind of what it says on the tin: it’s paint, but it’s puffy. There are several ways you can create puffy paint but we’ve chosen to use shaving foam to create ours, it’s the cheapest and most effective way. Puffy paint is super easy and quick to make too and you’ll only need a few ingredients. The main components of this recipe are shaving foam, PVA glue and food colouring (all mixed together), so as you can imagine the colour options are endless and just one can of shaving foam lasts a really long time.
Puffy paint design ideas
There’s so much you can do with puffy paint but the most fun paintings involve a lot of colours! For this tutorial, we have created a multi-coloured heart. But you could create things like a rainbow, colourful flowers, ice cream cones, butterflies or even an underwater scene!
What you’ll need to make puffy paint
- Shaving foam (make sure it’s foam NOT gel)
- Food colouring (liquid and gel both work)
- PVA white glue
- Mixing bowls
- Paintbrush
- Sandwich bags
Puffy paint recipe
Find a step-by-step guide (including pictures) on how to make puffy paint.
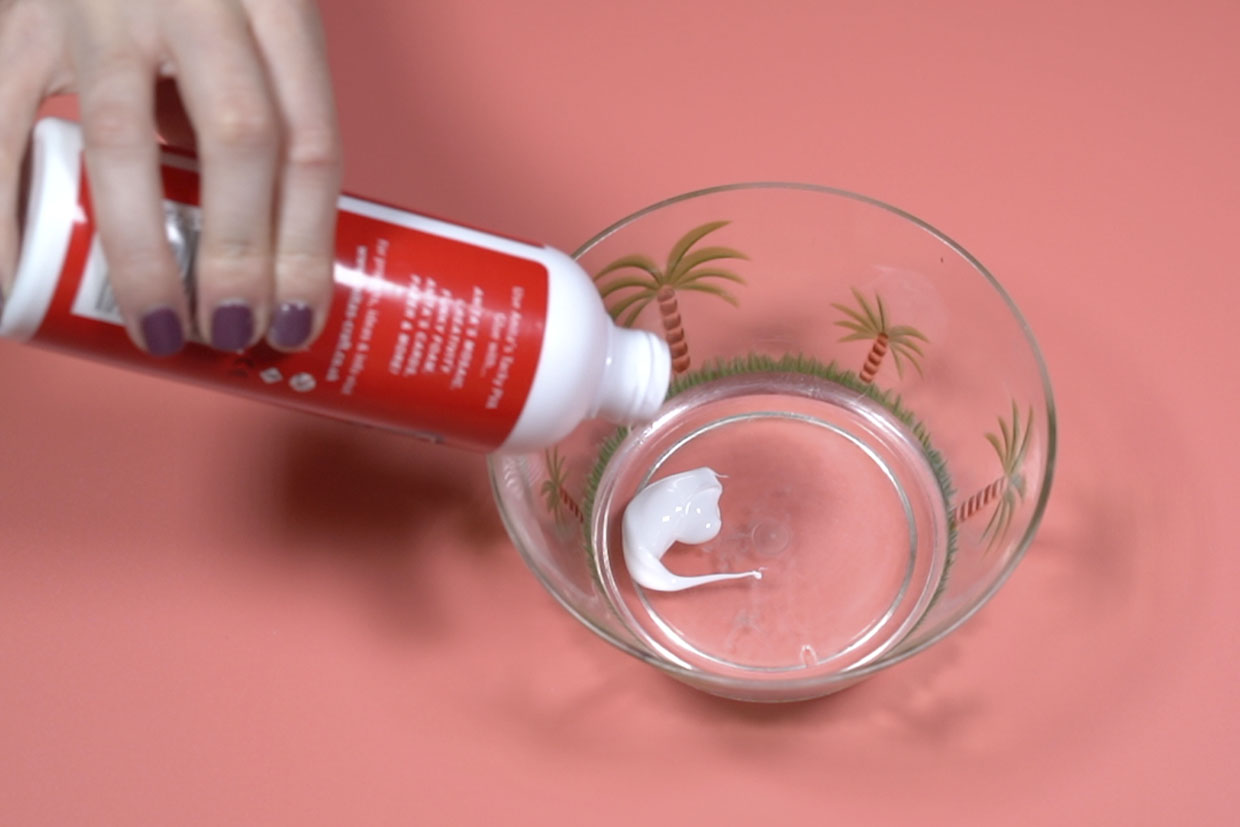
You Will Need
- Shaving foam
- Food colouring
- PVA glue
- Mixing bowl
- Paintbrush
- Sandwich bags
Step 1
Add a dollop of your PVA glue to a mixing bowl.

Step 2
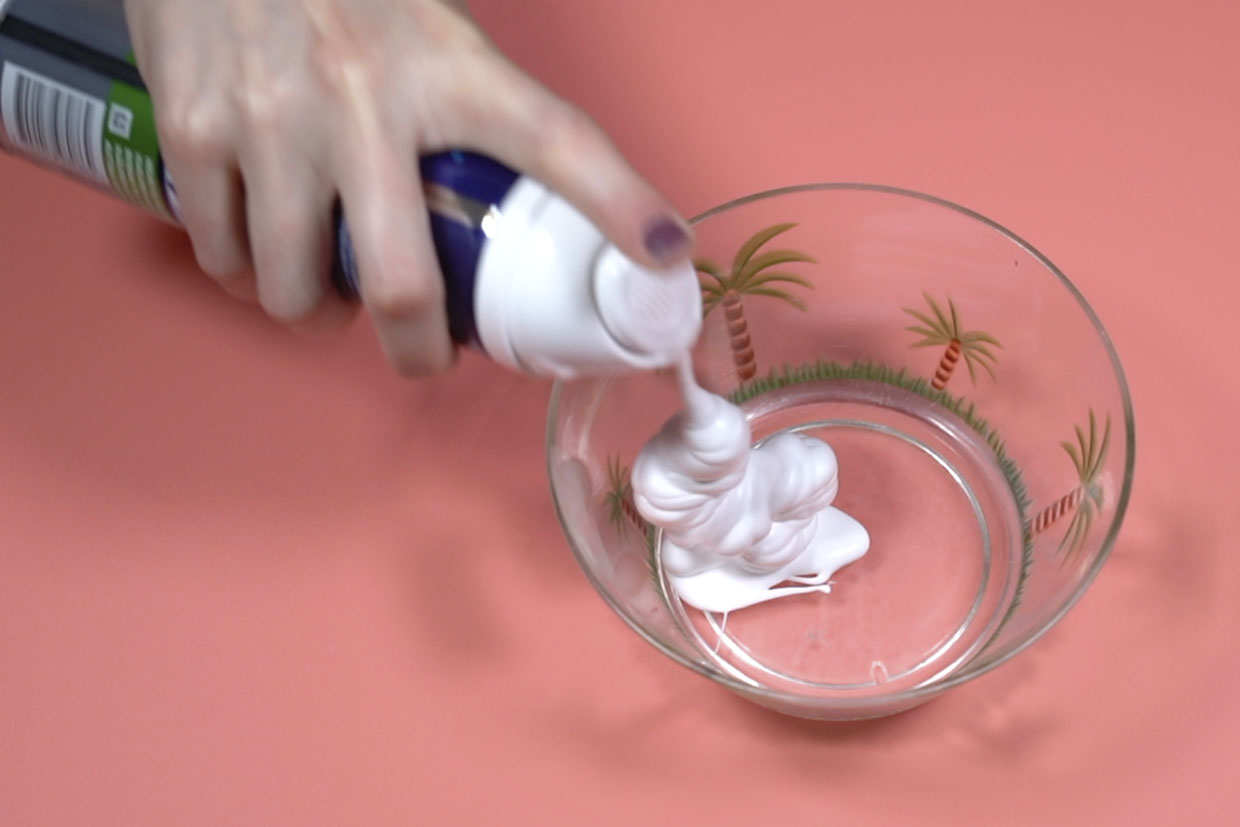
Then add a squirt of shaving foam – you don’t need loads.

Step 3
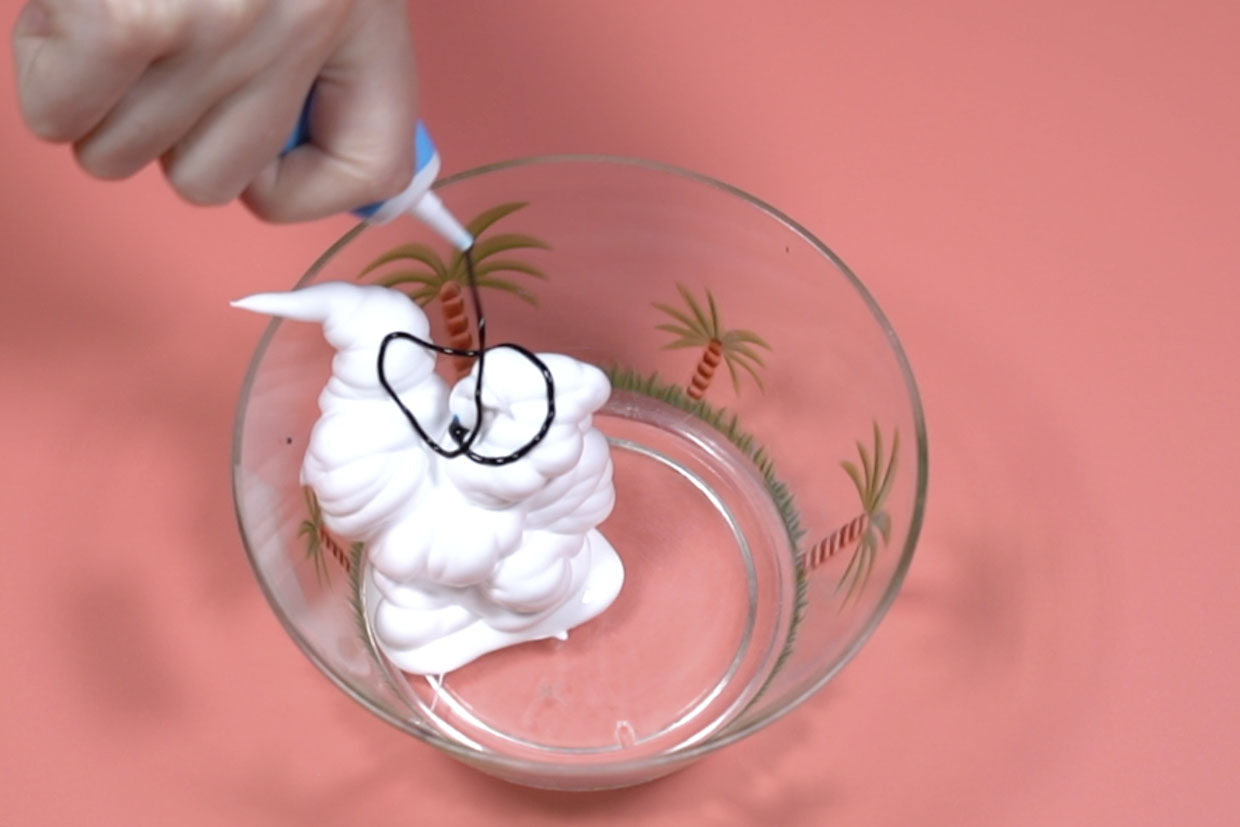
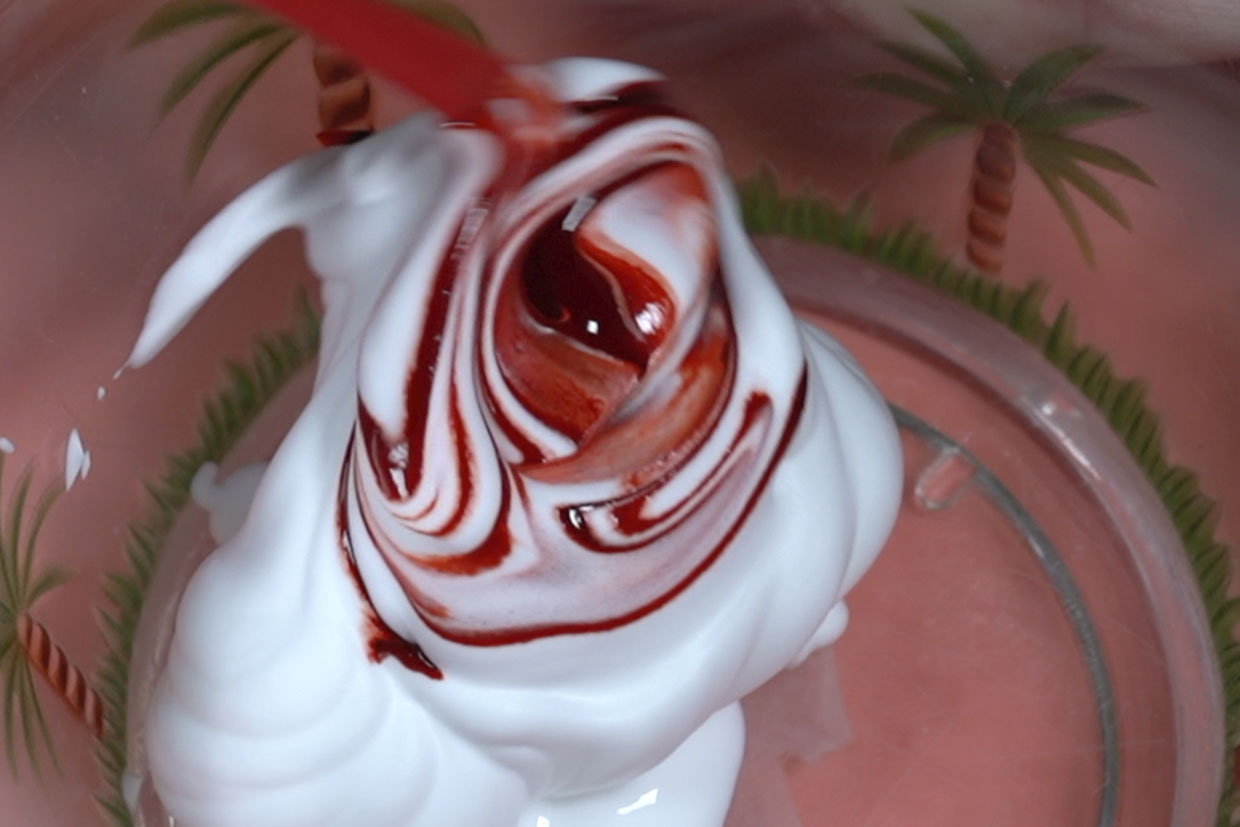
Add food colouring! The fun bit is mixing in the colours and swirling them around.

Step 4
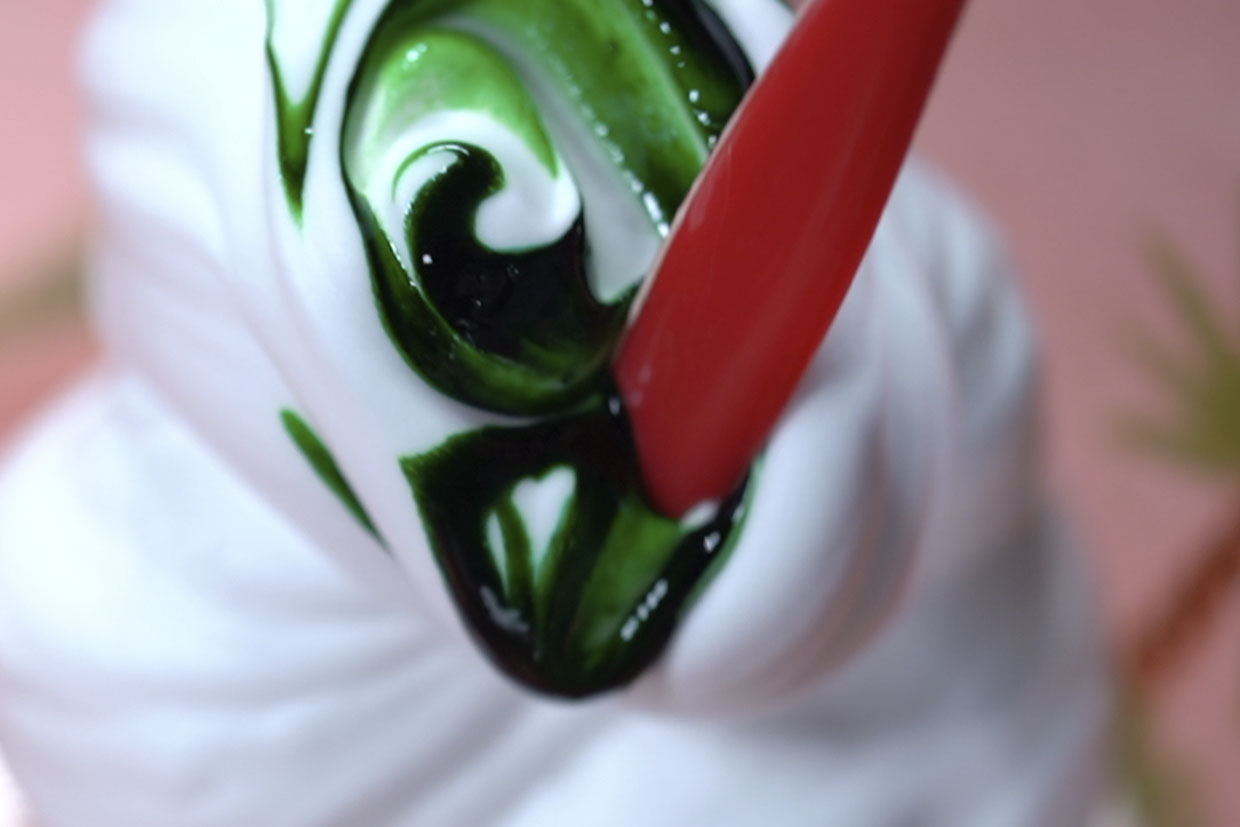
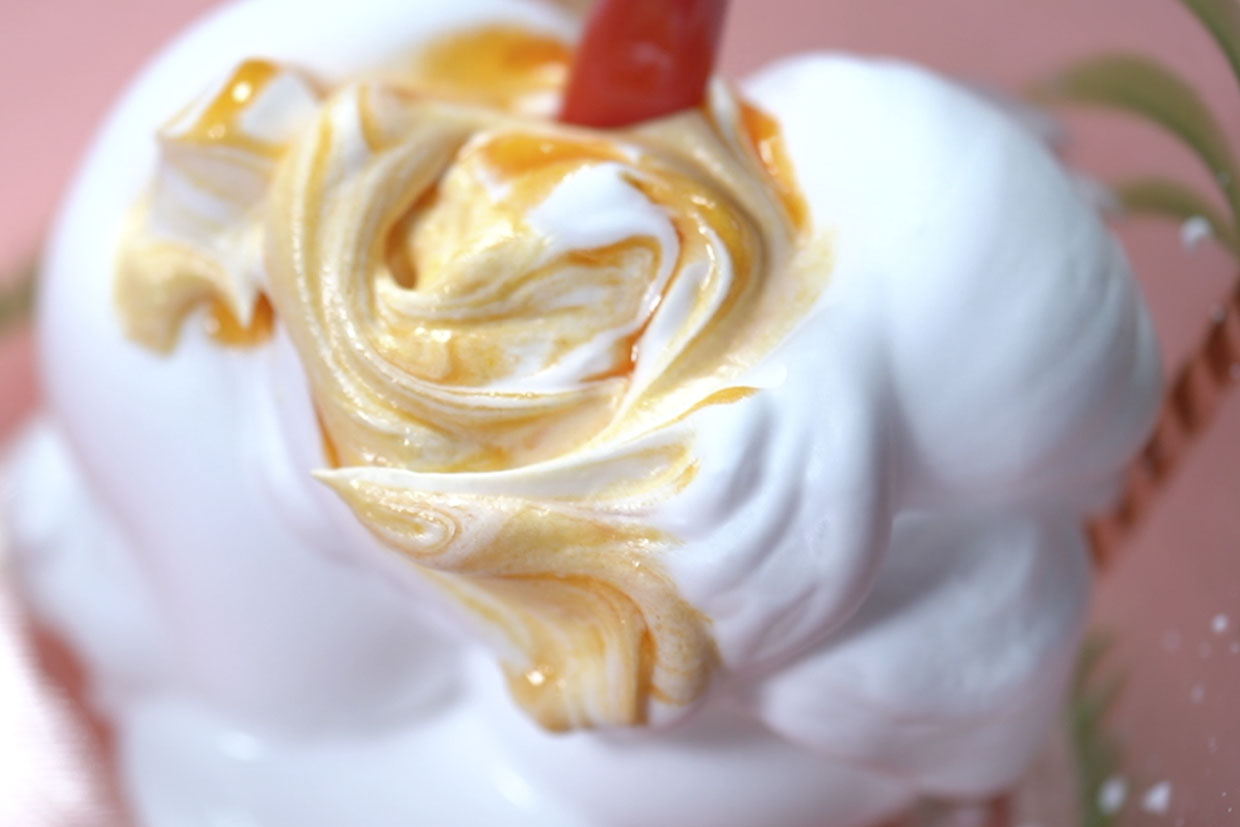
Mix up whatever colours you want to use!
Green:

Orange:

Red:

We also used blue, and created a purple (by mixing blue and red food colouring together).
Step 5
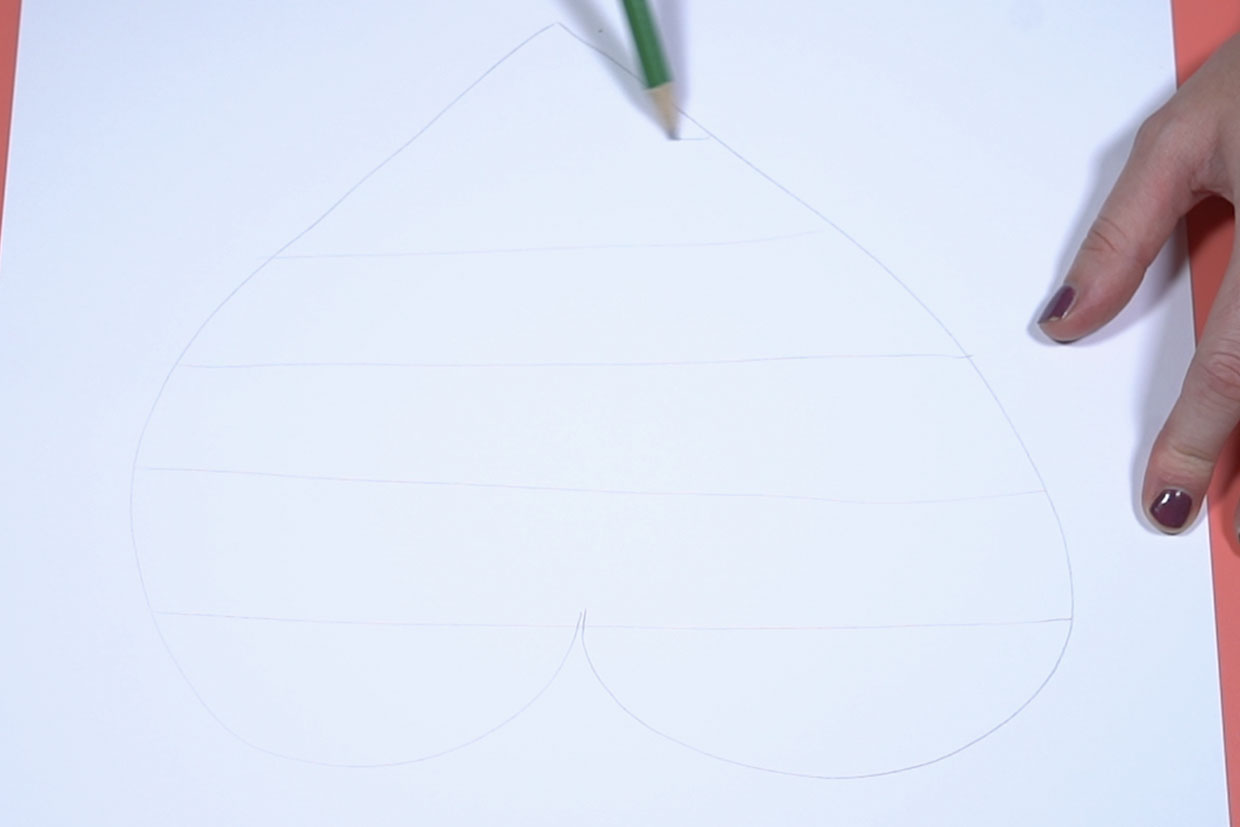
Draw a simple shape or picture on some white card (you’ll need card not paper because the puffy paint can be quite heavy).
We just drew a simple heart with stripes but you can choose whatever you like:

Step 6
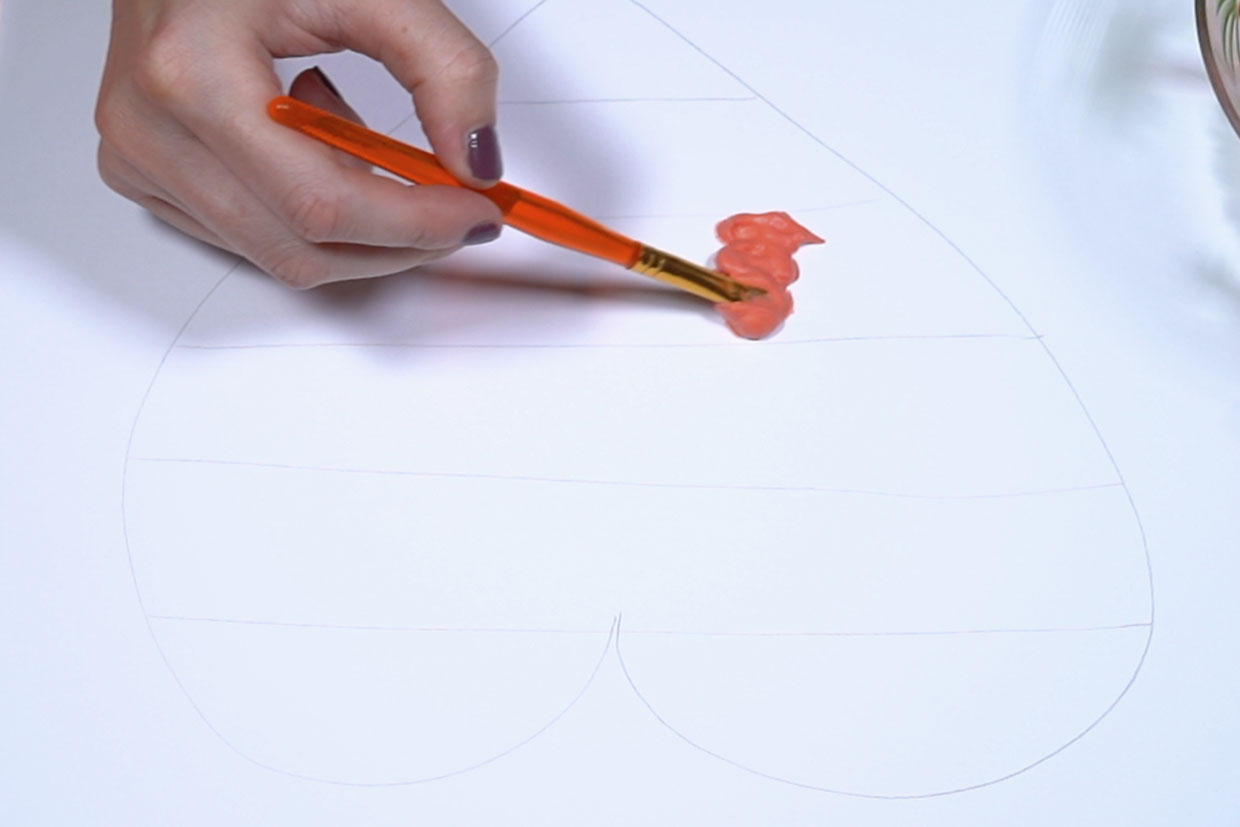
All that’s left is to paint! You can either use a paintbrush like this:

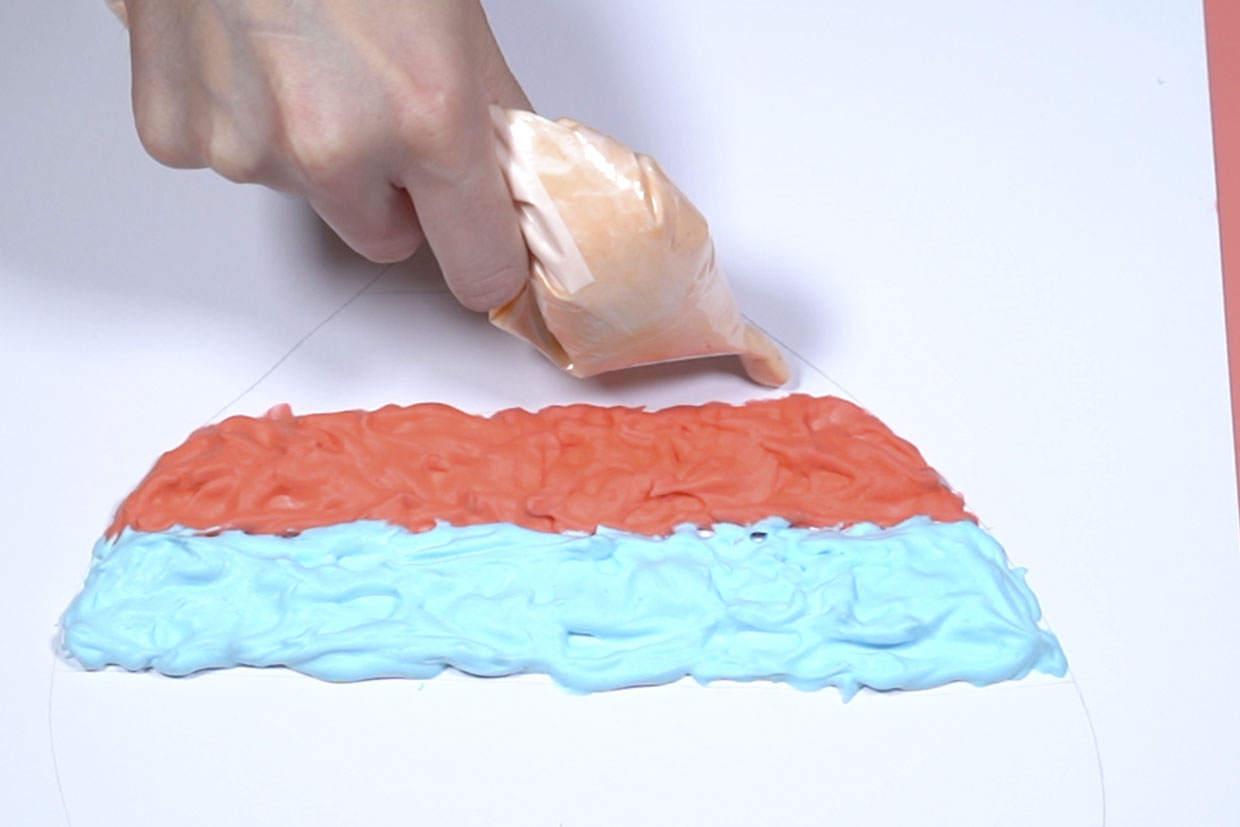
Or grab a sandwich bag, scoop your puffy paint into it and cut a corner and pipe onto your paper (as if you were piping a cake).


Step 7
That’s it, finish off with any colours you like. Then just leave it over night to dry. Once dry we cut ours out and made a hole to put some string through it so we were able to hang it up on the wall to display!

If you loved creating puffy paint artwork with your little ones we have plenty of inspiration for your next project, head over to our craft ideas for kids or crafts for toddlers if you have younger ones. If you little ones adore the spooky season why not get stuck into some fun easy Halloween crafts for kids. We also have lots of other hands-on craft recipe guides and ideas, try out the playdough recipe, the easy salt dough recipe or this neat how to make slime guide, for cheap and easy fun. You could even try your hands at these easy DIY school supplies, and get them ready for their next year in September.