How to make bunny ears: knitting pattern
Get the kids ready for Easter with this fun dressing up pattern. Learn how to make bunny ears with Louise Smith's cheerful design. You won't need much yarn to knit them, so whip some up in your little one's favourite colours using yarn from your stash – they're perfect for spring-themed playtime!
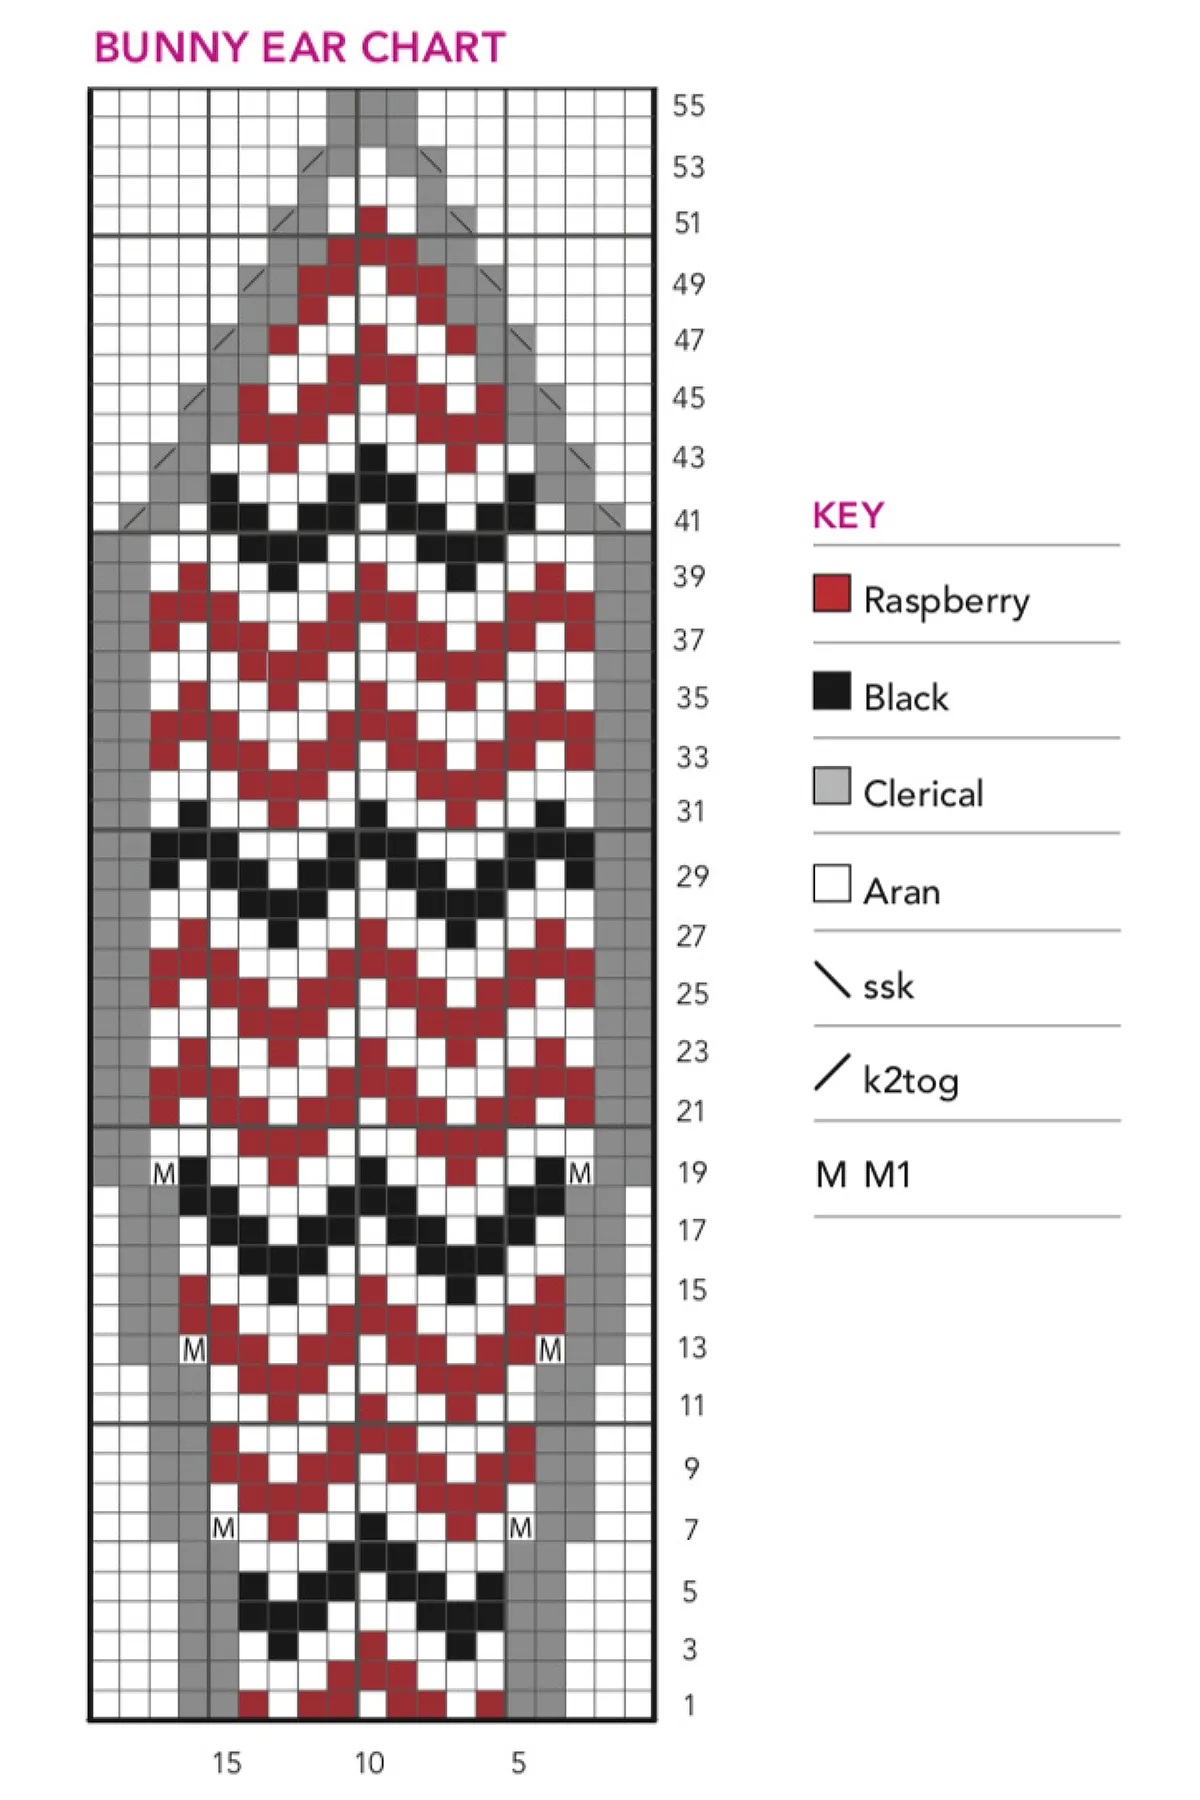
The chevron pattern is worked from a colourwork chart rather than written instructions, so if you need some help following the chart check out our guide on how to read charts in knitting patterns. You'll attach the bunny ears to a shop-bought headband (or use an old one you have at home), and use pipe cleaners to make them stand up.
This how to knit bunny ears tutorial first appeared in Knit Today issue 122, and we're delighted to be able to bring it to you for free. For more free designs to inspire you, see our knitting patterns collection. Scroll down to cast on…
To learn how to make bunny ears you'll need:
- King Cole Merino Blend DK (100% wool, 50g/104m)
Yarn A: 1 x 50g ball in Aran (046)
Yarn B: 1 x 50g ball in Raspberry (907)
Yarn C: 1 x 50g ball in Clerical (049)
Yarn D: 1 x 50g ball in Black (048) Buy this yarn from The Knitting Network - A pair of 4mm (US 6) knitting needles Buy from The Knitting Network
- A pair of 4.5mm (US 7) knitting needles Buy from The Knitting Network
- A tapestry needle Buy from Amazon
- A 10mm child’s headband Buy from Amazon
- 8 pipe cleaners Buy from Baker Ross
How to make bunny ears
Measurements
The ears measure 6cm (2¼in) wide and 20cm (7¾in) tall (from headband).
The bow measures 8cm (3in) wide and 2cm (¾in) tall.
Headband measures 31cm (12¼in) long.
Tension
Exact tension for the bunny ears is not critical.
Front of bunny ears (make 2)
We've used our standard knitting abbreviations in this pattern. See our how to knit section for guides on how to cast on knitting, how to cast off knitting, how to increase a stitch in knitting, how to decrease in knitting, and many more.
The front of the ears are knitted with Clerical, Raspberry, Aran and Black.
Follow the chart, knitting RS (odd numbered) rows and purling WS (even numbered) rows. There are symbols marked on the chart to show when to increase (M1) or decrease (ssk, k2tog). When you are increasing or decreasing use the colour shown on the chart underneath the symbol. Ignore any white squares outside the grey ear edges.
There are several colours being used at once when making the front of the ears. To minimise tangles, use separate lengths of grey yarn for the two sides of the ears, twisting the colour together with the yarn used at the beginning and end of the stripy section to avoid holes. For the stripy section, strand the yarn colour not in use across the back of the work. If the yarns become too twisted to continue working, simply cut them off, leaving approx a 10cm length and rejoin on the next row (you can use the yarn ends as stuffing).
To begin the ears cast on 13 sts using the thumb method and then work from row 1 of the chart. When you finish the last row, break off the yarn and thread through the remaining 3 stitches and fasten off.
Back of bunny ears (make 2)
Using 4mm needles and yarn C, cast on 13 sts using the thumb method.
Row 1 (RS) Knit.
Row 2 (WS) Purl.
These two rows form stocking stitch. Continue as set in stocking stitch for 4 more rows.
Row 7 K1, m1, k11, m1, k1. 15 sts
Row 8 Purl.
Continue as set in stocking stitch for 4 more rows.
Row 13 K1, m1, k13, m1, k1. 17 sts
Row 14 Purl.
Continue as set in stocking stitch for 4 more rows.
Row 19 K1, m1, k15, m1, k1. 19 sts
Row 20 Purl.
Continue as set in stocking stitch for 20 more rows.
Row 41 (RS) Ssk, k15, k2tog. 17 sts
Row 42 (WS) Purl.
Row 43 Ssk, k13, k2tog. 15 sts
Row 44 Purl.
Row 45 Ssk, k11, k2tog. 13 sts
Row 46 Purl.
Row 47 Ssk, k9, k2tog. 11 sts
Row 48 Purl.
Row 49 Ssk, k7, k2tog. 9 sts
Row 50 Purl.
Row 51 Ssk, k5, k2tog. 7 sts
Row 52 Purl.
Row 53 Ssk, k3, k2tog. 5 sts
Row 54 Purl.
Row 55 Ssk, k1, k2tog. 3 sts.
Break off yarn and thread through rem sts. Fasten off.
Headband cover
Using 4.5mm needles and yarn C held double, cast on 5 sts using the thumb method.
Row 1 (RS) Knit.
Row 2 (WS) Purl.
These two rows form stocking stitch. Continue as set in stocking stitch for 84 rows in total.
Row 85 Cast off using a simple cast off and weave in ends.
Bow
Using 4mm needles and yarn B, cast on 9 sts using the thumb method.
Row 1 (RS) Knit.
Row 2 (WS) Purl.
These two rows form stocking stitch. Continue as set in stocking stitch for 40 rows in total.
Row 41 Cast off using a simple cast off and weave in ends.
Sew both ends of bow together and press flat, ensuring that the seam is at the back.
Bow middle
Using 4mm needles and yarn B, cast on 3 sts using the thumb method.
Rep instructions for bow, working 8 rows.
Row 9 Cast off using a simple cast off, but do not weave in ends.
Tie this piece around the bow using unwoven ends and secure in place with a knot. Now weave in ends ensuring the knot is at the back of the bow.
Making up the bunny ears
- Sew the front and back of both ears together (with RS facing outwards) using mattress stitch – leave bottoms open.
- Twist each of the pipe cleaners together to make four doubled pipe cleaners.
- Bend 2 pipe cleaners into the shape of the ears and insert, leaving ends of pipe cleaners visible. Repeat for other ear.
- Pinch the side of the bottom of the ear together and sew in place (leaving ends of pipe cleaners visible). Repeat for other ear.
- Decide where you want your ears to sit on the headband, using photo as guide. Lay the headband cover out flat and push ends of pipe cleaners at bottom of both ears through where you have decided to position your ears.
- Secure ears to headband by twisting pipe cleaner ends around the band.
- Sew the headband cover up using mattress stitch.
- Sew the bow onto left ear at slight angle, using photo as guide.
More Easter knitting patterns
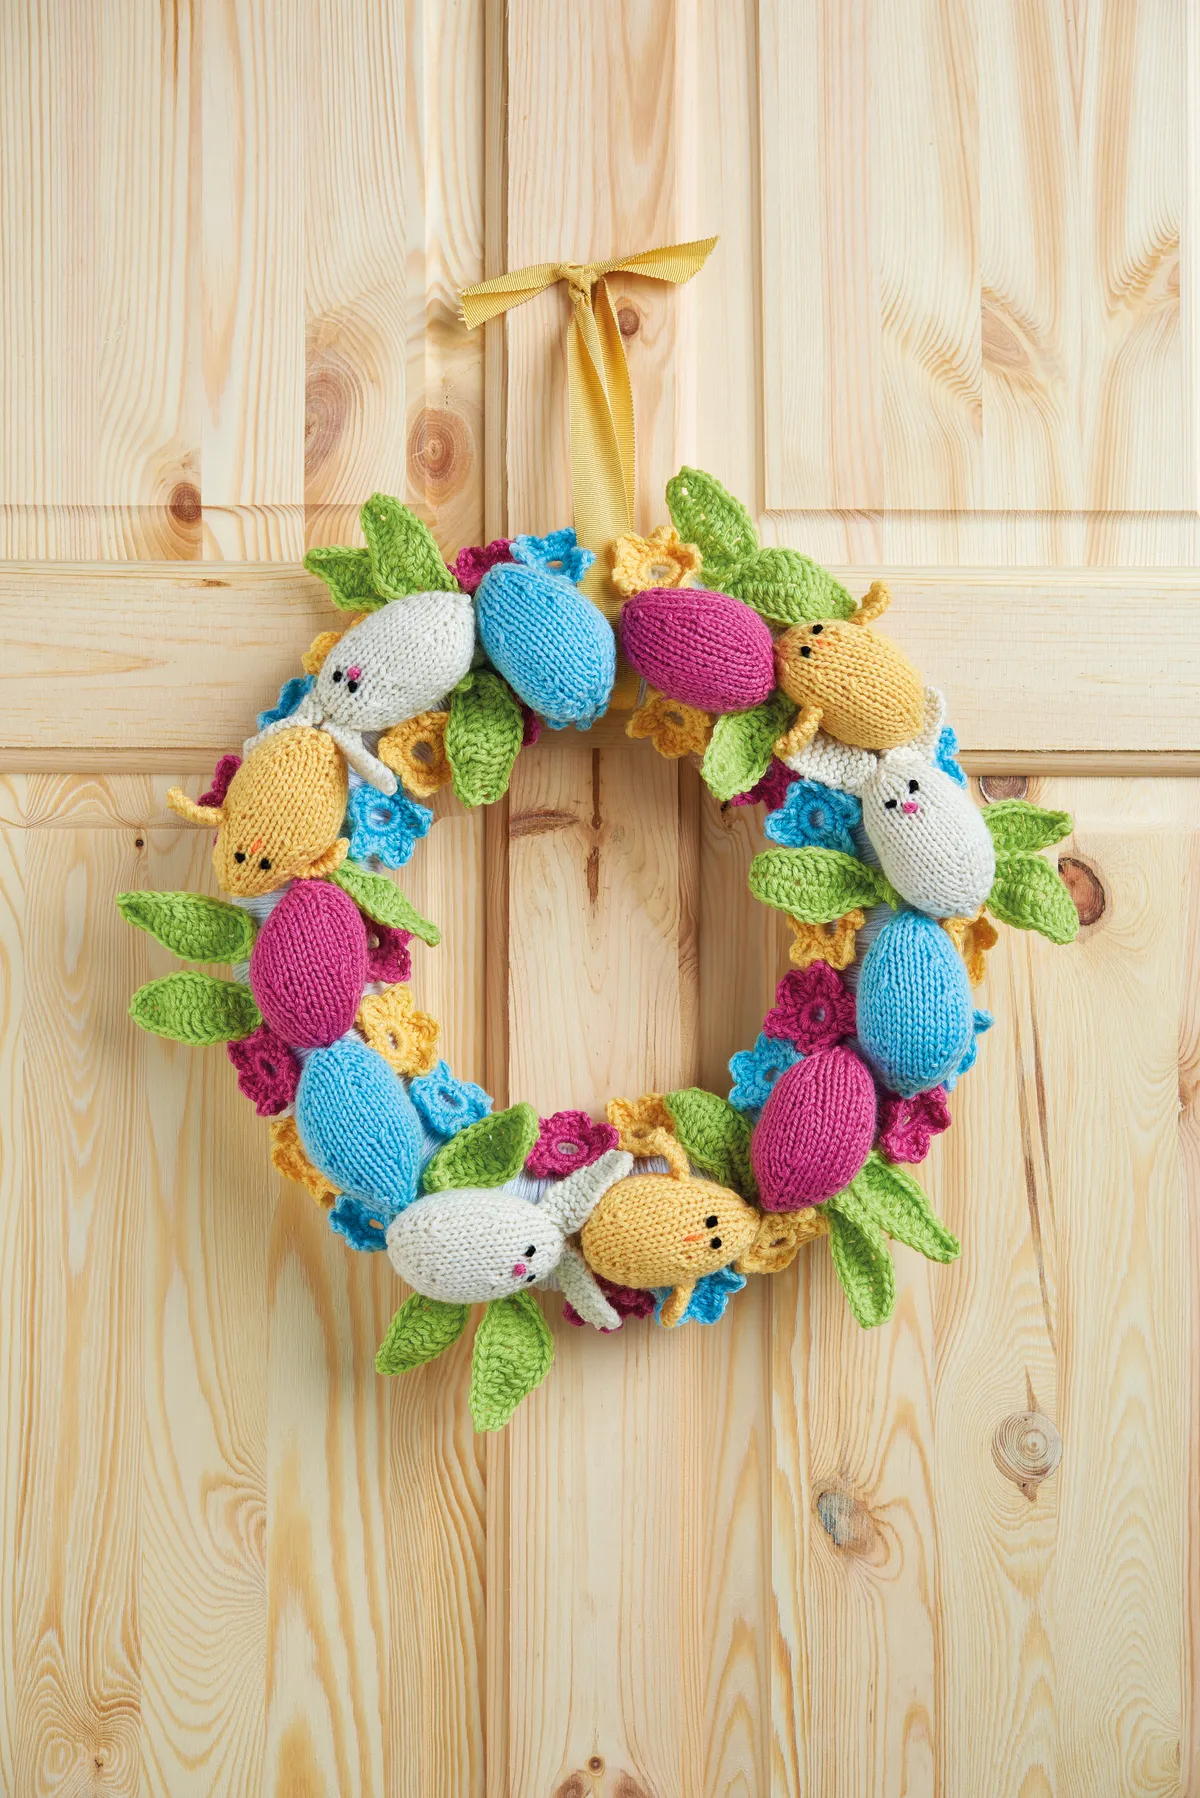
Decorate your home for spring with our knitted Easter wreath and Easter egg pattern, learn how to knit an Easter tea cosy, and make spring lambs and more with our knitted farm animals pattern.